
Review: Pro-Lift rolling creeper stool / toolbox
Something you find after owning a 2-stroke race bike for more than half a minute is that you need to fiddle with them. While kneeling on the ground is a glam way to show your bike the respect it deserves, a rolling stool is a way better way to do it. I’ve been on the lookout for one for a while, and below is a review of the pro-lift toolbox stool I bought from ebay last week. I’m gonna call it the Stoolbox.
It’s a pretty good buy at $80, and it took me 2 days from ordering it to delivery. Can probably find them cheaper but I didn’t want to wait 8 years.
Read below the jump for my full review, or check out my video testing its rolling capabilities.
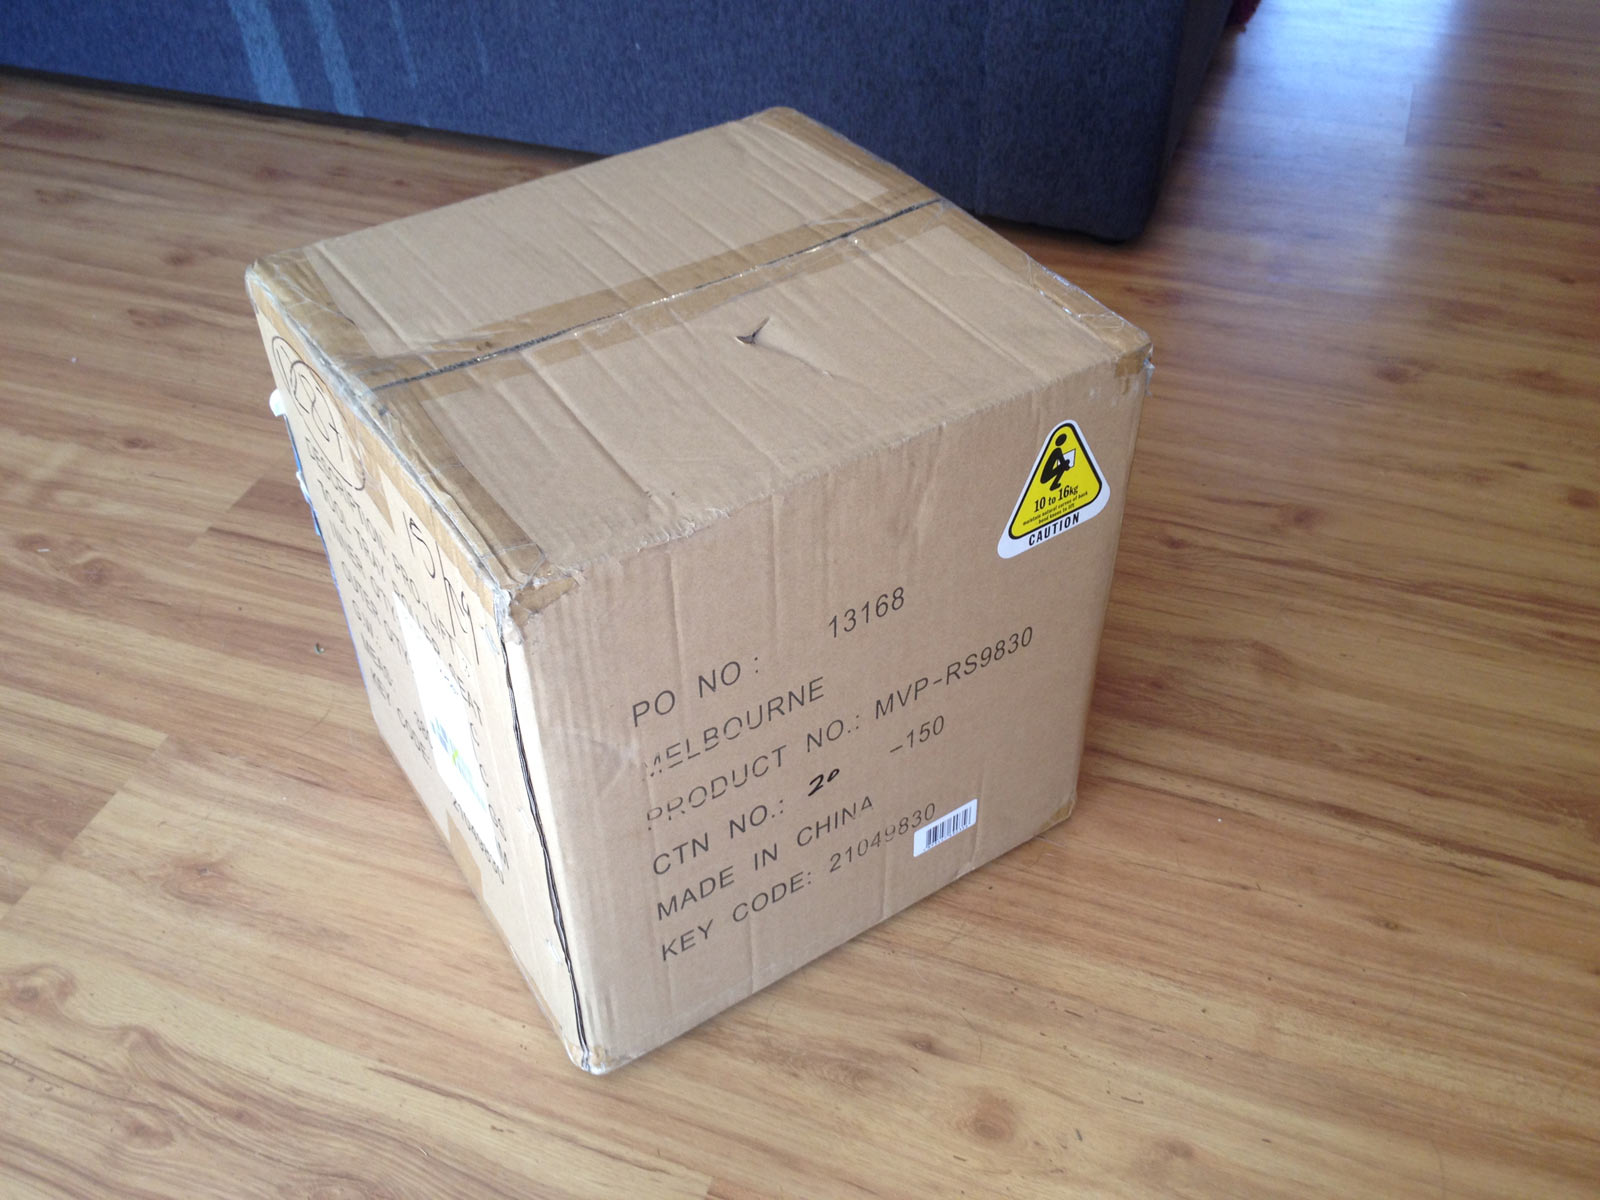
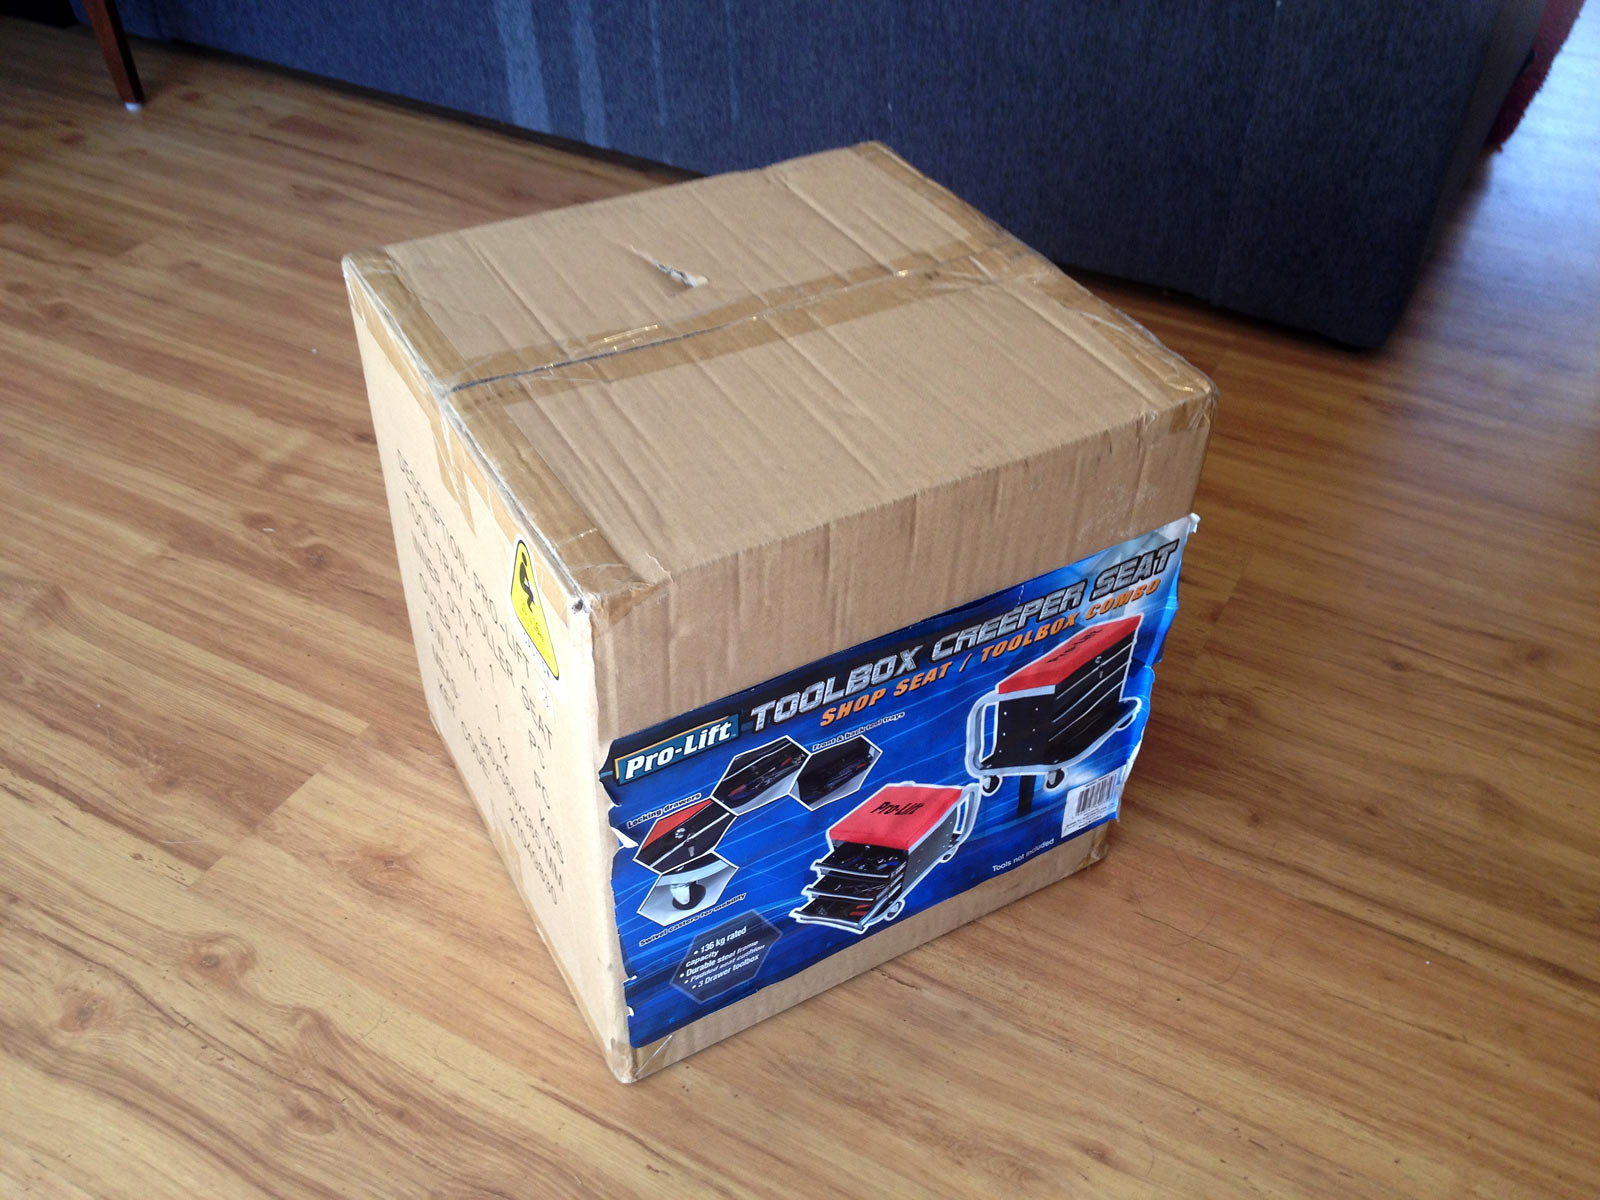
It comes in a box, nothing remarkable. The box has some weight stuff on one side which you can promptly ignore and lift it up and hurt your back, and the other side has some marketing stuff.
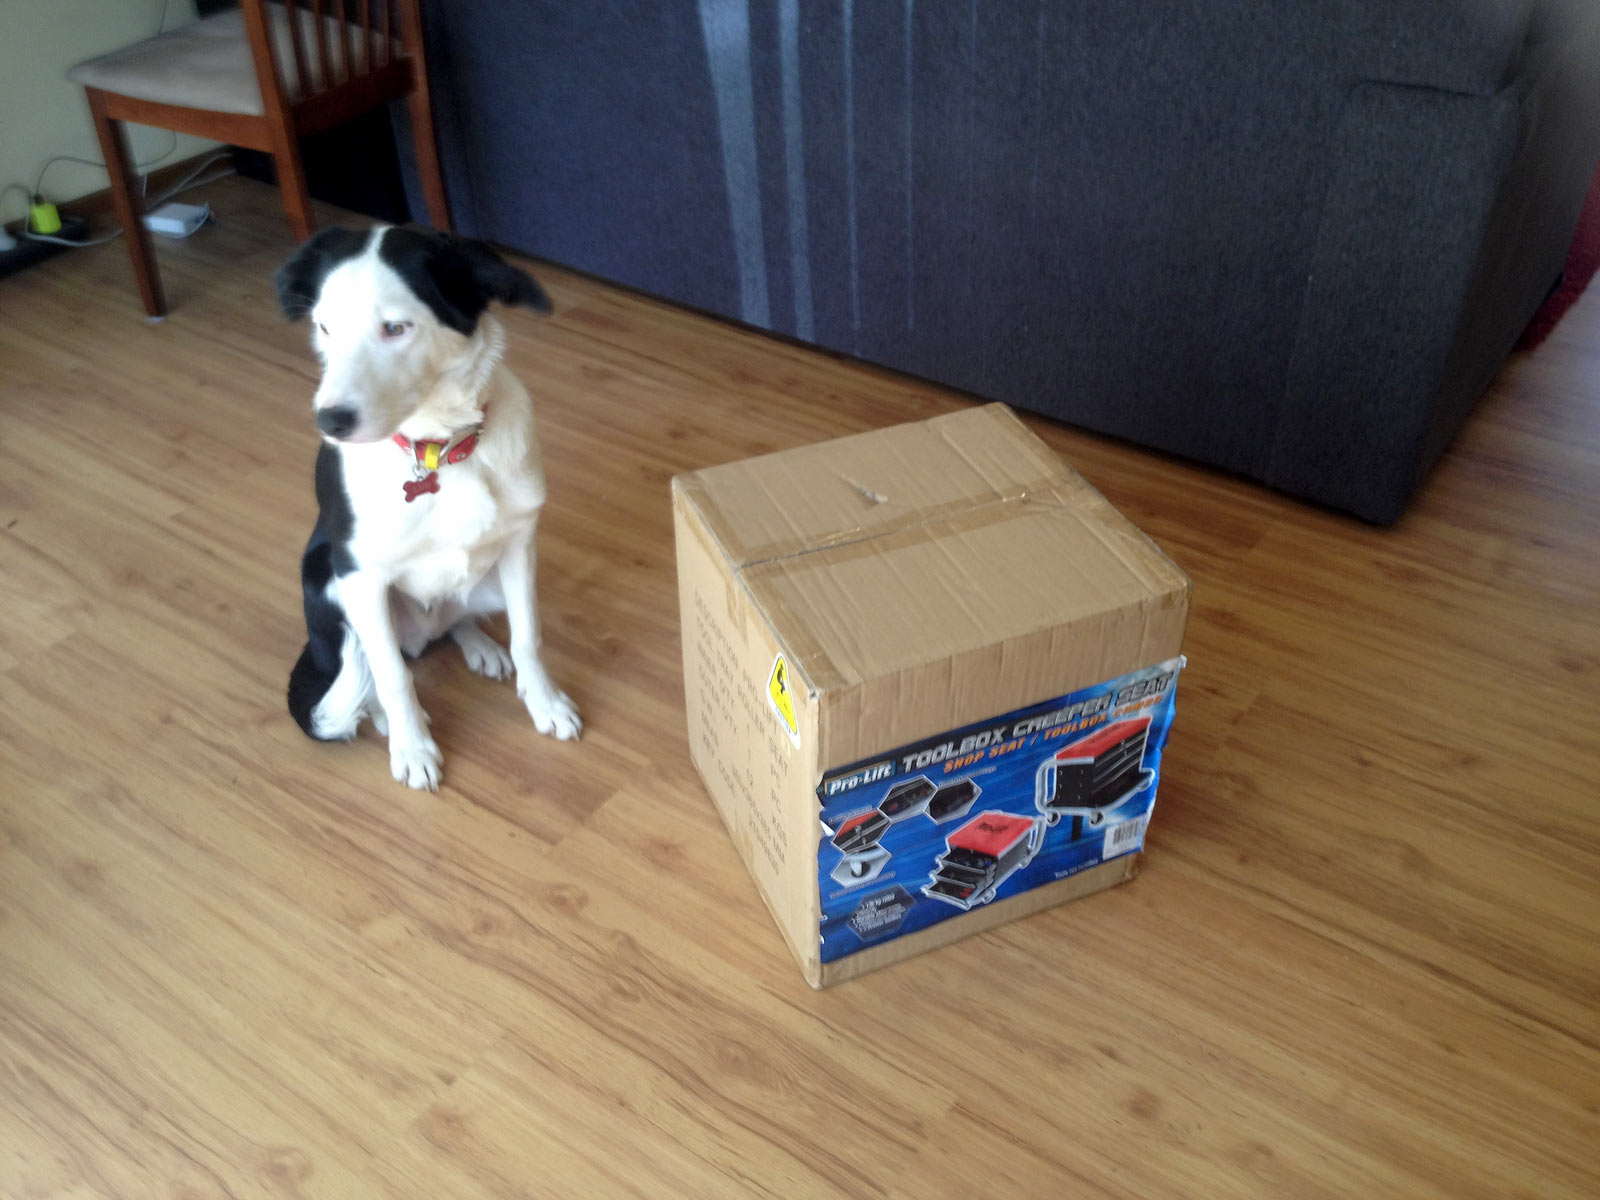
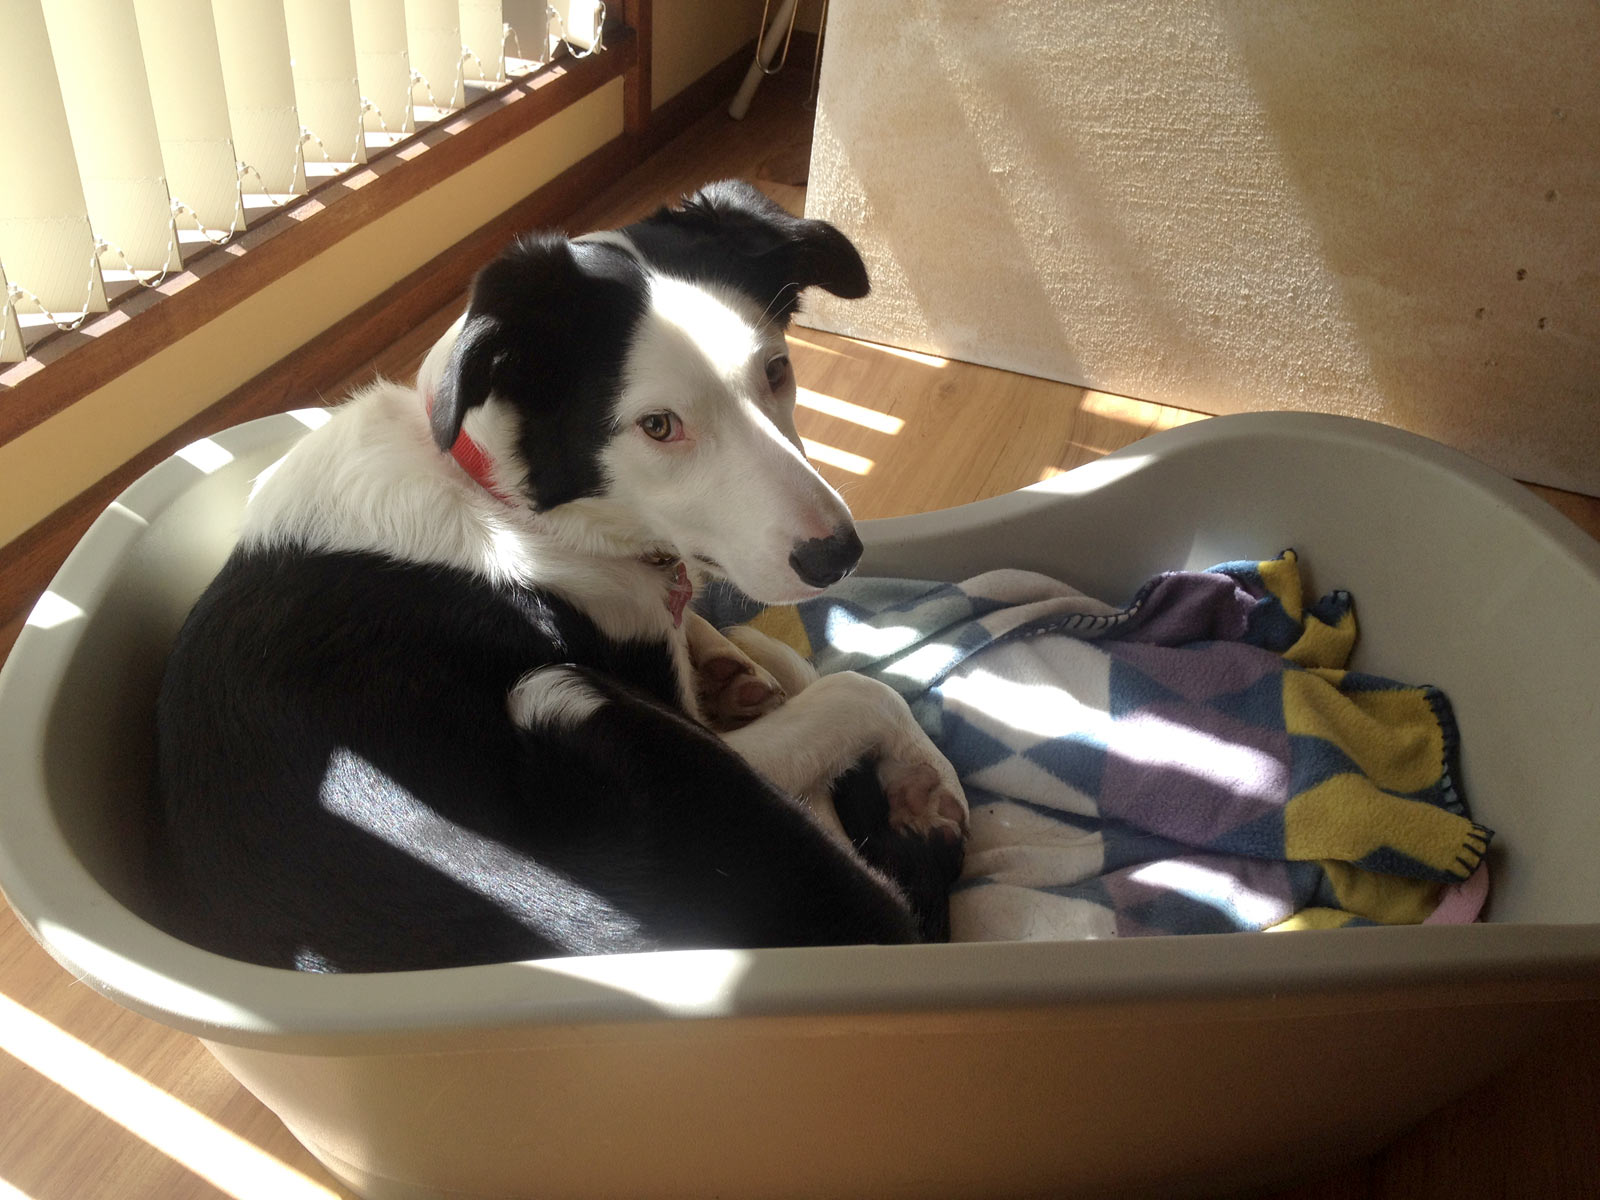
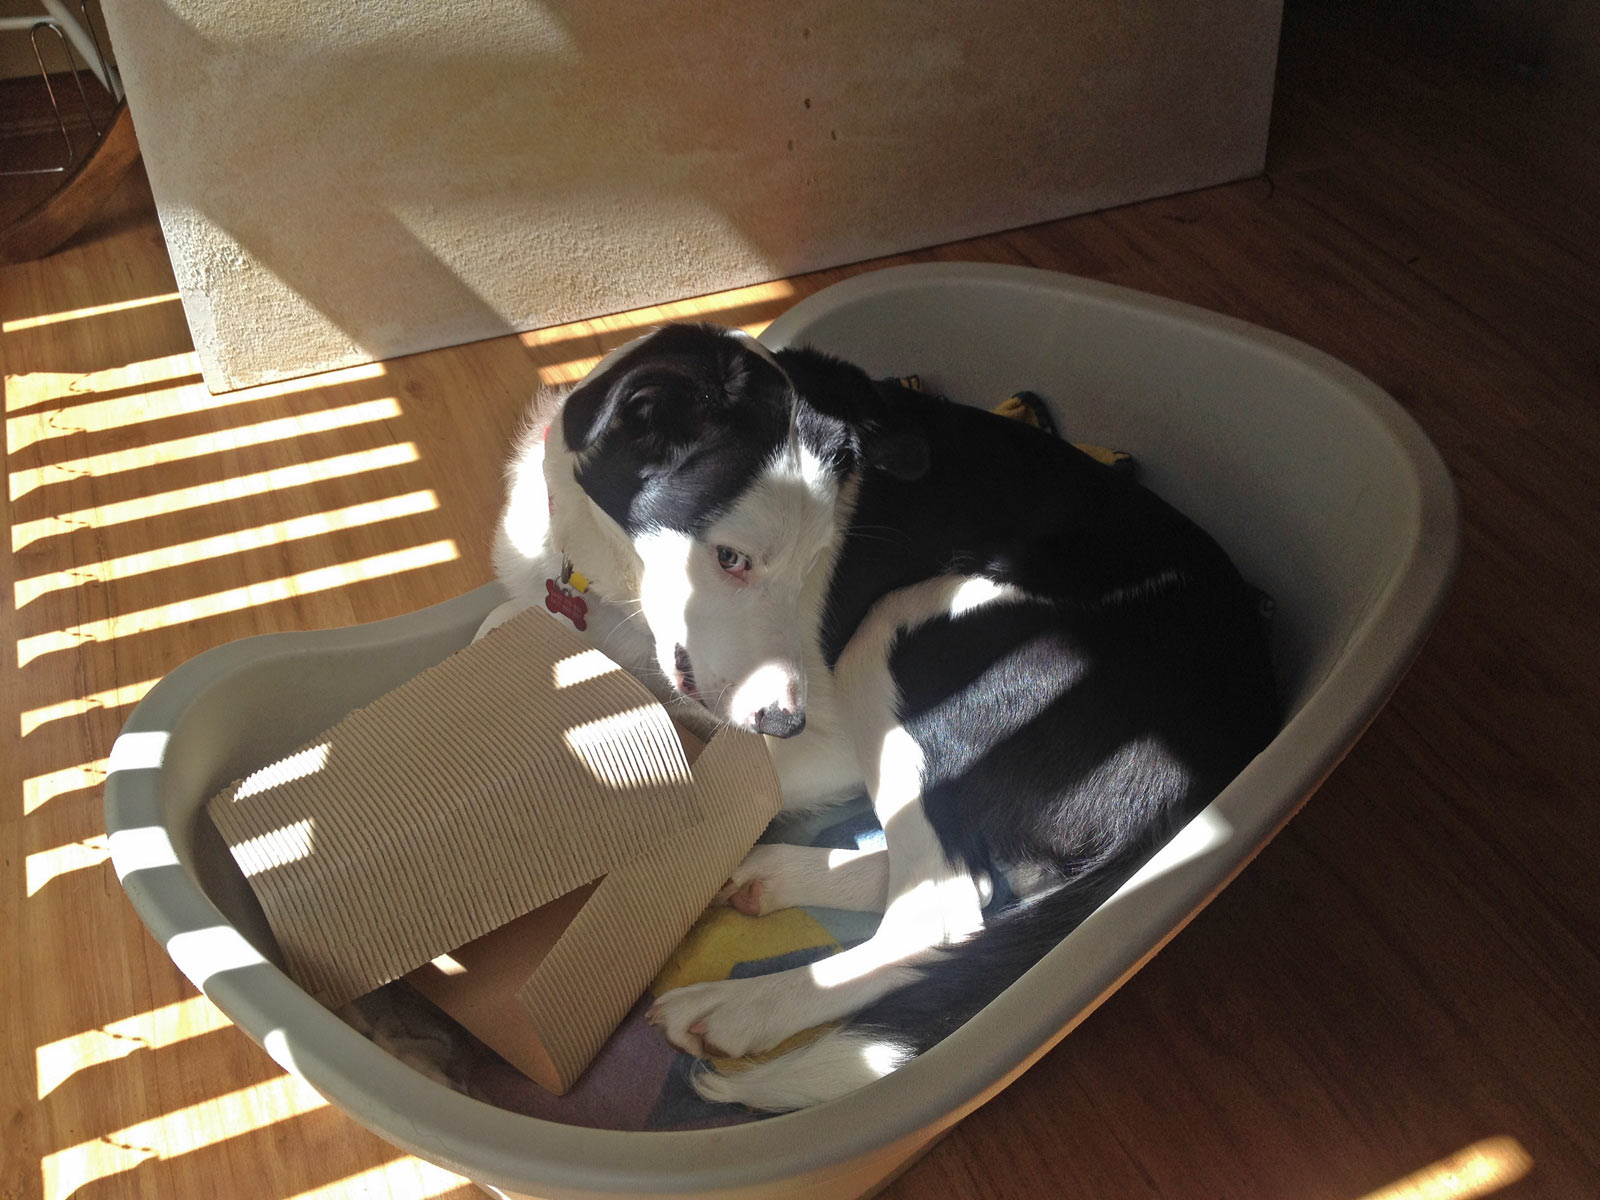
To give you a better idea of the scale of this item, here’s a dog for scale.
The box is your usual flatpack affair: a few things in random sized boxes and a main item.
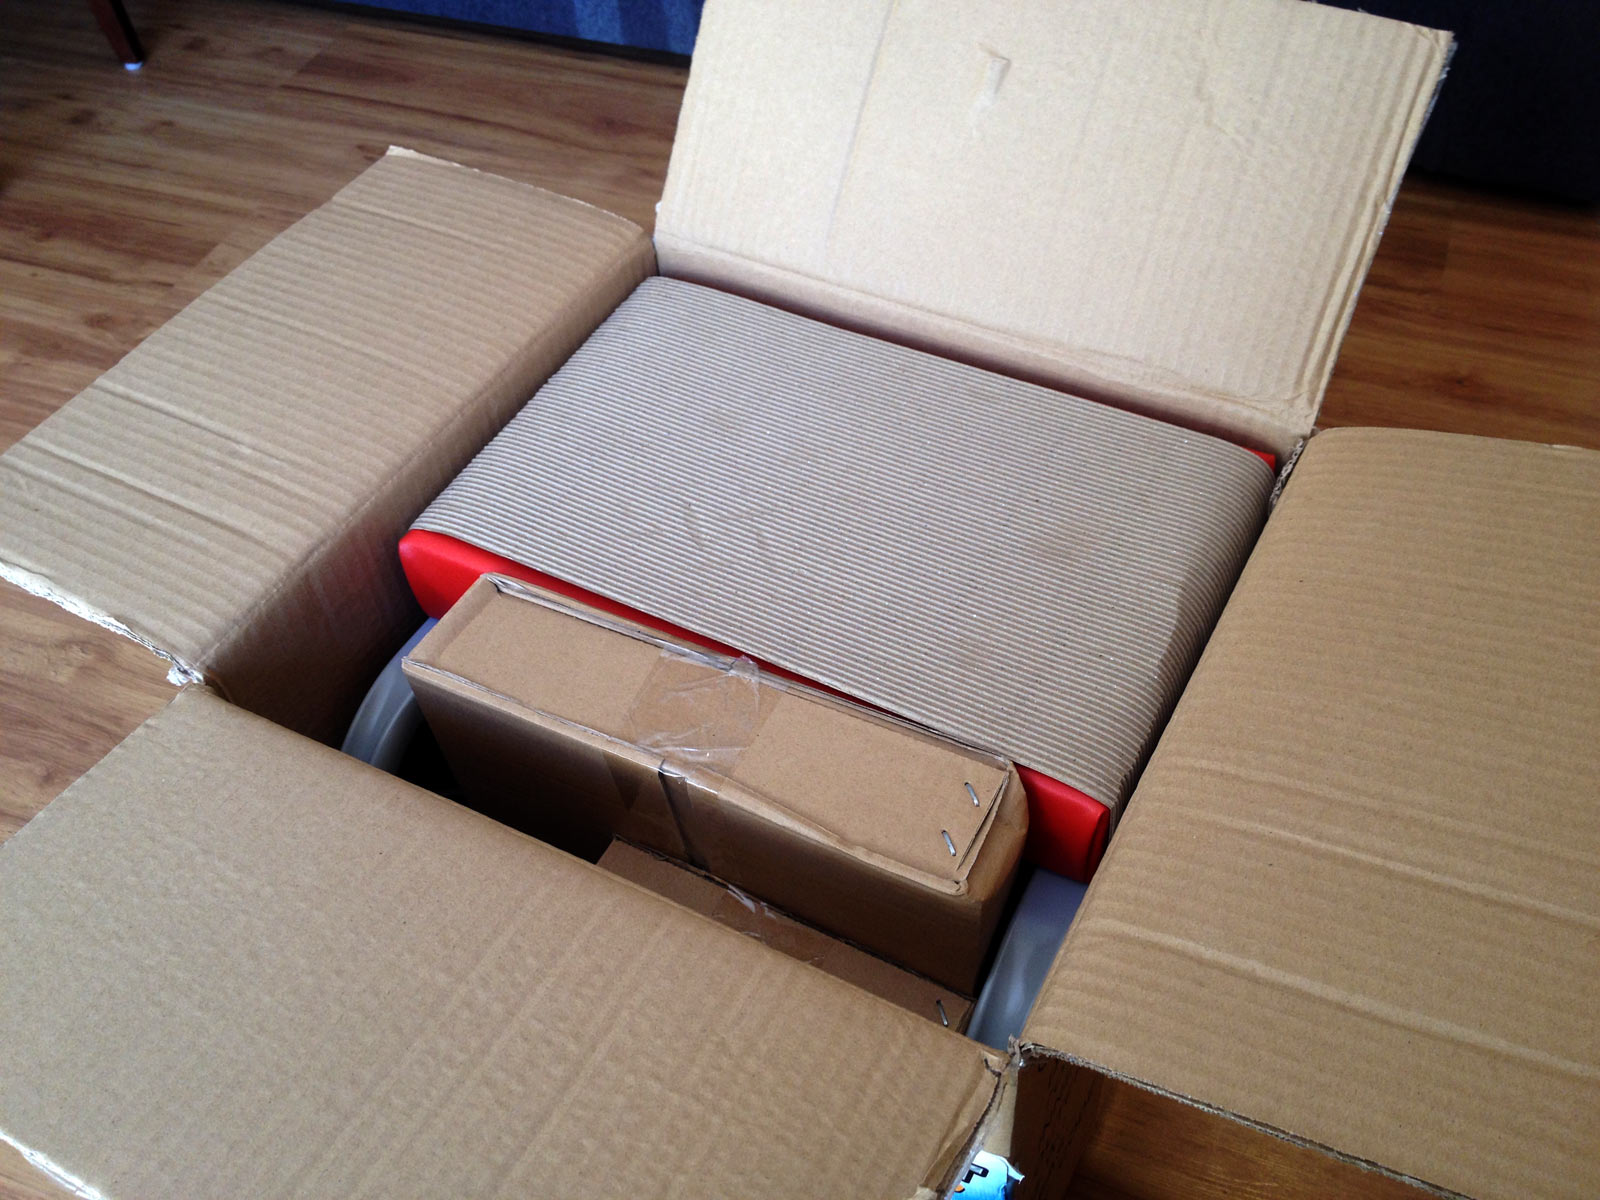
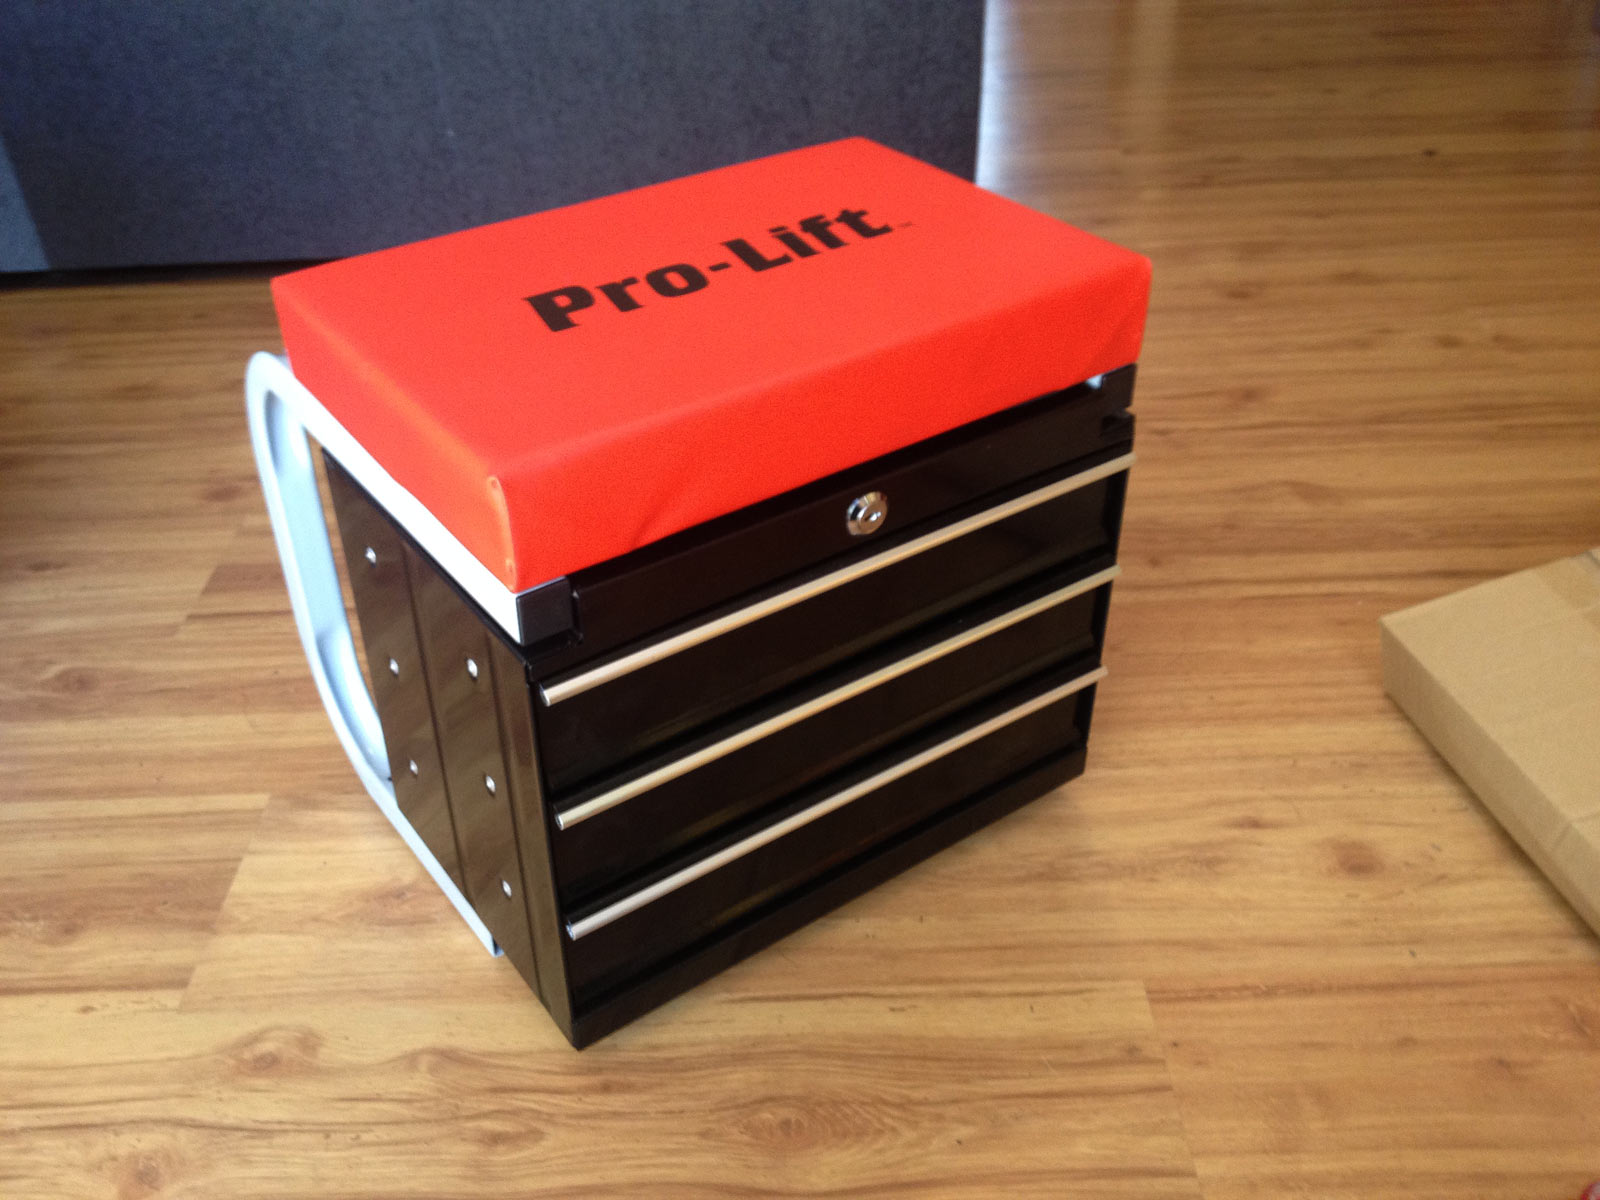
Once you pull out the stoolbox you’ll realise it needs some assembly.
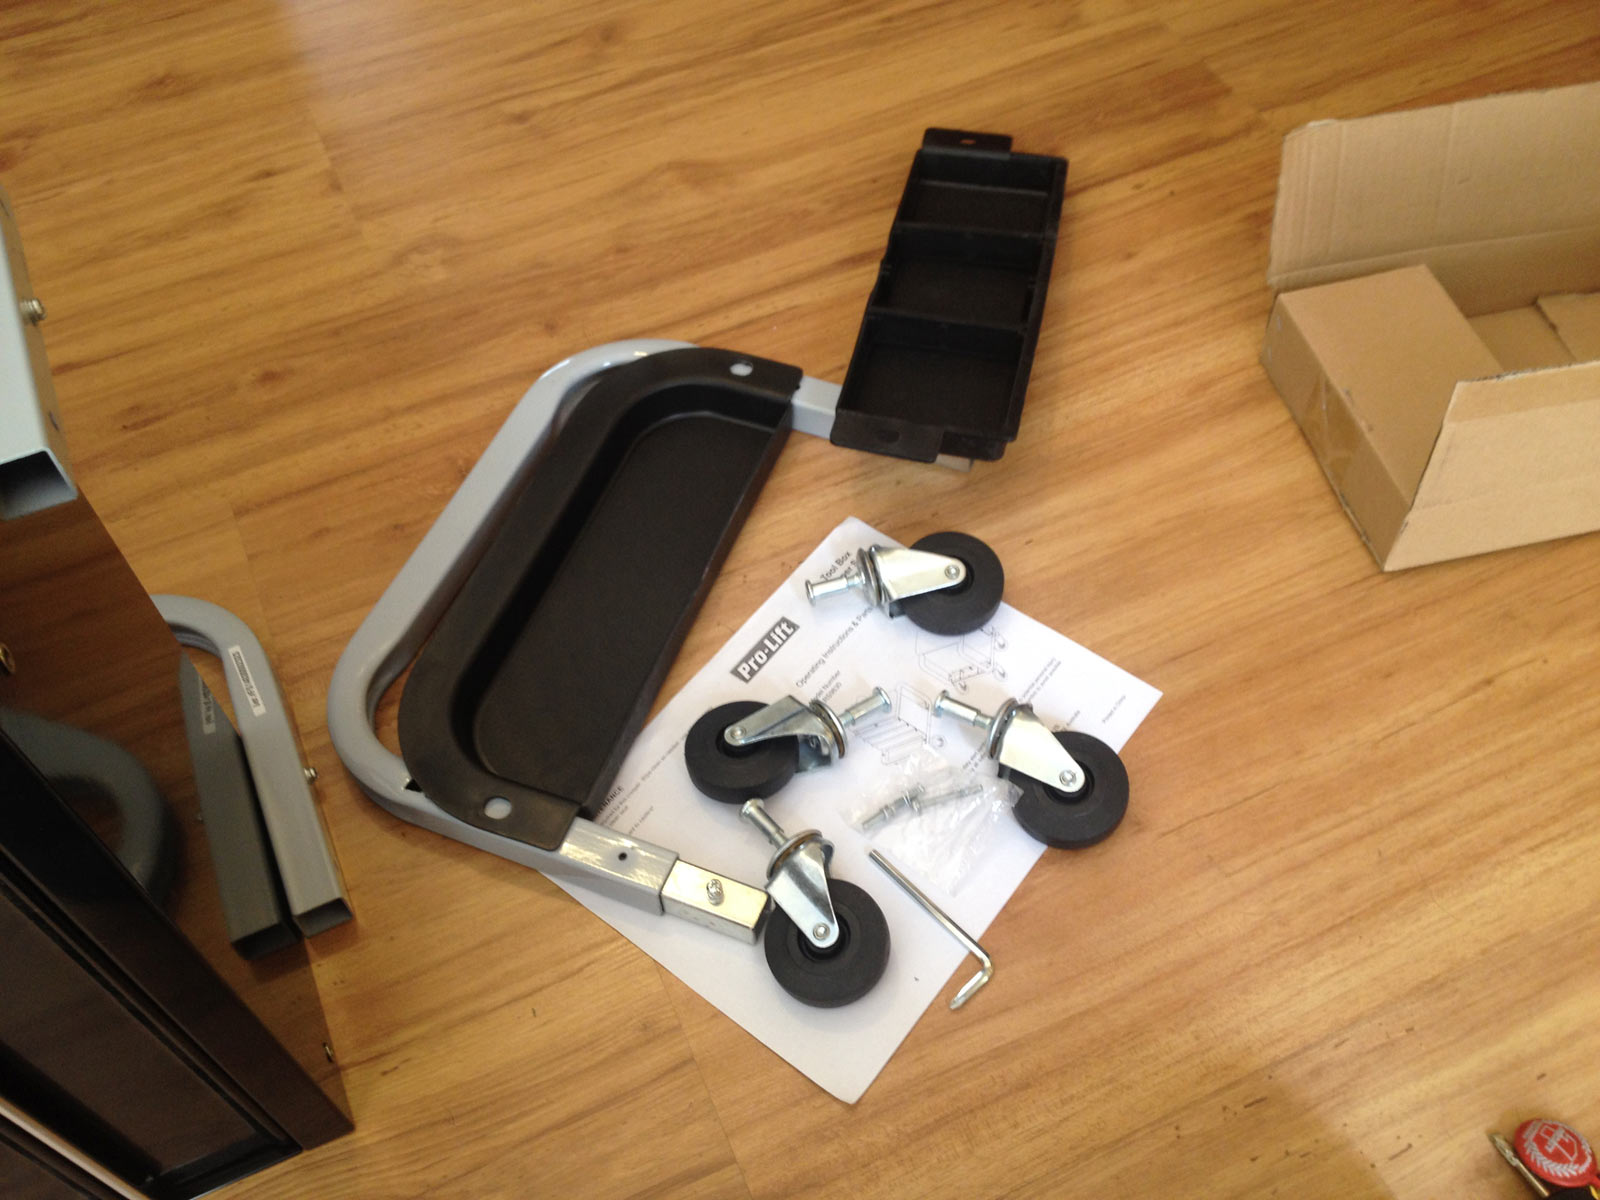
No dramas with assembly though. You can promptly throw out the instructions (that’s the TGR way) and you don’t even need any of your own tools, as this bad boy comes with an allen key wrench and phillips head screwdriver all in one. it would help if the screwdriver was remotely correctly sized for the screws but no dramas.
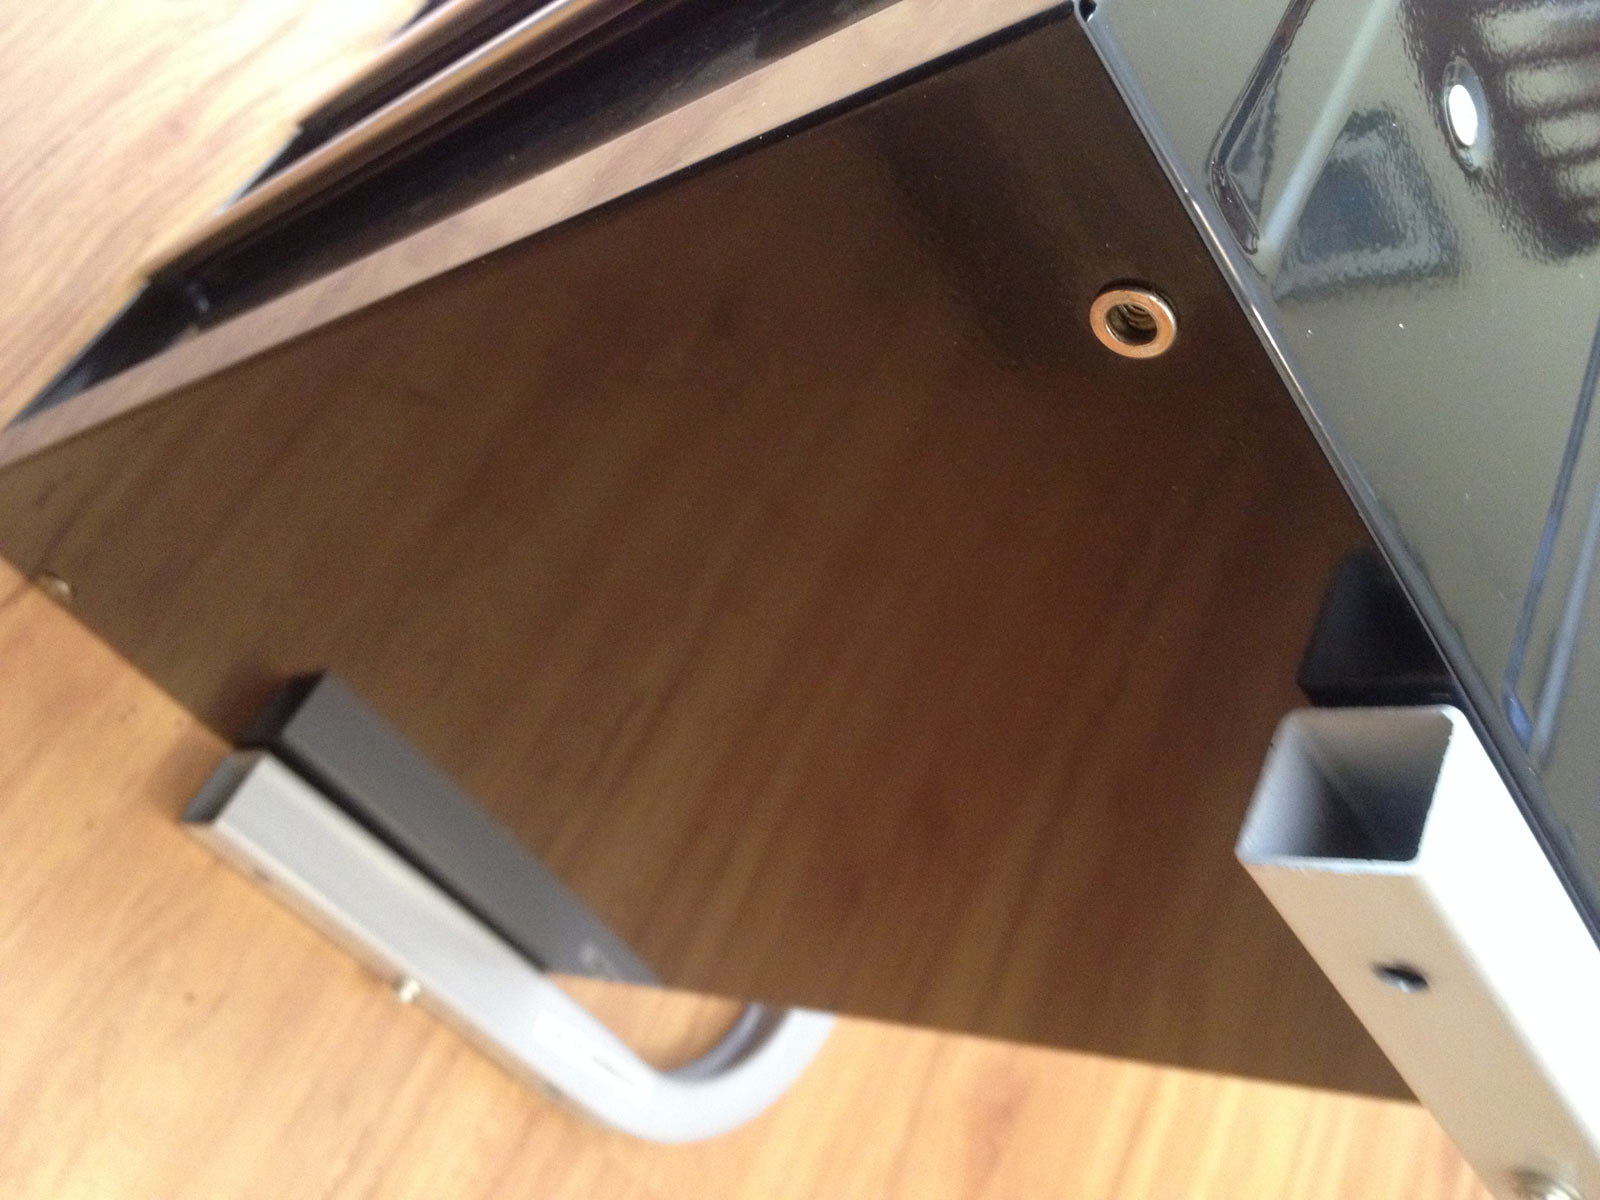
it has nutserts for screwing in one side of the frame. This is good, and TGR approved. They even used corrosion resistant inserts! Quality++.
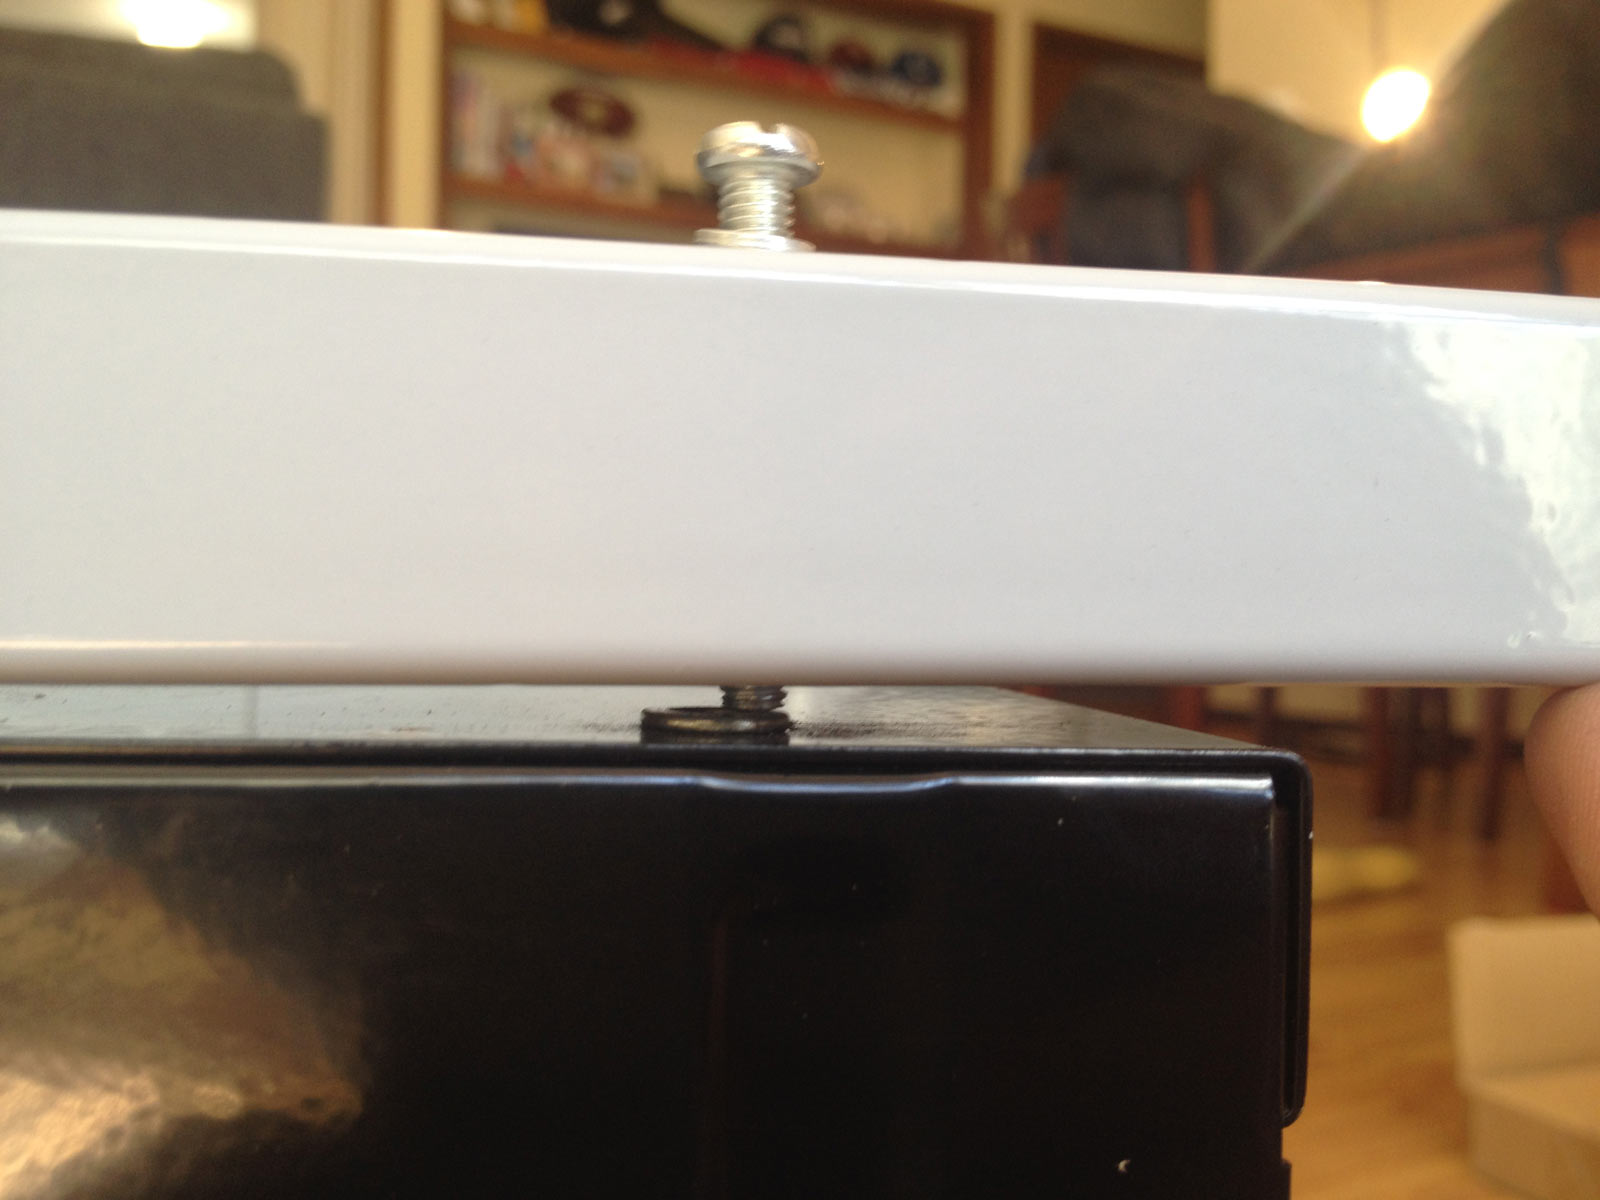
Quality wise it’s what you expect…. not all of the holes line up. Still, you just have to force a few things into place which surely helps structural rigidity.
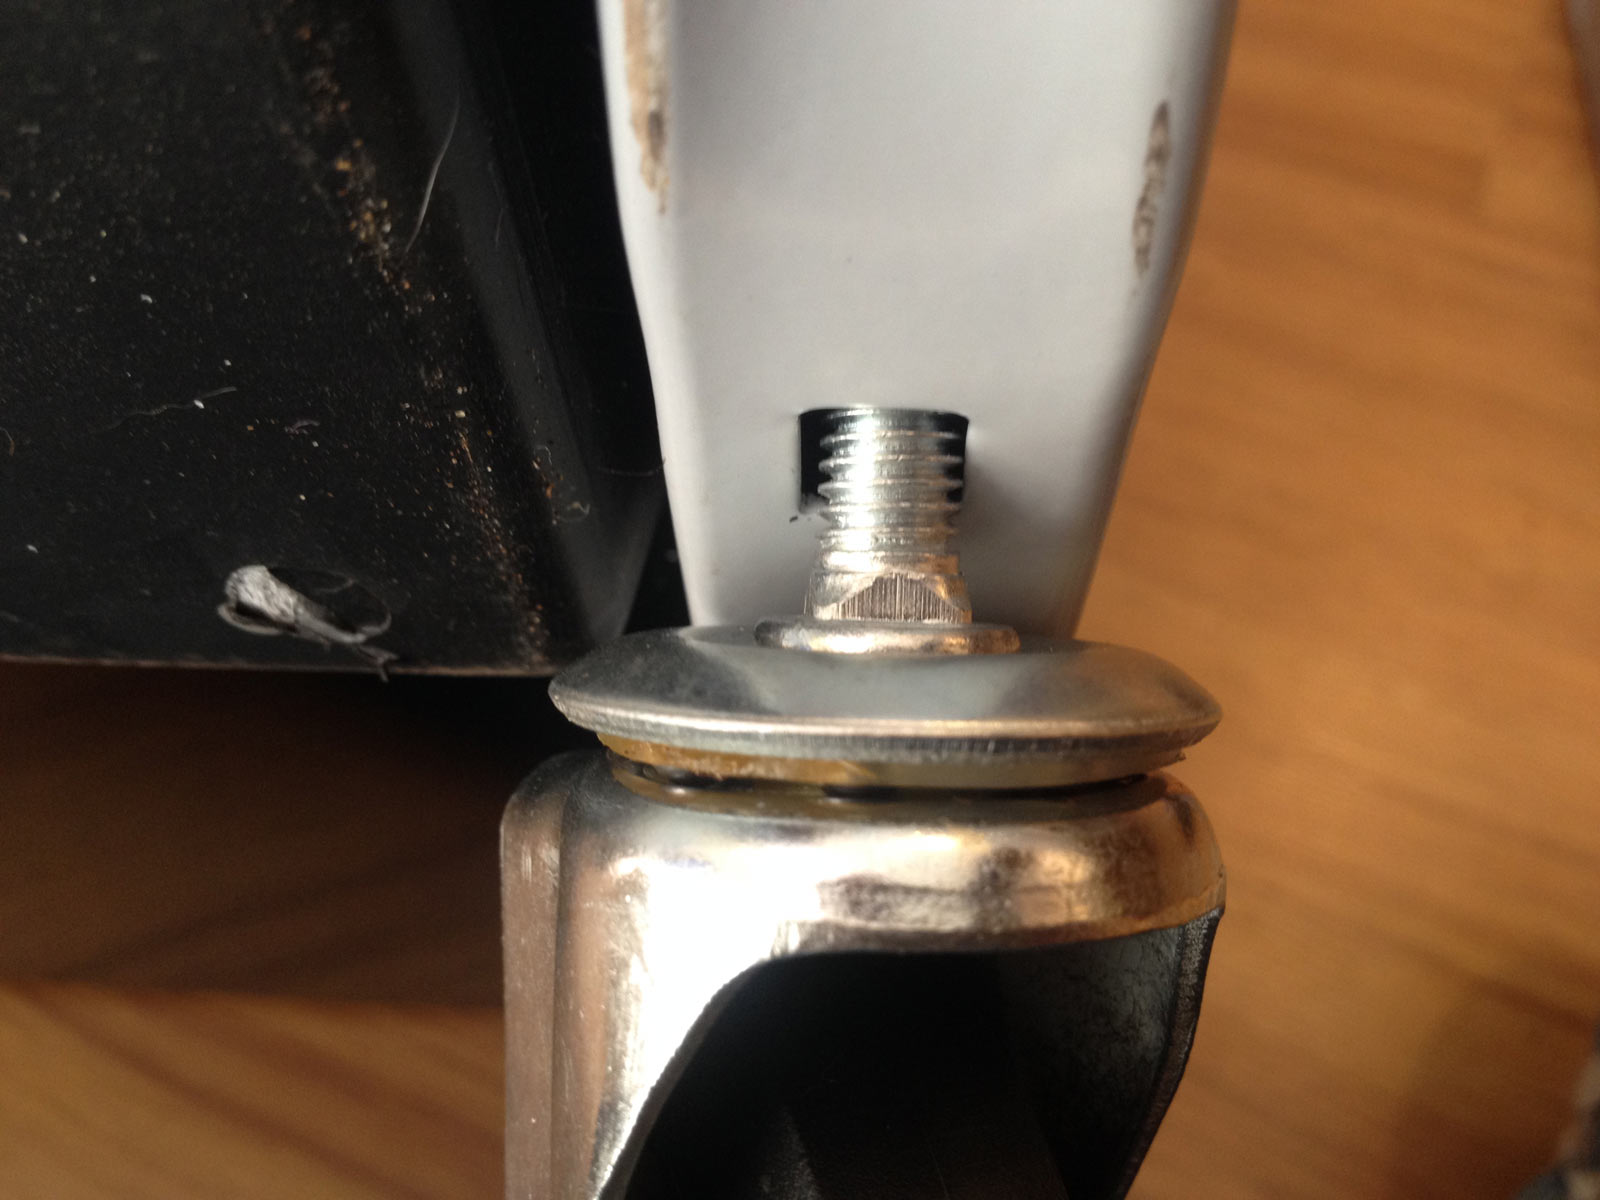
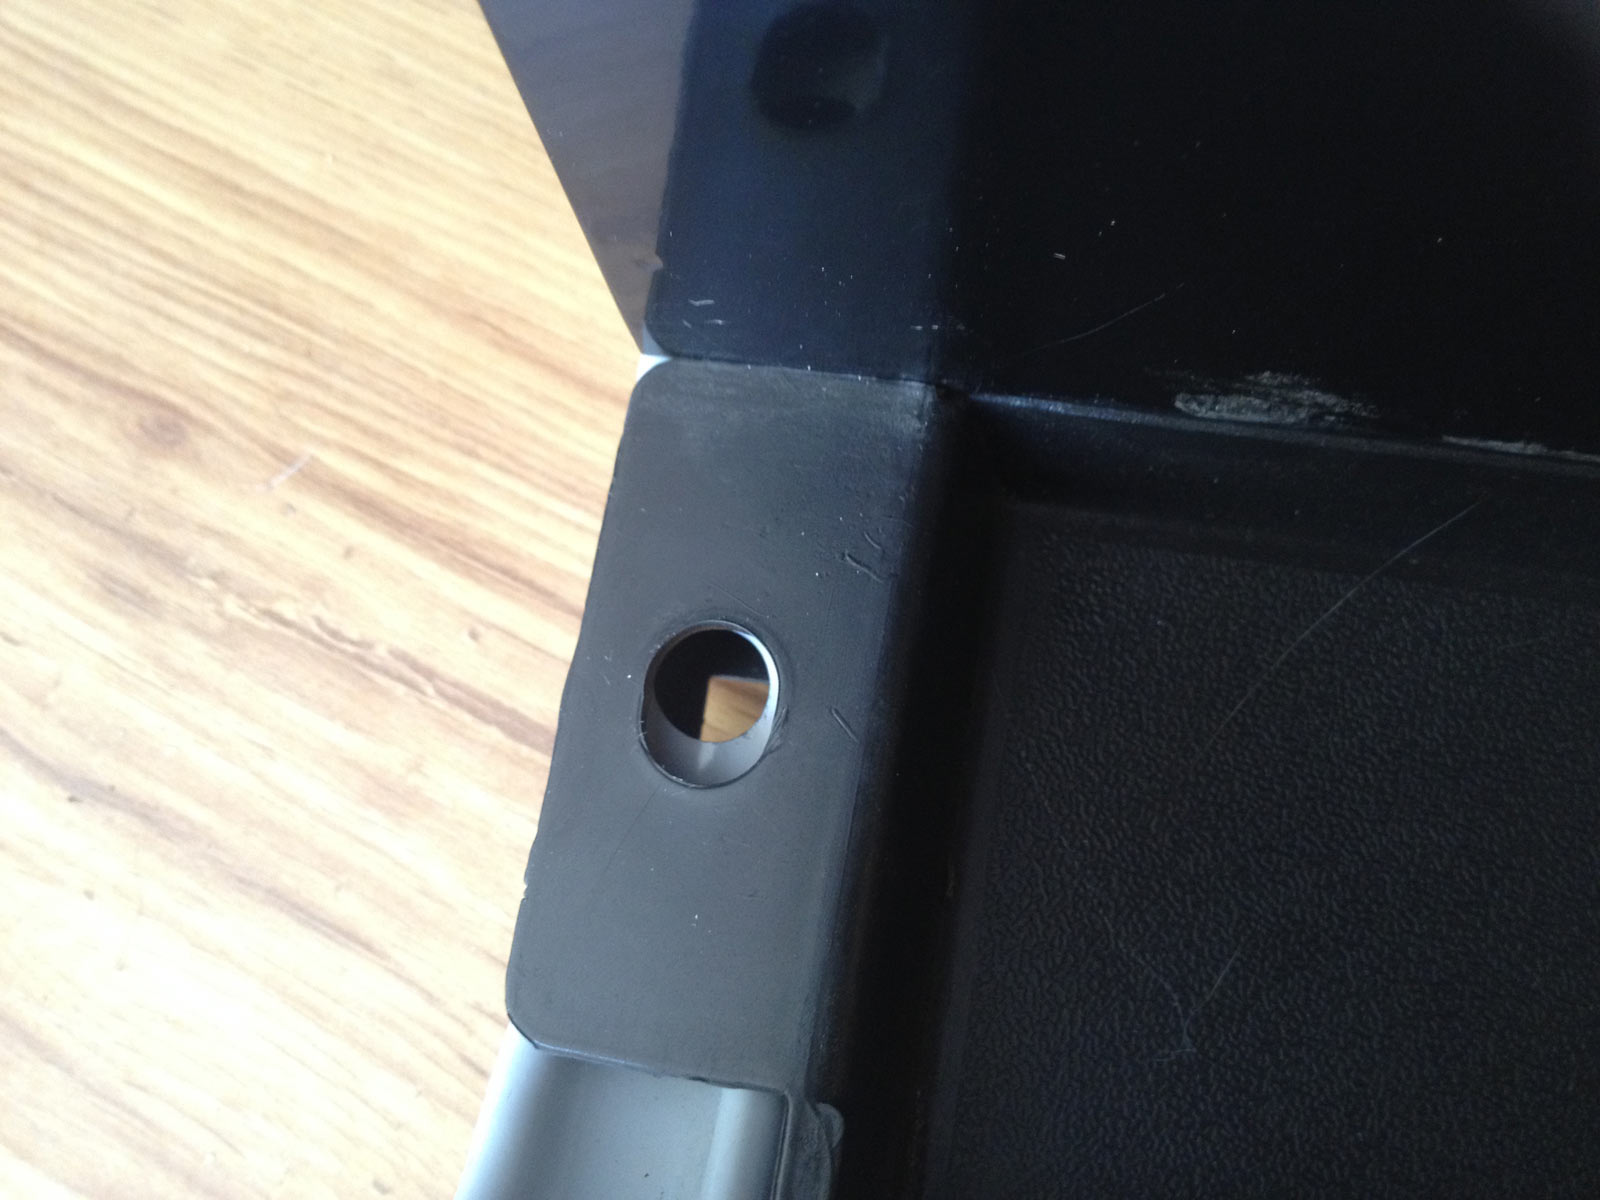
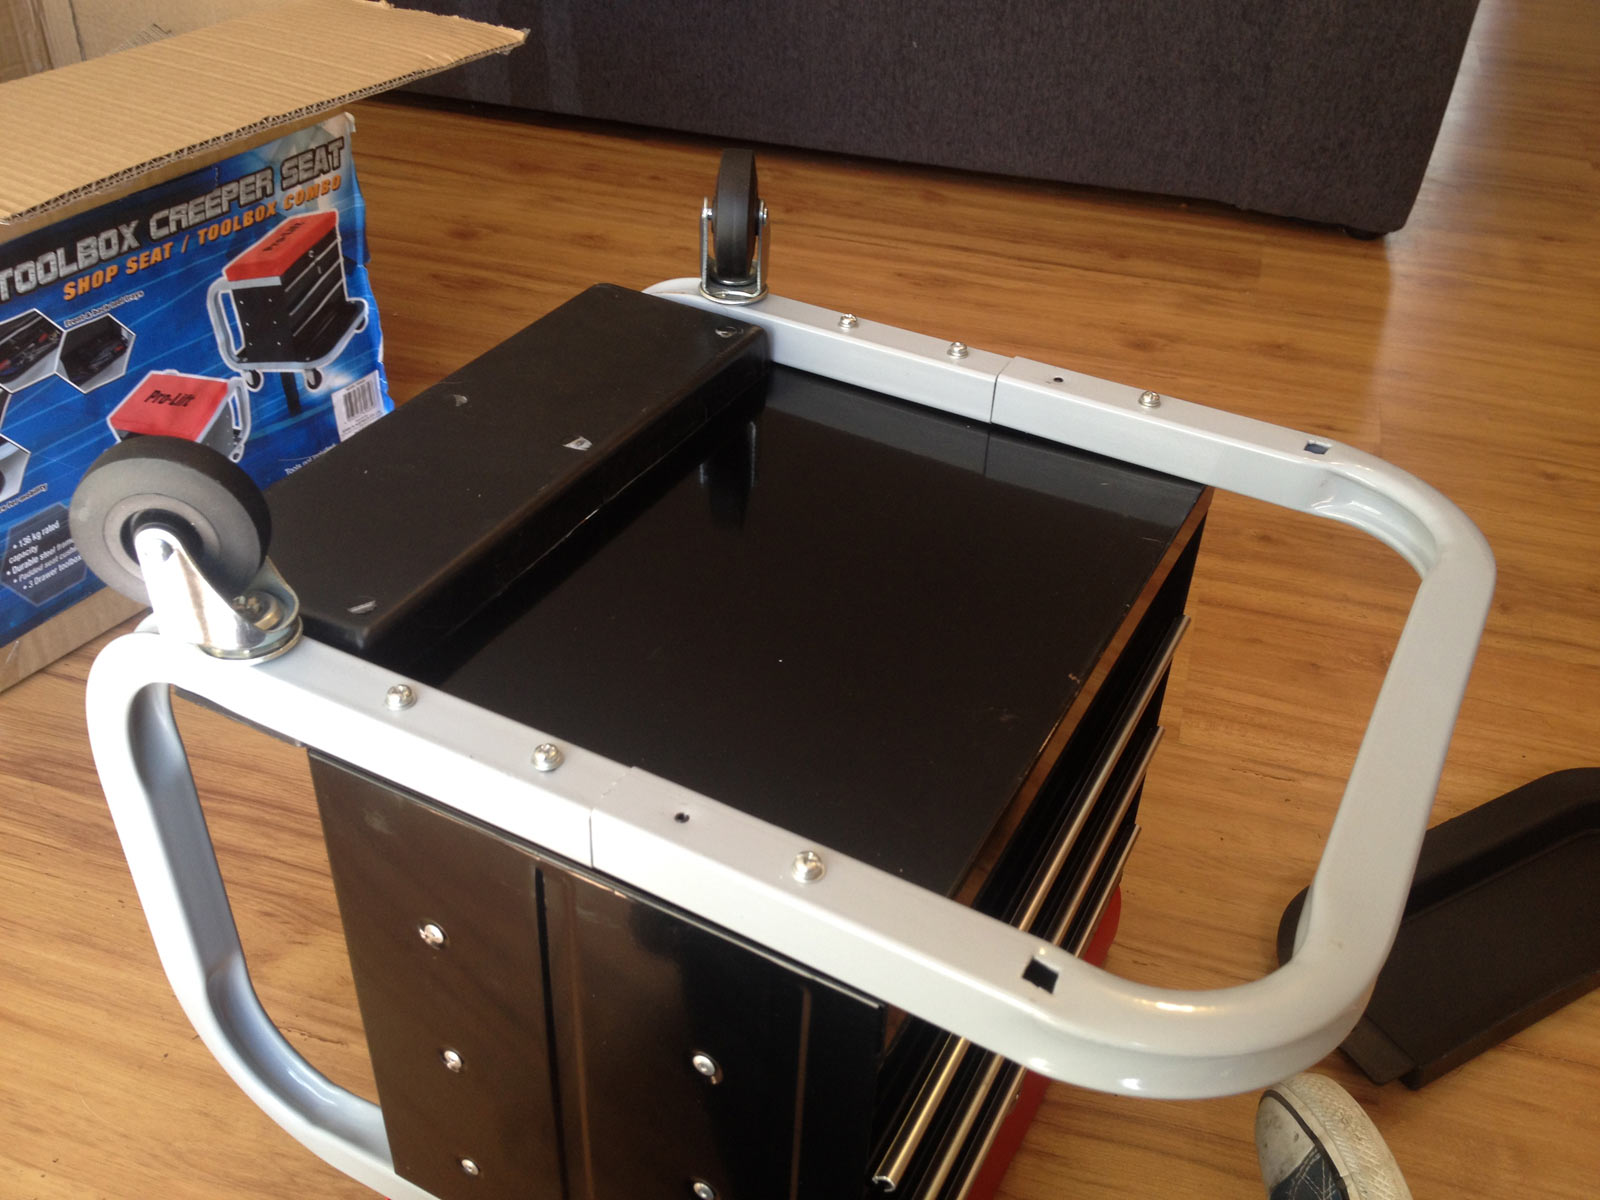
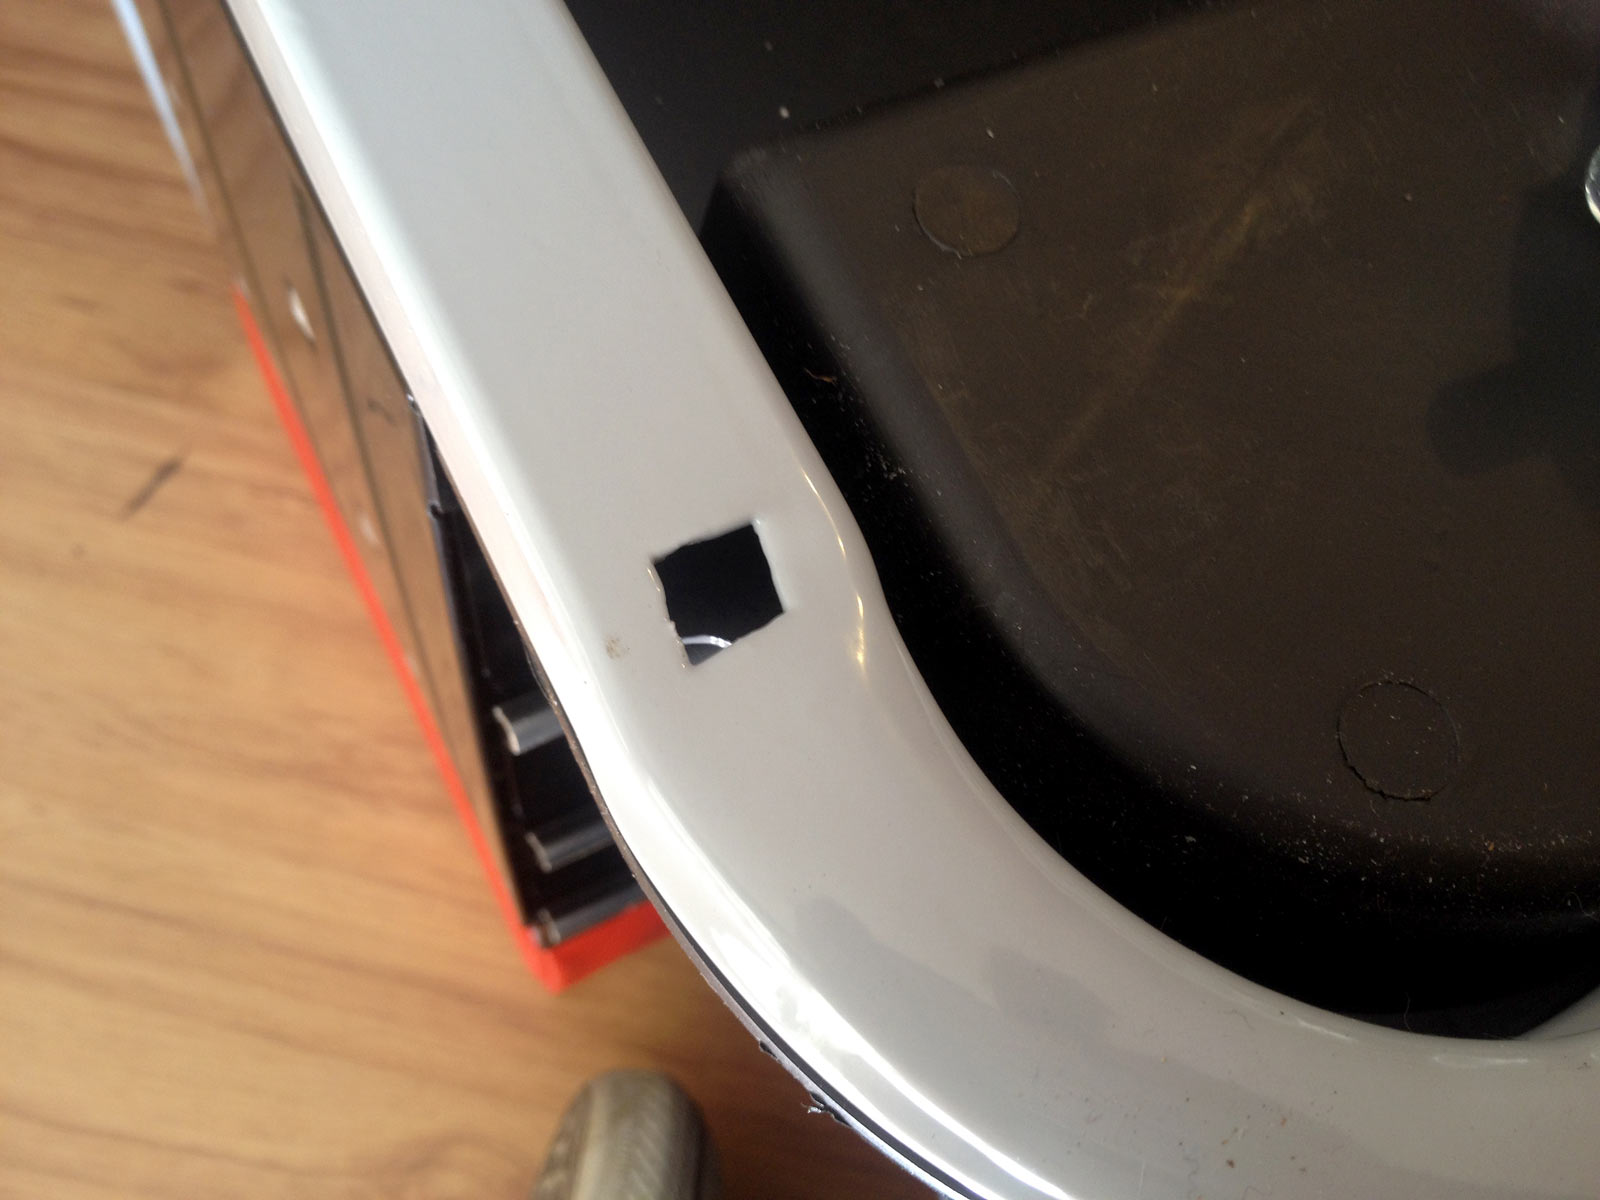
Castors sit into these square holes, which is good. The castor tops are these nice inserted collar things with an allen headed top. They also serve to hold in the tool trays.
Assembly is so simple, the dog got bored and went back to bed.
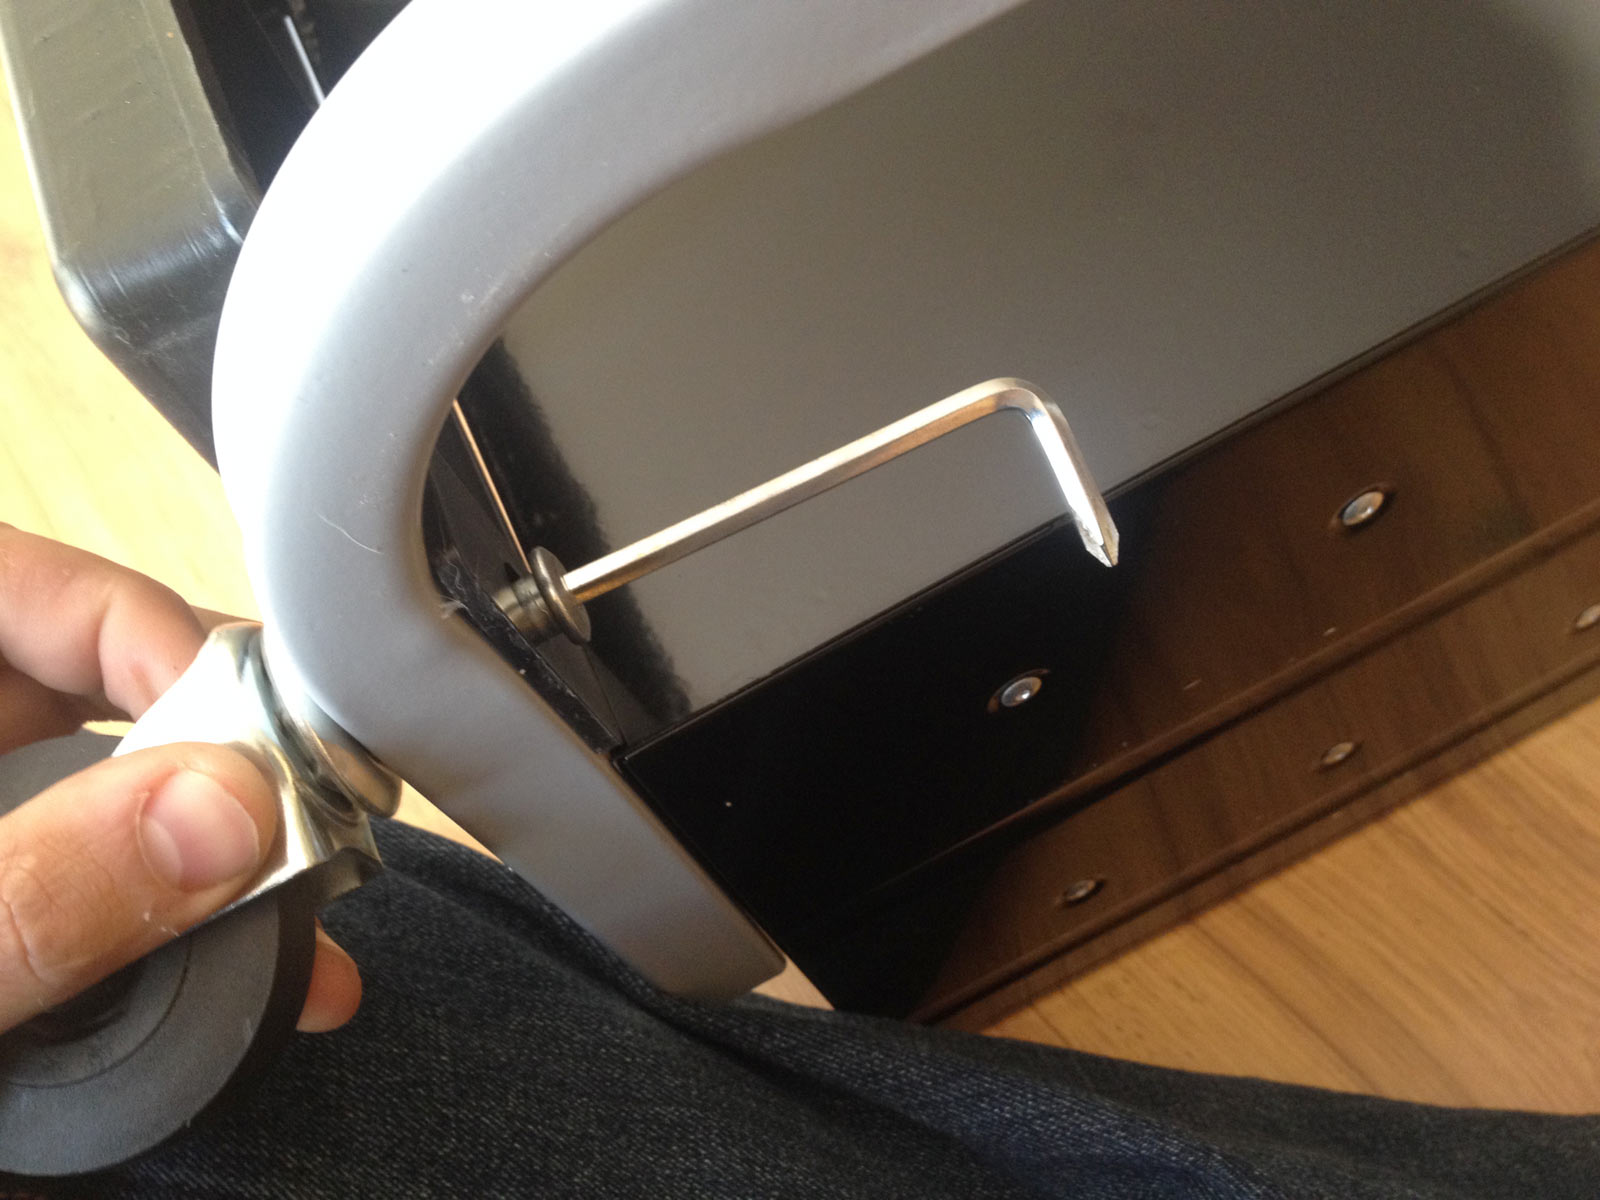
The second half of the frame has two little screws to locate it, and two longer screws which go into the nutserts.
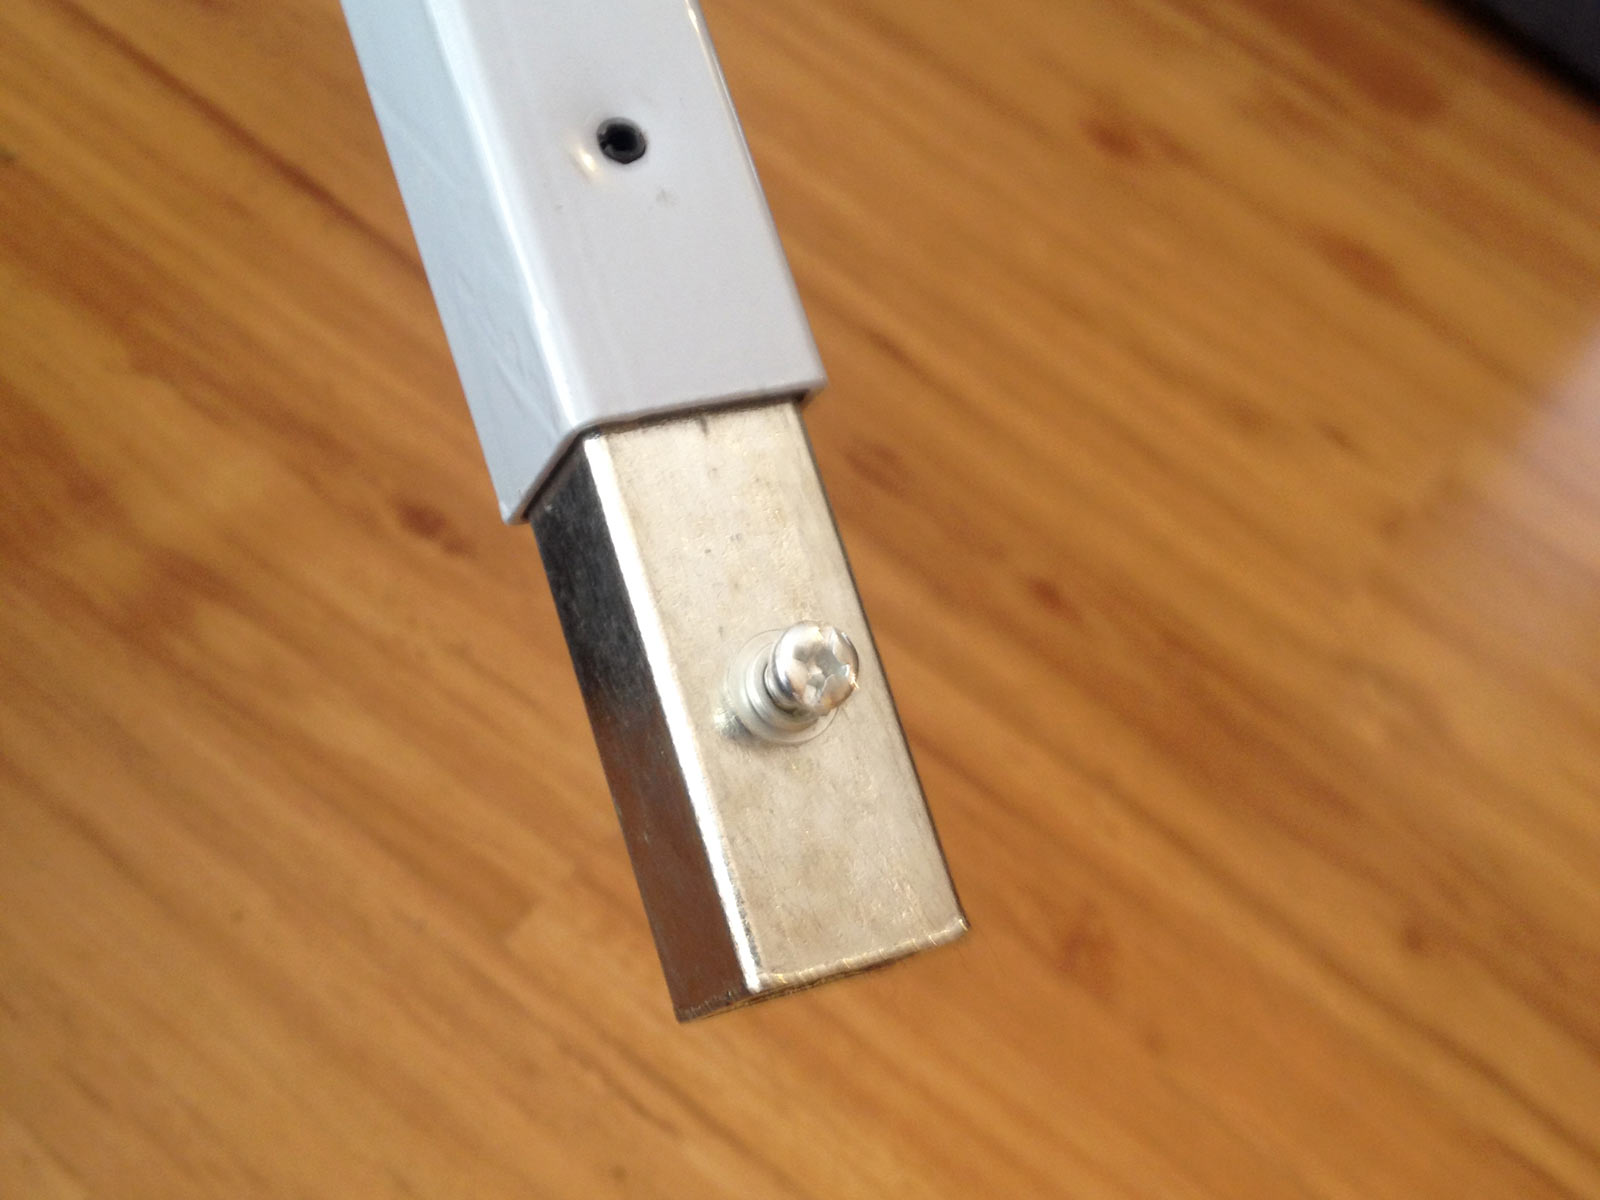
Of course, I’m not being literal about the longer screws going into the nutserts. Again some gentle encouragement is required as the precision by which they have drilled all of the holes may not be exactly what is required.
Still, it all goes together and that’s good.
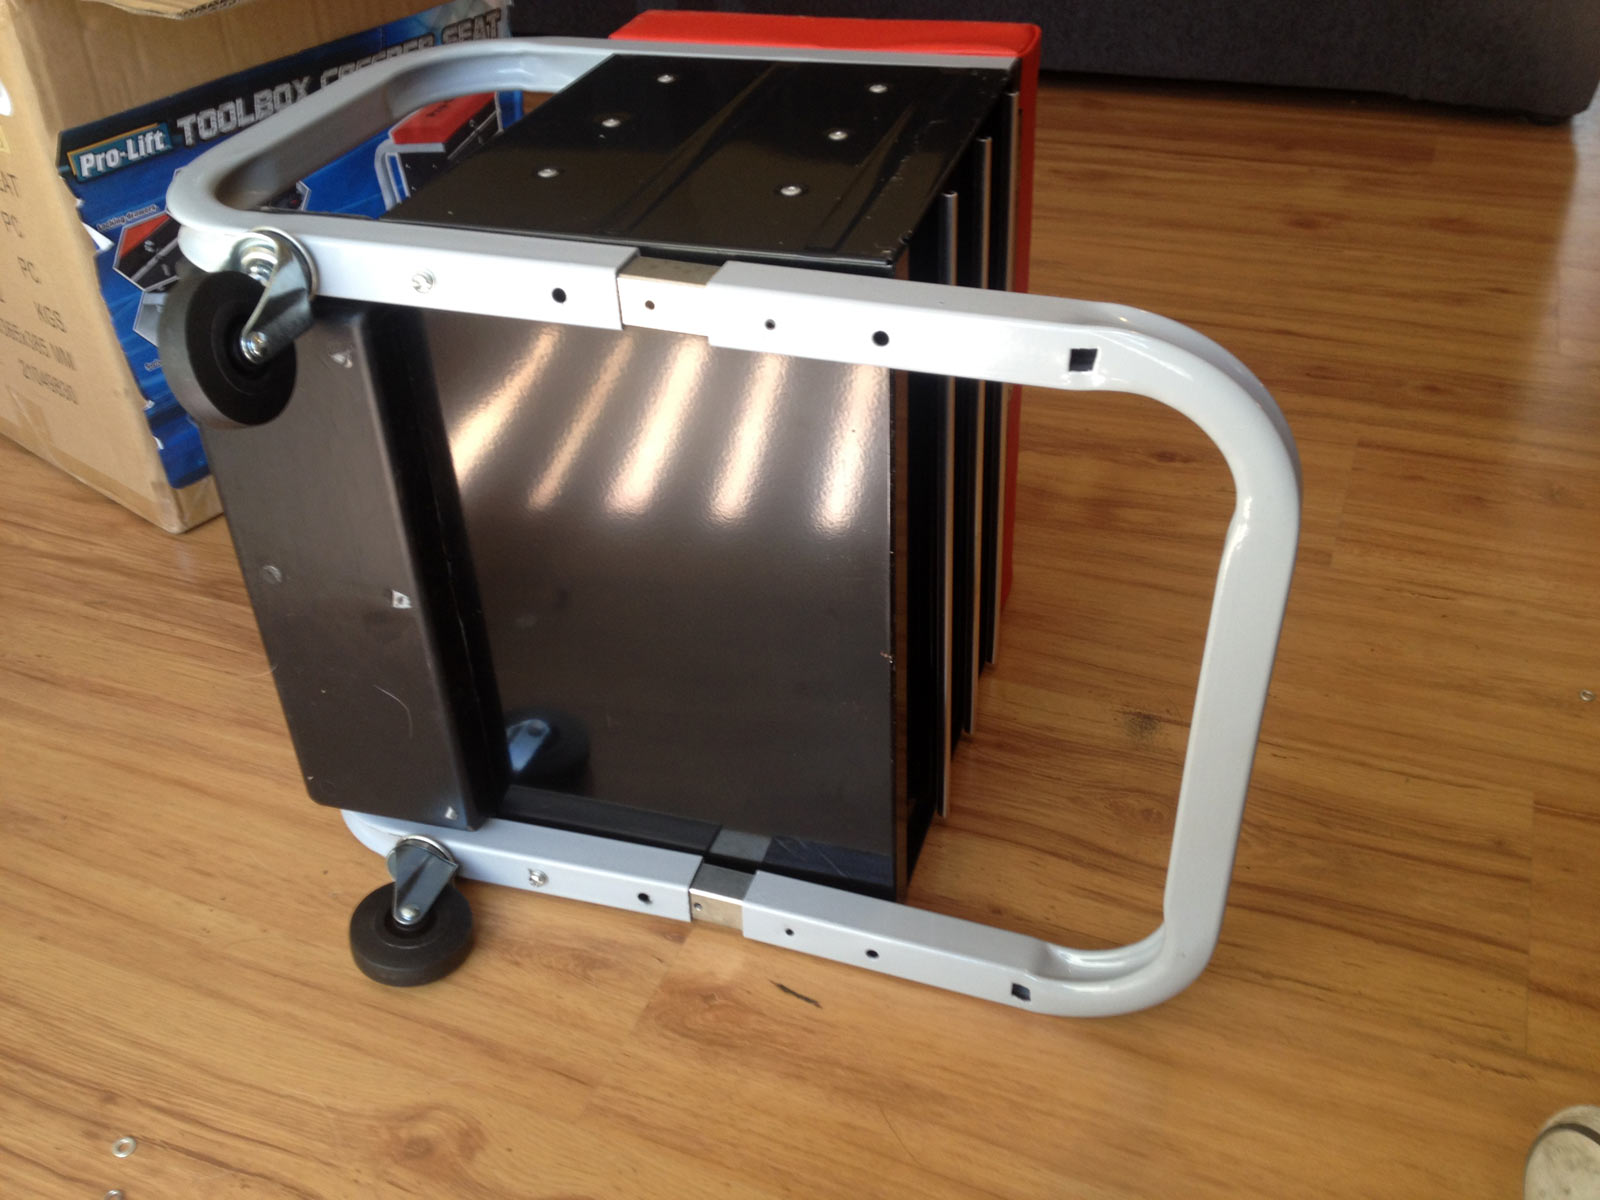
The square holes for this side of the frame aren’t exactly quite as square as the other ones… turns out punching a square hole then bending a bit of angle tubing doesn’t leave the square holes square. They do retain the castors still though.
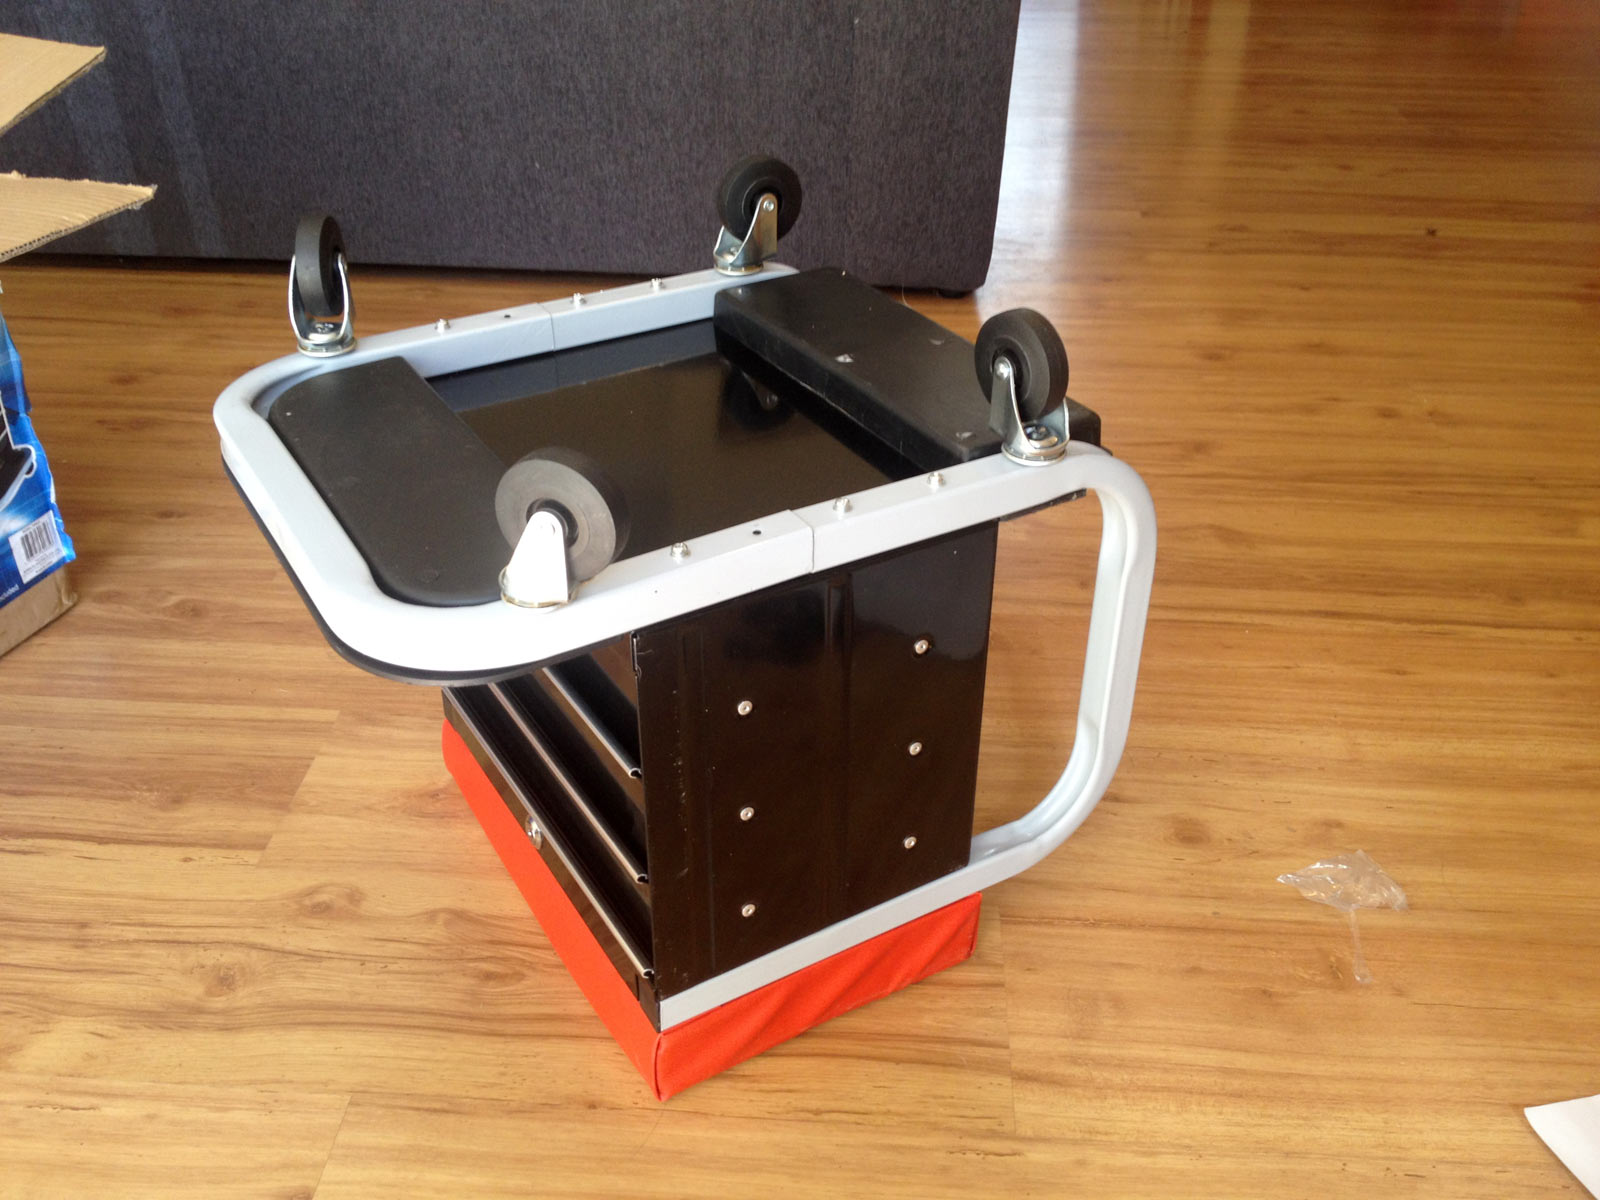
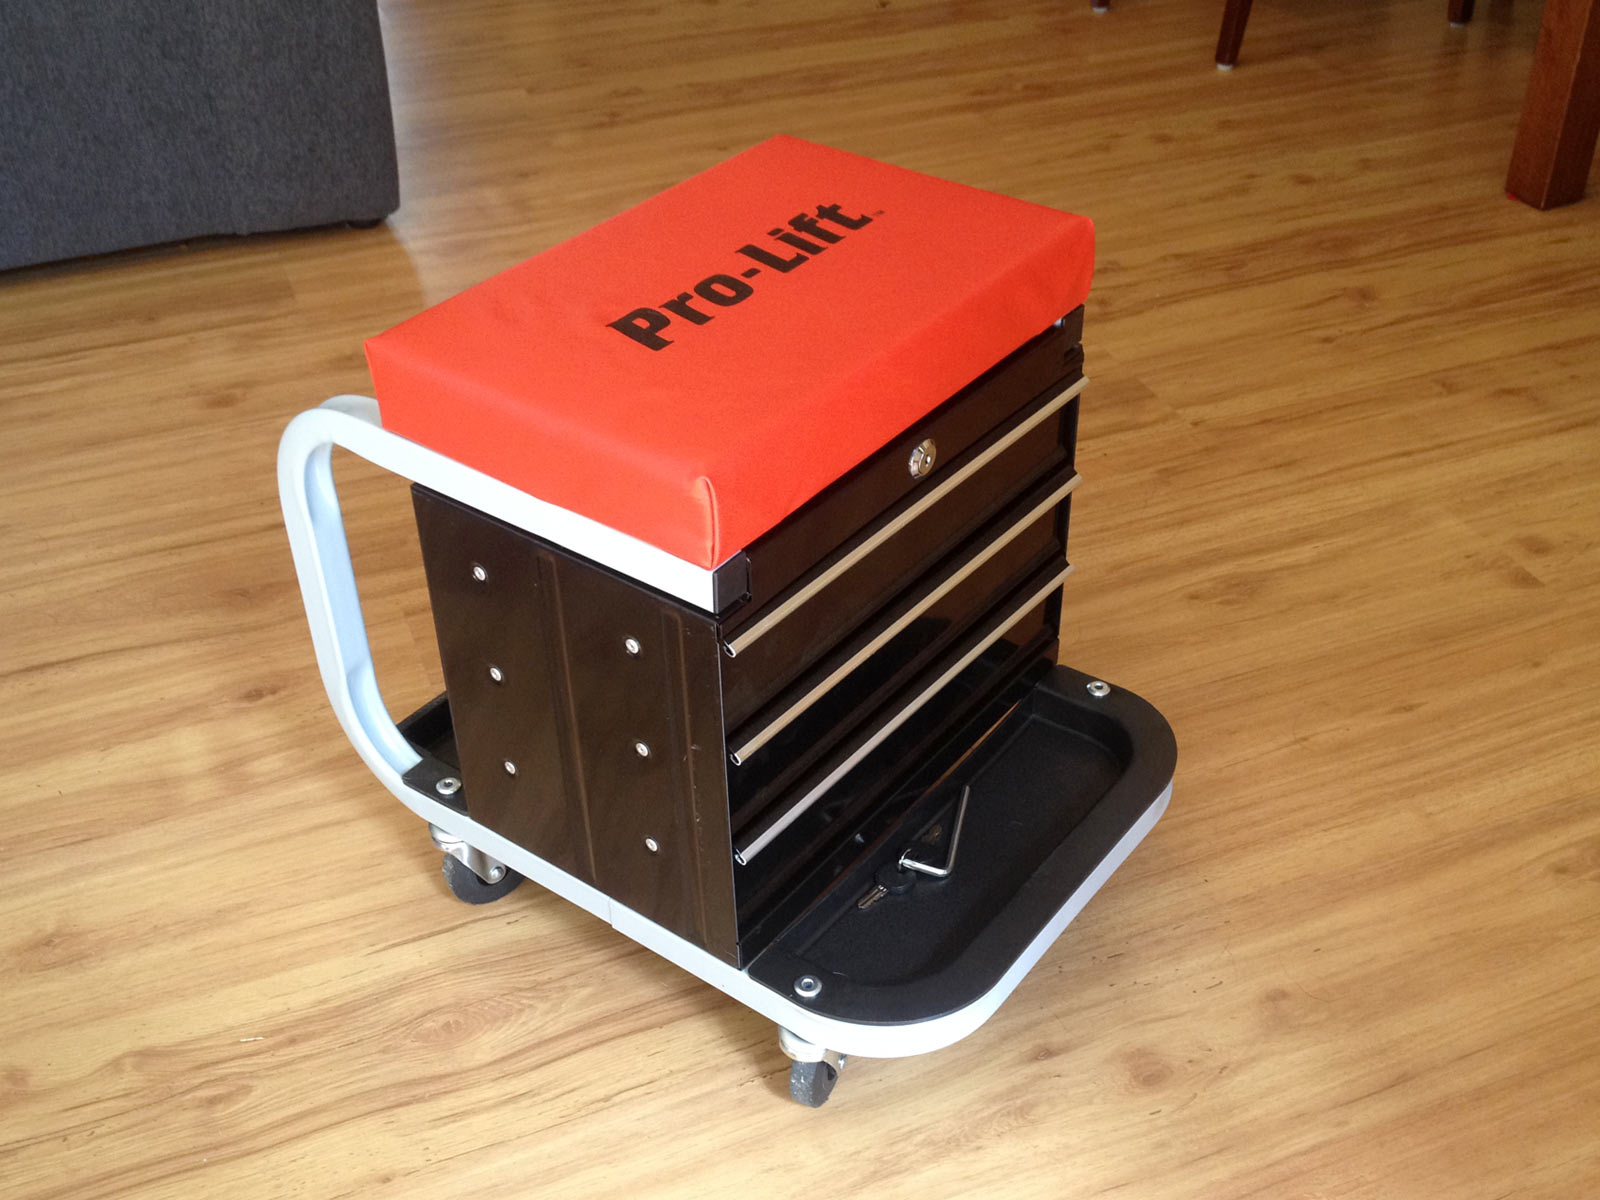
With that, job done, and you can give the packing cardboard to the dog as a toy, and admire your fully constructed stoolbox.
The final thing though… how does it roll? Excellently.