
Foldable motorbike work bench

Want to work on your bike, sick of working on the floor but no room for a permanent work bike? In one day I whipped up this folding one. Realistically it’d be 2 days as I had a few man-hours from Charlie added in too… but we were also designing as we went, so there’s probably some efficiencies to be gained by doing what we did rather than winging it. Achievable by anyone who can make birdshit welds using a cheap MIG welder and has good grinding skills. (New TGR motto: behind every good weld is a better grinder).
Design
The original concept I had was something with removable legs, and hinged in the middle using plates of steel welded beneath each ‘side’ of the hinge.
What we ended up with has hinge elements whipped up on the lathe and legs that fully fold away (and lock – with some bolts) into their respective sides. Folded up, it is even smaller than I envisaged. Weight wise it isn’t portable, though the metal frame without the wood top is surprisingly light.
Mine is built to be just long enough for my Monster, and just wide enough for its rear stand. Longer bikes or with different stands and you’d probably want to make yours bigger.
Things to consider: ways to stabilise the legs from collapsing sideways and also forwards and backwards. We made the leg pairs tied together to hold them sideways and used simple strap steel stays for fore-aft stability, but there’s other ways to skin the cat. If you build it upside-down and do all the hingework that way then it should positively erect into a perfect shape (that’s what she said).
Materials
- 14+ m of 50×25 mm RHS. I bought in 16 m, I ended up with 2 m left over.
- 50 mm strap steel x 180 mm or so. This is to make up caps/feet on the legs.
- 2 m of 25 mm strap.
- 3x M10 threaded rod + 6 nuts.
- 12 x M8x60 mm bolts + nuts.
- Sheet of wood to cap, I’ll be trimming down 2.4 x 1.2 m x 12 mm ply for this.
- MIG +/- TIG. TIGged the caps on the legs to make feet, the rest was MIG welded.
Construction
First steps
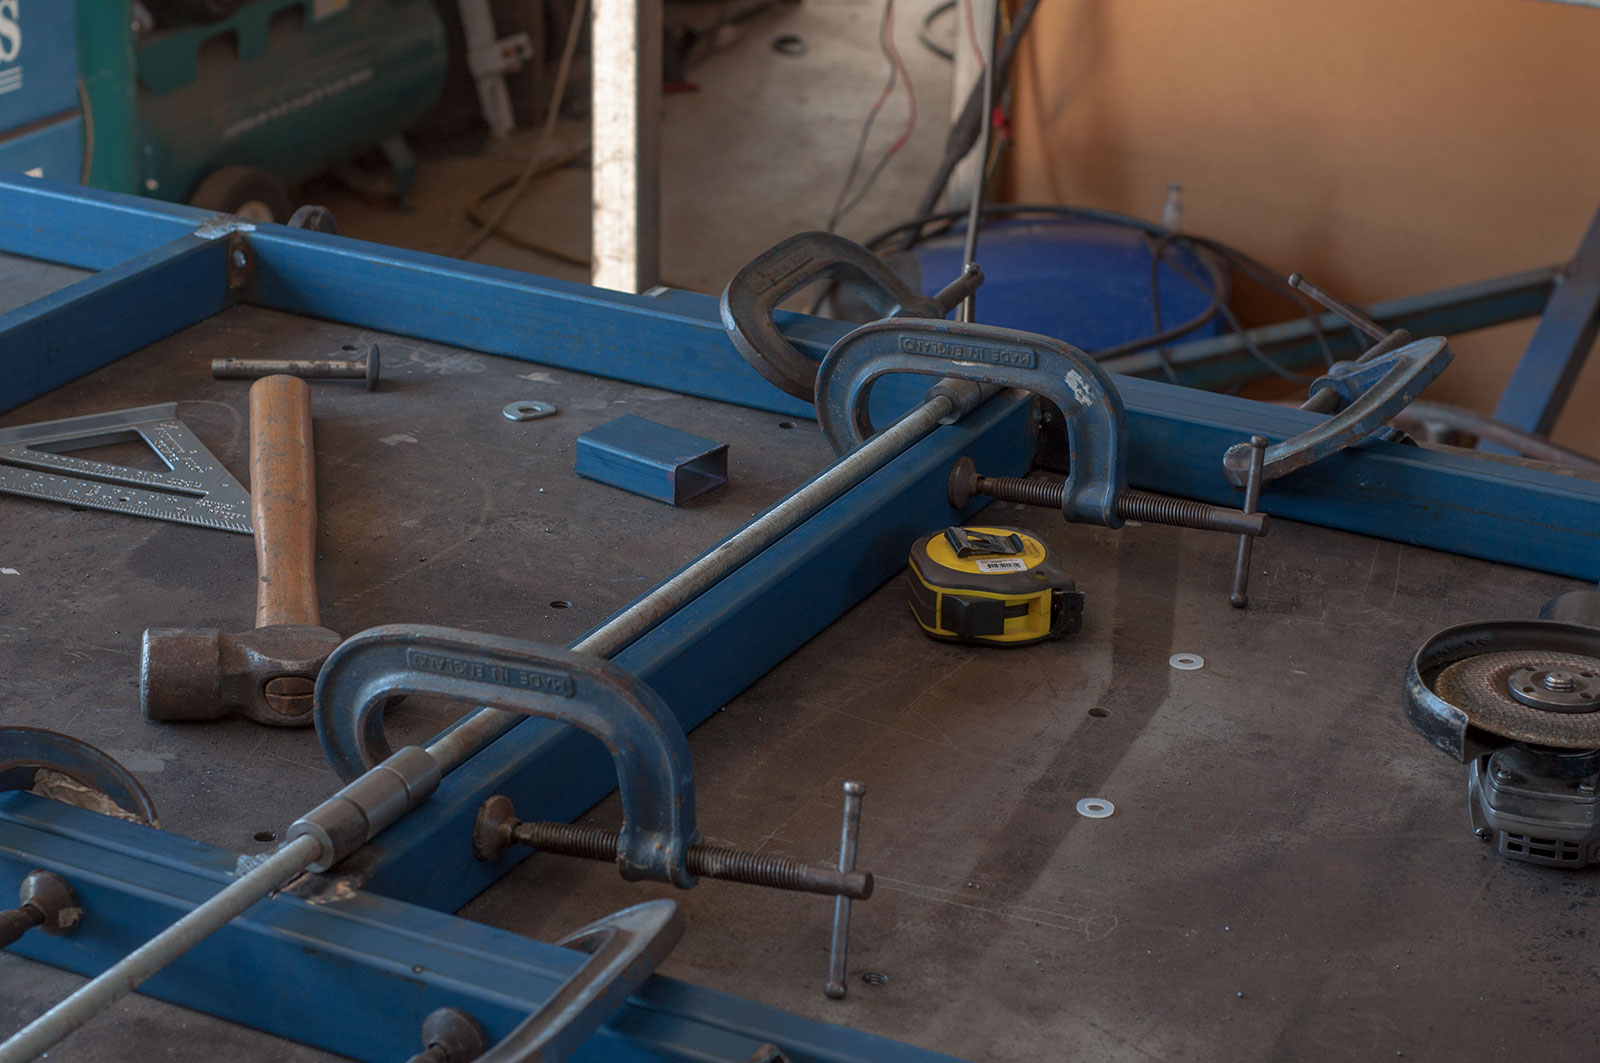
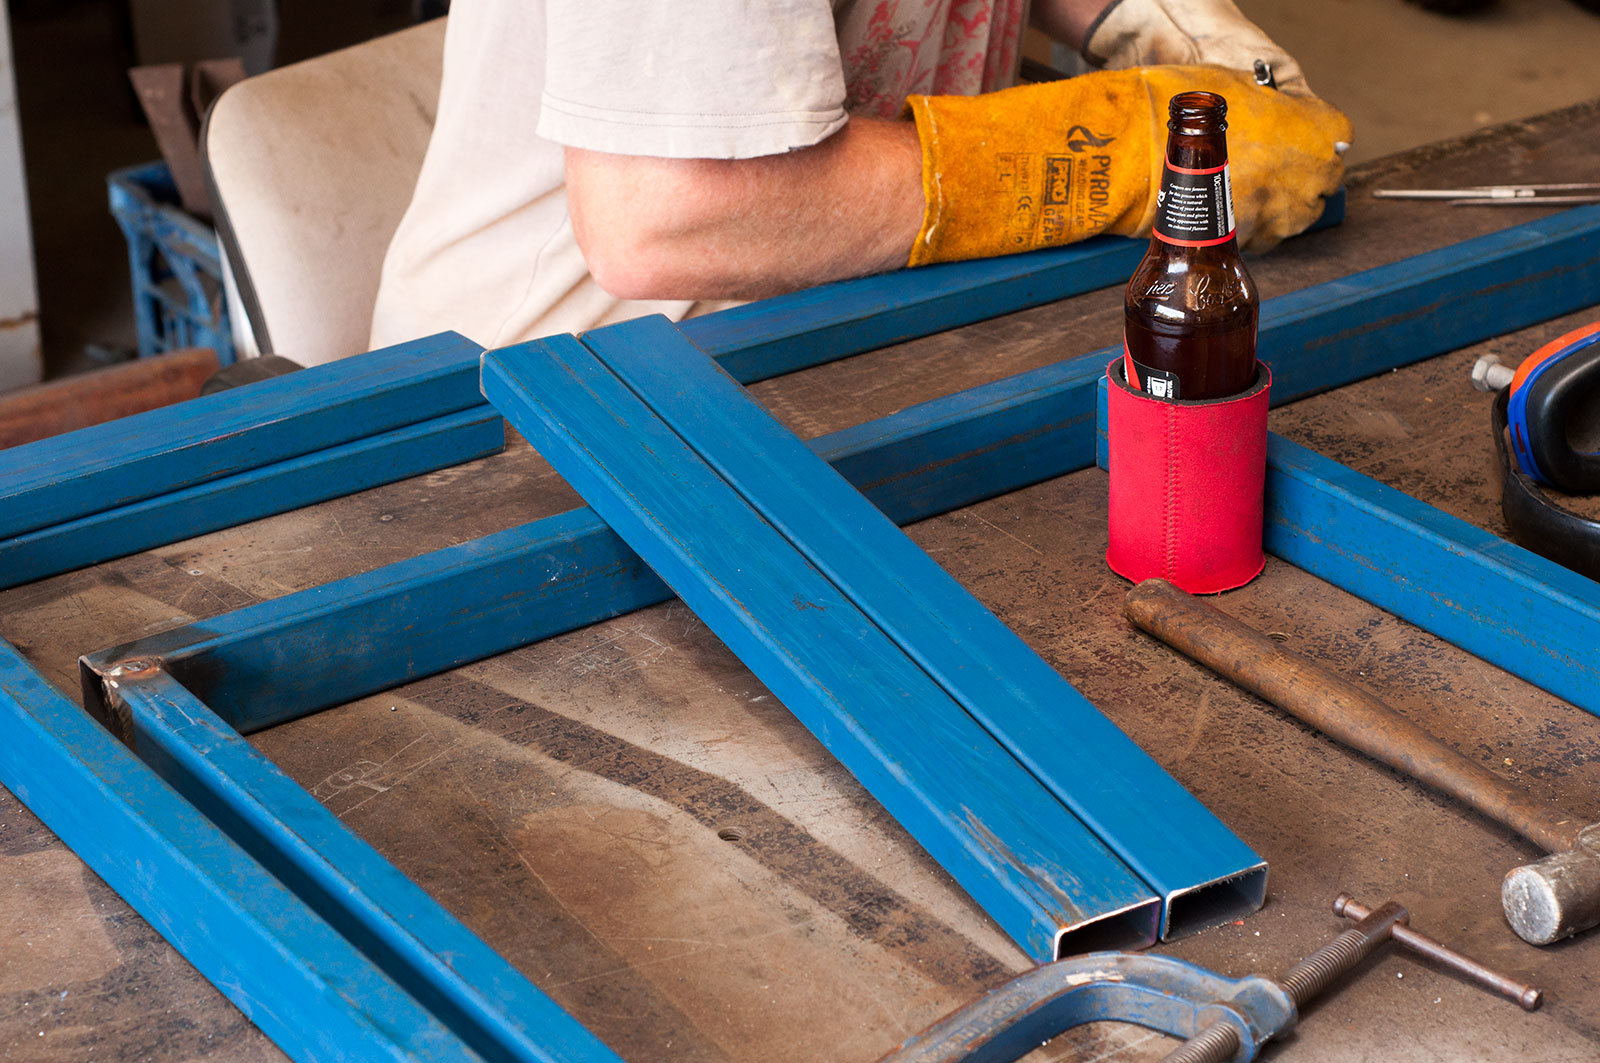
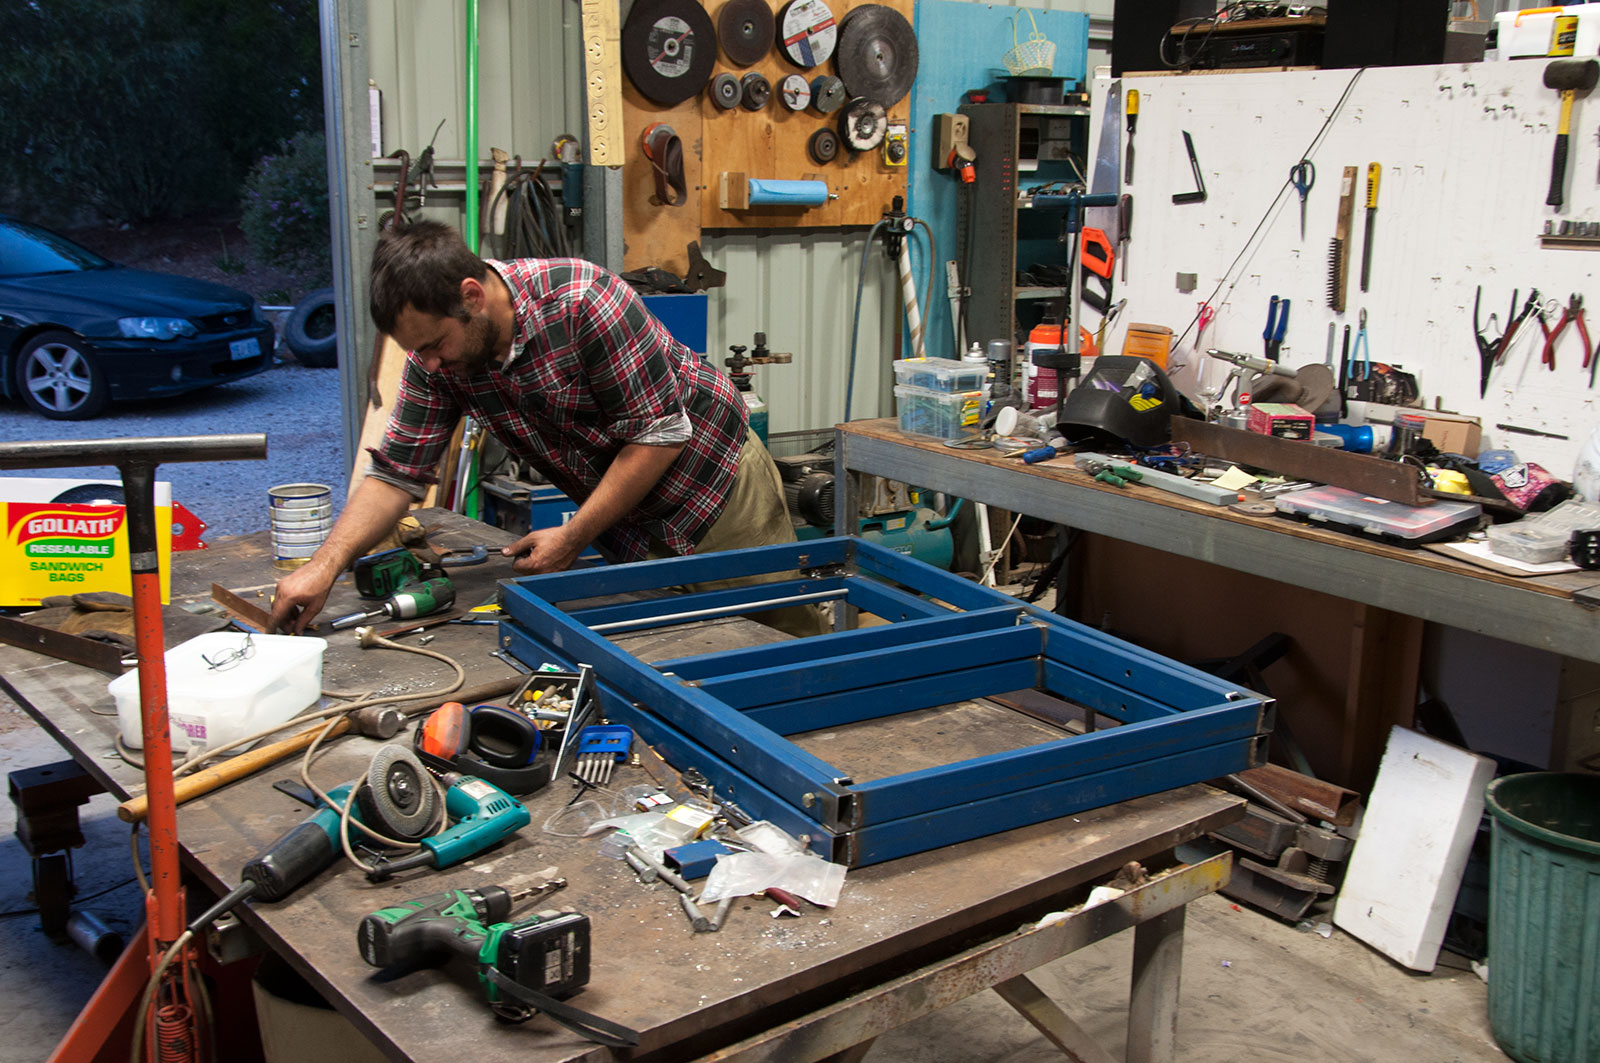
First up, the most important part is a super flat surface to make this on. I was lucky to have Charlie’s awesome welding table to use but you could easily do this on a floor with enough clamps.
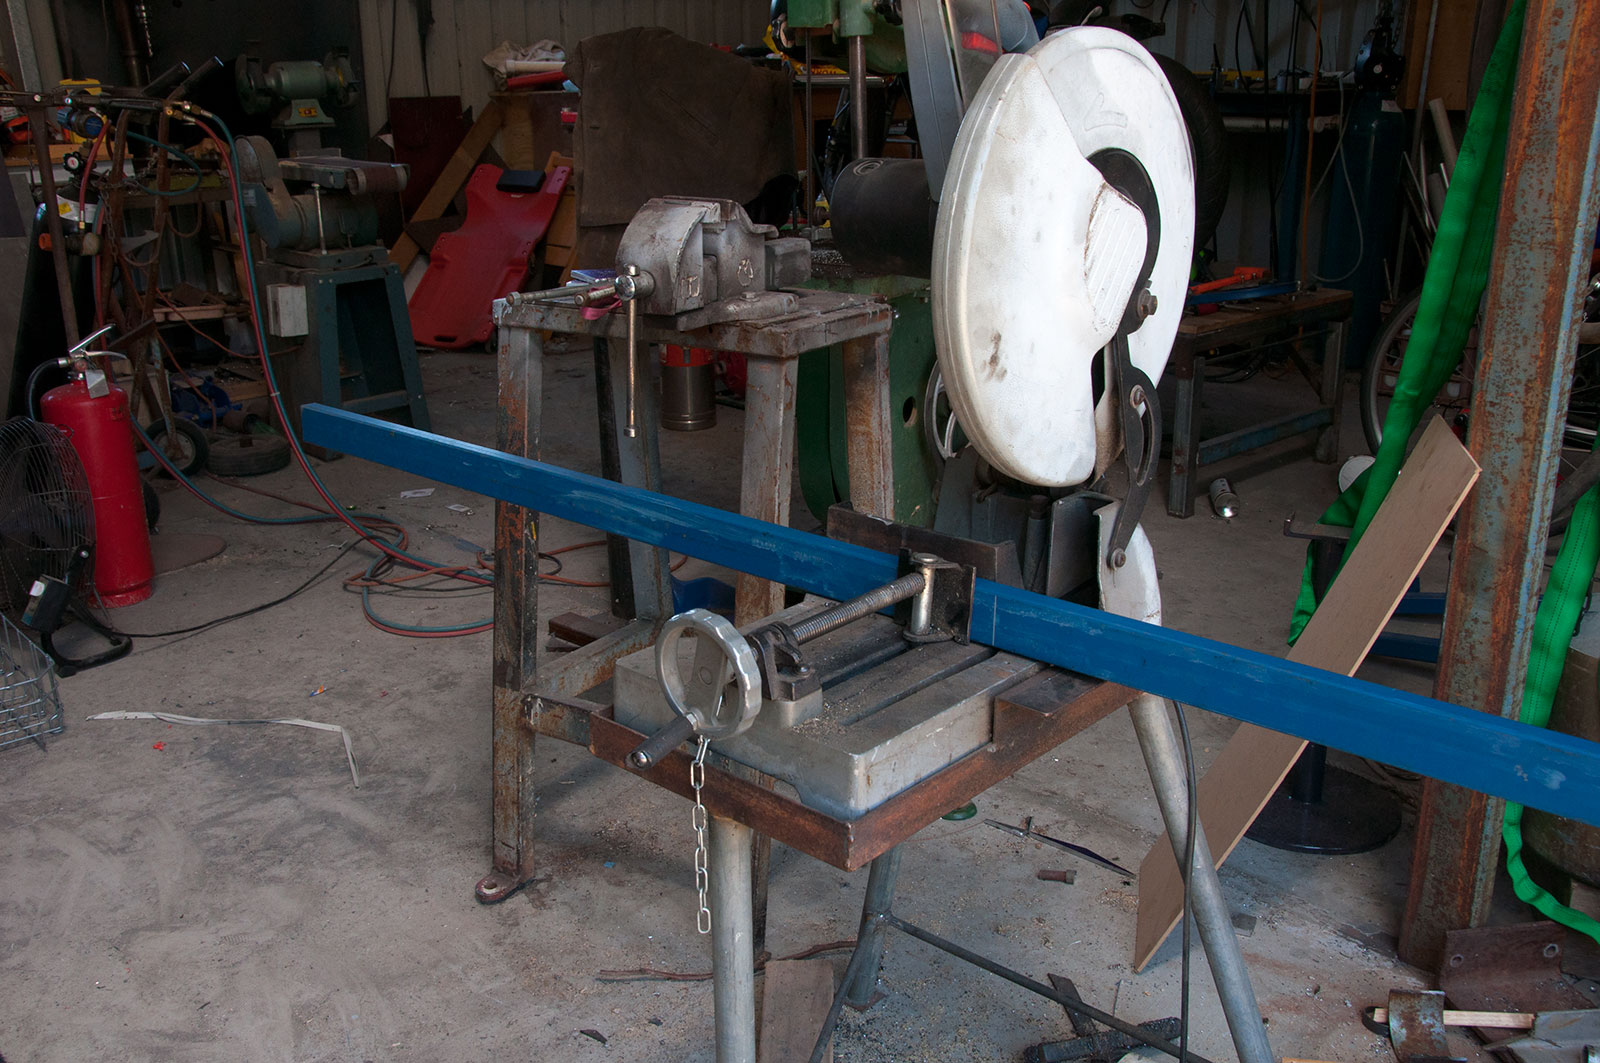
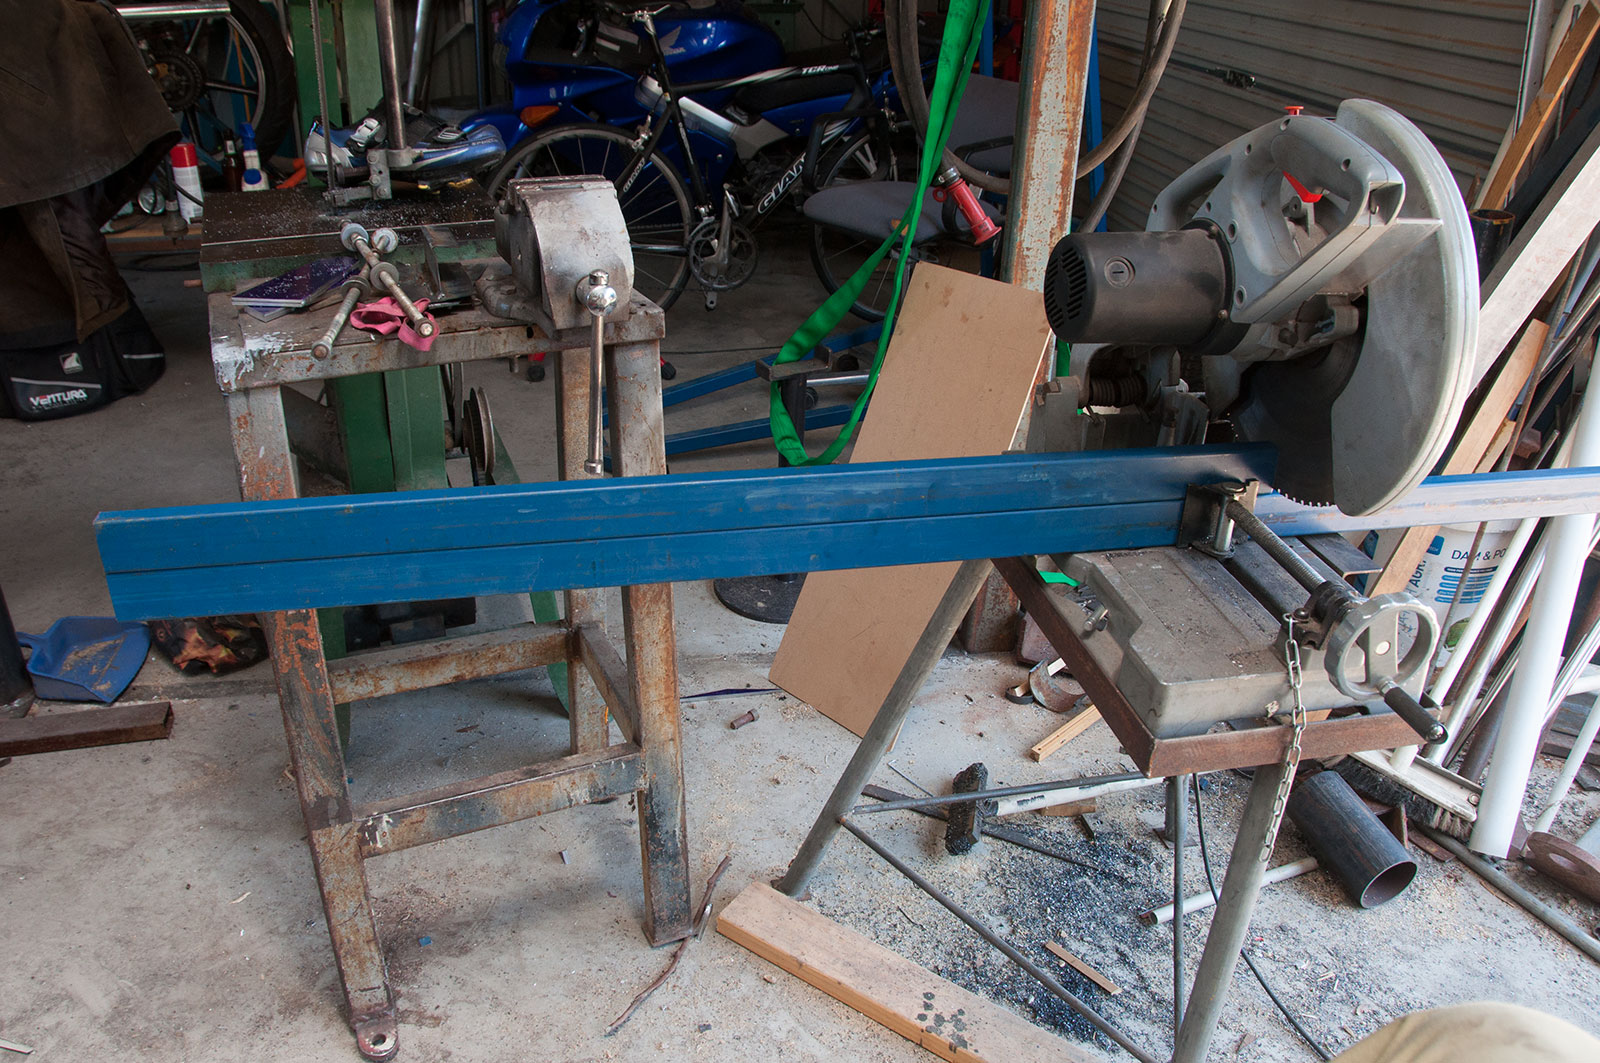
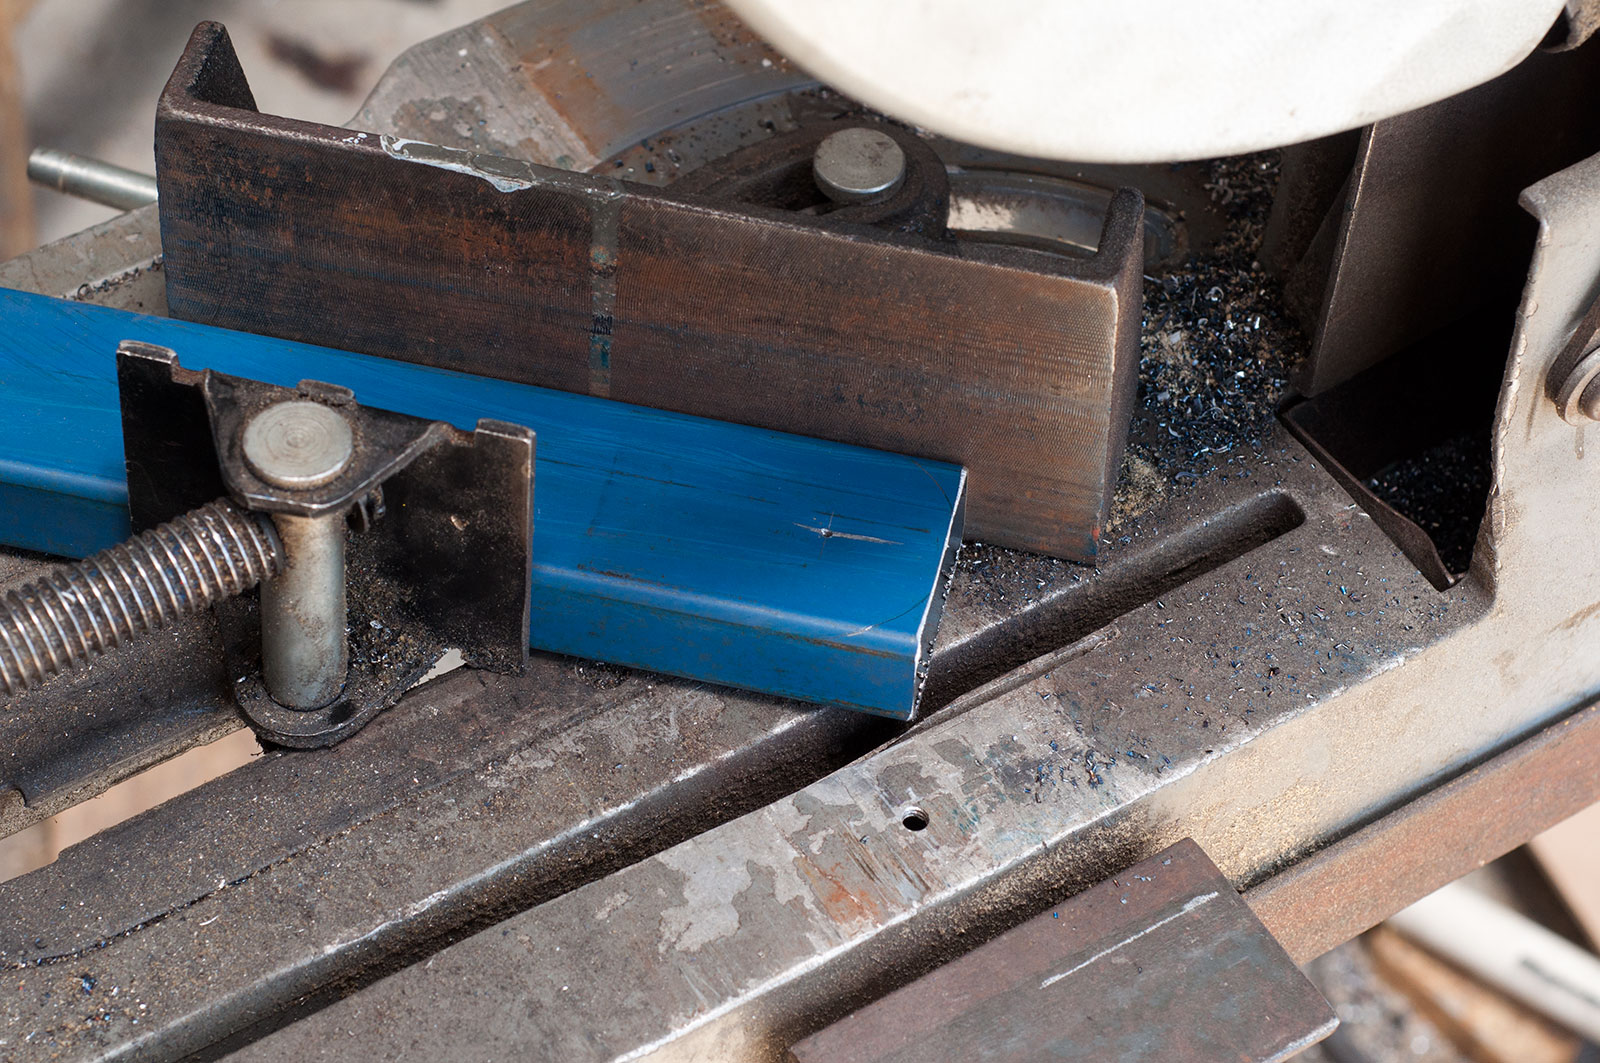
A drop saw makes this sort of stuff simple.
You’ll want a bit of support if you buy in 8m lengths like I did.
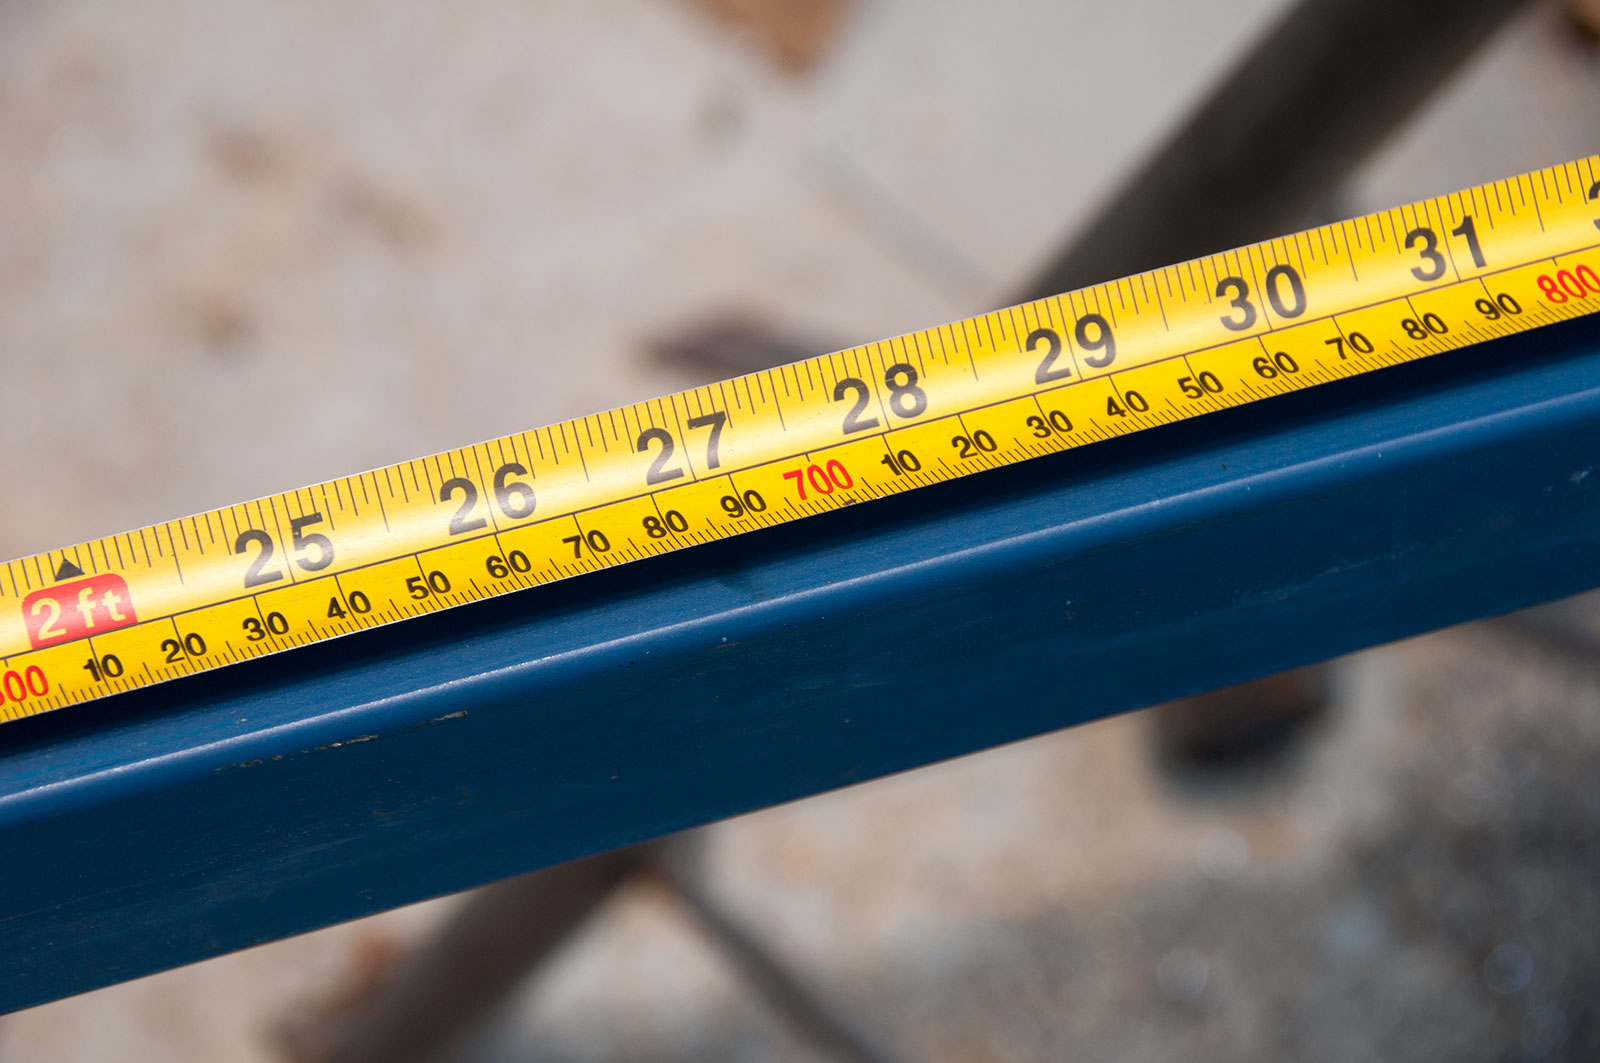
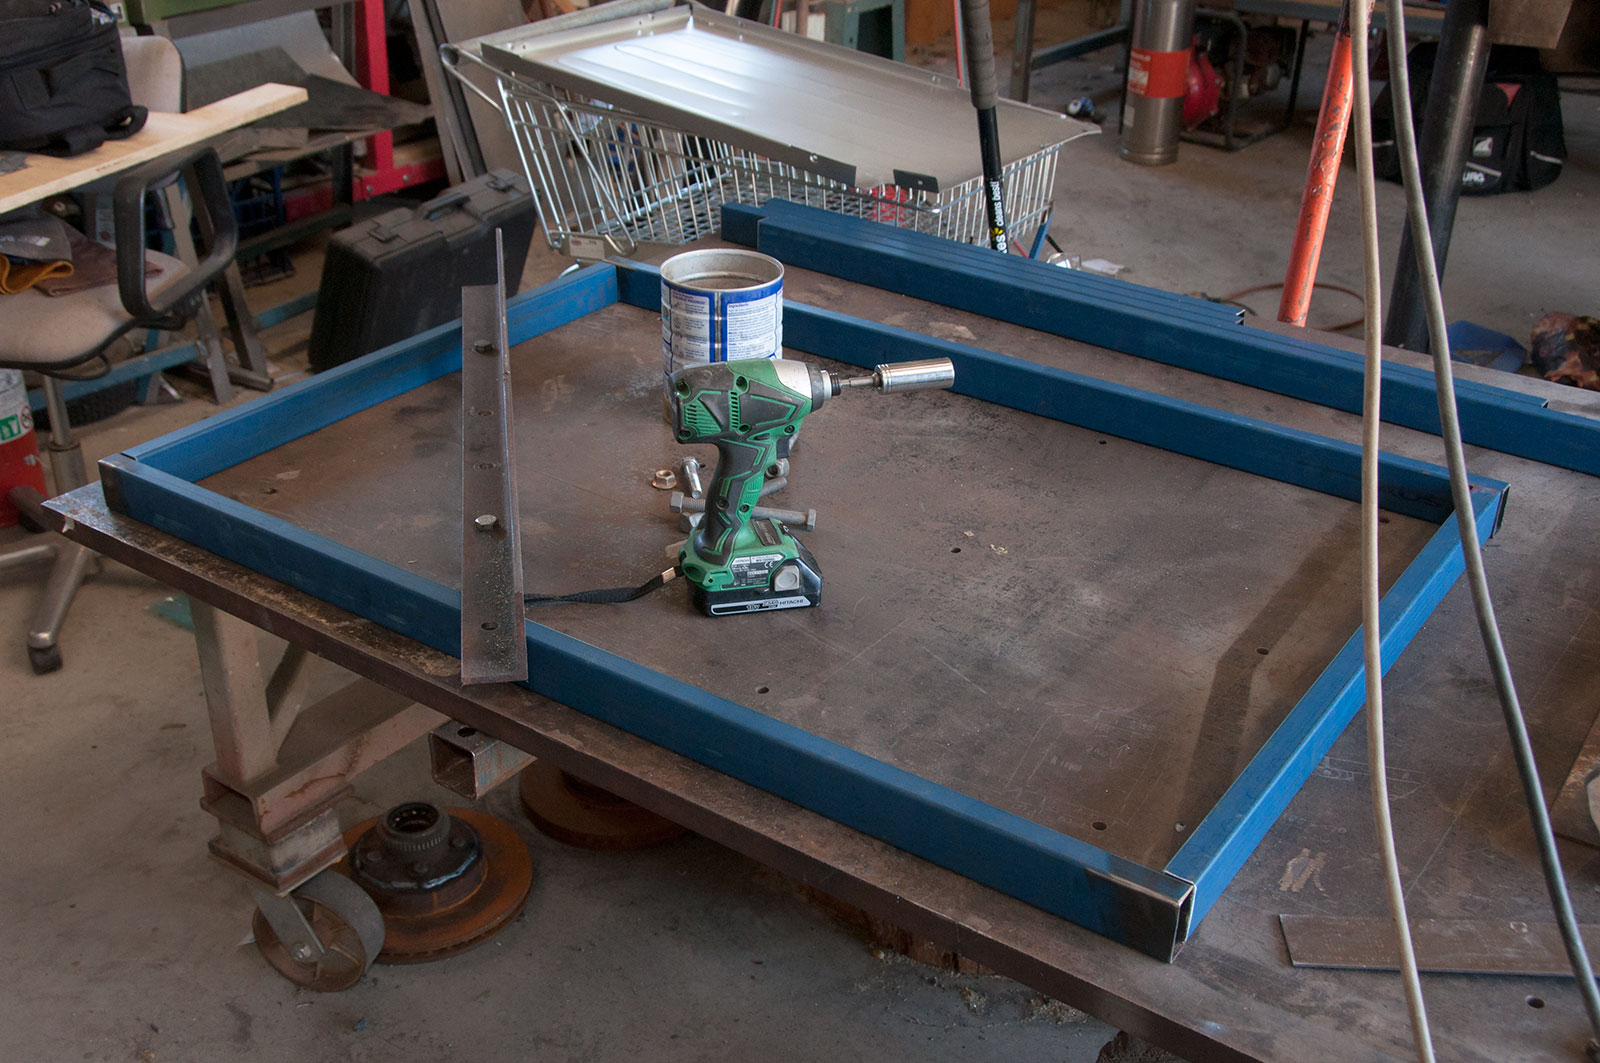
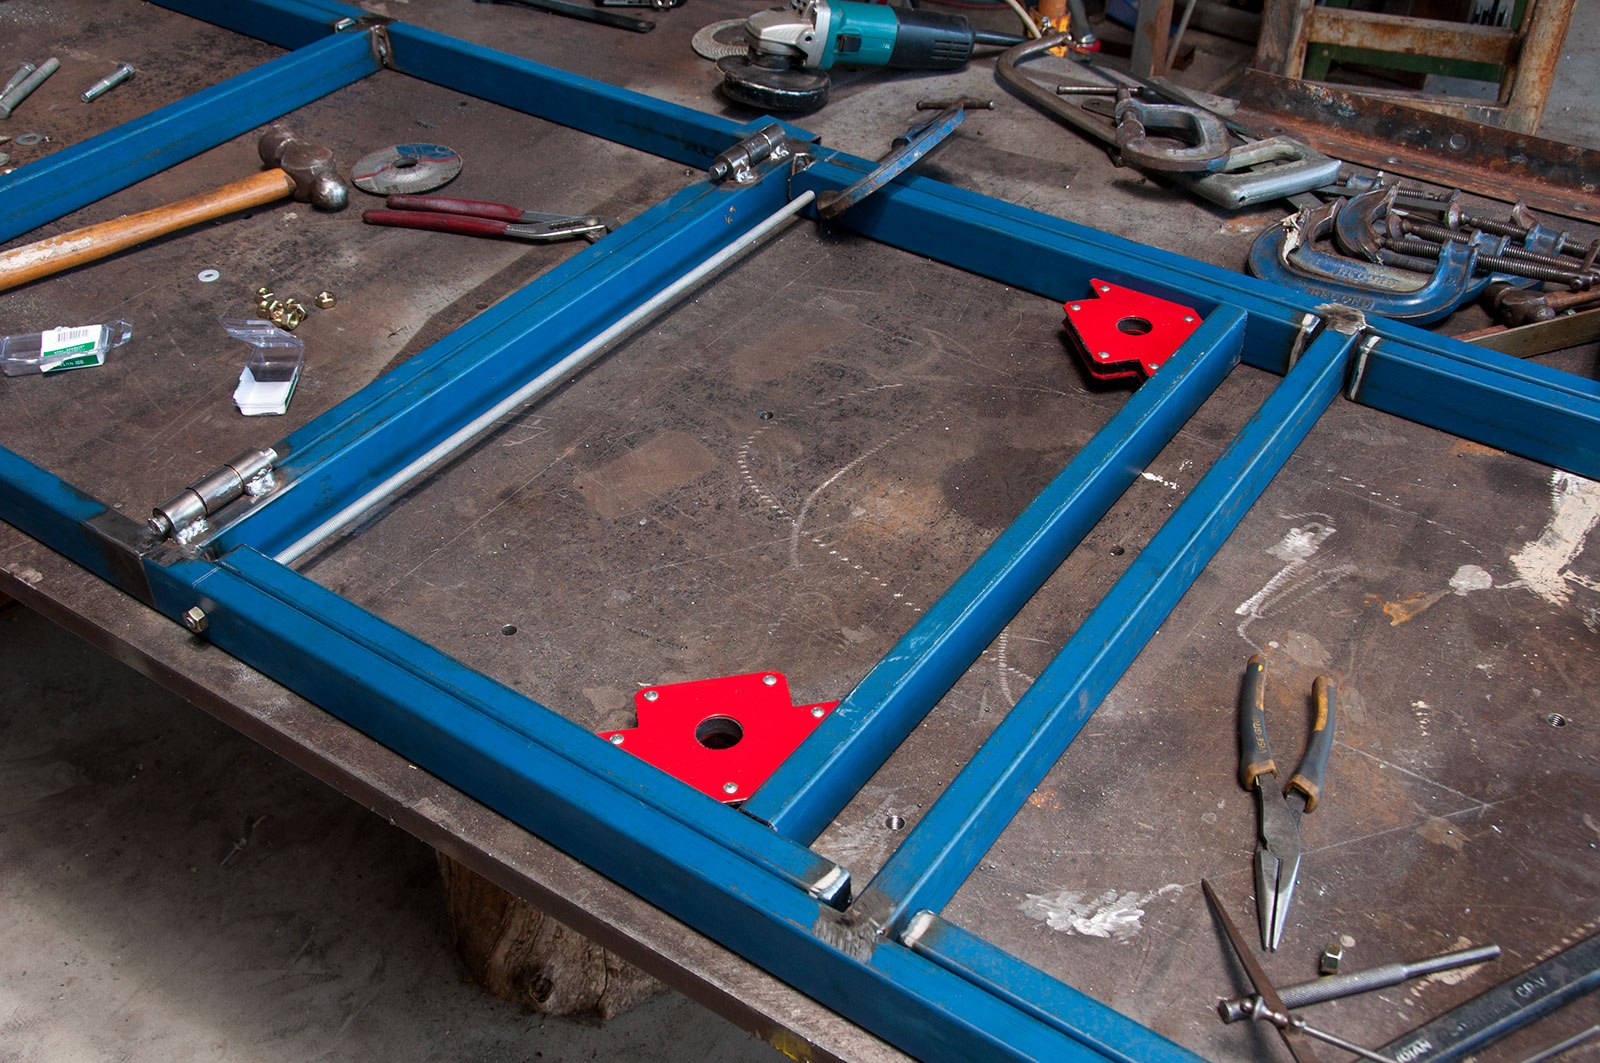
Measure very carefully because you’ll want all the pieces to be the same size to help make everything square. You can fill in some gaps as you weld but you need to do it evenly.
To assist with evenness, I designated one piece of each length to be the template and measured all others off this template. Much, much easier. Here I’m lopping out the sides: these are half the total length of the bench you want. You can hinge it asymmetrically to have legs in the middle, but I decided I preferred to hinge it dead in the middle and therefore have the middle legs about 30mm towards one end.
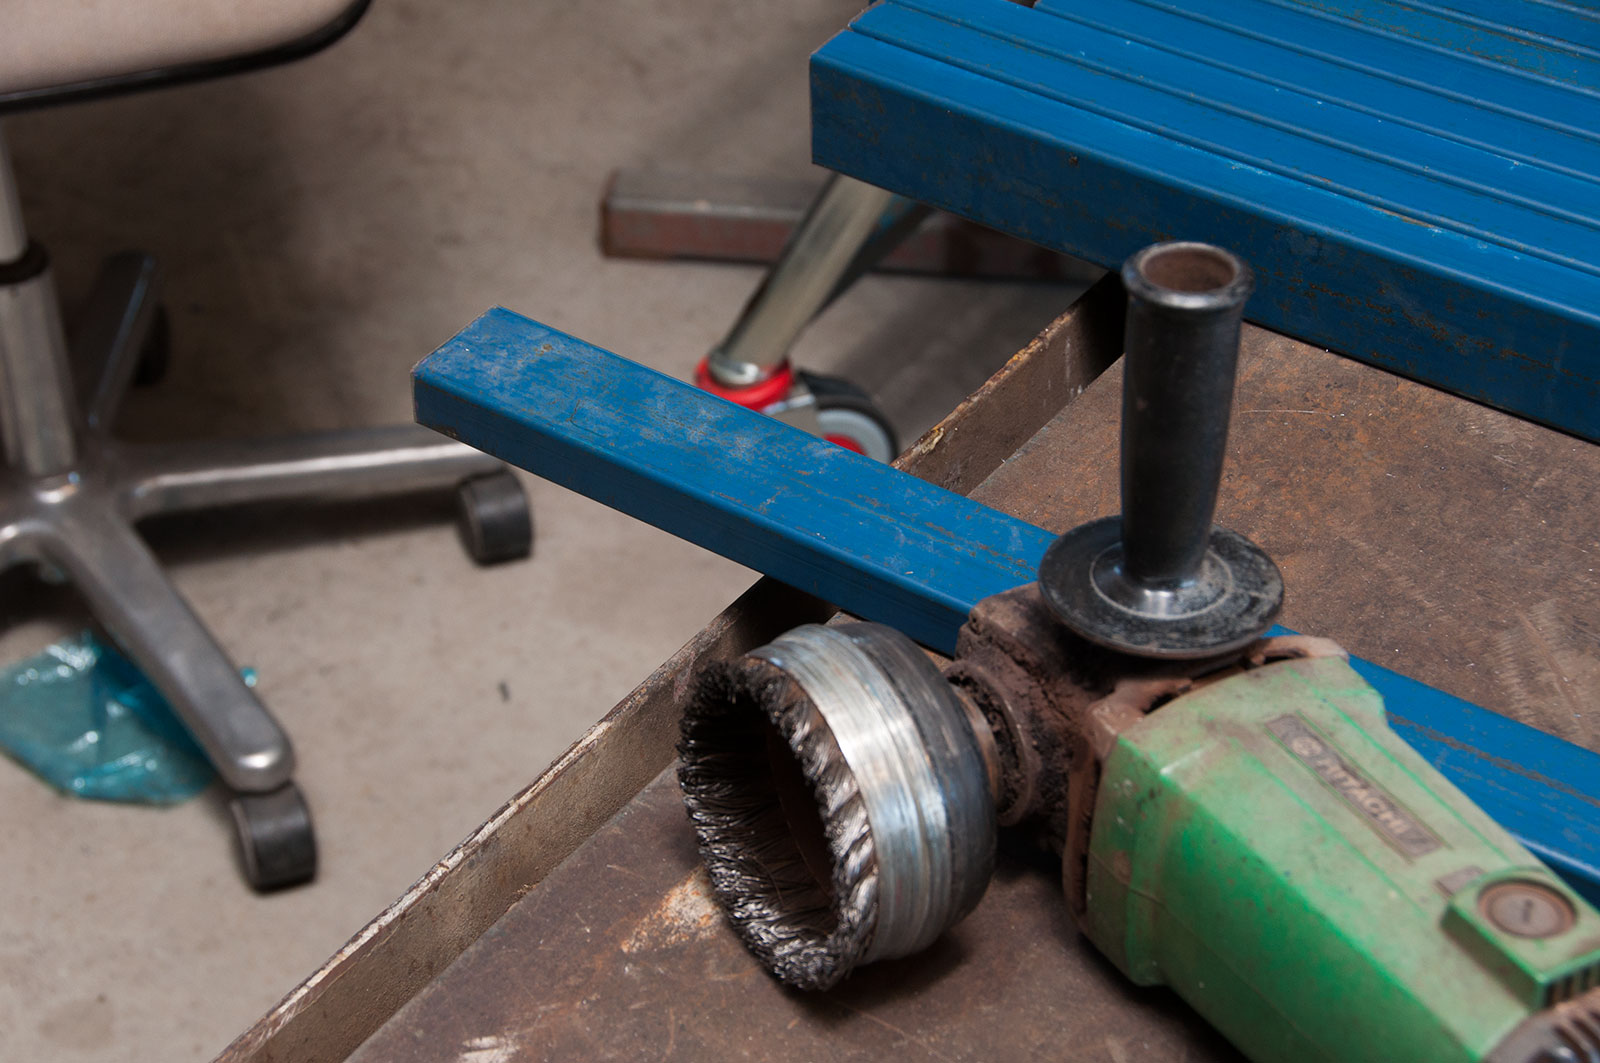
Cleaning up the paint on the RHS is a good idea before welding but I got bored so didn’t. The MIG just burns through all that crap anyway.
Getting it all square is pretty important. Charlie’s welding table with the clamp holes is fantastic for laying jobs like this up. Makes it faster, though it’s definitely doable on a garage floor too – you just need to be careful with how clamping everything square.
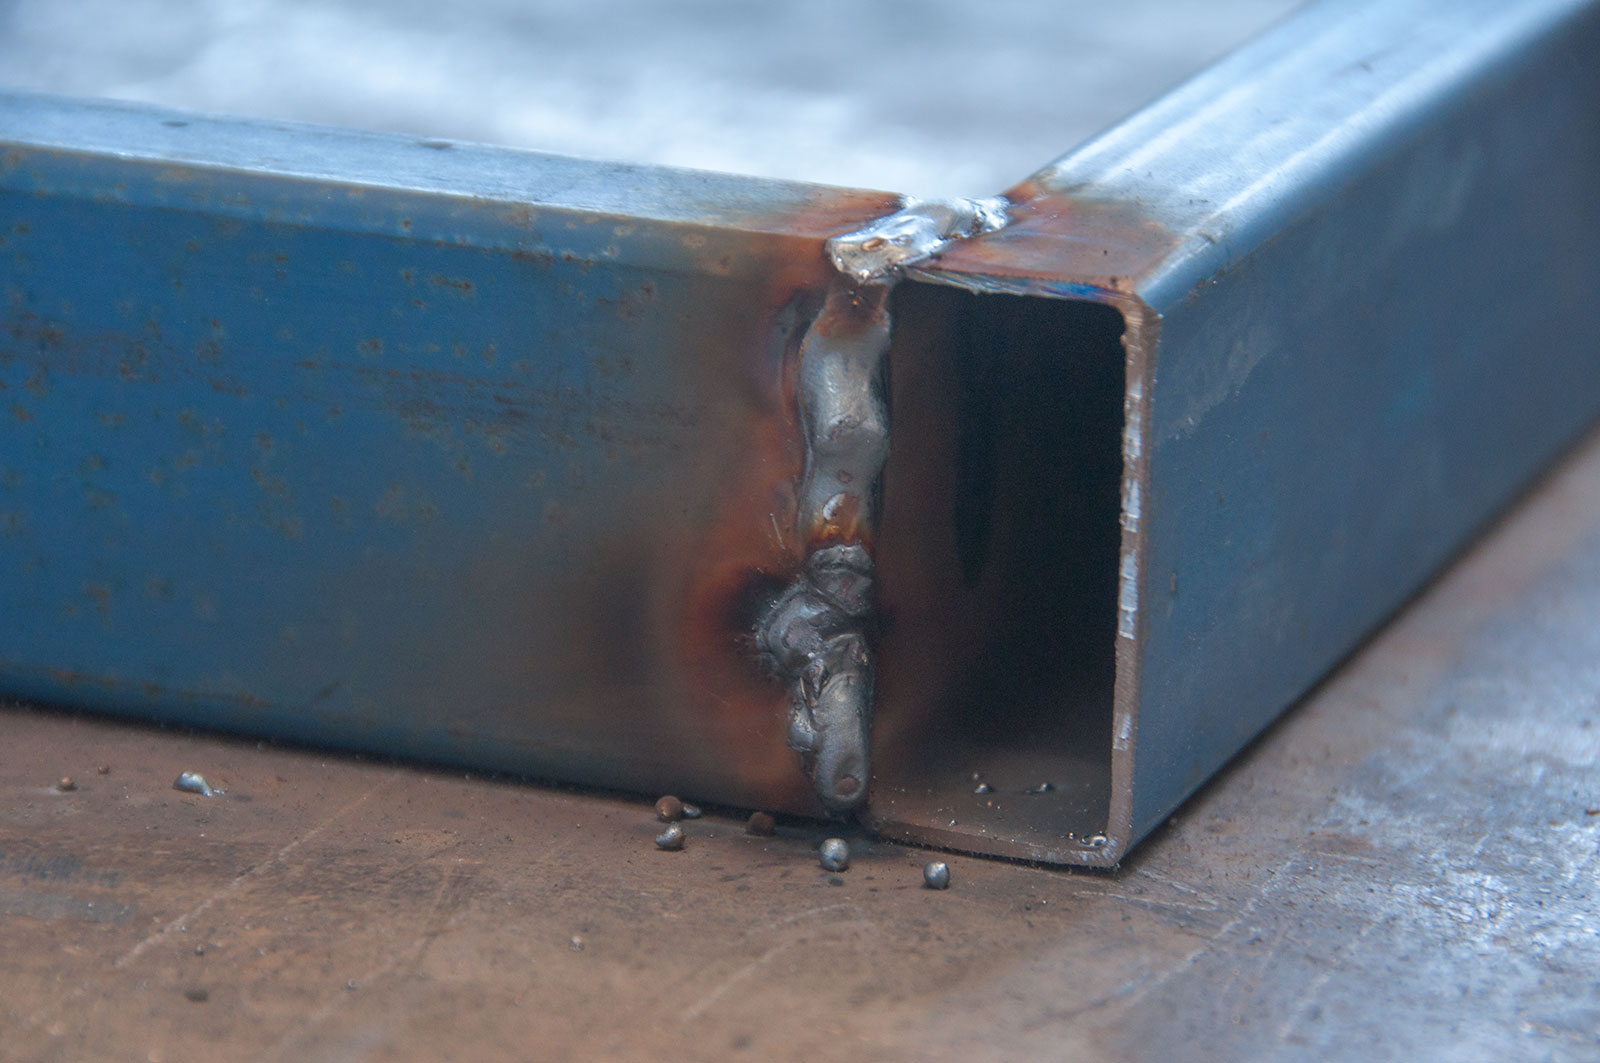
This picture is not to highlight my fairly shite weld on the end – it’s to show the penetration (and evenness) I got on the inside weld. Didn’t go right to the top of the frame (presently on the welding table) as it’s not necessary, and this way I keep the torch the same distance from the work all the way down the inner weld.
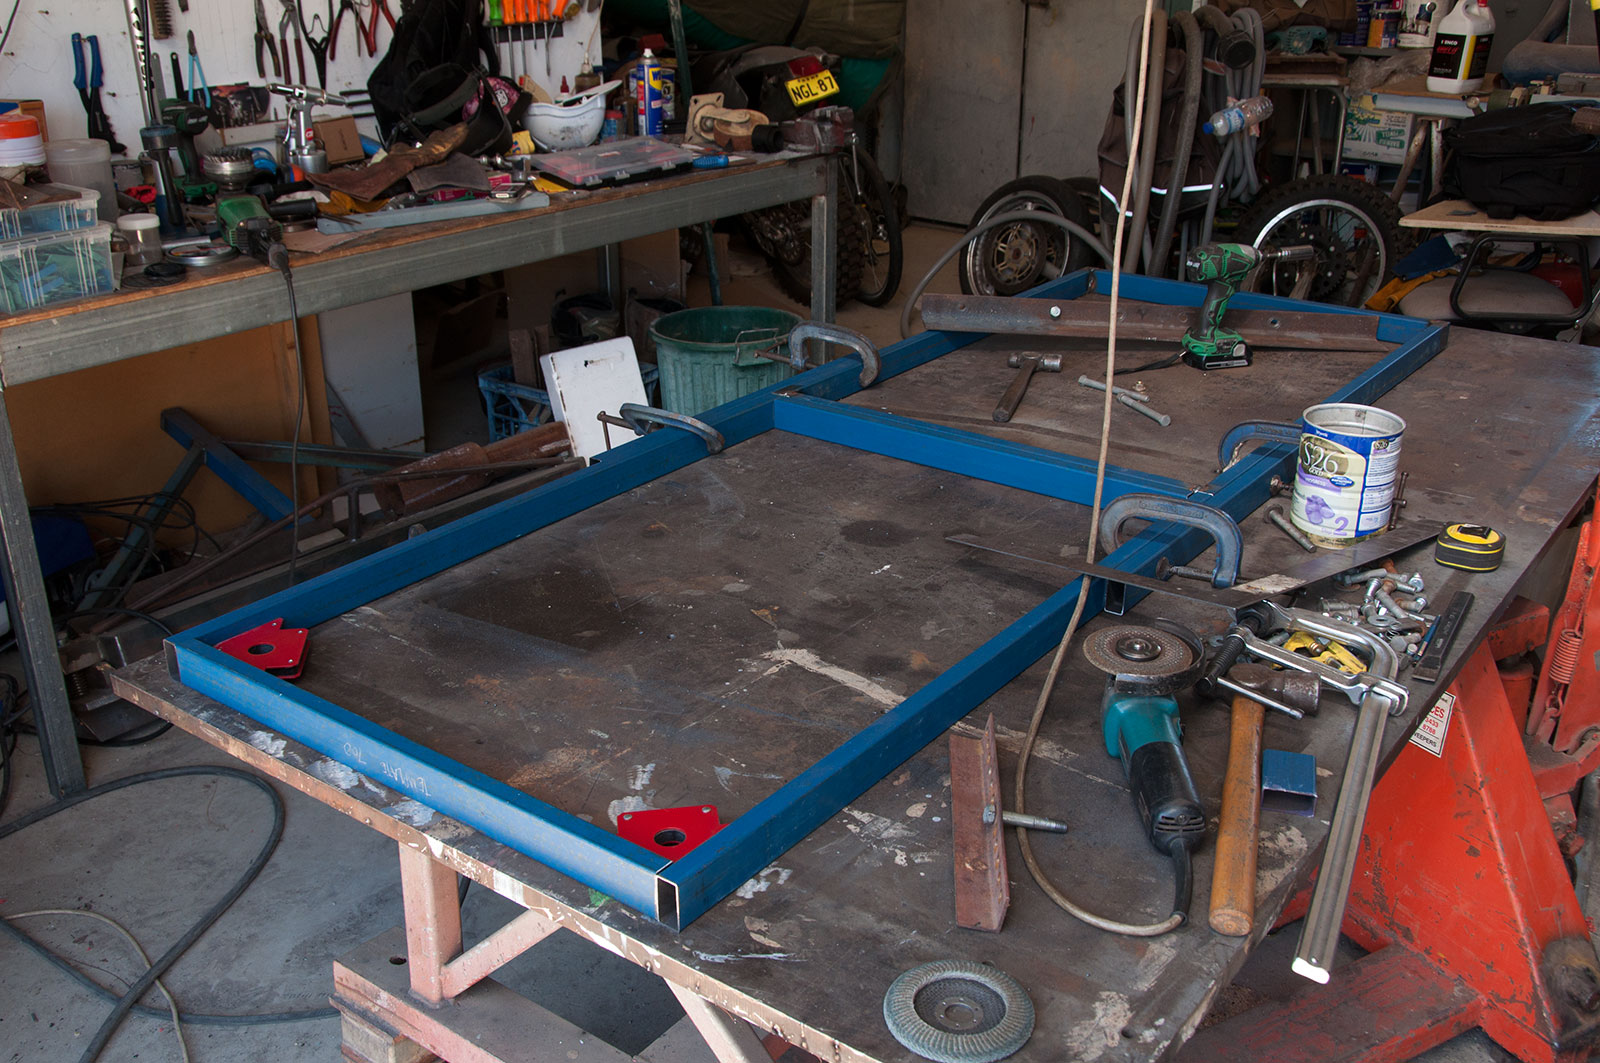
Both sides laid up for tacking.
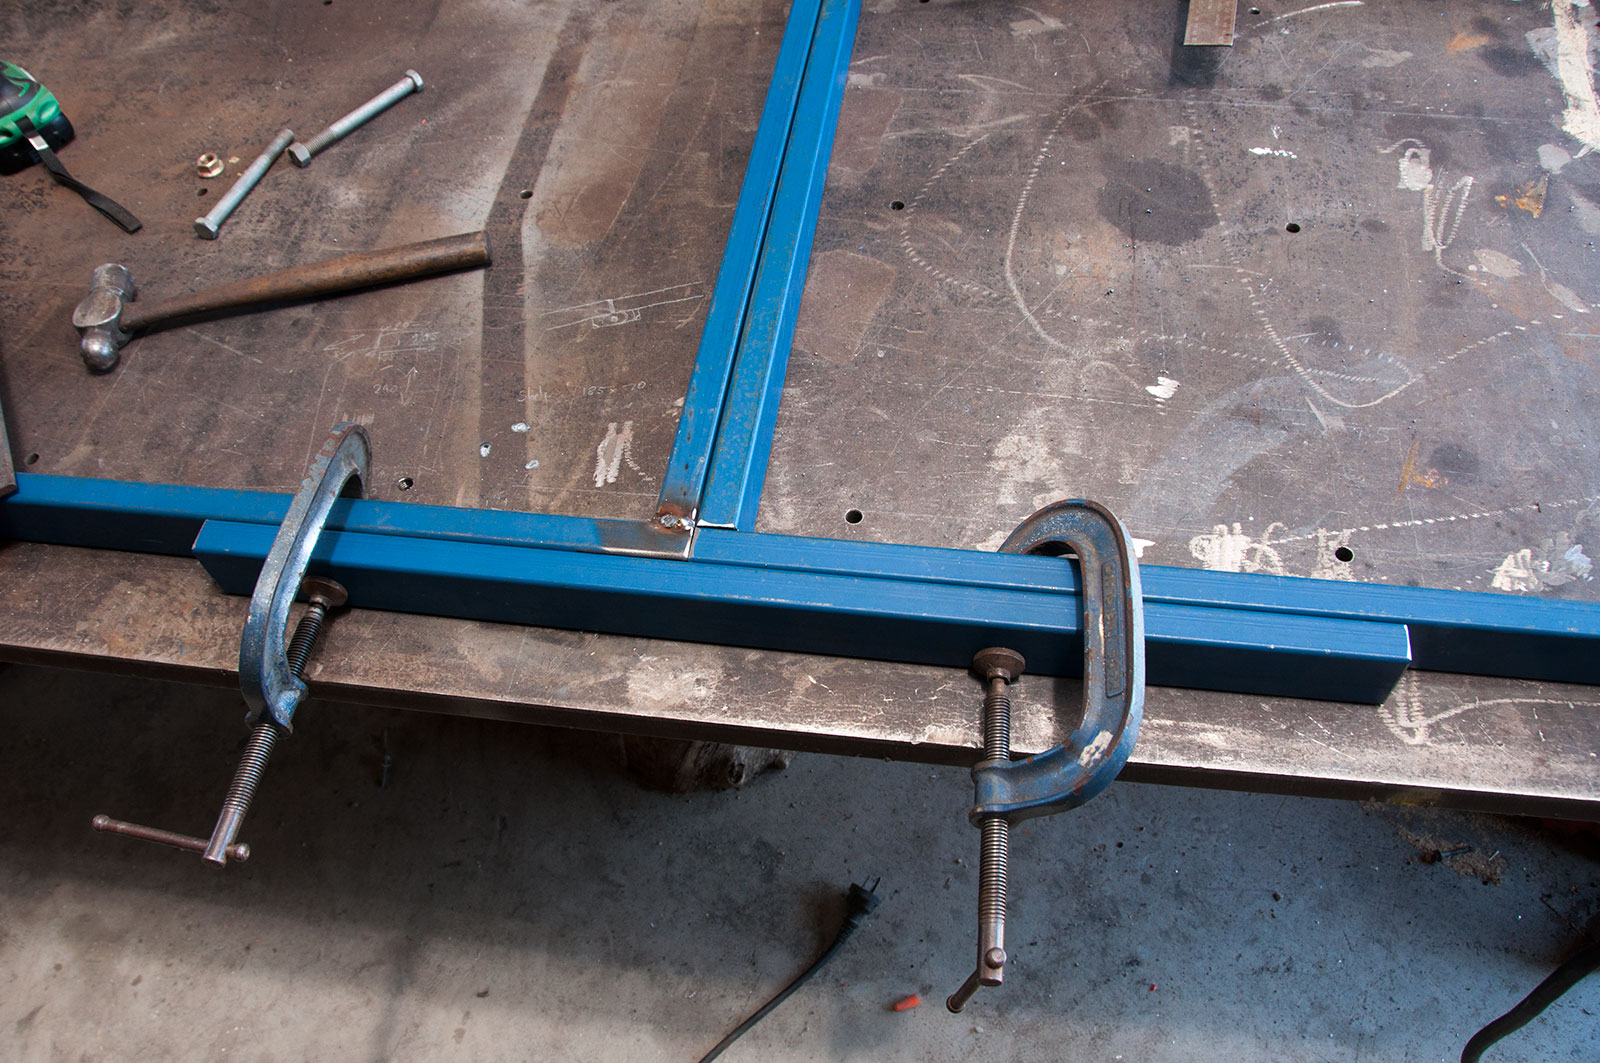
Keeping either side of the middle perfectly square with each other is pretty important for a build like this.

All tacked up and ready for some hinge manufacturing.
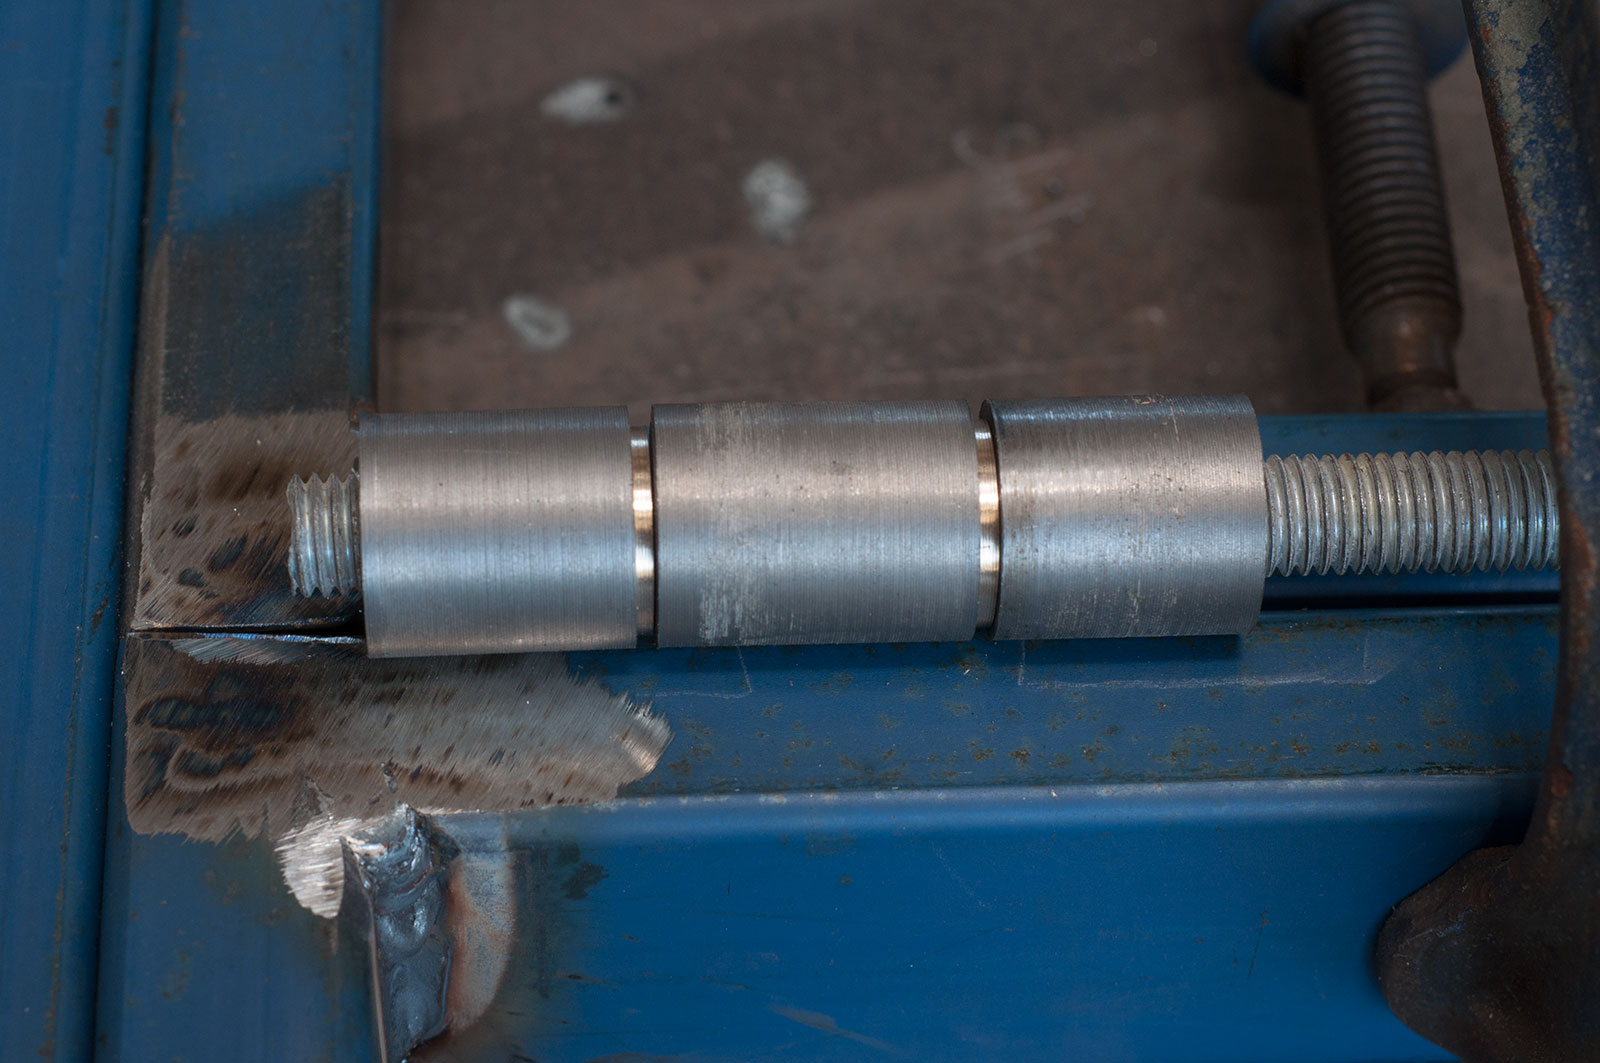
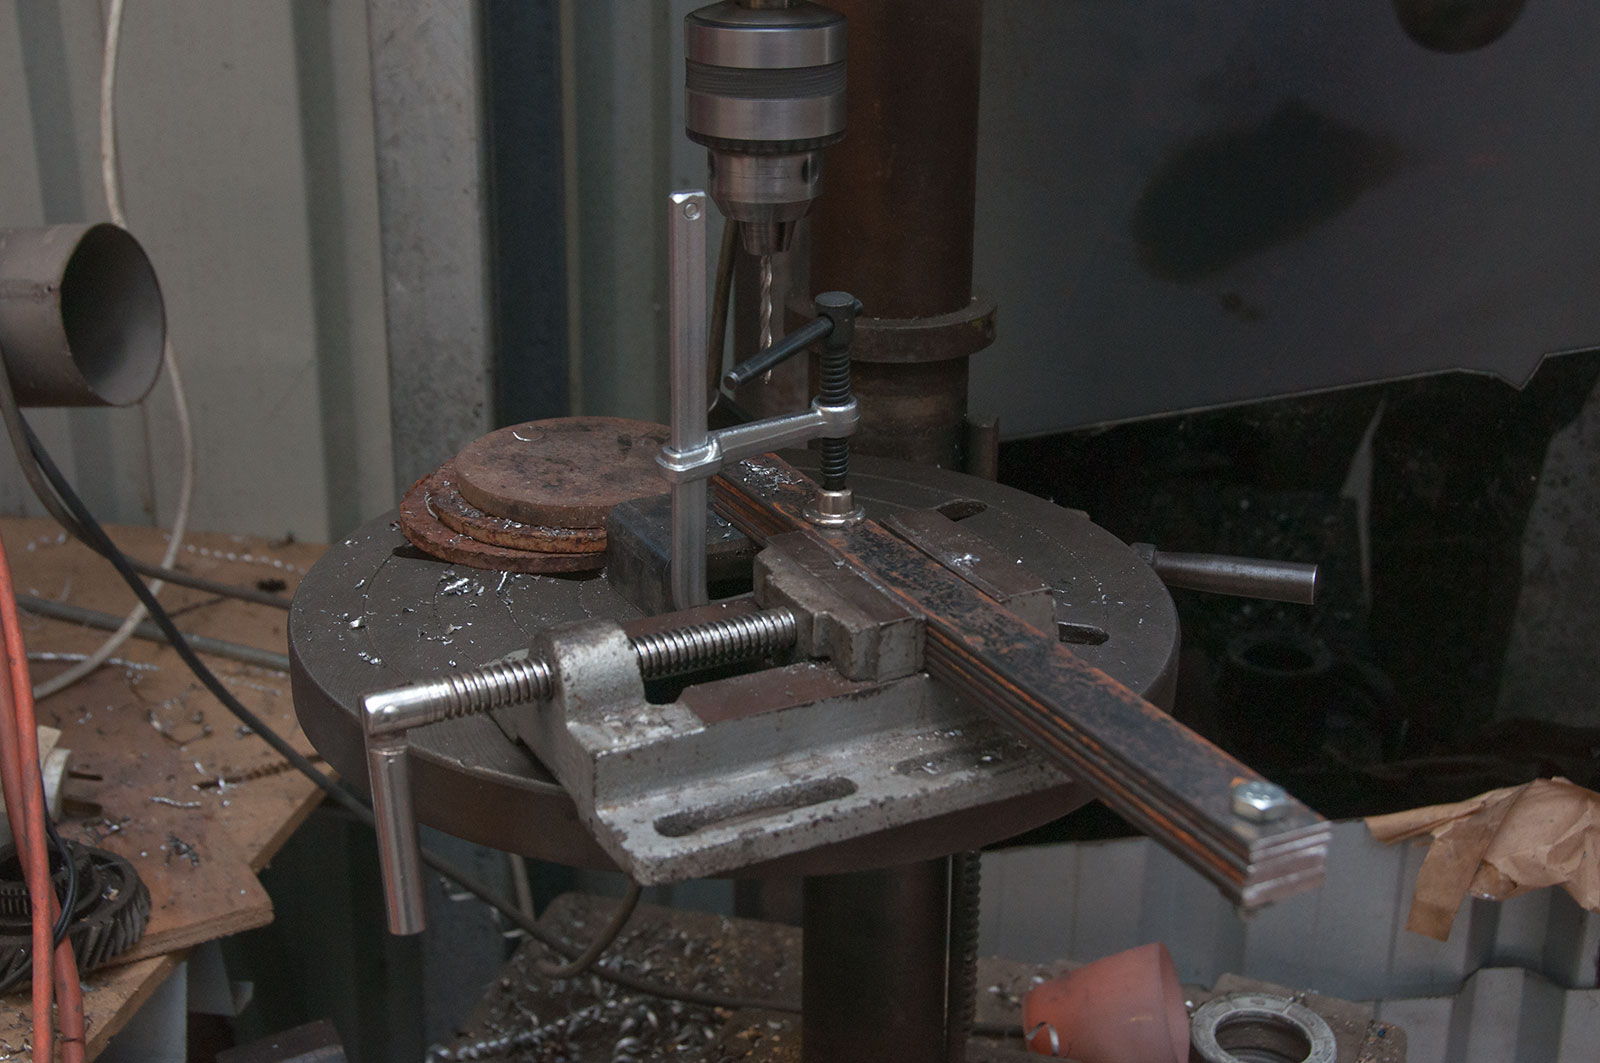
Lathing up hinges
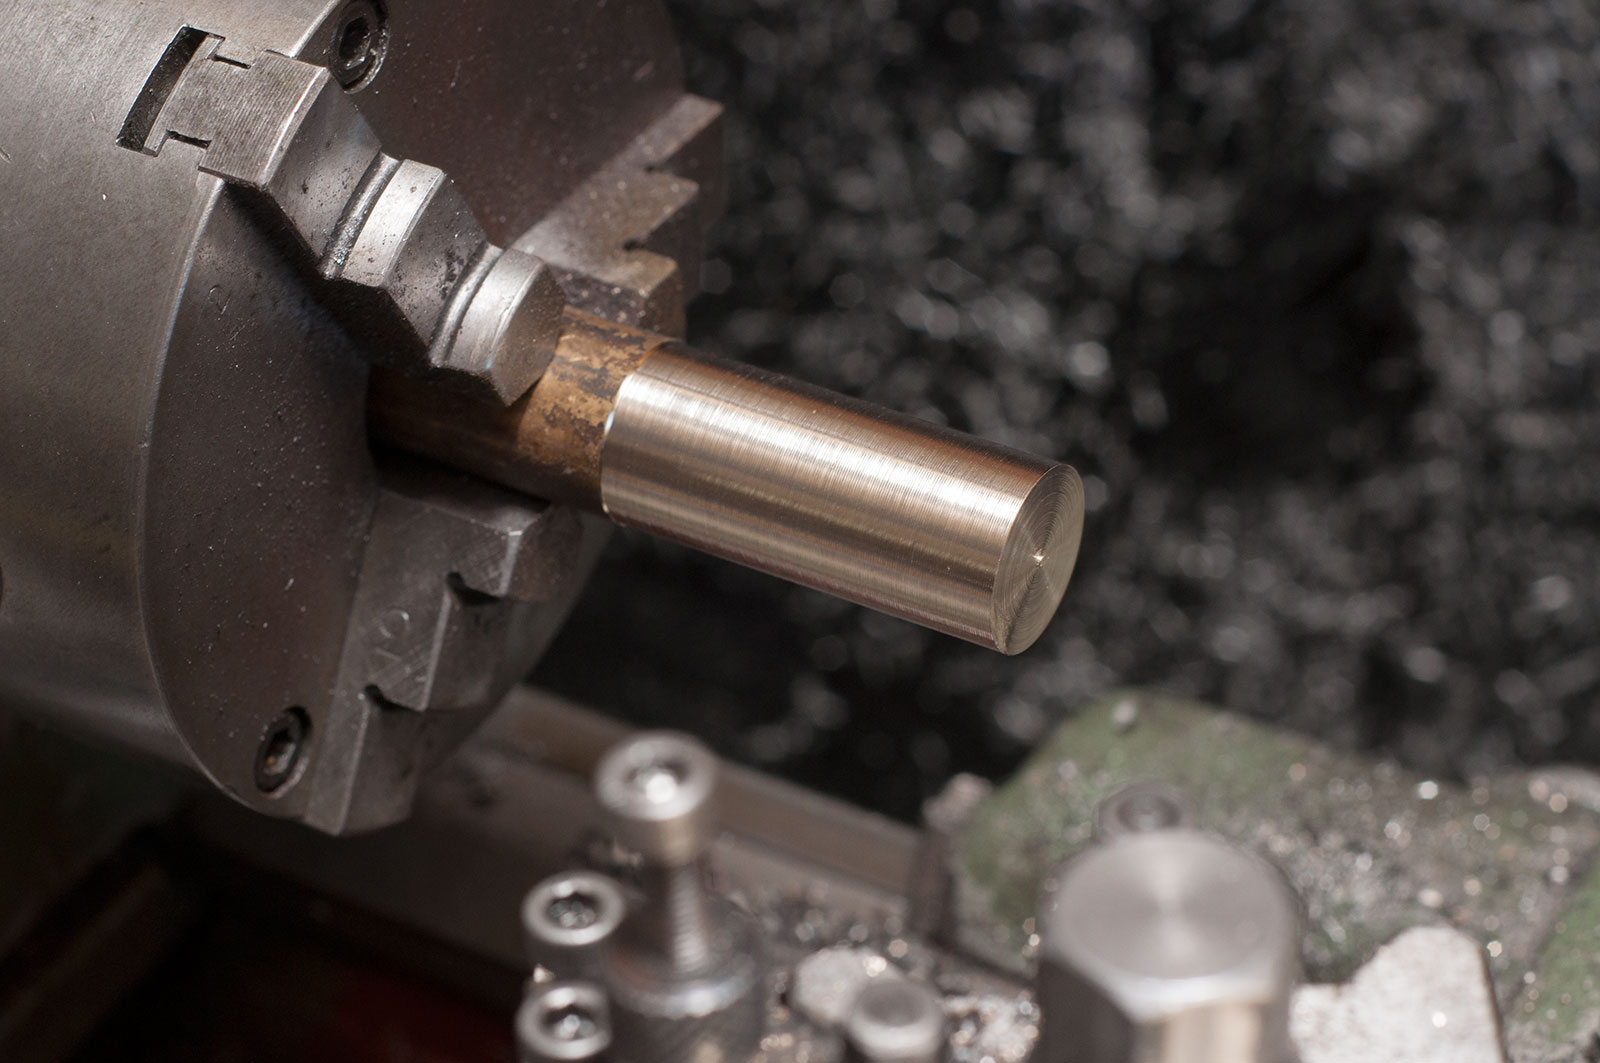
Charlie and I cooked up the idea to make really neat lower profile hinges. Originally I was just gonna hinge it using a couple of bits of plate steel but with access to a lathe, you can do fancier stuff. Pretty simple hinge: two elements connect to one side, one element in the middle of those two connects to the other side, and a rod is what it all pivots on. Materials wise it was 25 mm mild steel solid round bar for the hinge elements, 12 mm mild steel solid round bar (for the pins) and a small bit of 22 mm bronze to make up bushings to make the action all nice.
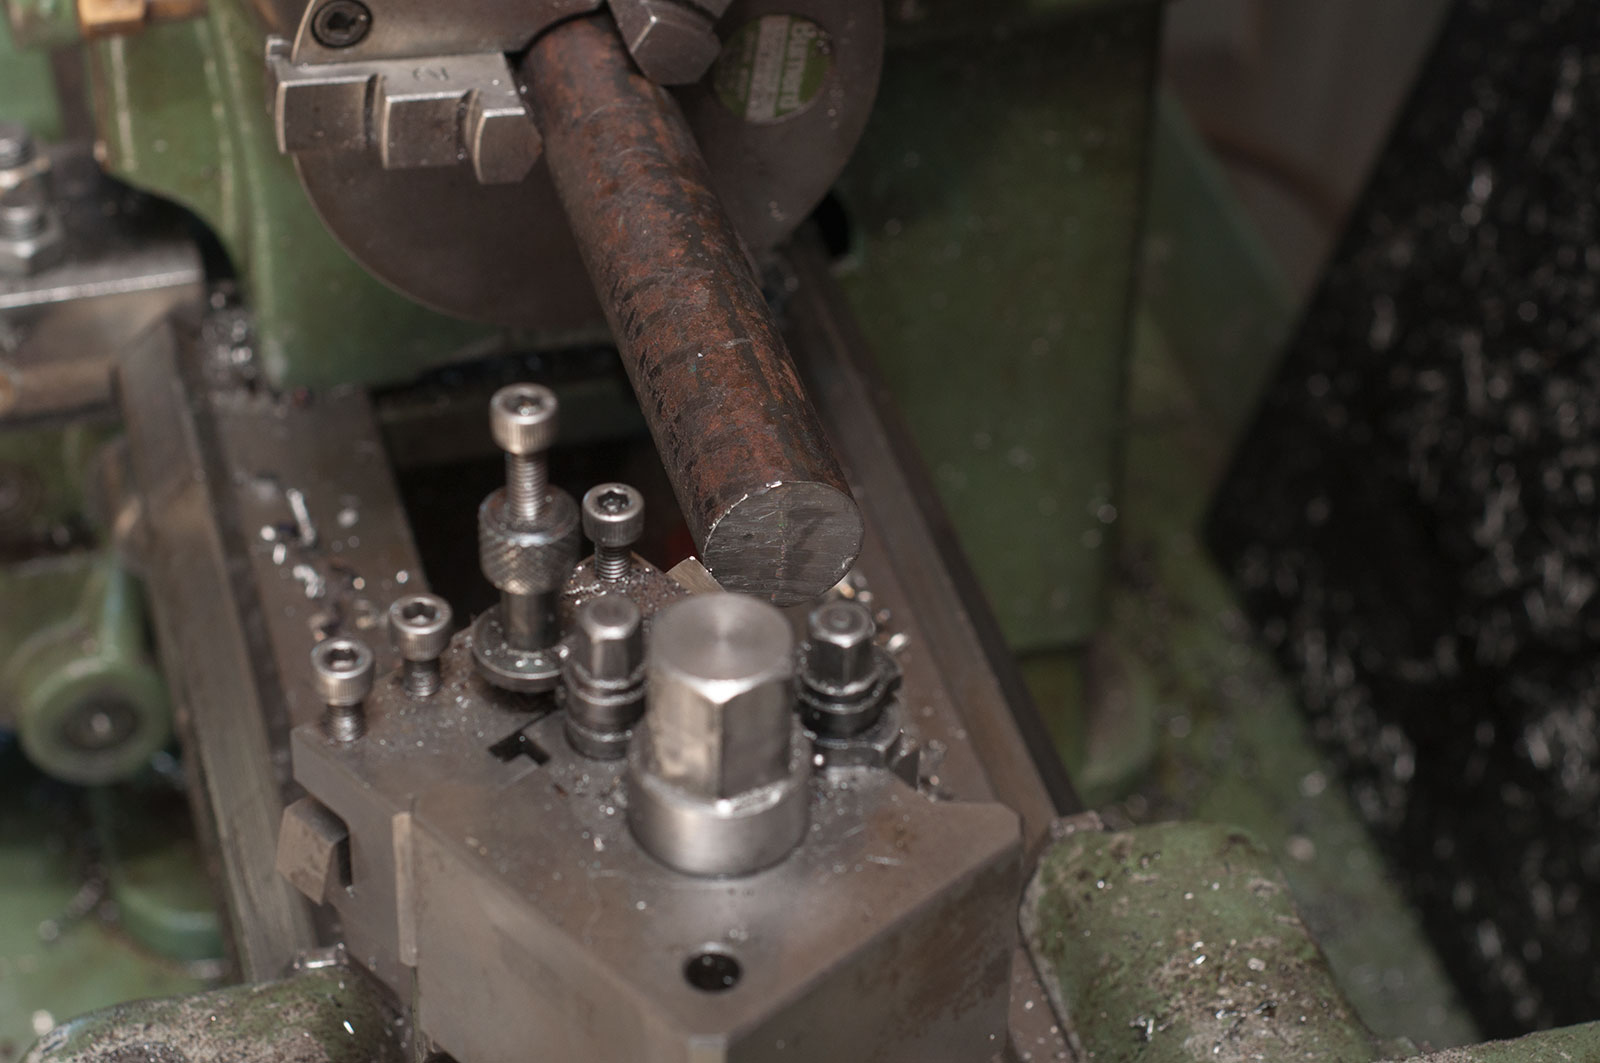
Face off steel bar

Shave down the diameter so it is even for all elements. Just enough so they’re nice and round.
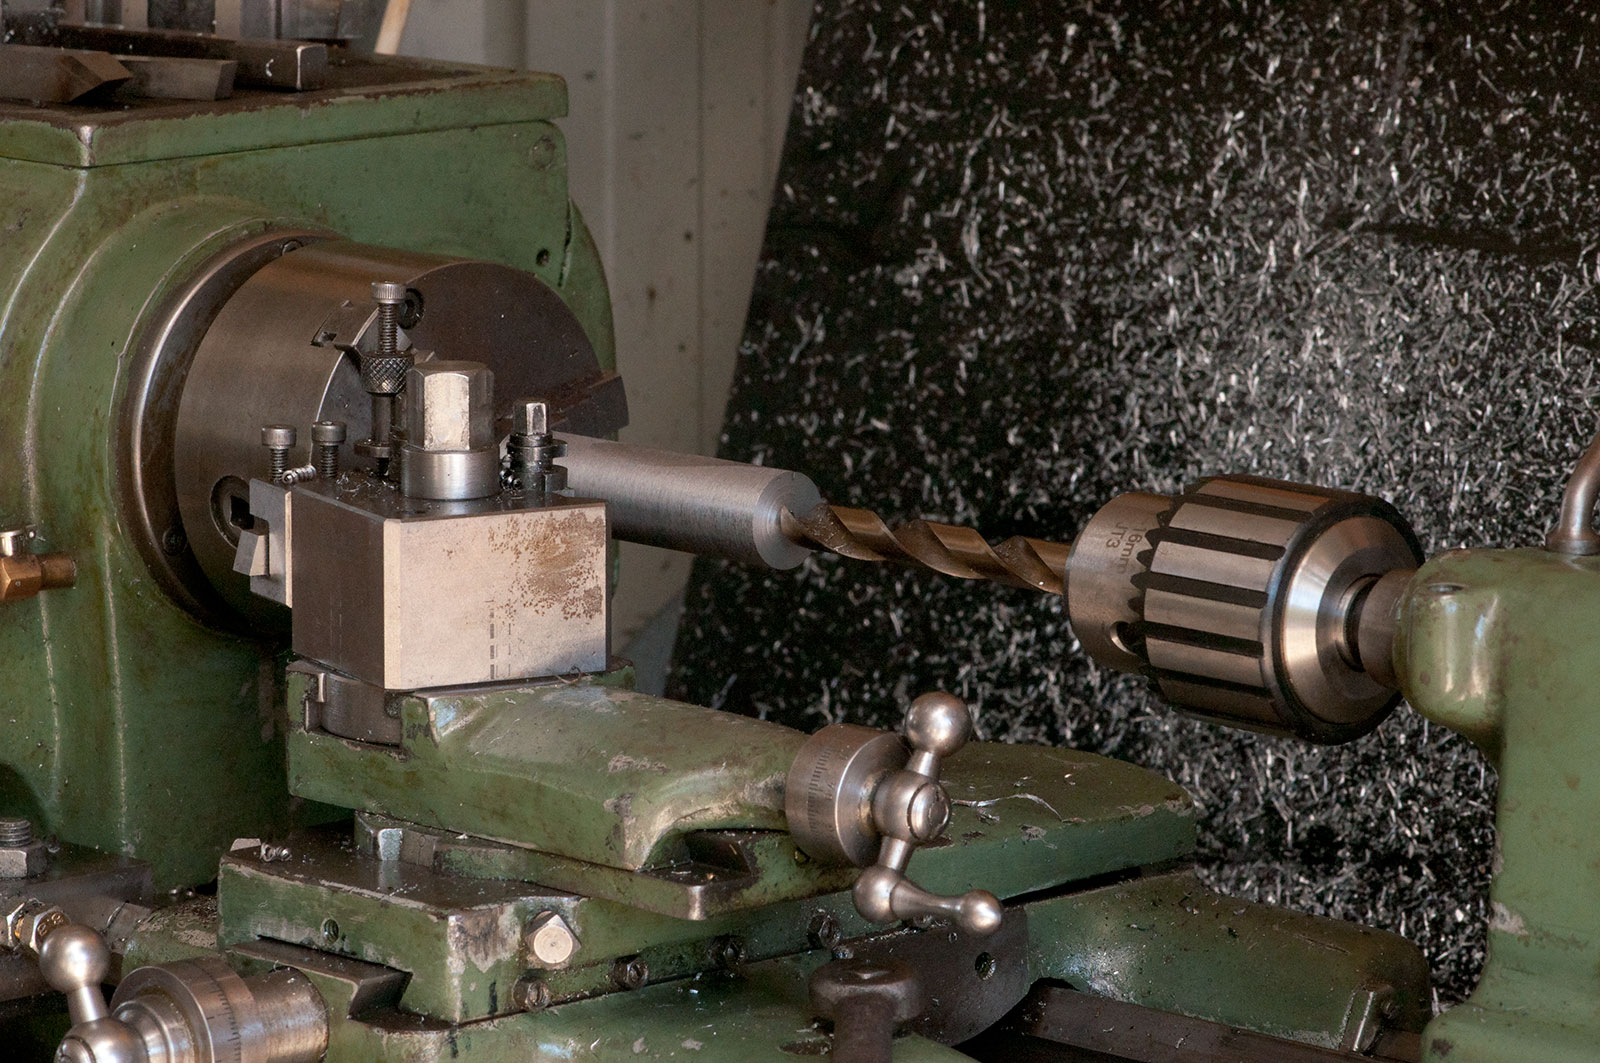
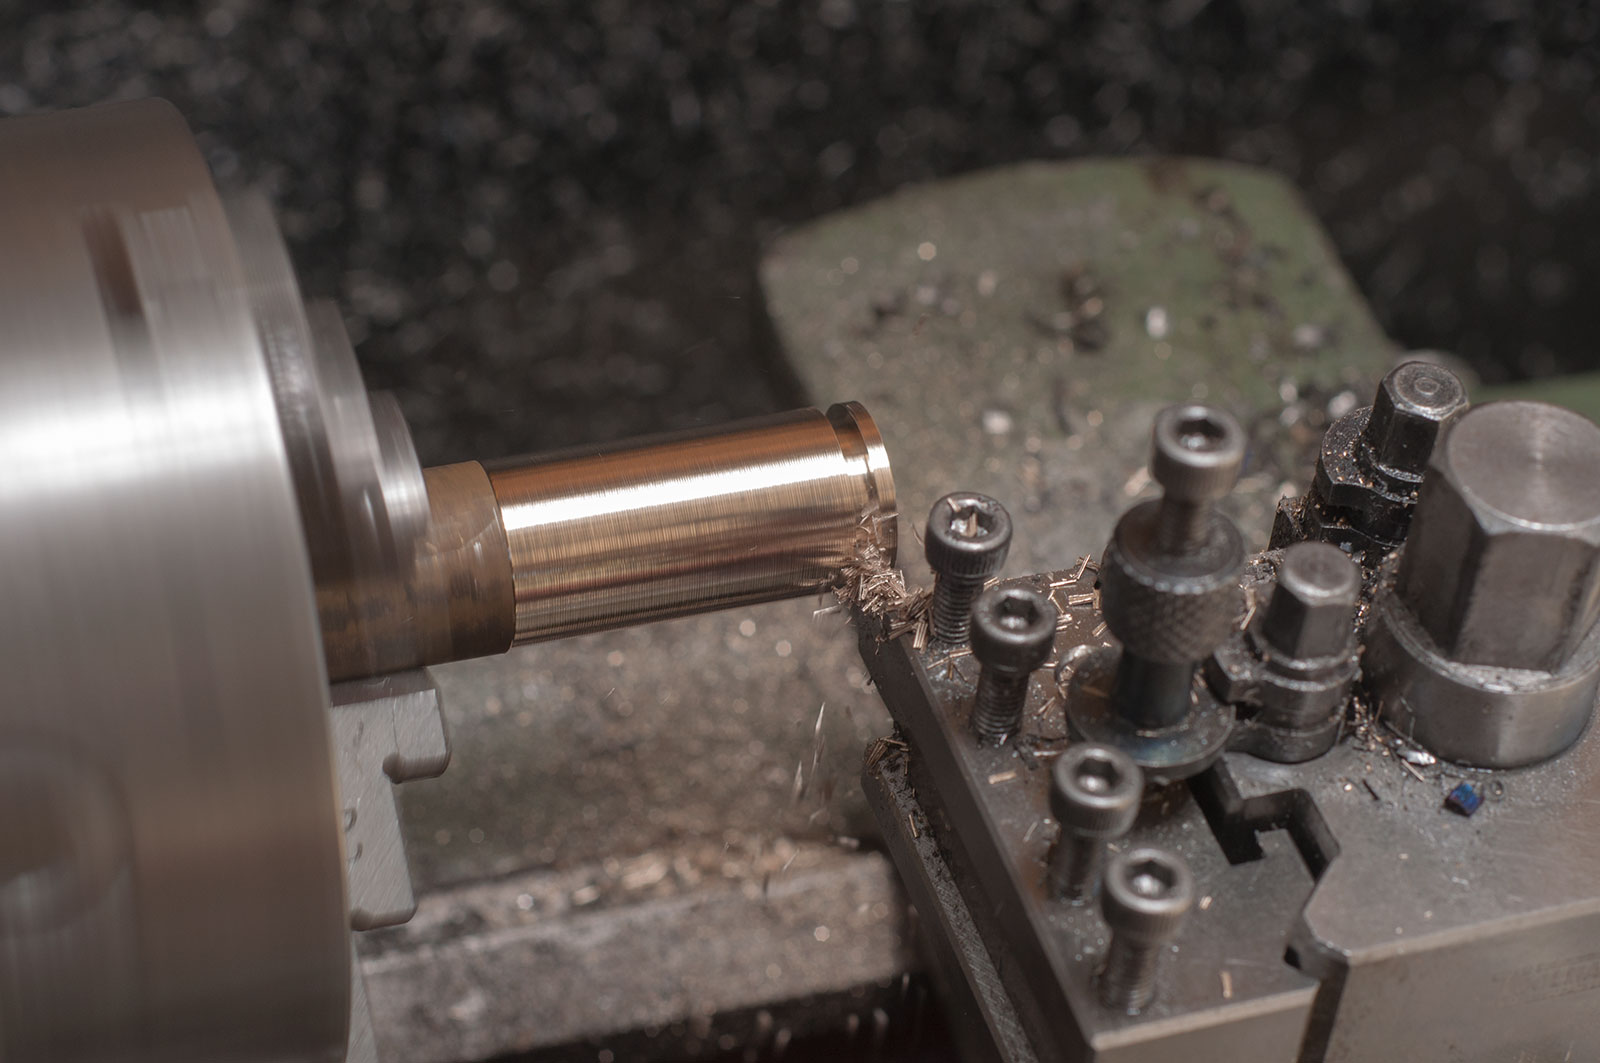
Boring work.
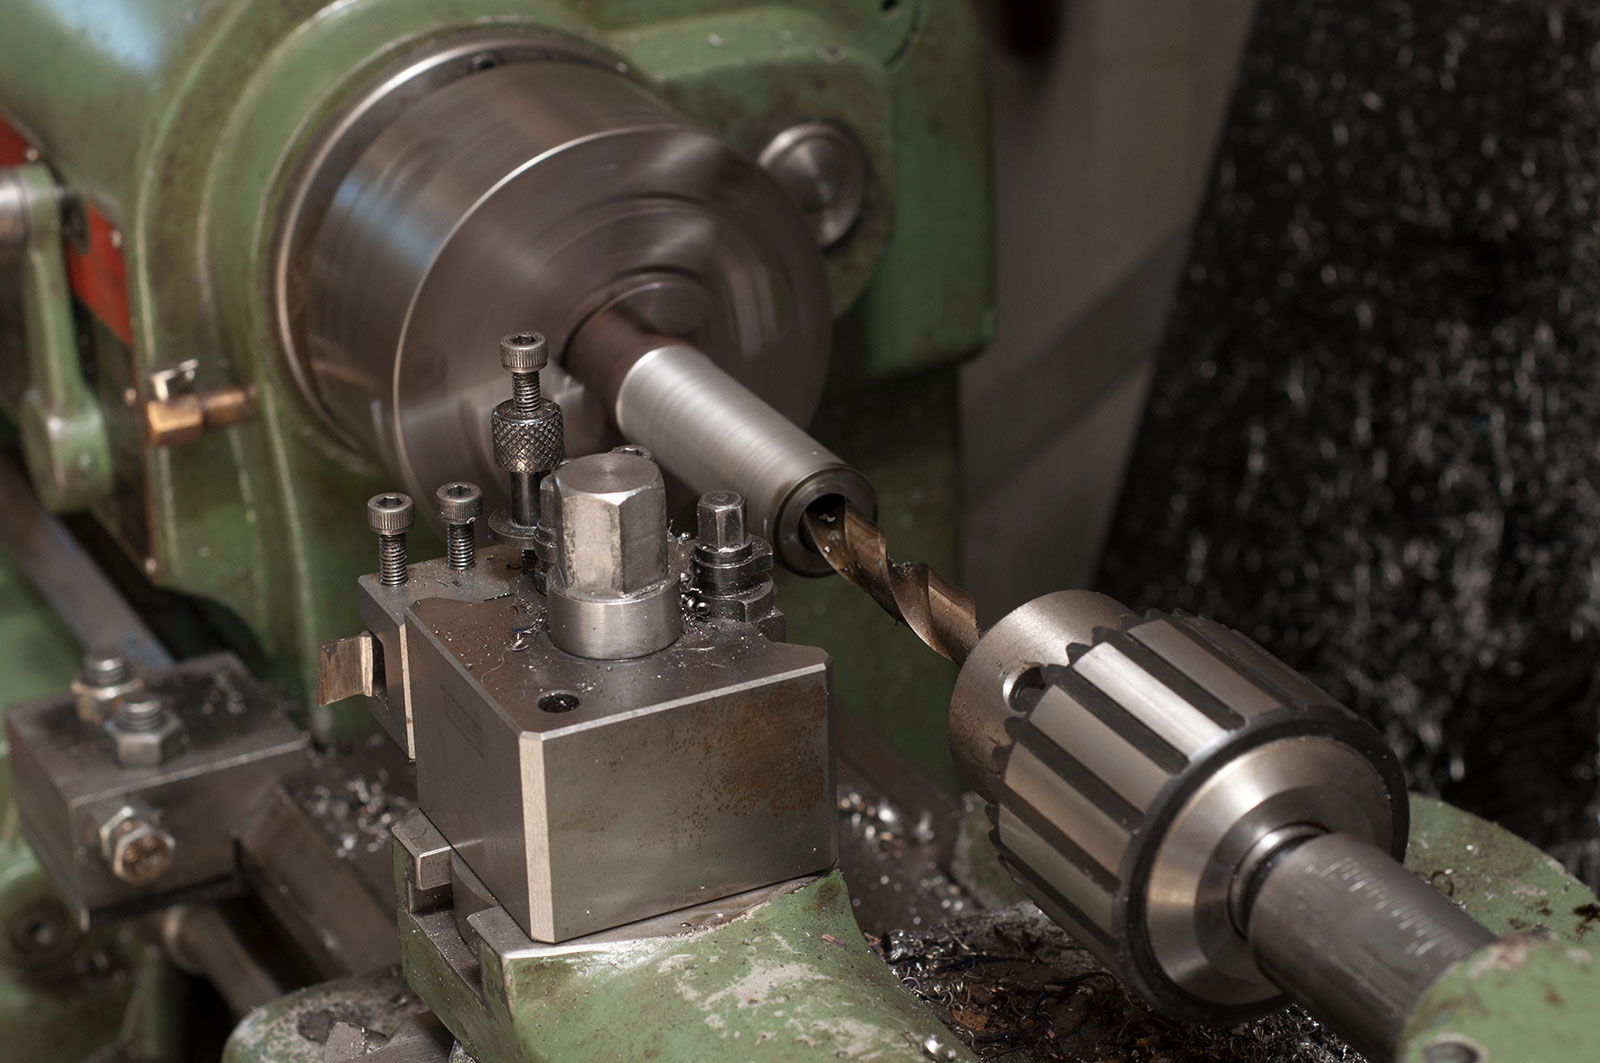
More boring to get all the elements even and done in one go.
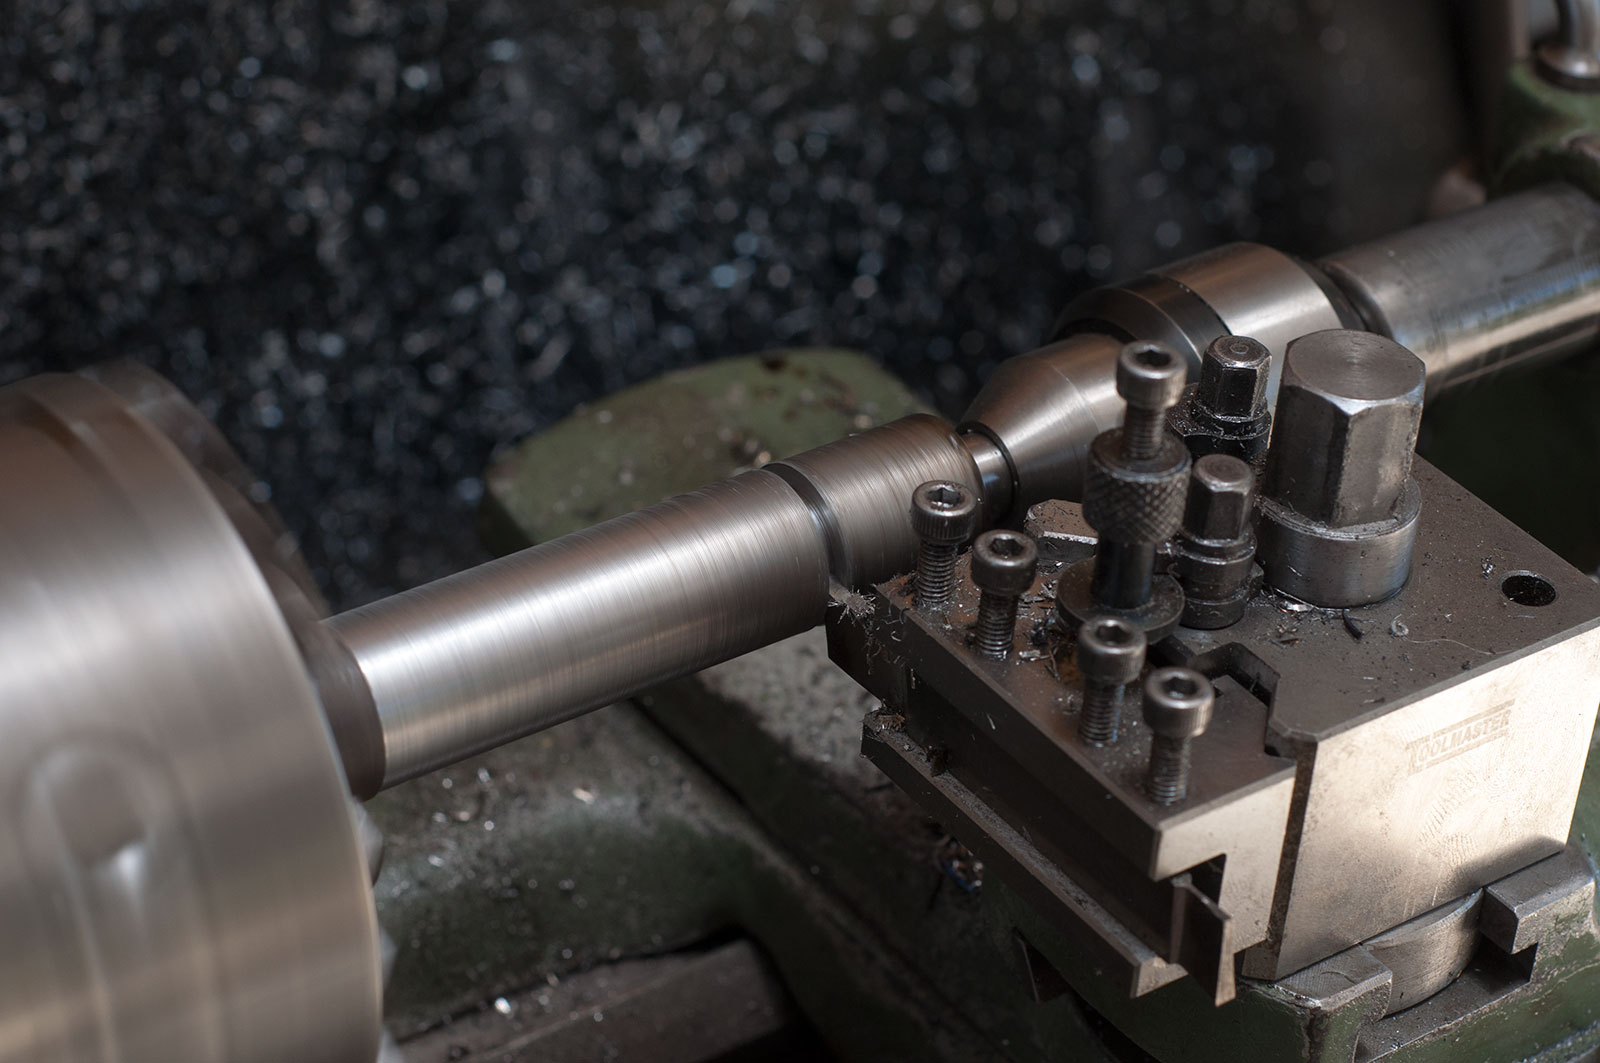
Parting off the first element.
Done! Hot off the press… literally. They do get very hot.
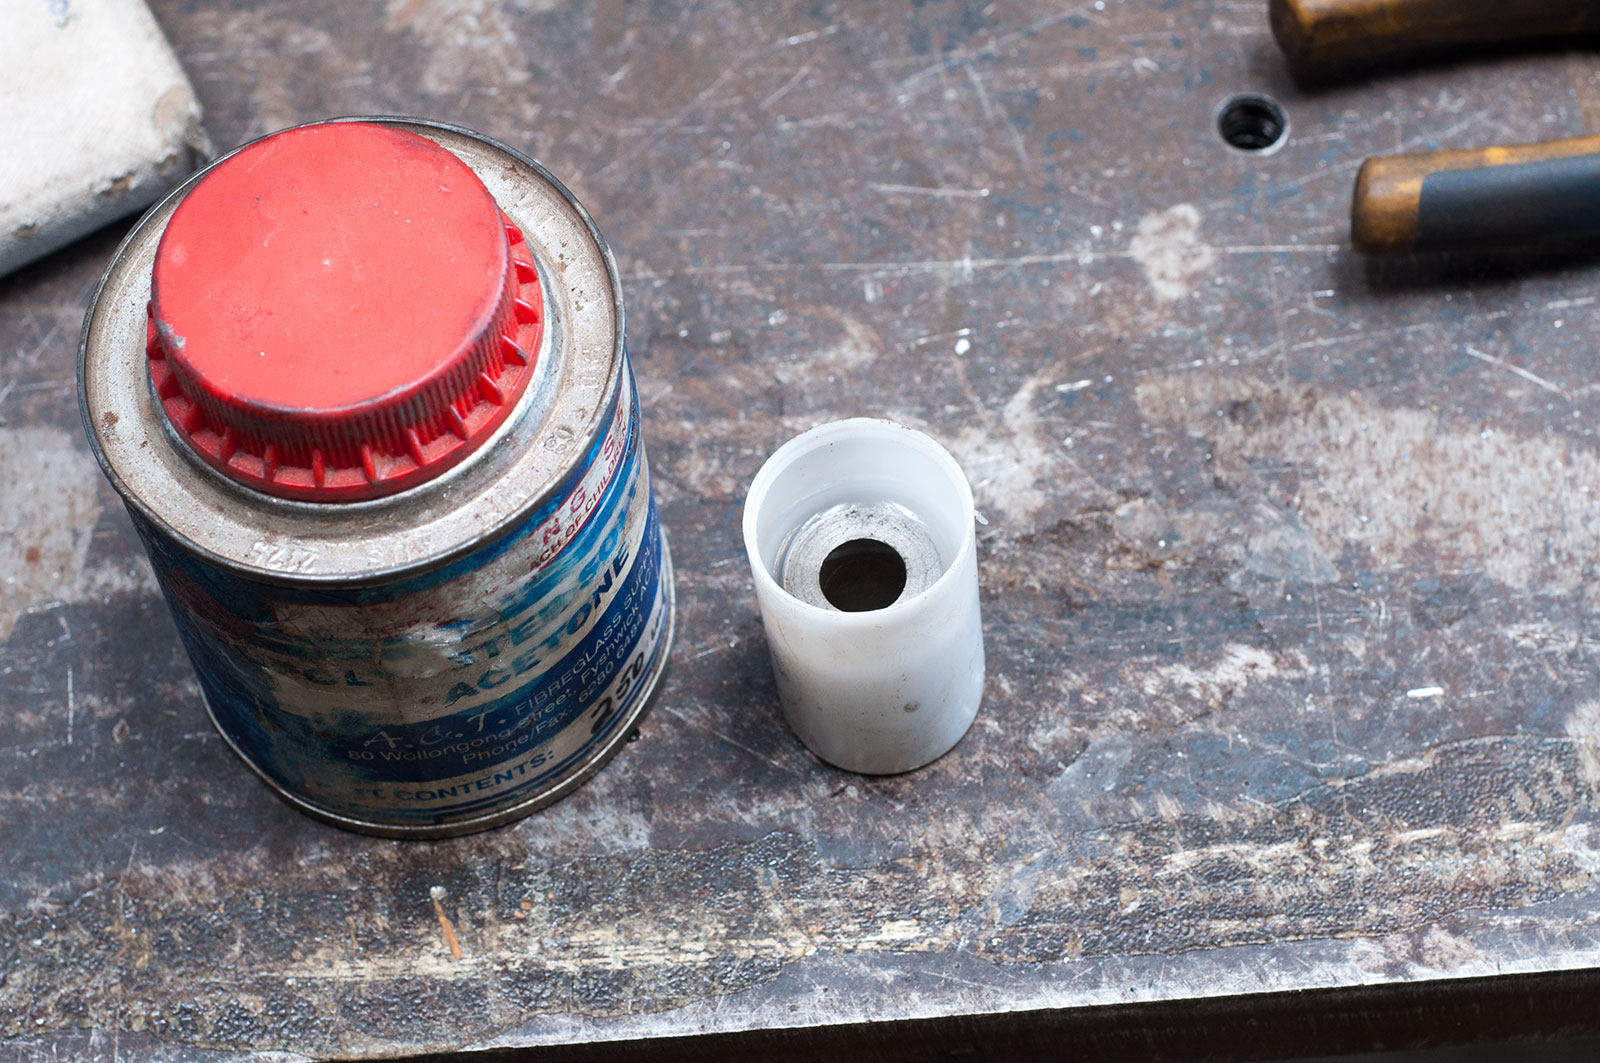
Cleaning up with acetone to make sure they’ll weld acceptably.
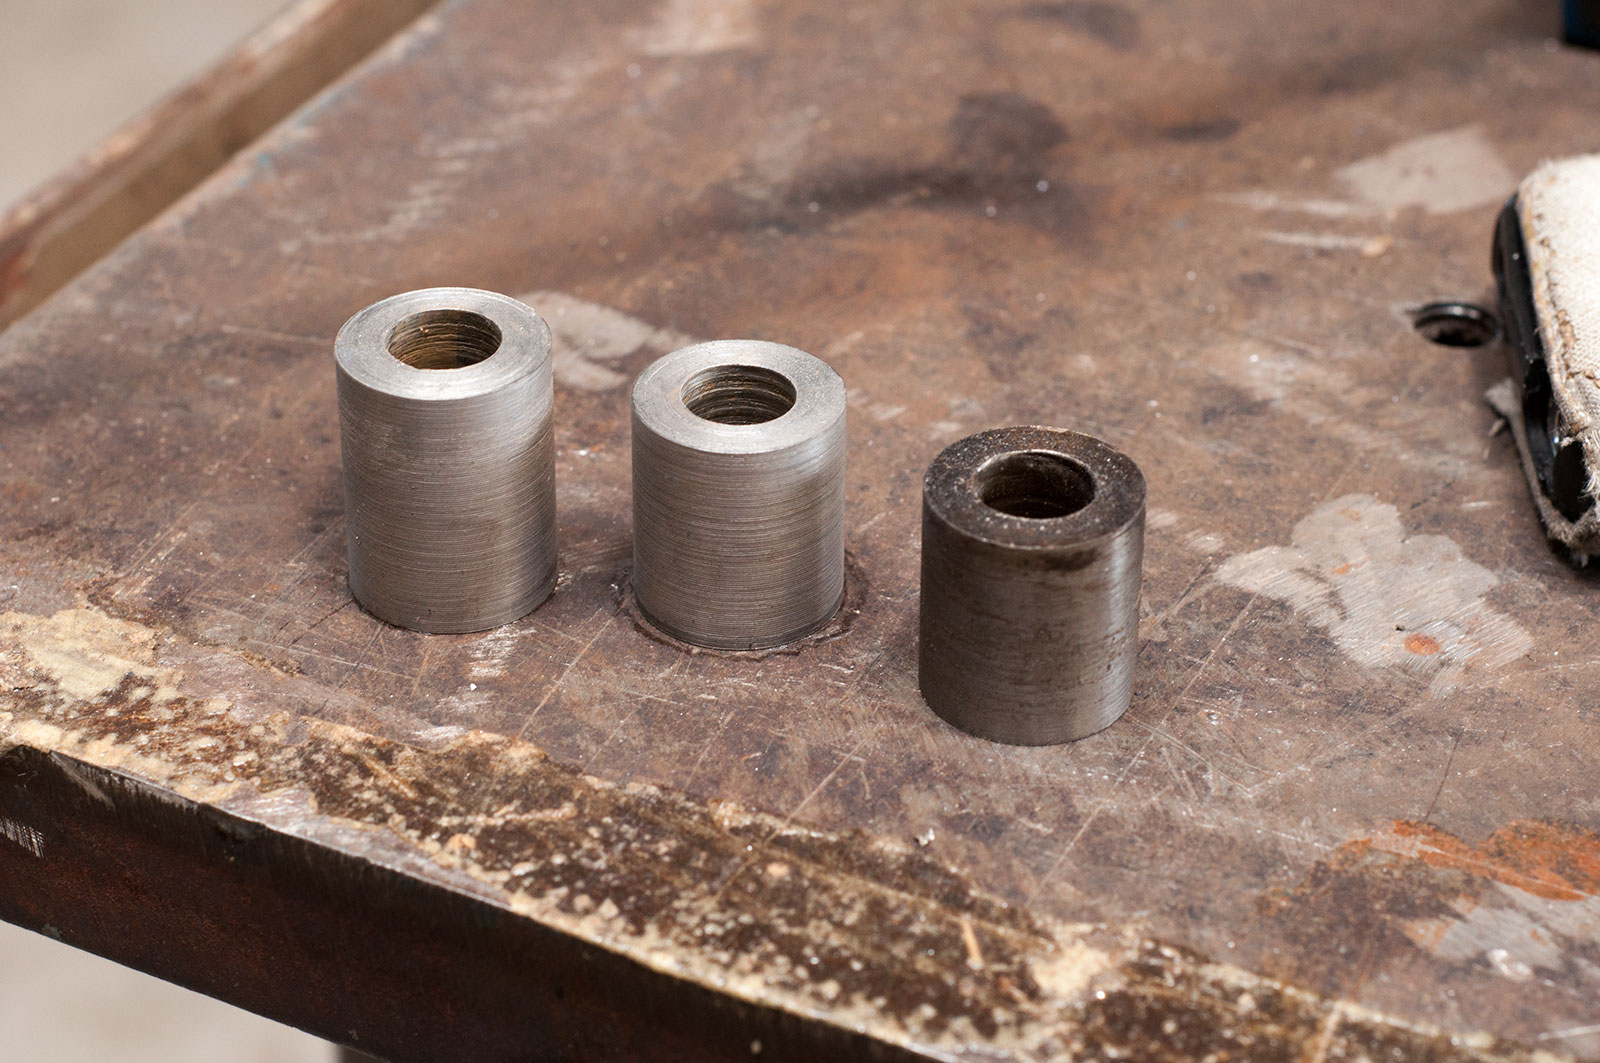
Two clean, one dirty.
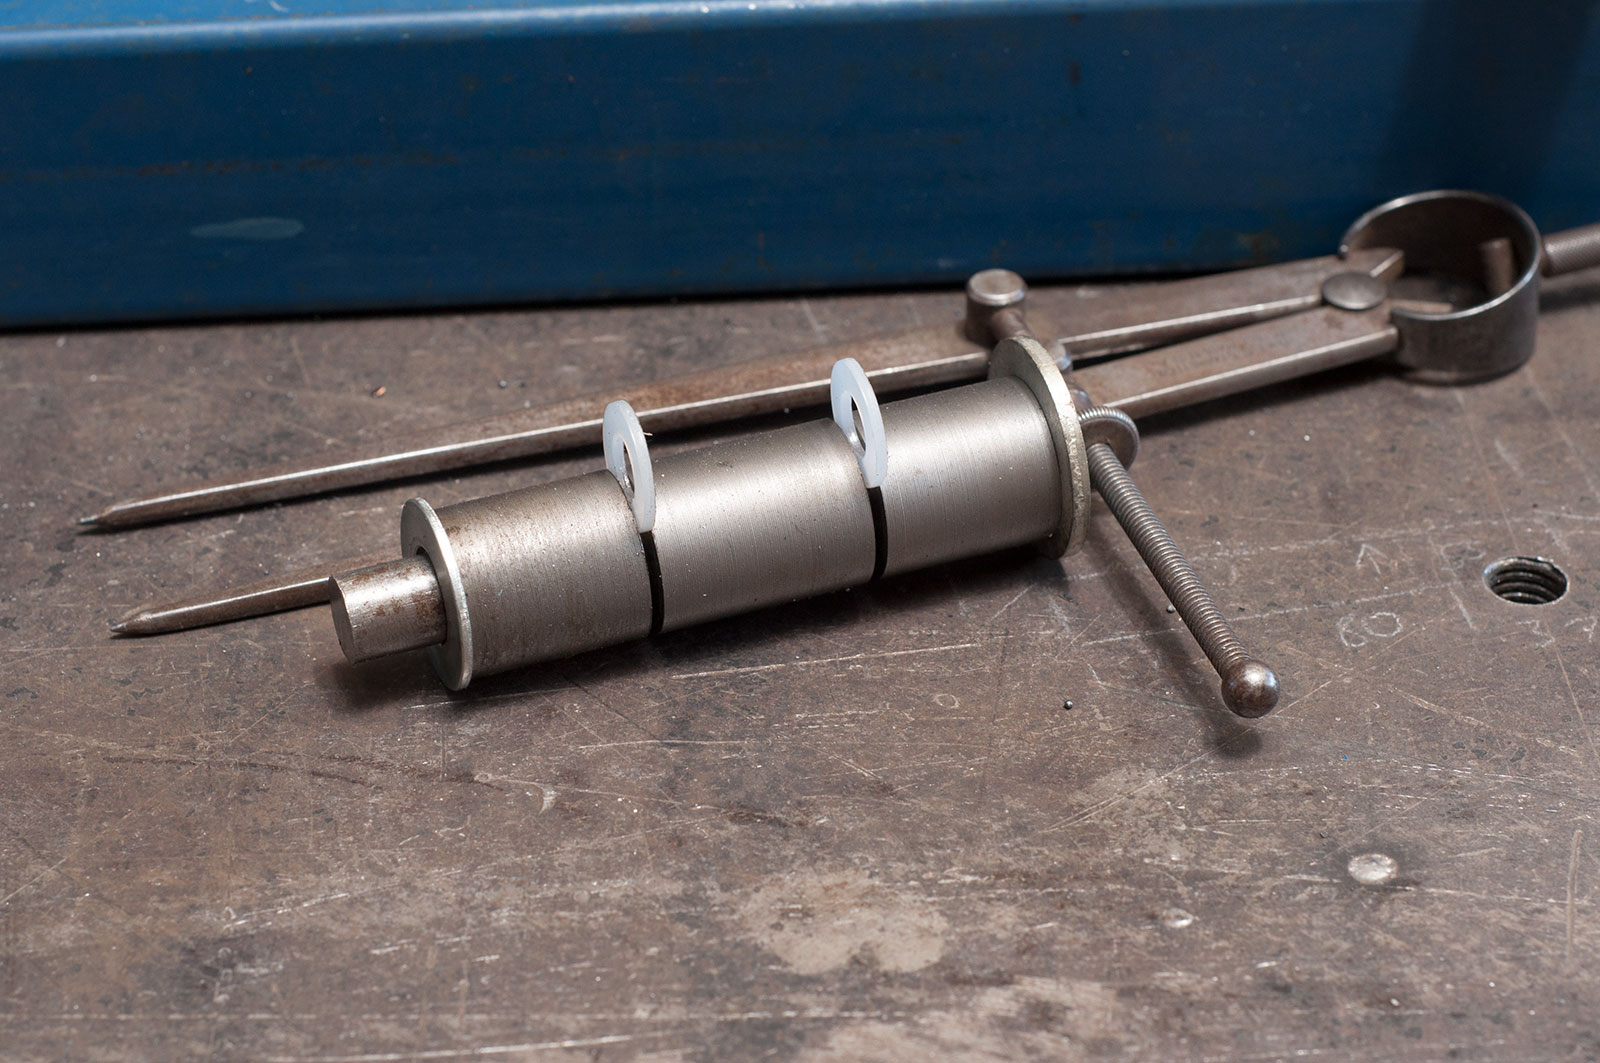
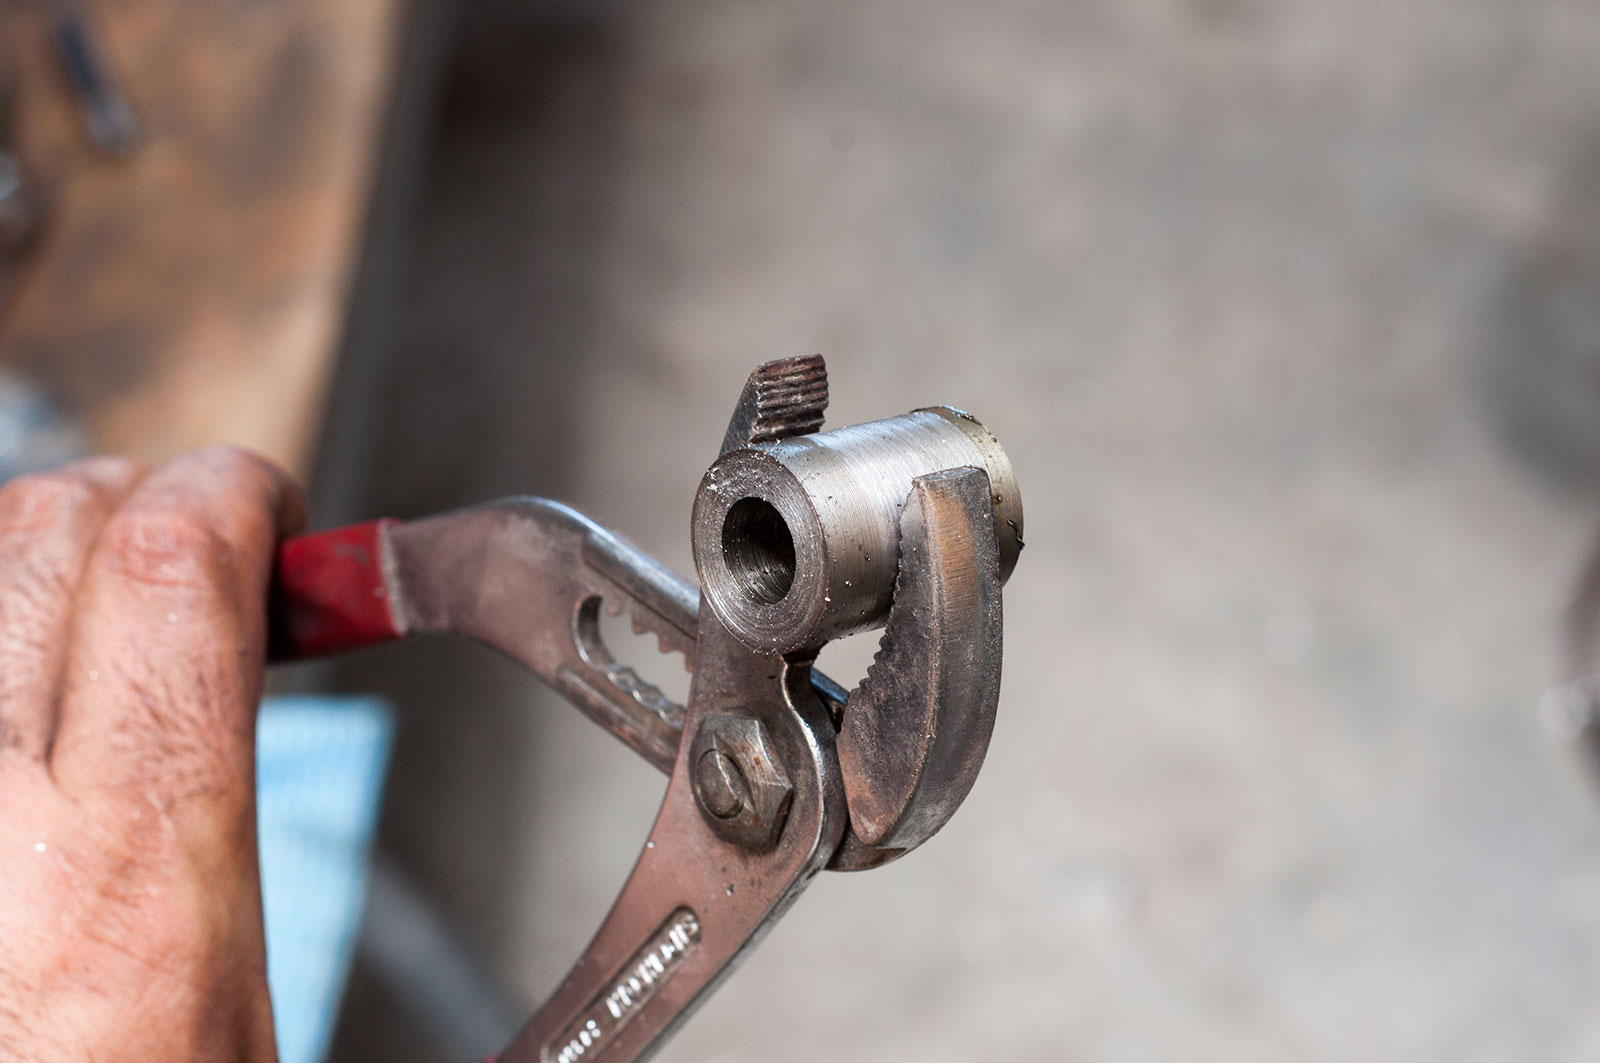
This was the original plan for the pins but couldn’t get the washers – even cut down – to clear everything. The nylon washers would have been great as washers between the elements but I didn’t have any in 12mm ID and they’re hard to drill out. Plan B into action – make bronze washers as bearings instead.
Shave down external diameter to get a nice finish.

Bore to the same size as the pin.
Part off at 2mm thick. Easy.
Making the connection
Using threaded rod so both hinges are perfectly aligned. Would have used plain rod if I had a long enough length of 12mm.
All lined up with the pretty bronze washers in too.
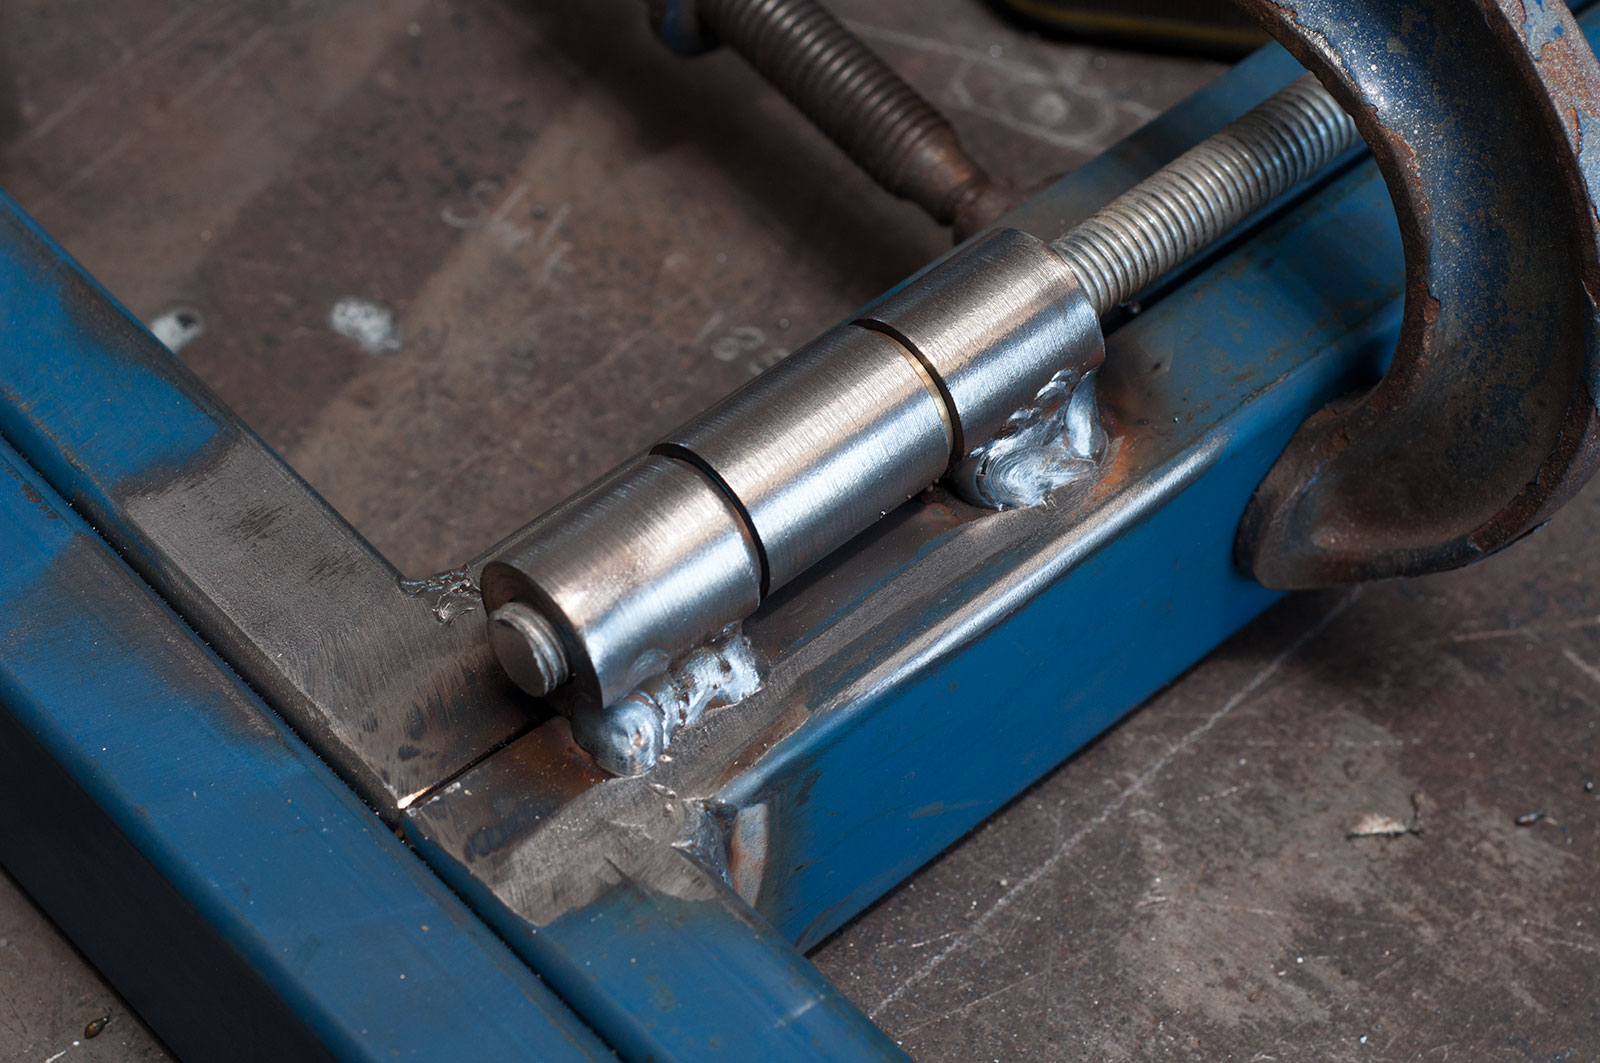
All welded on!
Gotta be careful to keep everything in line when you weld it on, the hinge parts want to migrate back to the weld as they cool. Lots of gentle persusasion helped.
Foldable legs and straps
Charlie did this while I made the hinge stuff, so I don’t have a lot of photos. Simple idea is to have the pivot points 30 mm back from the cross braces at each end (and from the middle connection) and then radius the ends of the legs so they clear everything including the top when it is fitted. Threaded rod used to make the pivots for the legs. Legs are separated by a spreader to make them into an H shape, so pairs of legs fold in together.
Marking up the legs. Easiest to punch the holes and things for the pivots now and radius it all the same.
Lopping off the most part of the radius at the tops of the legs. This is a 30 mm radius to give just enough clearance. Final rounding done on a linisher.
Legs were ‘capped’ – actually footed – with some plate and a bit of TIG work for neater welds.
Pivots in, legs in, ready to weld the spreader on the legs.
Leg stays. Want these all to be even. Bit of pythagoras involved to get the size right and a lot of care taking in drilling so the holes are all in the same spot. Got there in the end though.
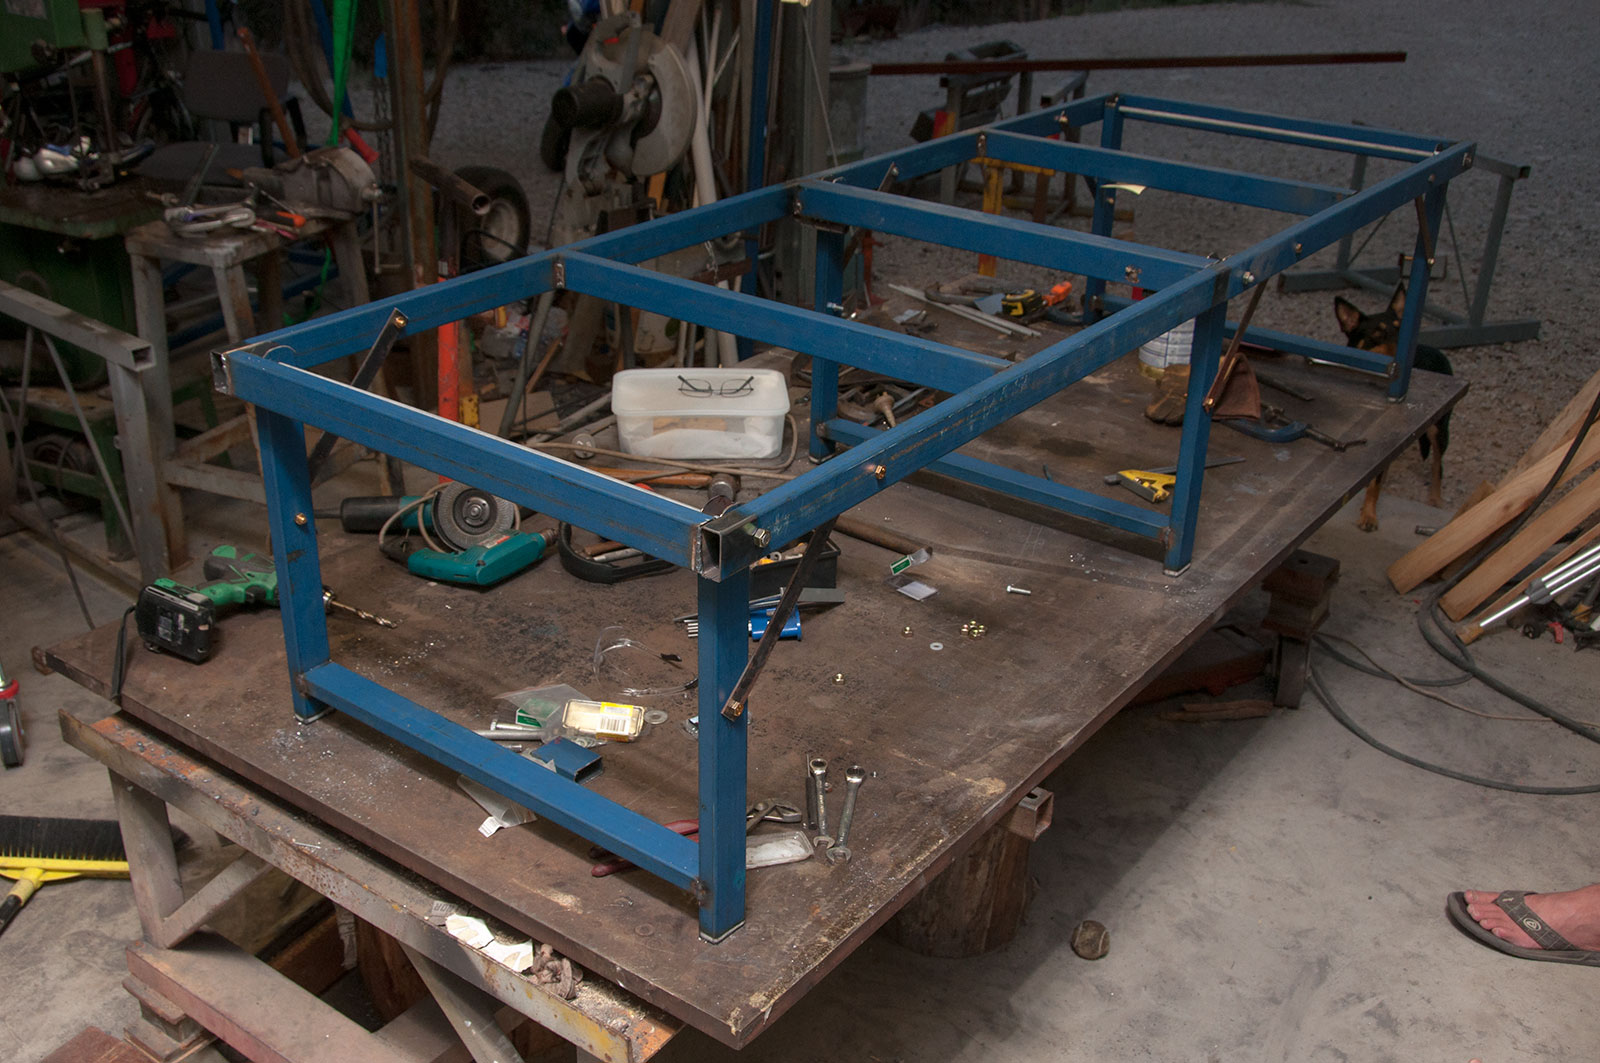
All done! You need to get the legs square before tightening the straps, but it all works great. Legs are the perfect length and I love the height. Strap location to brace the legs is done such that you can use that bolt hole to lock the legs when they are collapsed.
The whole reason for going this – this is how small it collapses. The ‘top’ would be up and down in this photo after collapsing (the hinge is, after all, on the underneath so the underneath of the work bench all gets hidden away).
Painting the frame etc
No pics of it, but I just used whatever paint I had left over. Still need to paint the top, but that can wait till I’ve used it a bit :).
Put your top on!
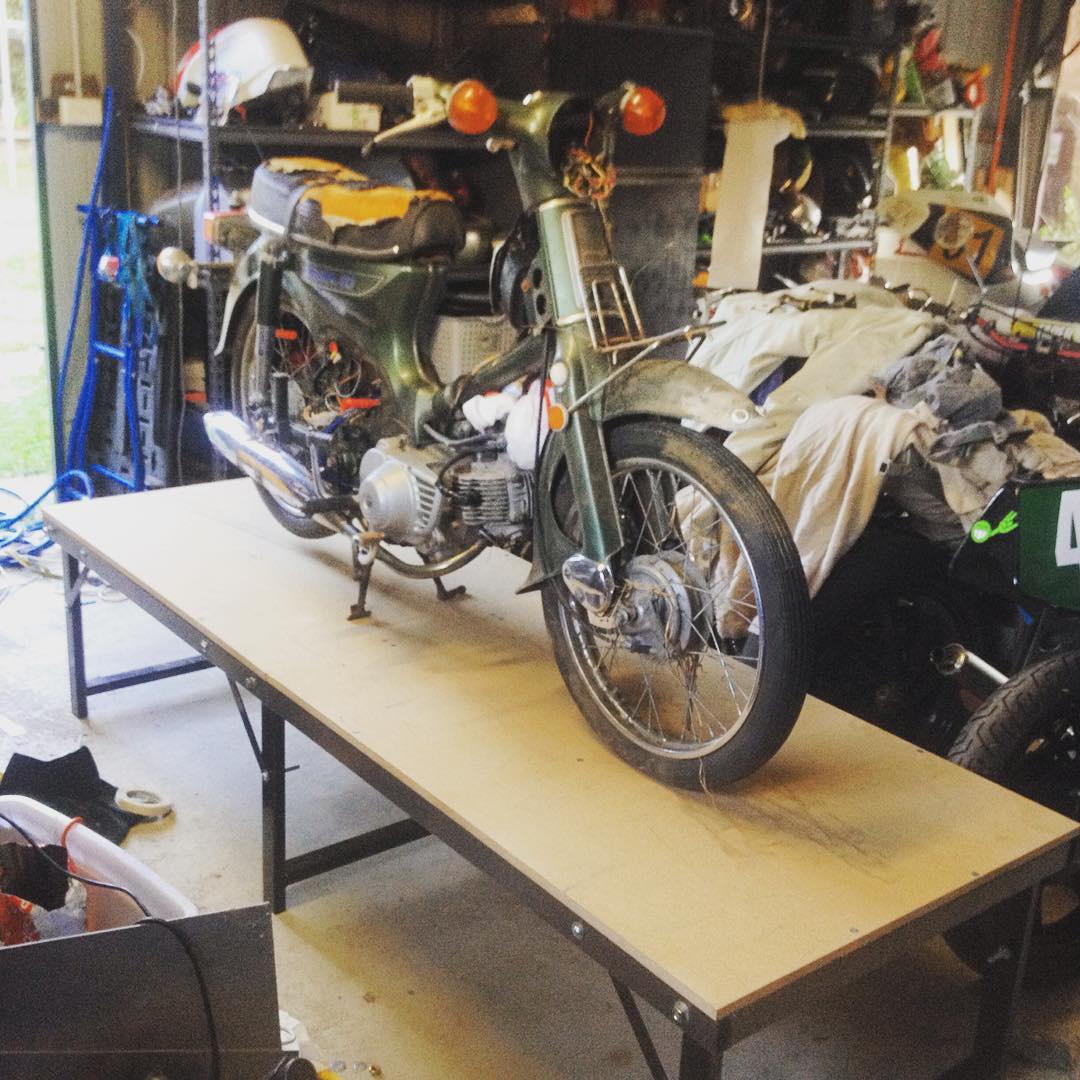
16 mm MDF sheet in 1200×900, shortened to suit. I could have done this with a single sheet but it wasn’t much more cost to buy it. Here it is with a Cub for scale.
Total cost: $203
Actual prices for what I purchased for it:
- $66 for the 50×25 RHS
- ~$5 for the bar stock of steel (it’s out of the scraps pile so hard to account for cost)
- ~$3 worth of bronze to make up the bushings
- $21 threaded rod + nuts for leg pivots.
- $10 M8 bolts for leg pivots + nuts
- $12 countersunk M6 bolts and 30x M6 rivnuts
- $35 paint: primer, hammertone charcoal grey topcoat and gloss black topcoat
- $51 MDF sheets: 2x16mm 1200×900 sheets
(Article by Chops)