
Replacing Ducati dry clutch (on a 2006 Monster S2R1000)

Ducati dry clutches are renowned for two things: a) their rattle (clunka-clunk in neutral with clutch lever released, tingatingatinga in gear or neutral with lever pulled in) and b) their lack of longevity.
The rattle I don’t care about. Certainly not a deal breaker for me, anyway. The rattle is worst as the clutch stack gets low, which happens as the friction materials wear. So, rattly clutch and potentially slipping a bit more? Time for a replacement.
Quick story on plates. There’s a few options out there, I went with OEM for my first set of replacement plates and this time I’m trying some Barnett plates. There’s a few differences, but primarily price: I got these plates for less than half the OEM plates. We’ll see how they last.
The repair – stuff you’ll need, getting access to the clutch
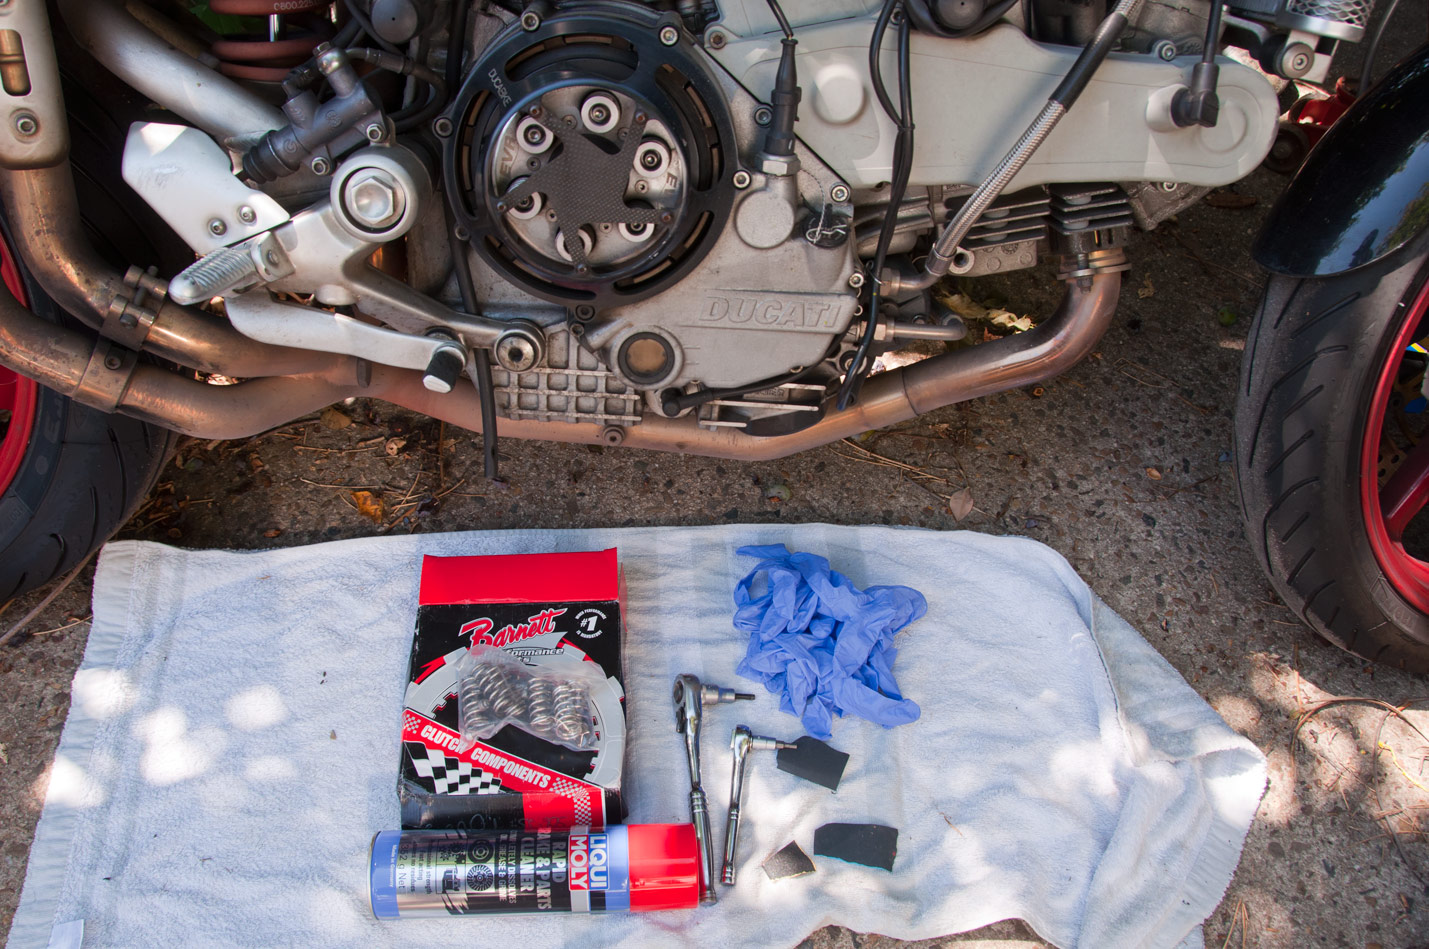
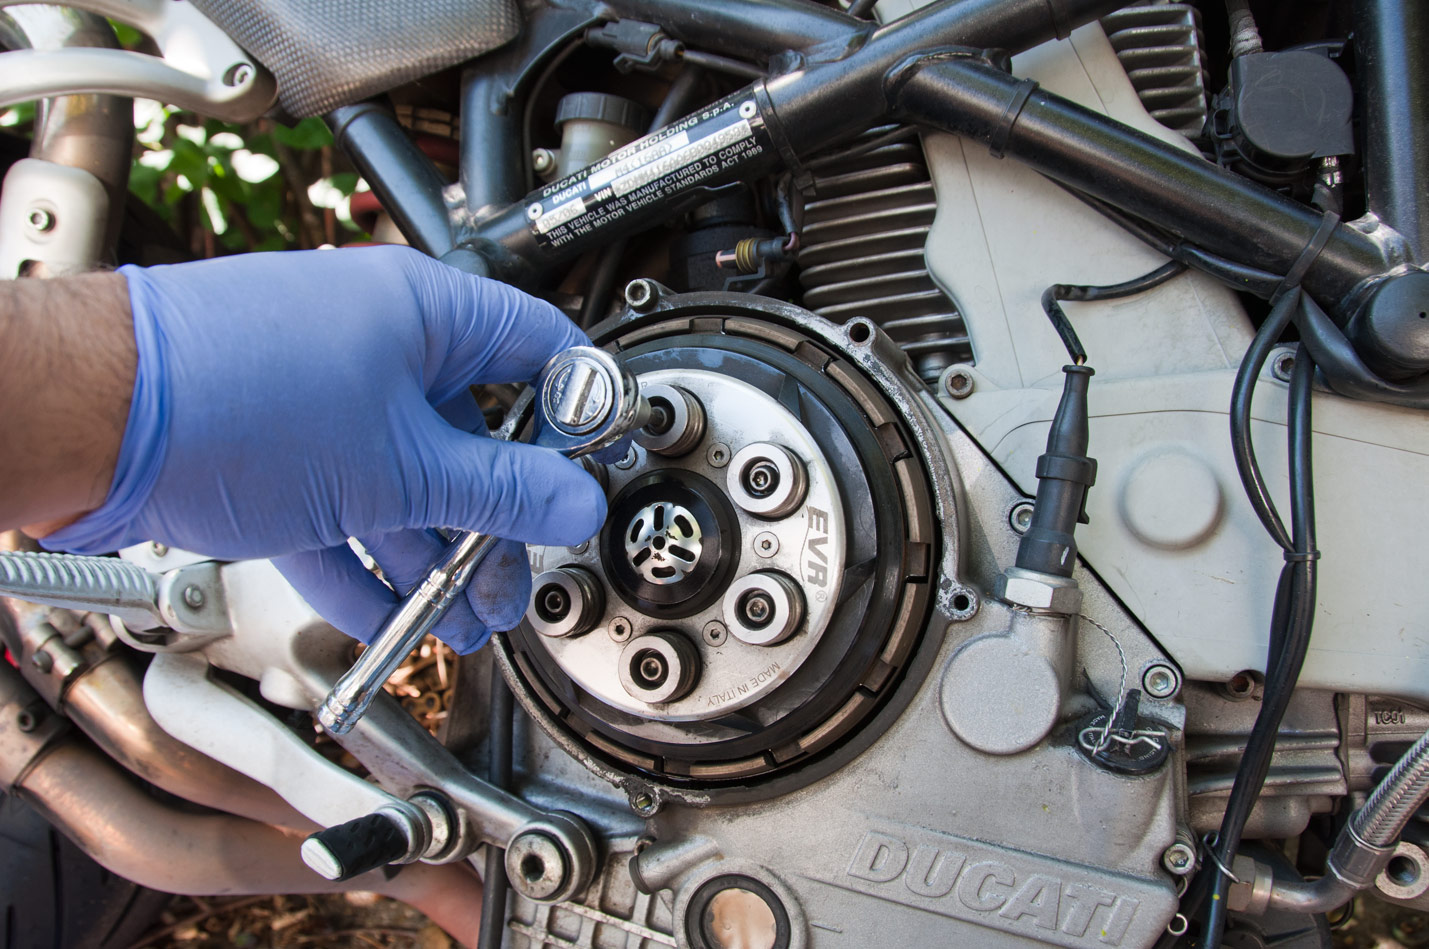
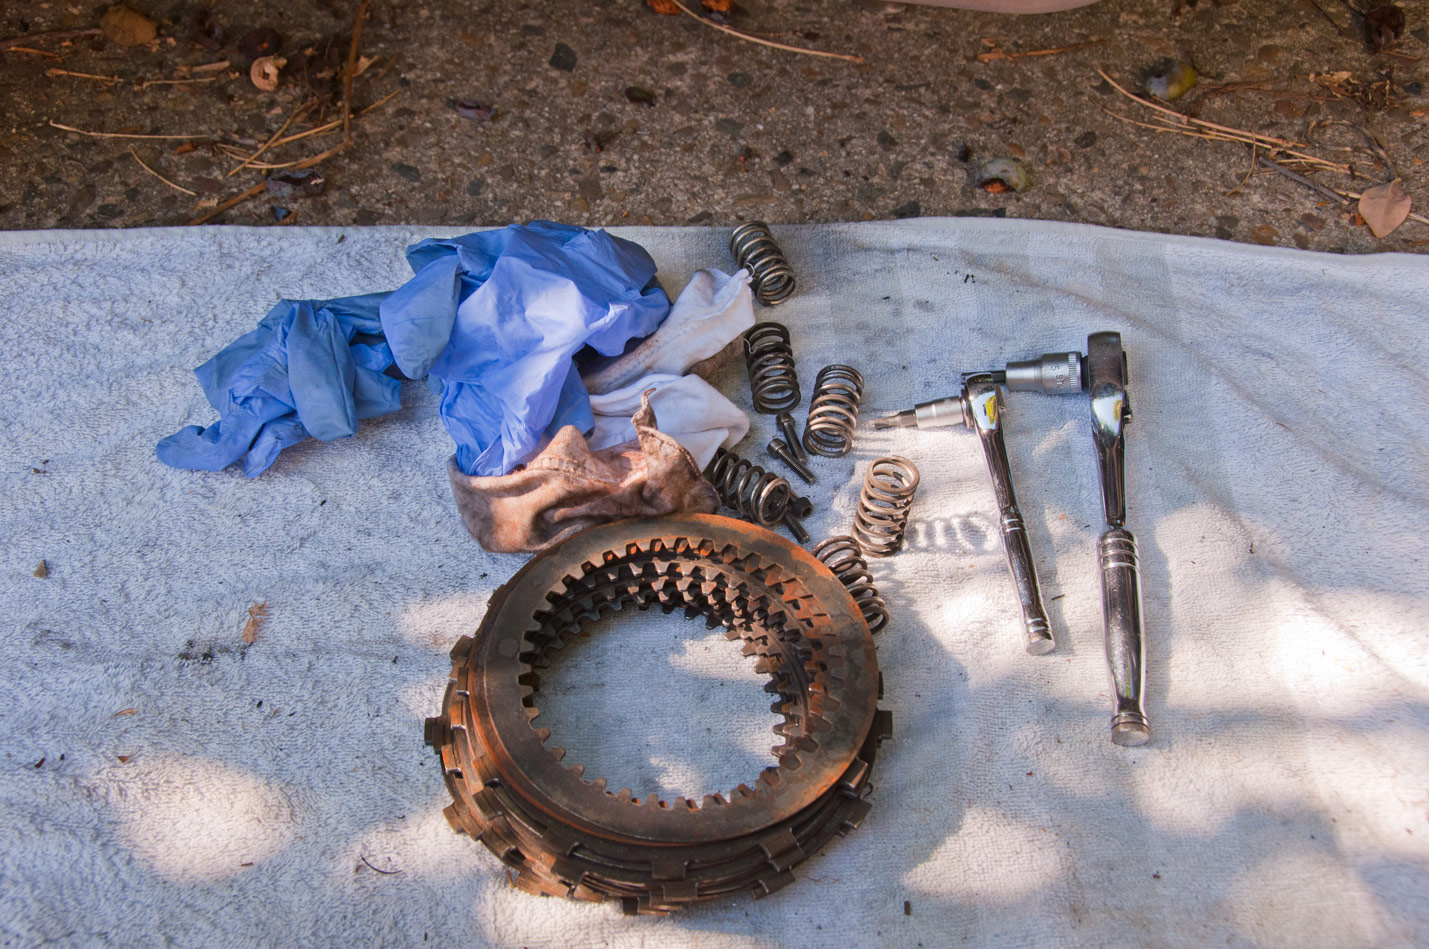
Really, really simple to do a clutch on a Ducati. You’ll need your new plates (+ springs if you want – I like to do them at the same time as I do plates no matter the bike), some brake cleaner to rid the area of clutch dust, 5mm and 4mm allen sockets and ratchets to suit, some sanding paper to clean up any dags on the basket or clutch push rod, some rags, and, because this is 2015, internet mechanics have to wear non-latex gloves. In a show of non-conformity, I’m rocking Ansell purple ones because black is for tattoo artists and hipsters. I’m neither.
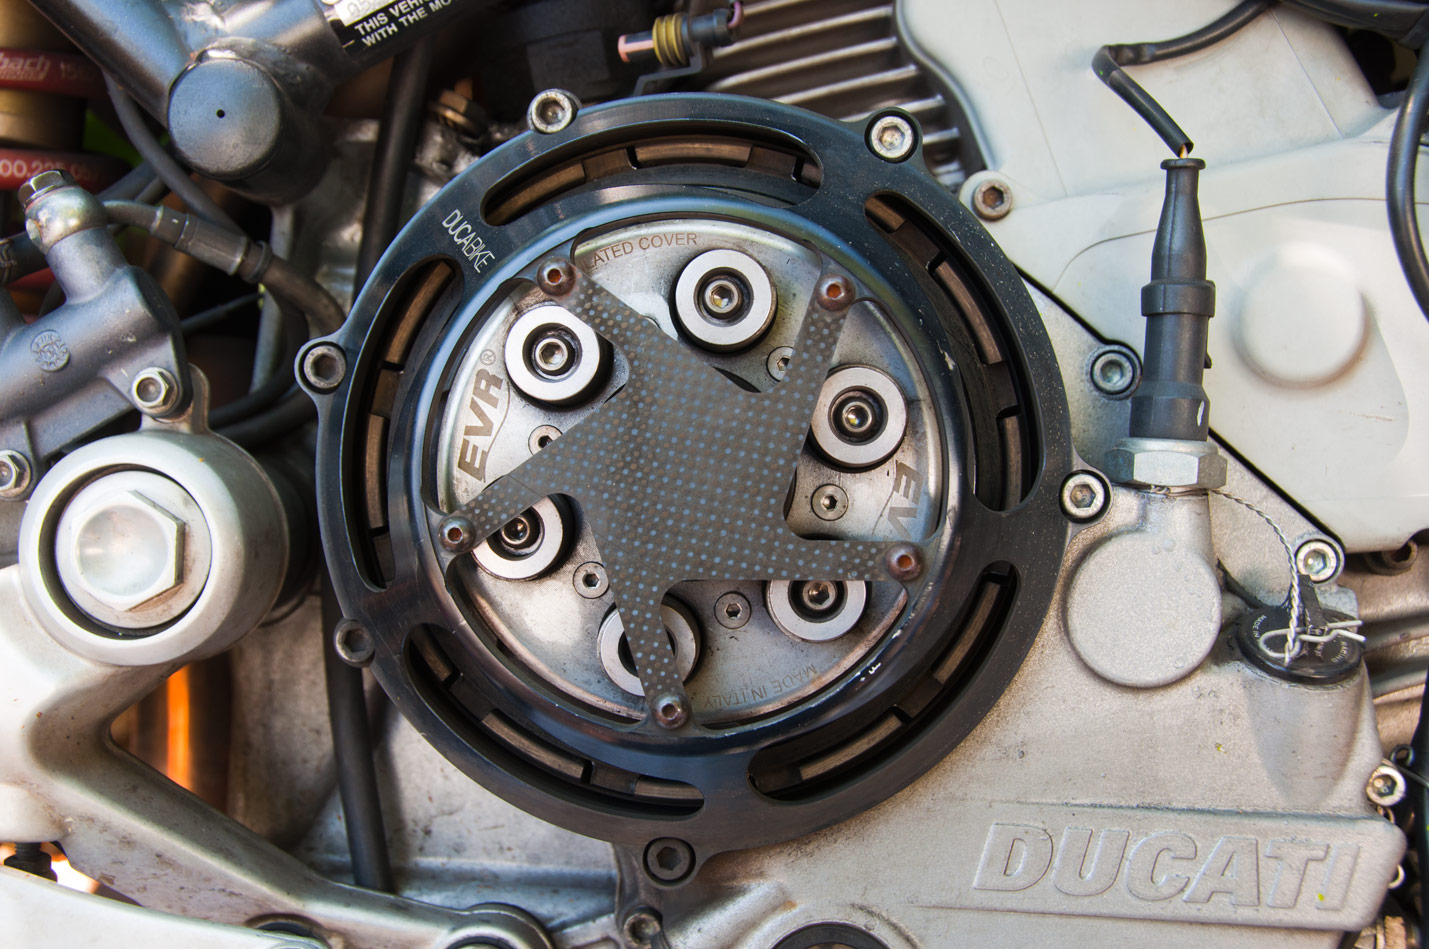
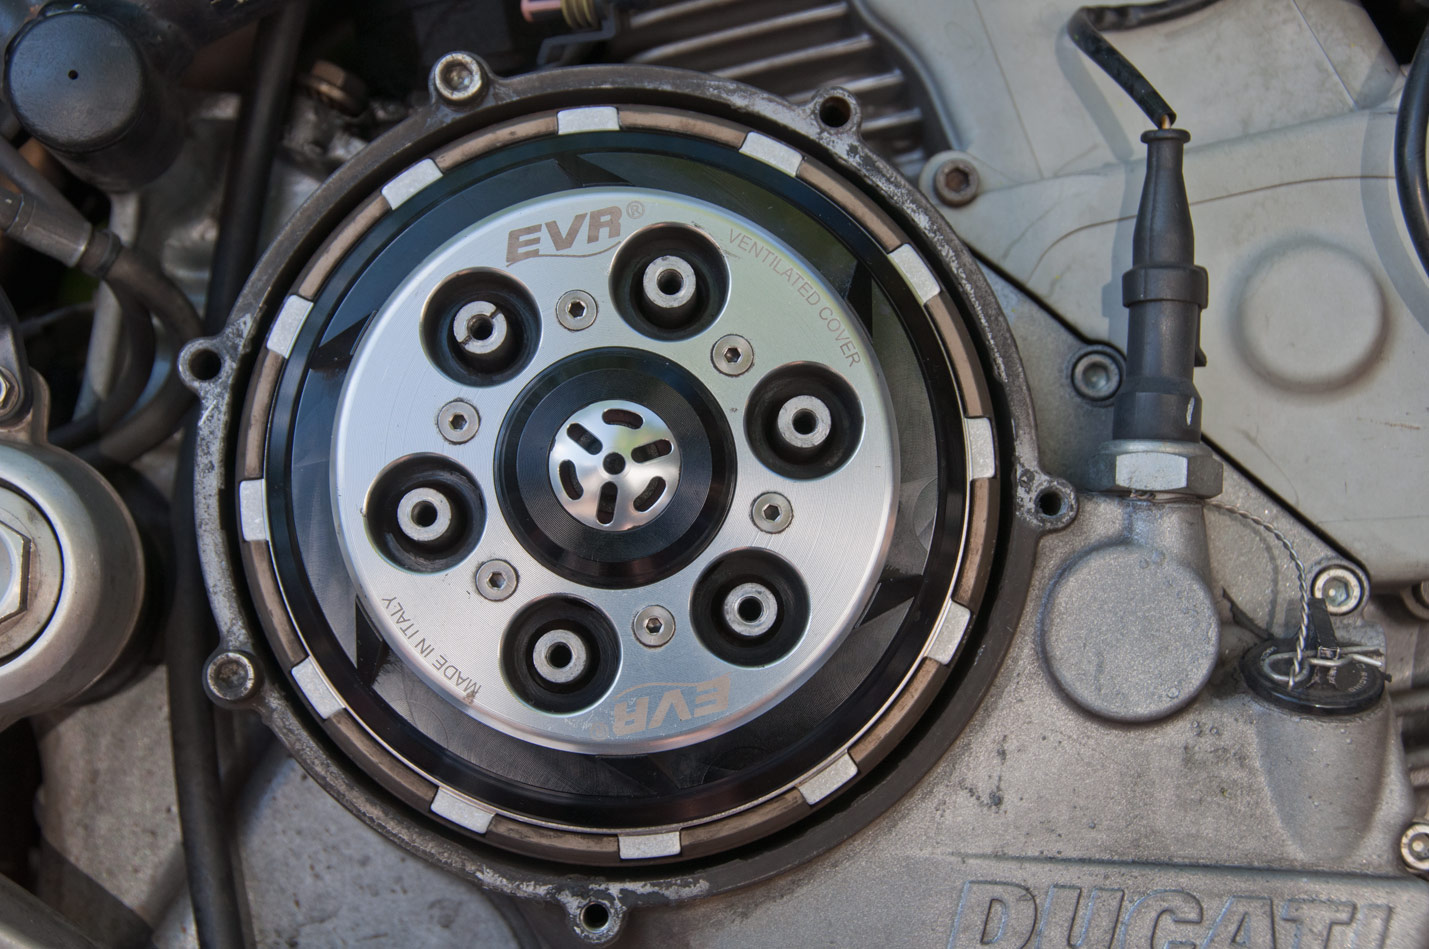
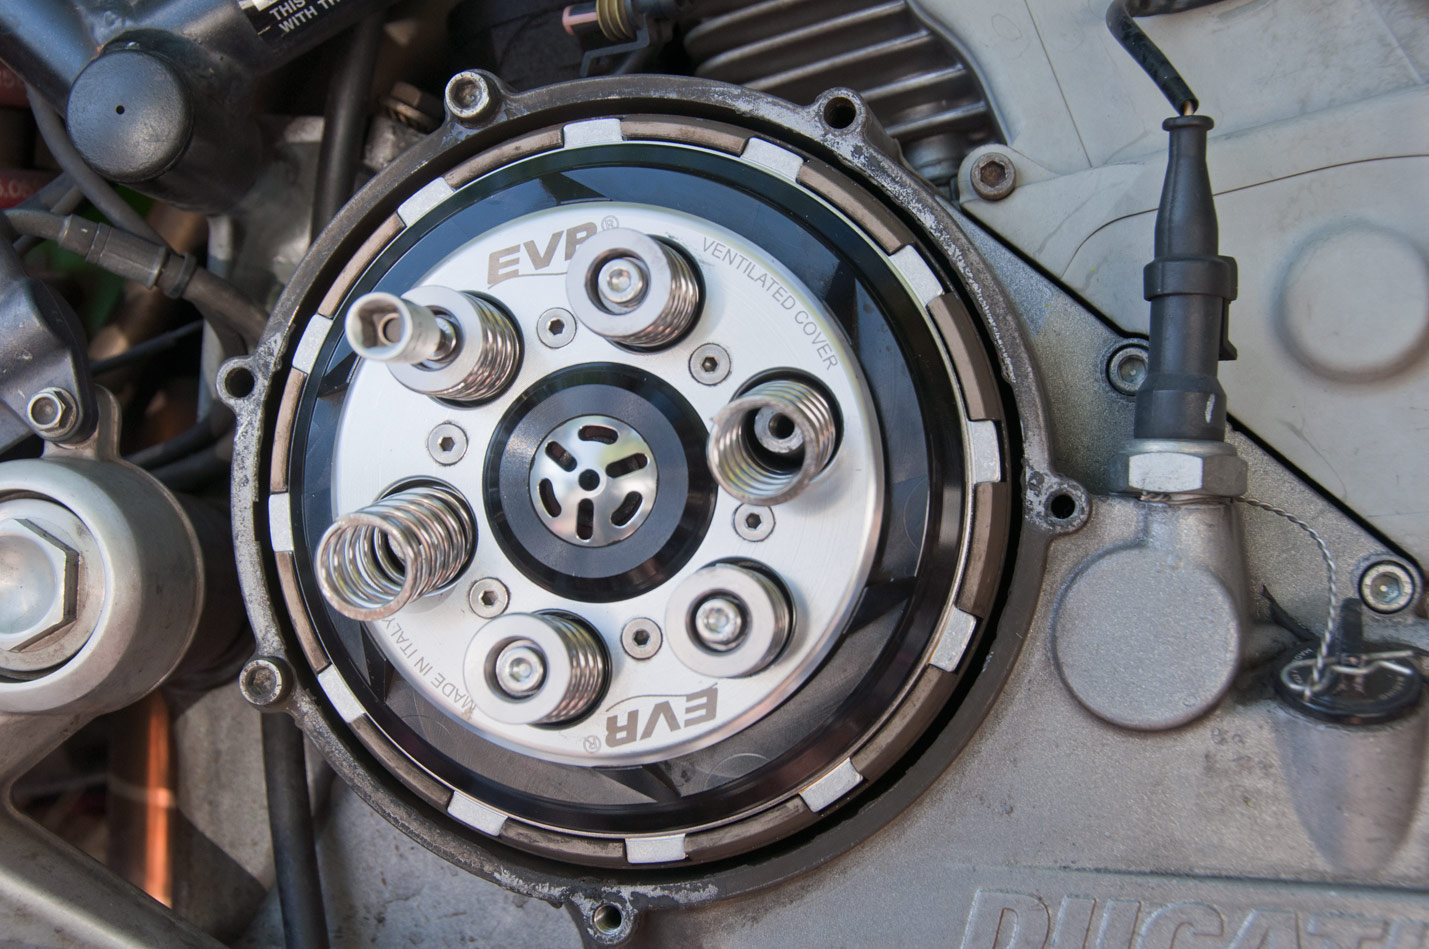
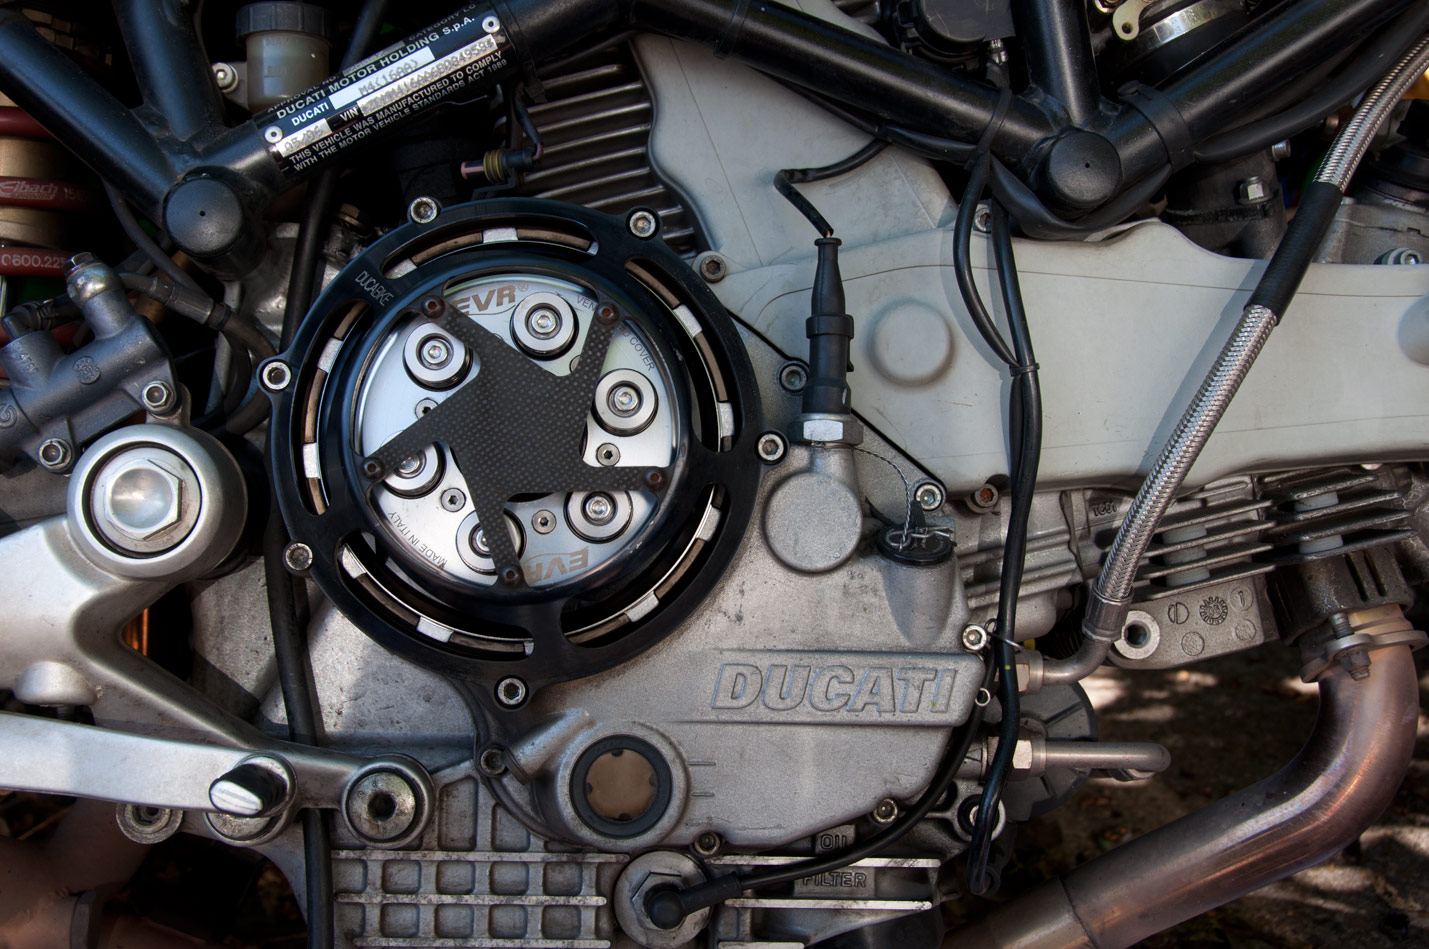
Easier to see what’s ahead with my open clutch cover and vented pressure place, but it’s not difficult even with an OEM closed cover. You don’t even need to undo every screw around the clutch cover on a Ducati!
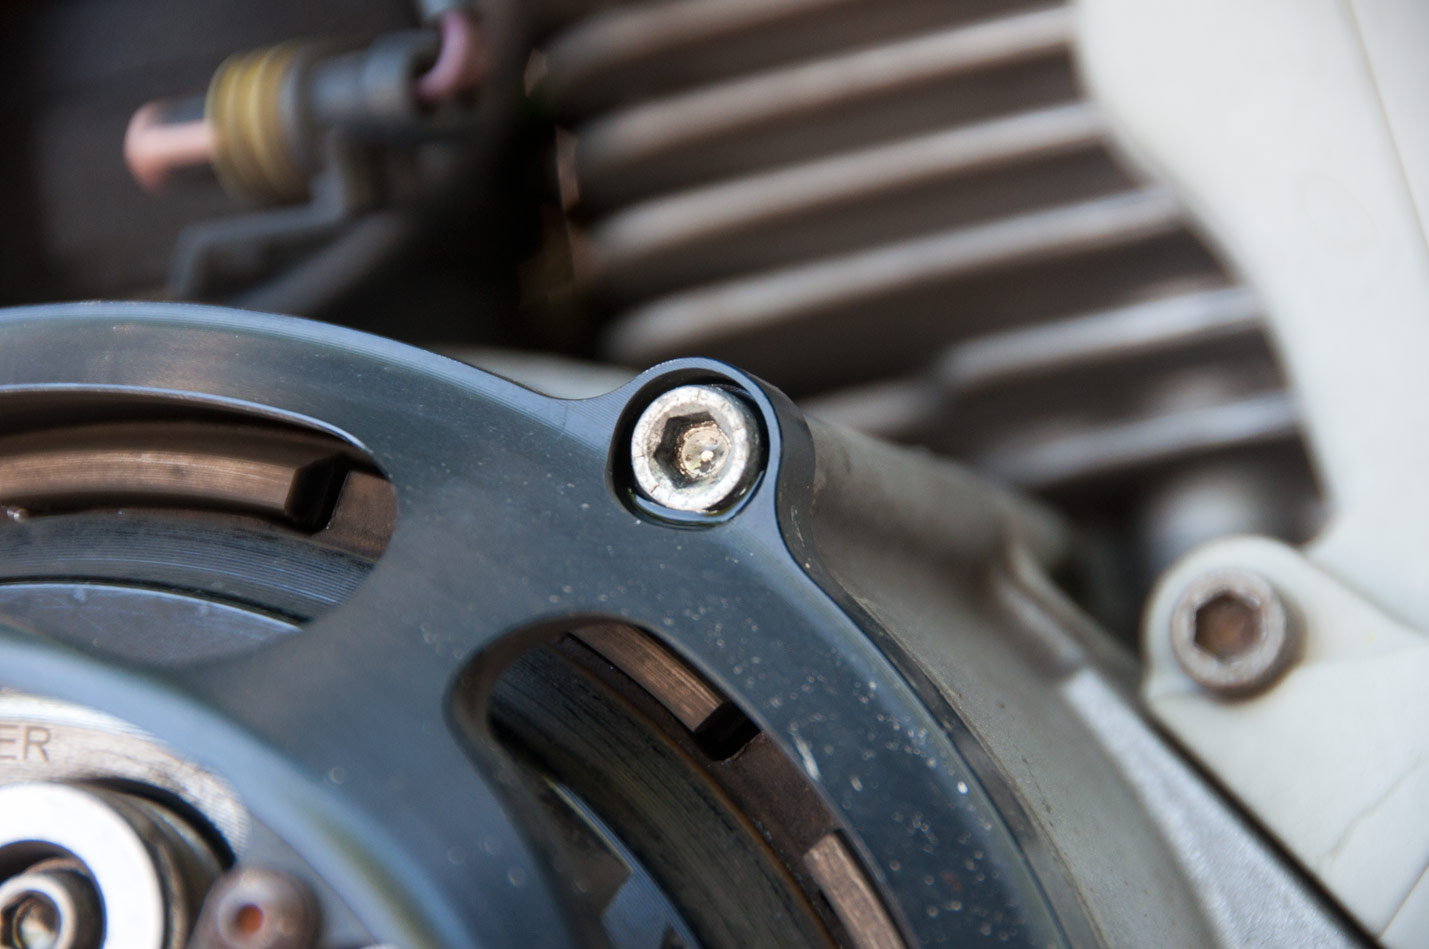
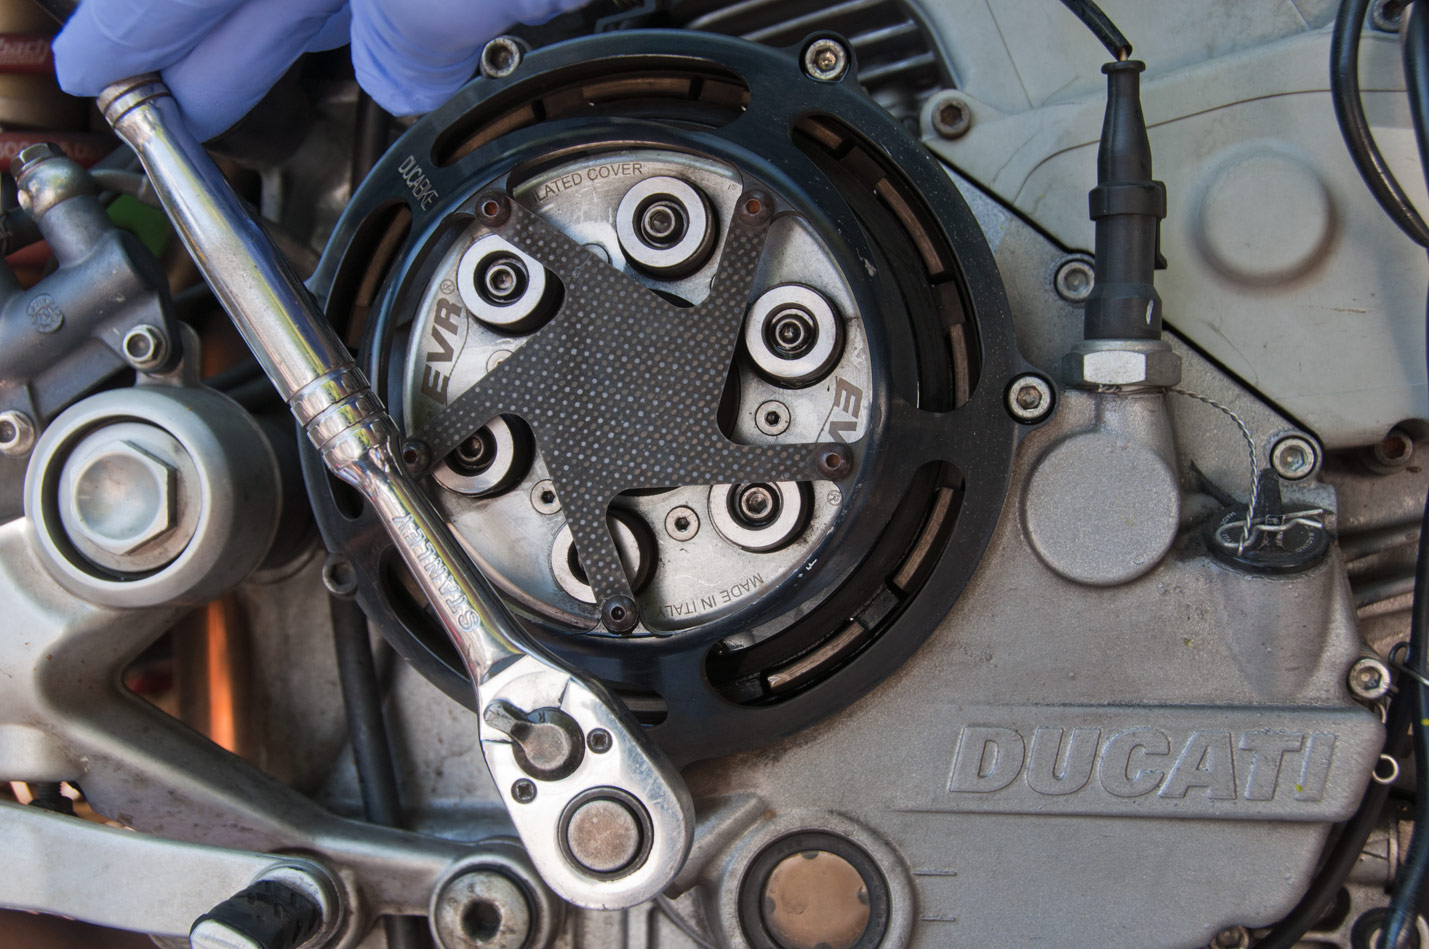
Some screws do need undoing as they seat onto the cover itself
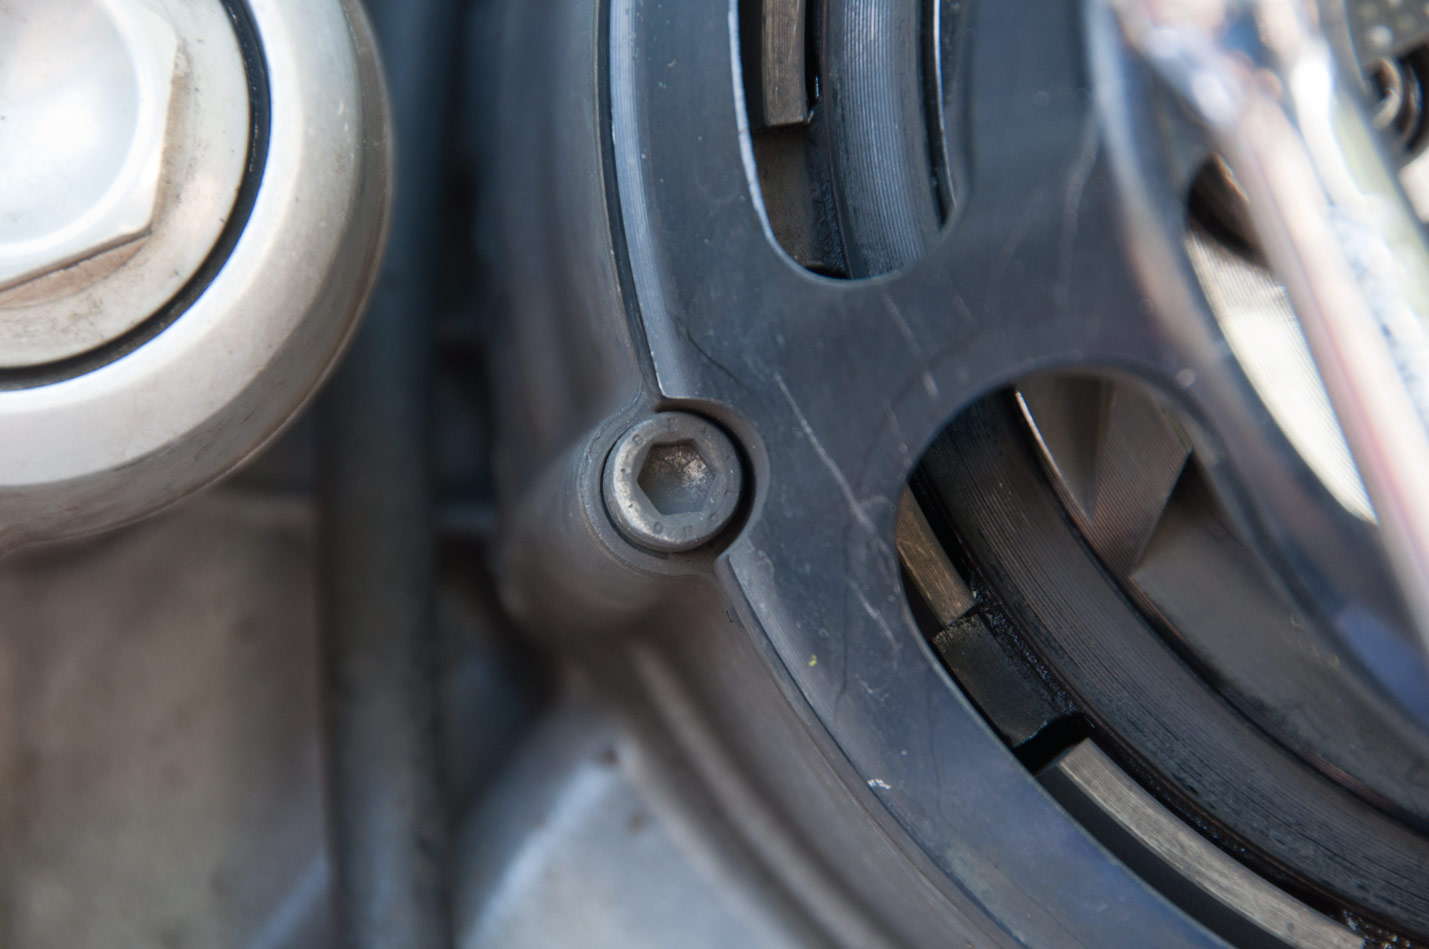
… and some clearly don’t. This is more obvious on this Ducabike cover than with an OEM cover but it’s not too hard to work out either way.
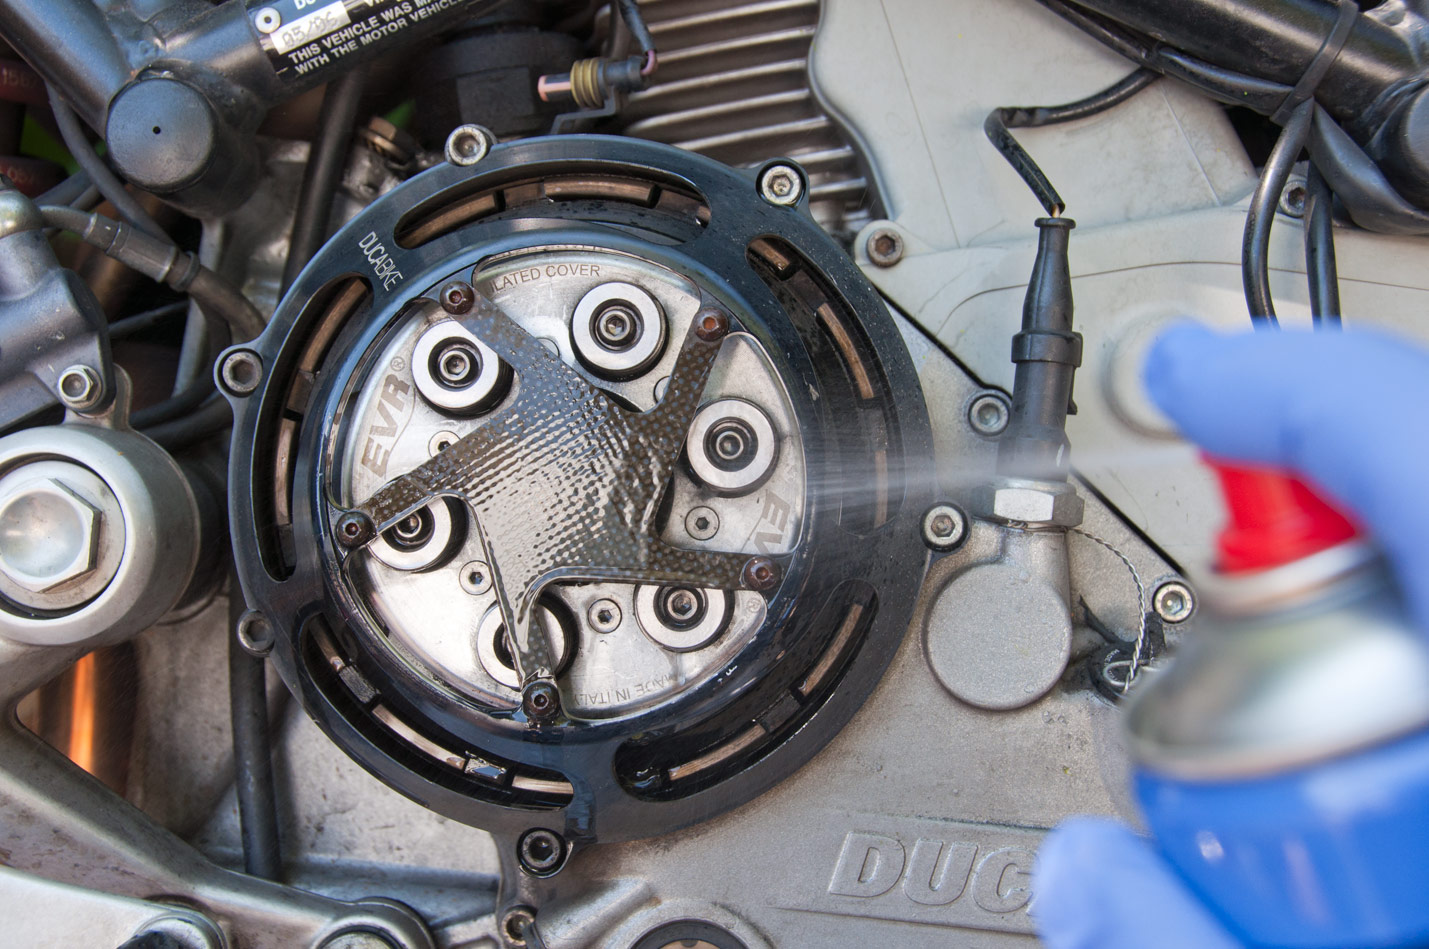
I like to give it an initial burst of cleaner before popping the cover off, mostly to get the worst of the dust off the cover. Skippable step if you have an OEM cover.
Undo the necessary case bolts you identified a moment ago.
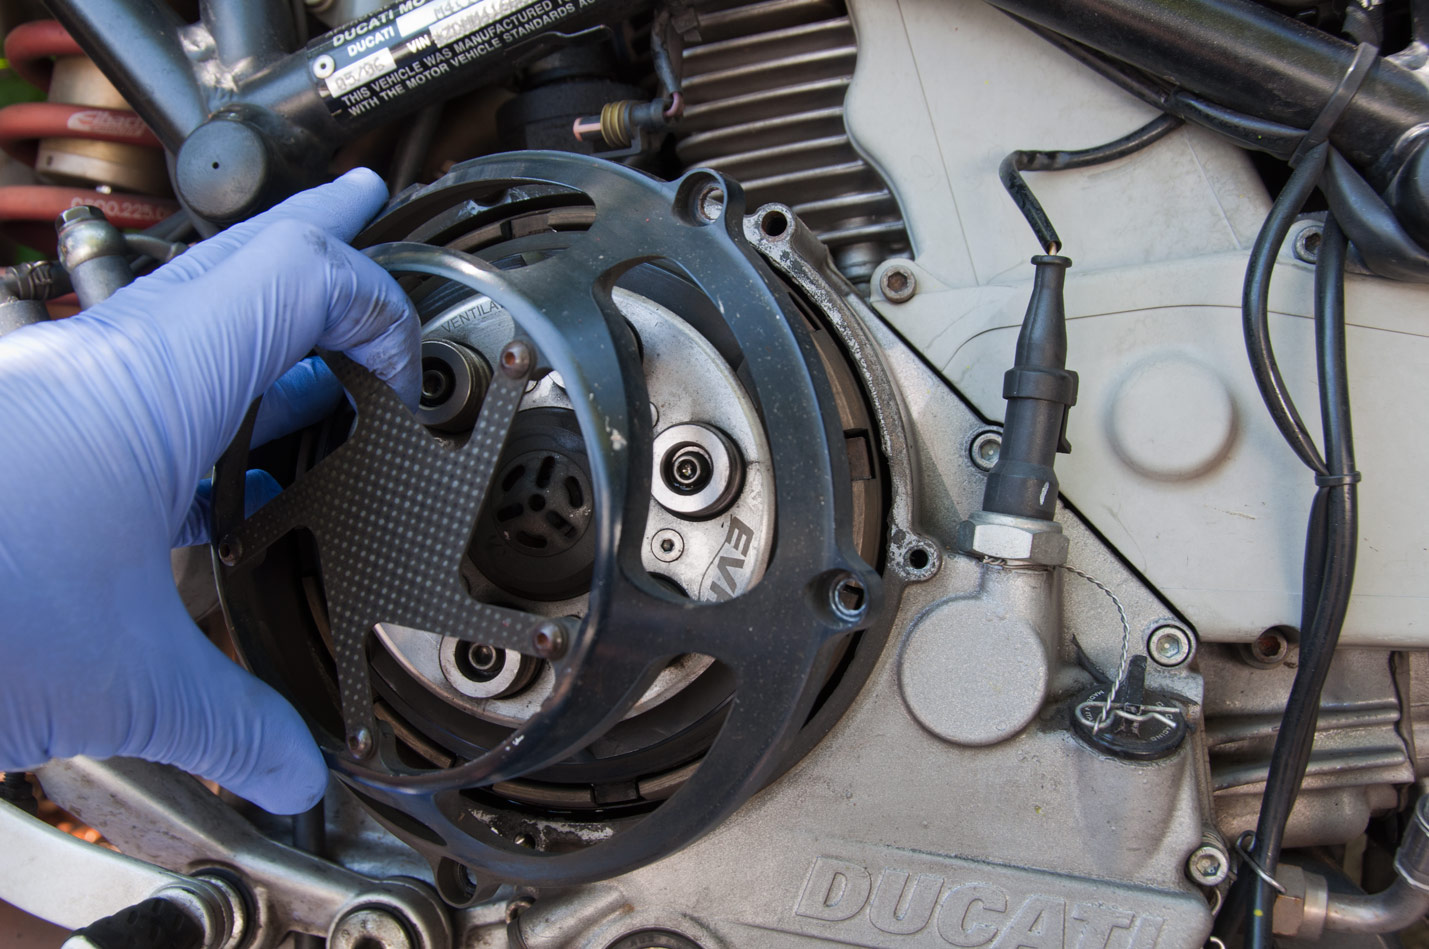
Pull that cover off.
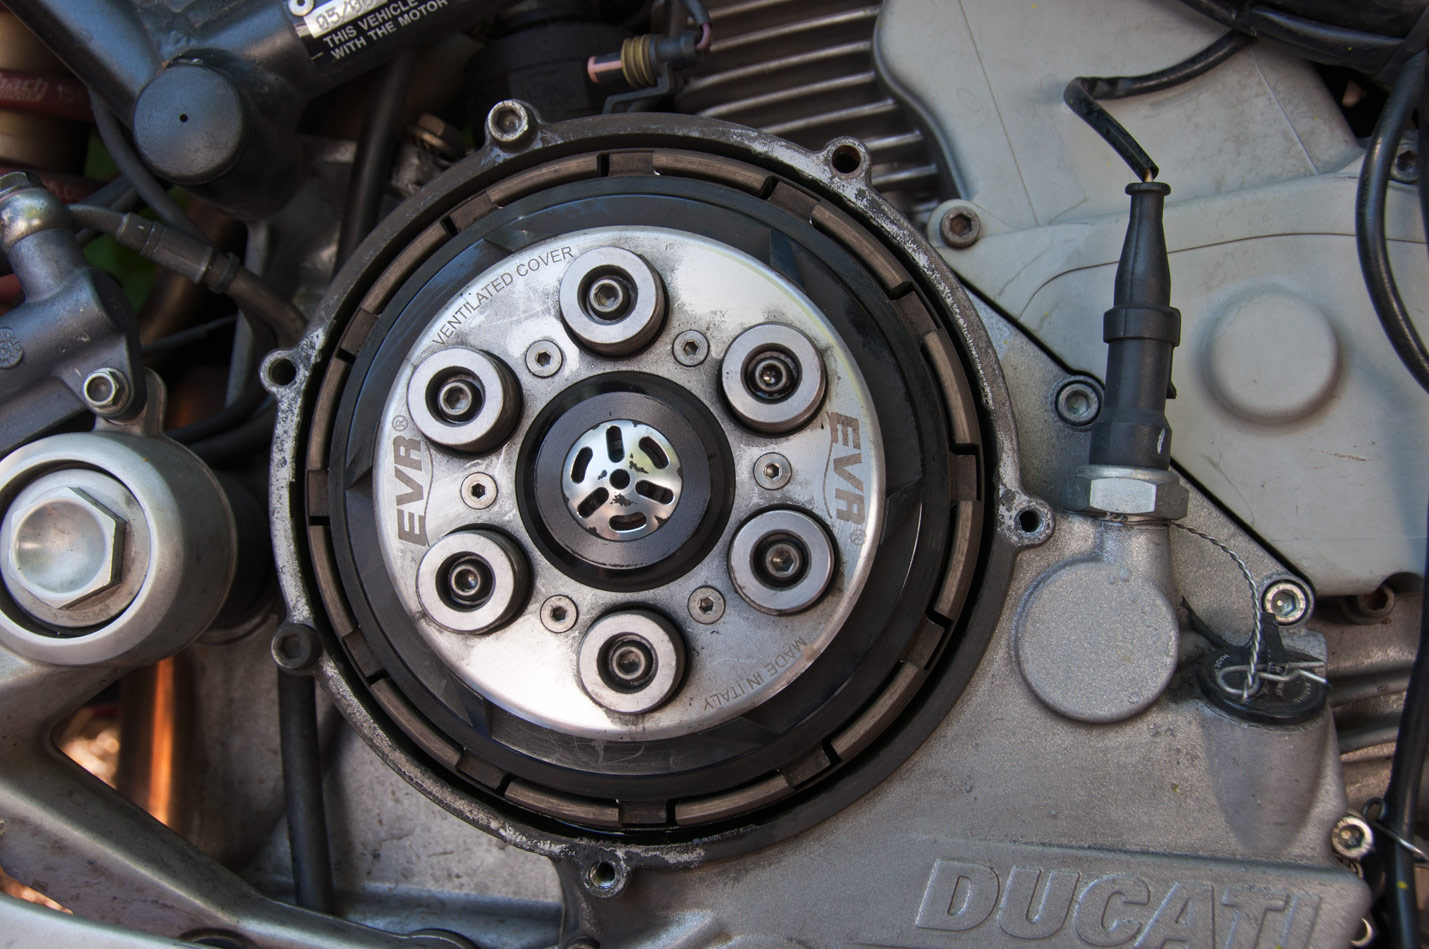
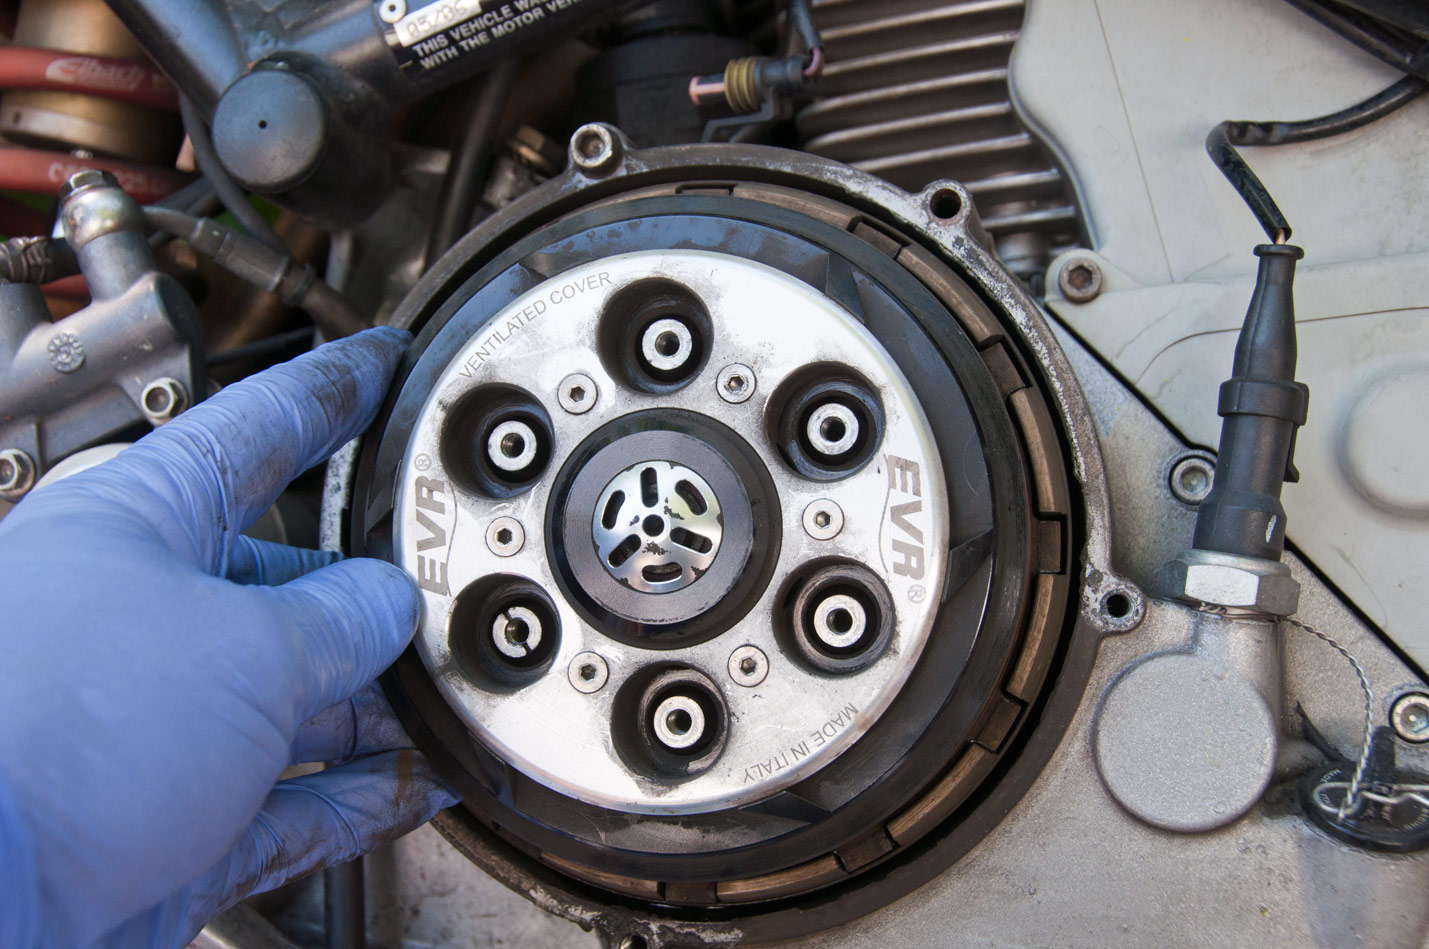
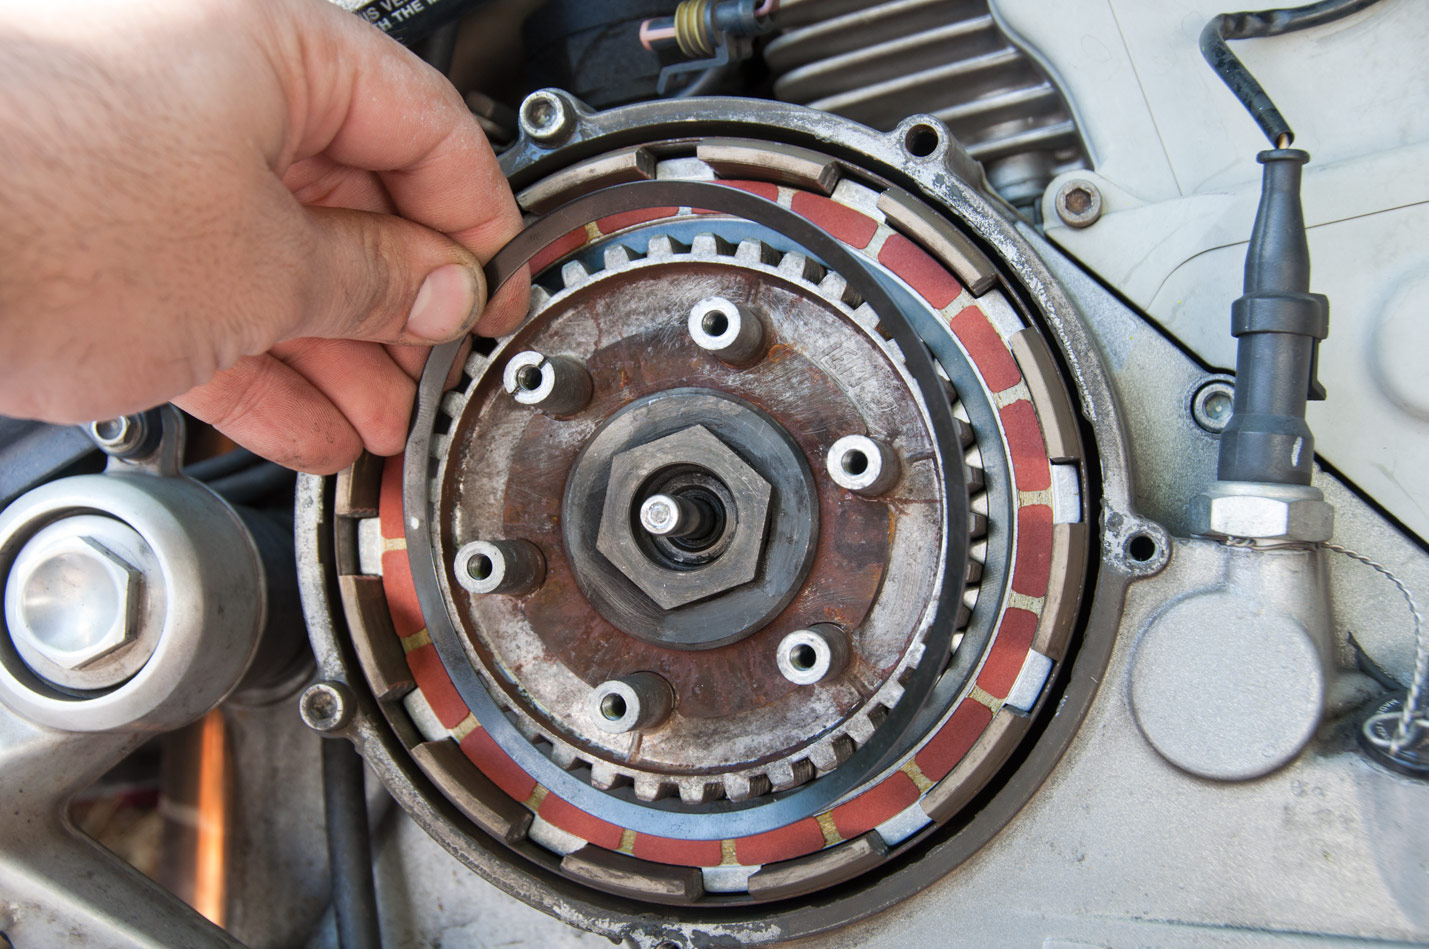
Pressure plate revealed! The springs are what provide the load onto the clutch stack, and you work against those springs when you pull the clutch lever in. This lifts the pressure plate, separating the friction (driven by the engine) from the metal (which drives the gearbox input shaft) plates. In turn this disengages the engine from the gearbox, allowing you to do things like stopping without stalling the engine or letting you change gears. (Not that you have to use the clutch to change gears on a motorbike, but that’s another topic).
The spring bolts are not tight. I mean, they aren’t in there finger tight, but they ain’t gorilla on an impact wrench tight either. If you are struggling, strike the end of the ratchet handle with your hand; this shock acts a bit like an impact tool and helps to release it. Remember that initially you are working against the preload of the clutch springs, which is trying to pull up on the head of the bolt. That makes it tighter to undo initially than a normal bolt.
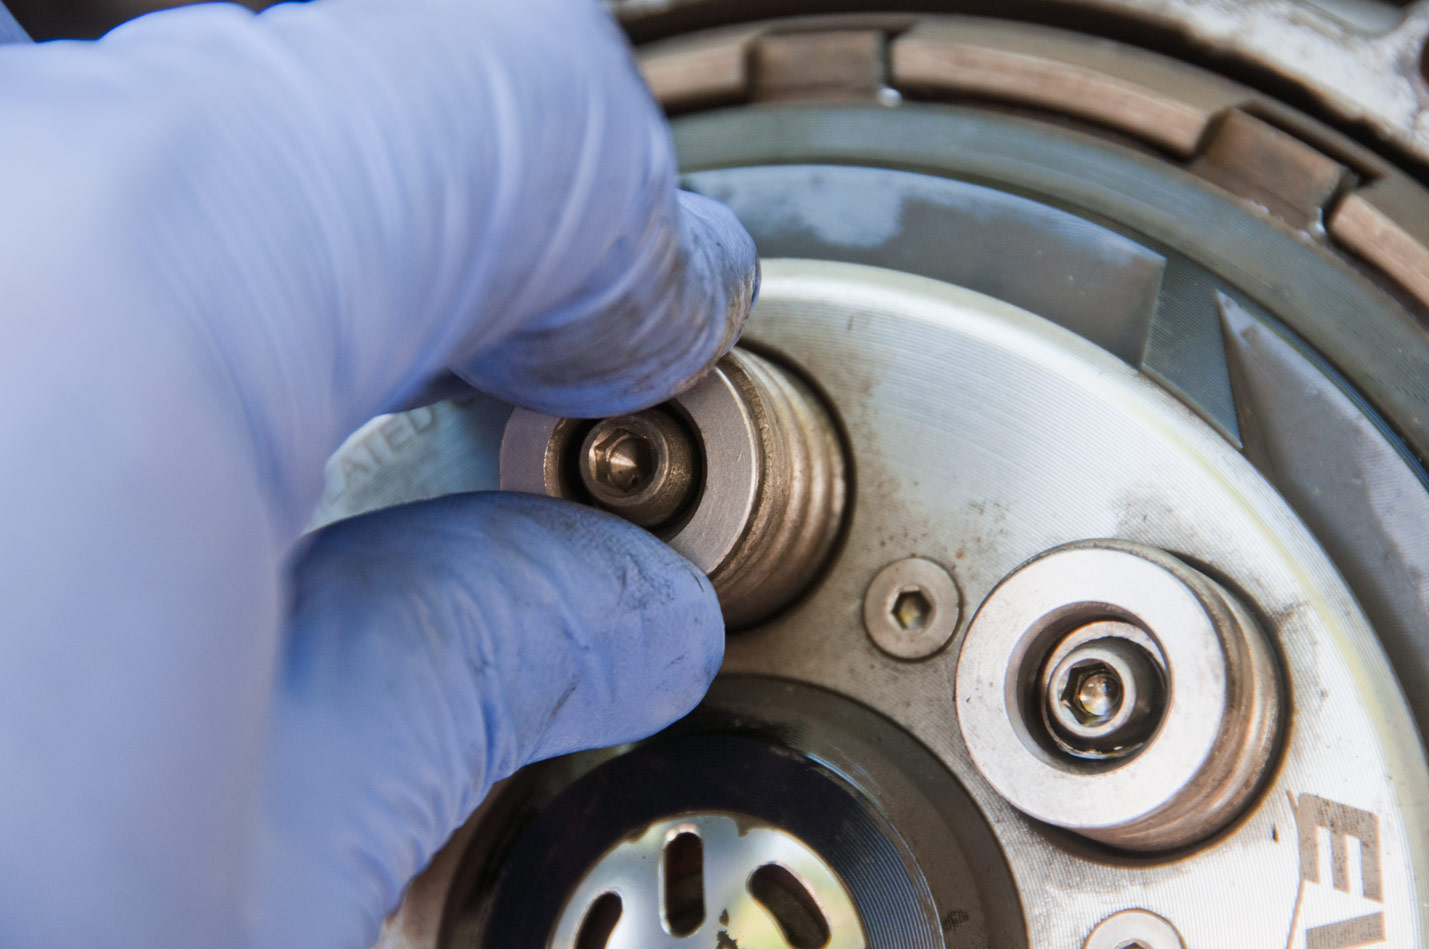
Once you’ve released the bolt a few turns, you can use your hands to push down on the springs which releases the cup from the base of the bolts. This isn’t essential but does make undoing it with just a bare socket or an allen key possible.
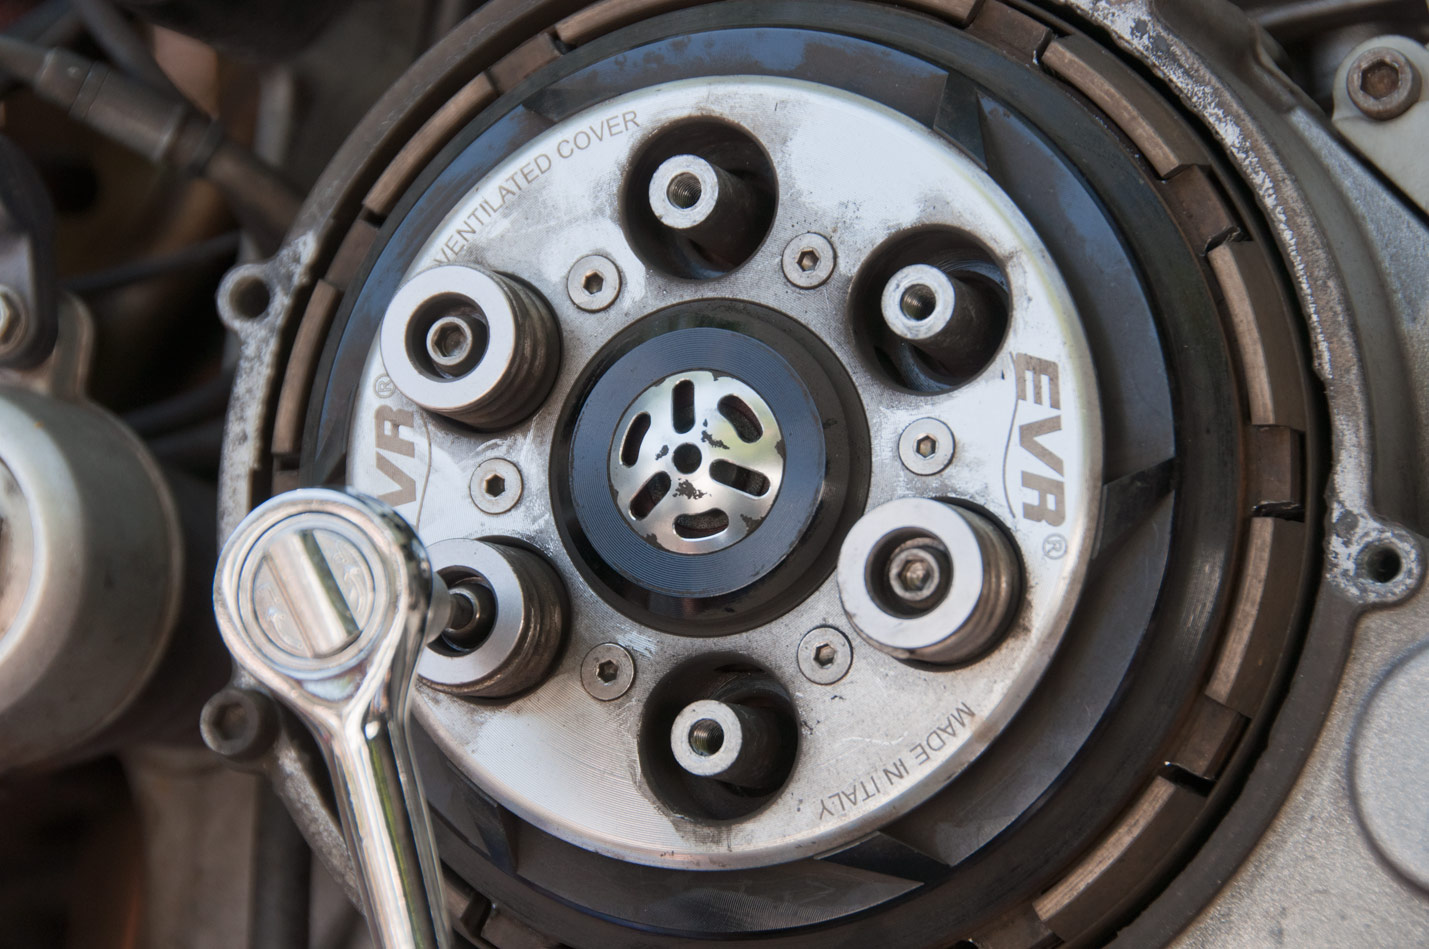
Undo the bolts in a criss-cross pattern. This helps keep the pressure plate nice and square onto the plates until it’s all undone. Also saves side-loading the little bits the bolts go into in the clutch basket – snapping them off is a bad day.
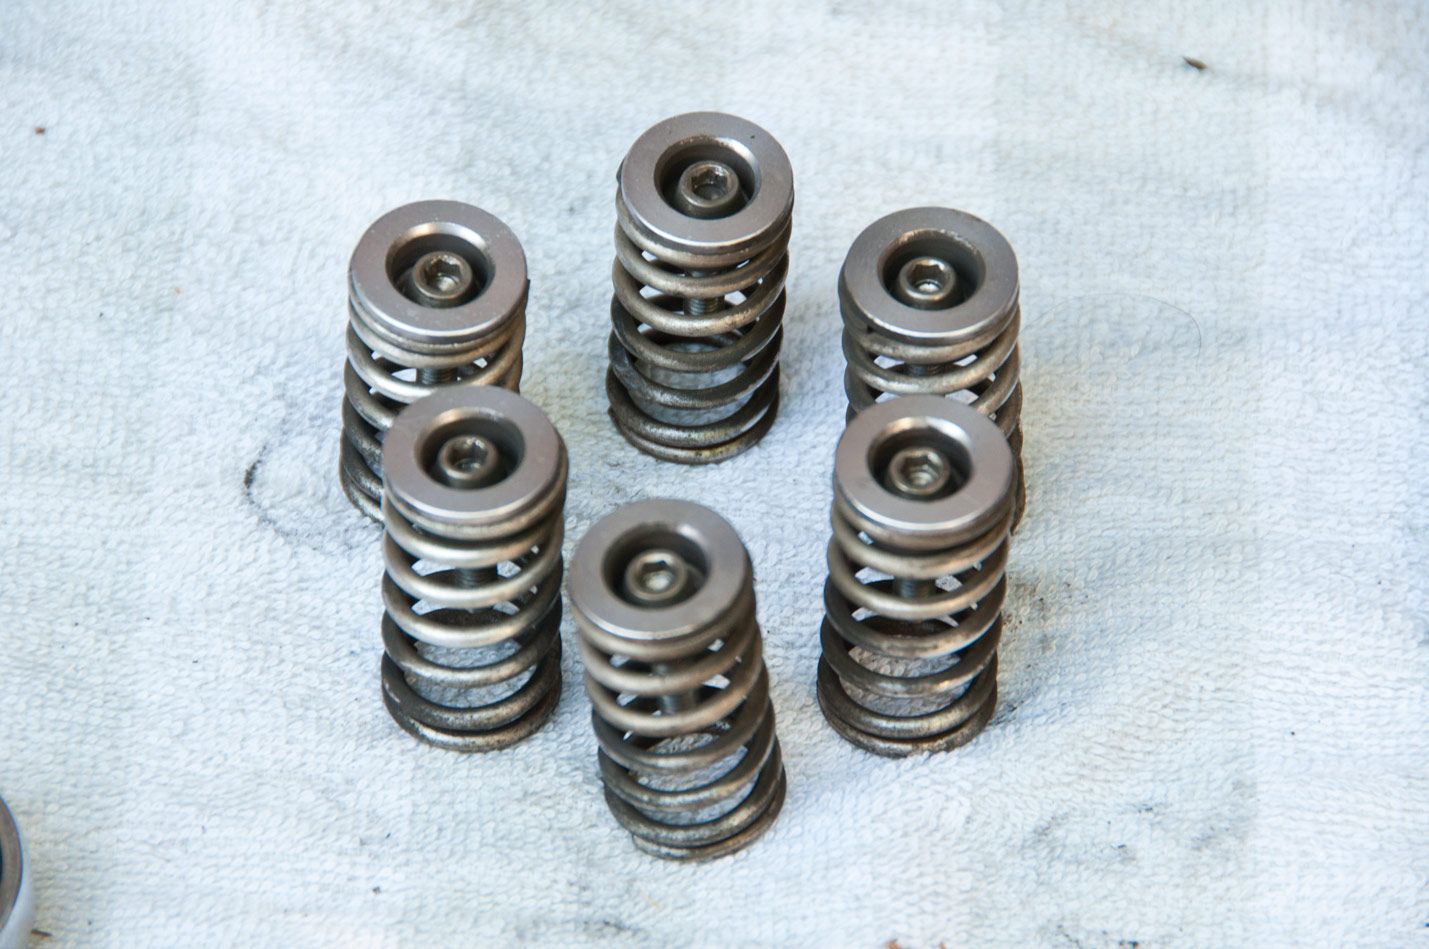
All of the springs off the pressure plate.
Now you can pull the pressure plate up. This step often requires a bit of wriggling, mostly because…
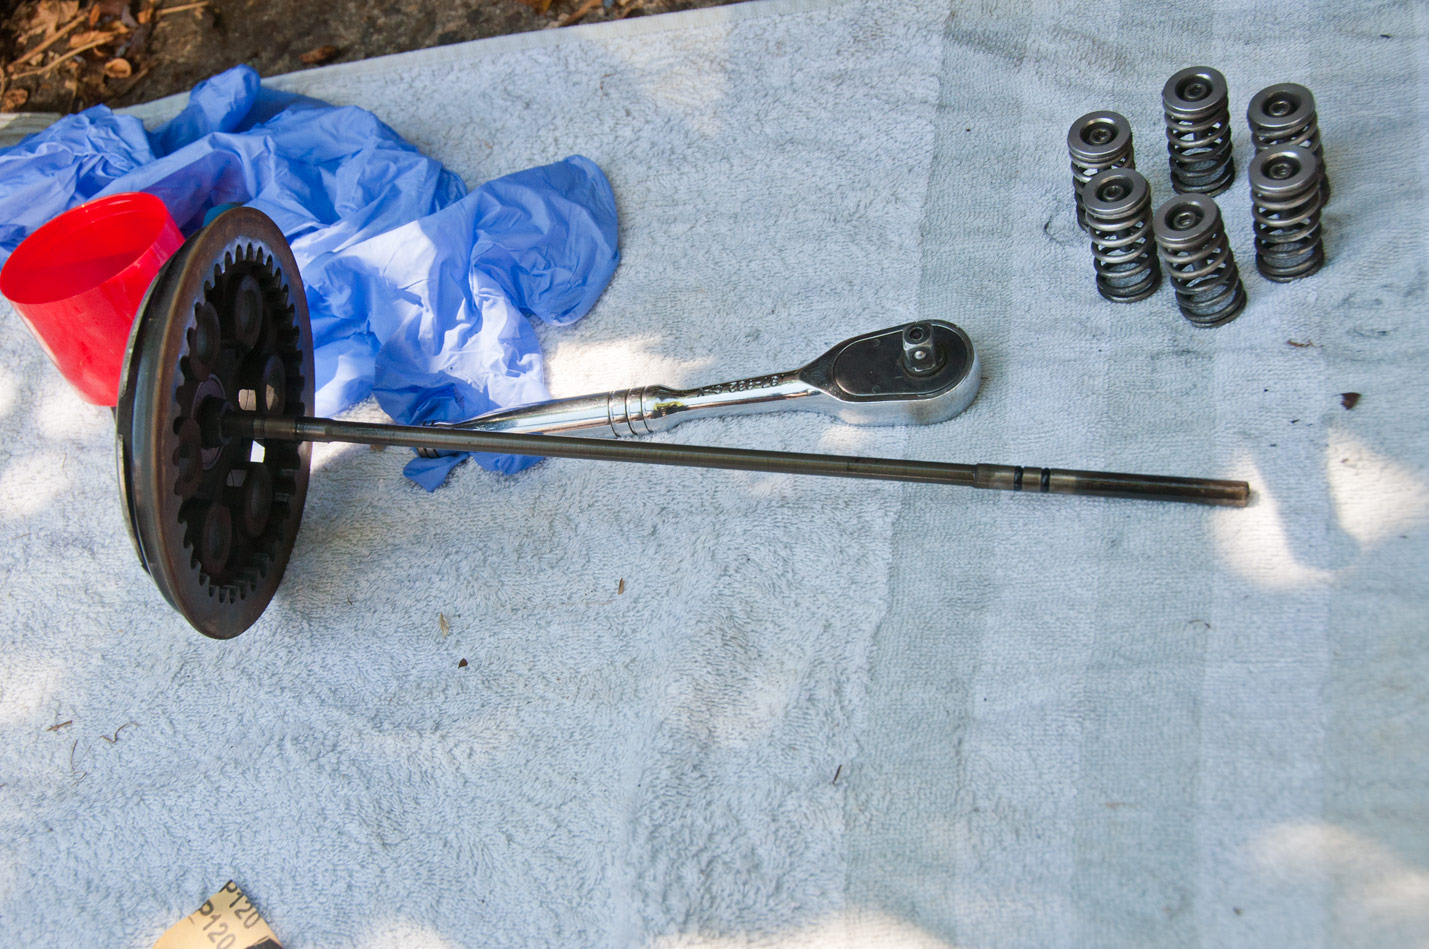
… the clutch release pushrod gets stuck in the bearing in the centre of the pressure plate. (Ducatis have the slave cylinder that actuates the clutch down on the left-hand side of the motor, and this rod goes allll the way through the engine to push on the pressure plate to disengage the clutch. Sometimes, if you are swapping clutch baskets, slave cylinders to a non-OEM one, or pressure plates, you will have to shorten or lengthen this rod according to the application. Something to remember when you wonder why your clutch no longer works after swapping something out).
This is the top plate – it is a metal plate, that is, one of the plates that drives the gearbox input shaft. Yeah, it’s rusty – one of the perils of using an open cover. It’s also only surface rust and it goes away pretty much as soon as you use the clutch. The last time I rode this bike it poured with rain and I put it away wet.
Pull off that metal plate, then…
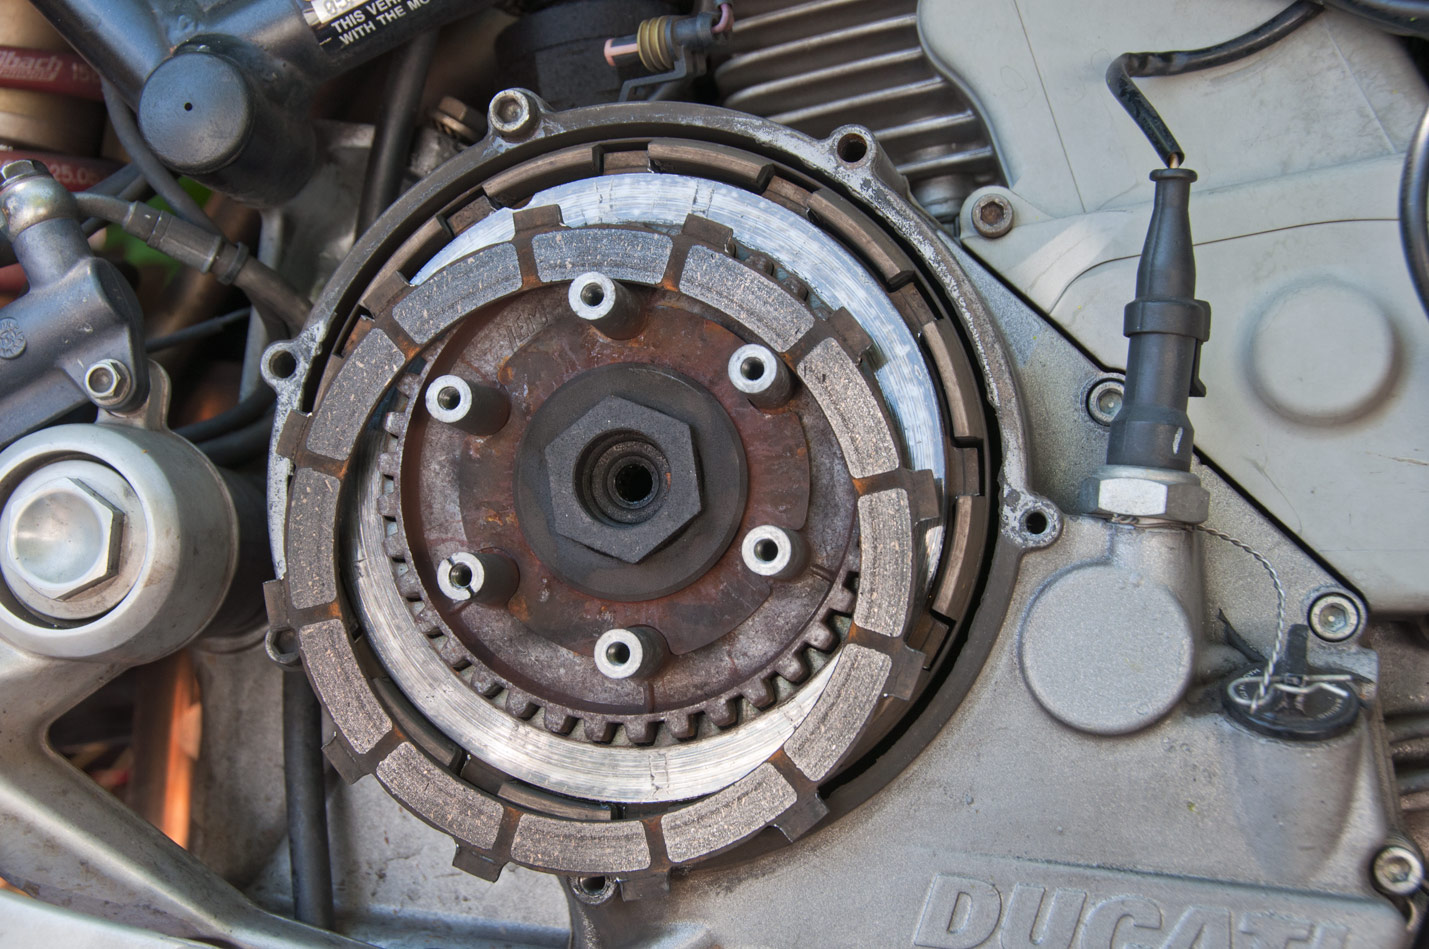
… pull off the friction plate underneath it.
I like to keep the plates in order and in the direction they came out of the motor. I do this by stacking the plates, whatever face was facing ‘out’ from the motor’, face down on a towel.
Keep going pulling out metal then friction then metal plates.

This is a handy hint for how to get out pesky plates once you get deeper into the stack. A couple of small allen keys work perfectly as hooks into the back of the plates to pull them off straight and evenly. Really speeds it up.

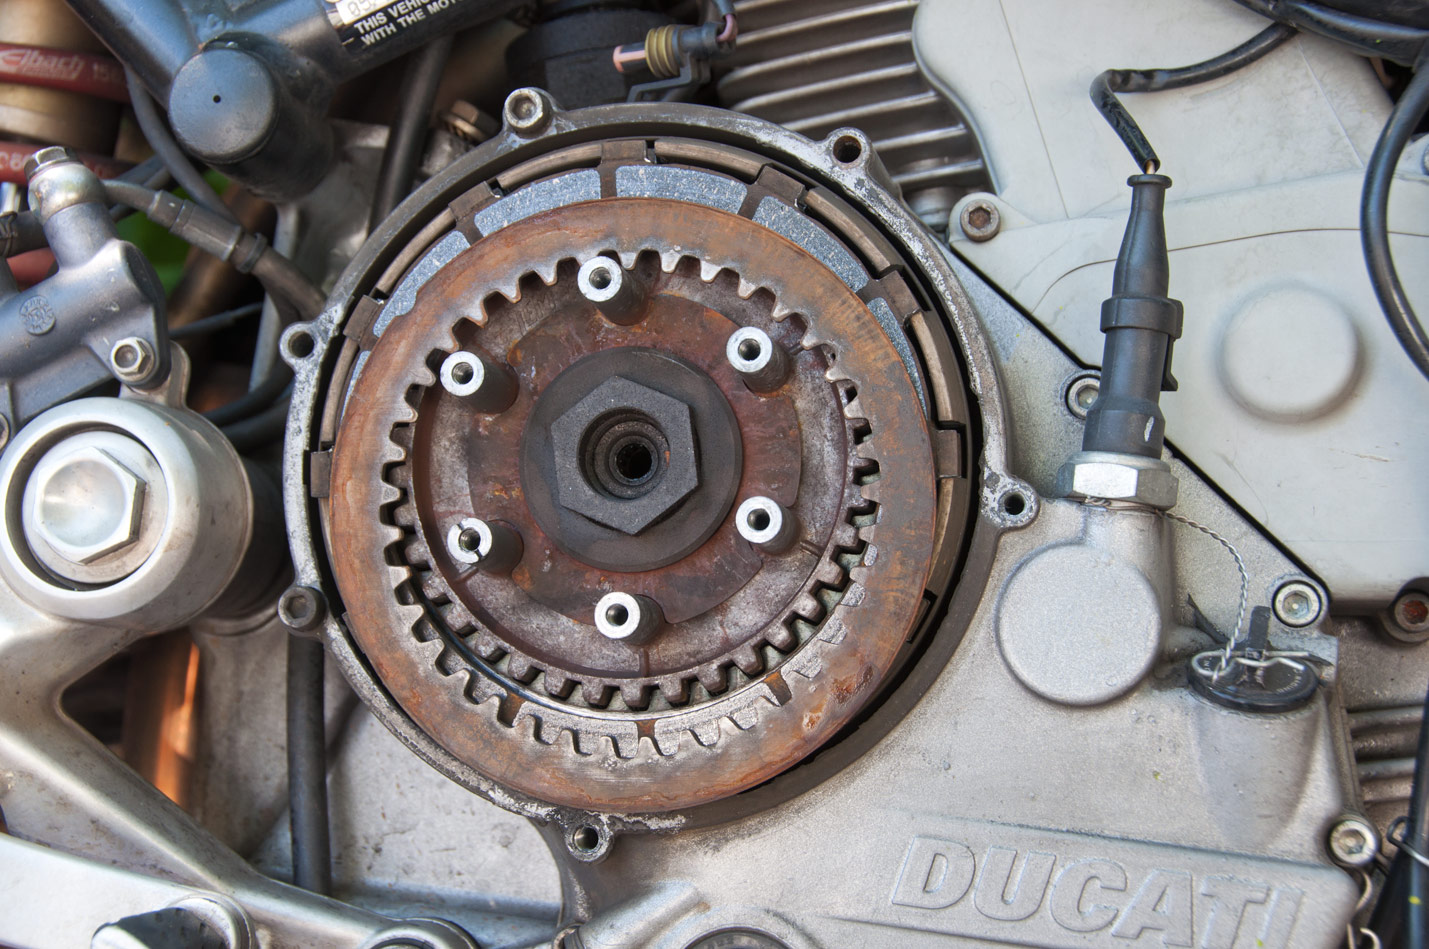
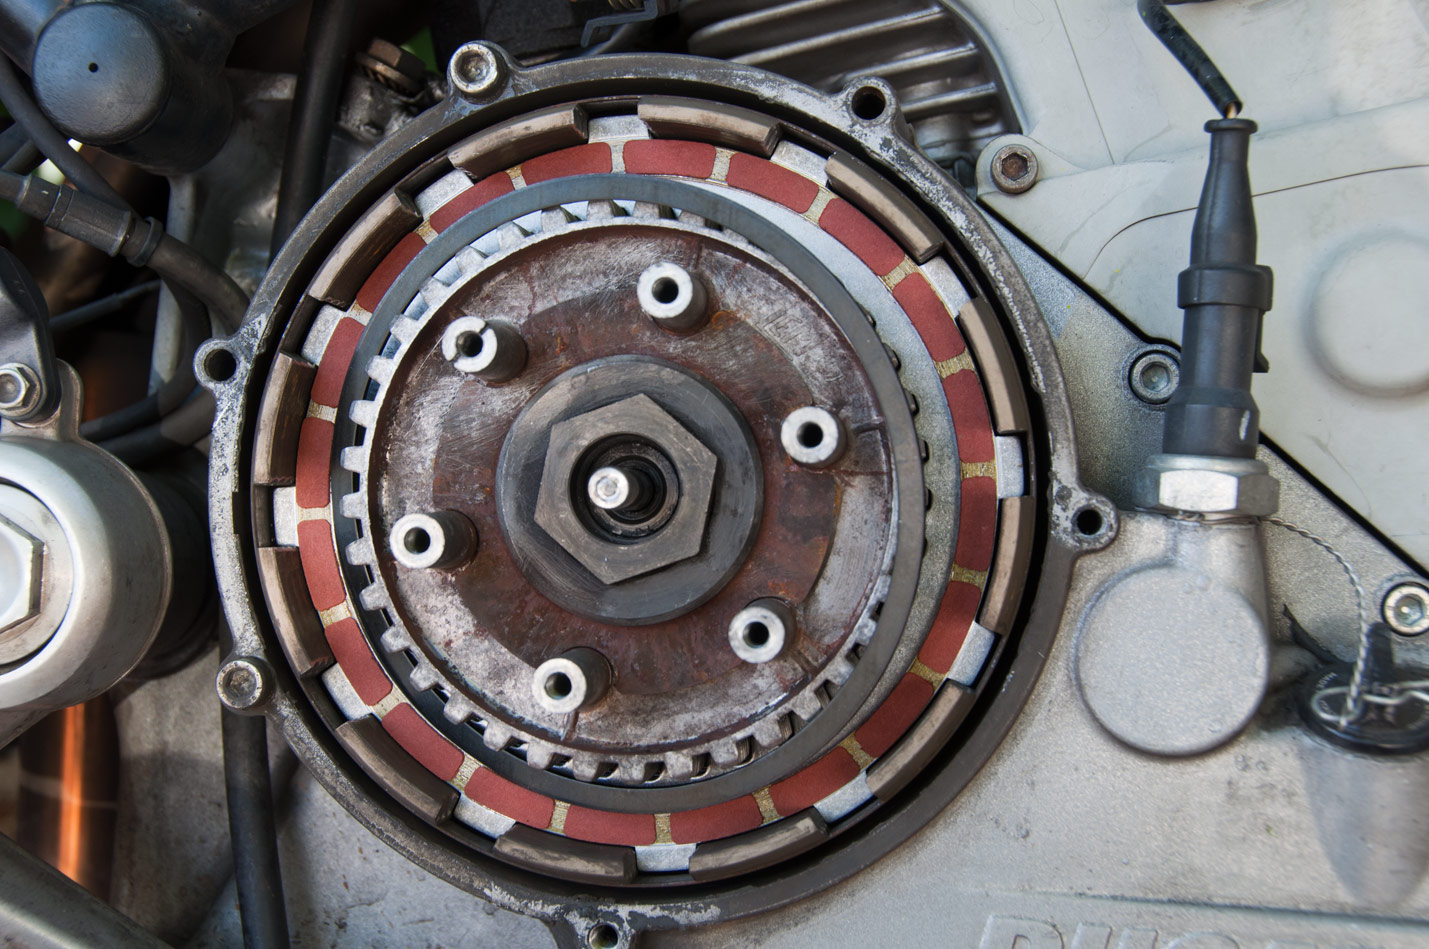
After the last plate is out (on a Ducati that is an extra-thick metal plate OR two standard thickness plates. Mine was 2 standard thickness metal plates) then you’ll have the bare outer and inner clutch components visible. The outer is the basket, the inner is the hub. The outer is driven by the primary gear off the crankshaft, and the inner is what drives the input shaft of the gearbox (via a nifty collar and bearing arrangement at the back of the clutch).
You’ll note the pushrod is already back in the engine. I clean it up and make it all nice before putting it back into the slave cylinder mostly so I don’t forget and then wonder why my clutch doesn’t work after reassembly.
Now, my basket is close to rooted. See the deep chunks out of the side of the basket? Yeah, they’re not ideal. They cause a super grabby clutch. I guess next time I’ll do the basket or swap it out for a slipper clutch (which means an entirely new basket yada yada yada).
Some reassembly details, tips and tricks
See that extra thick plate? That’s the first metal plate that goes into the clutch.
It depends what clutch kit you get as to this plate being extra thick or just two normal metals. Either way, extra thick plate first in this particular application.
I use my old clutch plates as a memory for where I’m up to. Each time I have put a new plate into the clutch I pull the corresponding plate off my old stack and put it elsewhere, sitting with the outer facing face now facing up. Helps me keep track of where I am up to; especially important if you get interrupted in the job.
It’s all pretty simple, metal followed by friction by metal… rinse and repeat.
Barnett have a little trick though, they include an ‘anti-rattle’ spring. I have no idea if this does anything, but I’ll give it a go. The anti rattle spring goes in after the 3rd friction plate has gone in, though it sits above the metal plate for this 3rd friction disc.
The anti-rattle setup has a thicker friction disc, and a flat base plate inner circle that sits inside it.
Then you put in a cup-shaped anti rattle spring, which has a white dot on it so you know which way goes out. The idea here is to add some load so that when the clutch lever is pulled, only 3 or 4 metals can rattle against each other. That should limit the tambourine sound of the clutch, though does nothing for the clunkaclunka sound (that results from smacking the friction teeth into the clutch basket, resulting in exactly the wear you see in my clutch basket).
OEM Ducati clutches don’t bother with this anti-rattle spring, so in that case it’s just simple metal-friction-metal-friction…. assembly.
Once you’re done going metal-friction-metal and have added the correct number of plates, the pressure plate then goes on. Be careful seating the push rod, you don’t want to tear the seal in the slave cylinder, the clutch basket collar, or bugger up the release bearing.
There are alignment marks on the pressure plate (a dot for one of the holes, corresponds to the post on the clutch hub with a cutout on it), though no-one seems to die if you forget to follow this careful alignment scheme.
Time to put those springs, cups and bolts on to hold the pressure plate on. Do them up a little at a time, and in a criss-cross pattern. Do them up, then chuck the clutch cover back on.
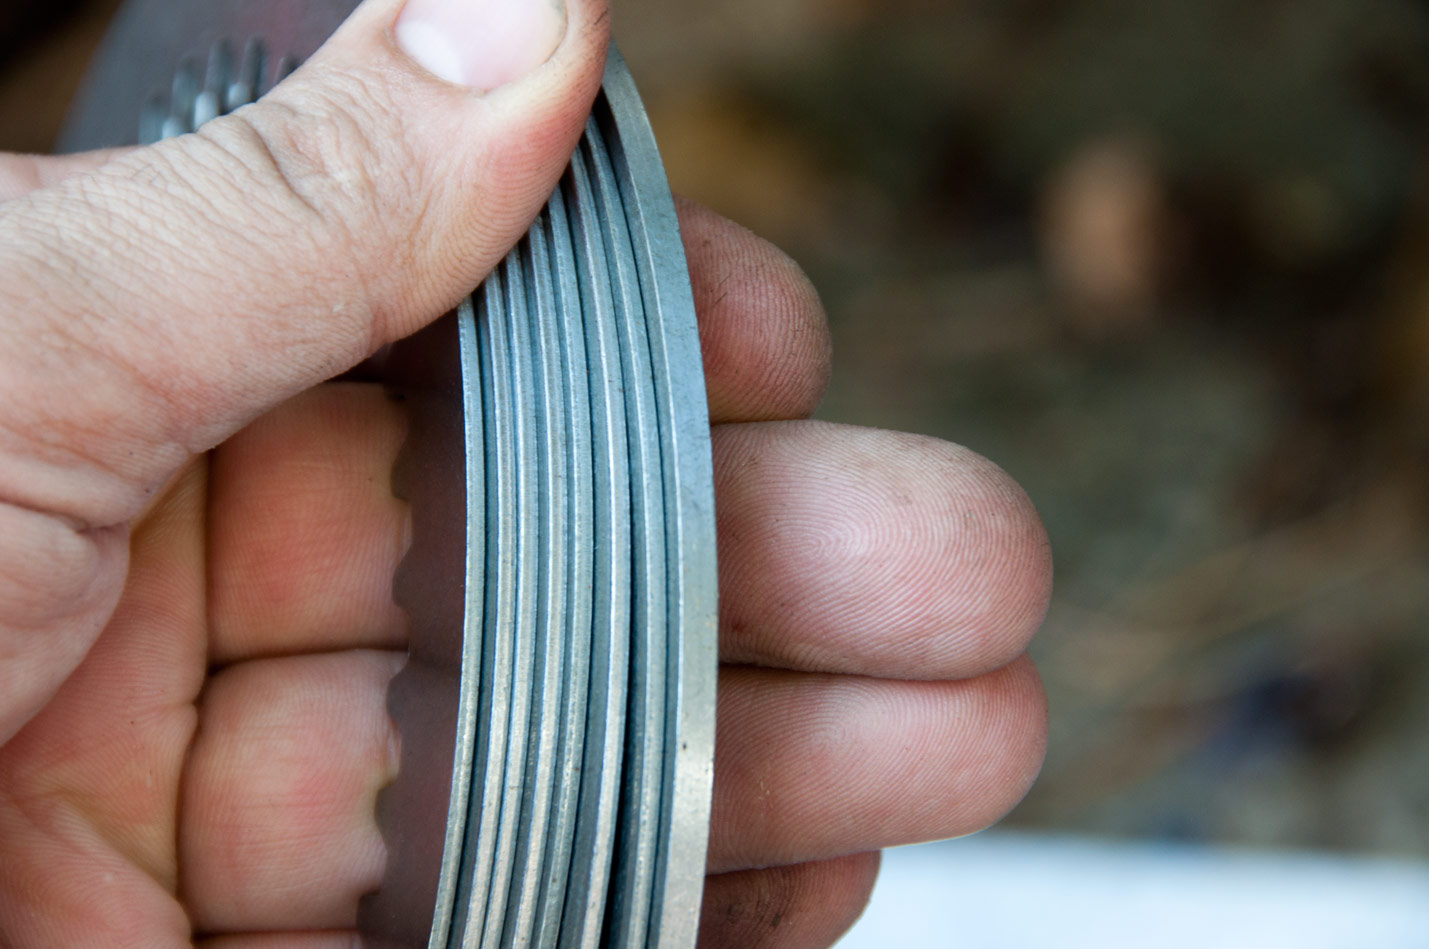
With everything all done, it’s virtually invisible to the naked eye. Eagle eyed people can spot it as the clutch drive plates are now right at the top of the basket, as opposed to before where they were about 3mm recessed into the clutch area. That’s roughly how much wear you get – 8 plates, about 0.3-0.4mm worn off each friction disc (or 0.2mm off each disc, both metal and friction) and the clutch has totally been rooted.
In a clutch repair it’s good to have some bits left over… putting back in all the old plates along with your new ones isn’t a good strategy.