
Sound deadening installation
This is a bit of an article where I don’t have the best photos, and it’s mostly just collecting useful info. It’s not the easiest job to photograph nor the most dynamic thing to write up, but some info will hopefully help people undertake this as a DIY task.
To remove the interior (e.g. the rear seats, the carpets, or the head lining) then I have a separate page on that.
Sections
Preamble
Sound deadening is one of those things that is good to add to the Jimny, noting that it does have a reasonable impact on weight depending on how far you go with it. I think in many cases people go a bit far: it’s always going to be a bit of a tin can of a car, and, it’s hard given the interior layout to get audio-competition winning levels of sound quality especially on a budget.
People also think too much about the first layer of sound deadening, the heavy adhesive-backed sheets. These sheets are stuck to panels to stop them resonating; that is their main purpose to stop sound transmission via the panel resonating in harmony with other sounds. While audio shops and people aiming for the ‘best’ sound from an audio system will advise you to get 100% coverage, that isn’t needed.
The key is to cover panels that resonate: the flatter the panel (i.e. the less pressed in texturing like depressions or reinforcing beams). You want to reduce the noticeable ‘ring’ when a tapped with a cojple of fingers. 40-50% coverage is usually sufficient for this; it will make a dull thud when the panel is tapped instead of ringing. The savings weight-wise in doing this rather than aiming for full coverage of the stage 1 product can be in the order of 10-15 kg which is worthwhile in something with as little a payload as the Jimny has.
It is, however, worth doing a 2nd layer underlay (and using up some of these weight savings). For this I usually use a mass loaded foam/vinyl product. This will help to cut down heat but coverage here also helps cut down sound transmission, which is what it is designed for. Being a closed cell foam product it is also waterproof so works well with the Jimny’s usual use case.
The final secret with this stuff is not to let perfect be the enemy of good. Even just cutting down resonance is worthwhile, so if you are on a budget buy a couple of boxes of sticky backed heavy sheets and get down 40-50% coverage on key panels and you’ll be much happier.
Supplies
Not at all sponsored but I used a bunch of Car Builders stuff for this. It’s a good compromise between price, quality, and availability.
I used up 2 full boxes of Car Builders sound deadener/stage 1 material, but cracked into spares out of a third box from another project. If you’re going for full coverage, you might need 4.
For the second stage I went with the Car Builders ‘mass noise vinyl’ product. Two rolls are perfect to cover the area that is carpeted: you use about 2/3rds of the width of the roll, and a full length, for each ‘side’ of the front half of the car. Under the rear seats isn’t worthwhile, even with a false floor; just sound deadening there is useful enough. You’ll also need a joining kit to help seal together each side of the underlay.
The installation kit is worthwhile to get a roller/deadening pressing tool plus a good folding knife and some foil tape to seal up the edges of deadening. Big industrial strength scissors do make it easier, too, though you don’t necessarily need to buy the Car Builders ones.
Install guide
Floor
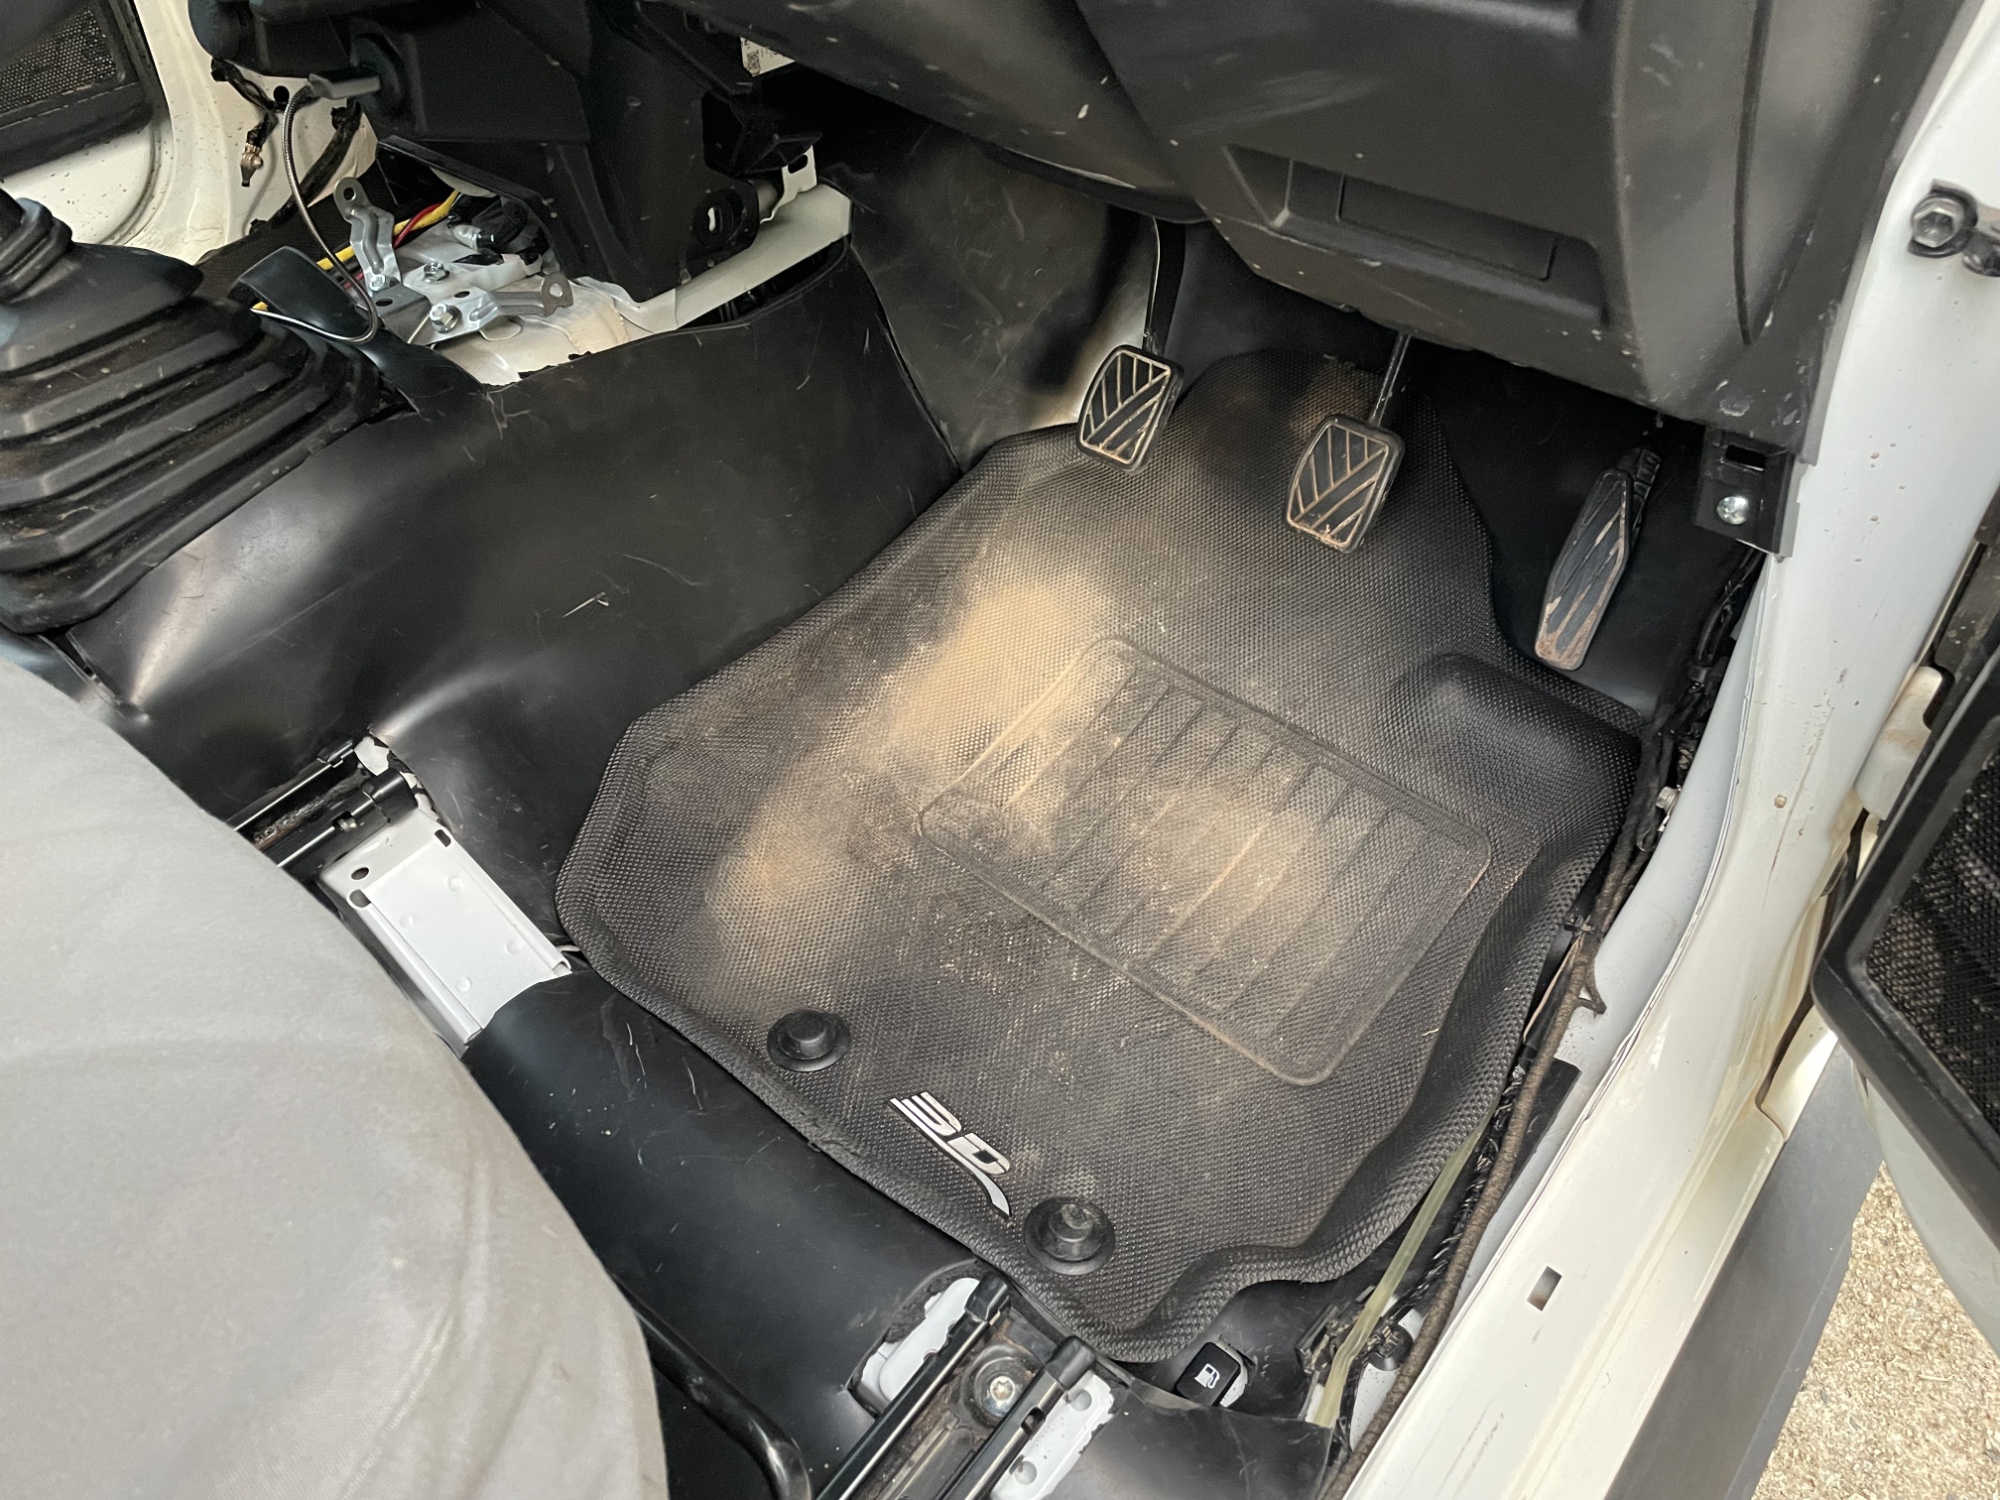
You’ll need to strip out the interior and carpet for this job.
Stage 1
With the lower part of the interior stripped out, you’ll have a nice blank canvas to work with.
I tapped around on the floor a bit to pick the panels I needed to concentrate on, and basically added just enough so that the floor really didn’t resonate anymore.
This picture is me about 80% of the way there. I used a few strategic offcuts and it really did cut down the noise dramatically just from stopping resonance (audio purists will hate this picture).

From there it’s a case of sorting out the 2nd stage.
Stage 2
To verify width and length, I laid one of the rolls of the mass noise liner over the carpet I had hanging out inside.

Yep! One roll is perfect length wise, and about 2/3rds of the width takes it halfway up the tunnel which makes it easier to fit into the car.
Laying it in the car is basically how you cut it out to make it the right shape. Some people recommend making a giant butchers paper template but I honestly found it easier to just put it in the car and just shape it one piece at a time, starting with the sills and then working my way through.

One hint on shaping it: when you want to make it thinner to fit over things like wiring, you use the cutting knife to score into the closed cell foam, which you can then peel away from the vinyl layer. This makes it much thinner, and helps a lot to shape it. Other than that you just cut the shape to make it fit around the sill, then slowly work your way in to lay it into the middle of the car.
I have zero pictures saved, but I made mine meet a bit past the centre on the passenger’s side of the tunnel. With both sides shaped then you tape the two sides together and you have an underlay done.
While my carpet was drying from cleaning it after a little failure to procedure through some deep water, I drove the car around with just the underlay and it was so much quieter than the factor carpeting but no sound deadening or underlay. It also cut down on the heat through the transmission tunnel which is nice when you’re driving long distances, too.
I did make one strategic cut to make a flap to go underneath the HVAC unit area, which made the drivers side so much easier to lay into the car as I was shaping it. Taped up when I put the carpet in and it all came together quite easily.
Getting carpet back in
Zero pics of this cause it’s just a case of putting it back in, really.
One thing about adding both an underlay and also sound deadening is the carpet won’t perfectly sit flat in absolutely all areas, since it is designed to be much closer to the bodywork. The main areas I had trouble with are the two kick panels in the drivers and passengers footwell, and where the carpet drapes over tigher parts of the transmission tunnel.
With a bit of finessing you can get it pretty good, but be prepared for a bit of a fight getting all of the trim back in. If you find it’s too hard, just lift the carpet up and get a bit more of the closed-cell foam off the back of the mass noise liner and you’ll get there.
I’d say I got my car about 95% there, but I also don’t really mind if the trim doesn’t perfectly clip back in or anything. 4wds get knocked around a bit, so it’s just kinda part of it. If you’re more OCD then you’ll want to dedicate a day to sound deadening, about half of which will be spent finessing the interior in to get it to 100%.
Doors
Not much to these. One aspect to consider are your desires out of it. If you want the car to have slightly less resonance out of the door then it’s just a case of adding some heavy sound deadening sheets to the inside of the outer panel. If, however, you want to make it closer to being sealed so it is a better enclosure for audio purposes then the main strategy here is to replace the vapour barrier with sound deadening sheets.
This does make servicing anything inside the door harder, so just something to consider. I’ve done this to a few cars and it does make a big difference, though not that much road noise is reduced by door treatment. There’s also no real room on the inside of the outer skin for a 2nd stage noise treatment due to where the window runs & the side impact bars, too.
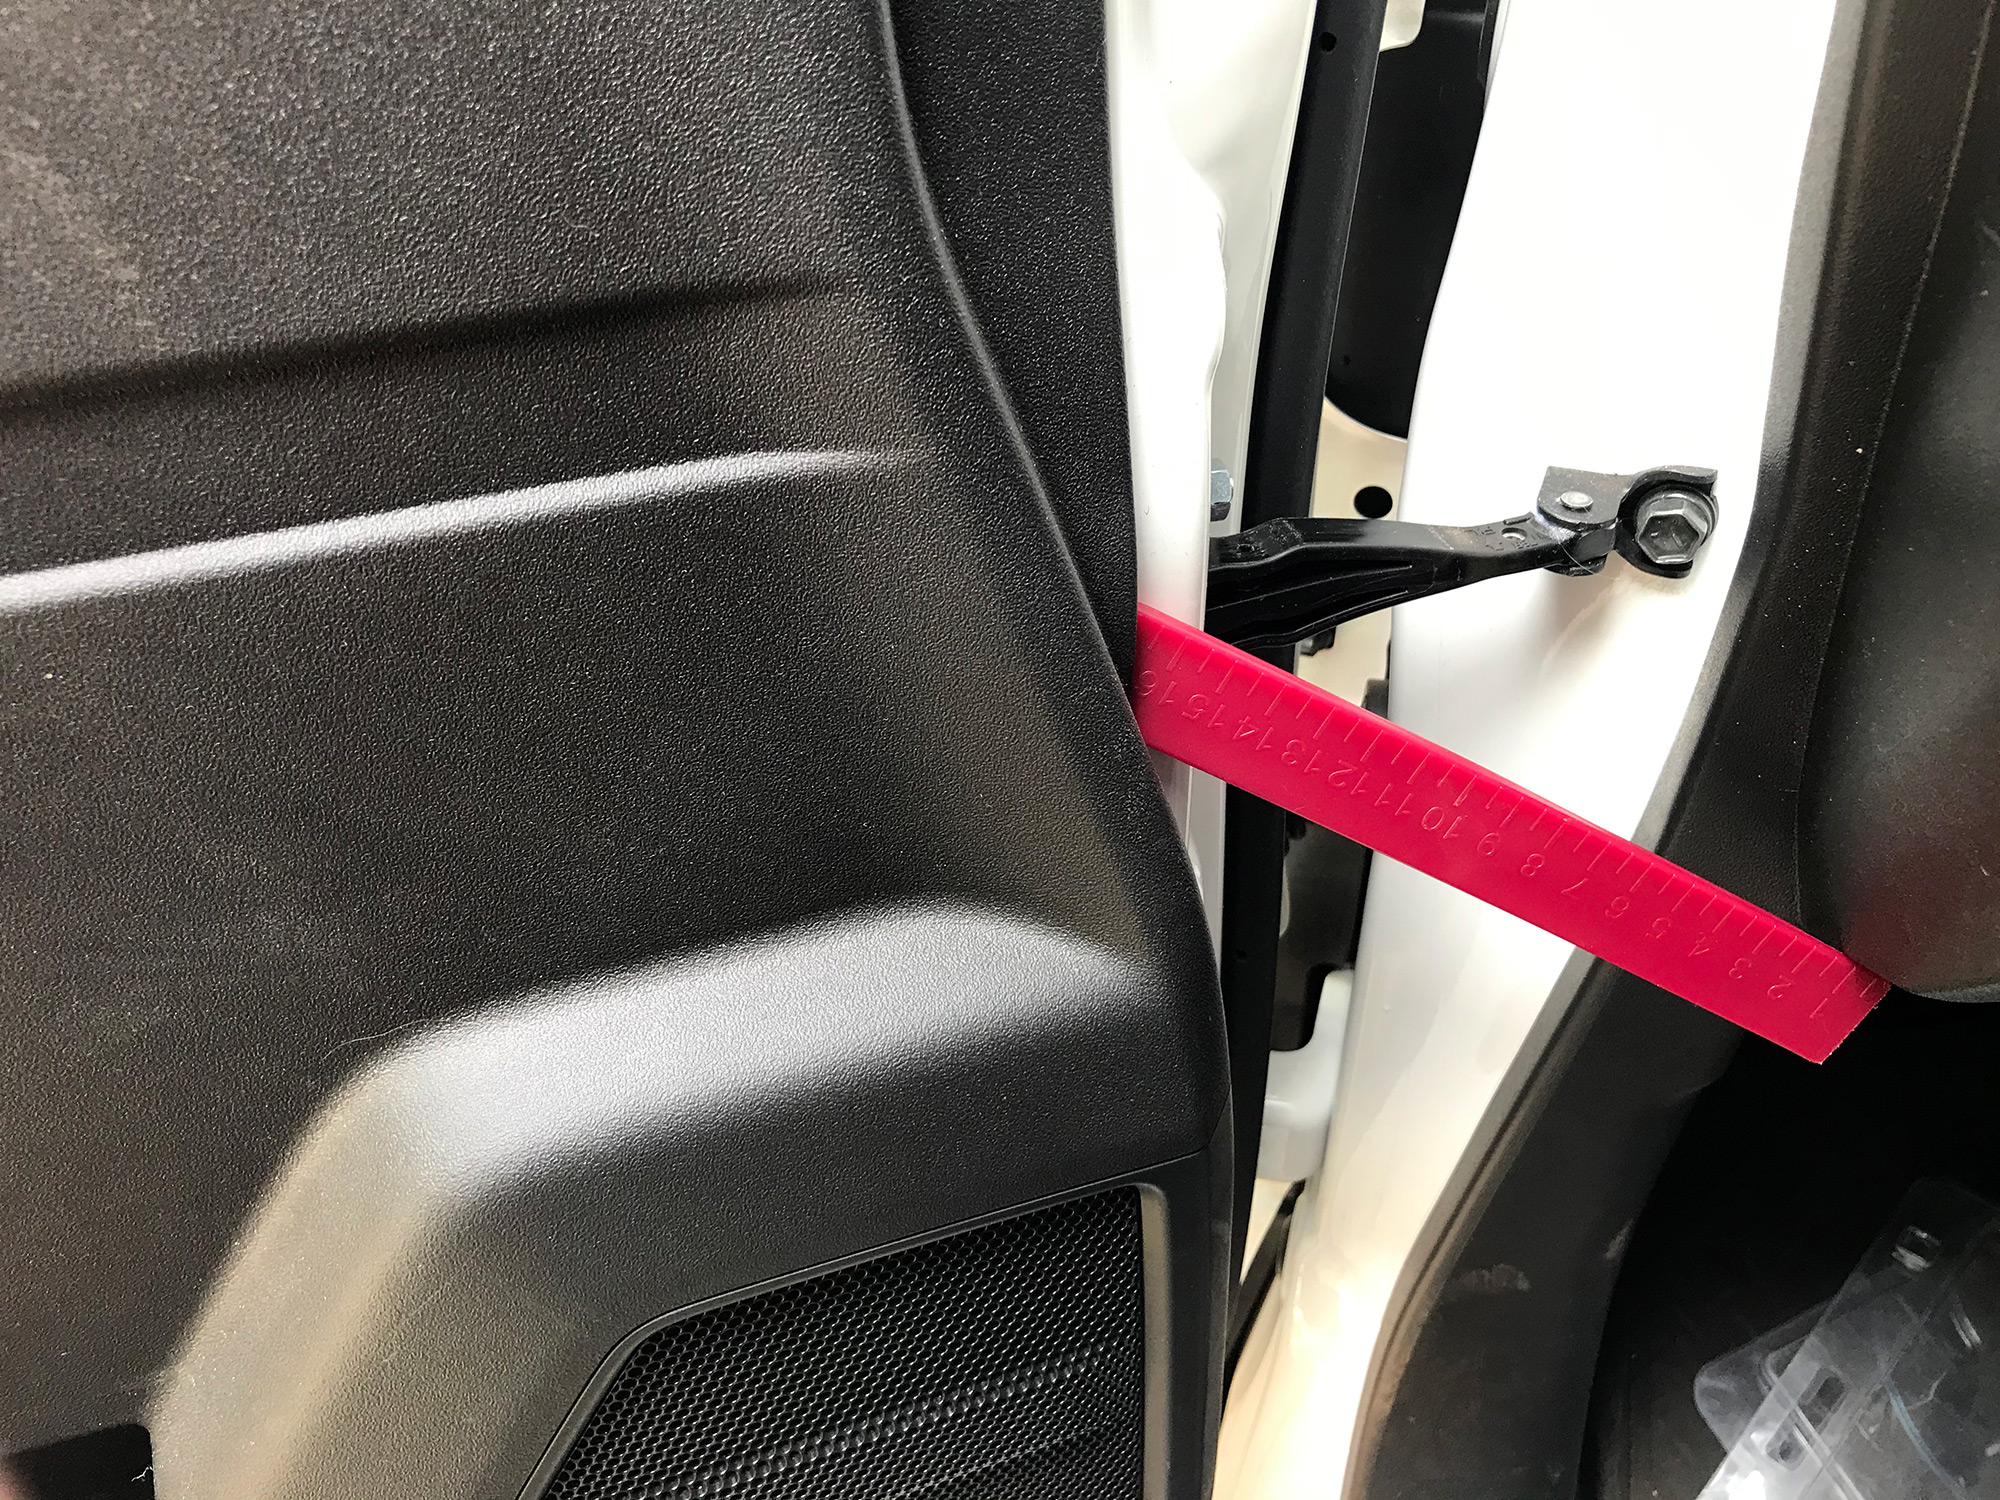
You first need to remove the door interior skins. Not hard: pop off the upper part (at the back of the mirror) with a trim removal tool.
There is one clip near the top to get out, and then it sort of pivots away from the door, with the bottom being the last part to remove.
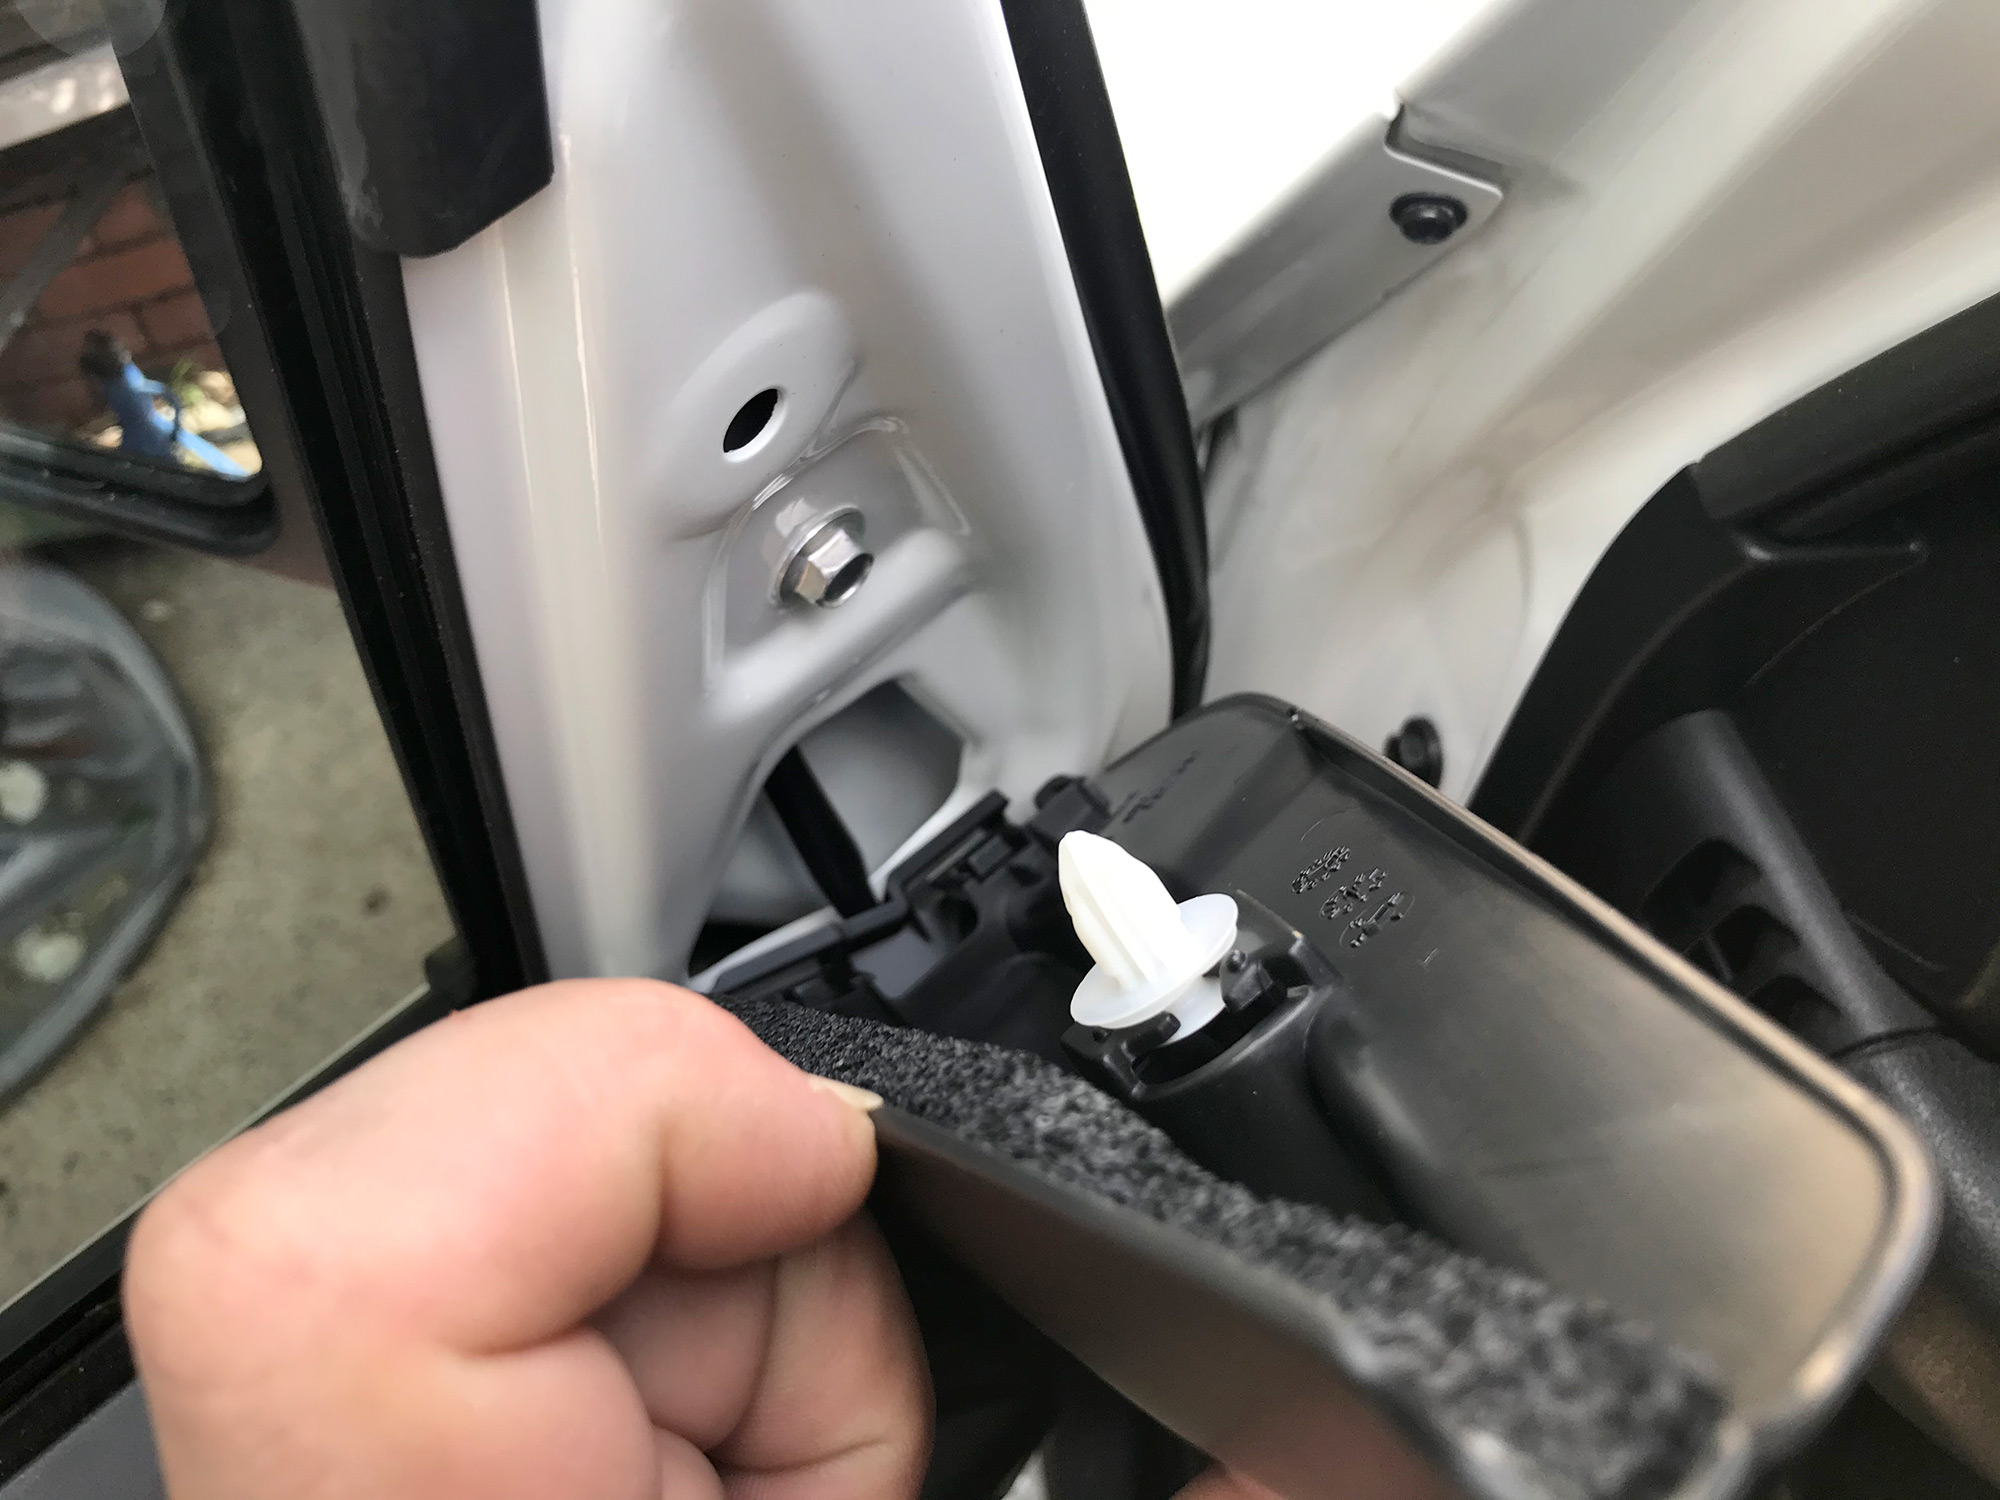
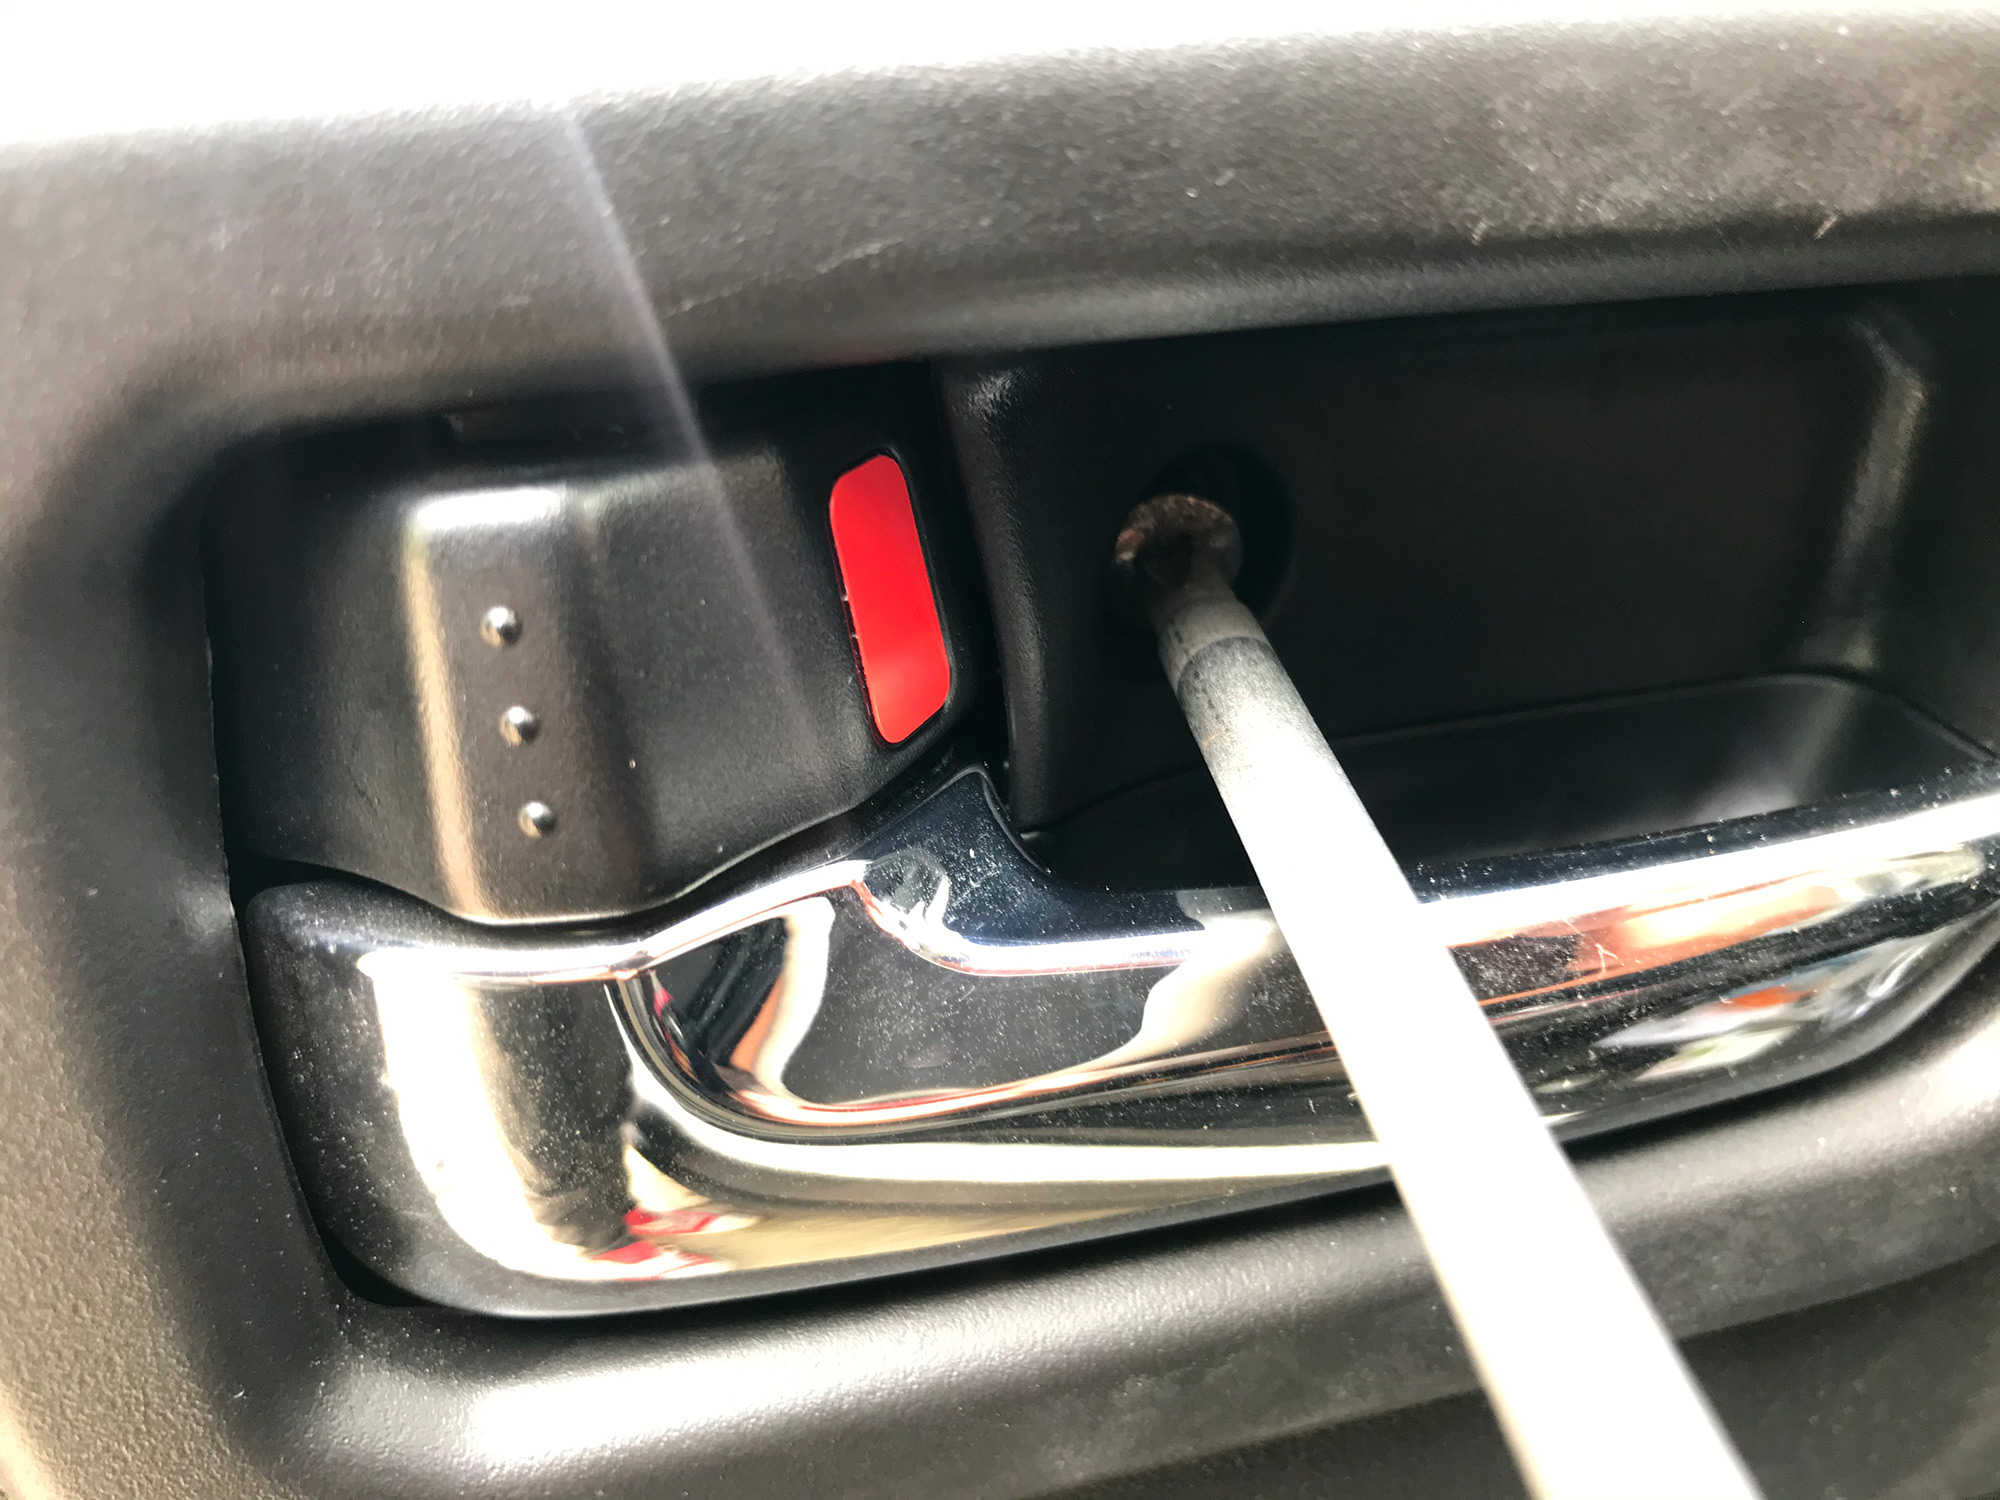
Now there’s 3 screws to undo: one in the centre of the interior door latch, and two underneath the interior door handle too. Turns out I have no good pictures of the screws under the handle though.
Easiest to work the door trim off with a trim removal tool, as there’s a number of tricky plastic clips. You do need to get the clips released and then door trim slightly needs to be lifted up to release it from the part where it fits in at the area where the window goes into the door.
Now you have access to the door interior. Remove the vapour barrier: carefully if you plan to reuse it, with extreme prejudice if you don’t. With that done you can add some sound deadening to inside the door.
There’s not a heap of access or room inside the door given the side impact structures, but I just cut some appropriately sized pieces and put them in and stuck them on; it is really that simple. Again like other jobs here you just need enough to stop it really ringing when you tap on the door.
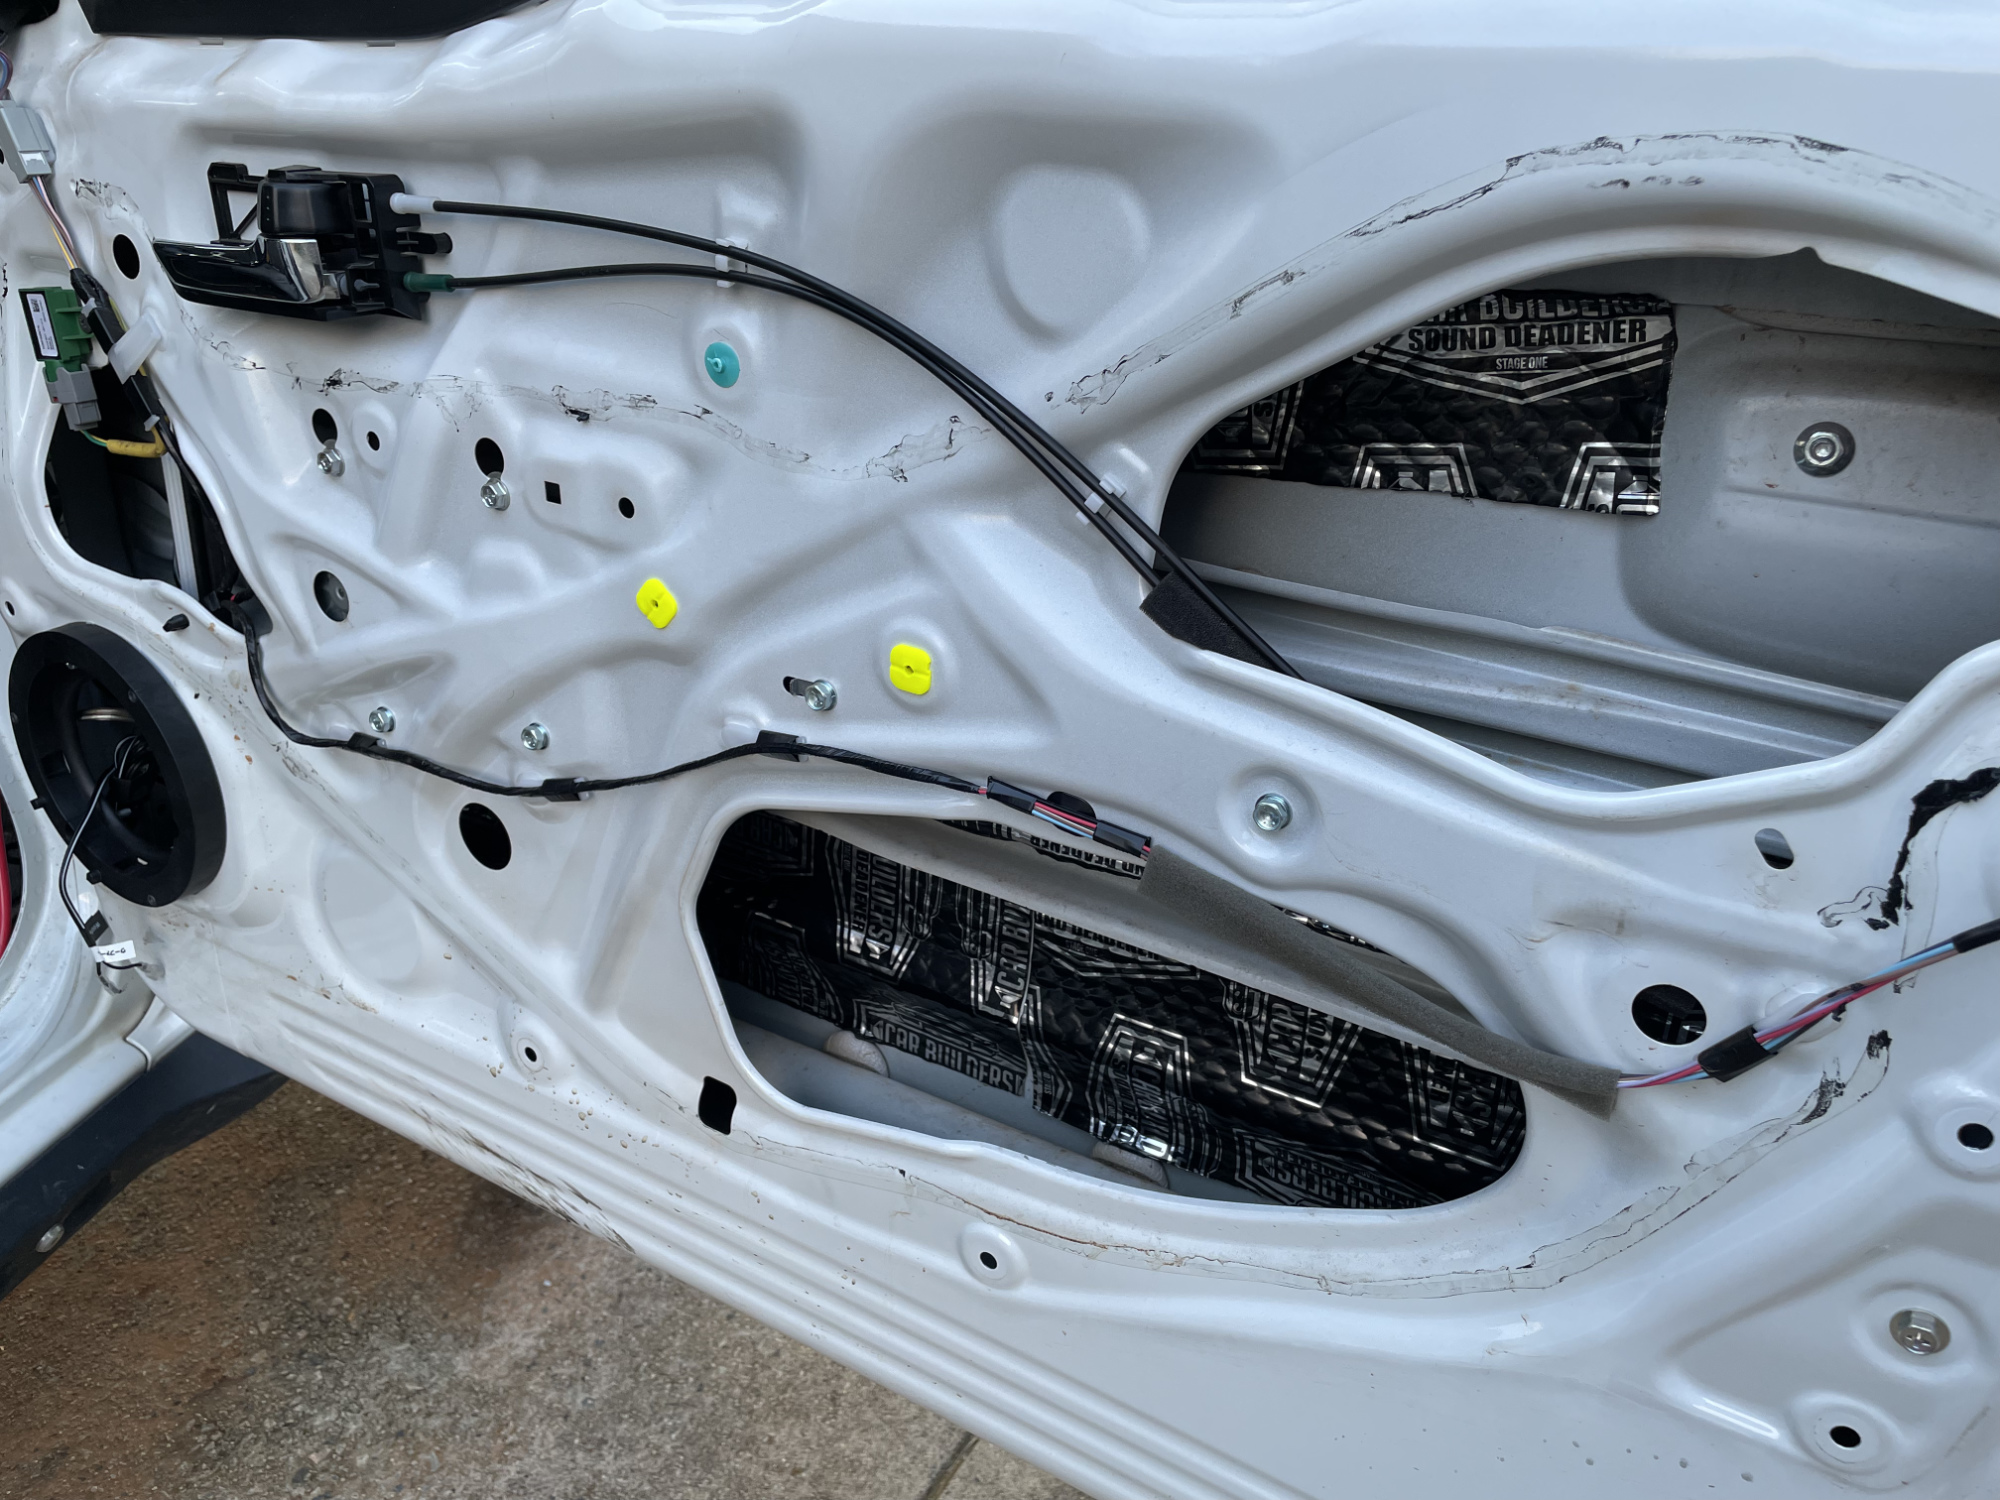
Now you’ll use some sound deadening material to seal in those openings. While you can use the vapour barrier as a template, I find it easier just to offer up sheets the door, mark them and cut them out directly.
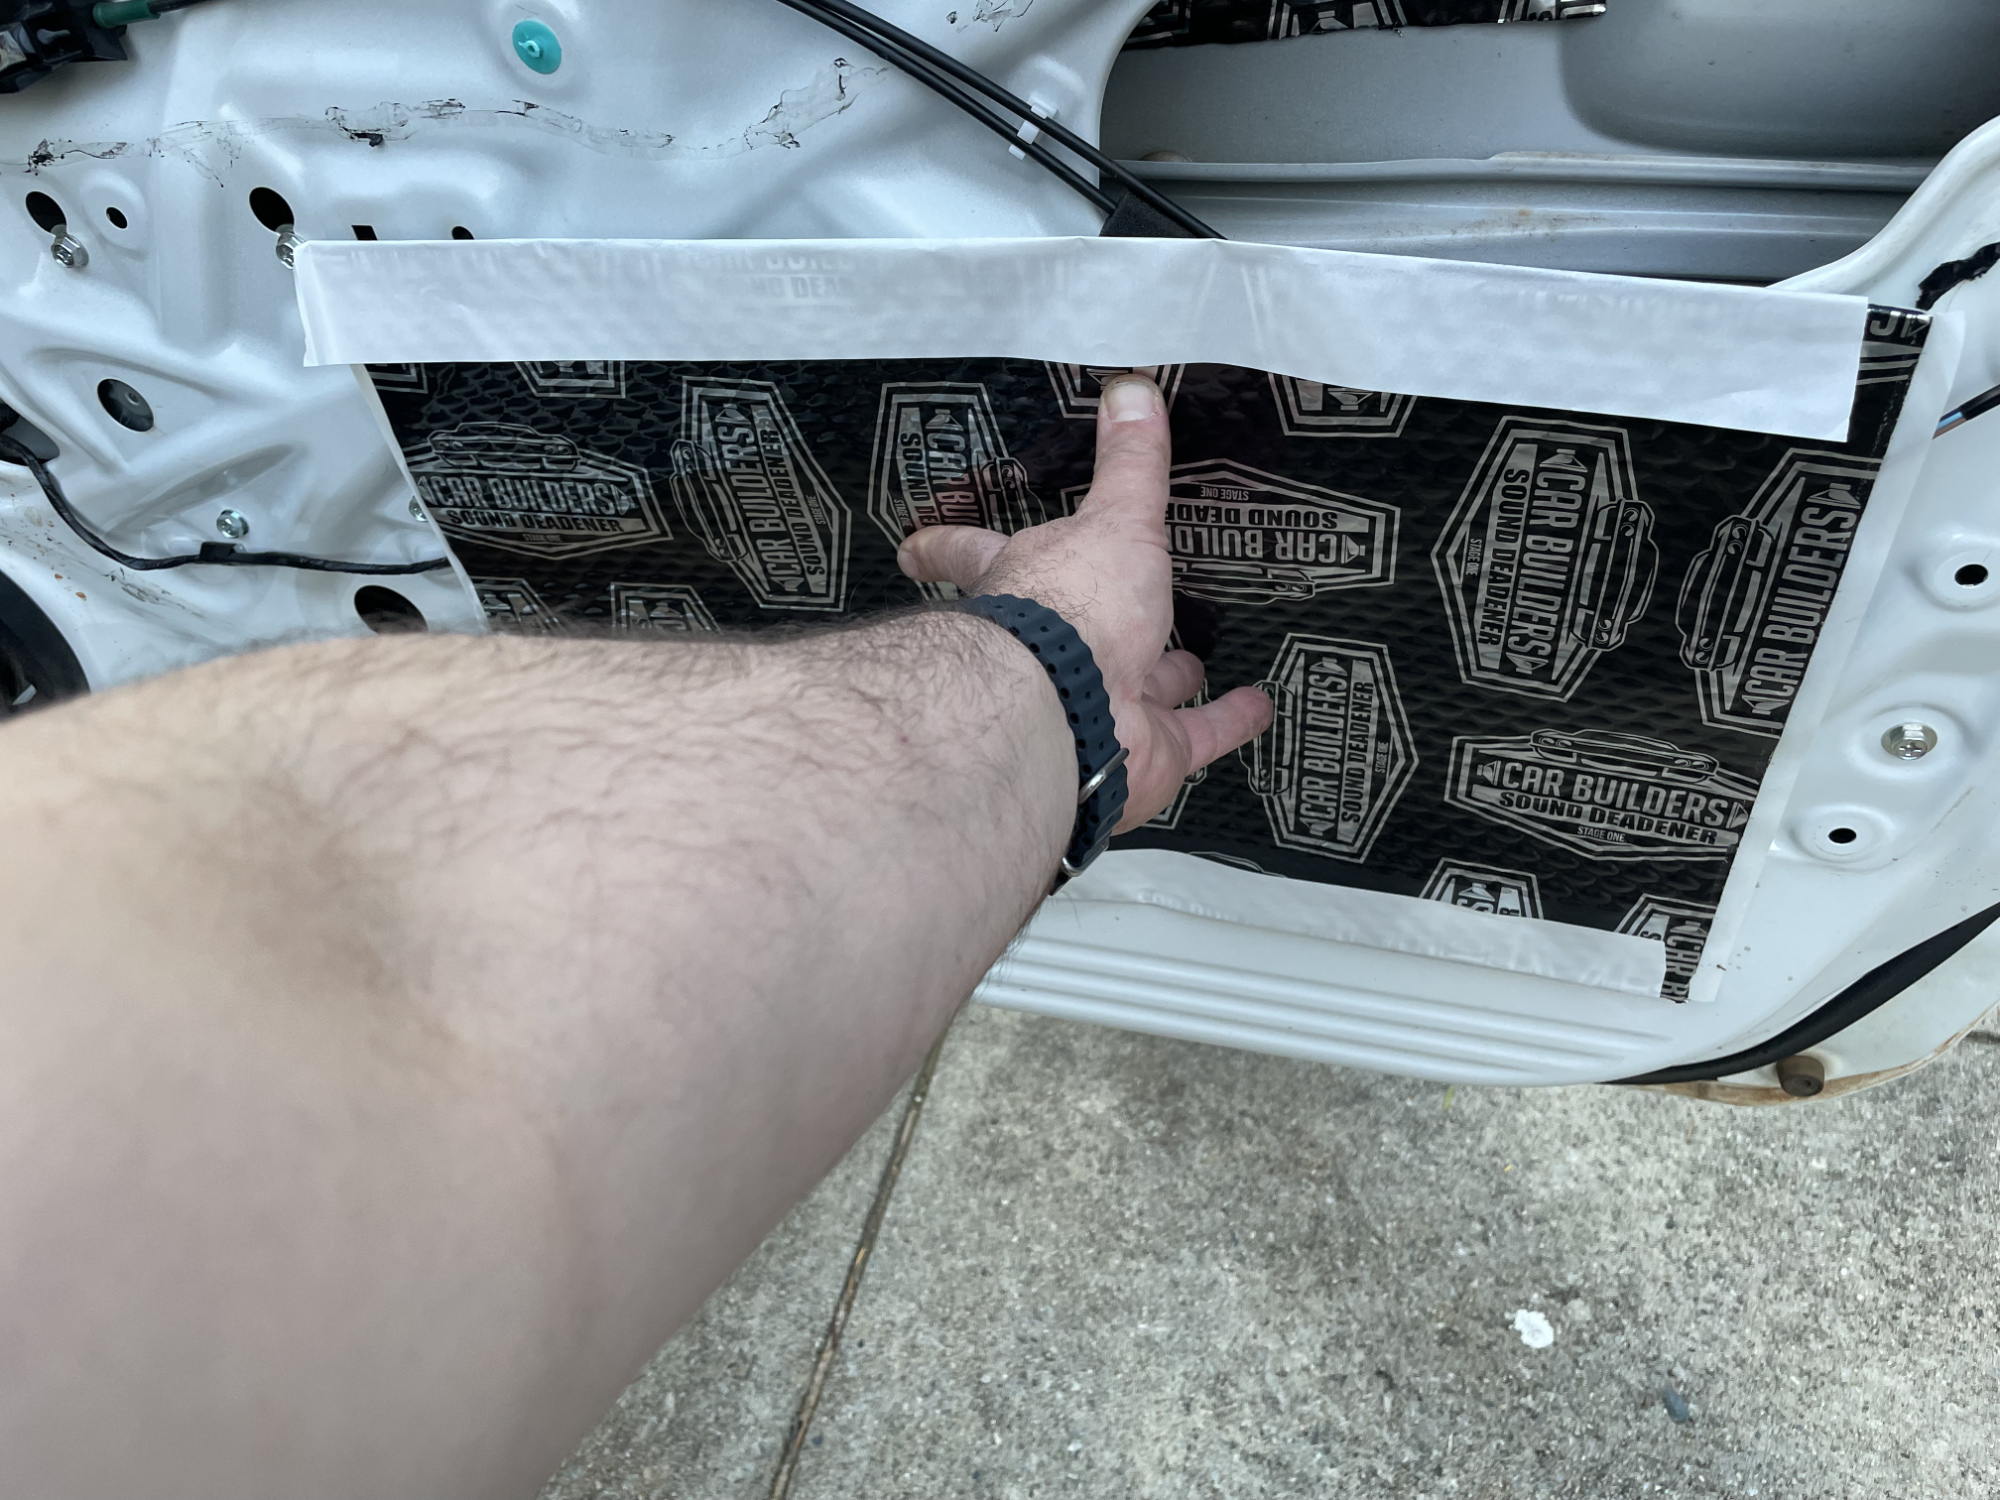
The bigger the better with these sheets, so try to cover as much area as you can with each sheet.
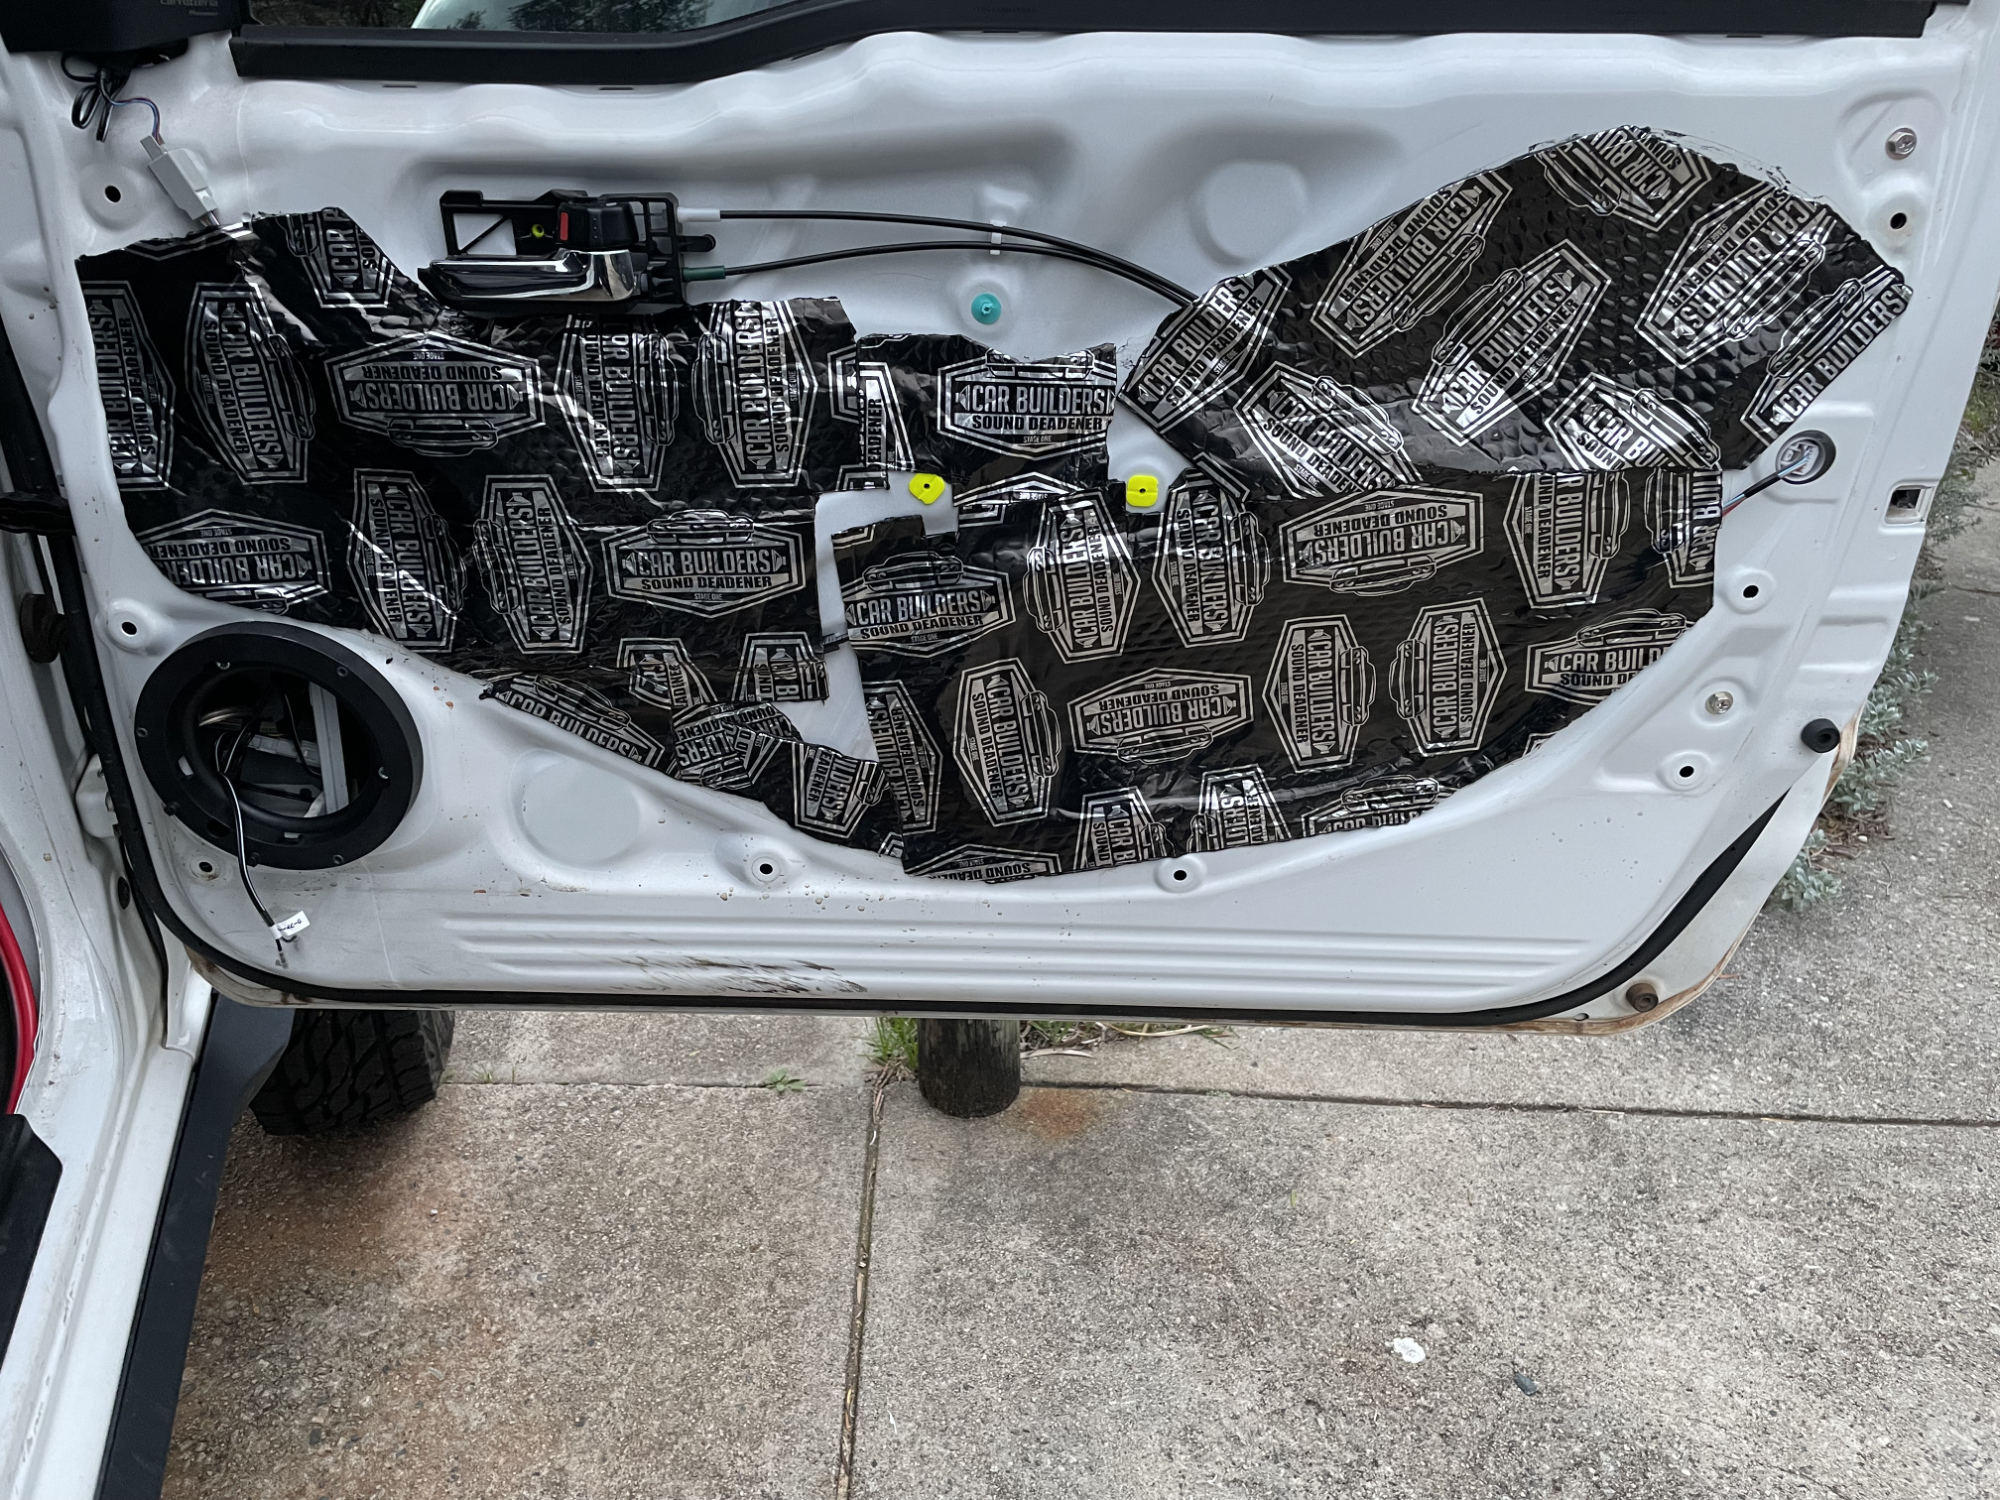
And that’s it: vapour barrier now replaced by these sheets which have been fully rolled onto the door. All openings into the door that I can have now also been sealed up which makes for a much better audio experience but also helps to cut down road noise a bit.
Roof/ceiling
You need to remove the headliner to apply headliner here. It’s surprisingly easy, maybe a 10-15 minute job even the first time you do it.
For this area it’s a bit hard to use the mass noise liner as a 2nd stage, since that isn’t adhesive backed and won’t stay on the roof very easily. Instead I used some Car Builders van liner that I had from adding insulation to one of the other vehicles we have.
Like anything, a little preparatory wipe with some alcohol is beneficial before applying the first stage of sound deadening.

Not much to it other than that. I couldn’t find my roller so it’s a good time to demonstrate how you can press the liner into contours on panels using the ring end of a spanner.
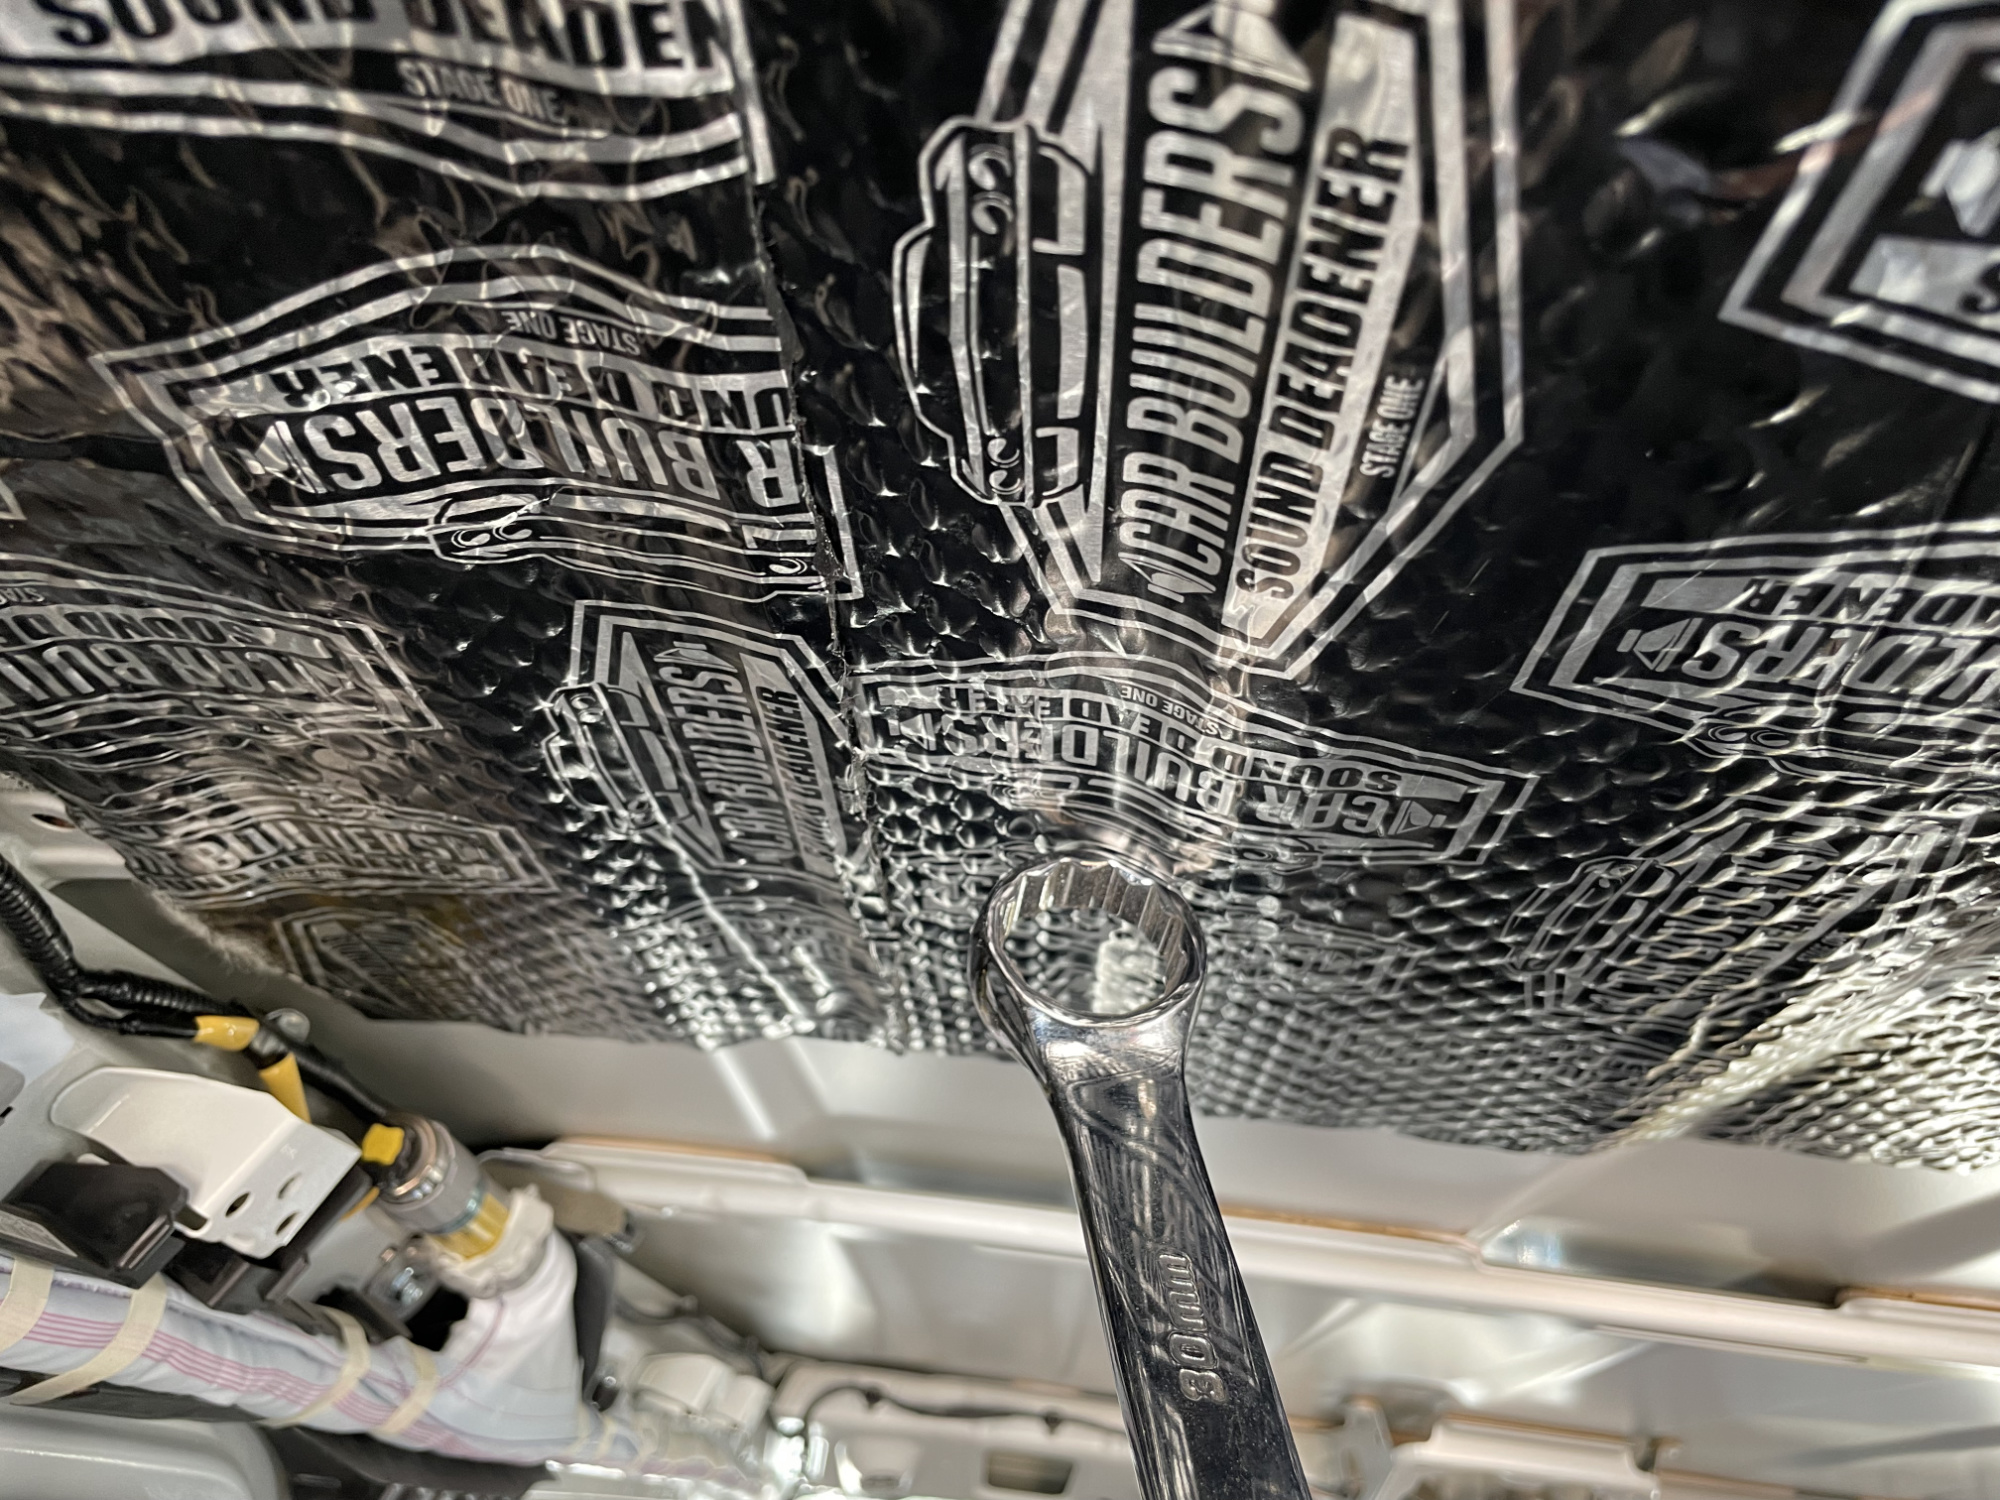
I found I needed a whole lot of deadening to stop the roof resonating, so I ended up with a lot more coverage.
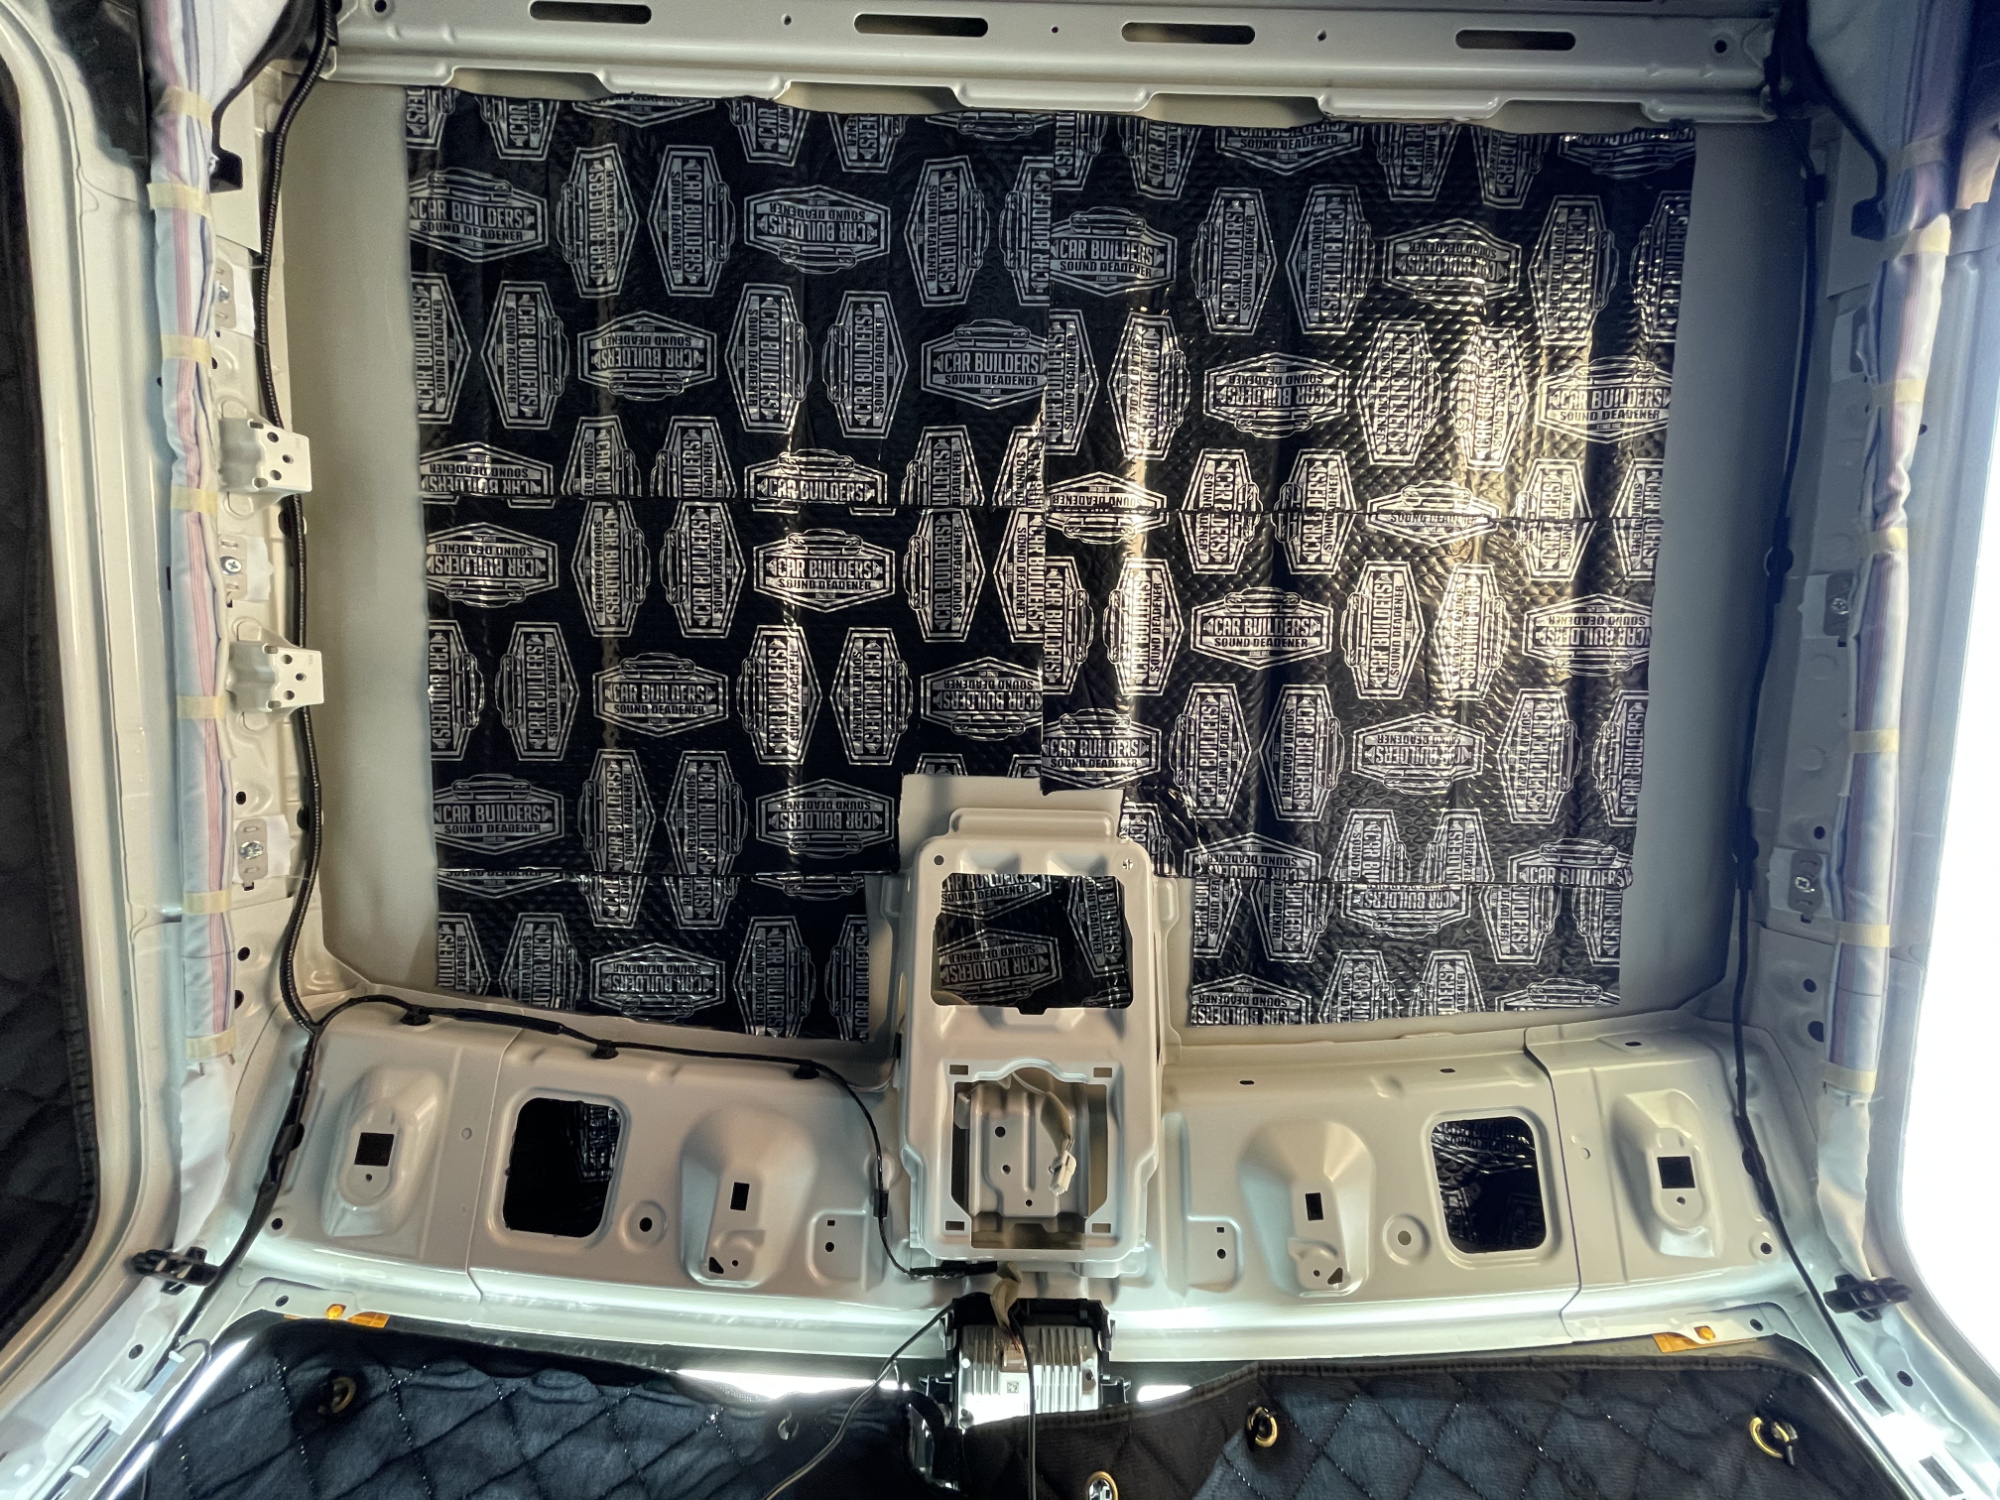
No good pic of the rear coverage, but here’s the front coverage for the heavy sound deadening sheets.
I even put some strips into the structure right near the front of the windscreen. There isn’t much room in the two holes but there is just enough to get some strips in and deaden in there too.
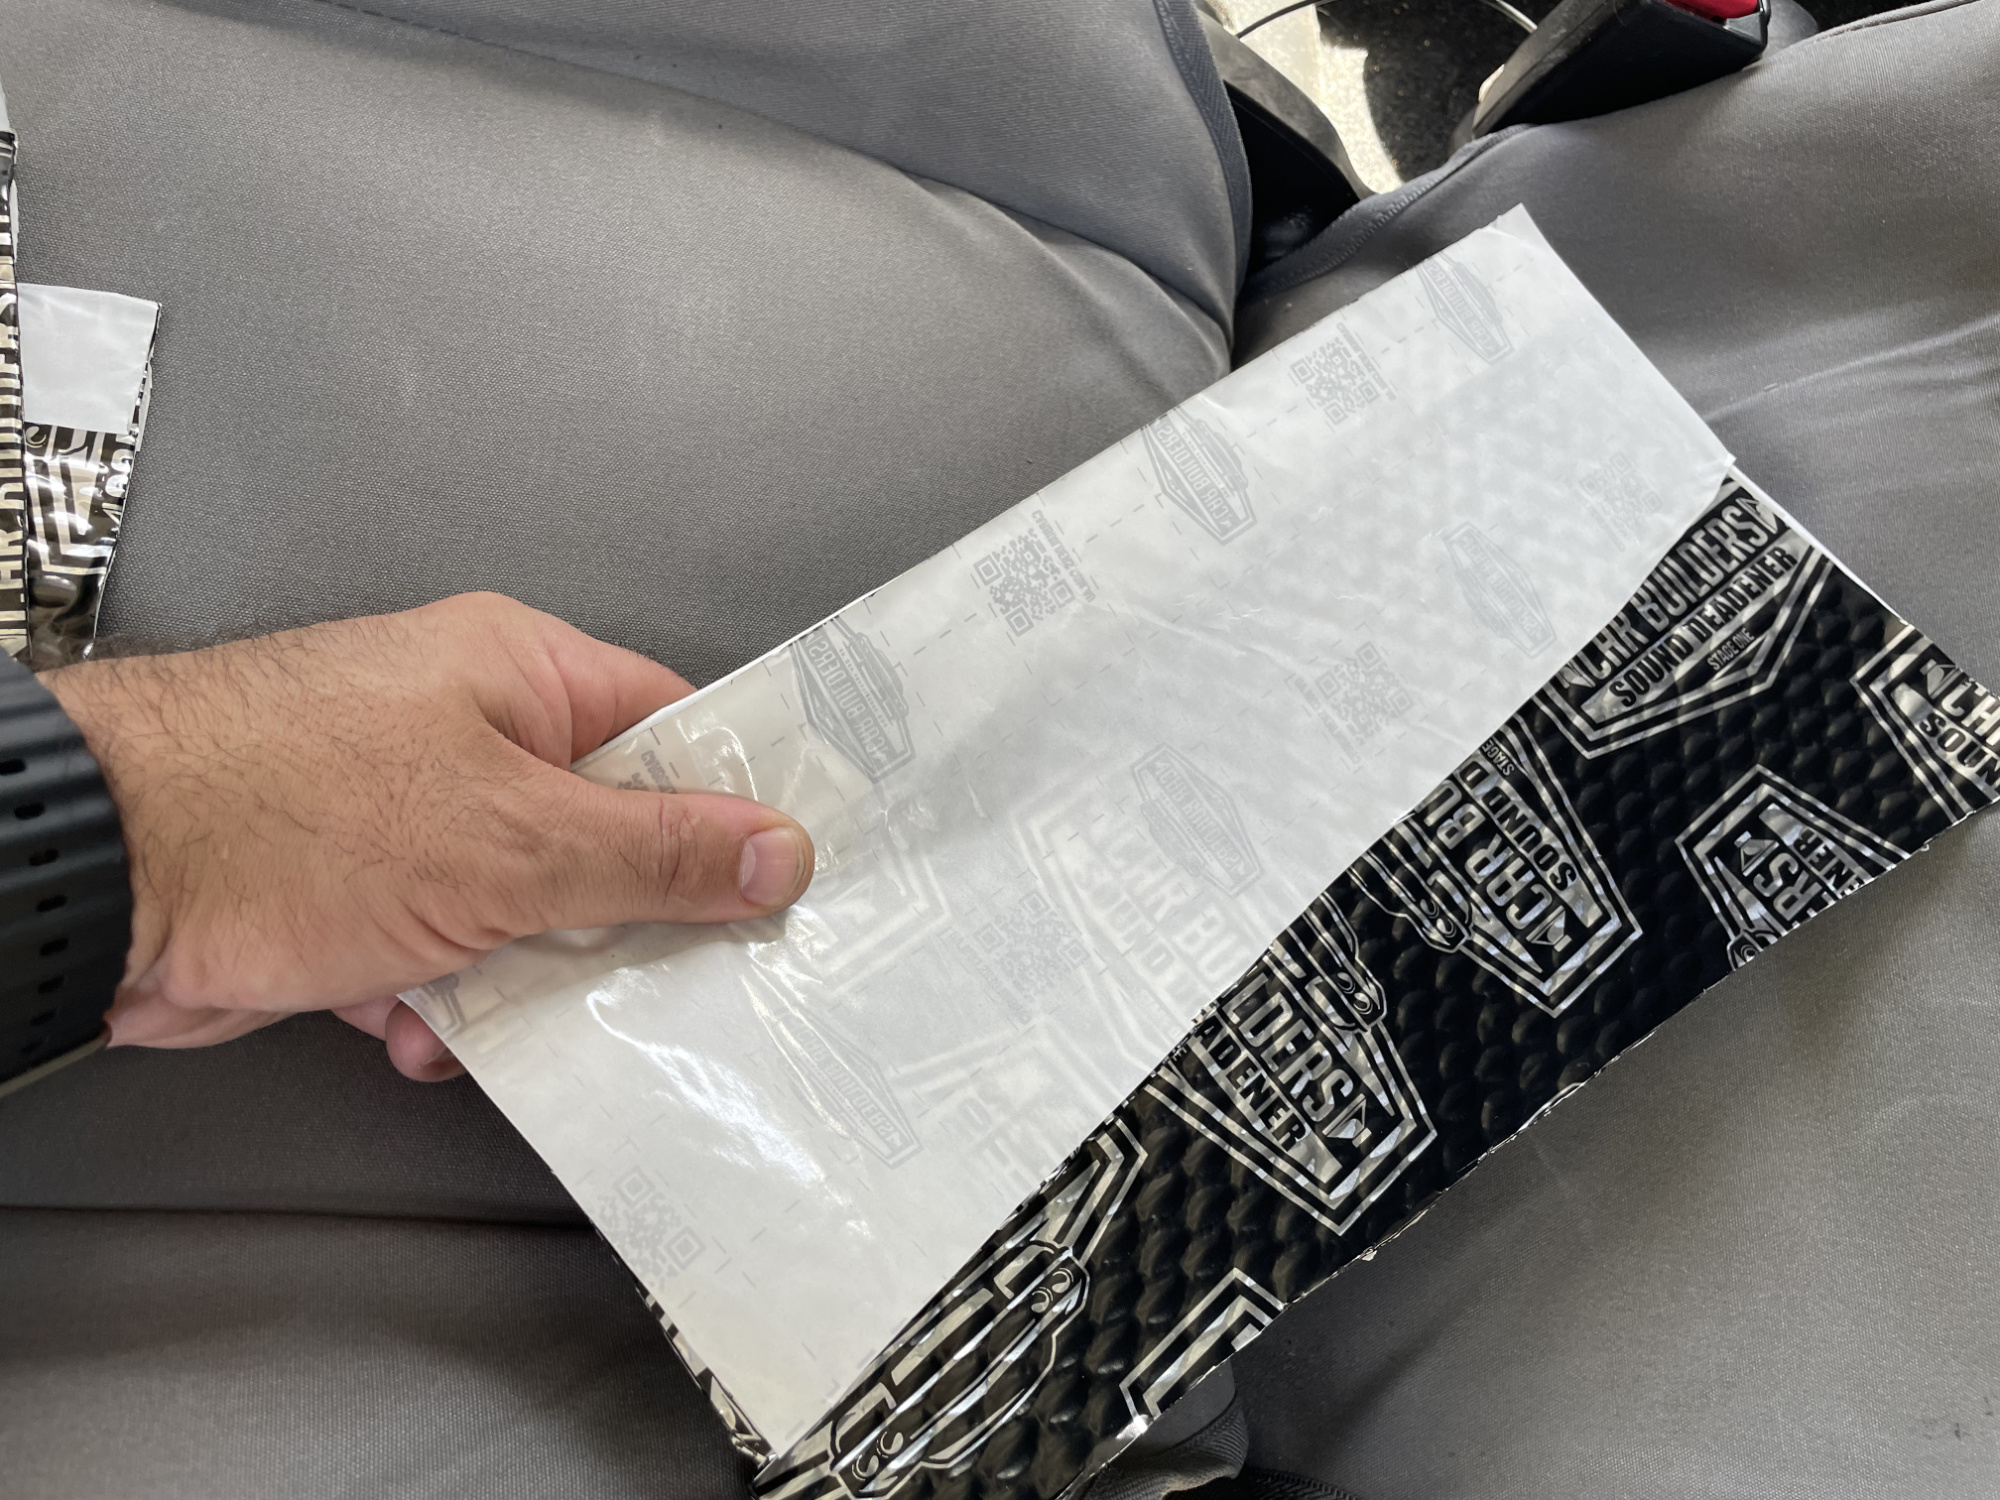
A pro tip is to use some of the discarded backing to make up templates for areas you need to cut the sheet down for. I wanted to match the curve in the structure near the front of the ceiling, so I cut out a piece of backing to suit one side.
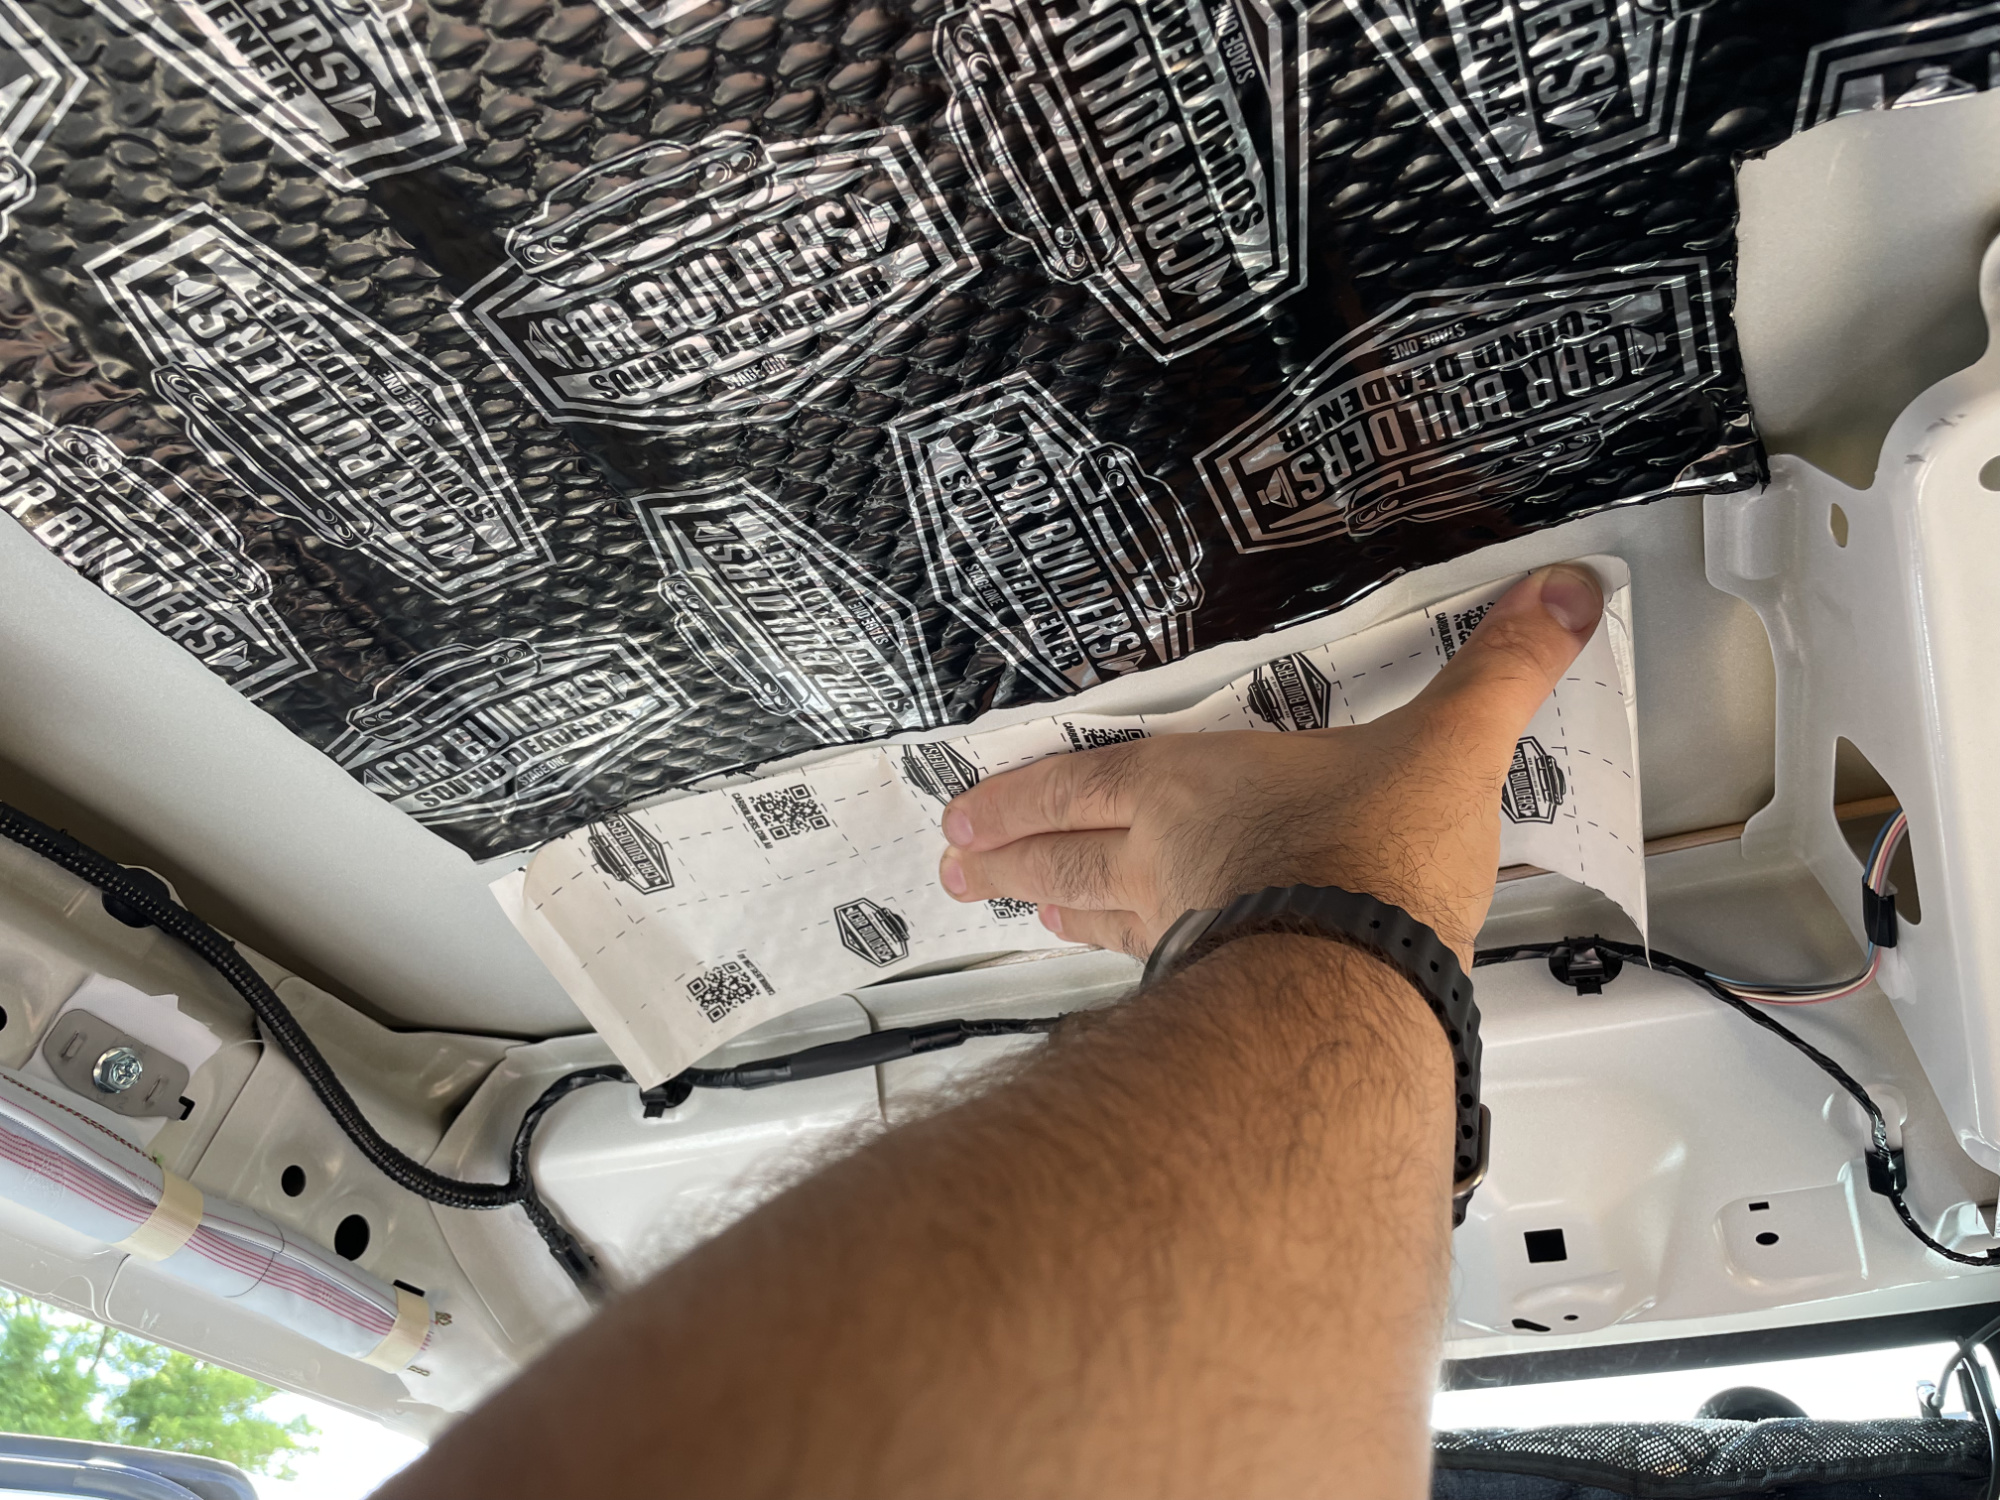
If you flip this template over you can then use it to cut the other side which is the mirror image: saves you a heap of time and gets things that bit more accurate for fitment.
Just a case of applying it really and working your way through.
To wrap up, here’s a before and after with both stage 1 and 2 done.
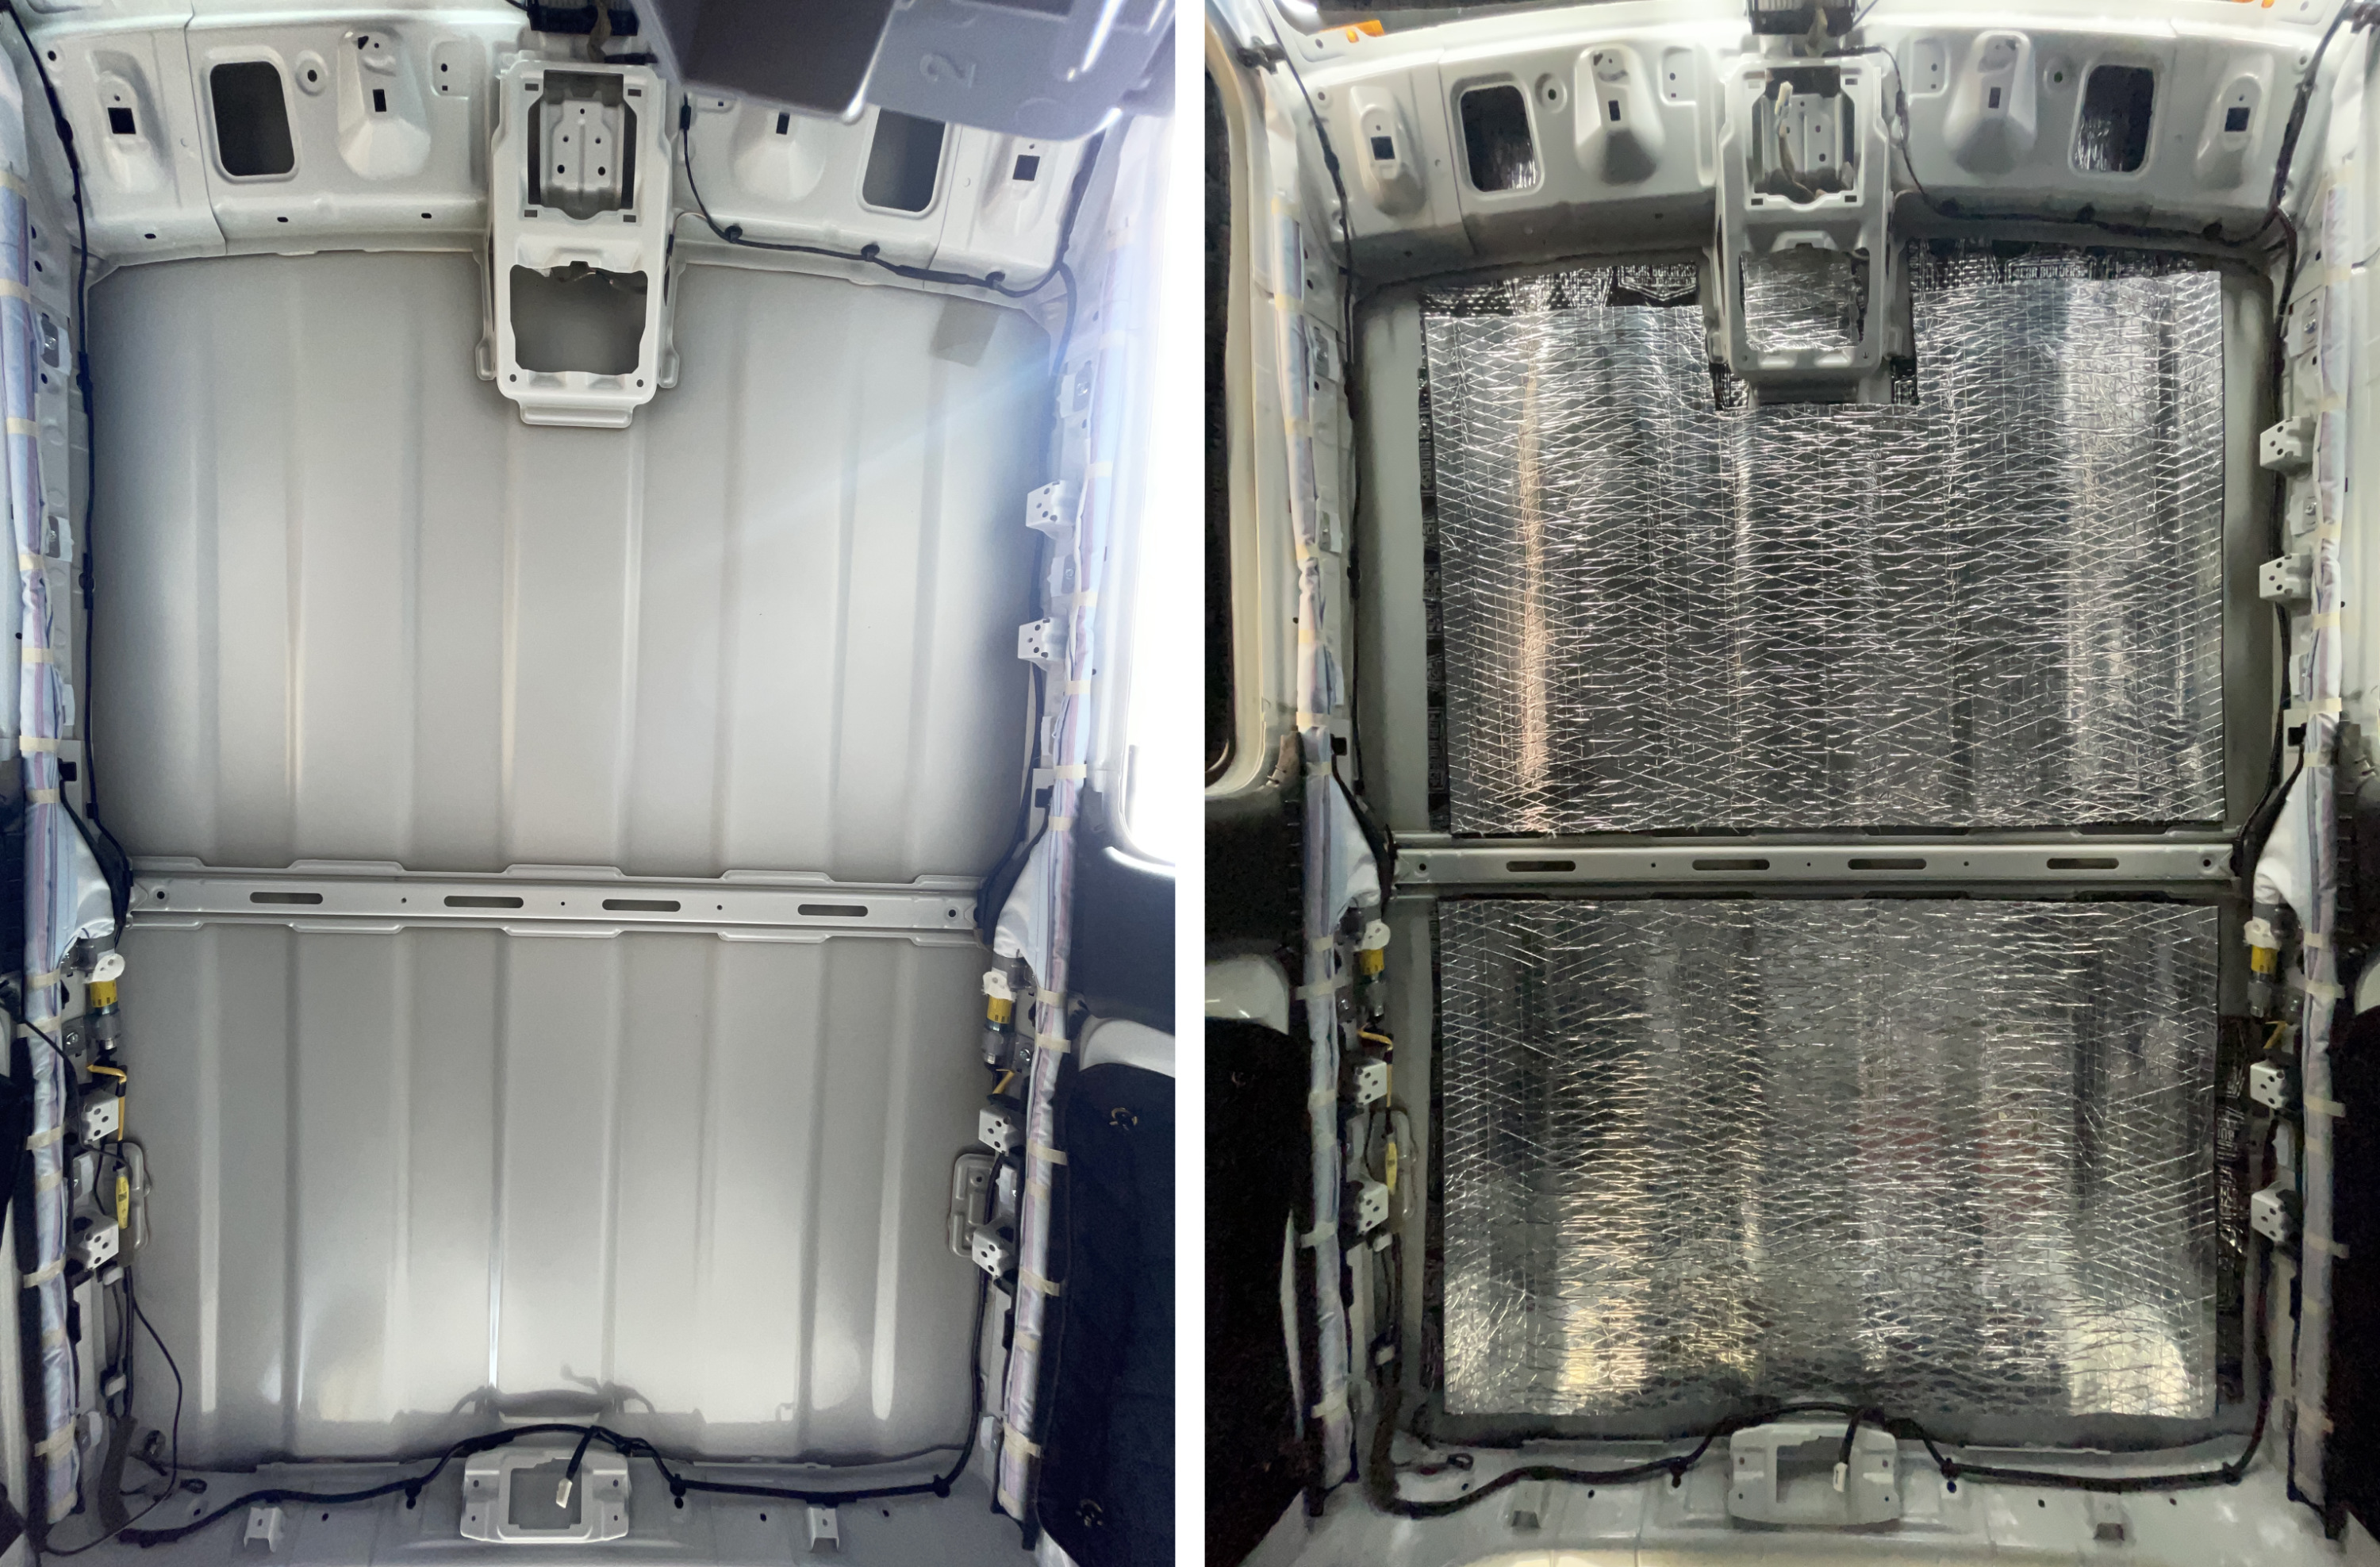
Makes a big difference to the noise of the roof but also the heat transfer through the roof. I’ve found this winter I have done a lot less manual adjusting of the target temperature on the HVAC system as the car is better at keeping a consistent internal temperature.
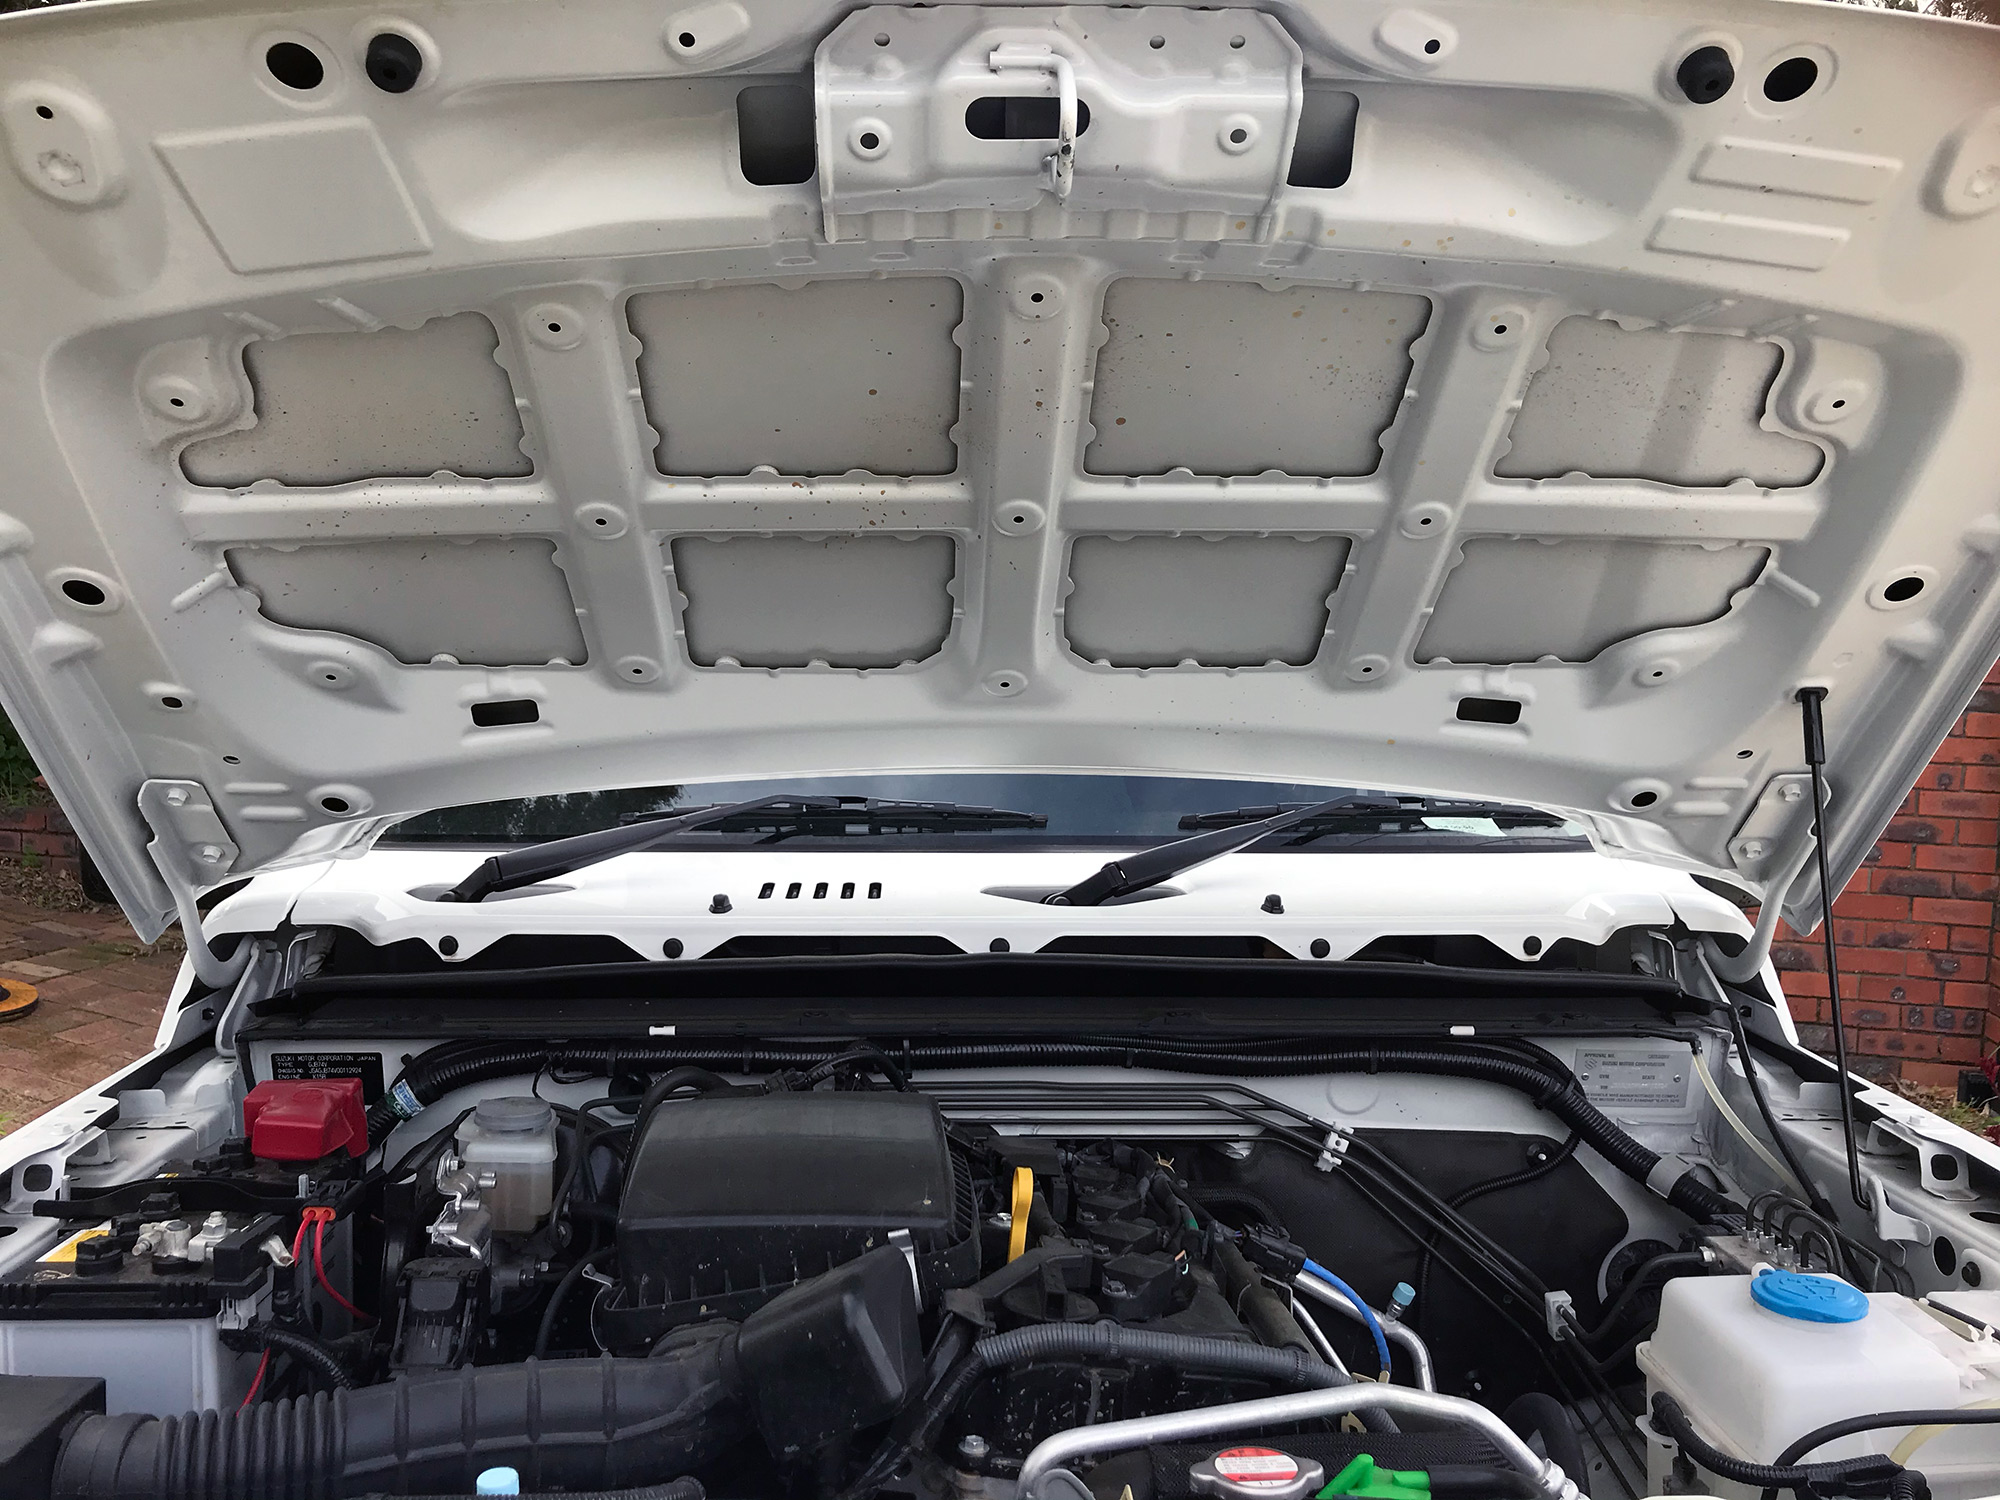
Underbonnet
I installed a cheap aliexpress underbonnet insulation kit.
I can’t say I really noticed if it changed the sound from the engine, and the bonnet didn’t really feel any cooler for having it on, either.
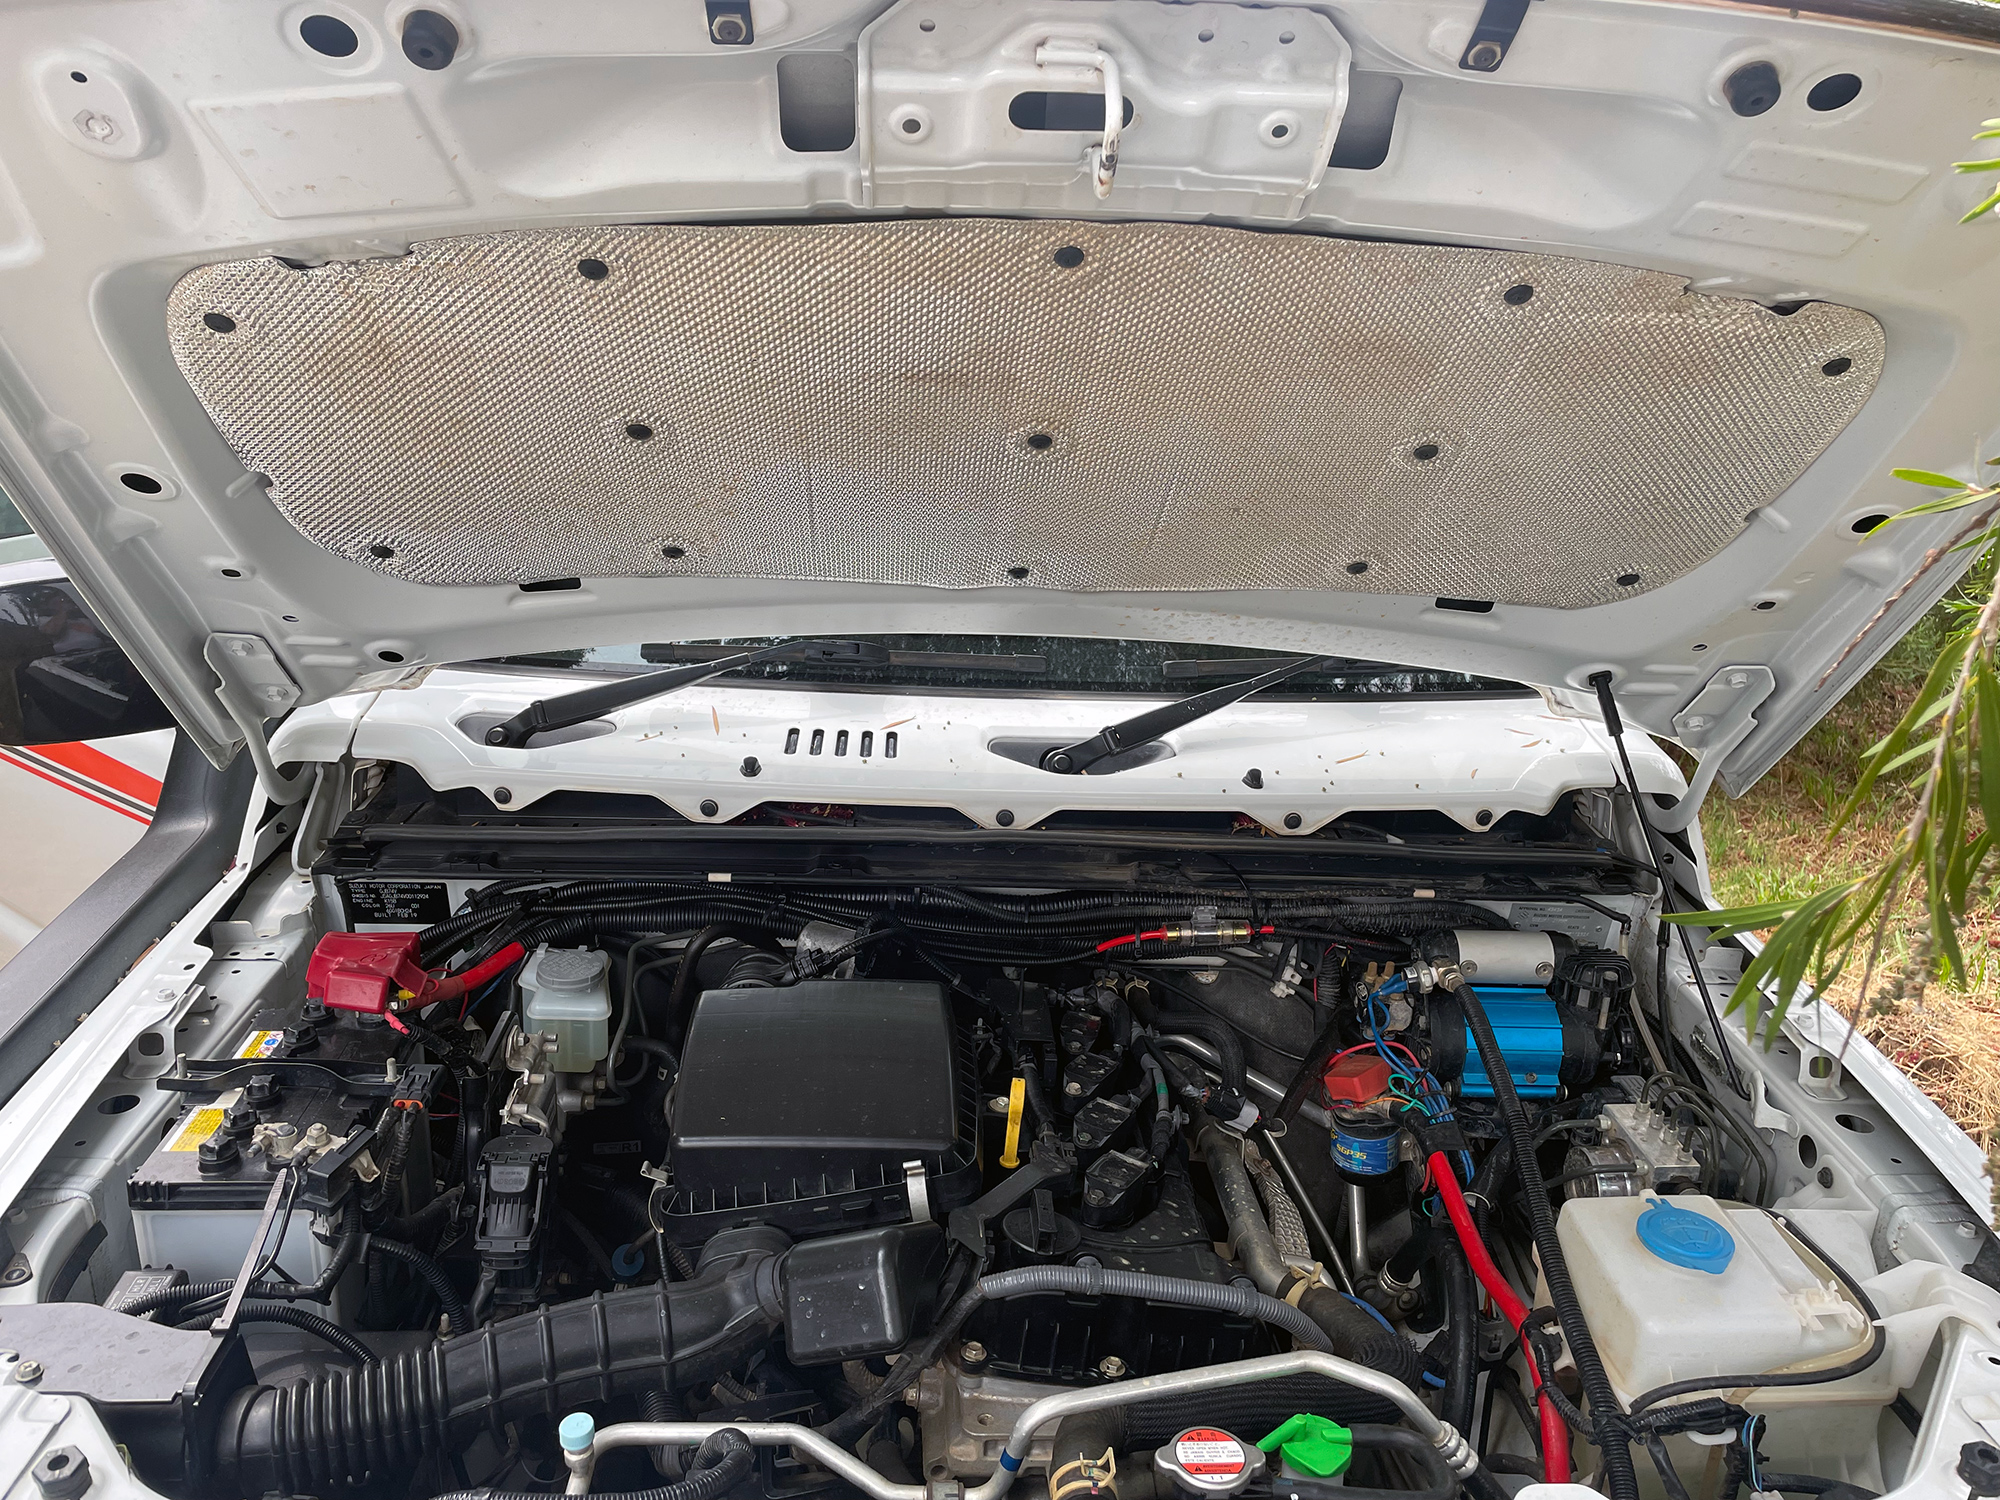
I wouldn’t say it’s worth doing. There didn’t appear to be a heap of benefits (even though theoretically there are some), and it just adds time to underbonnet cleaning… and no matter what I do I can’t get it perfectly clean.
Better off spending the money elsewhere I think.