Dash cam installation
Installing a front and rear dashcam in the Jimny; this is the article for you if you’re looking for where to run the wires and make a neat installation in the car.
Sections
What you need
- A suitable dashcam
Because I’m cheap and all dashcams are practically the same internally, I went for the DDPAI 2.5K front/1080p rear camera combo. At ~$120 at the time of recording they’re pretty good value - Wiring kit for the dashcam
The dash cam wiring kit is a bit ordinary but it will do as a basis for wiring. I’ll cover how you would just install it using this wiring, but I’ll also cover how to better do the wiring installation - JIS #2 screwdriver
Looks like a Phillips head screwdriver, isn’t quite; you’ll need this if you’re dropping the headlining to get the right wiring routing - Trim removal tool
This is just to help - Wiring tools
If you’re going to do your own wiring then you’ll need tools appropriate for that wiring. This can be as simple as a cheap set of crimp pliers and terminals and some heat shrink and can be as advanced as highly specialised ratcheting crimpers. If you need to know a bit more about this sort of stuff then my article on electrical tools and connectors might be a good place to start.
That makes it sound a lot trickier than it is to do this sort of an installation. Given that car dealerships could charge you upwards of $1k for a basic dash cam install packaged with your car sale, doing it yourself could save you heaps towards other mods.
In terms of the dashcam I bought: I’m honestly surprised having now used it for a bit. The quality is very good, certainly no worse than much more expensive ones I have seen people use. The software is a little buggy and it took a while to get it set up, but at $110 for a front and rear dashcam of 1600P res front/1080P rear and no forced cloud storage or anything… it’s hard to beat.
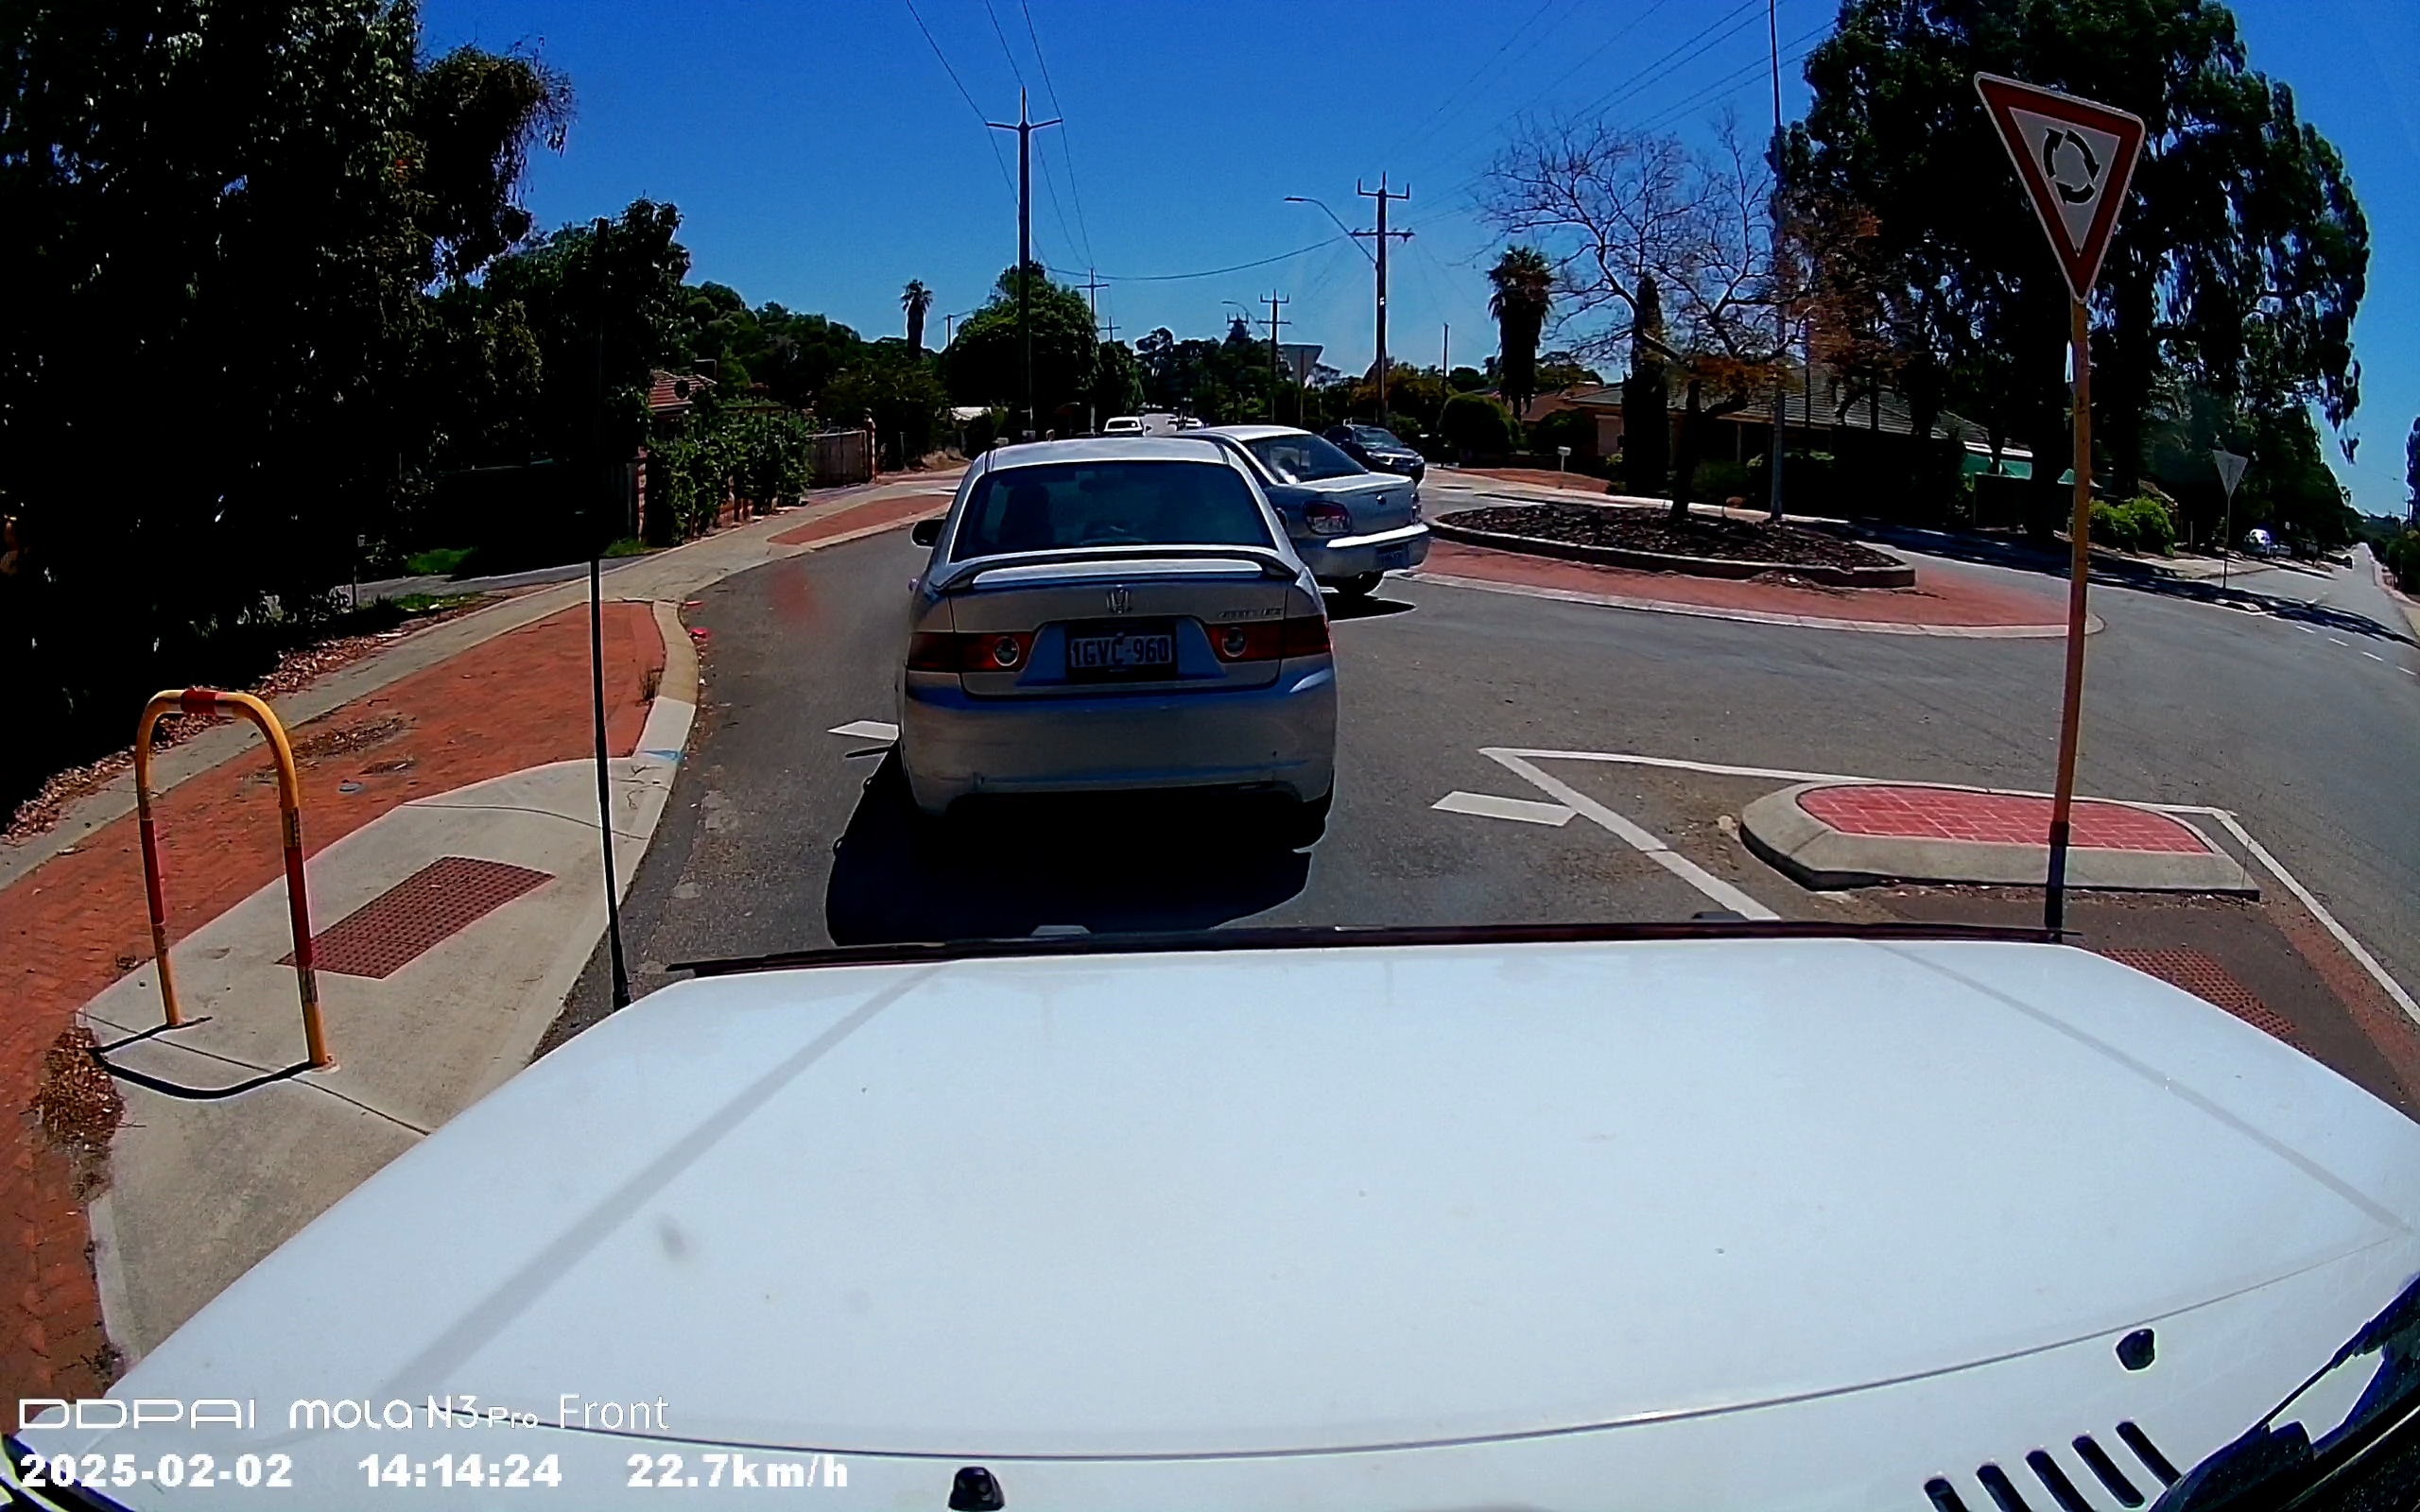
Here’s a daylight snapshot:
Planning your wiring
A good game plan is essential to good results with any electrical work. A few pointers to help with this:
- The fuse box (if you’re tapping into it for power) is on the passengers side, so most wiring will end up running from here. In addition, the front dash cam is usually best situated on the passengers side of the autonomous braking camera: it means it’s out of the drivers eyesight most of the time so is one fewer sources of distraction
- On the flipside, the boot hinge is on the drivers side (in Australia and other RHD markets, obviously) so the wiring to a rear dash cam is best run on the drivers side so you can get it through the factory boot harness wiring hole harness.
- There’s two choices to get wiring along the length of the car: along the ceiling or down in the door channels. There are good and bad aspects for doing either of these. The ceiling is closer to the dash cams which will naturally be installed near the top of the front and rear windscreens.
- To make the boot wiring very neat, I plan to get into the rear door interior using the factory rubber wiring conduit and then using the drivers side rear window dimister area to bring the wiring out to the camera on the glass. Since I have added rear demister wiring covers, I can even drill a separate hole here and have super easy access to the wiring and it will still be neat and hidden.
Before you do any of the wiring, disconnect the negative terminal on the battery.
Positioning the cameras
Front
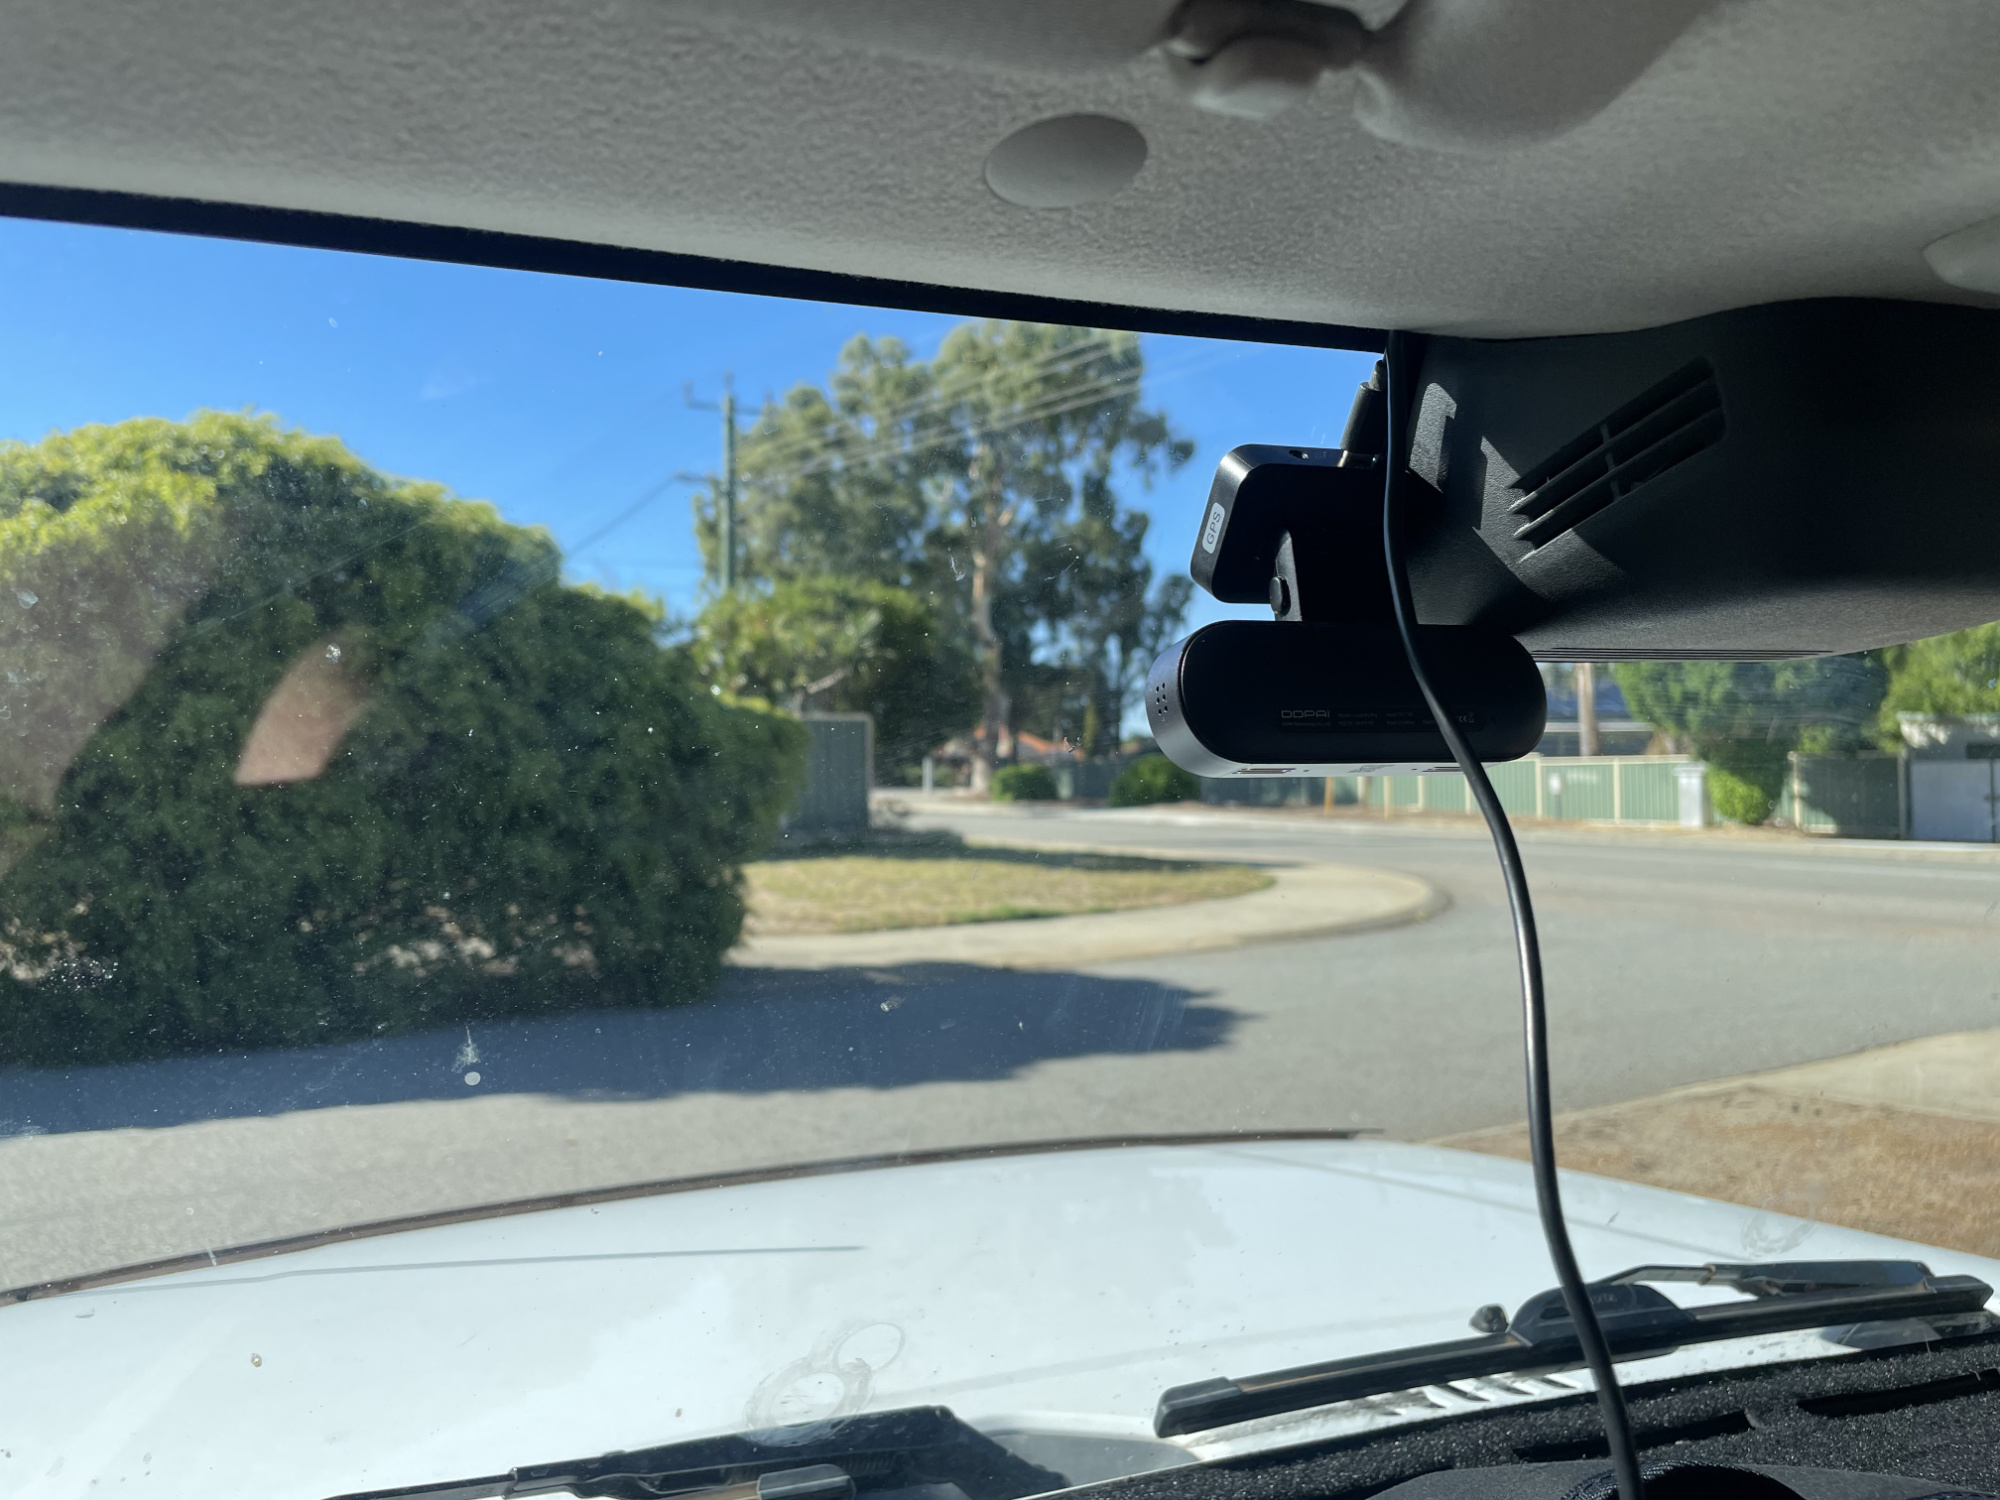
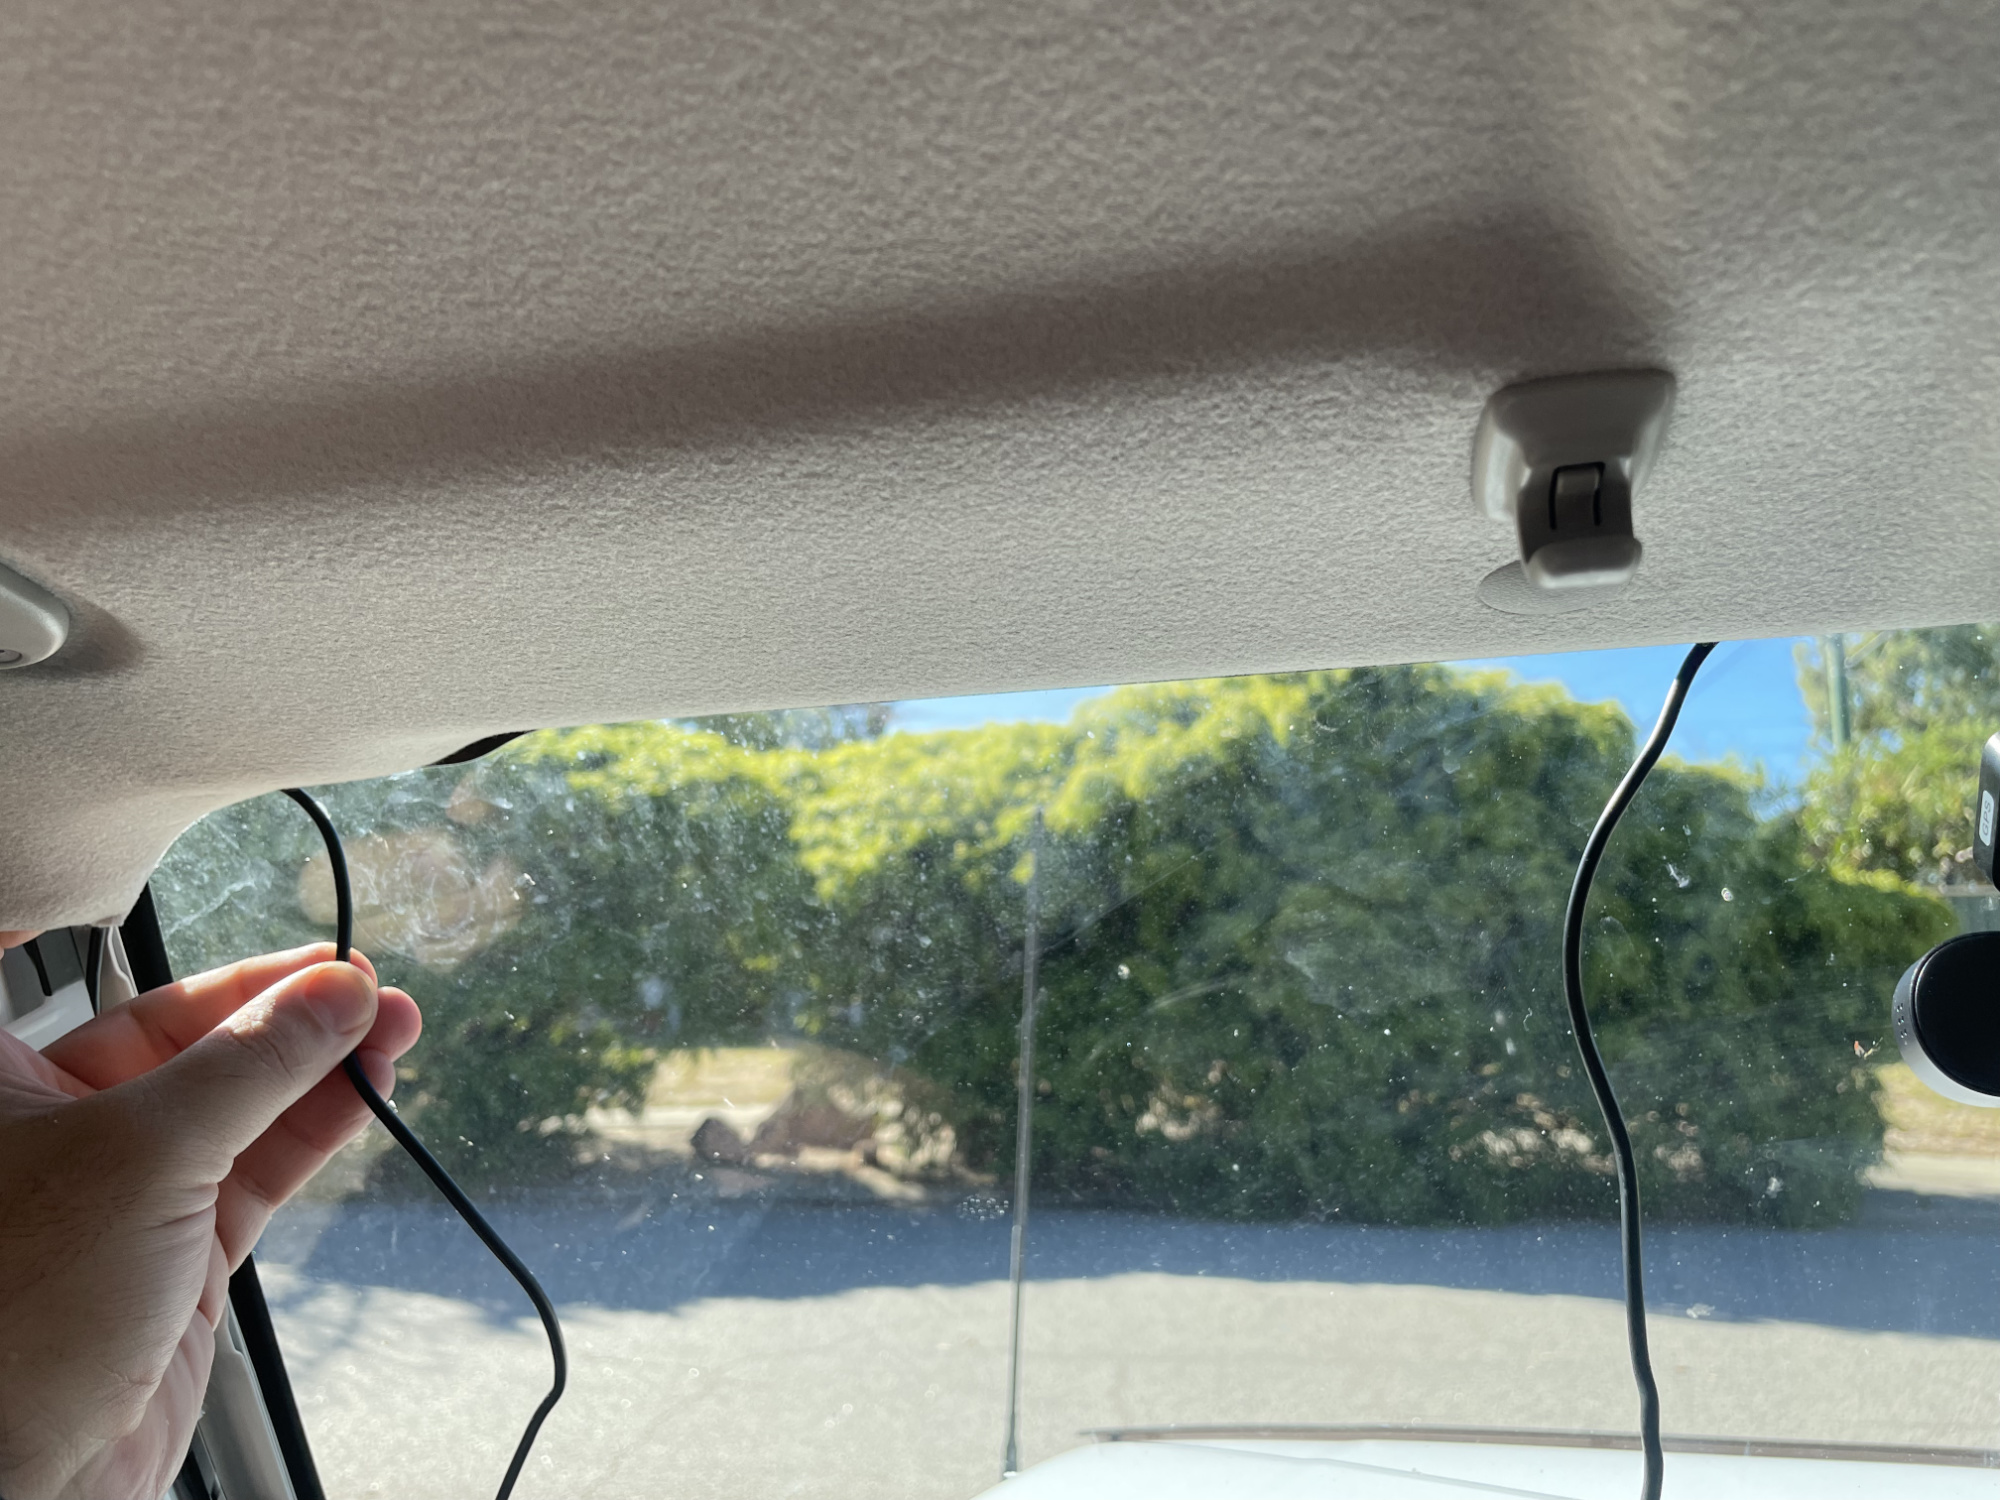
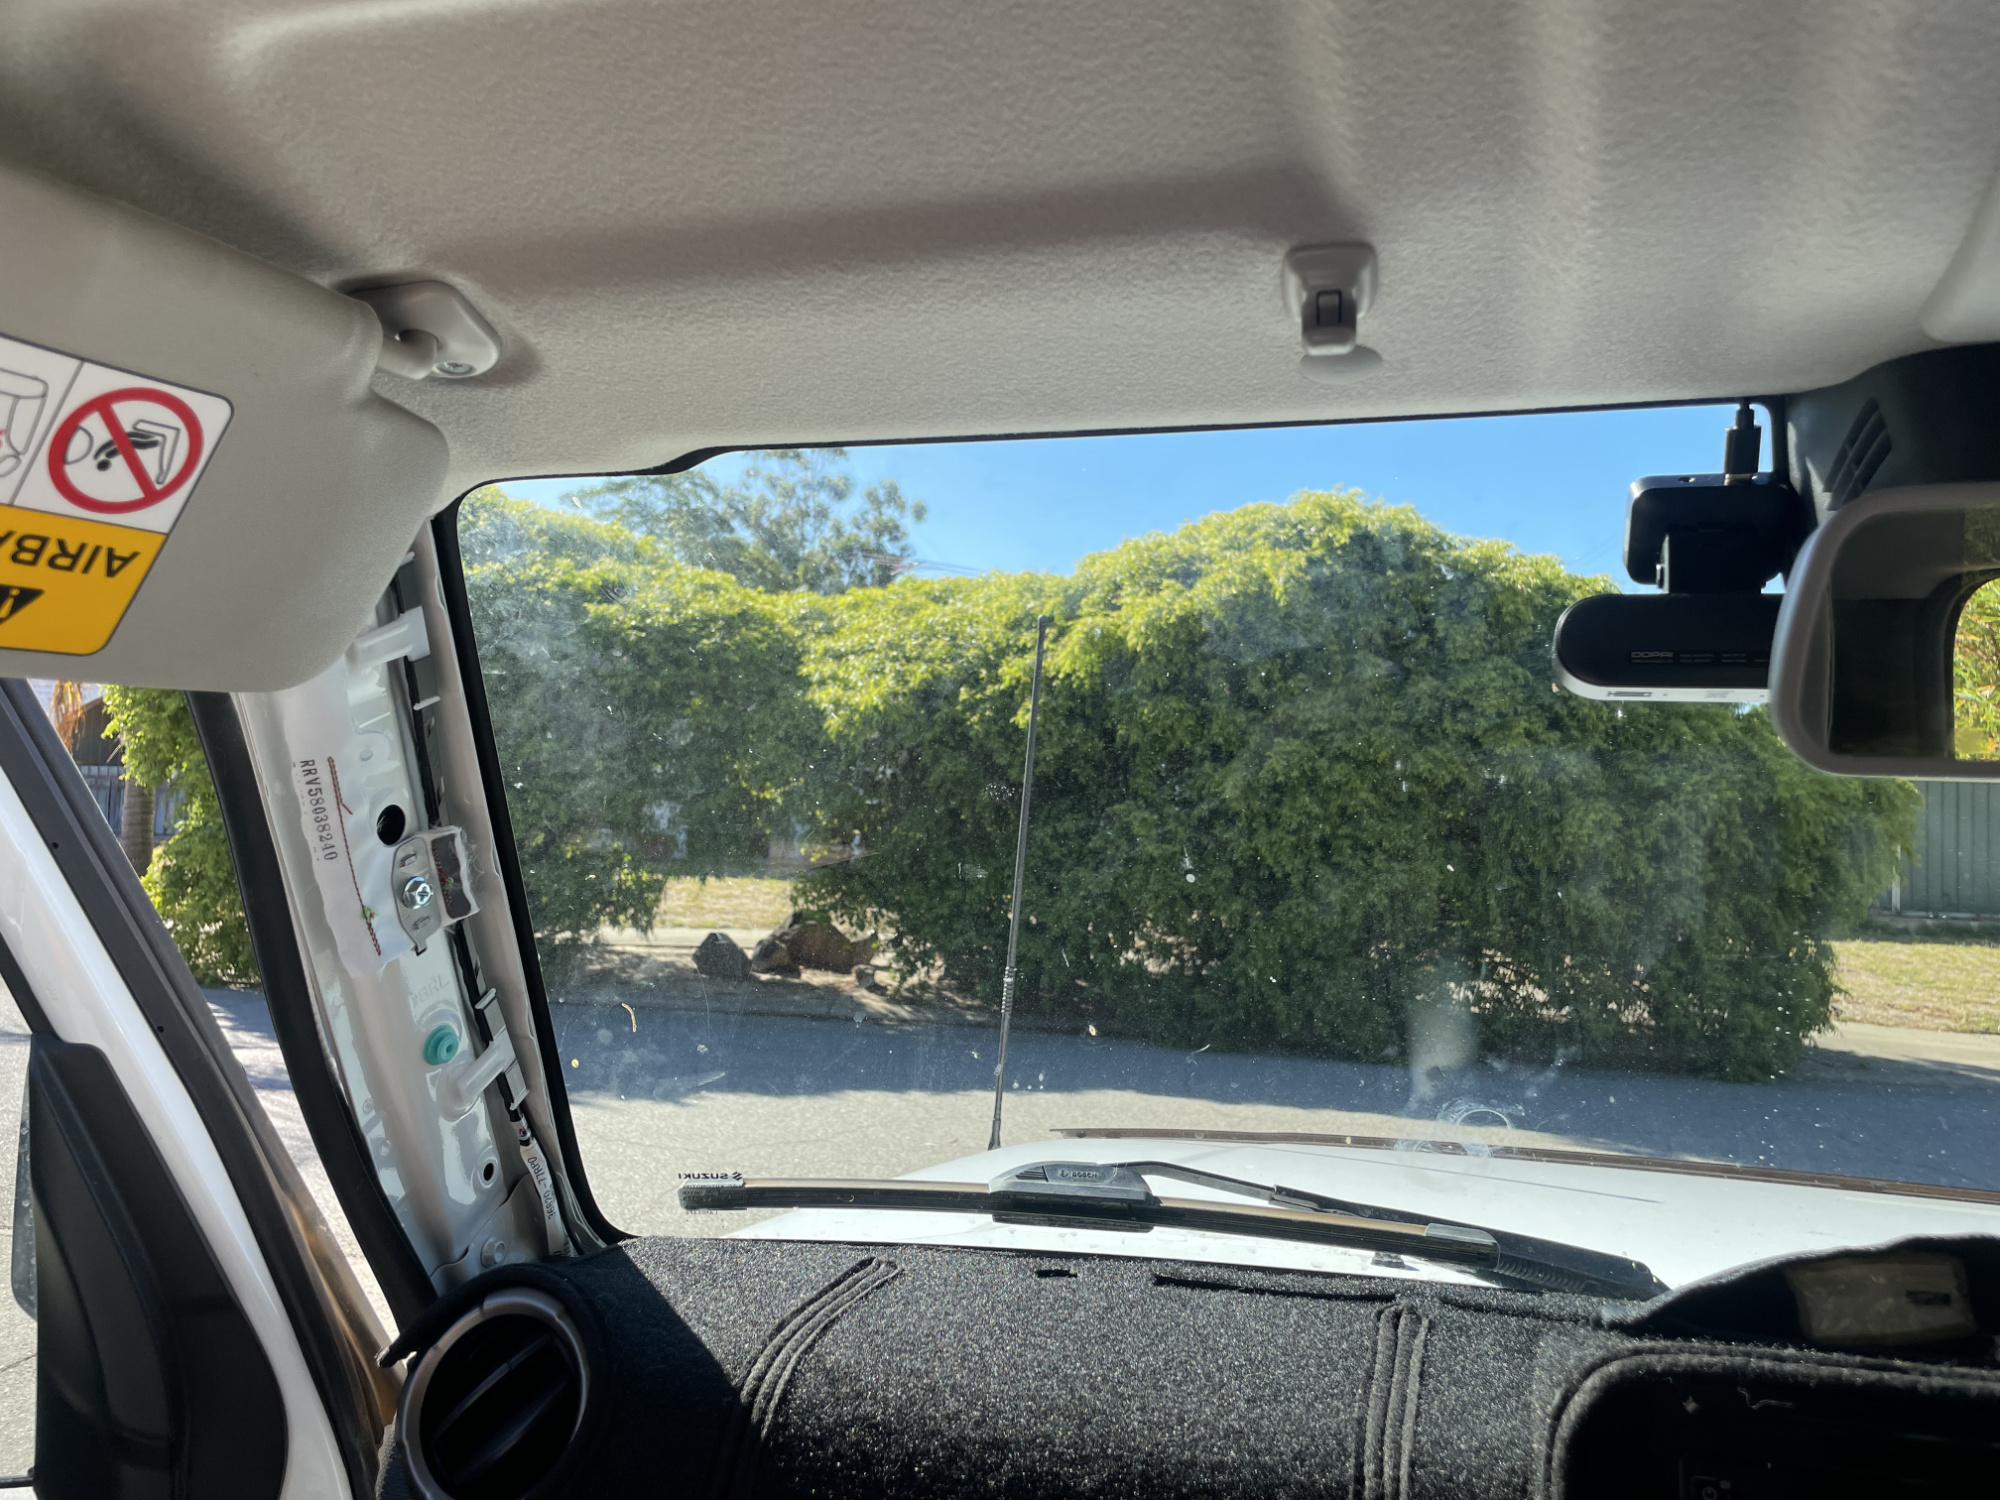
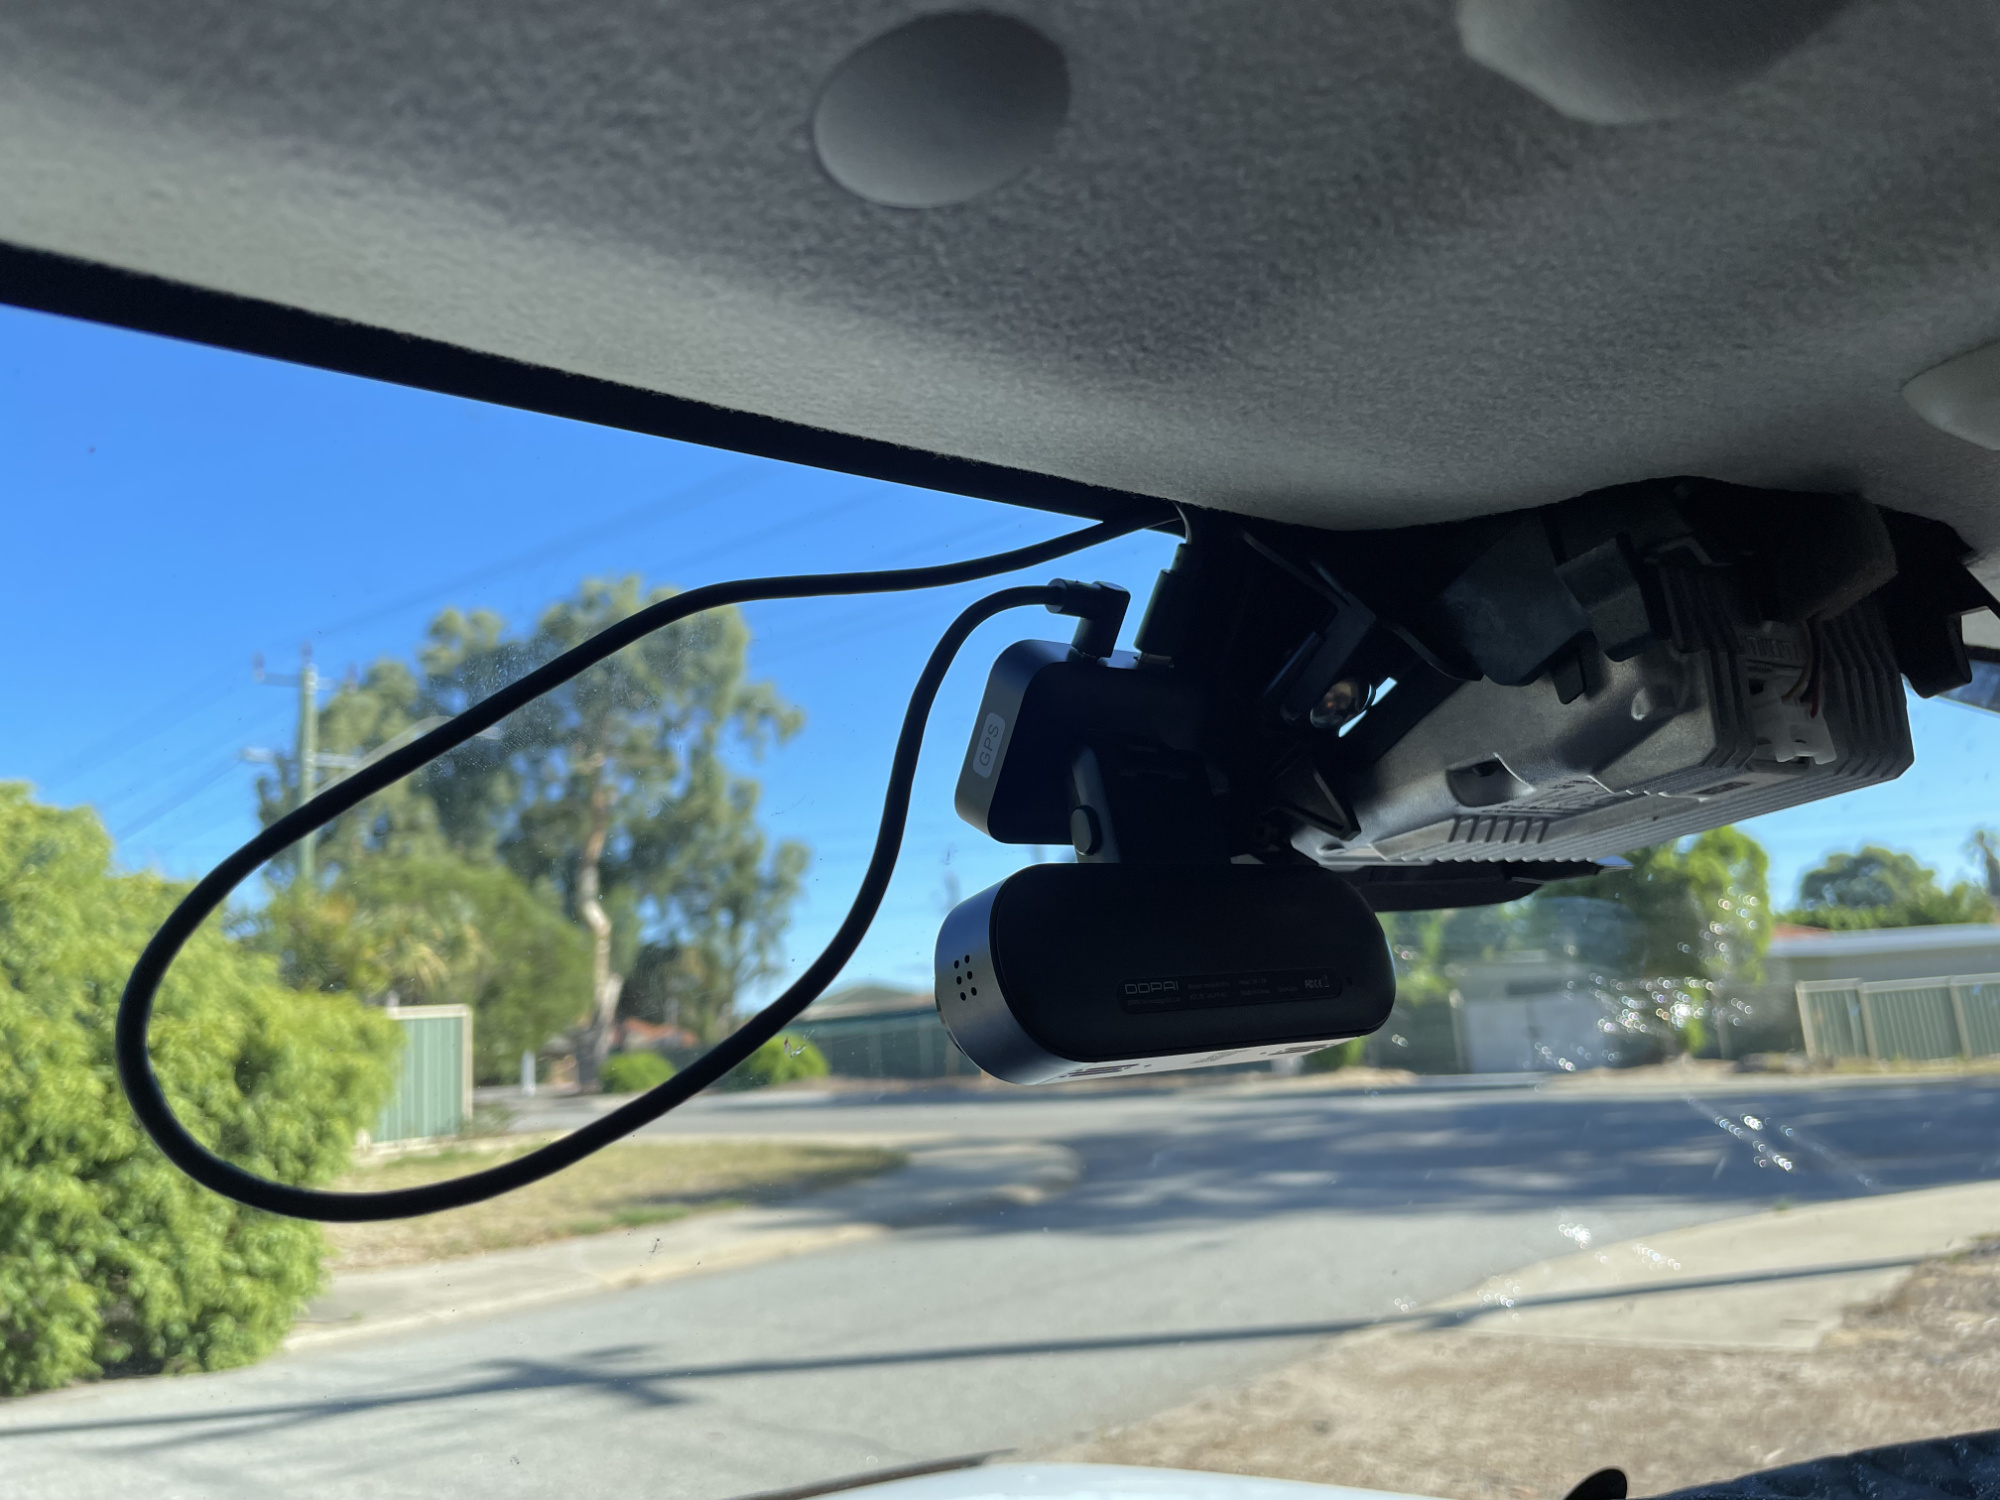
The key thing about the front camera is to make sure it’s got a good high view out of the windscreen and that it’s not obstructing the vision of the driver or the passenger. I think the passengers side right up next to the autonomous braking camera is a great spot. You do need to make sure you can plug/unplug the cabling from it (makes the wiring easier) and things like the memory card slot and/or any release clips to remove it from the mount are easy to get to, too.
With me holding it in position, here’s the drivers eye view from where I sit and would be looking (wide angle lens).
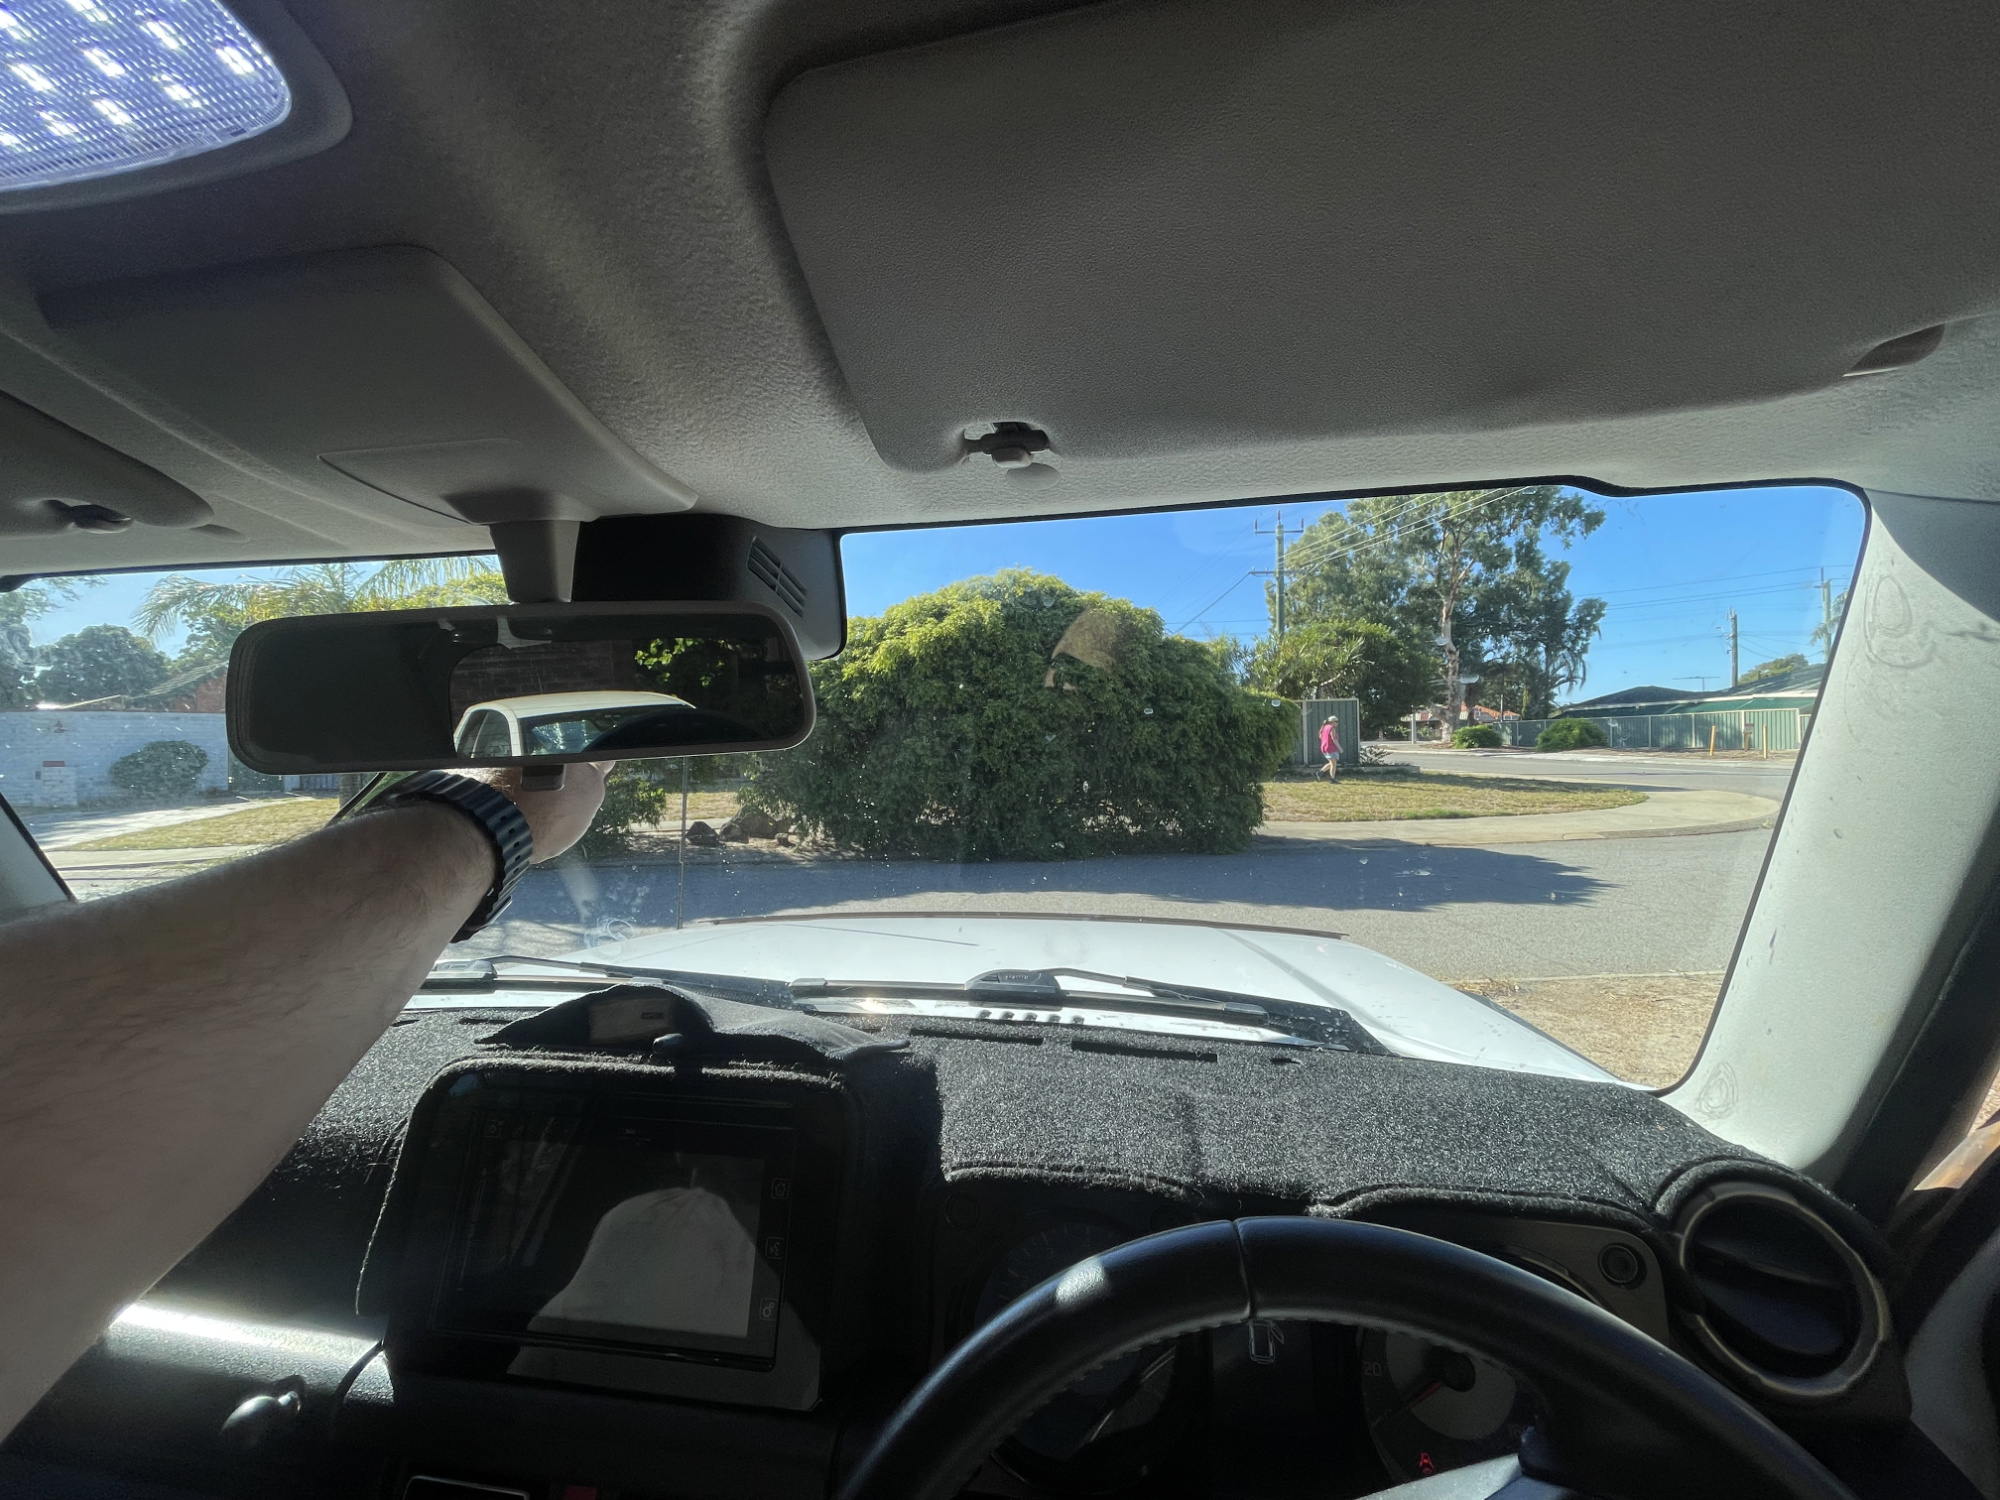
The equivalent passengers side view (also using a wide angle lens).
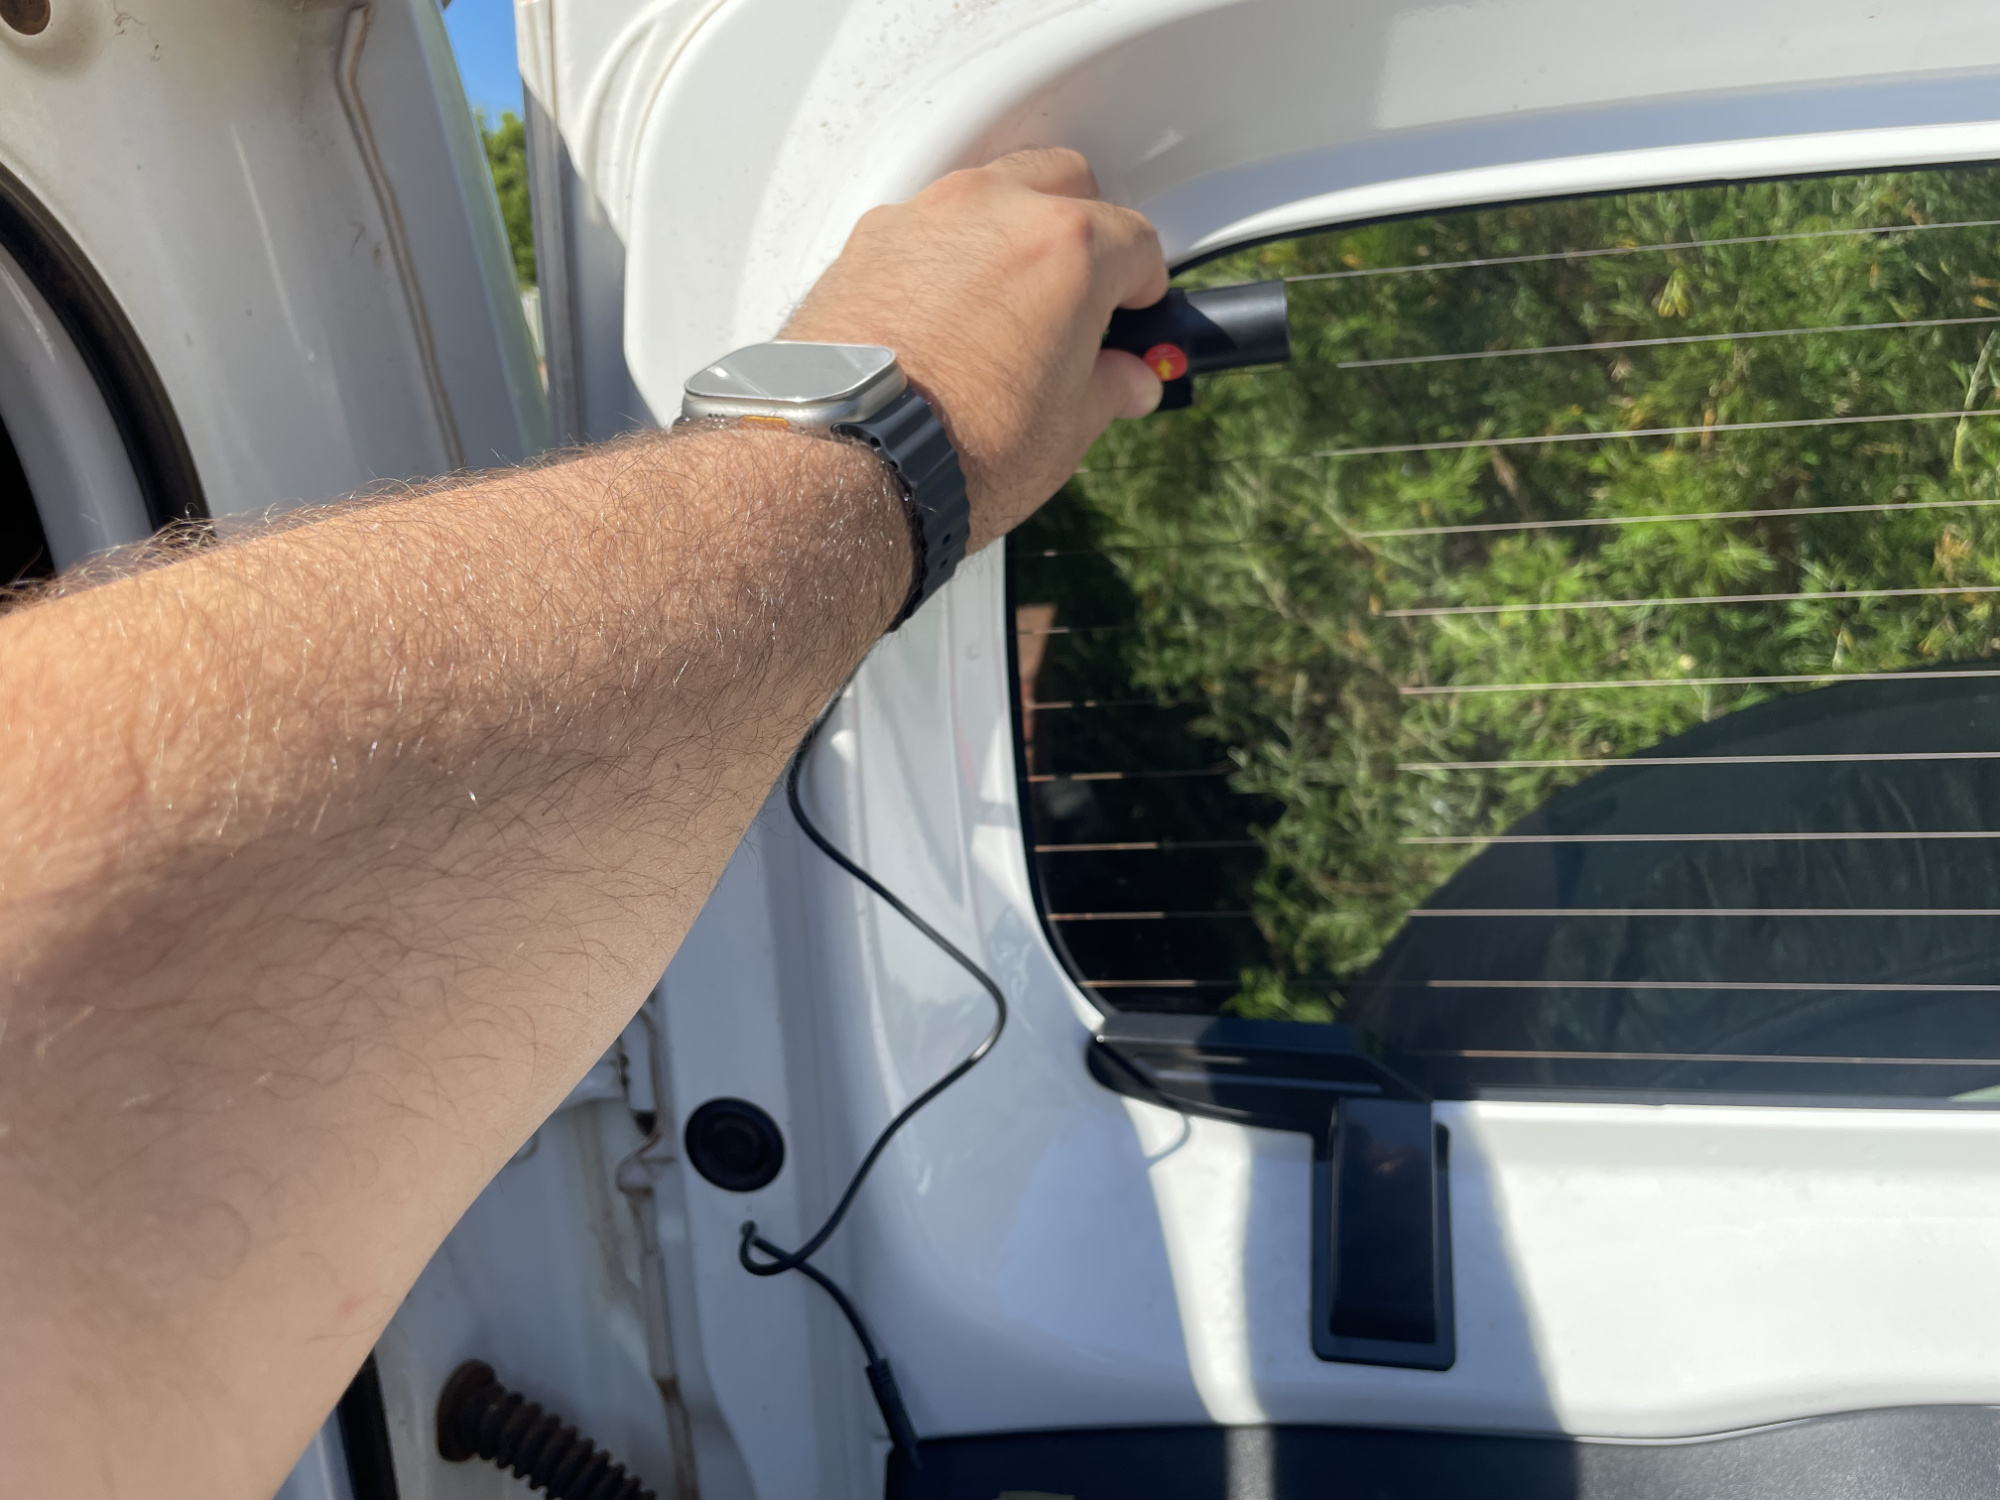
I’m happy with that, especially that I can’t see it at all from the drivers side, so time to stick it on.
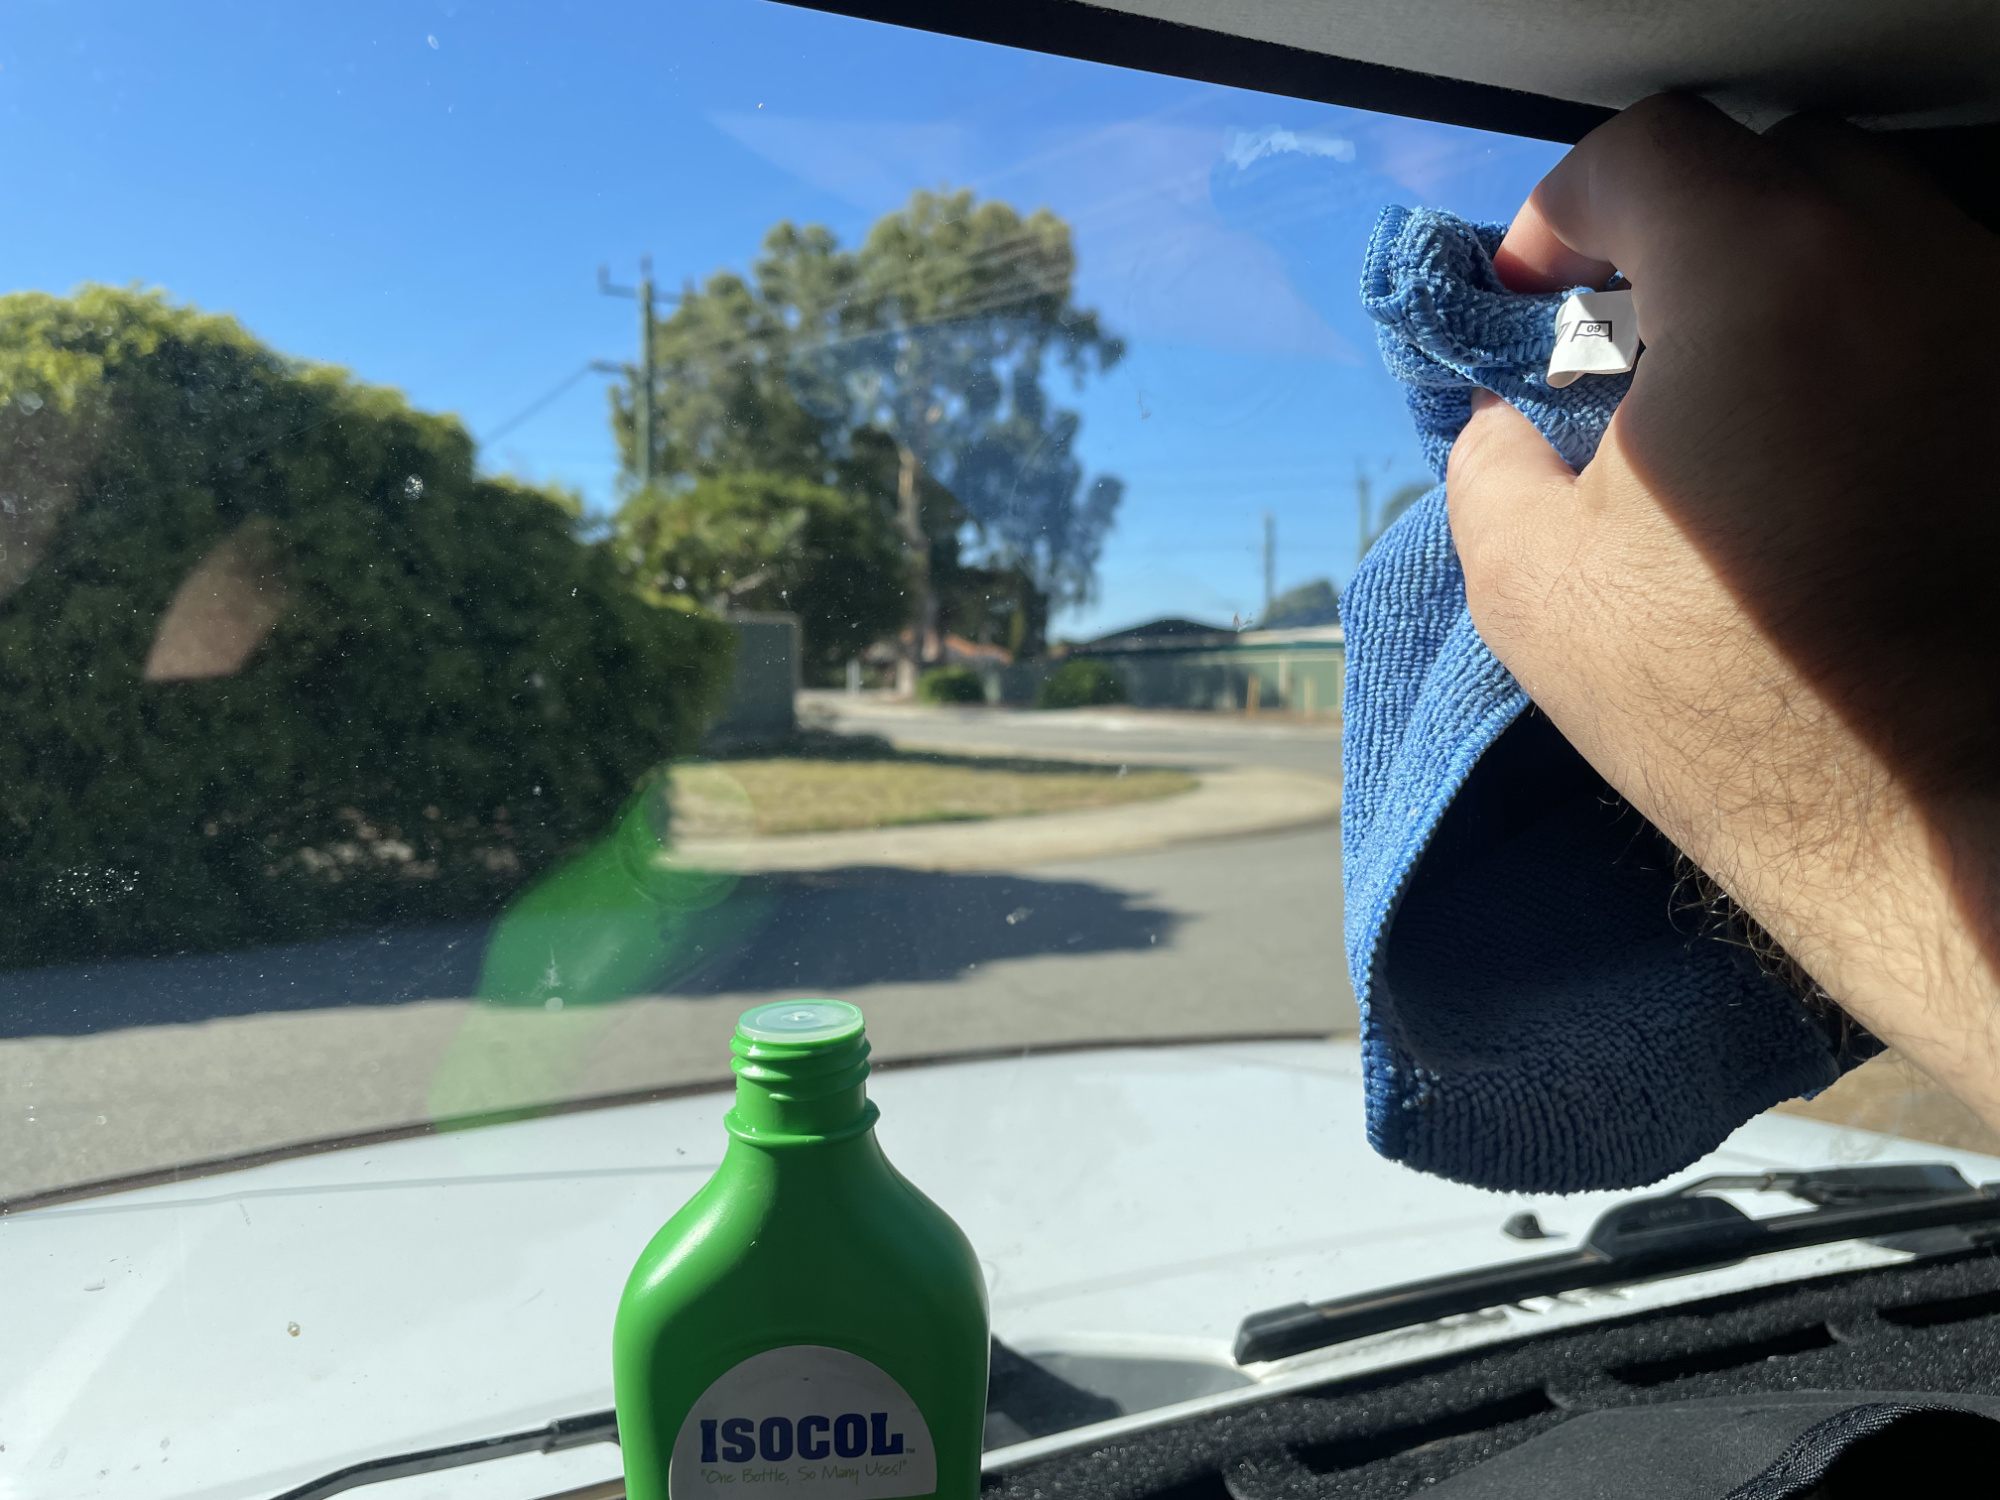
Before you stick it on you should thoroughly clean the windscreen with alcohol or a residue-free glass cleaner. The better you do this the better the camera will stick.
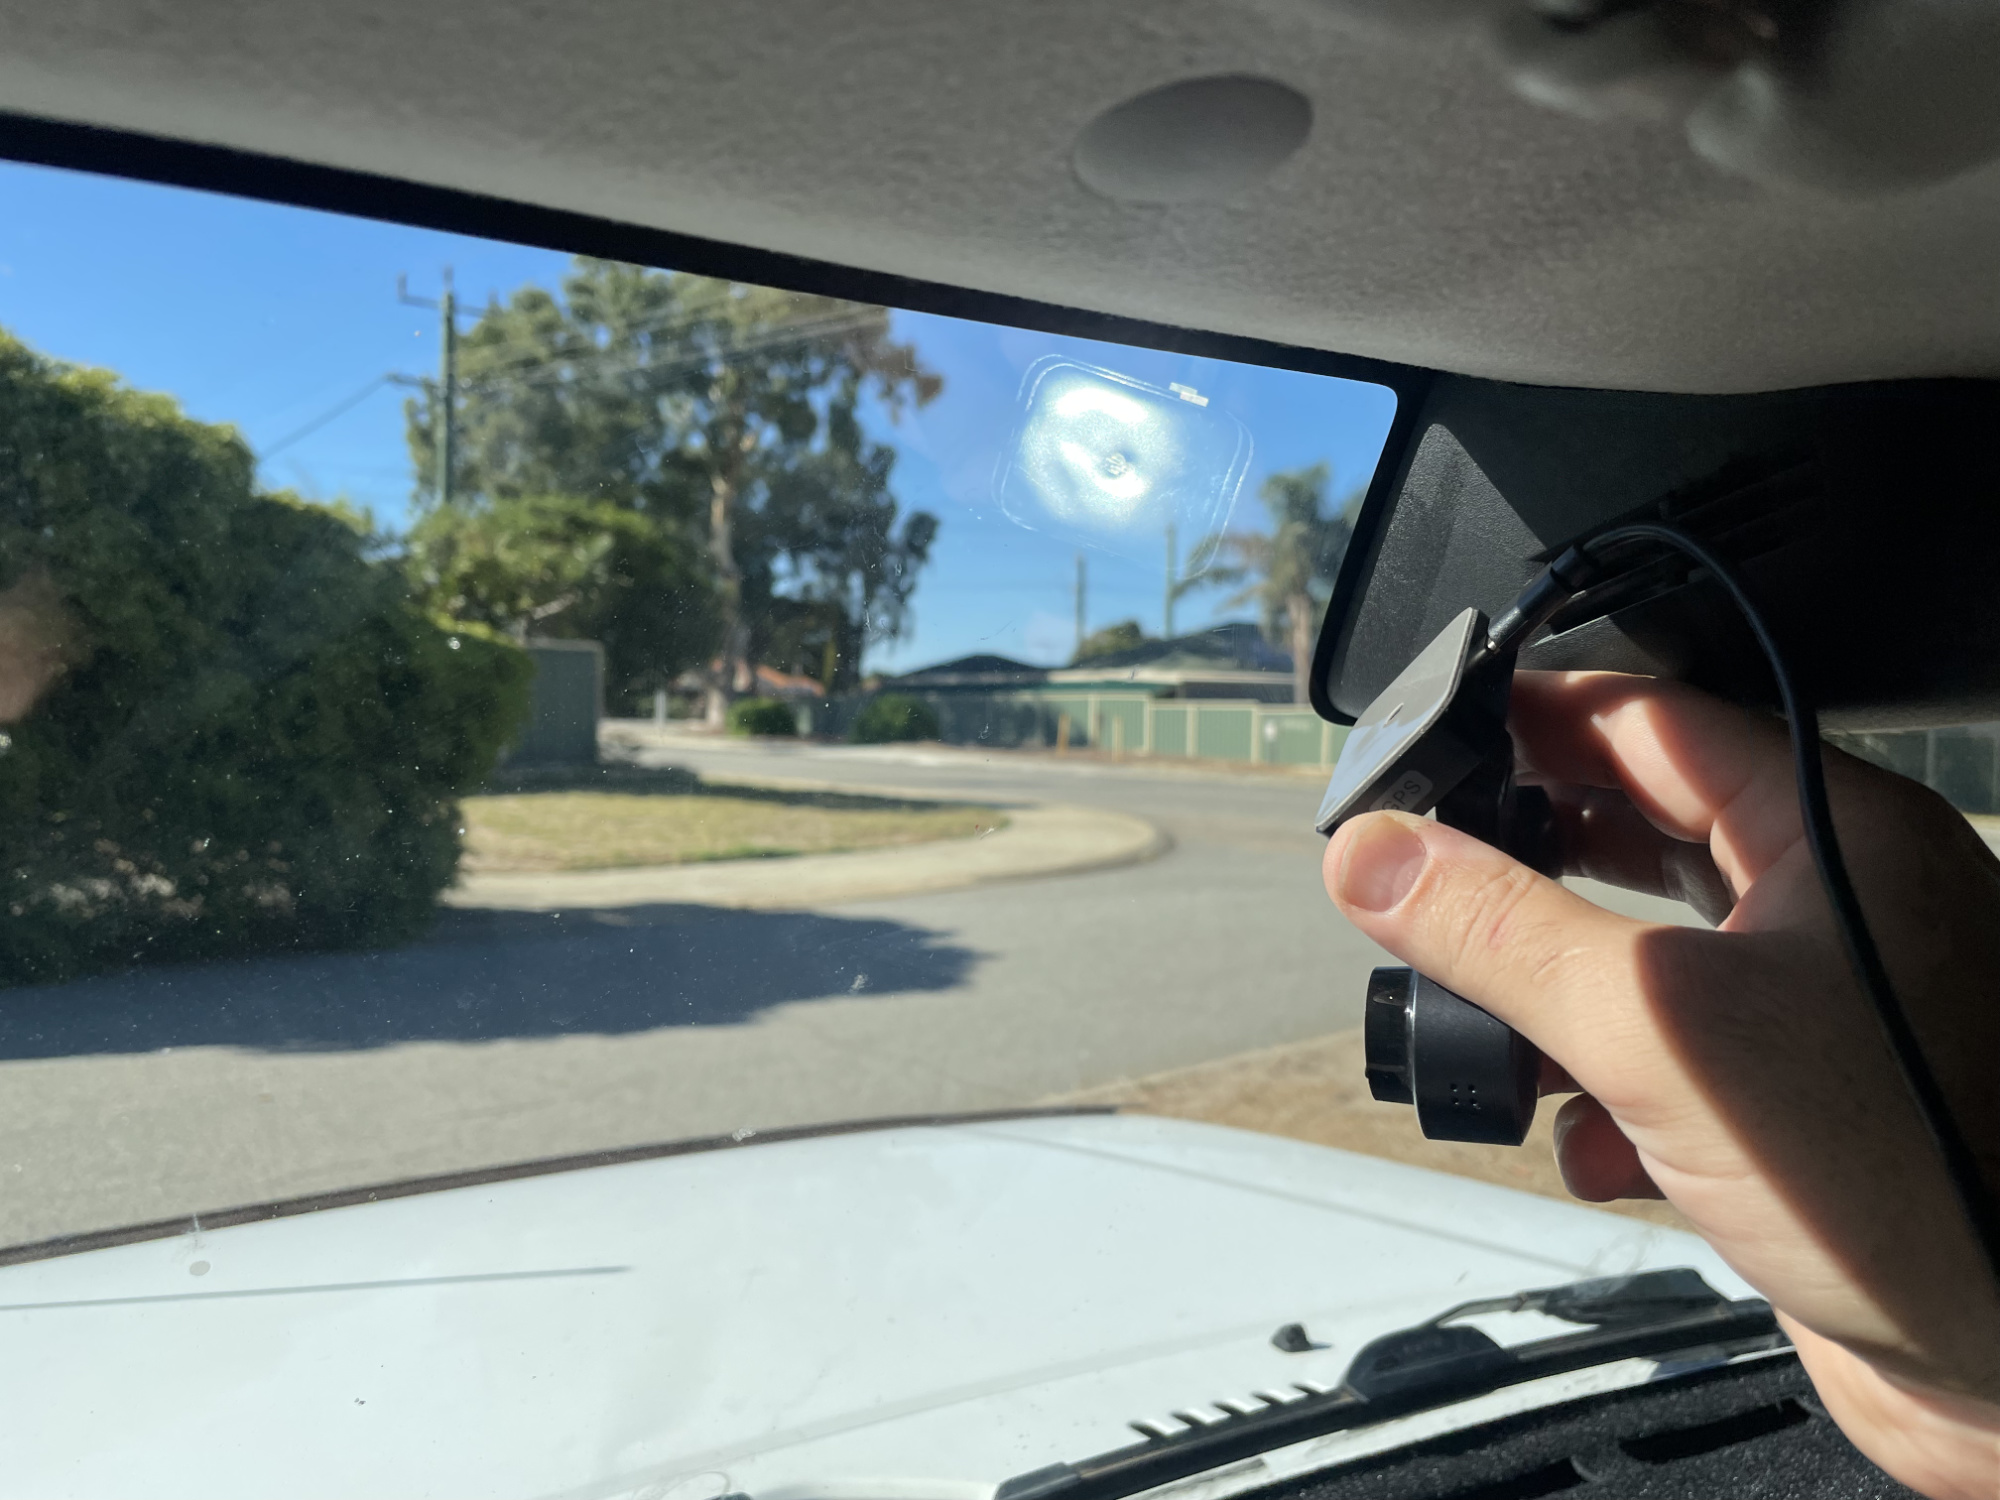
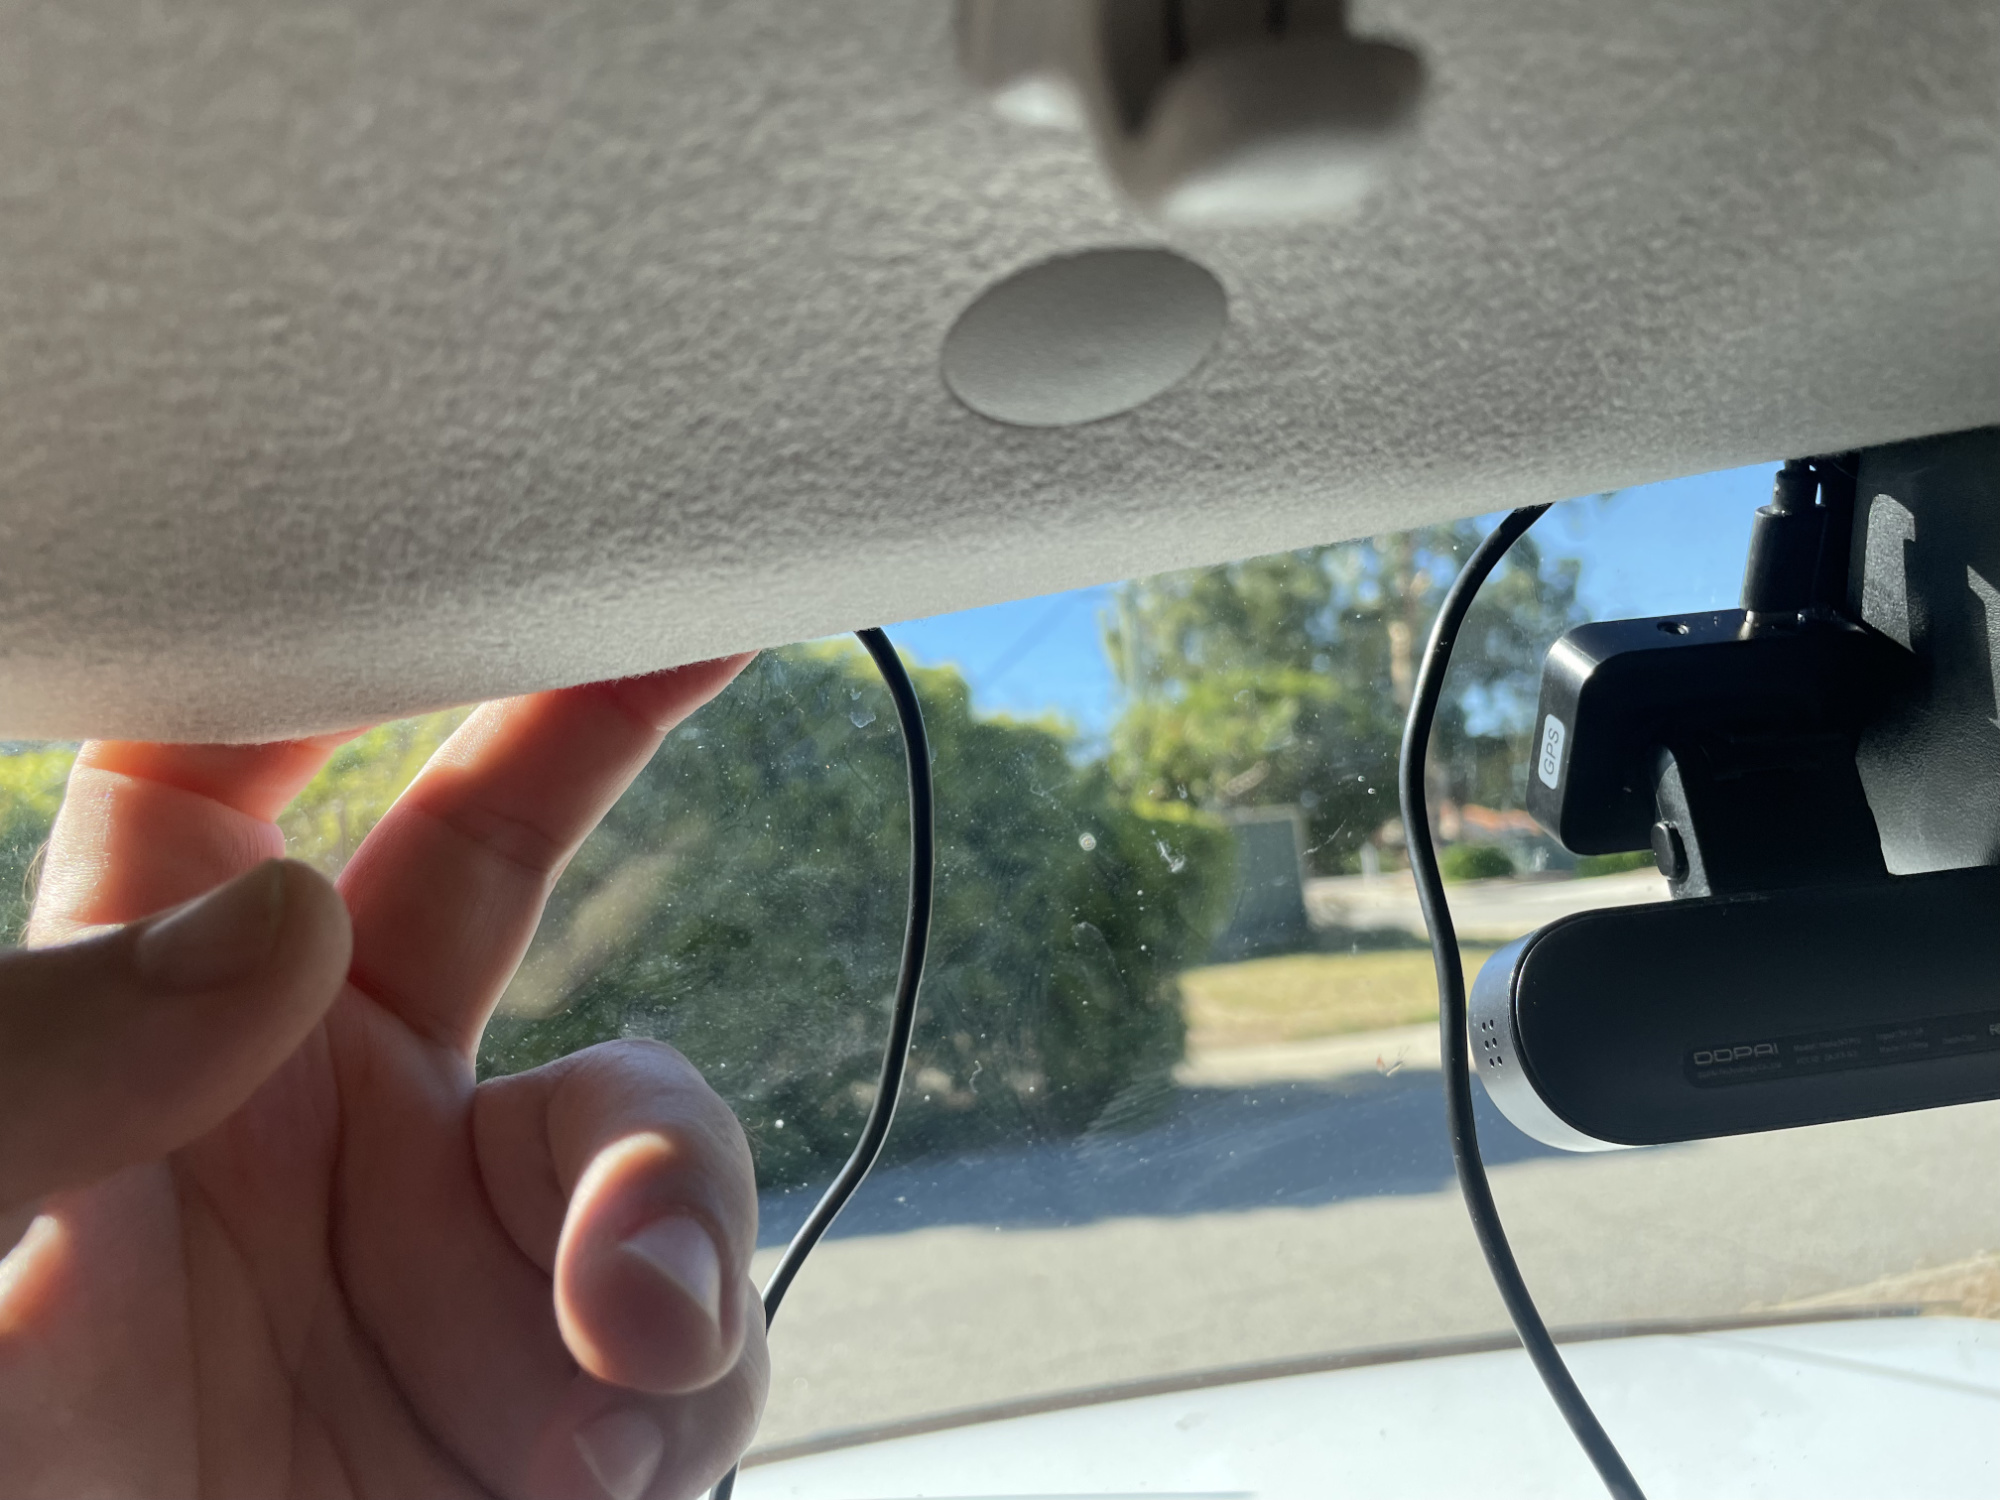
You can then do whatever is needed to stick the camera on. I found with a bit of testing I could get the camera body right up close to the autonomous braking camera cover which is perfect for keeping it out of the way. The wiring just had enough room to come down from the head lining (my preferred route to run it).
We’ll cover the wiring and running it and powering it in a moment, but first we’ll position the rear camera.
Rear
Biggest thing with the rear camera positioning is the compromise between position for visibility and ease of wiring. The middle upper part of the rear window is obviously ideal from a visibility perspective.

Being closer to the hinge of the door is better for a wiring perspective.
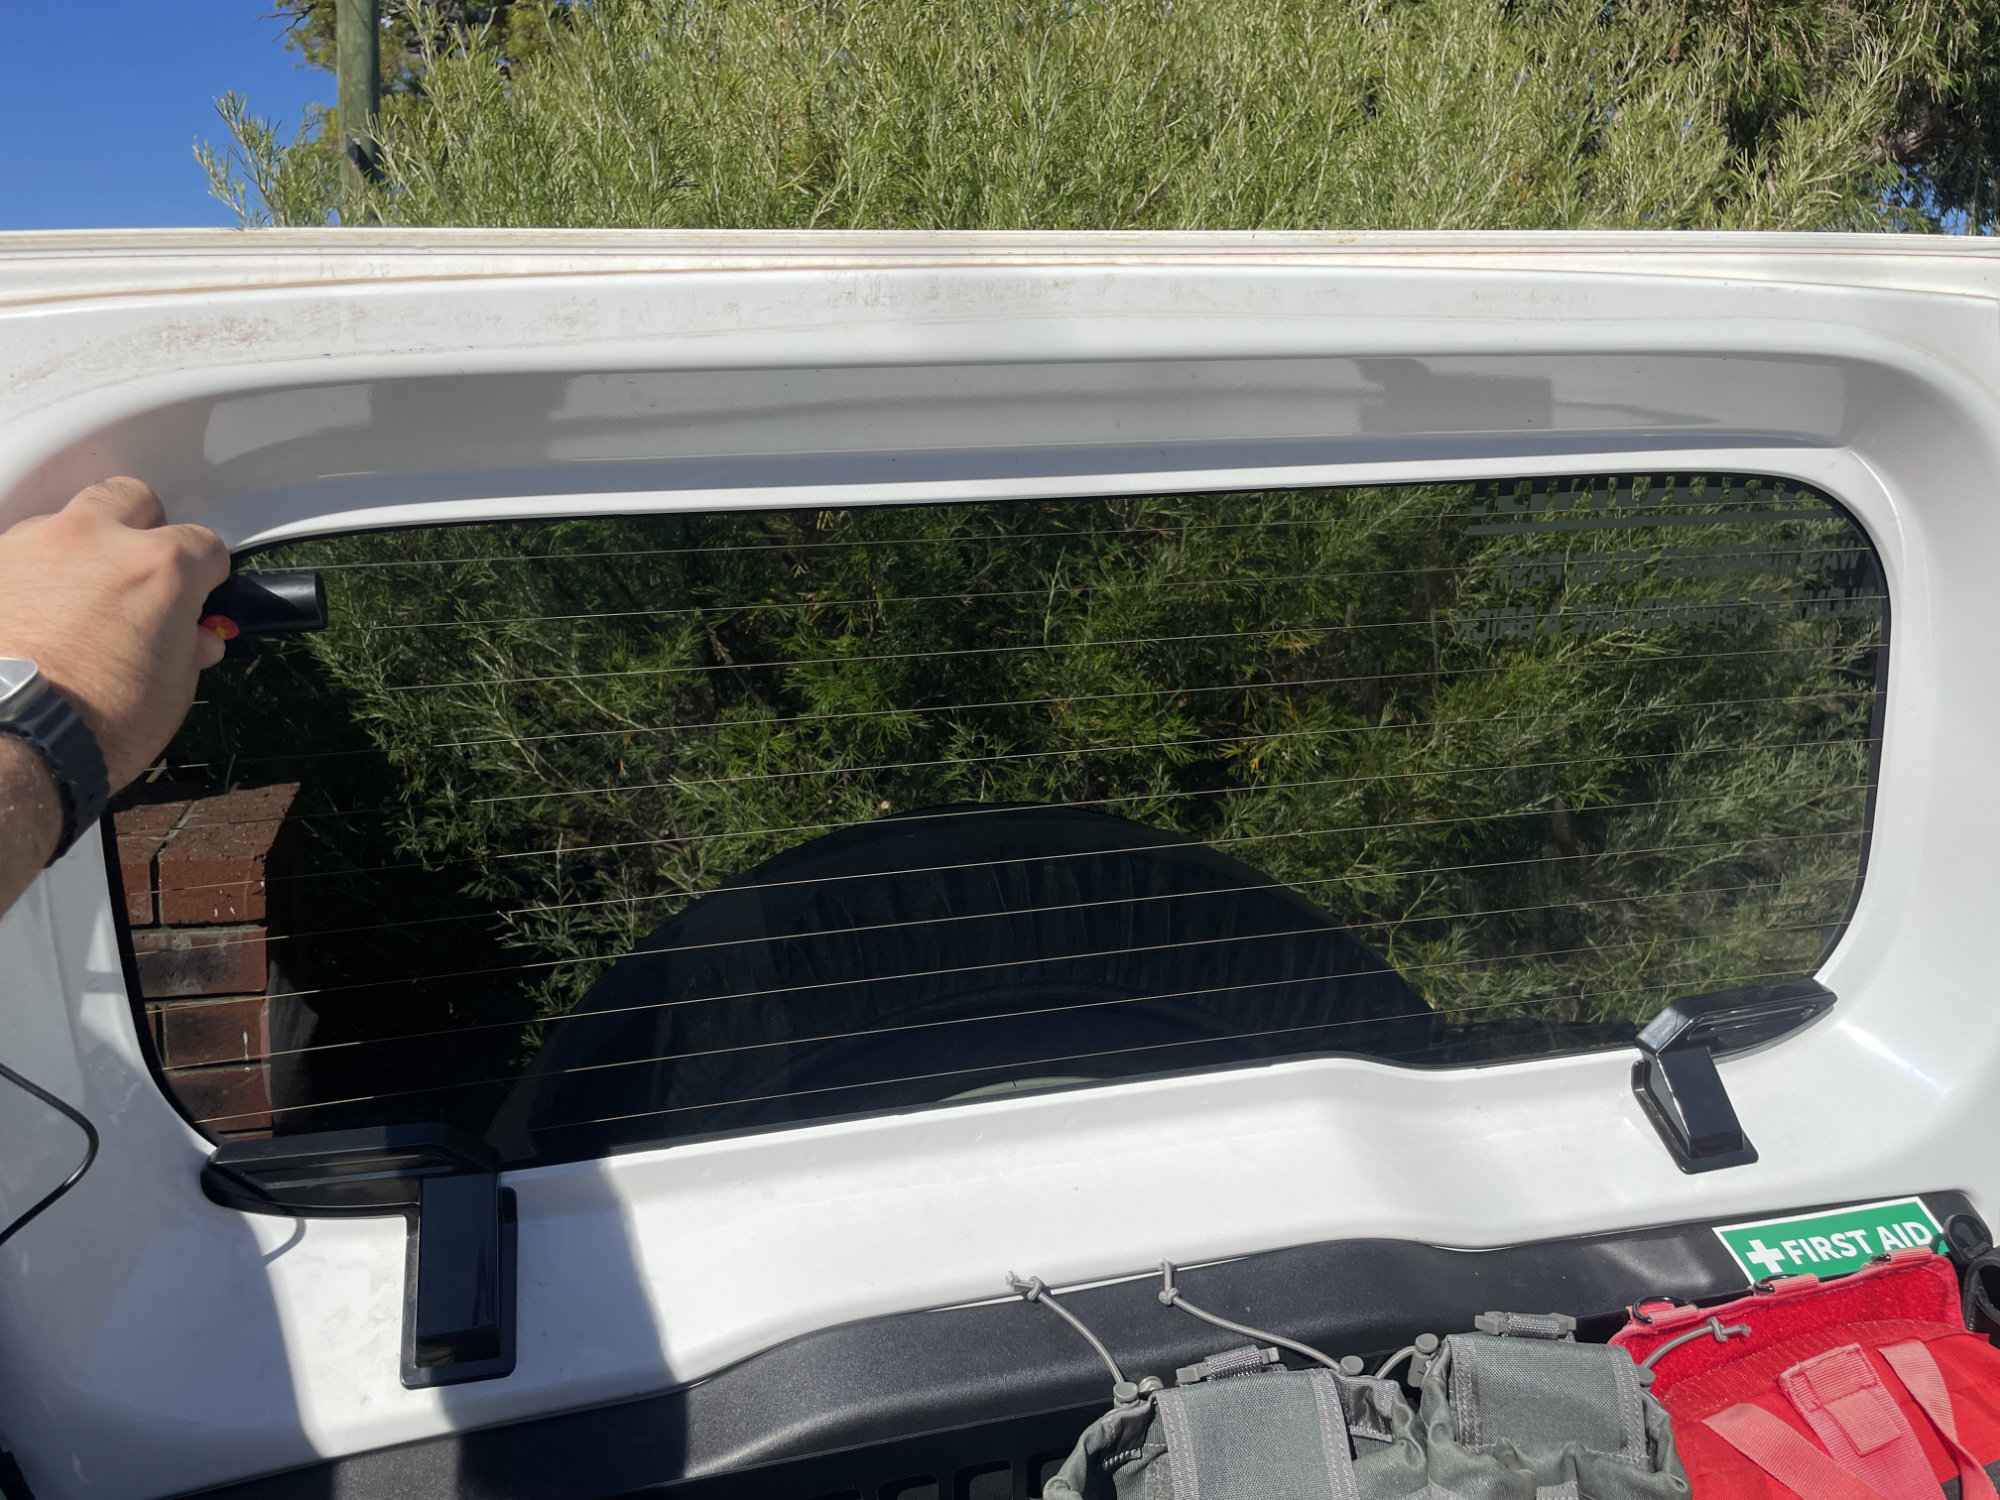
One thing people don’t consider with the positioning is avoiding the rear window dimister wires. While the camera cannot focus on these, they do soften the image slightly so better if you can position the lens between the lines.
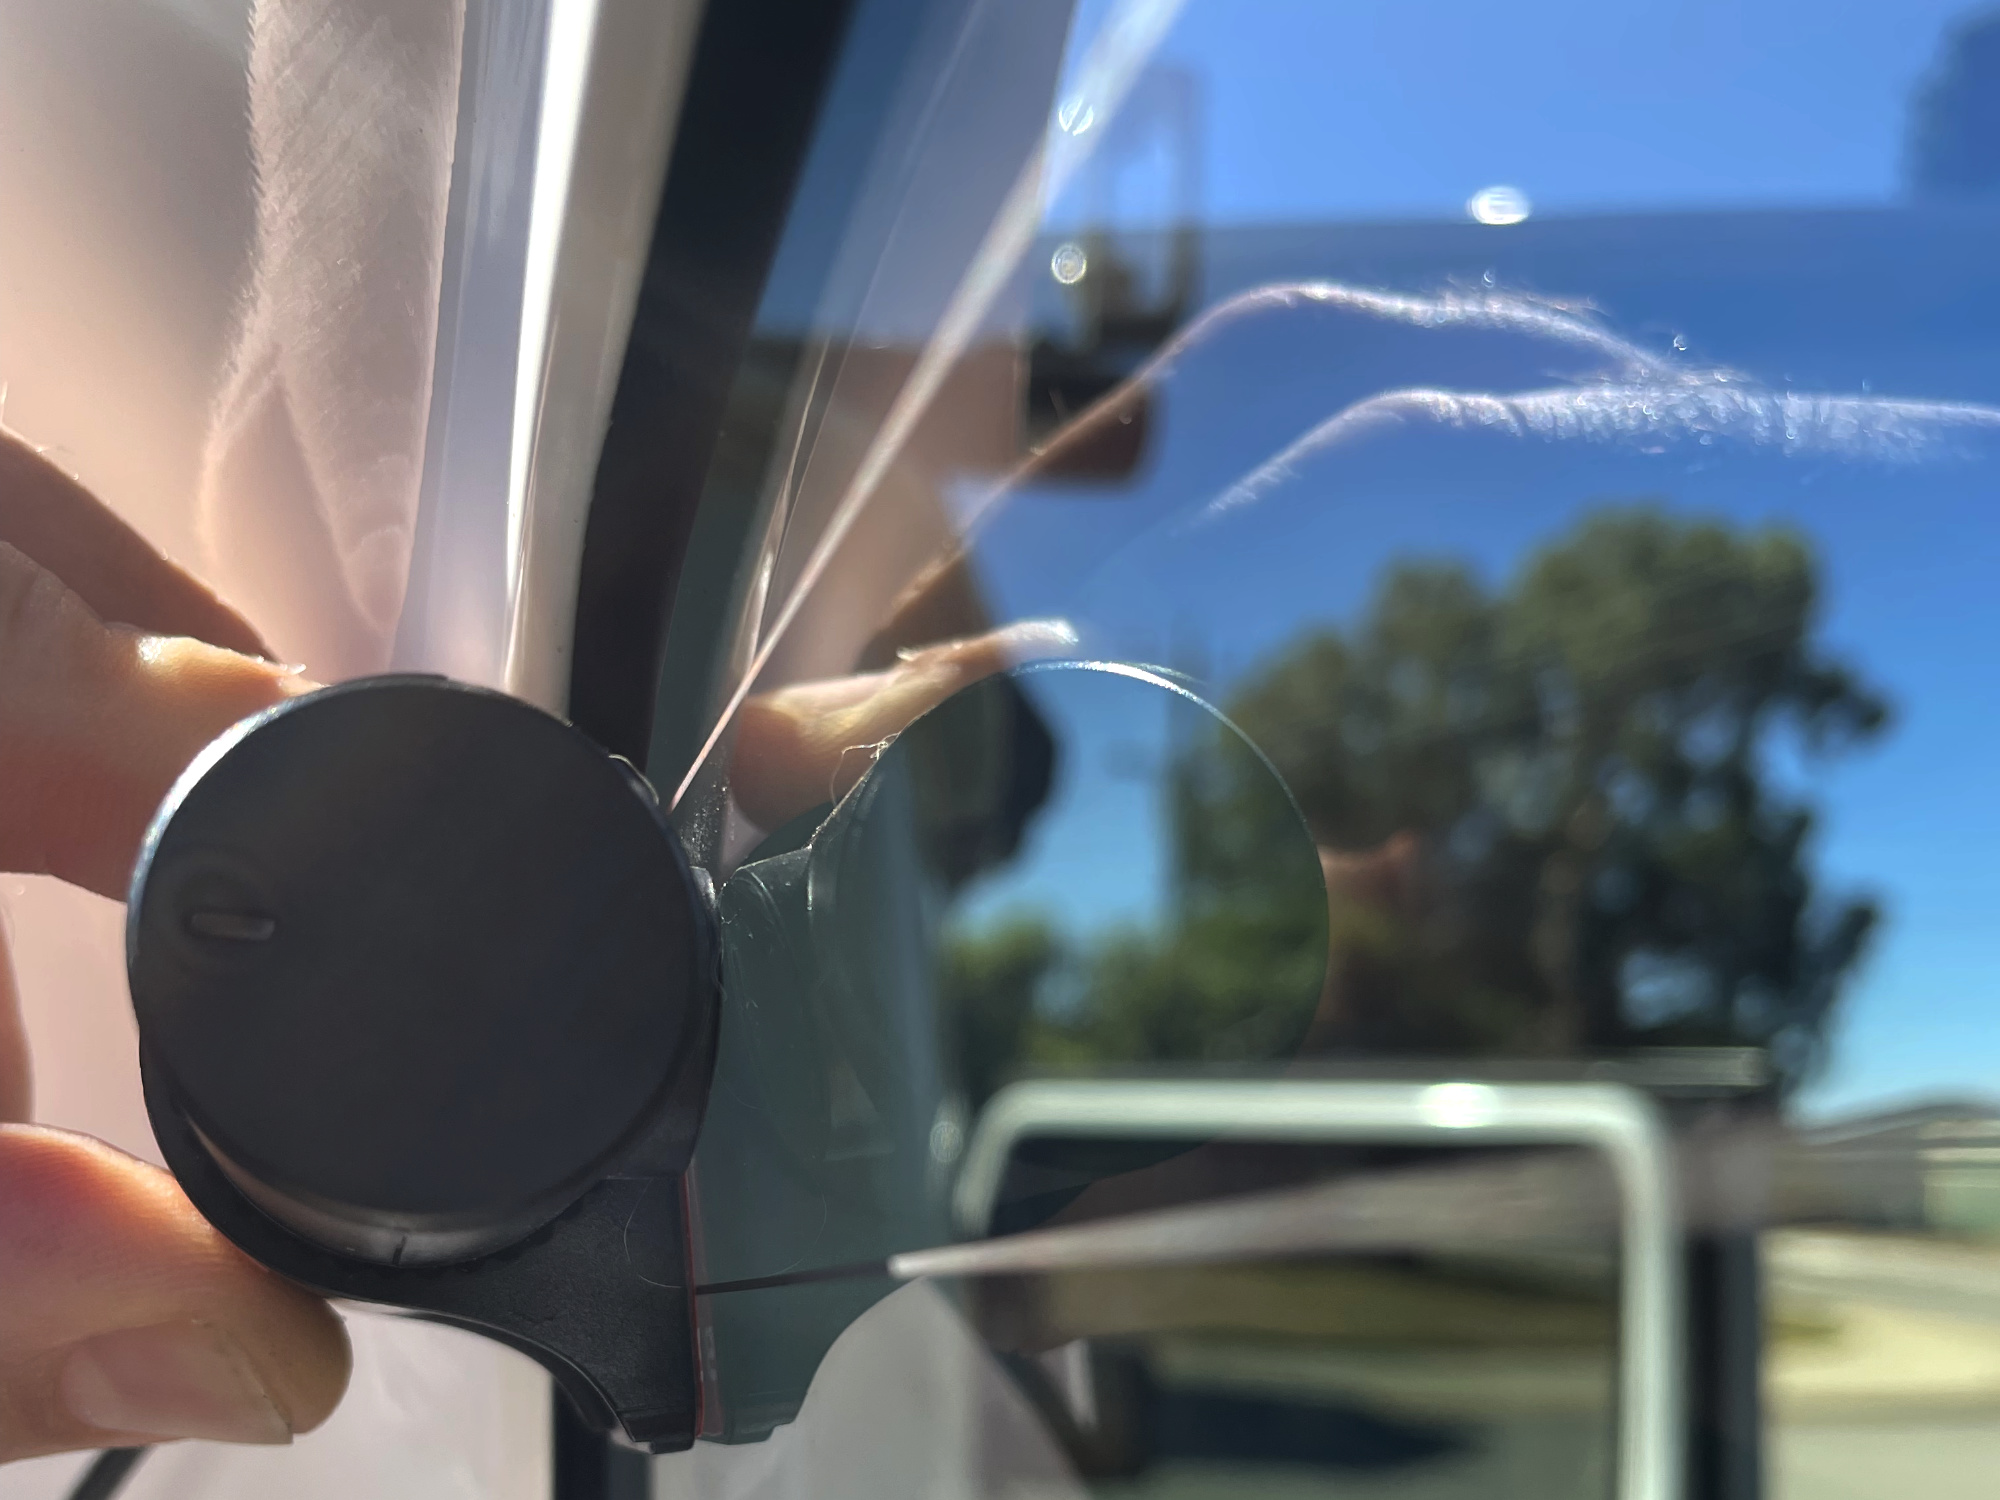
With that we’re ready to stick it on. Same as the windscreen: clean it thoroughly with alcohol where you are going to fit the camera.
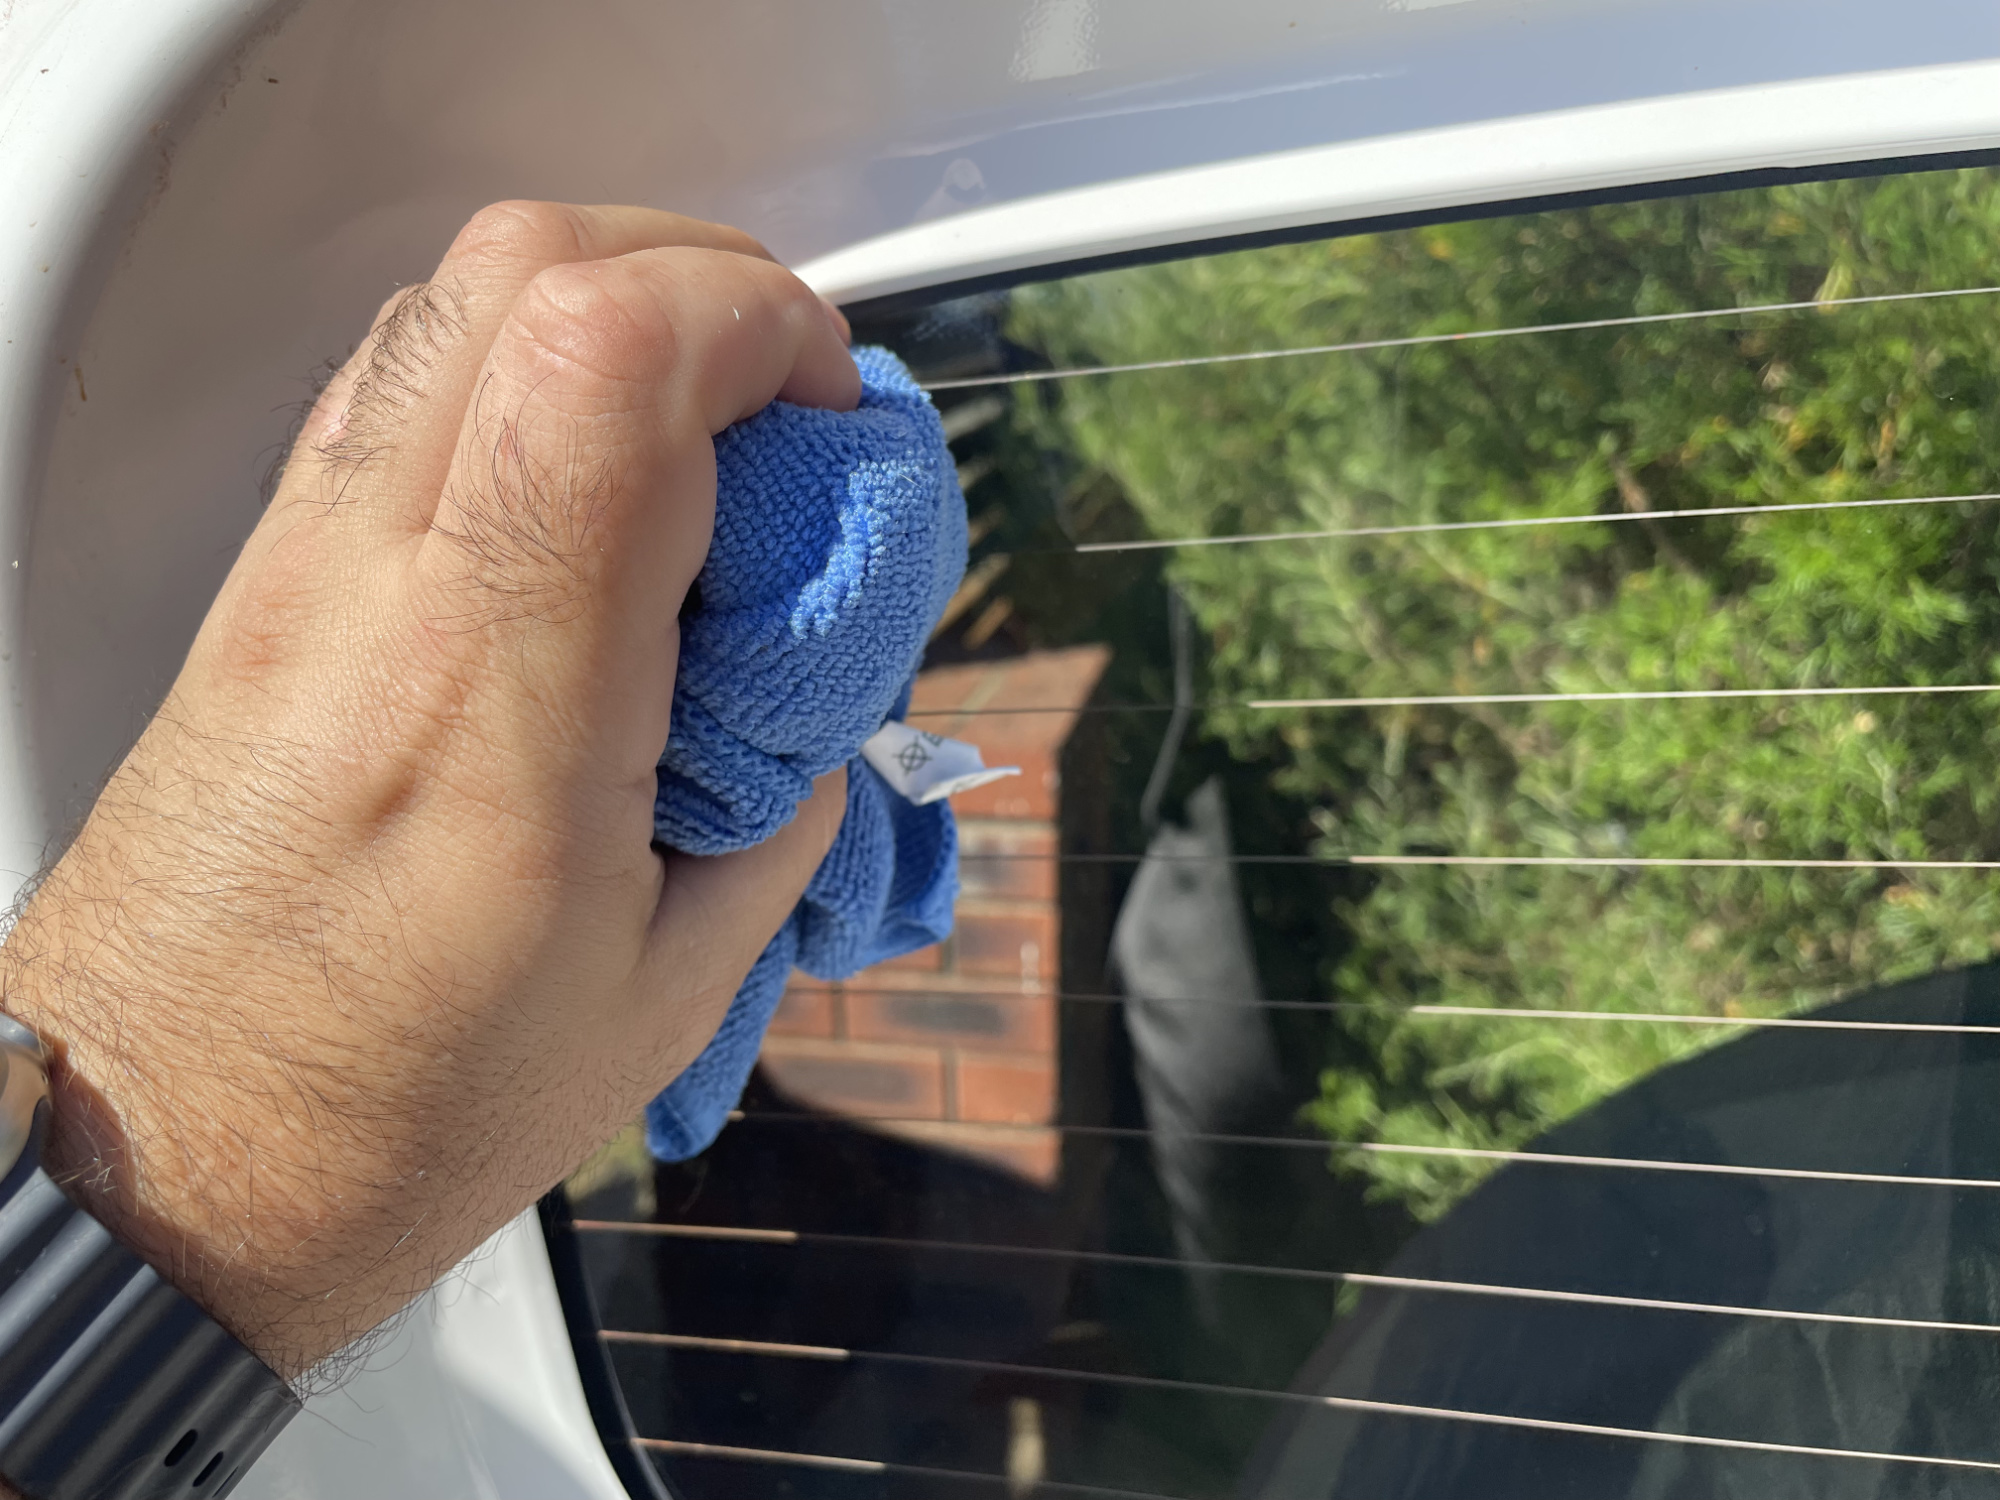
You can now stick it on.
With that done you’re ready to sort out the wiring.
Running the wiring
Front
The front is incredibly simple to run wiring down the passengers side A-pillar and have ready access to the fuse panel if you want to do the wiring that way.
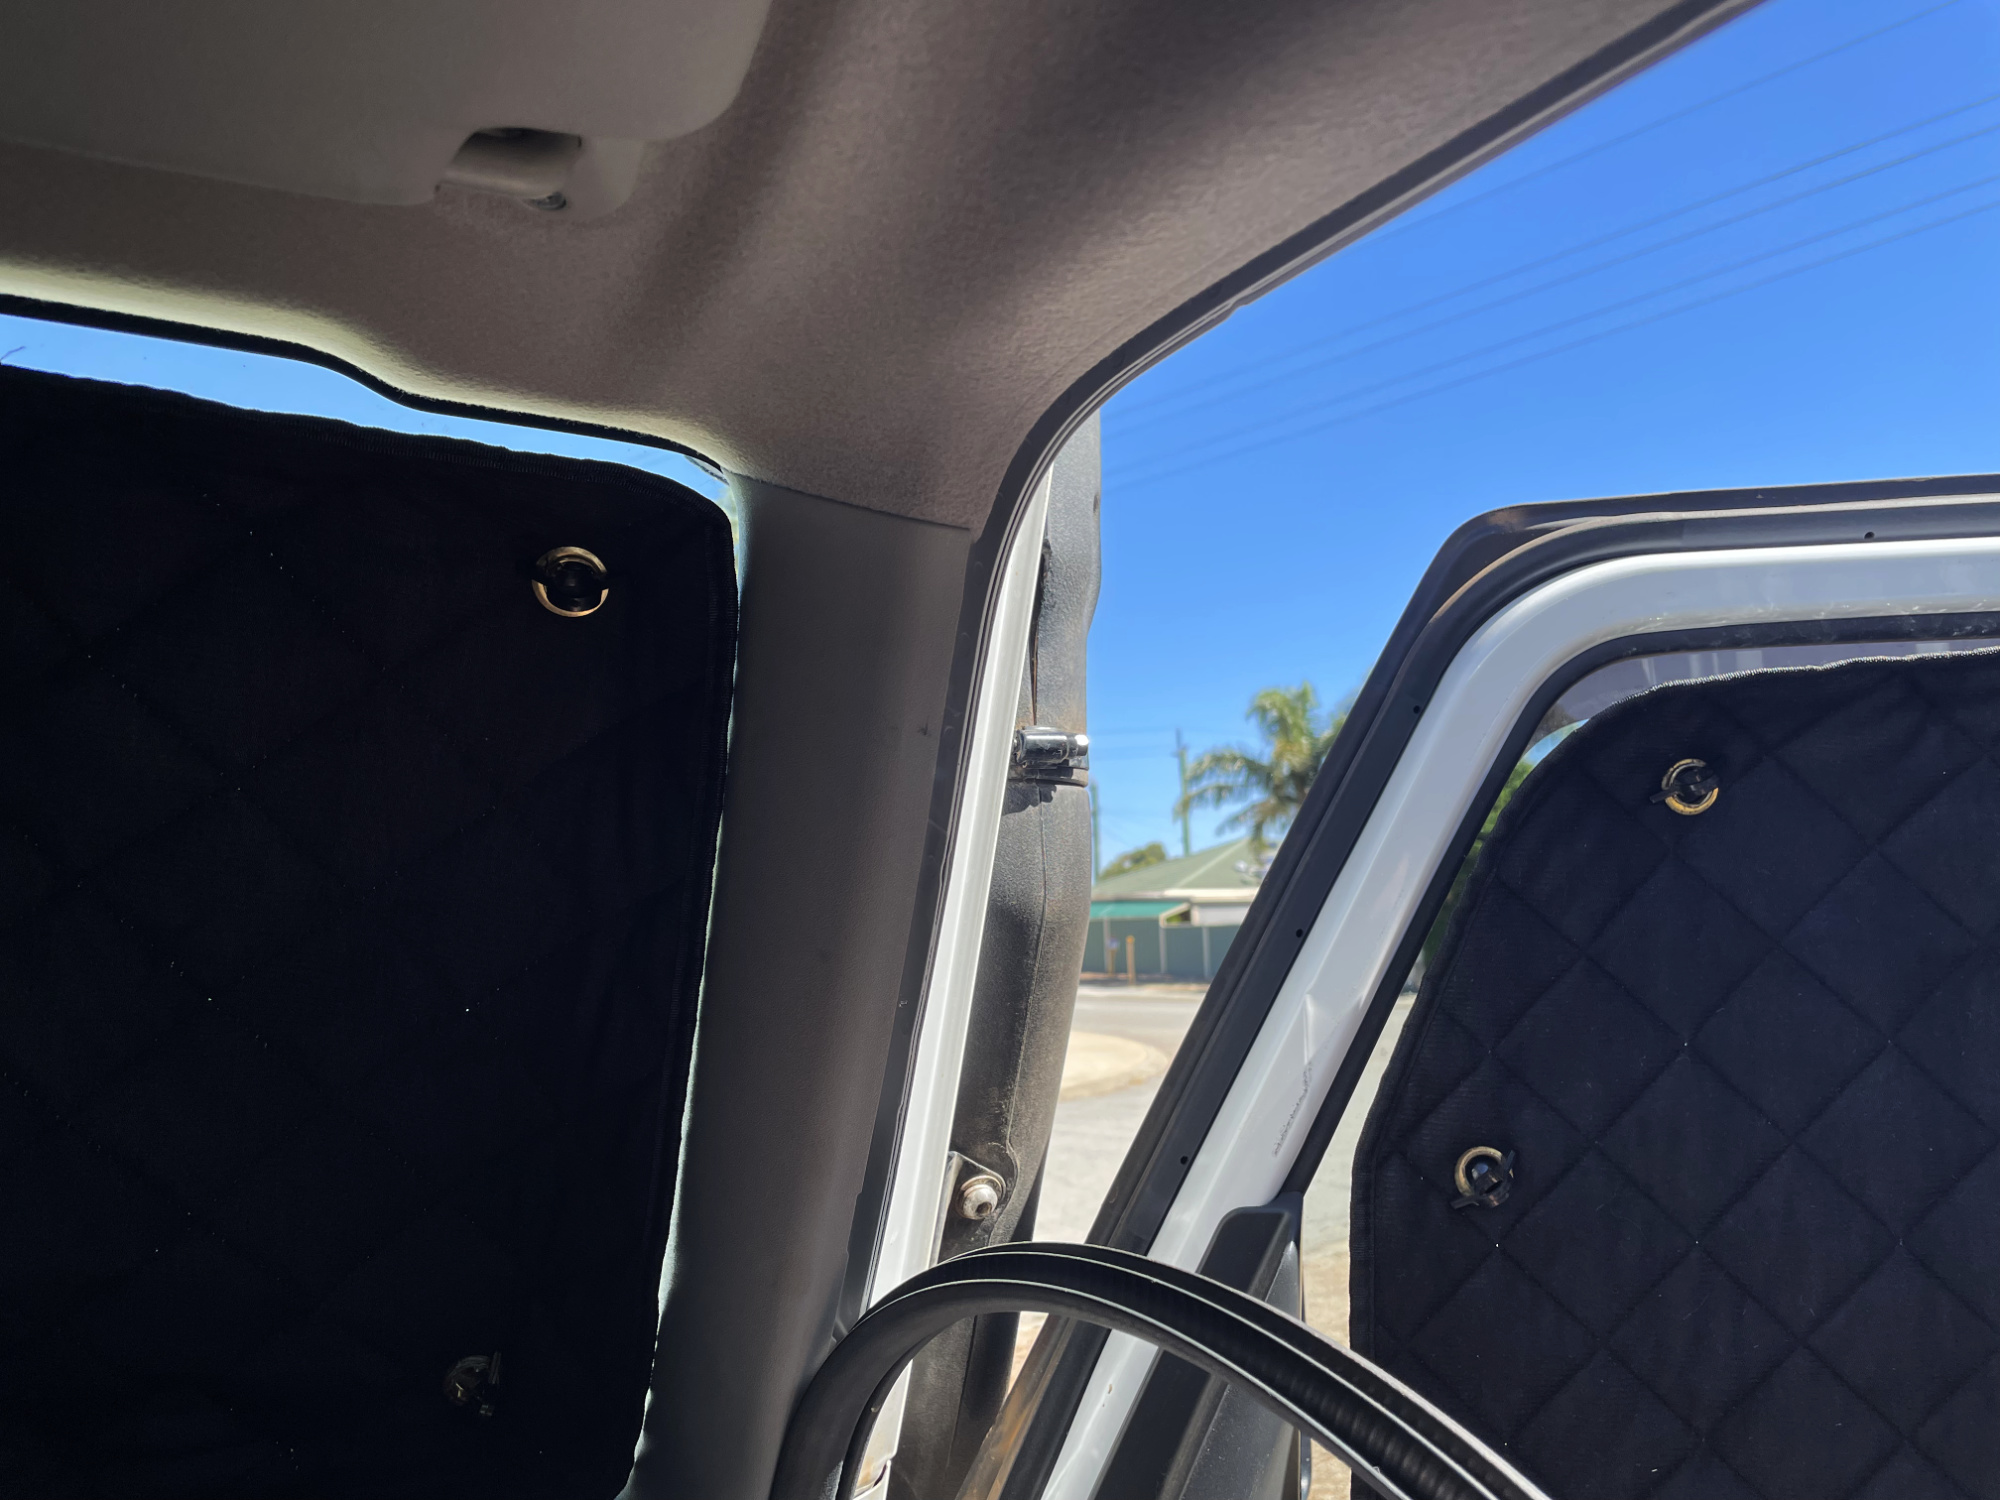
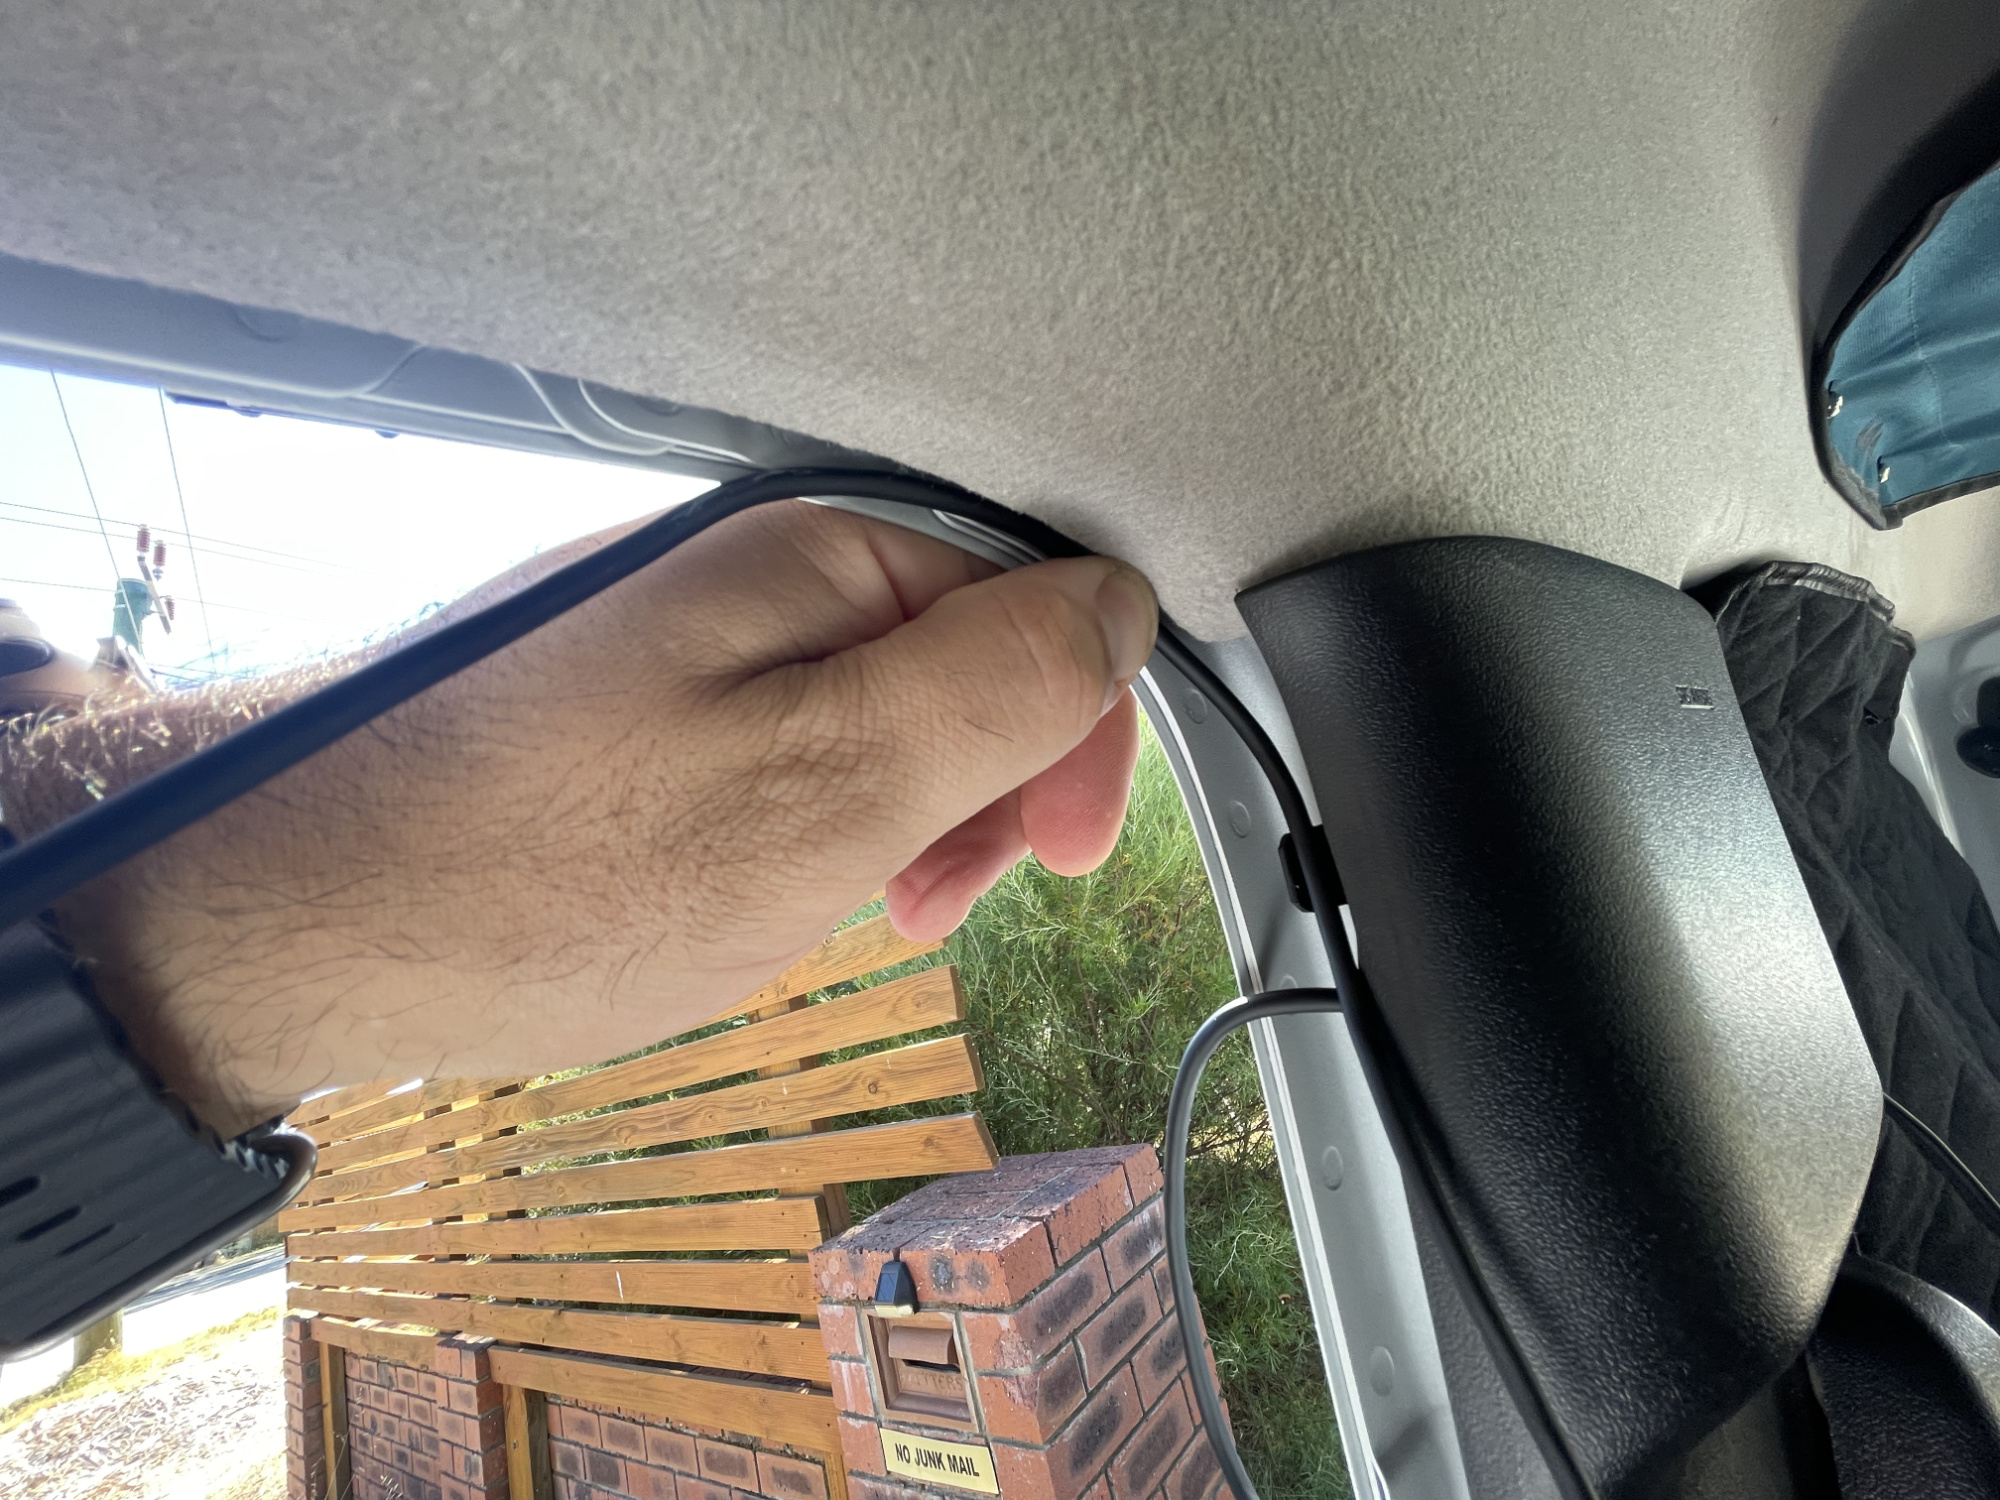
Start by pulling away the pinchweld door rubber by the A pillar.

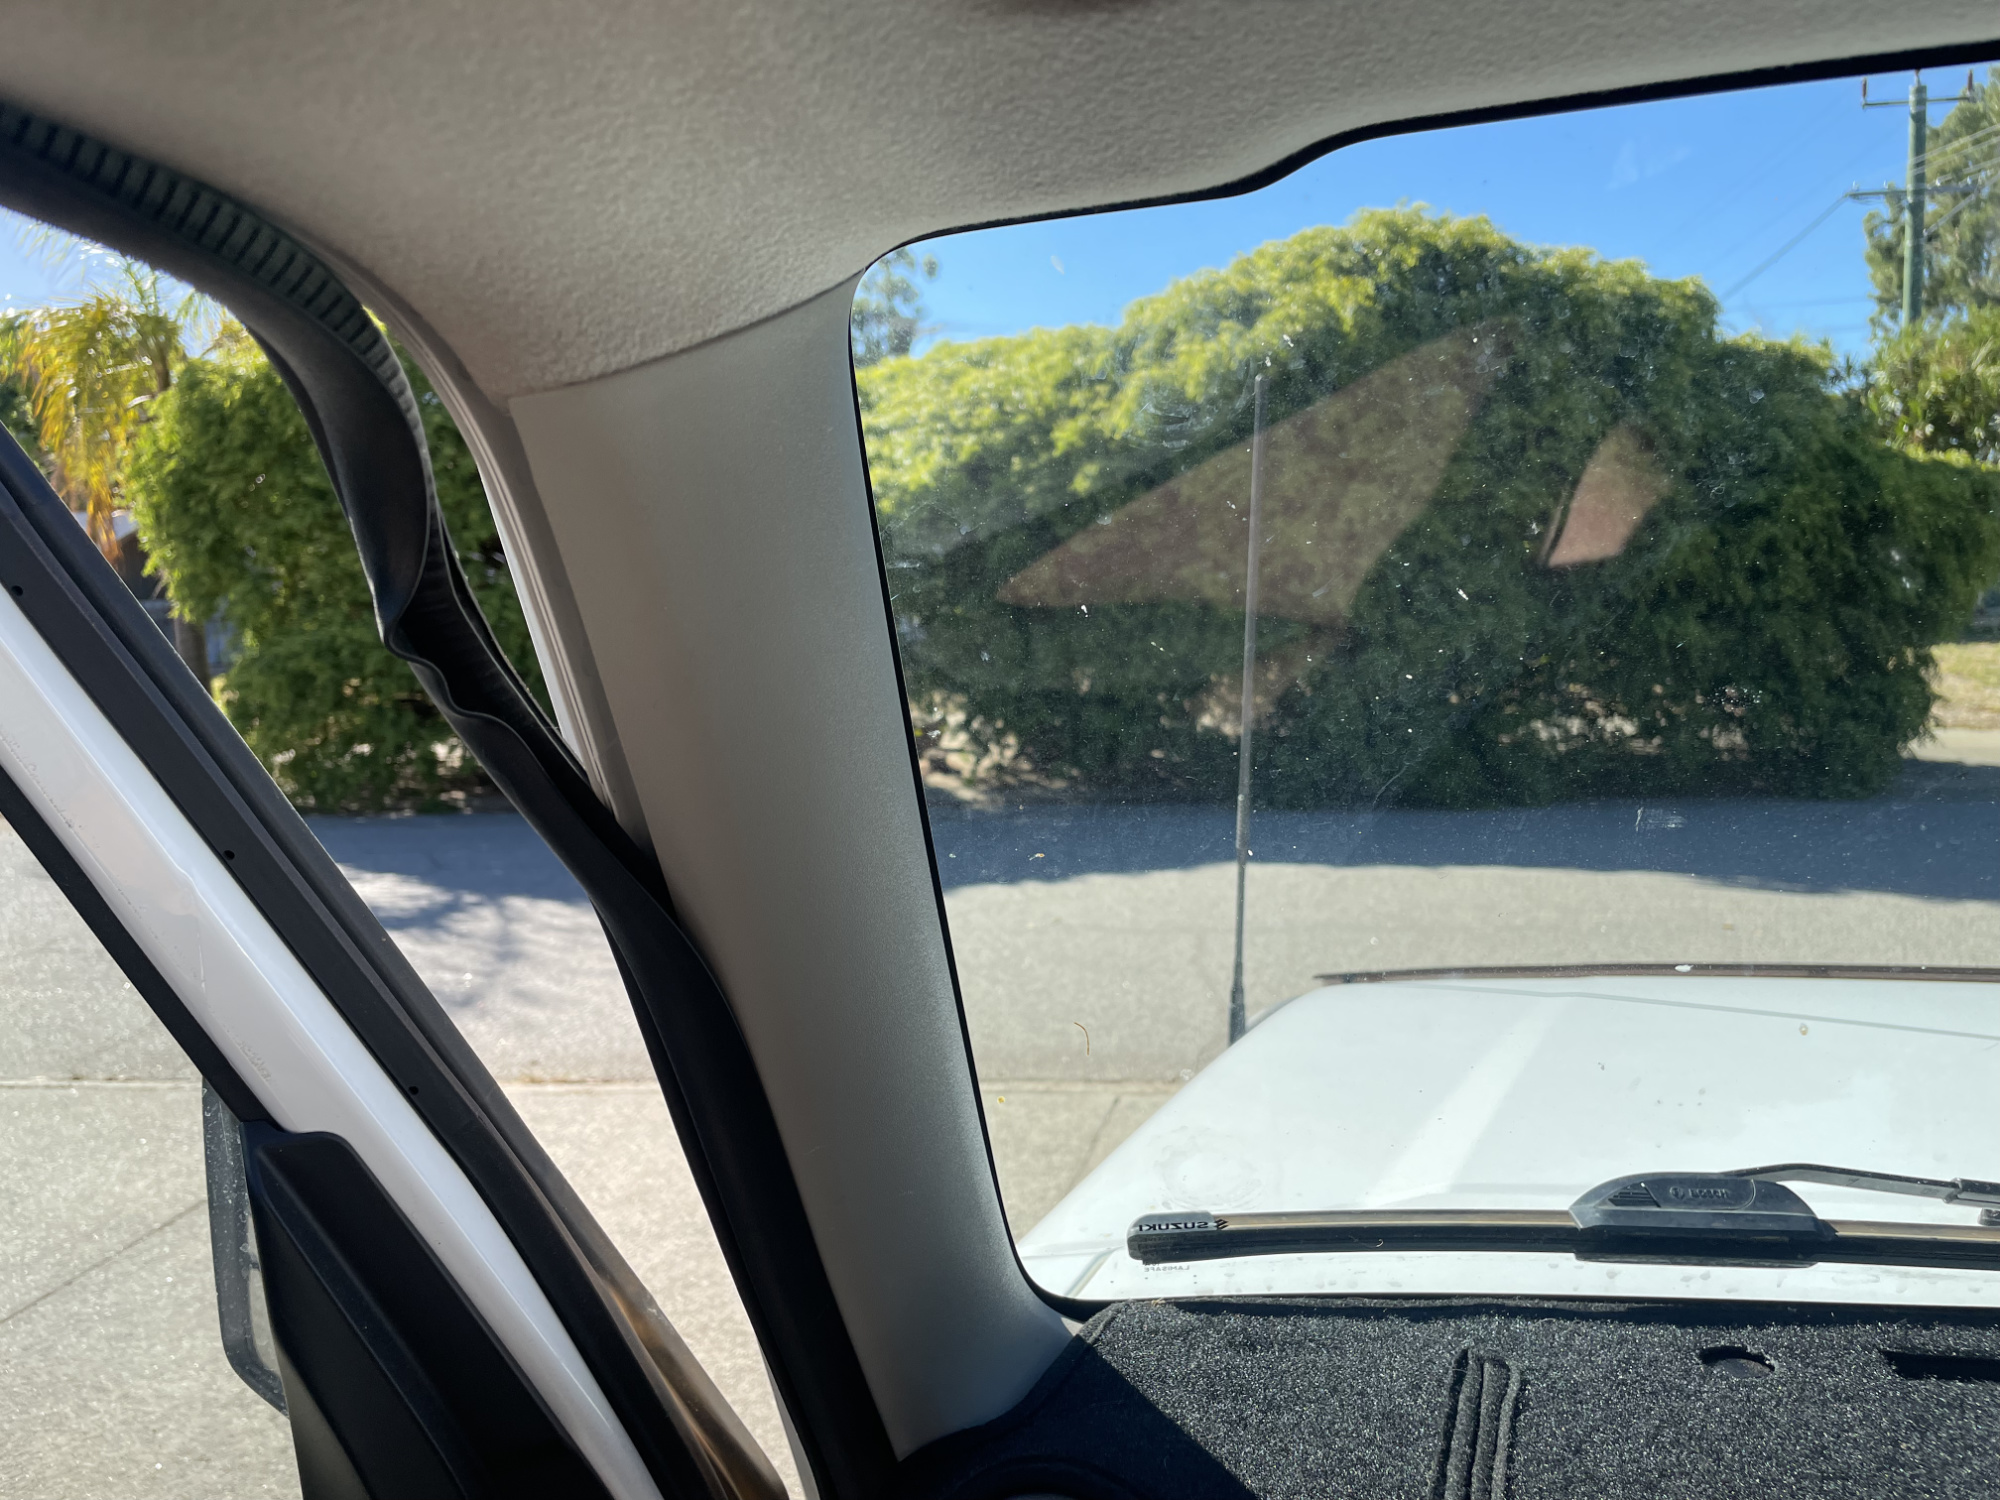
The A pillar trim is then pulled directly away from the body of the car, starting at the top. There are two plastic rivet clips holding it.
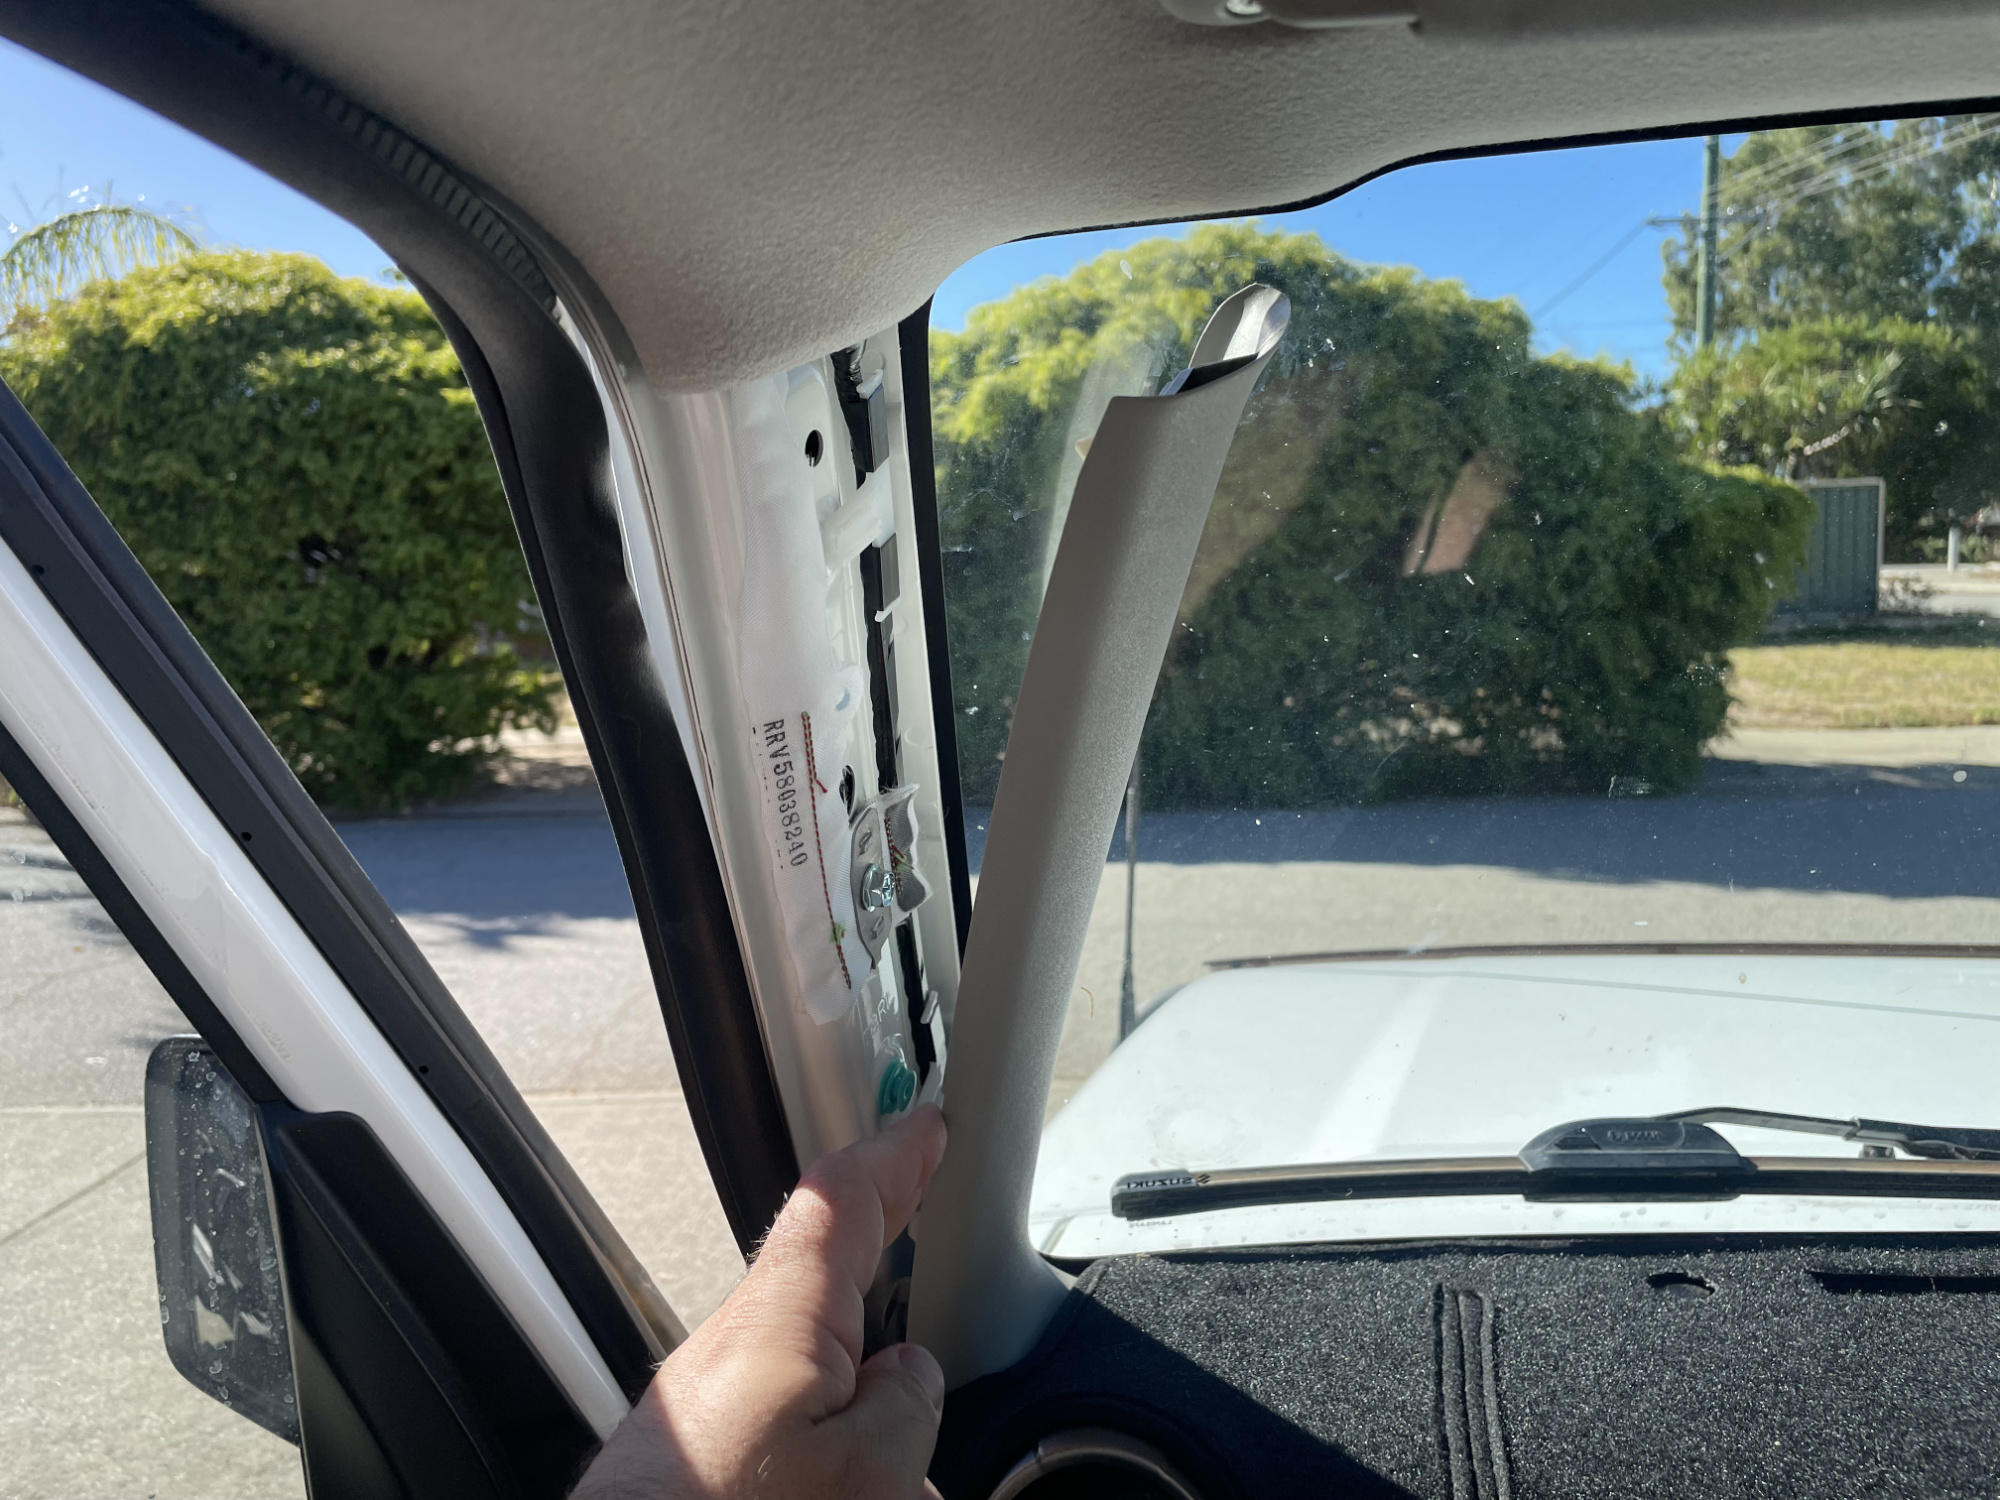
The bottom of the trim has curved clips into the dashboard so near the bottom you basically tilt it towards the middle of the car to get them to come out.
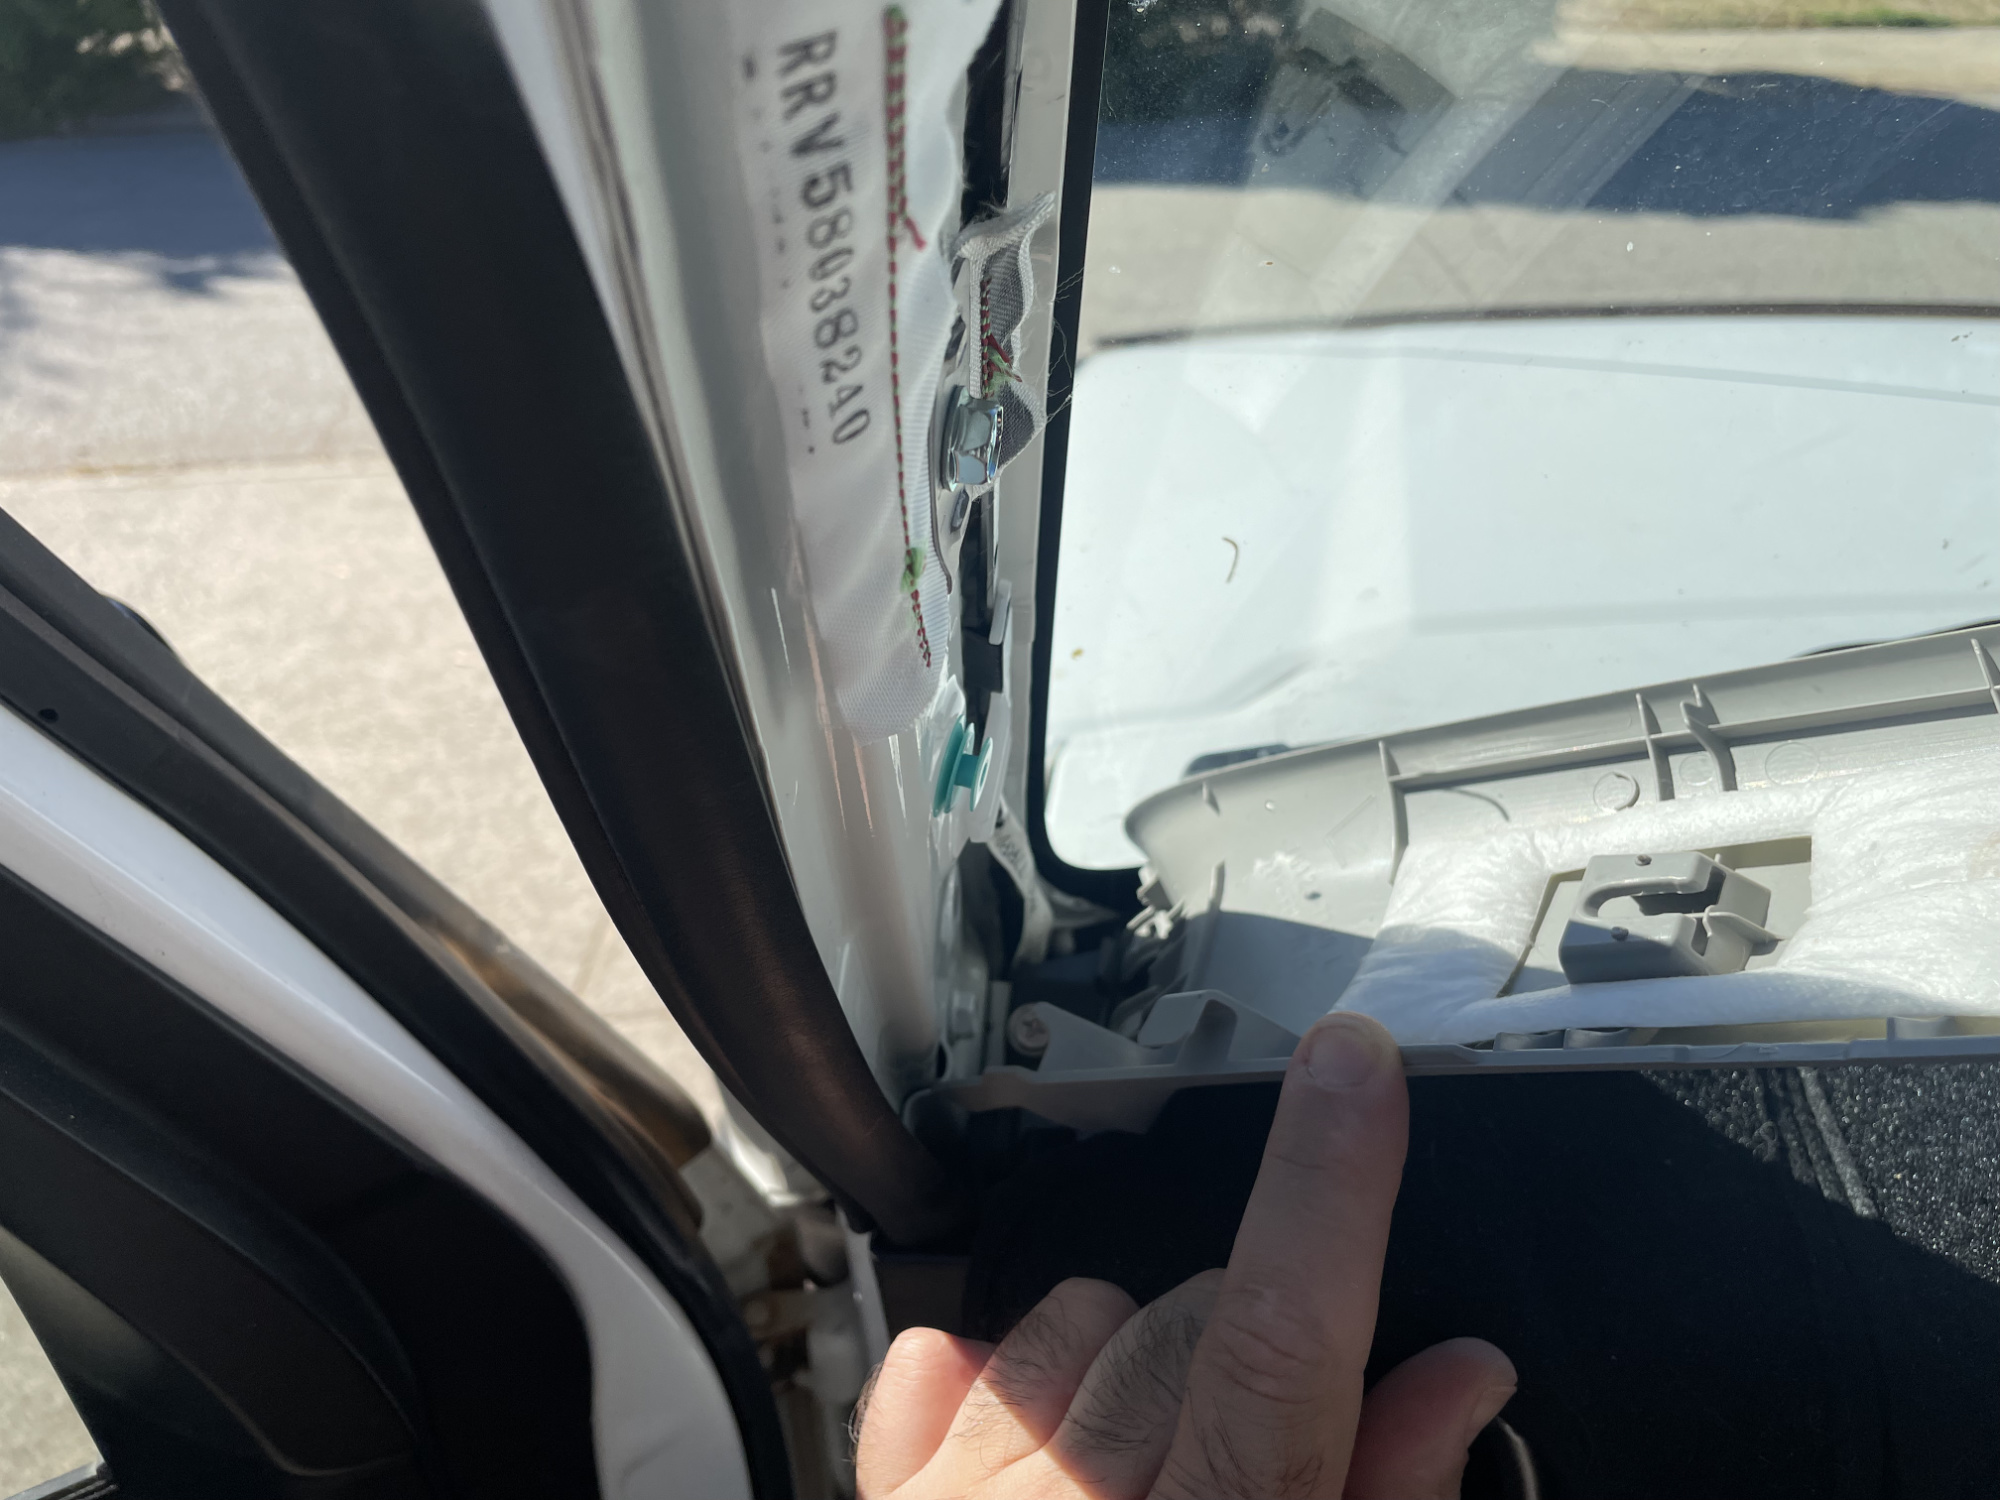
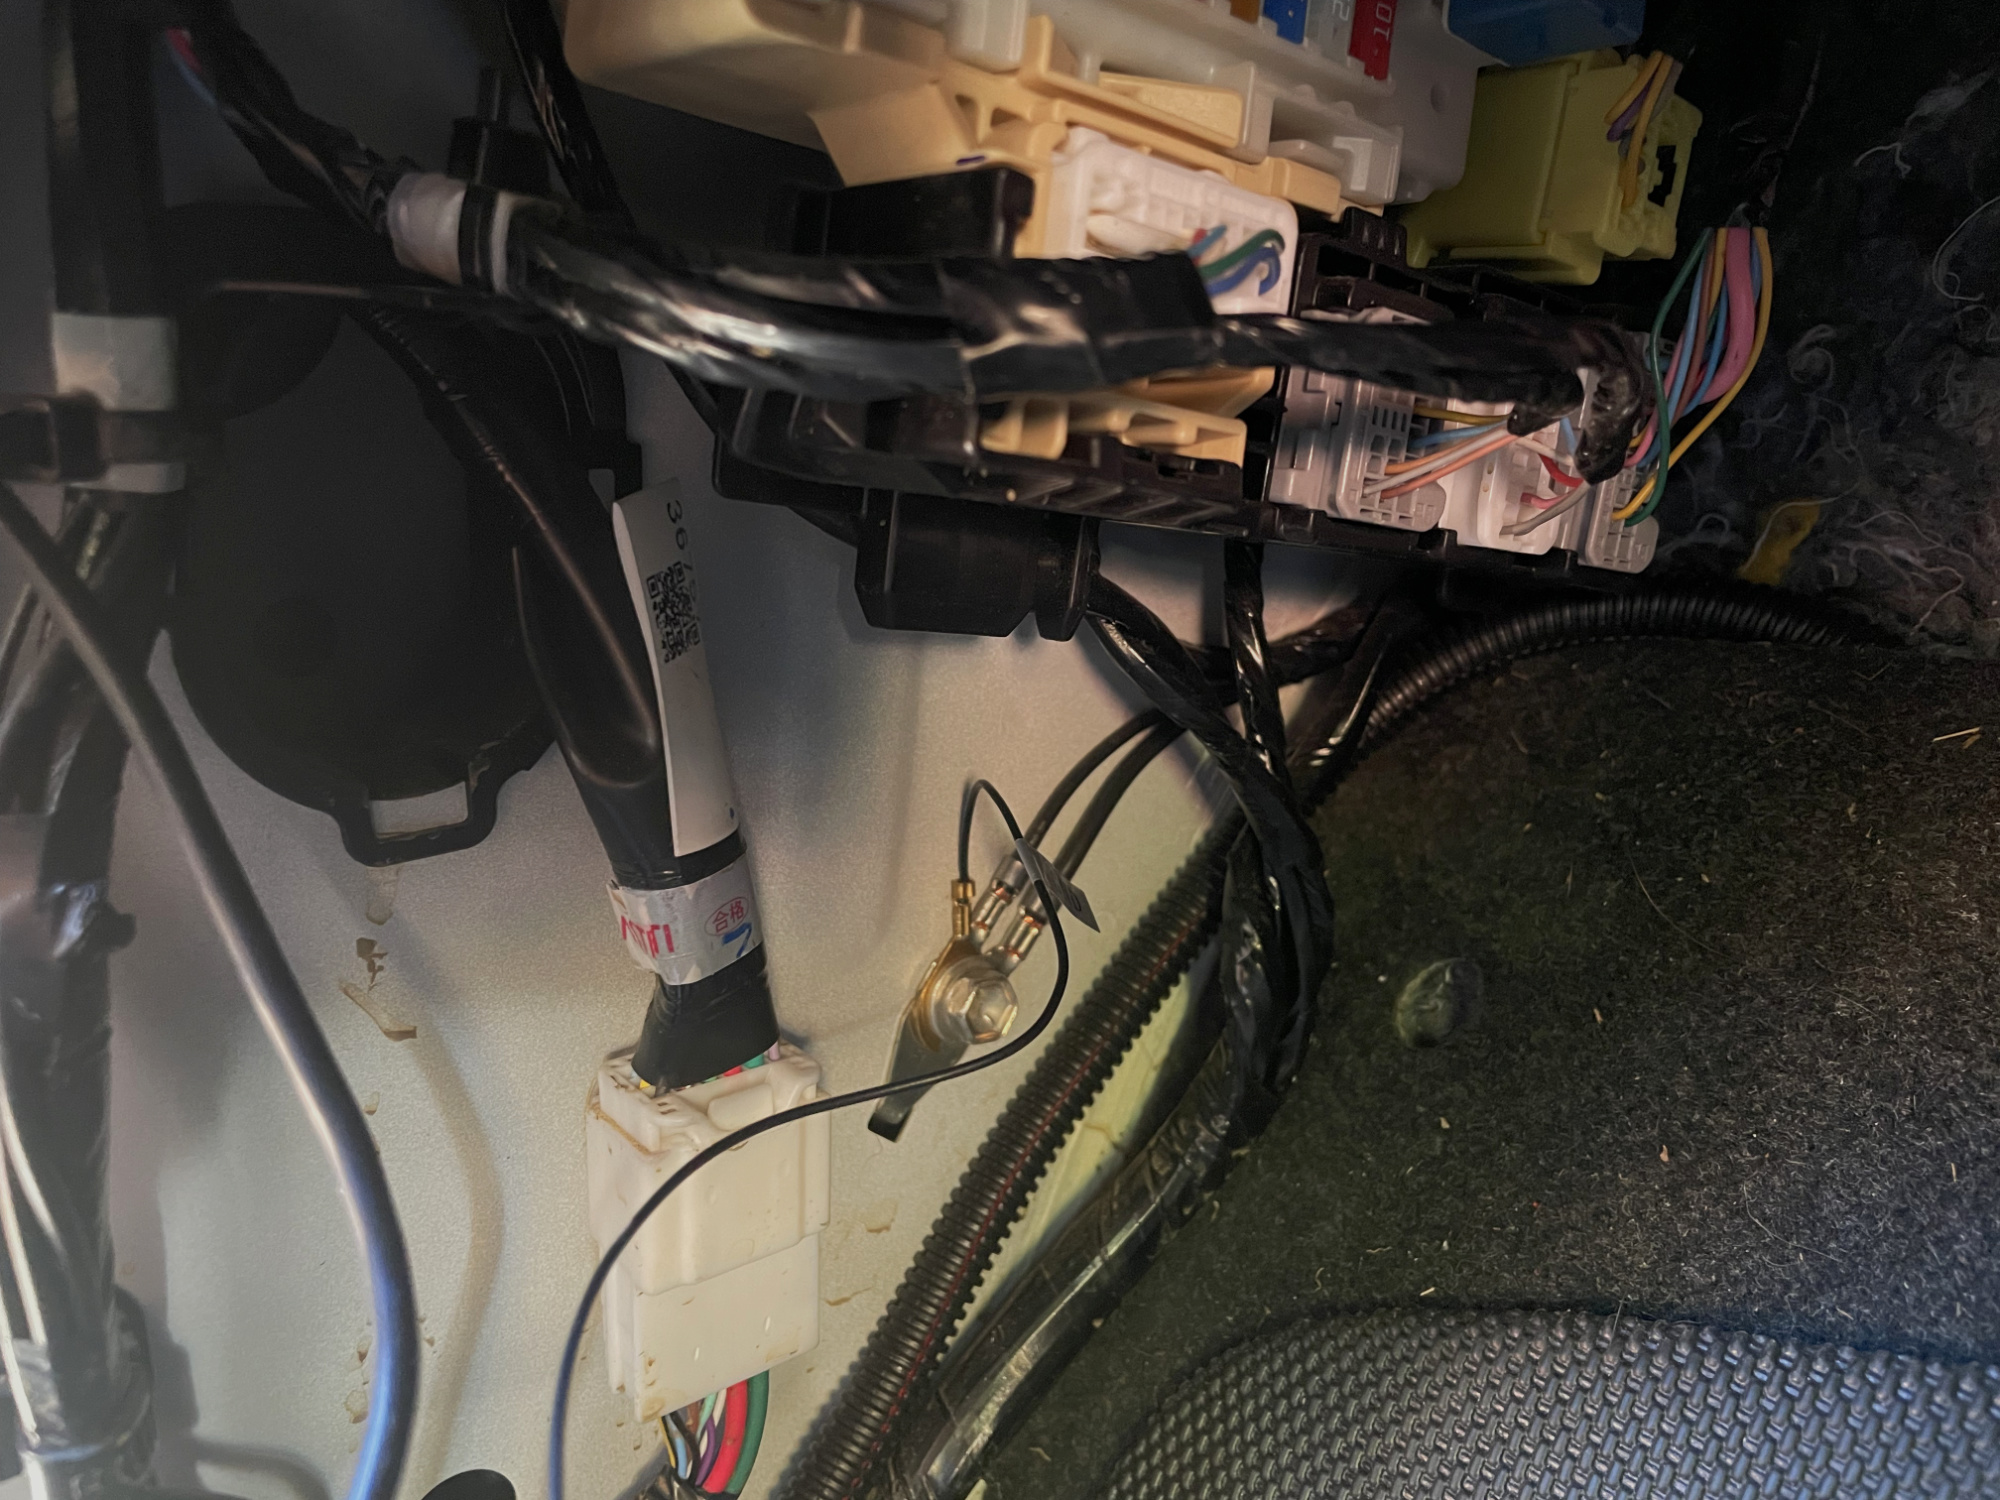
With the trim removed you have a straight shot down into the bit between the dash and the bodywork, and this positions the wires directly around the fuse box/junction box/BCM.
You can then start dropping the power end of the wiring down this hole carefully.
Looking up from the footwell you can see the wiring coming down, pull it through leaving at least enough to get up to the dashcam itself.
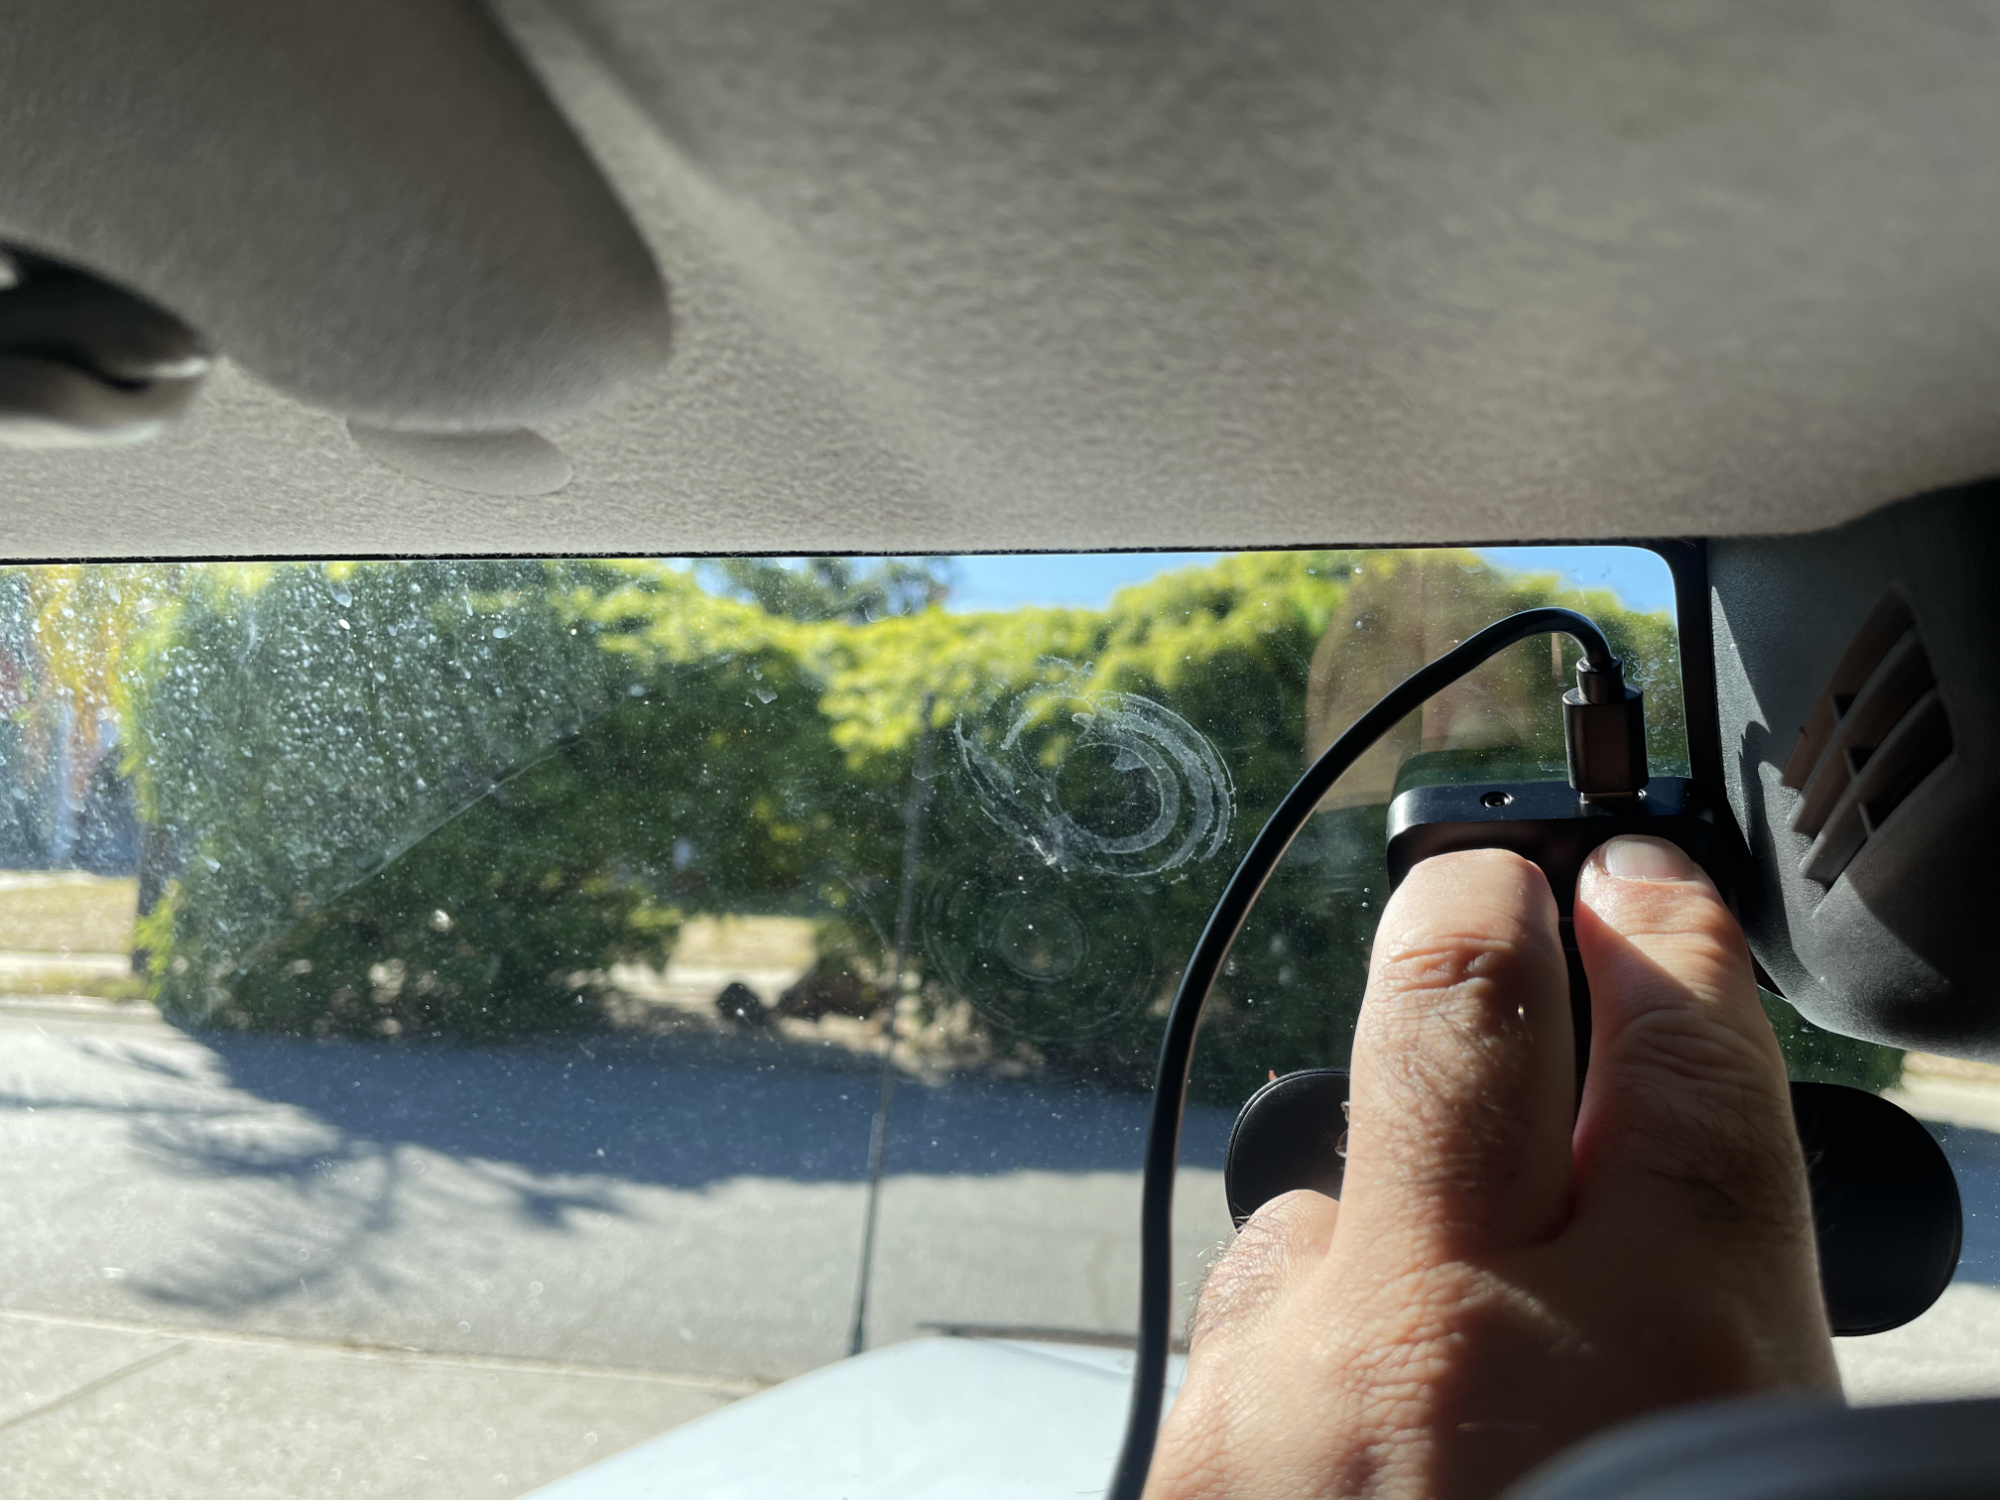
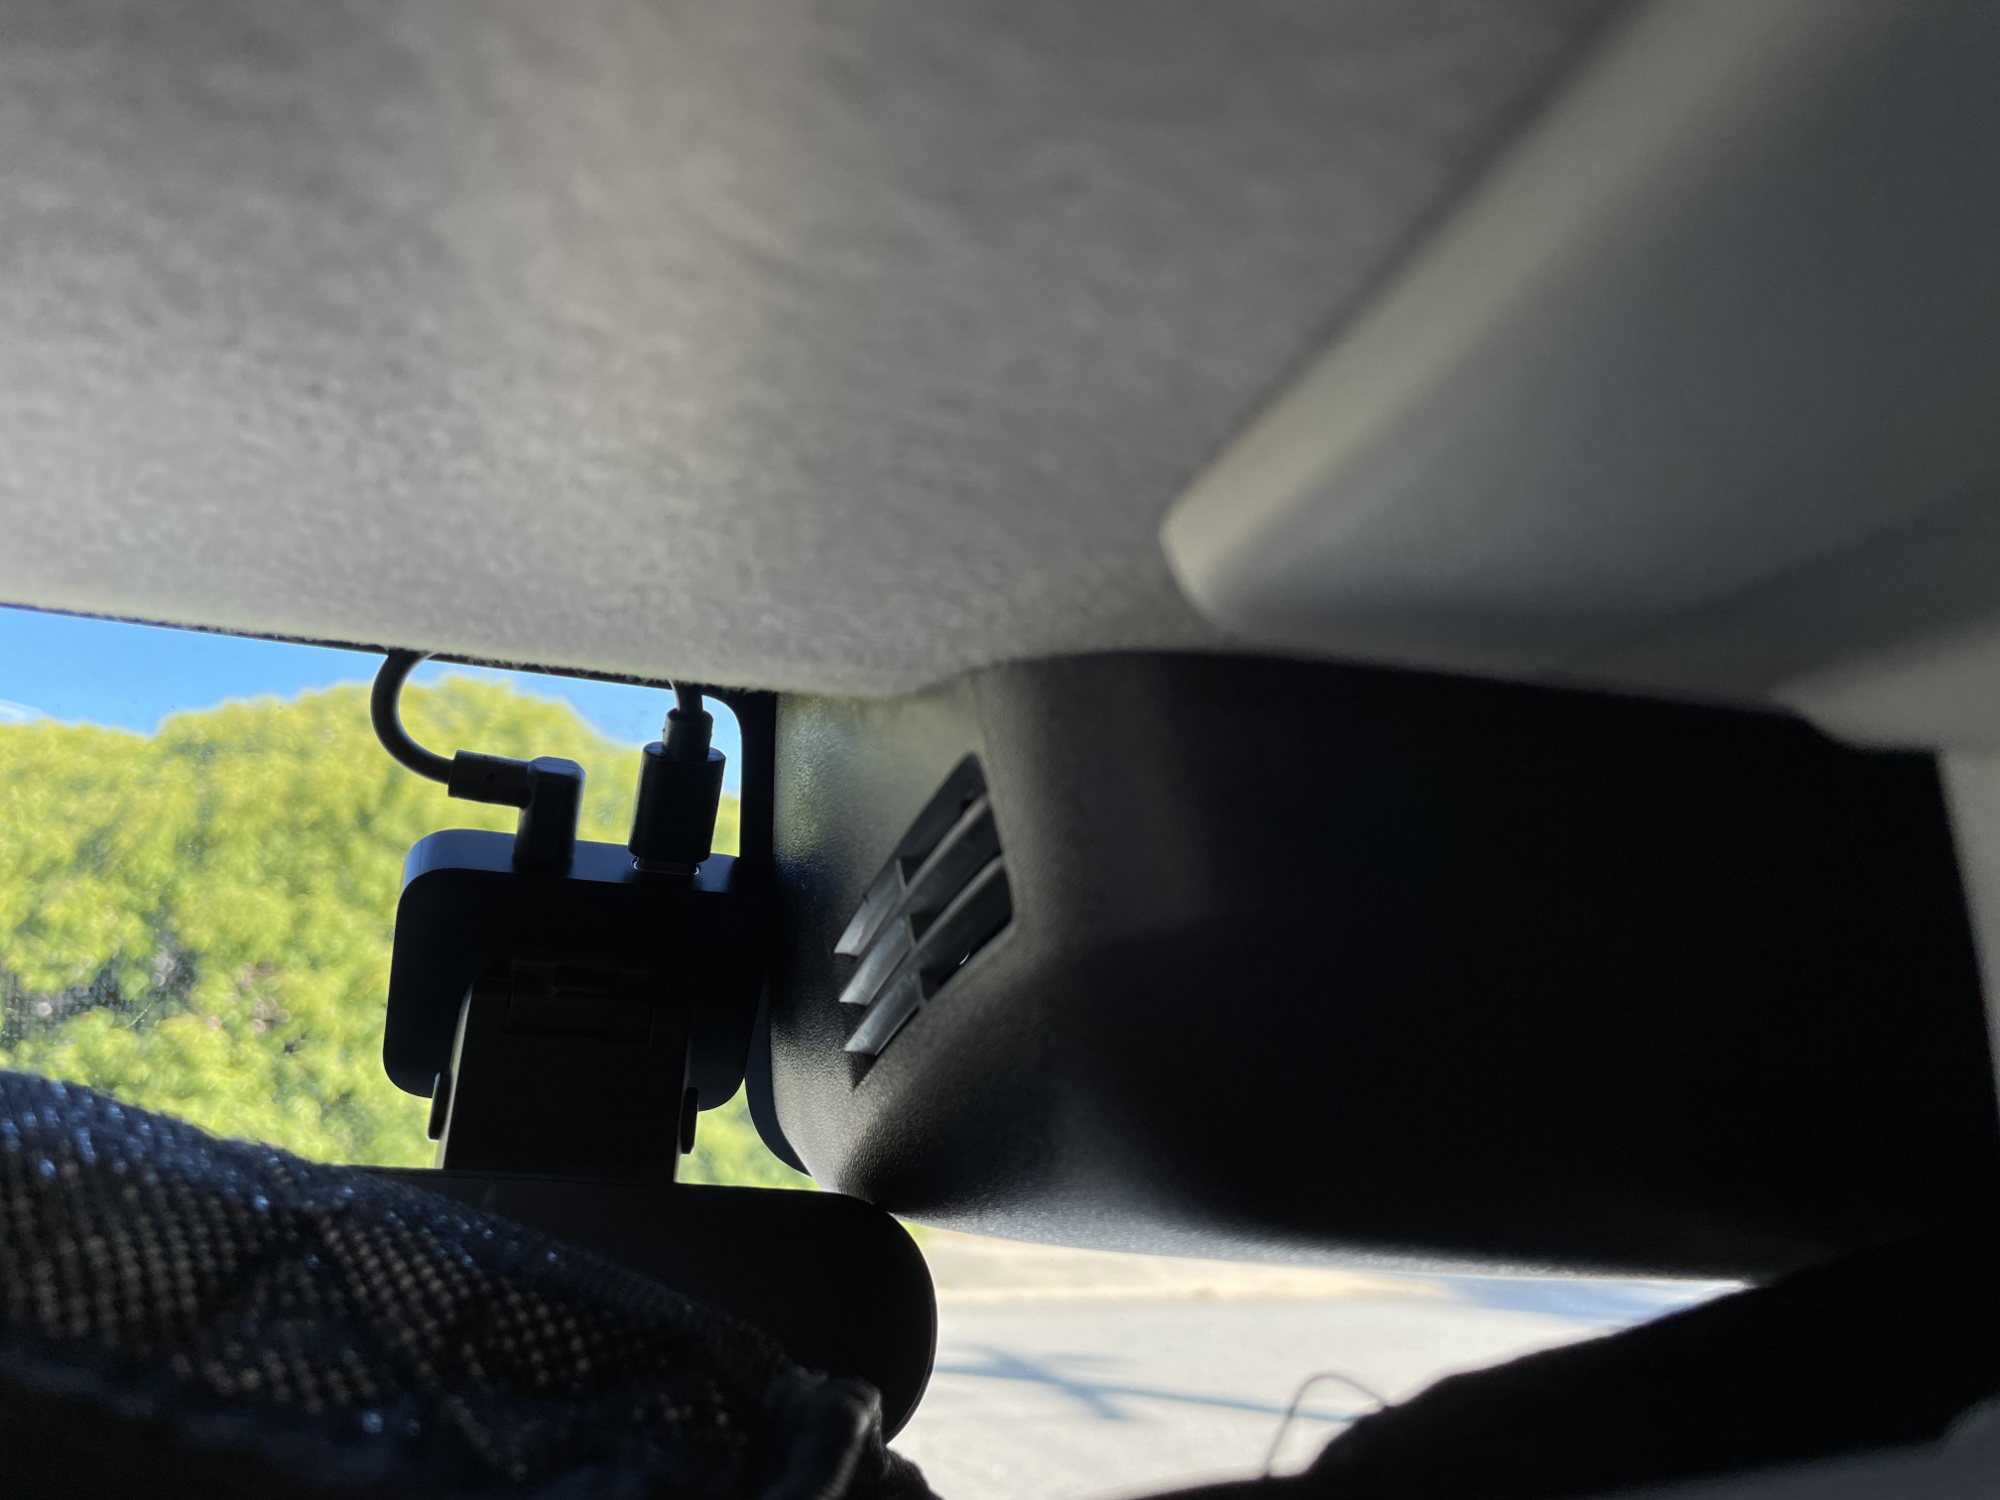
At this point the next constraint is the right amount of wiring into the dashcam. You can peel the headlining down just slightly and start by getting some wiring behind it. Just don’t bend it down too far and crease the headlining.
Working your way along, and using your finger to keep the headlining away from the windscreen slightly, you can easily get the wiring run along the leading edge of the headlining.
Once you’ve got it all through, pull it back to take up any slack and you can route the wiring along the factory wiring up the A pillar. Doing it this way ends up super neat and with all the slack down by the fuse box with heaps of room to accommodate it, plus any wiring boxes included with your chosen dashcam.
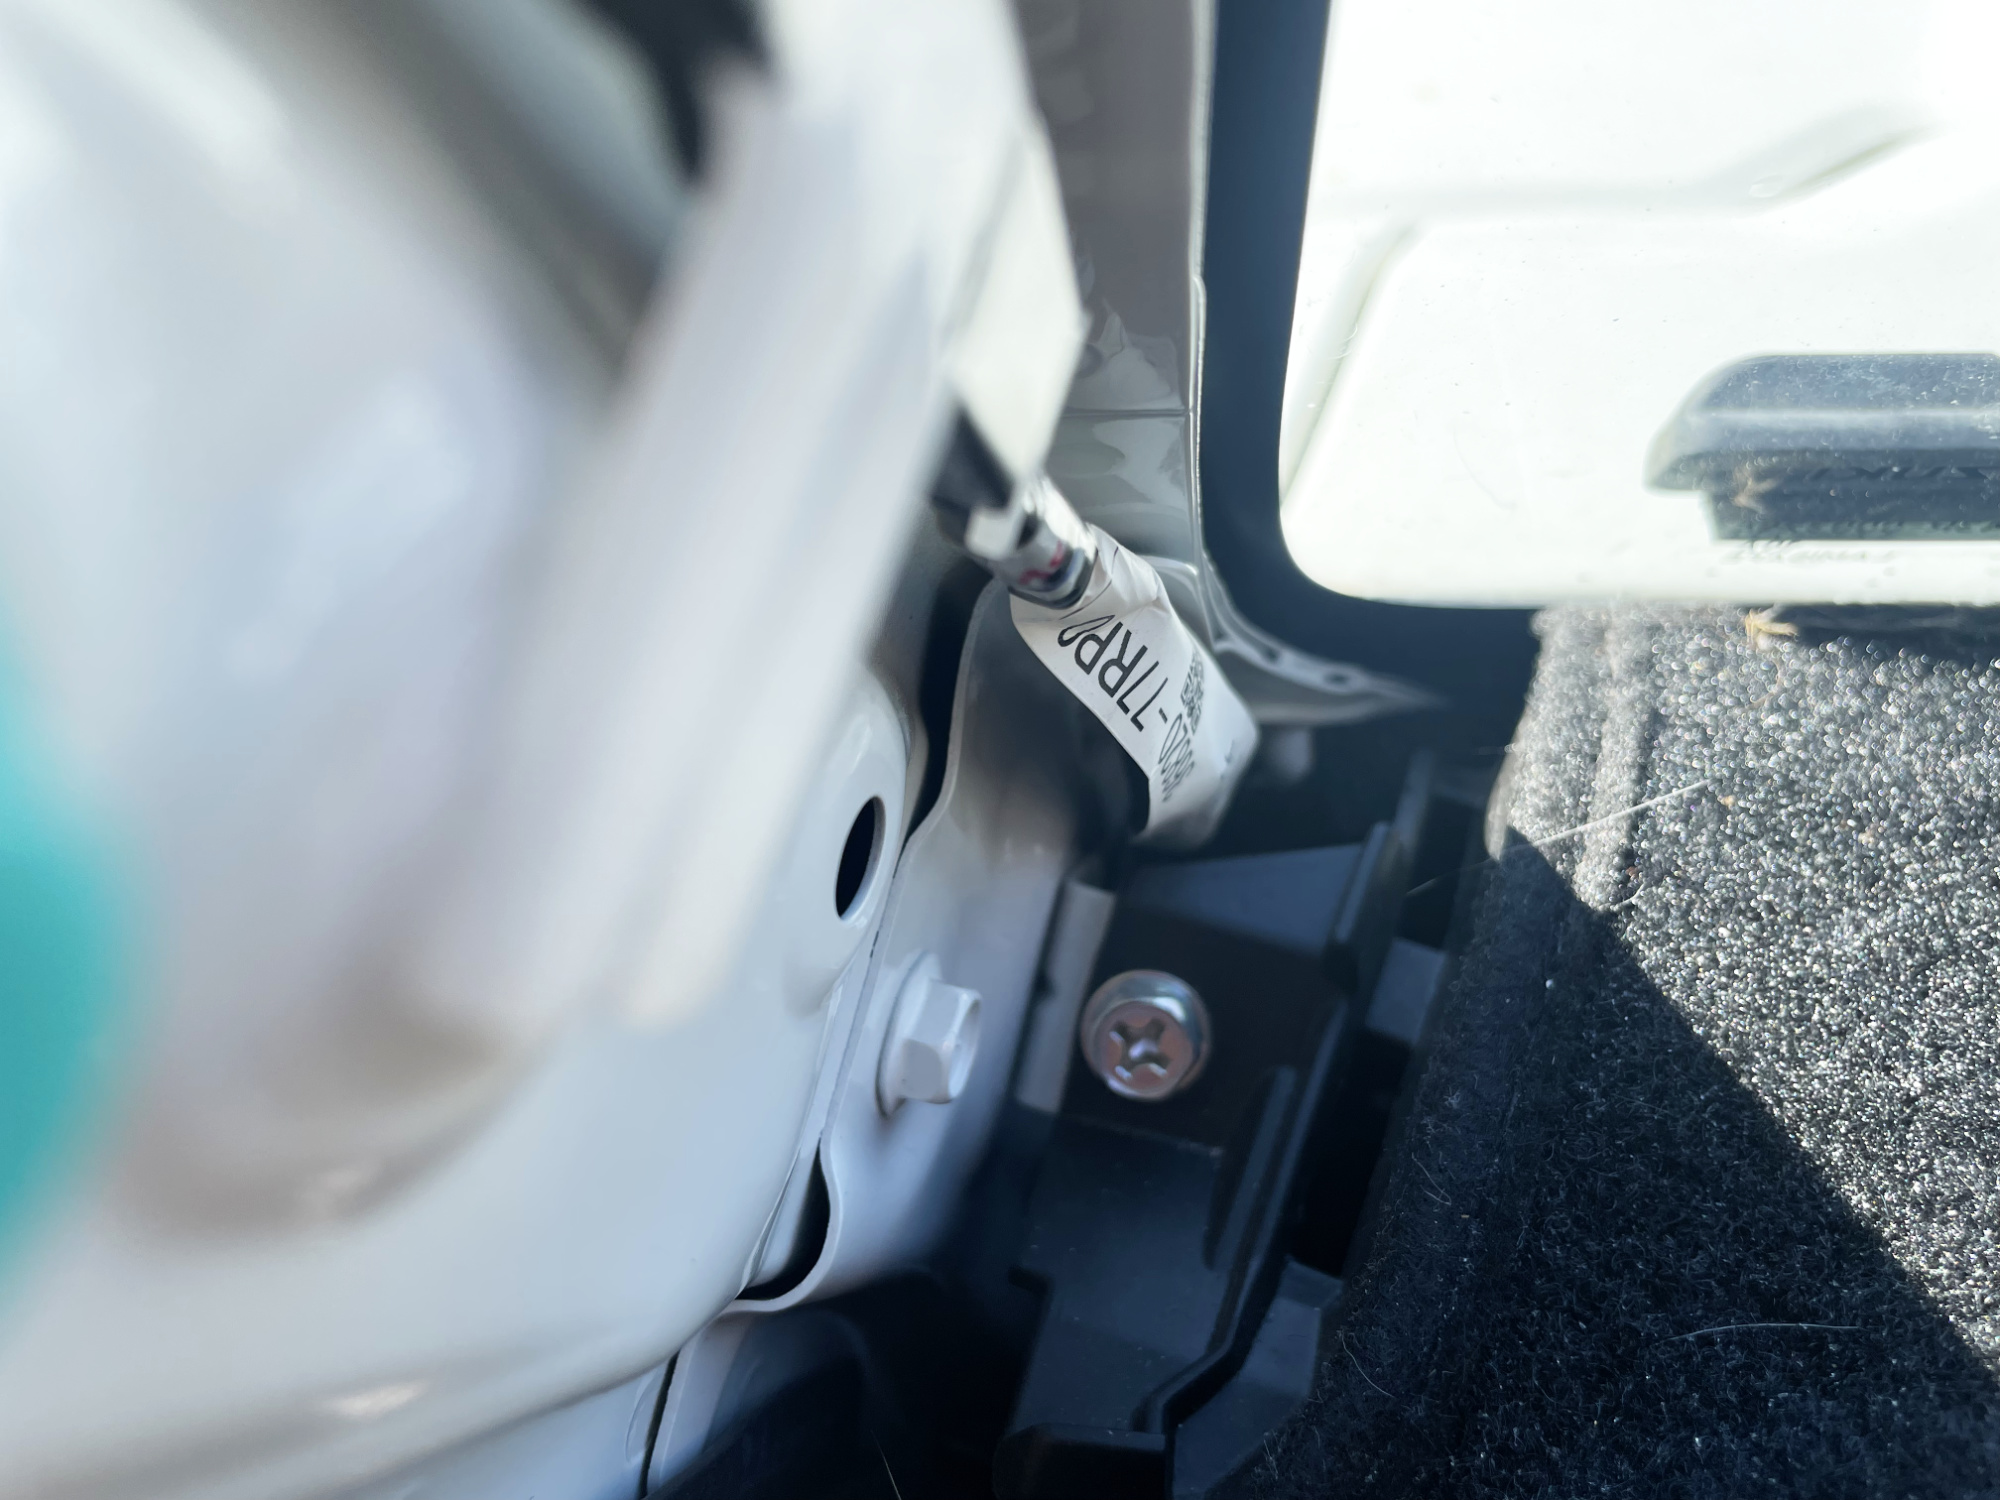
Rear
I’ll admit I haven’t fully done this since I’m writing the article super quickly after doing a test and installing the front camera.
The easiest place to start is to start at the drivers side A-pillar; drop the pinchweld door rubber like you did with the passengers side.
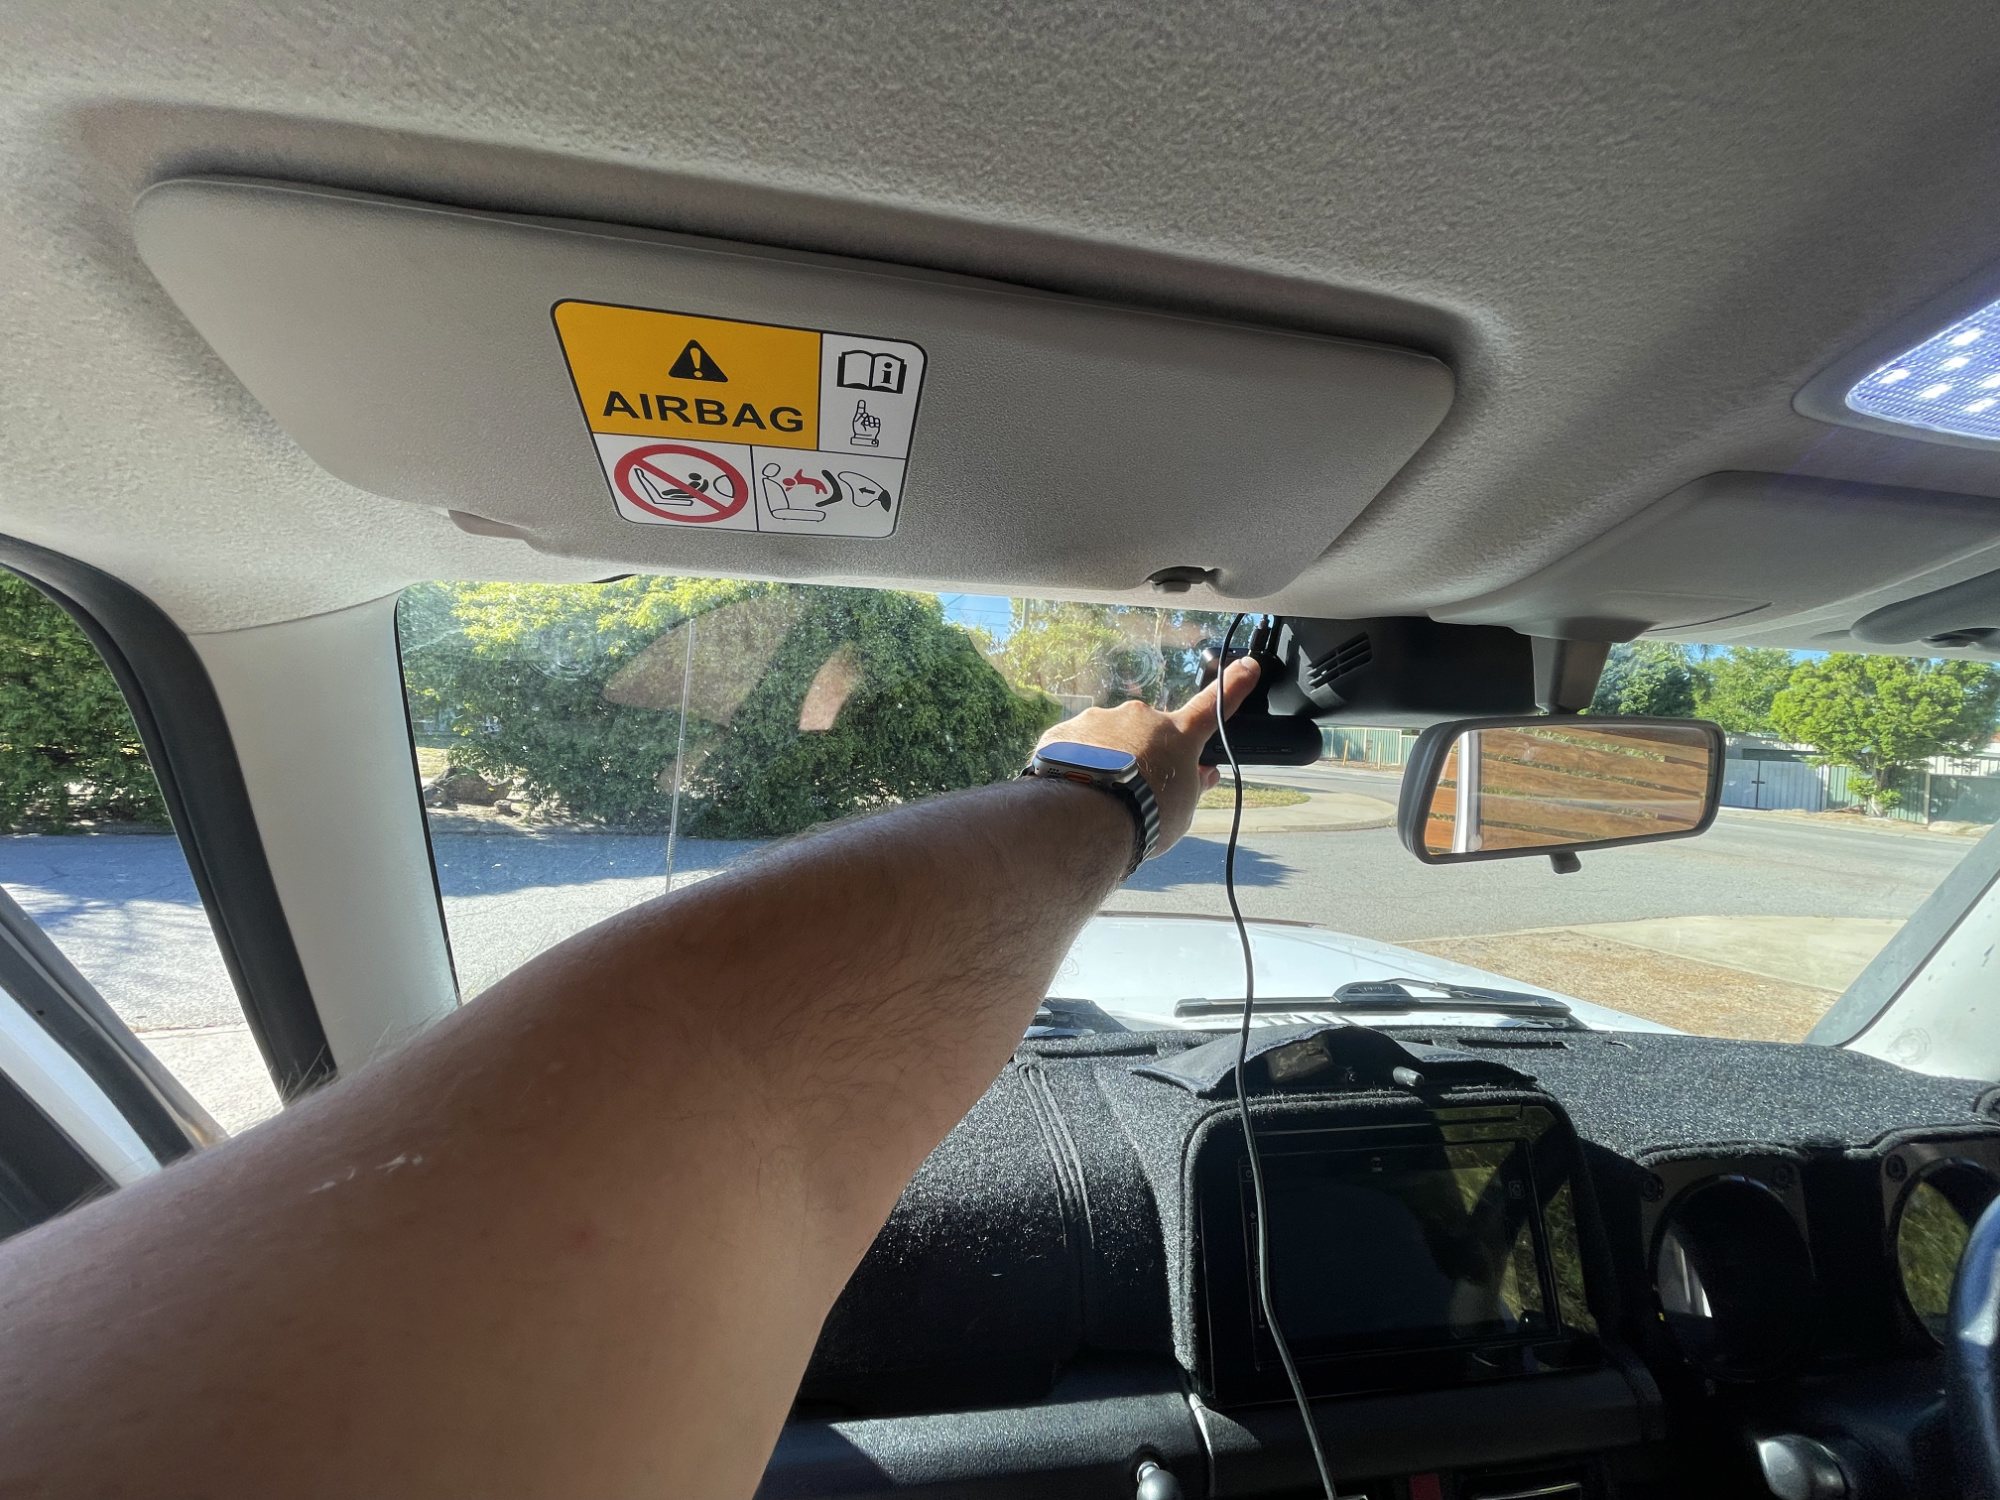
If you then lightly pull the top clip of the A-pillar trim out of the bodywork you’ll have enough movement in the head lining to start the wire here at this corner. The key with this, in order to keep it away from the curtain airbag, is to run it along using the factory wiring against the ceiling that you can see in this picture.
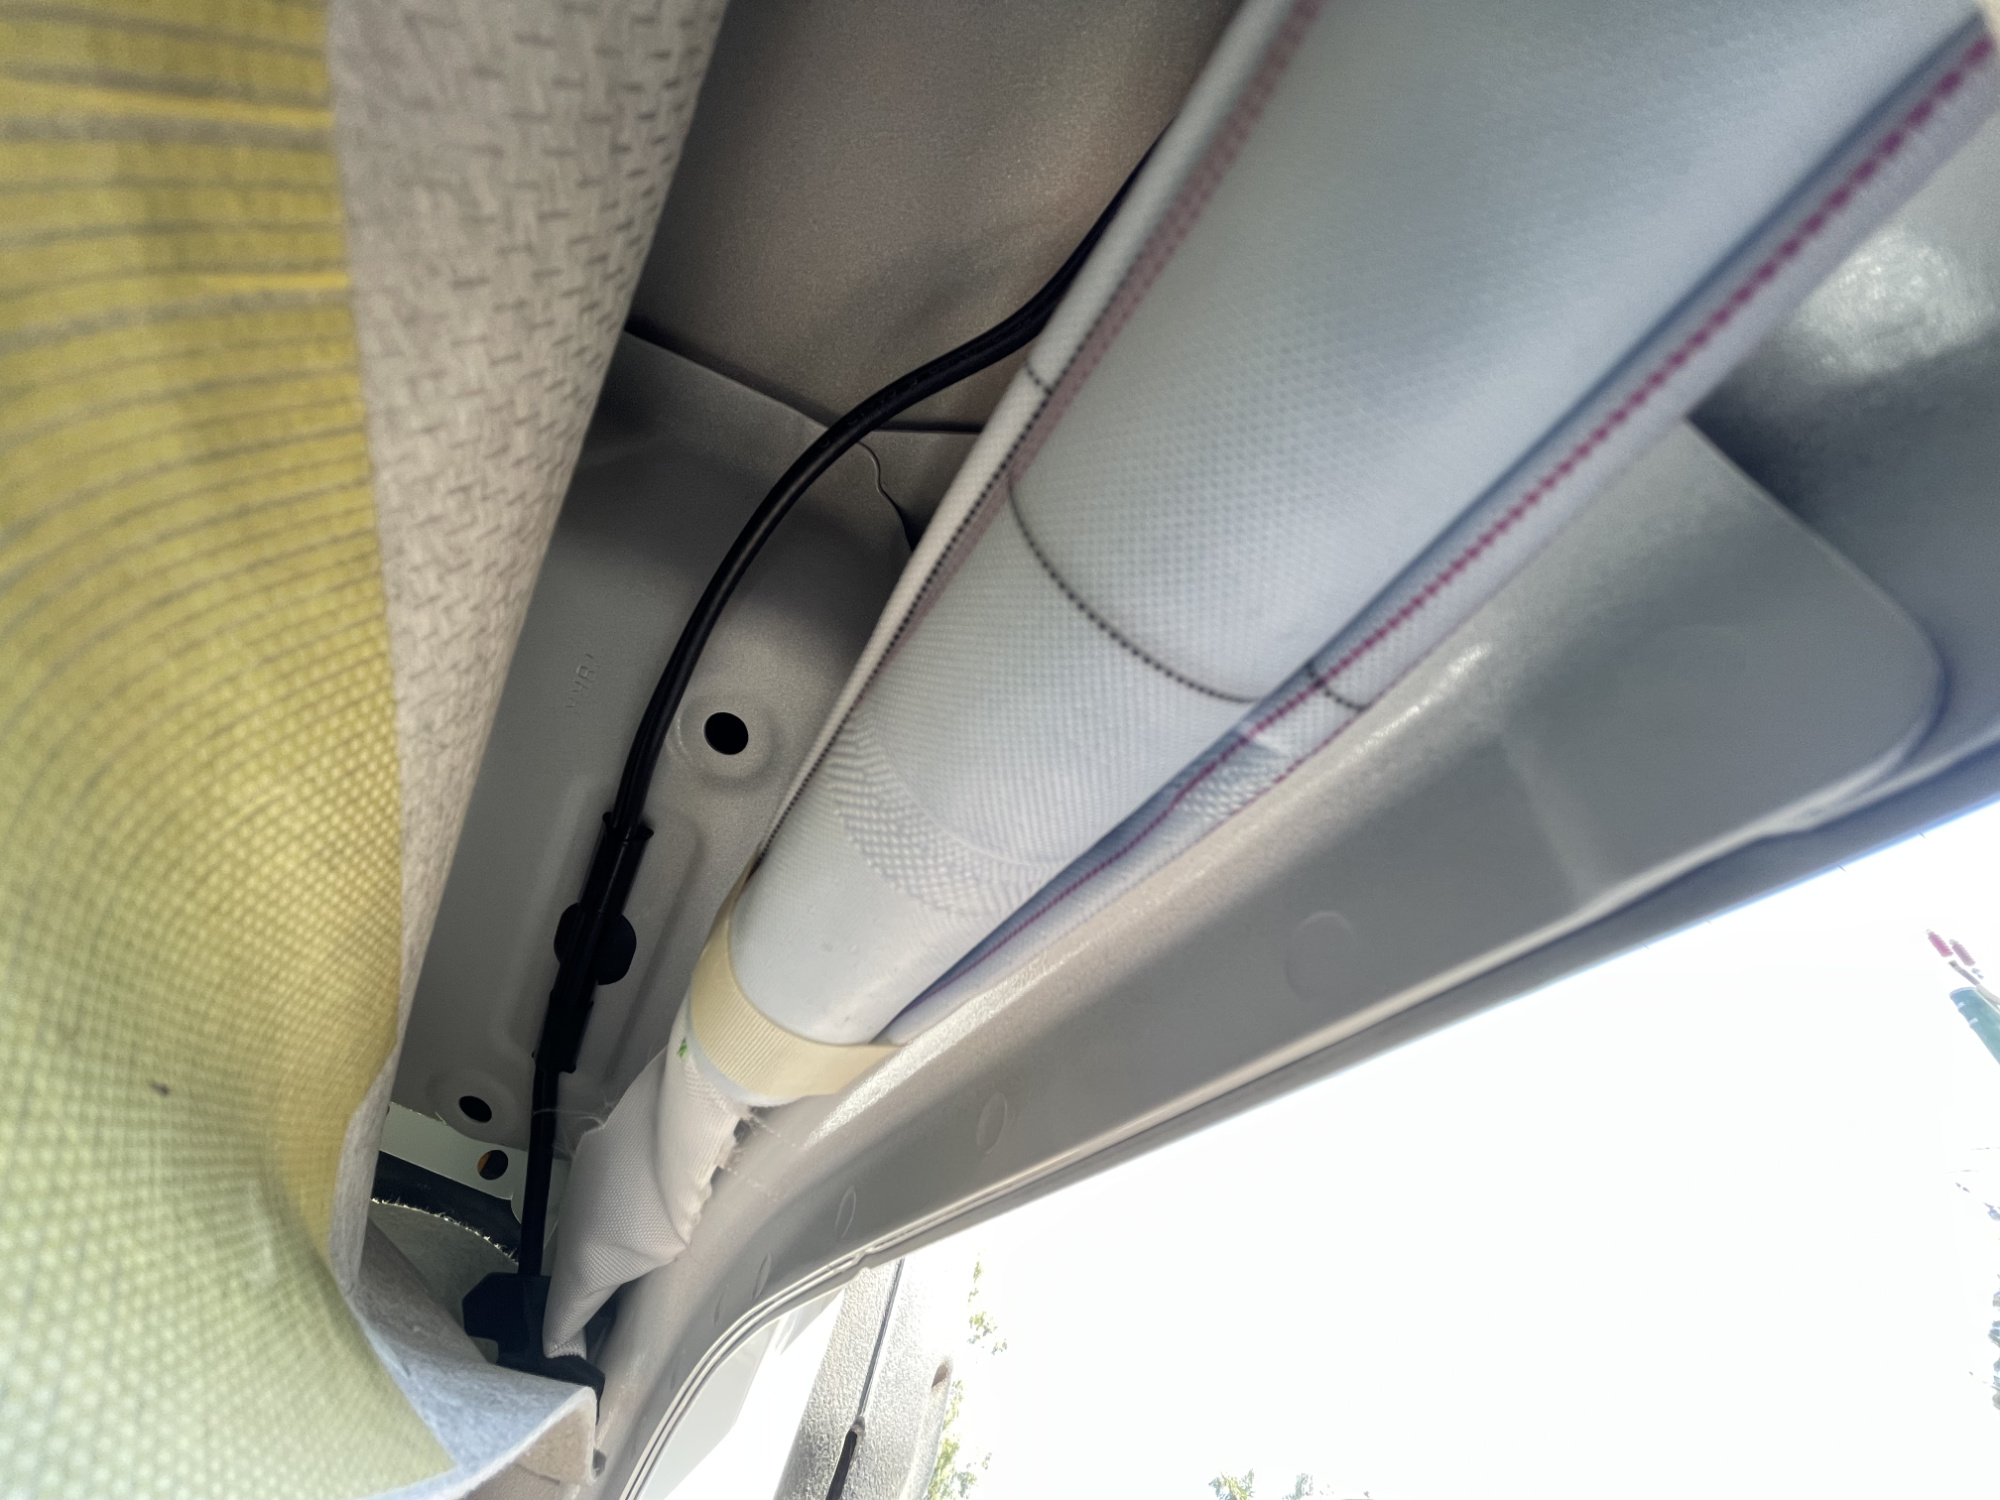
Once you’ve got the wire started a bit, then work your way along the gap to the windscreen to run it along towards the front camera where it needs to plug in.
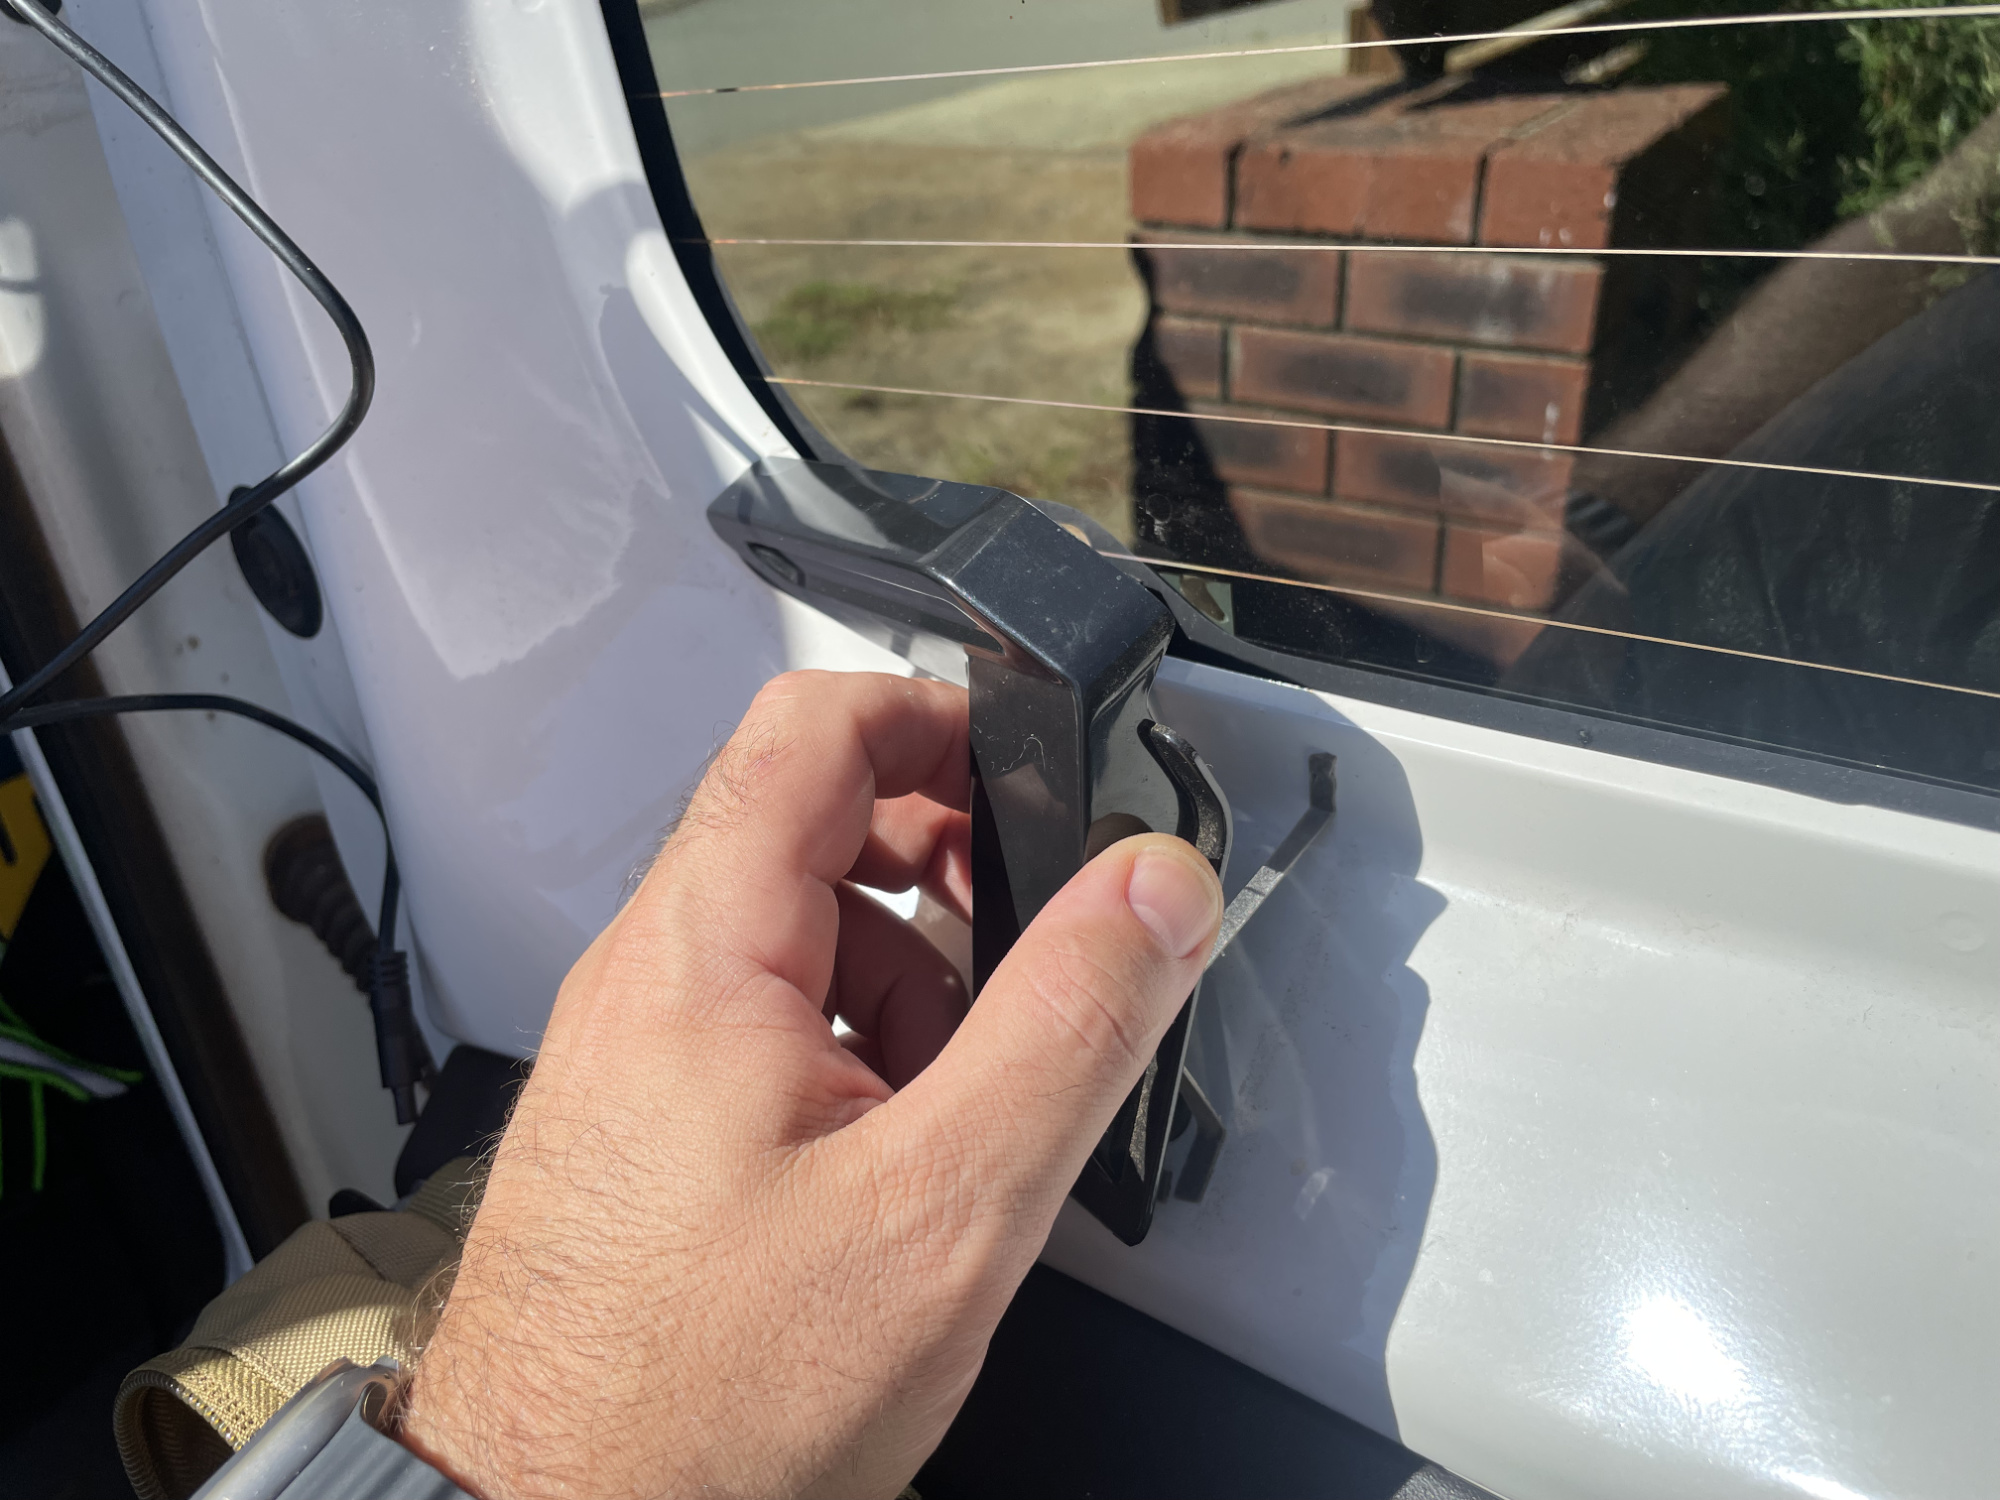
You’ll get to the point where you meet the cover for the autonomous braking camera and you’ll discover it’s a bit hard to route around without removing the cover.
Fortunately you just need a flat blade screwdriver to release the cover. Near the back, in the uppermost cutout/air vent you can press onto a clip to release it from the camera cover.
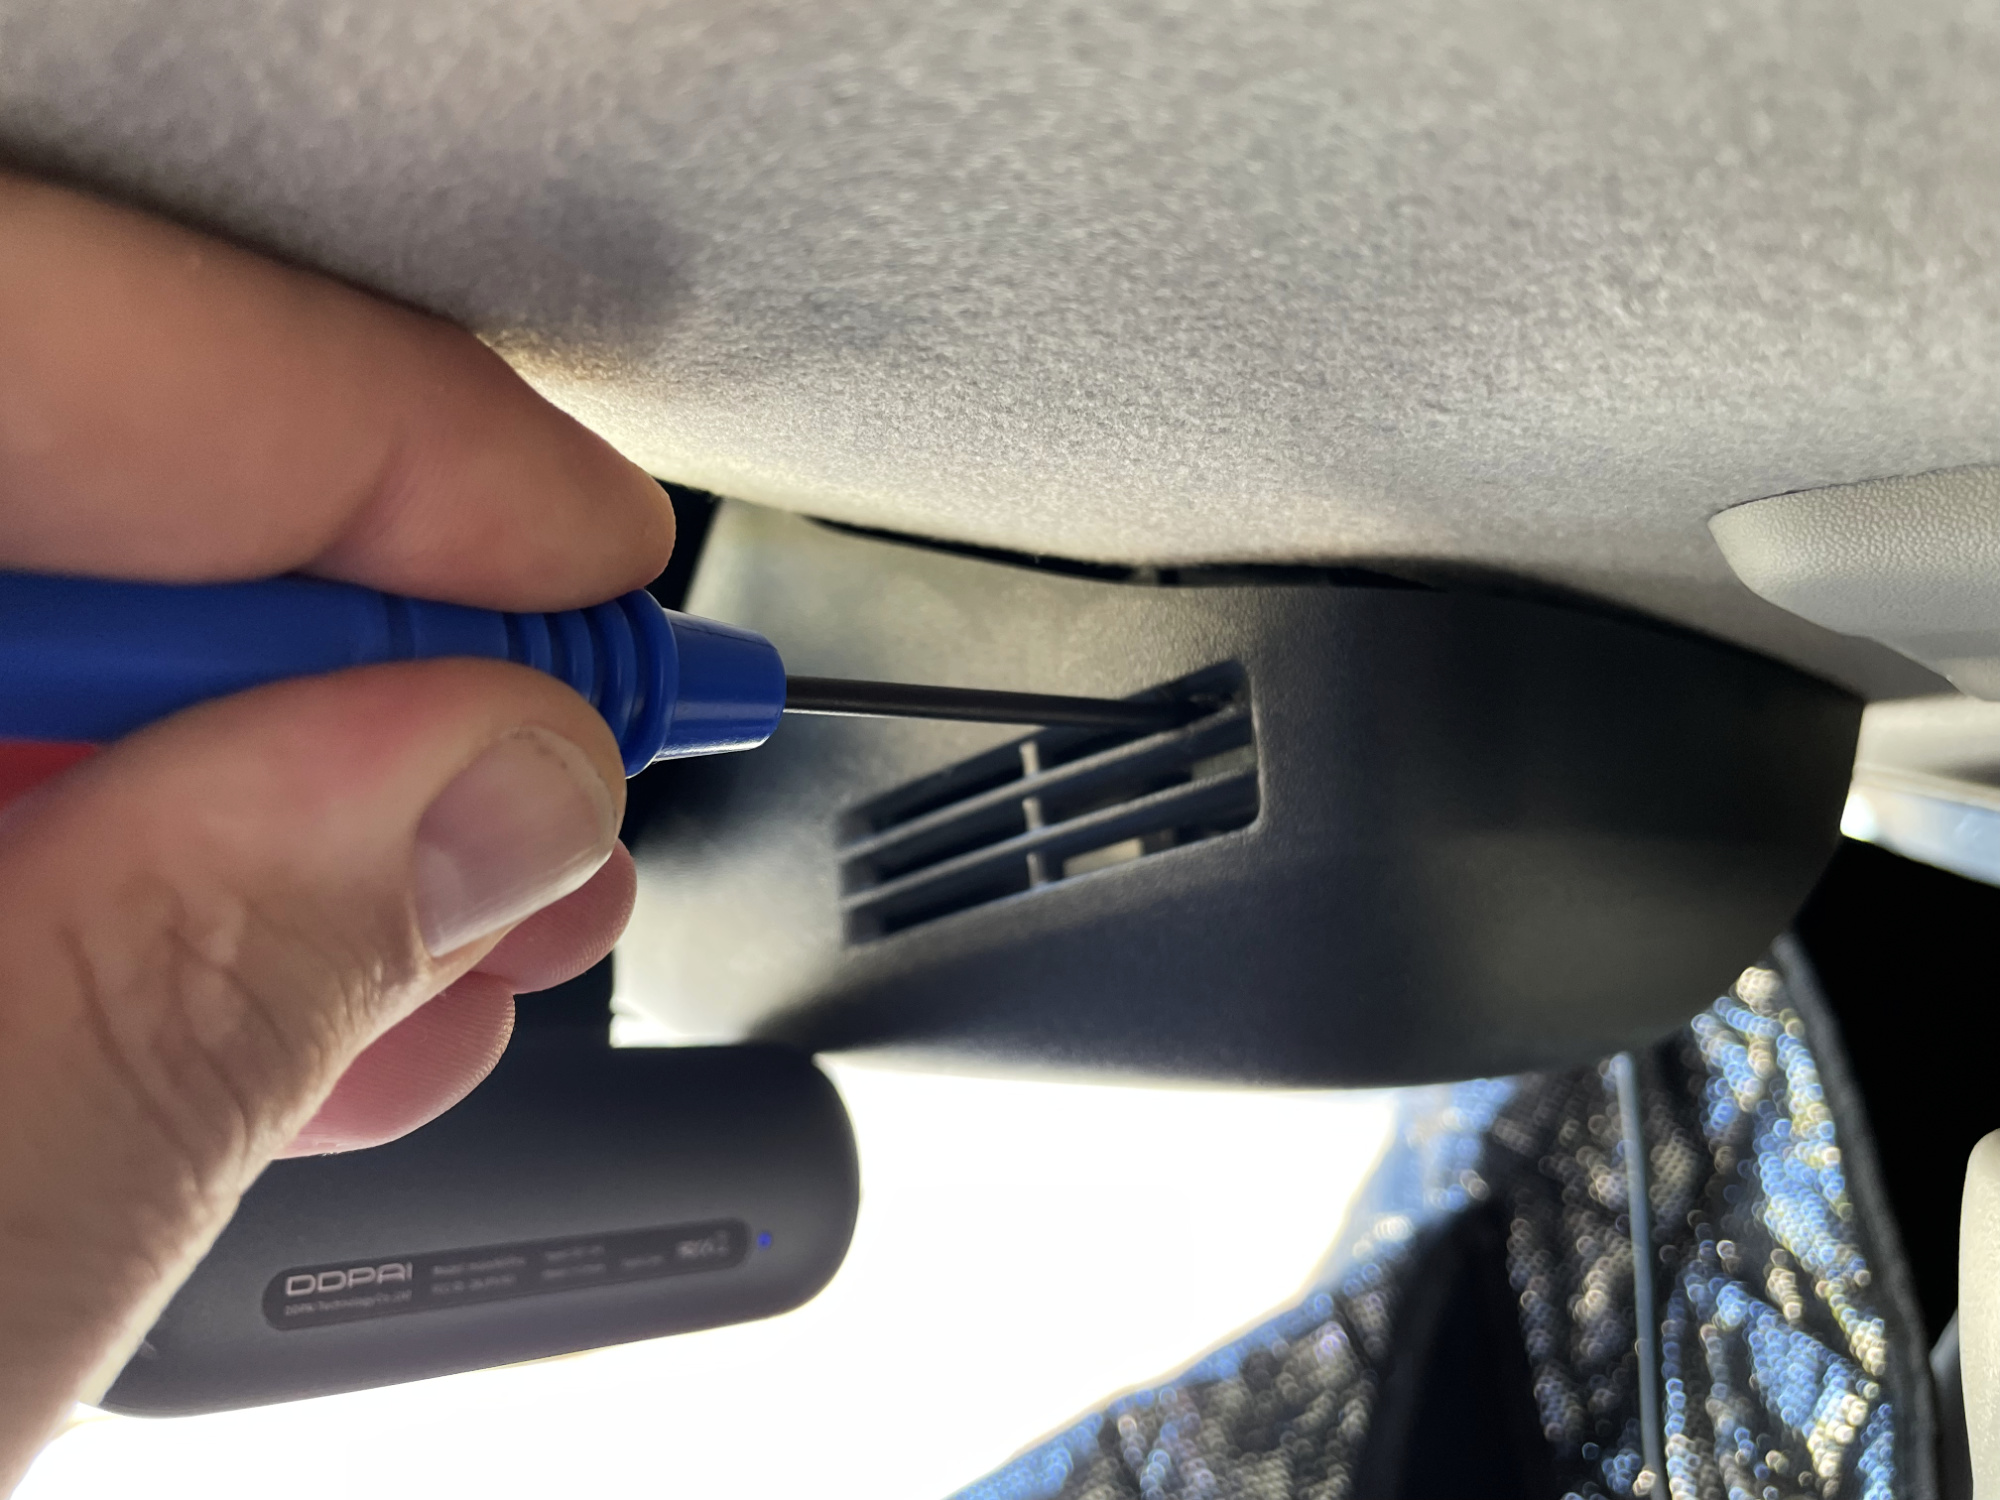
There is one clip per side and then the camera cover just comes off.
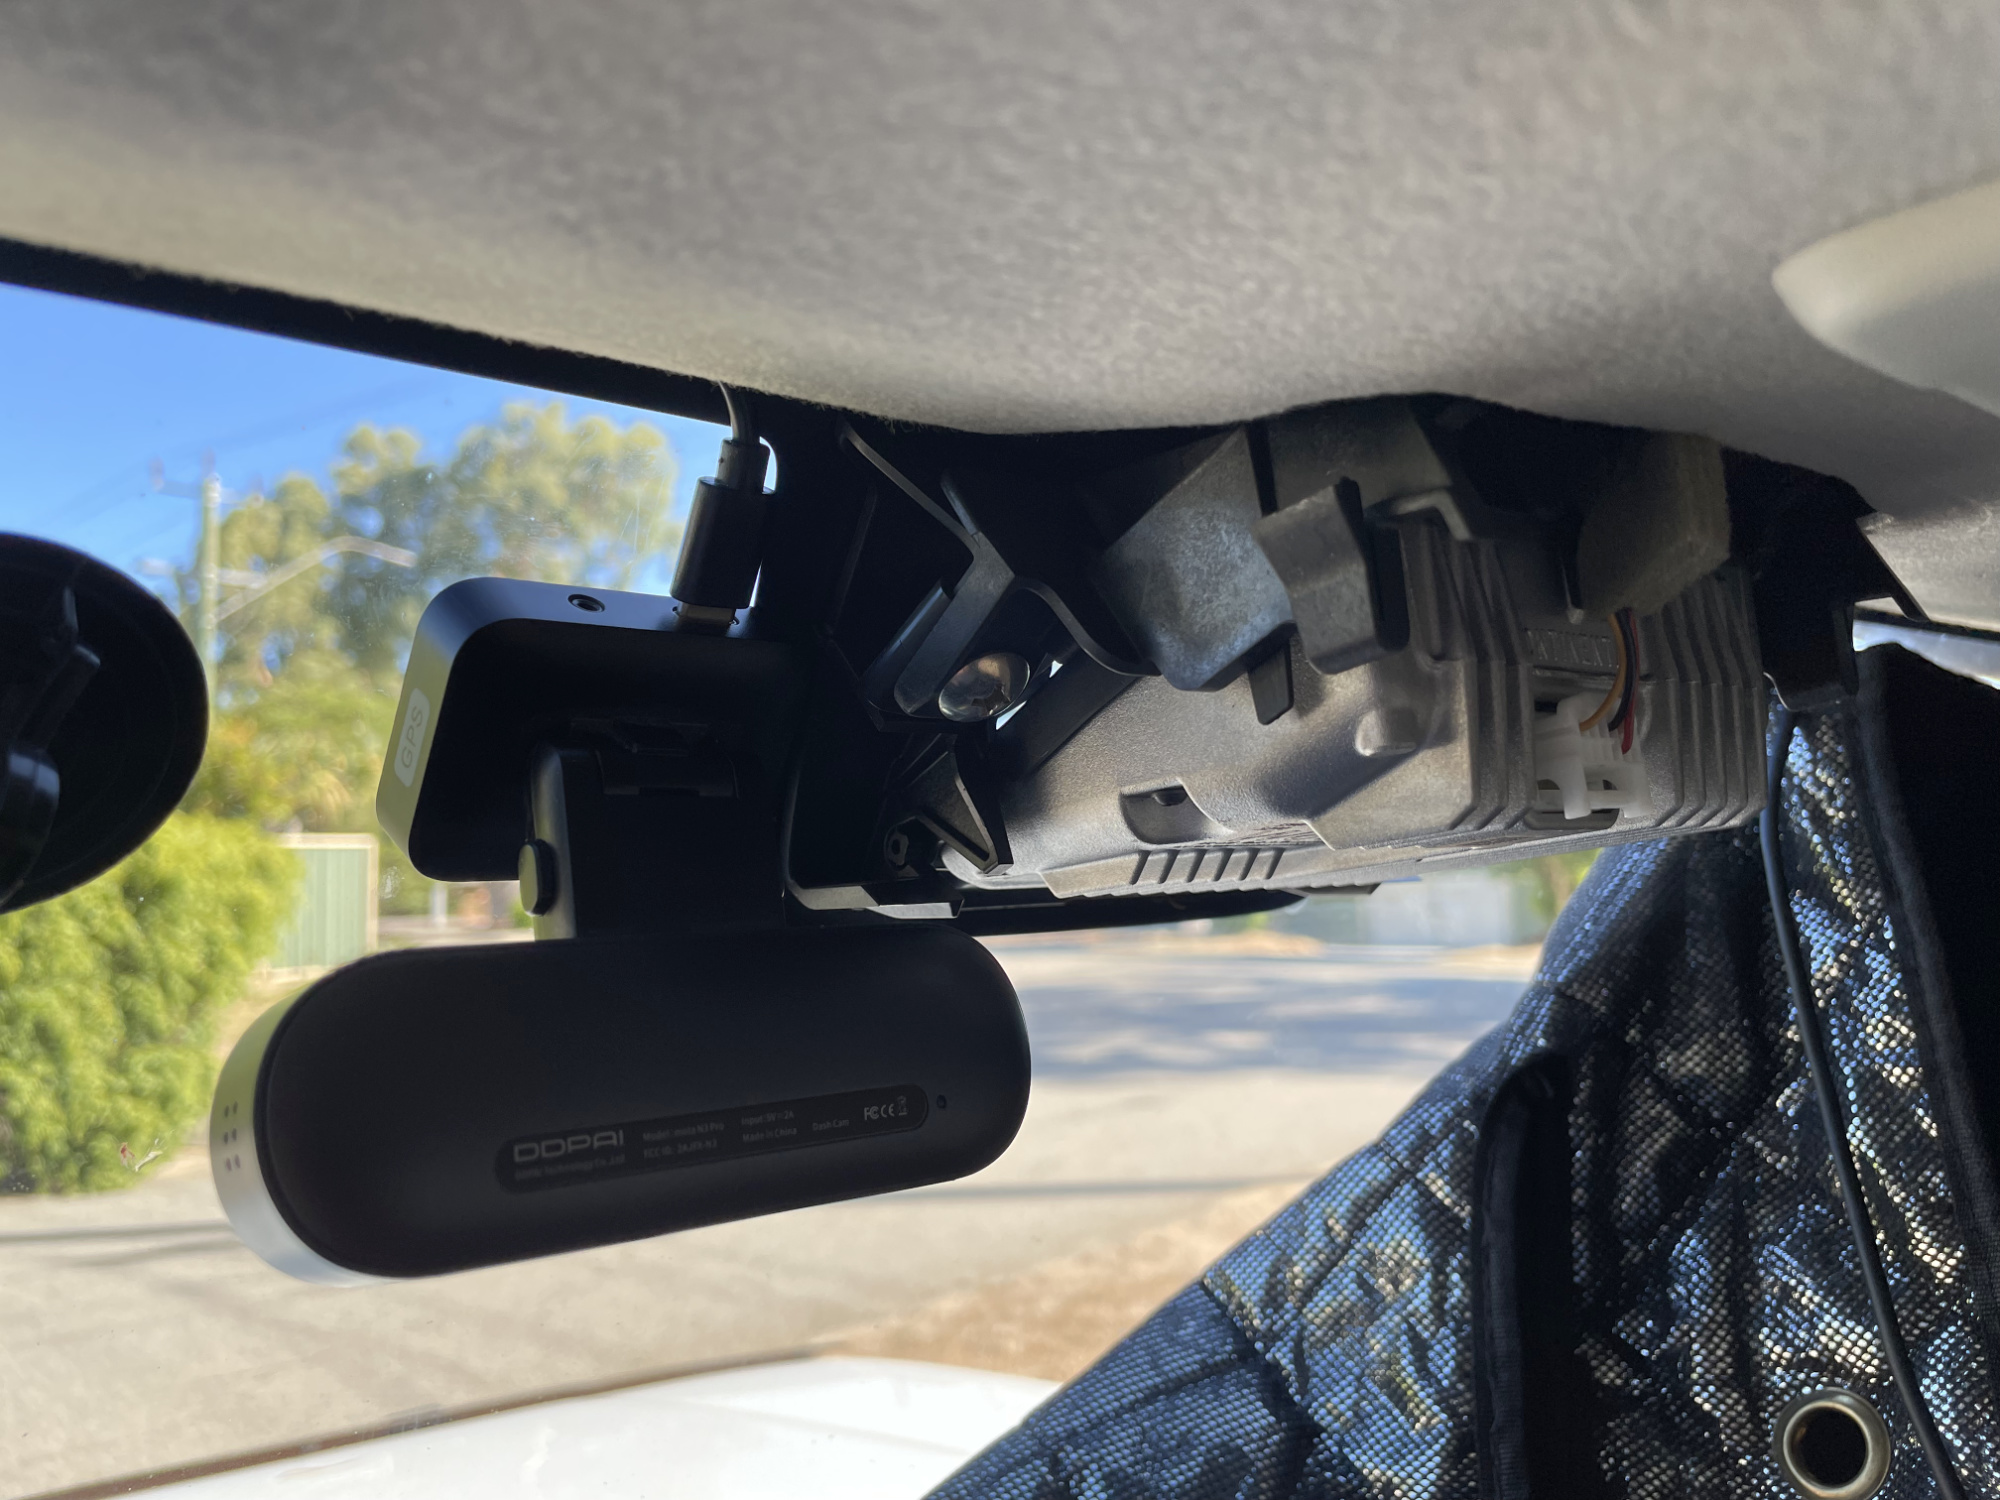
You can now route the cable around the opening into the head lining, noting you should push it behind the power wires into the camera unit.
You can now plug the wire in. You’ve hopefully got a bit of slack left, which you’ll deal with shortly.
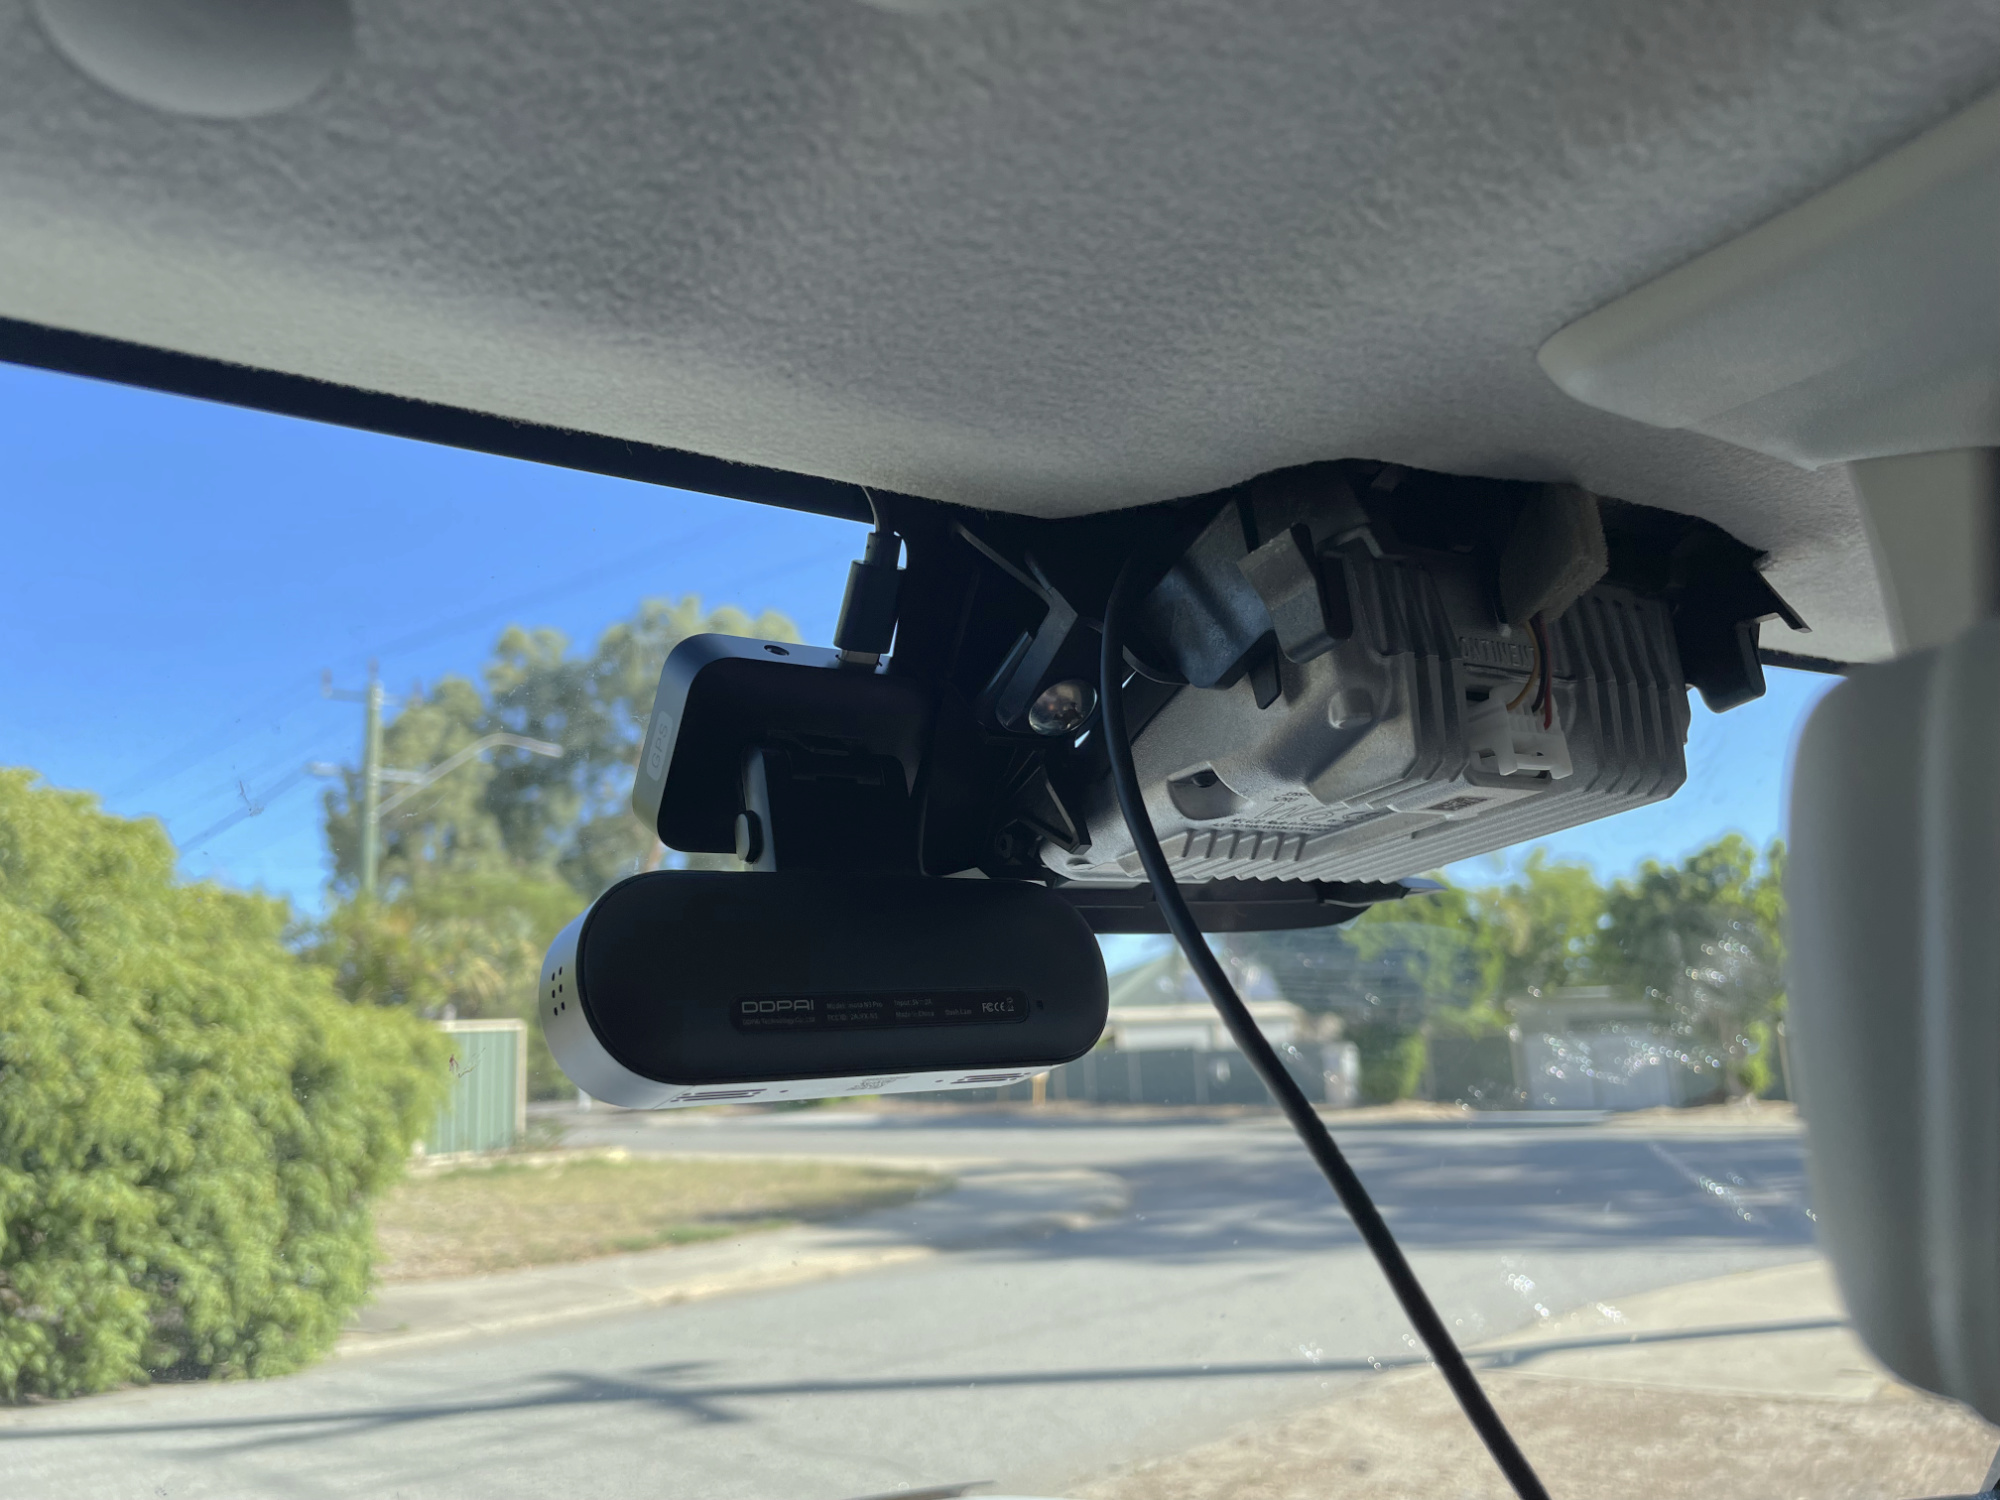
Go back to the drivers side A pillar and take up the slack in the cable, and refit the camera cover.
Now it’s just a case of working your way along the wiring above the curtain airbag, securing the rear camera cable at select points using some tape. You’ll have to pull the B pillar trim off the top to be able to release the head lining and get the wire through, but if you keep working along you’ll get there.
You’ll now have the cable up to the back corner of the head lining. This is as far as I’ve got to date, since I want to do a couple of prepatory things for where I’ll put the wiring through the boot. The plan is to run the cable down the rear pillar and into the body cavity to then get it into the back door interior.
From here I’ll come out underneath my rear demister wire cover on the drivers side, which I had to remove off the car.
Accessing power and ground
Power
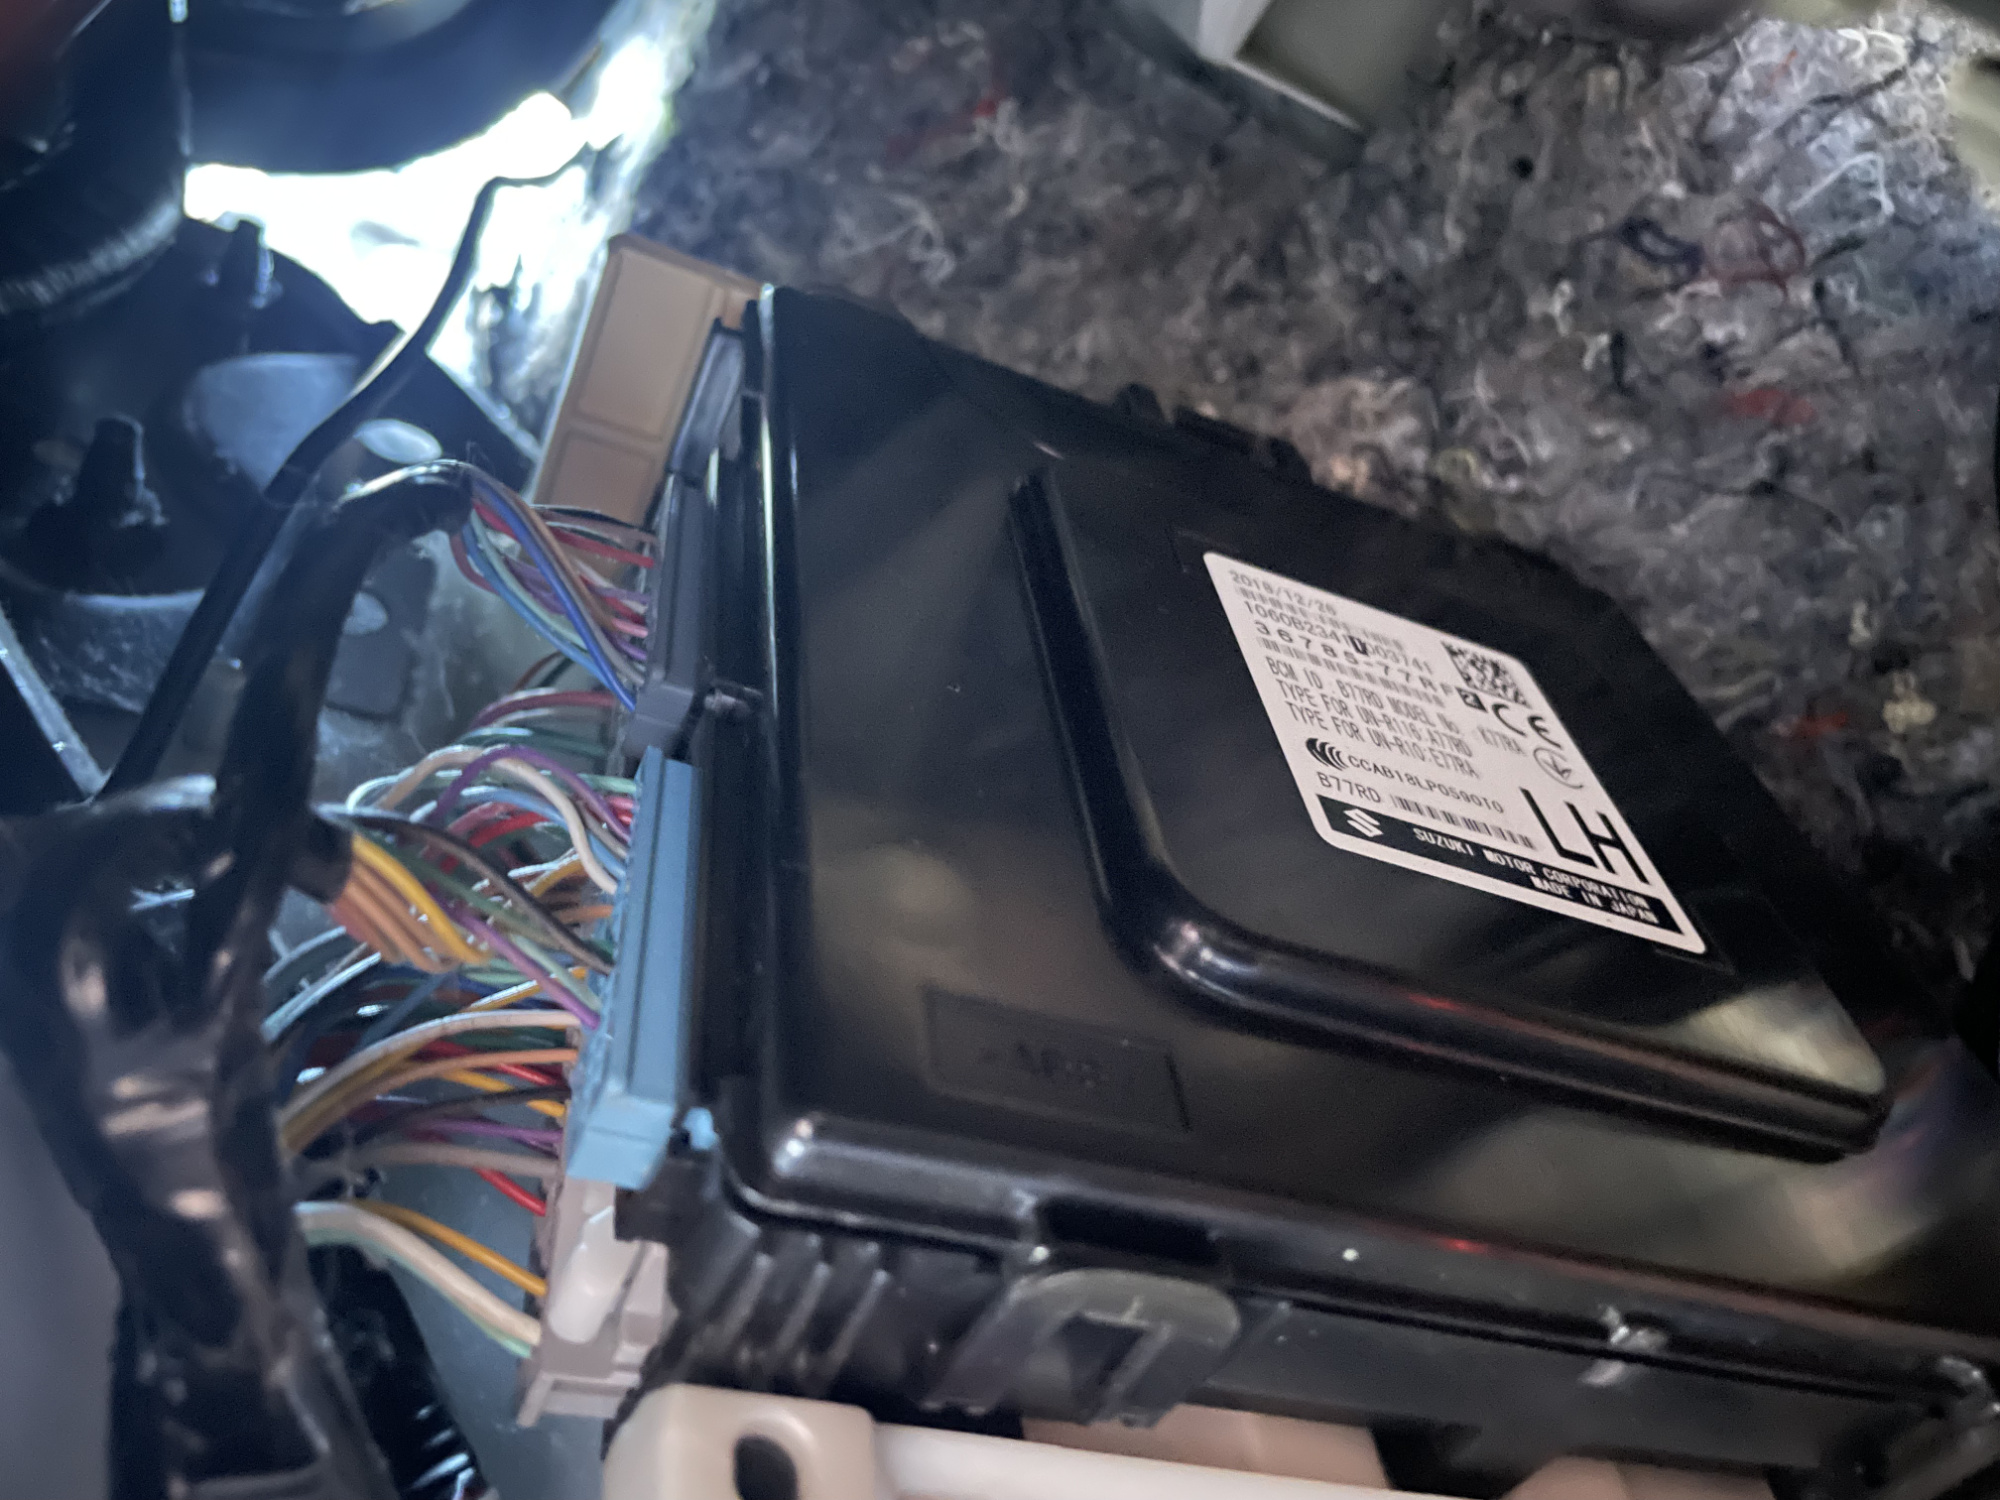
There’s a few routes to accessing power. Most people installing dashcams and wanting the simplest install will use fuse taps. I have listed the Jimny’s fuses and what circuits they protect so you can use this as a basis for picking the right circuit. Note a couple are unused and some have permanent power and some have switched power.
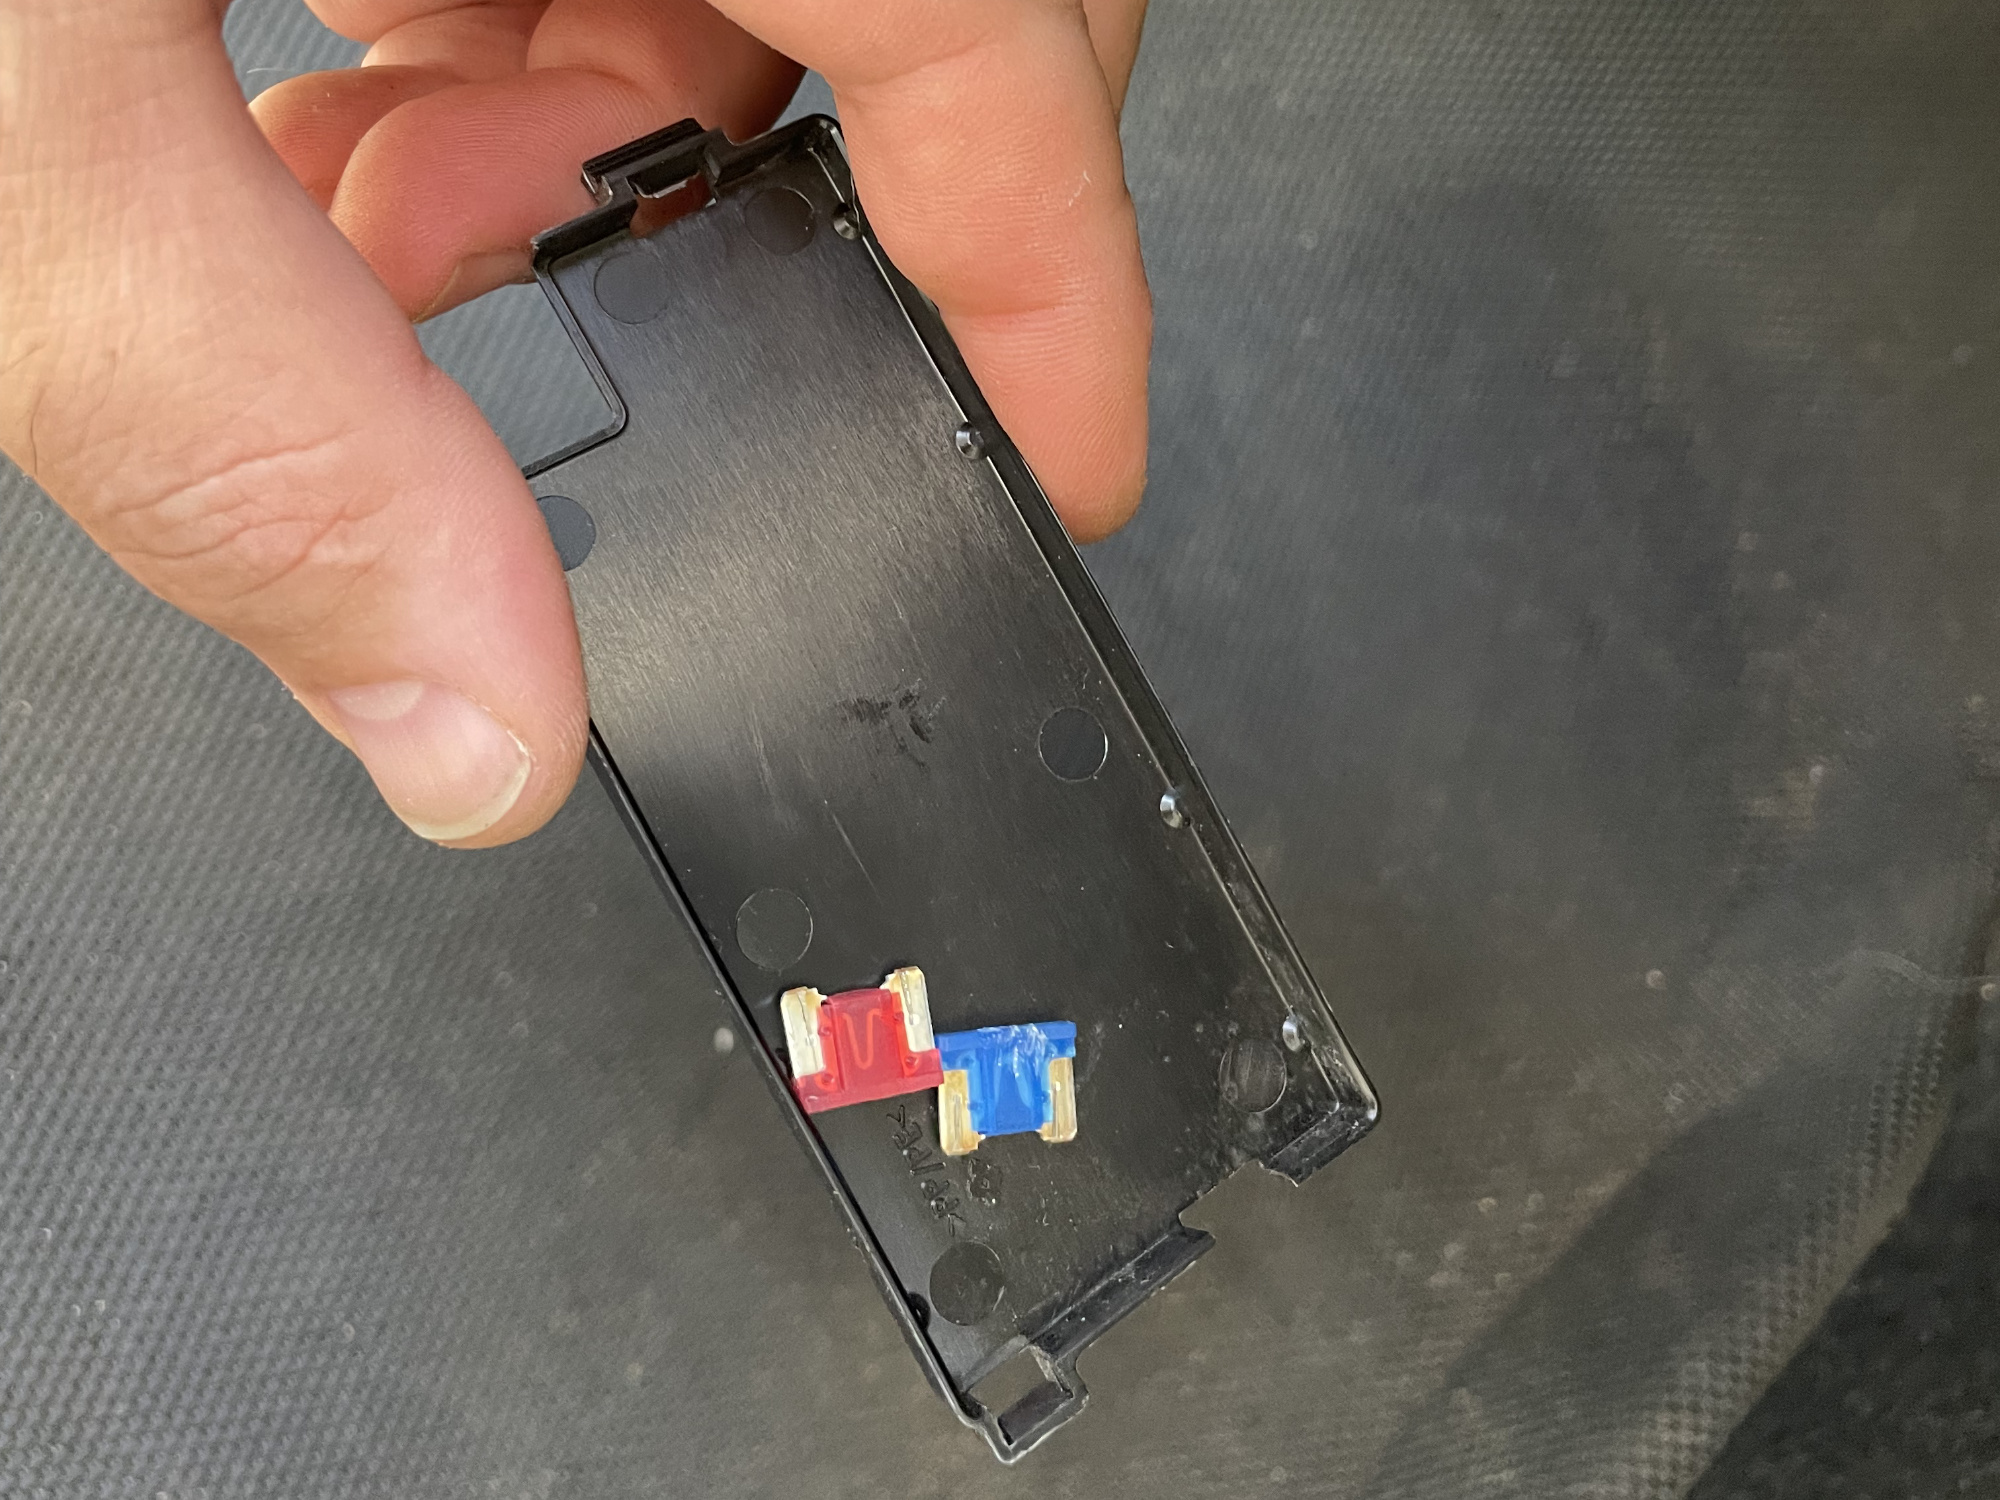
Fuse taps do leave the fuse box a little more vulnerable as they require you to keep the cover of the fuse box to provide a route for the wiring. (Keep this cover in your glove box since it provides a nice reference to what fuse is what in case of an issue when you’re out and about!)
I think the best choice for the permanent power is the DOME2 fuse (fuse 49 in my numbering scheme on my fuse page) and the seat heater fuse (fuse 47) is a good source of the accessory switched power. I’m using the seat heater power fuse because it’s accessory switched but also unused in Australia, so any issues with it won’t produce other downstream issues like if you used the radio accessory power fuse (fuse 66).
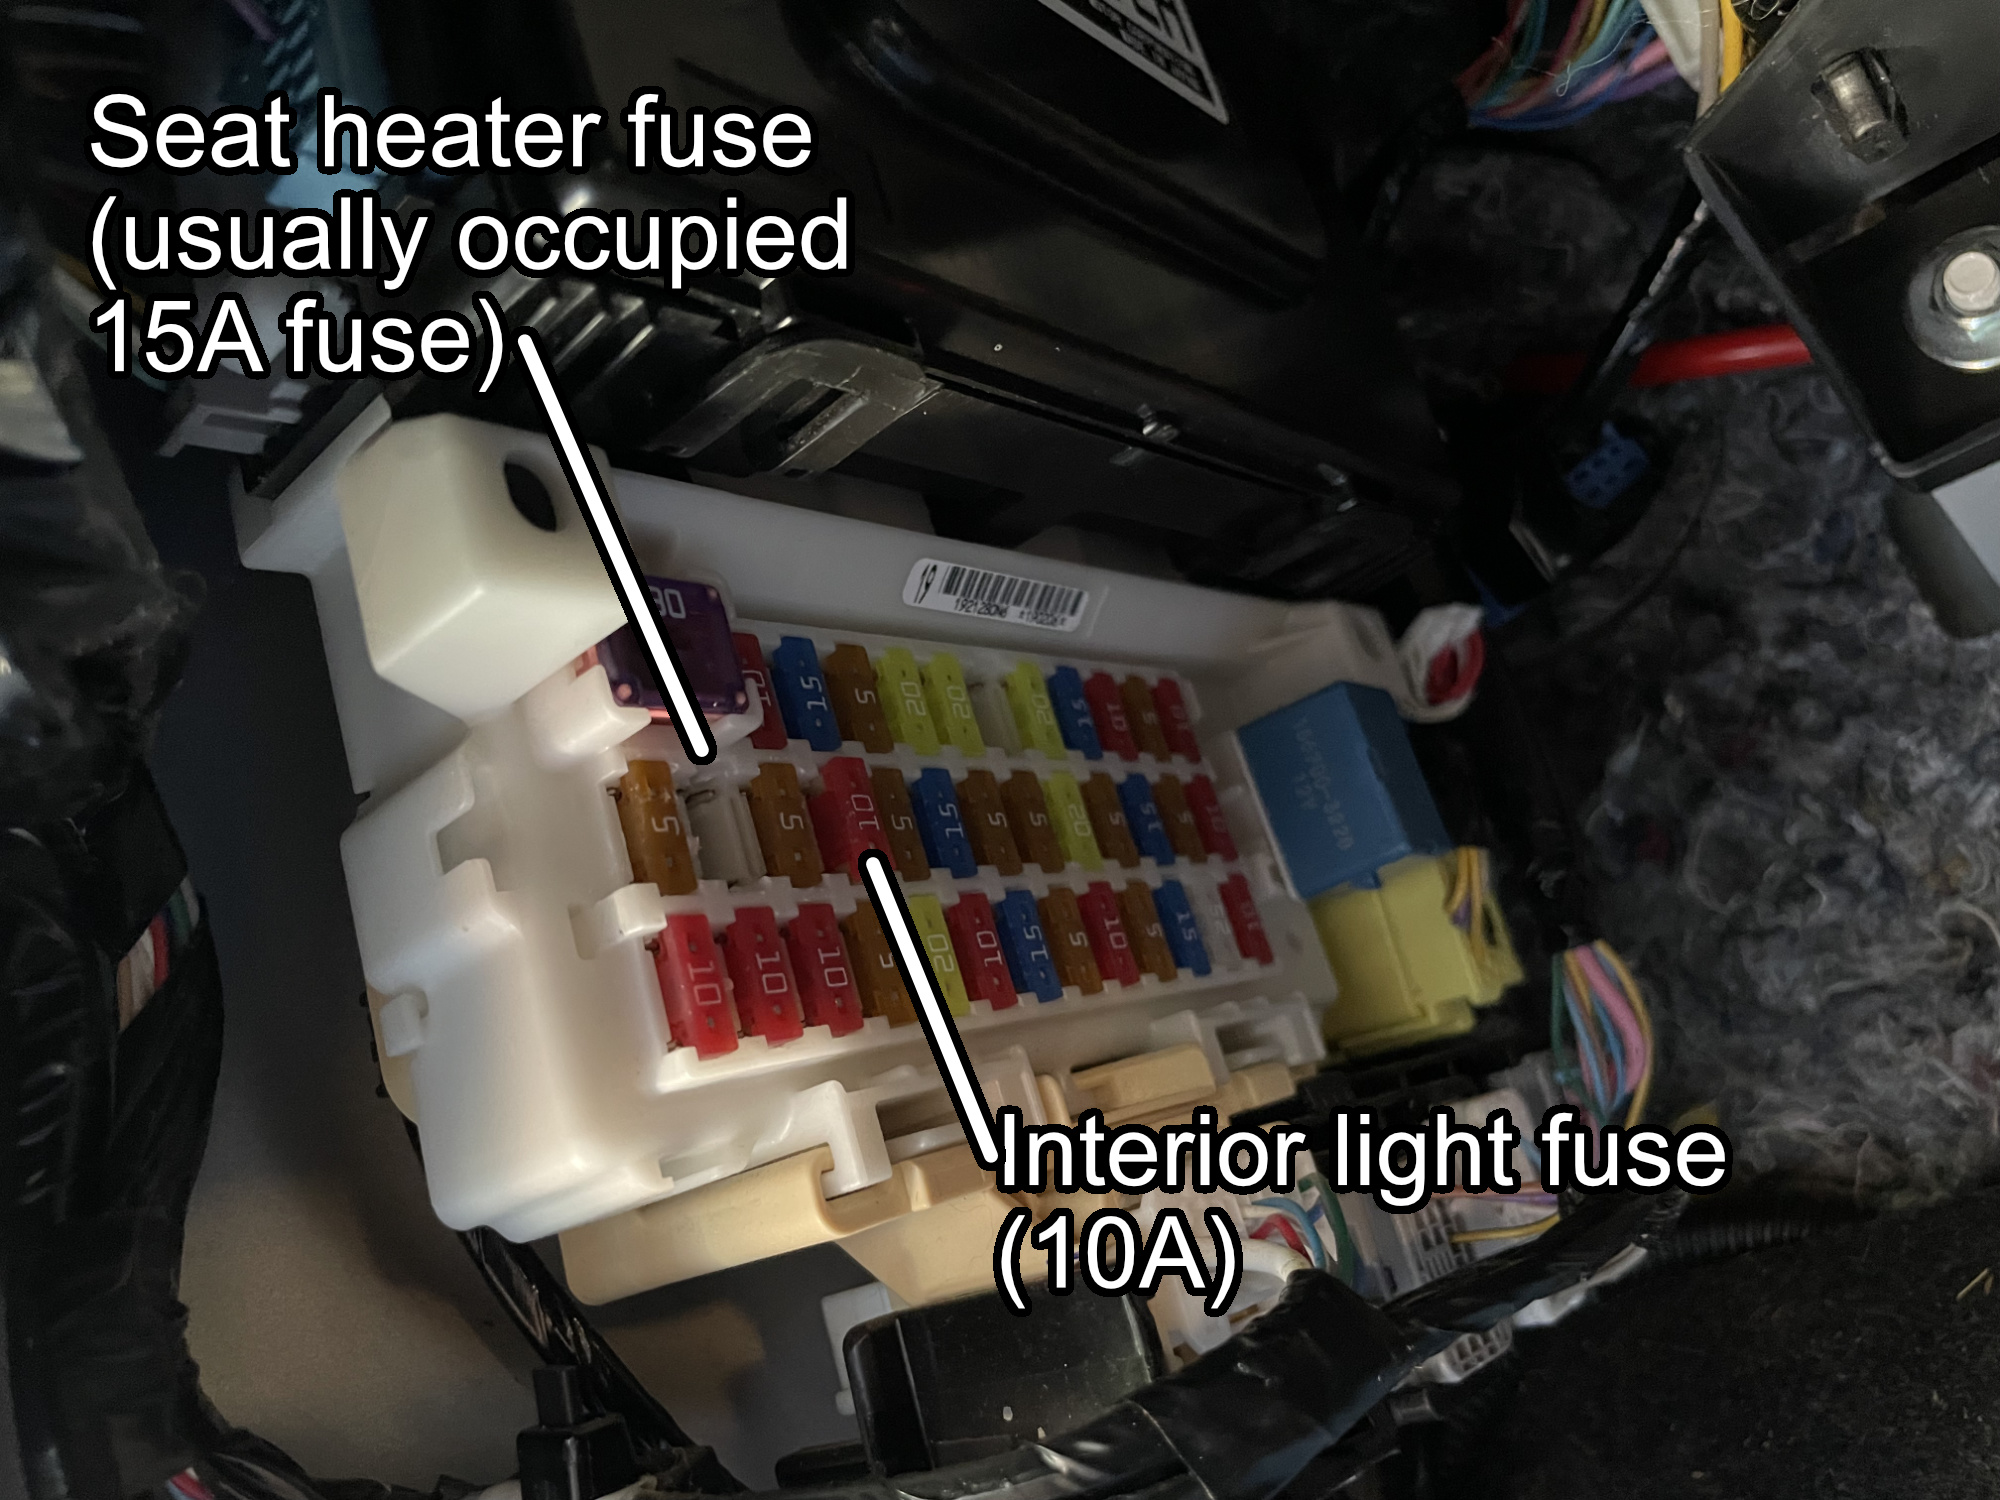
The fuses are slightly annoying to get out, but achievable either with fuse tweezers or plastic suitable pliers.
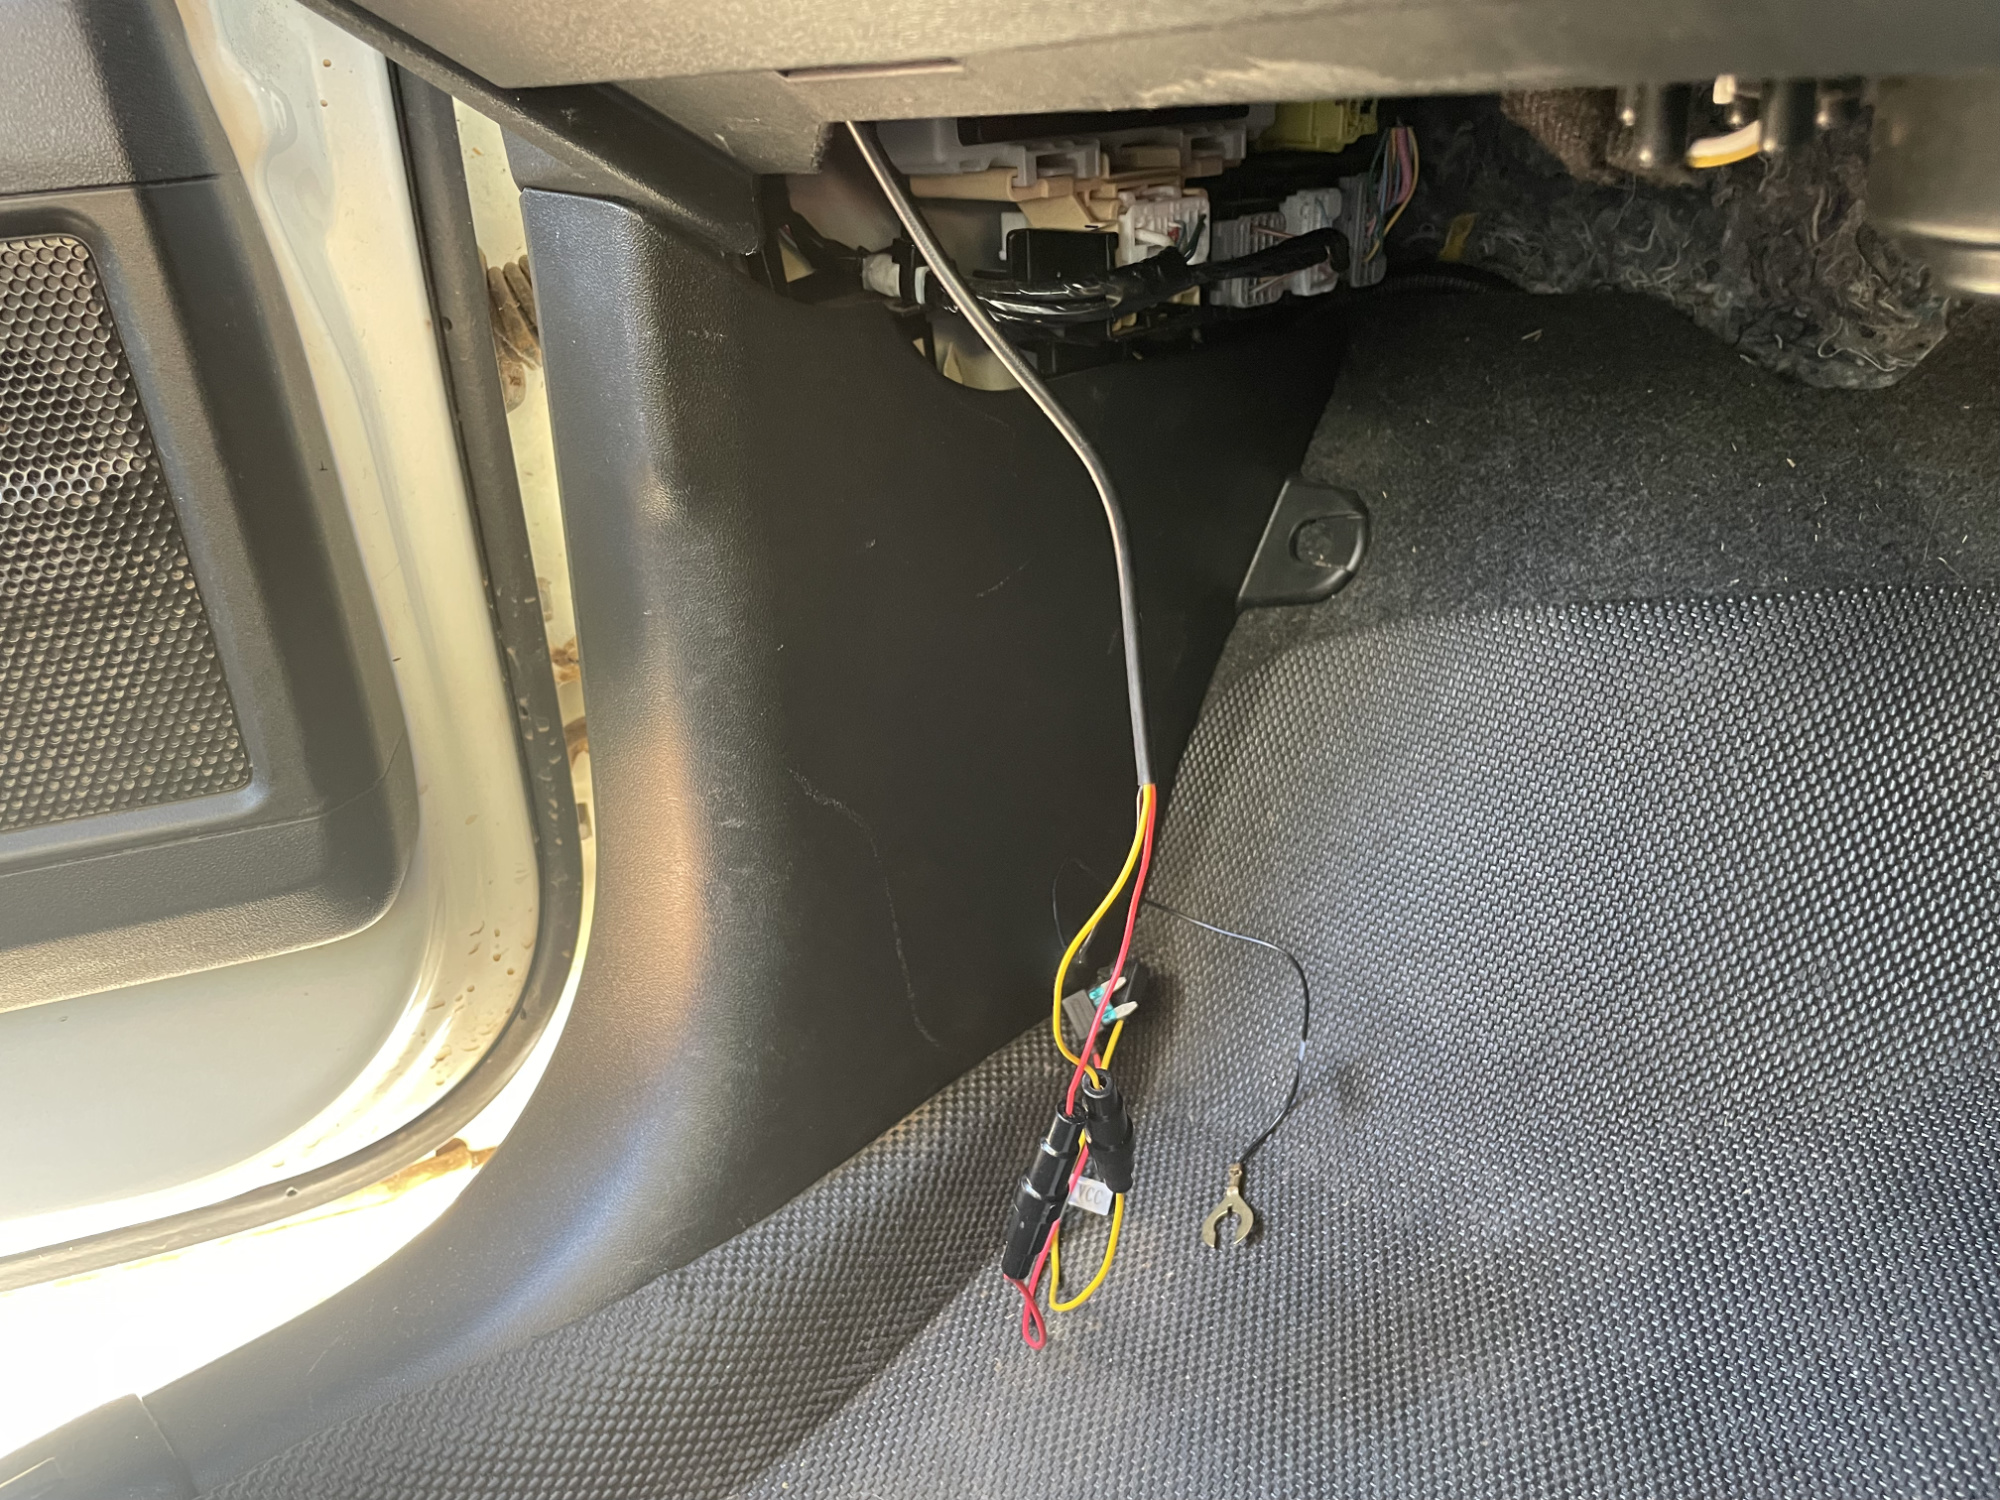
For this demo I then plugged in the supplied fuse taps. Higher quality fuse taps would be recommended if you were going to do this permanently.
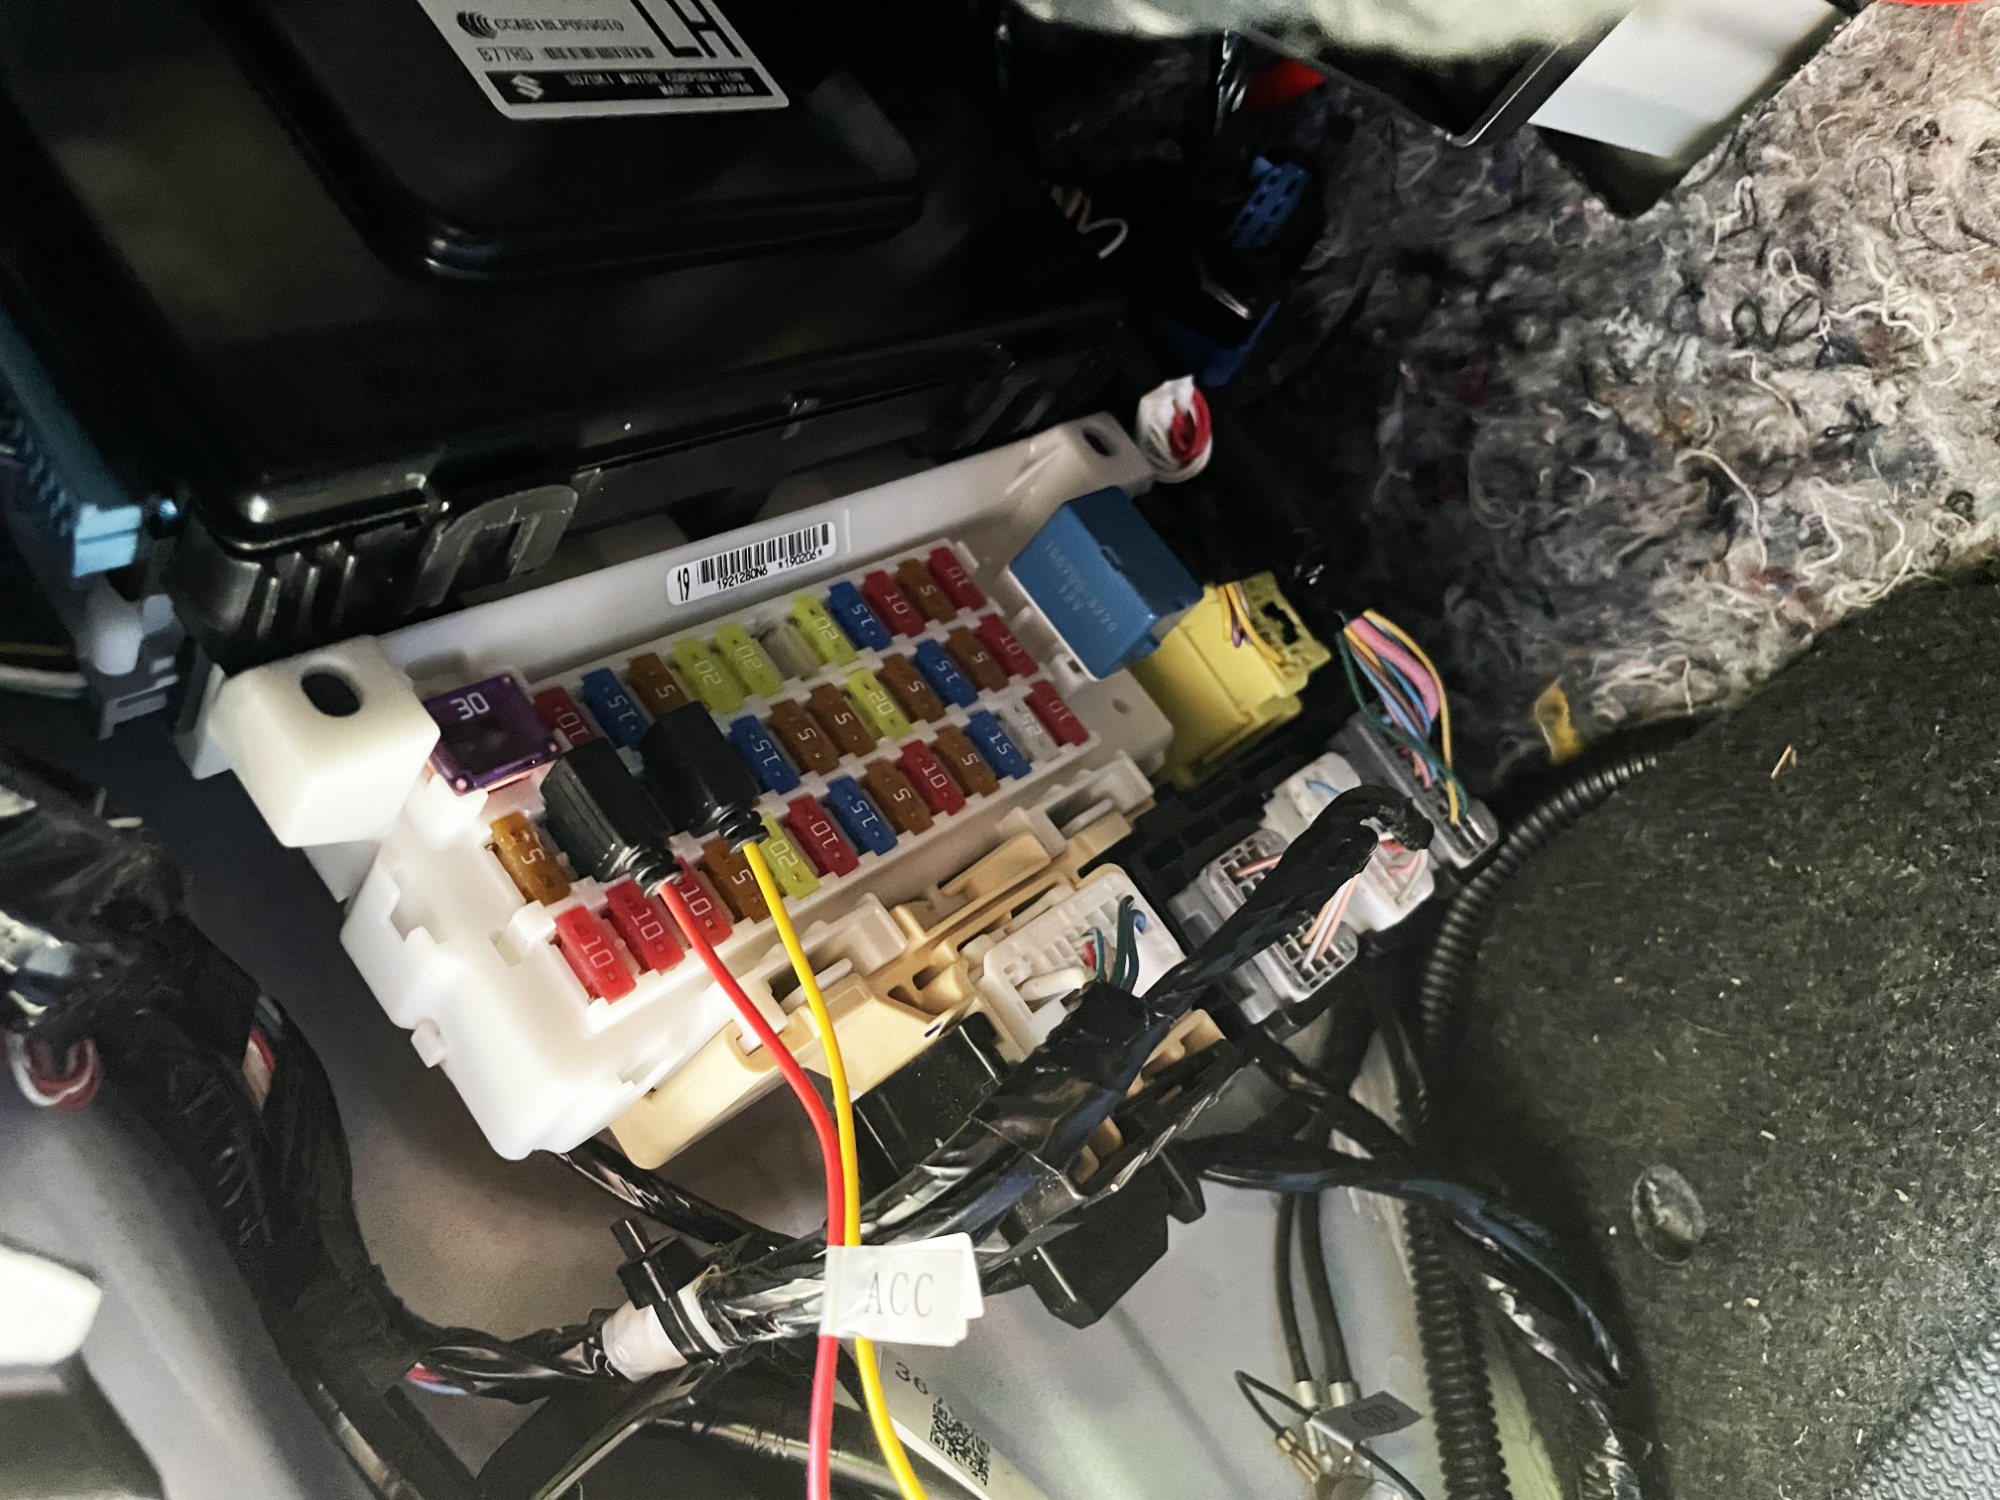
Just remember to keep the stock fuses and the fuse cover in the car, just in case something happens!
My better preference for power is to get switched accessory power off the back of the cigarette lighter socket and source permanent power elsewhere, too. You can make up a Y adapter quite easily using spade terminals and this means the lighter socket will still work for other accessories, and you can quickly revert the car back to stock, too.
When I have more time I’ll redo this using permanent wiring directly into the car’s circuits to illustrate how best to do this.
Ground
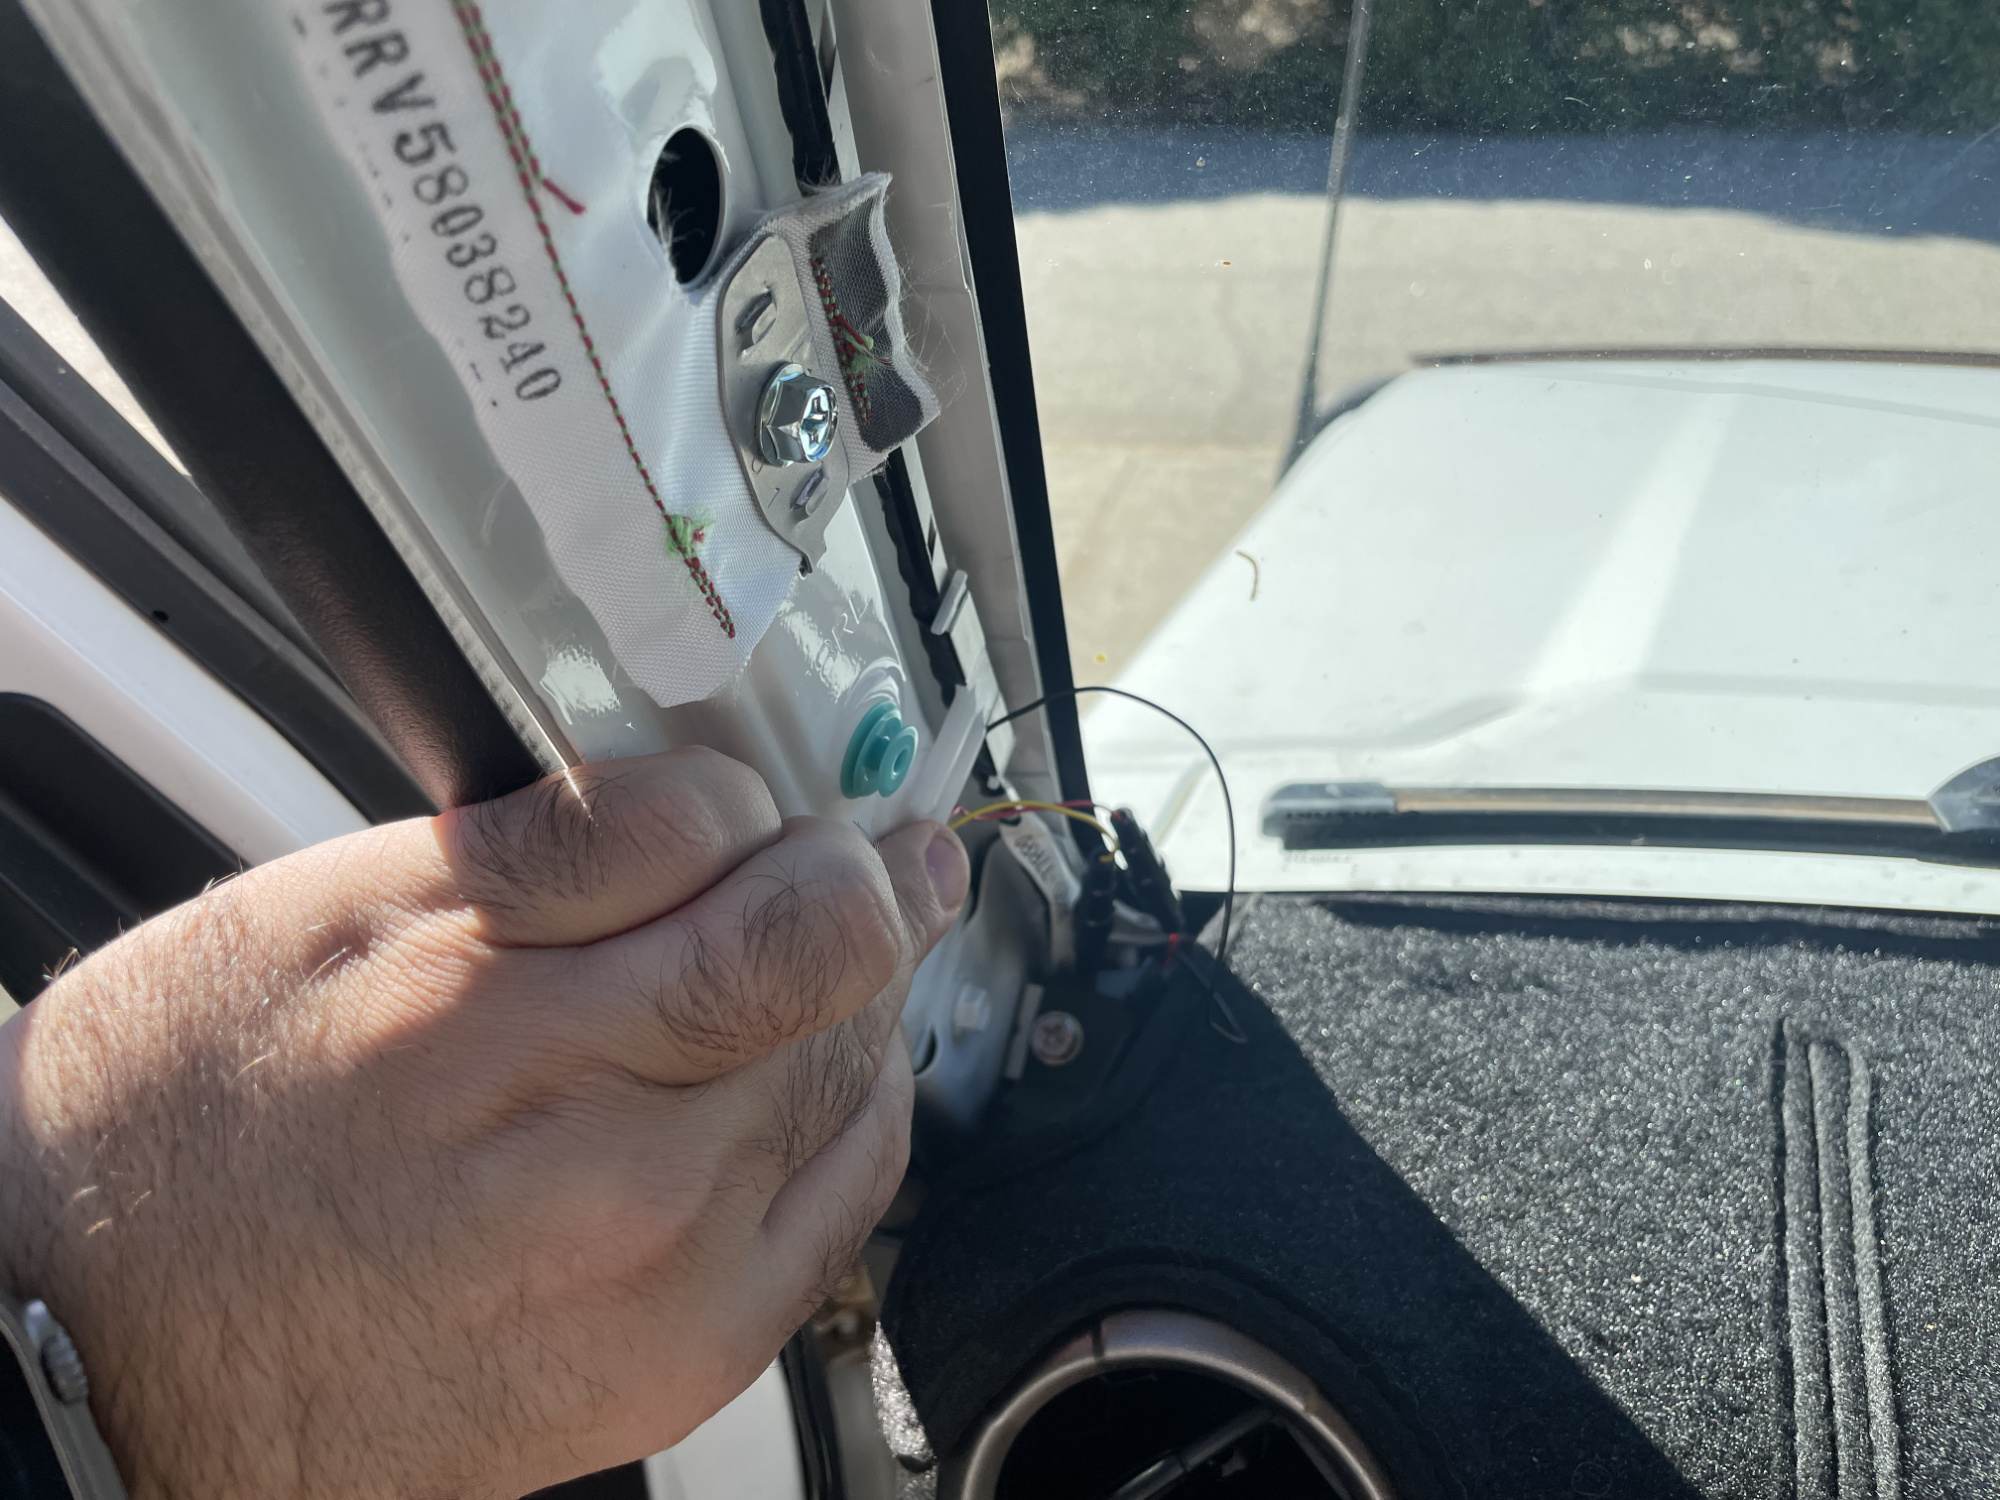
This is a lot easier. There’s a couple of grounds around the BCM/junction and fuse box area. Start by removing the kick panel trim. I don’t have the upper rivet installed from my thick sound deadening stopping it sitting nicely, but you have to remove that upper rivet trim as well as pulling it away from the car’s pinchweld.
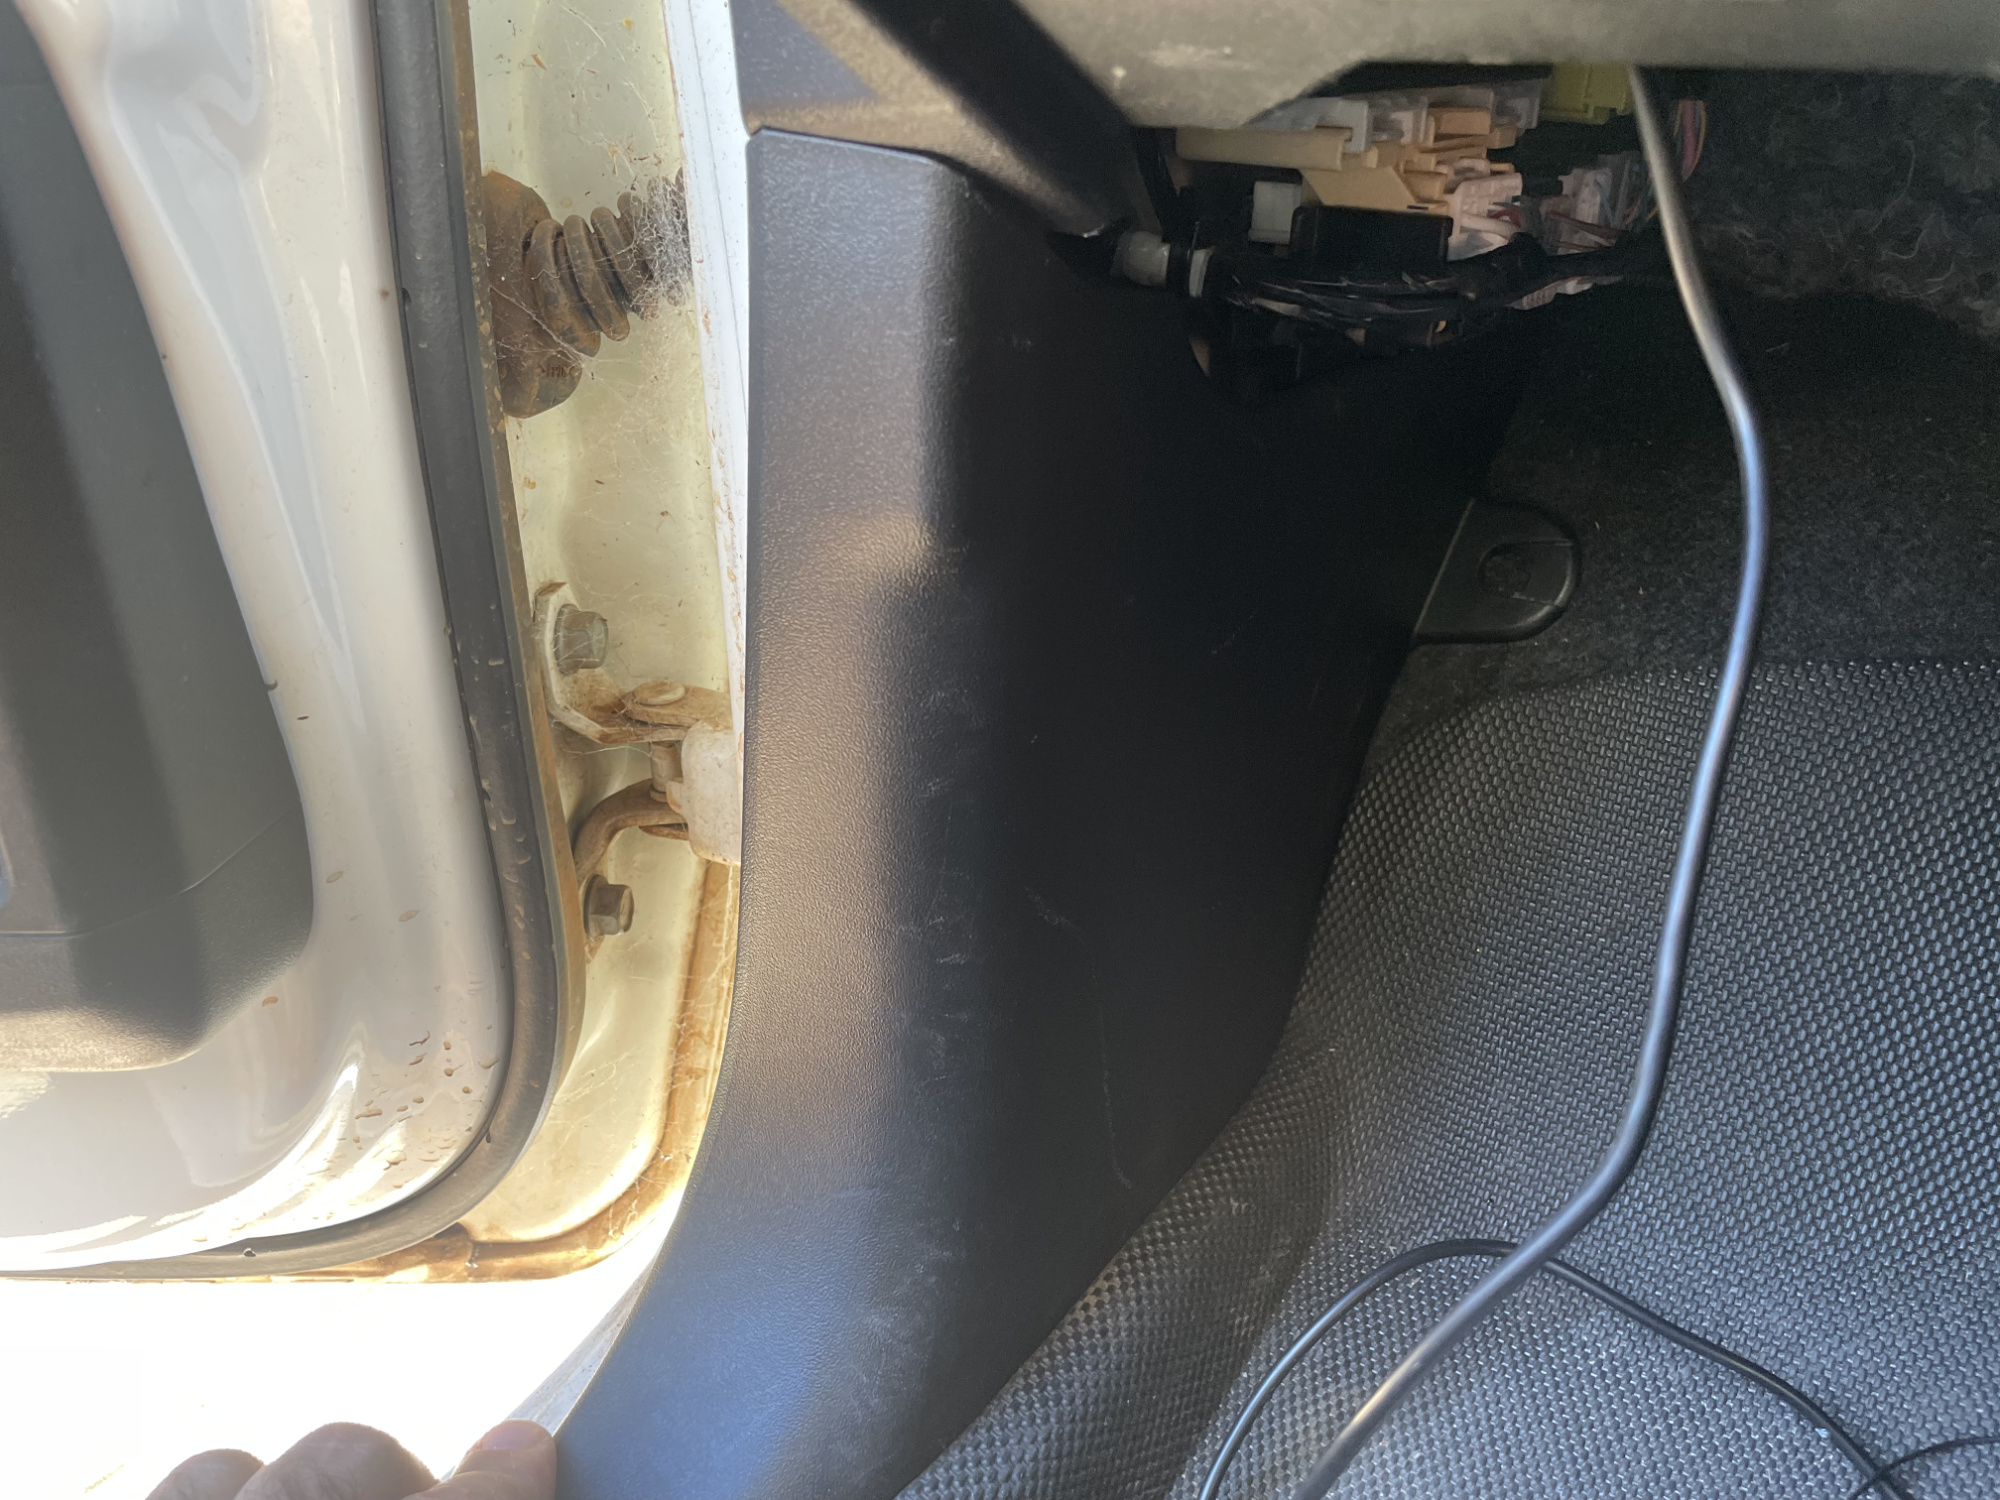
Once it’s removed you can see the couple of ground points bolted to the body: these are the bolts with the black wires running to them.
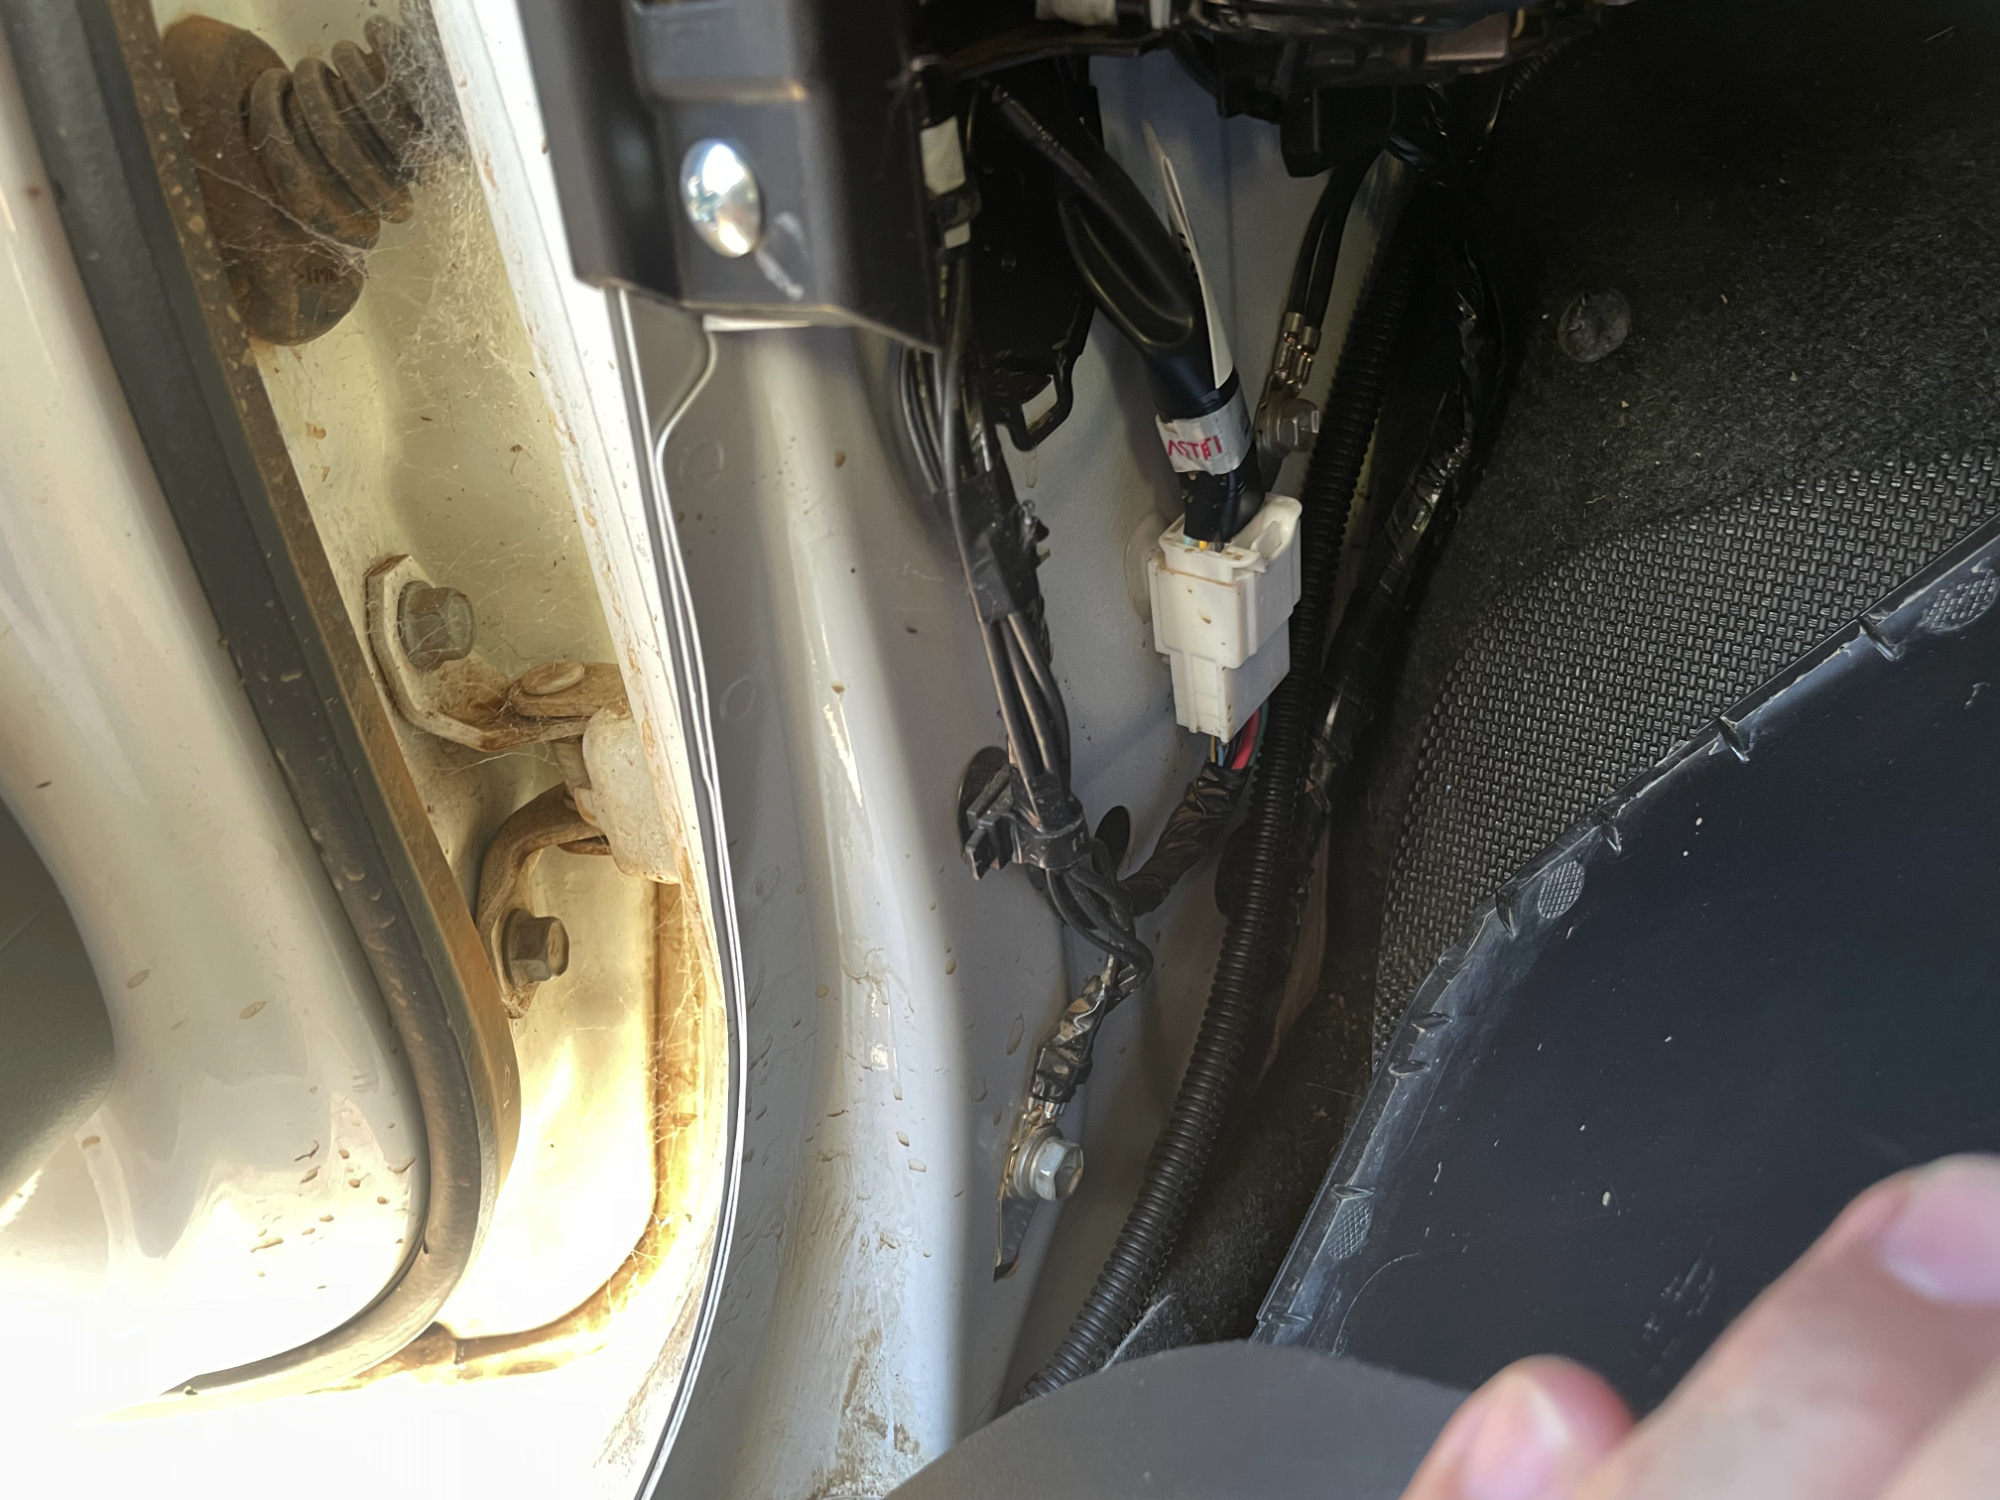
I used the upper one (less well photographed in that previous photo) as it’s less occupied. Just unbolt it, put your ground point for the dash cam wiring in, and off you go.