
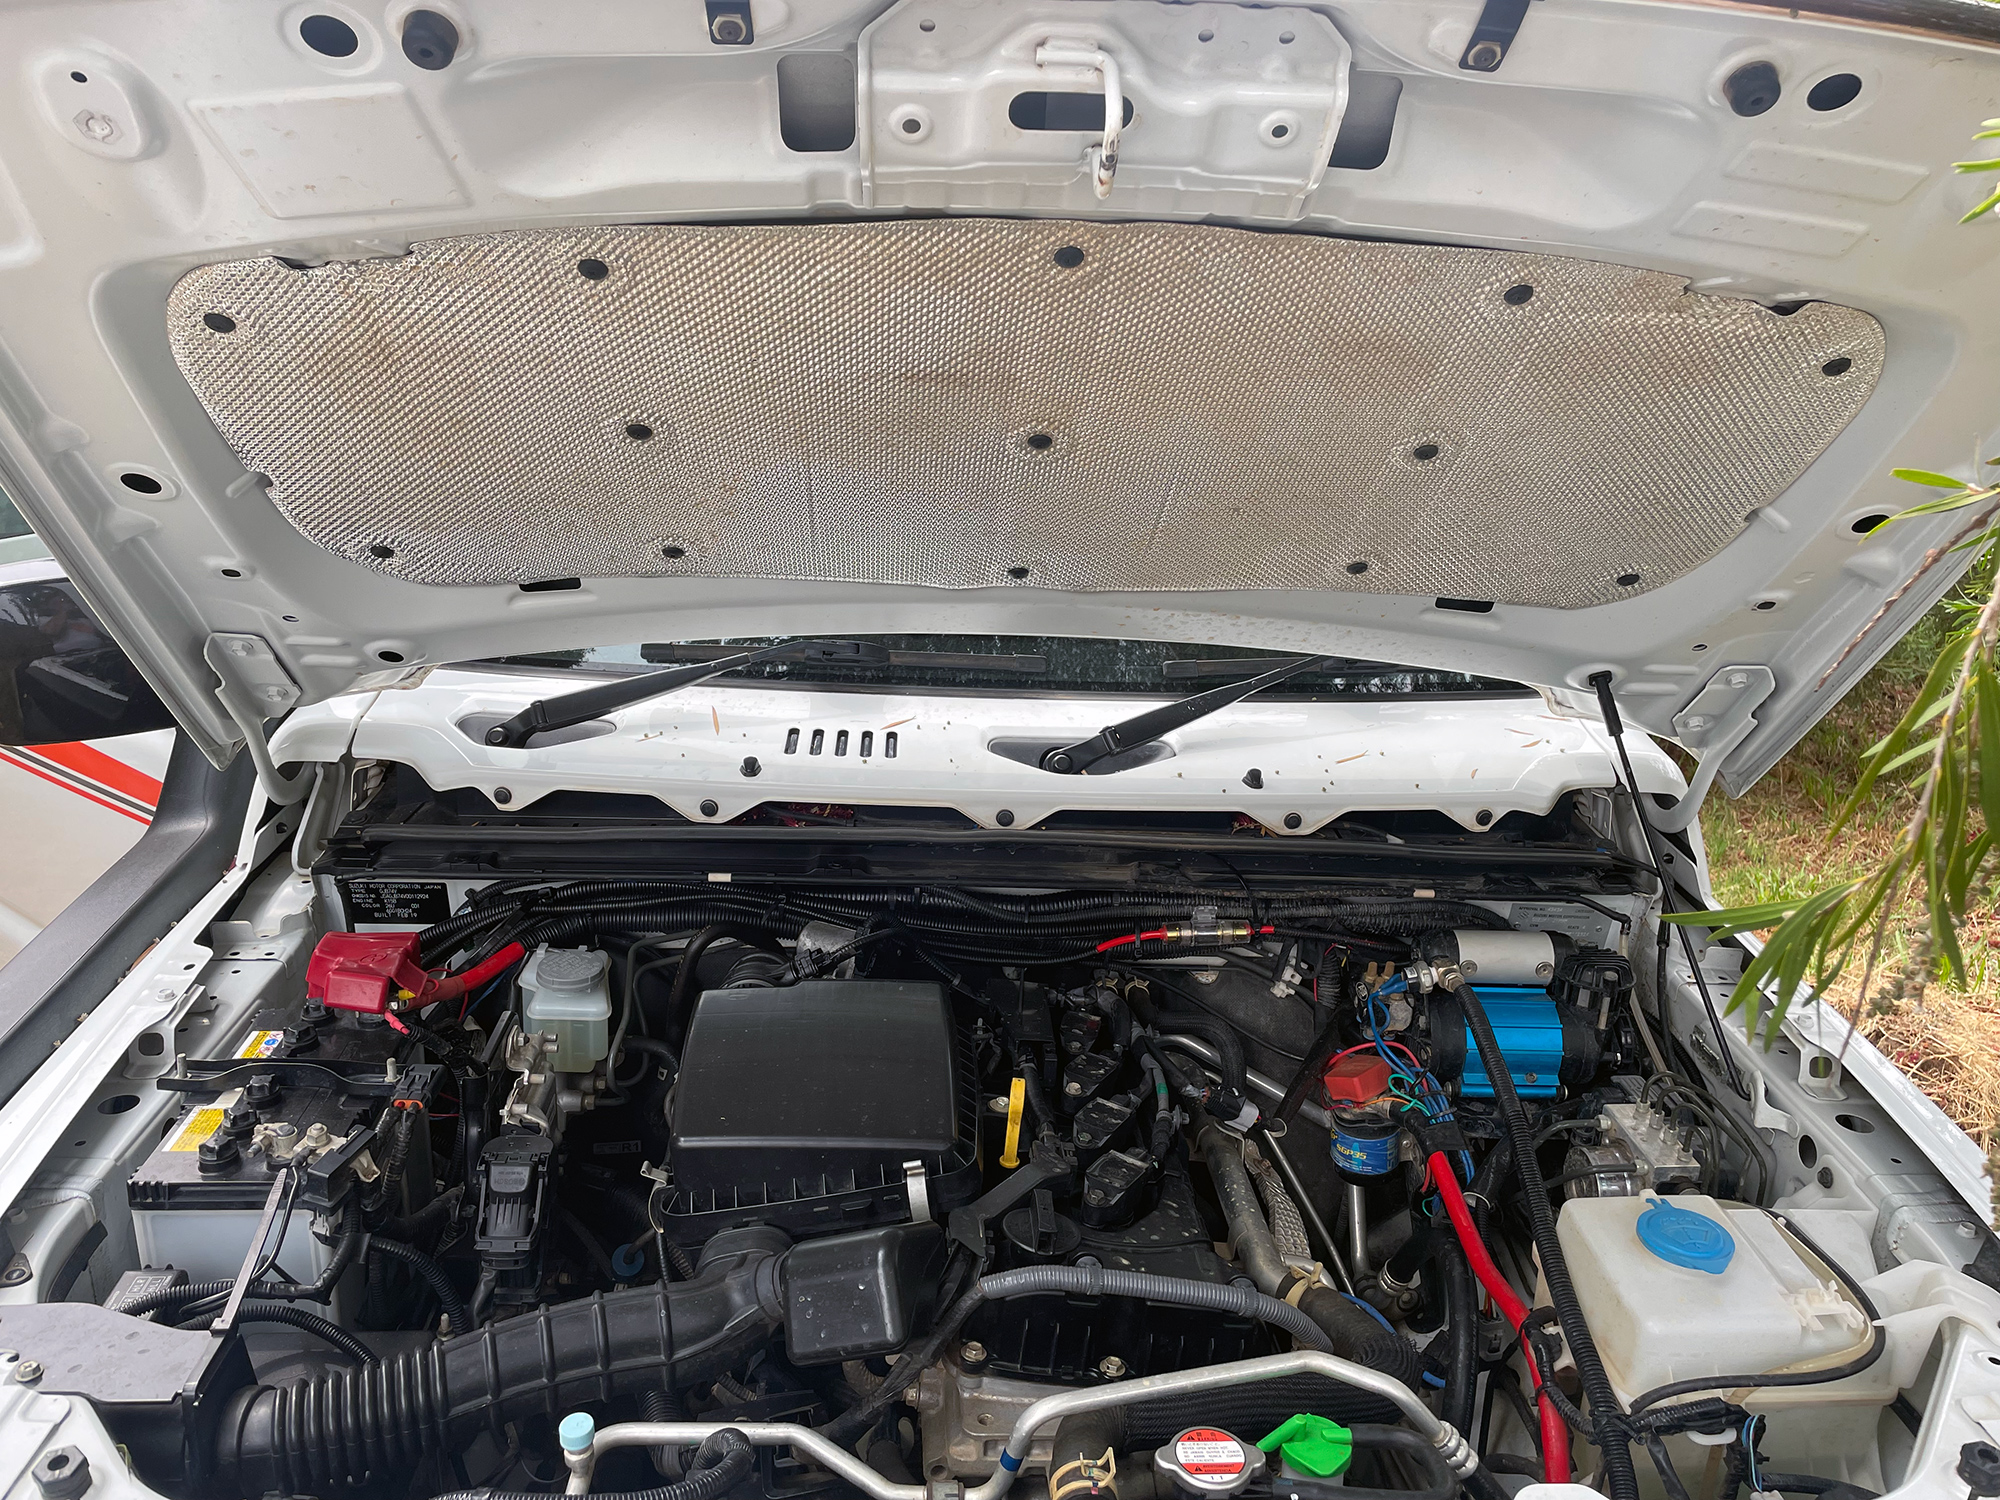
Jimny bonnet gas strut installation
Although bonnet props work fine, sometimes it’s nice to just have a bonnet which raises itself once you open it and stays open. Having gas struts installed is a nicety rather than a necessity, though, it does mean you don’t absolutely need a bonnet prop. This can help with certain auxiliary battery installations where the washer bottle is relocated (and hence the bonnet prop has nowhere to be stored).
Sections
- Things you’ll need
- Install the lower pivot points
- Install hinge side mounts
- Bonnet alignment
- Install struts
Things you’ll need
A gas strut kit: I bought a cheap one on ebay; I’ve not seen anything that indicates the much more expensive ones are worth purchasing as they all use the same design and geometry
- 10mm, 12mm, 13mm spanners and sockets
- 2x M8 nyloc nuts – to ensure hinge pivots can’t unscrew in use
- Flat screwdriver or small pliers – to release clips on struts
Installation method
Kick this off by opening the bonnet past the regular position by using the bonnet prop/stay, but put it into the round hole a bit below and to the side of the hinge.
Install the lower pivot points
This is relatively straightforwards. In the kit I have you replace an M6 bolt at the top of each front guard with an M6 threaded pivot point. This is the smaller thread of the 2 pivot points provided with the kit.
This is the guard bolt we’re removing: 10mm head on this one as it’s an M6 bolt.
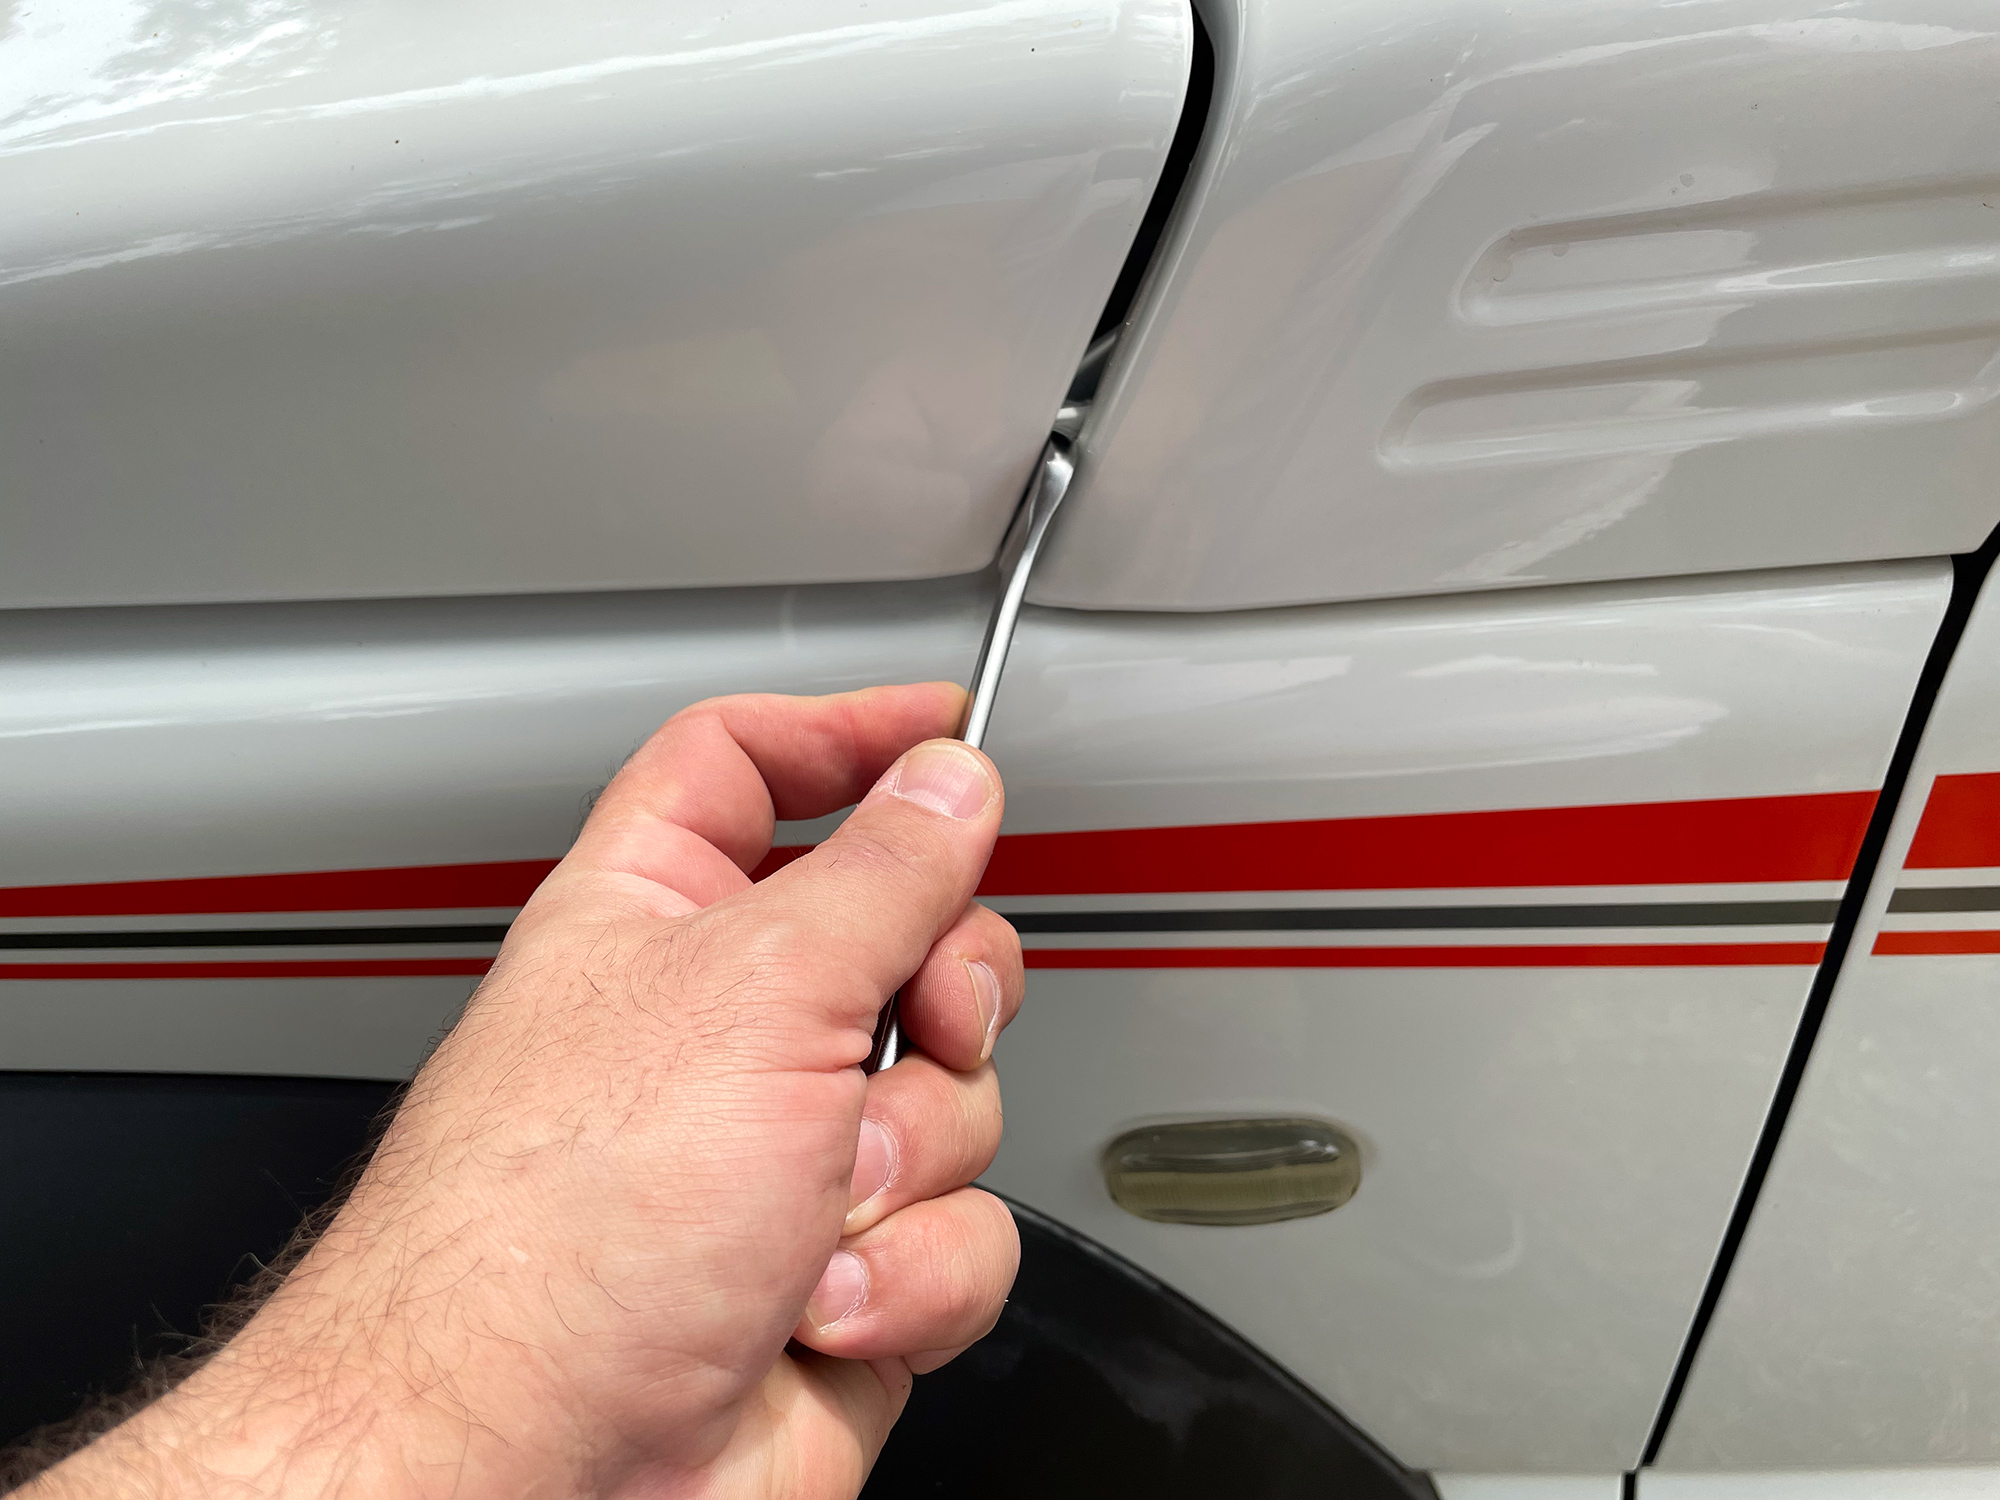
You need to get the M6 pivot part out of the end of the strut – at least mine was shipped with it clipped in – before installing it.
Just like the boot strut, you use a flat screwdriver to pull off the clip. It sort of slides forwards in the channel you can see here, and this will release the pivot point.
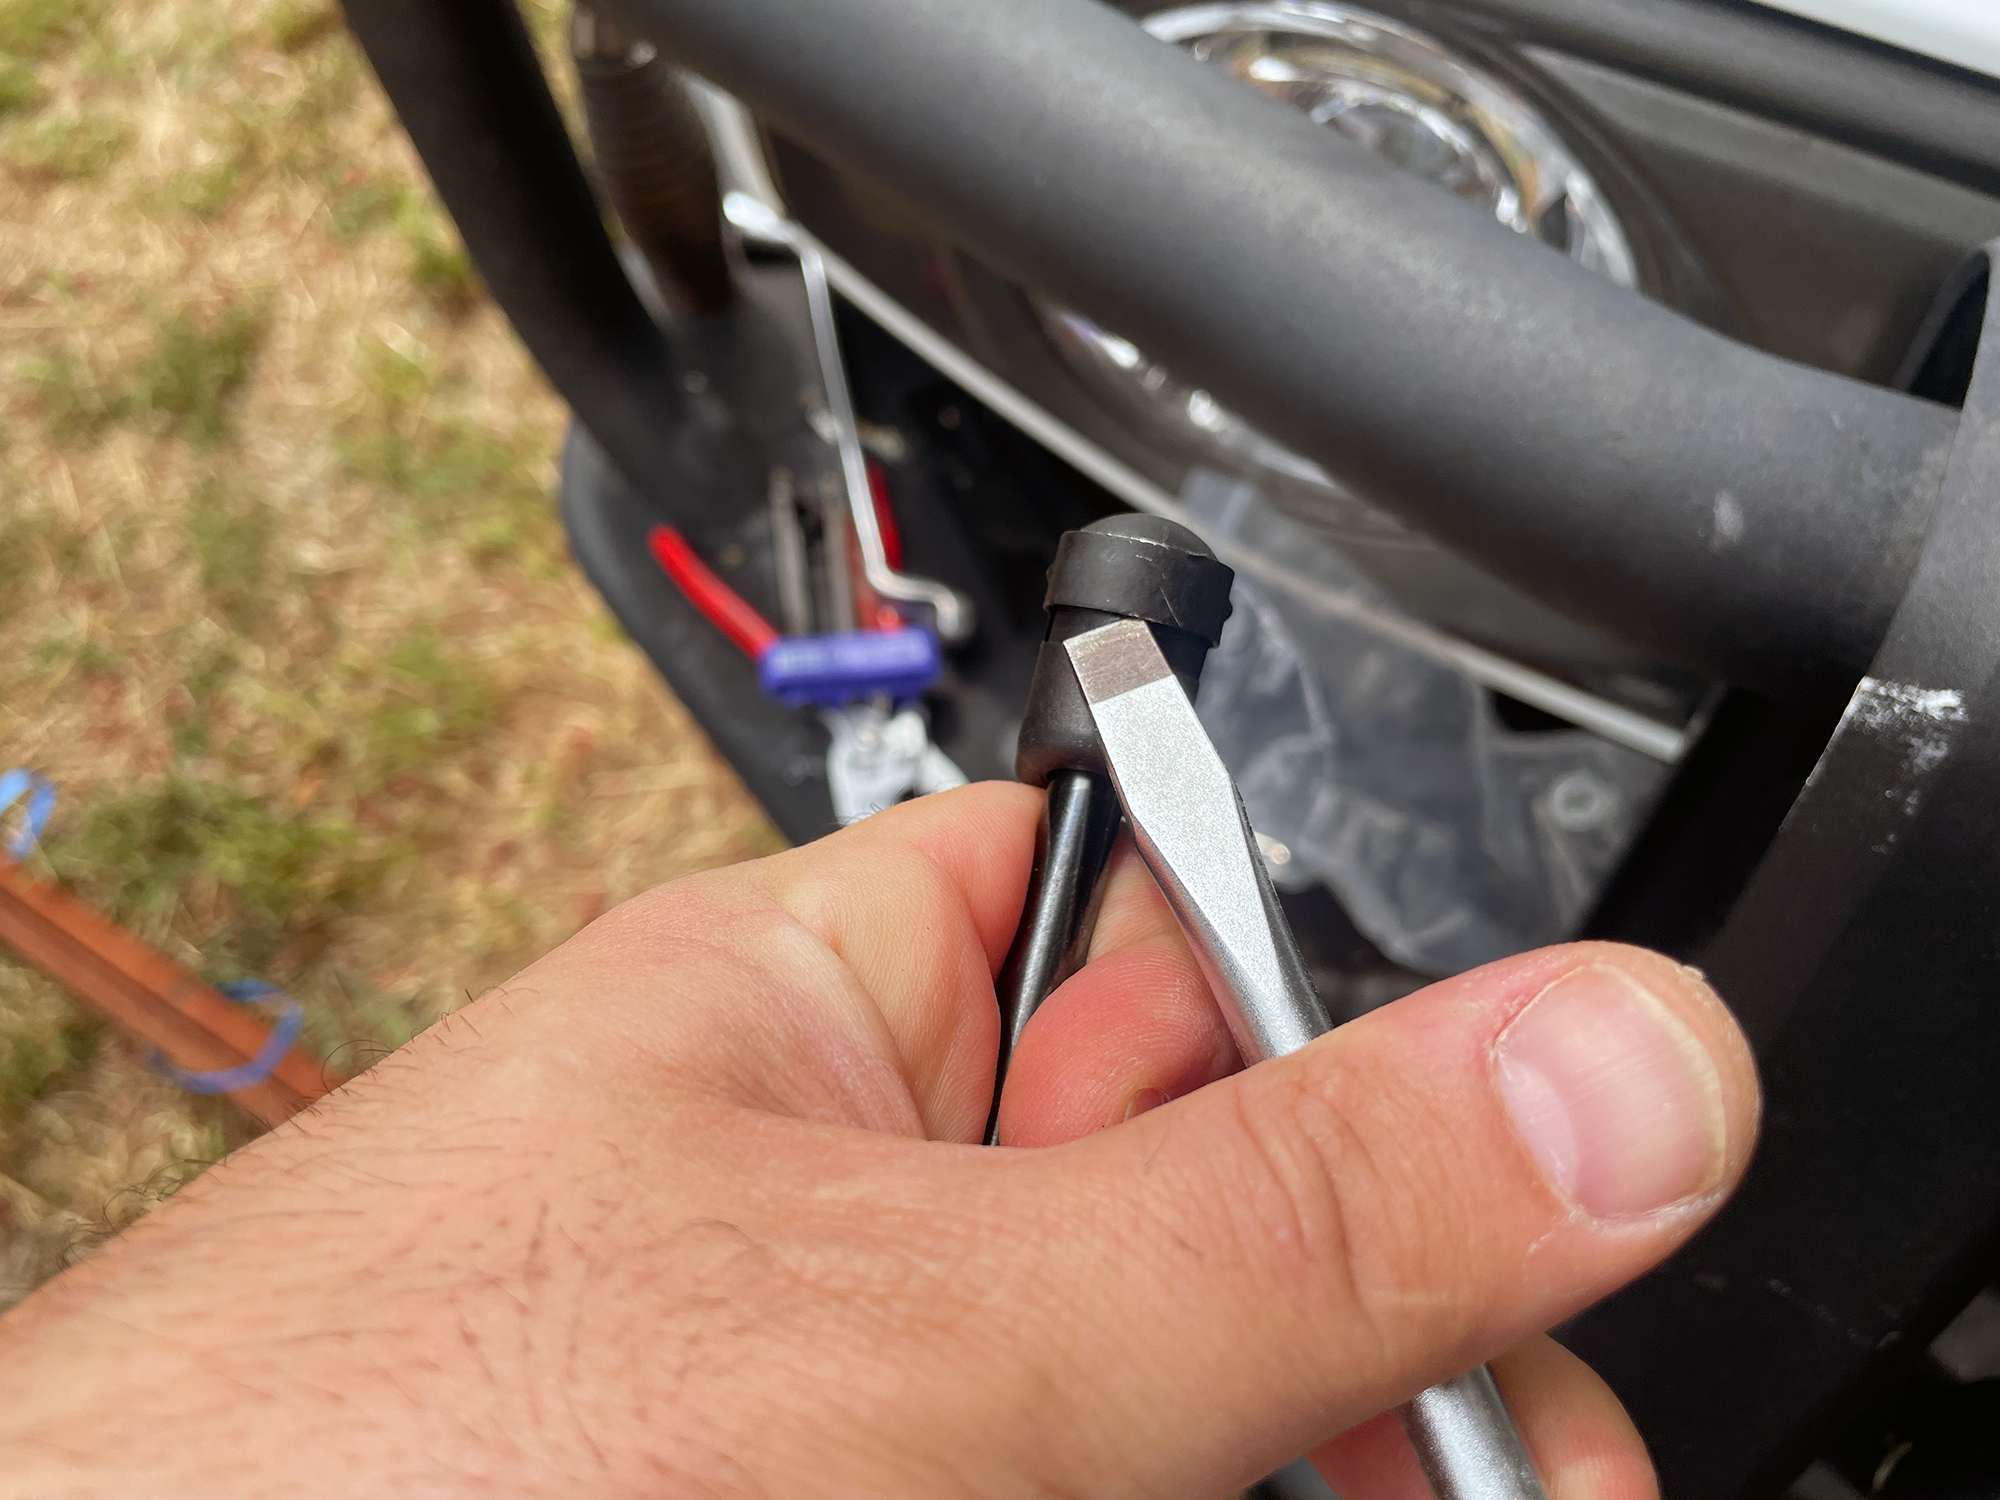
Once you’ve extracted the pivot point, reinstall the clip which will make your life easier when you fit the strut.
Screw the pivot point into the guard where the bolt you unscrewed came from.
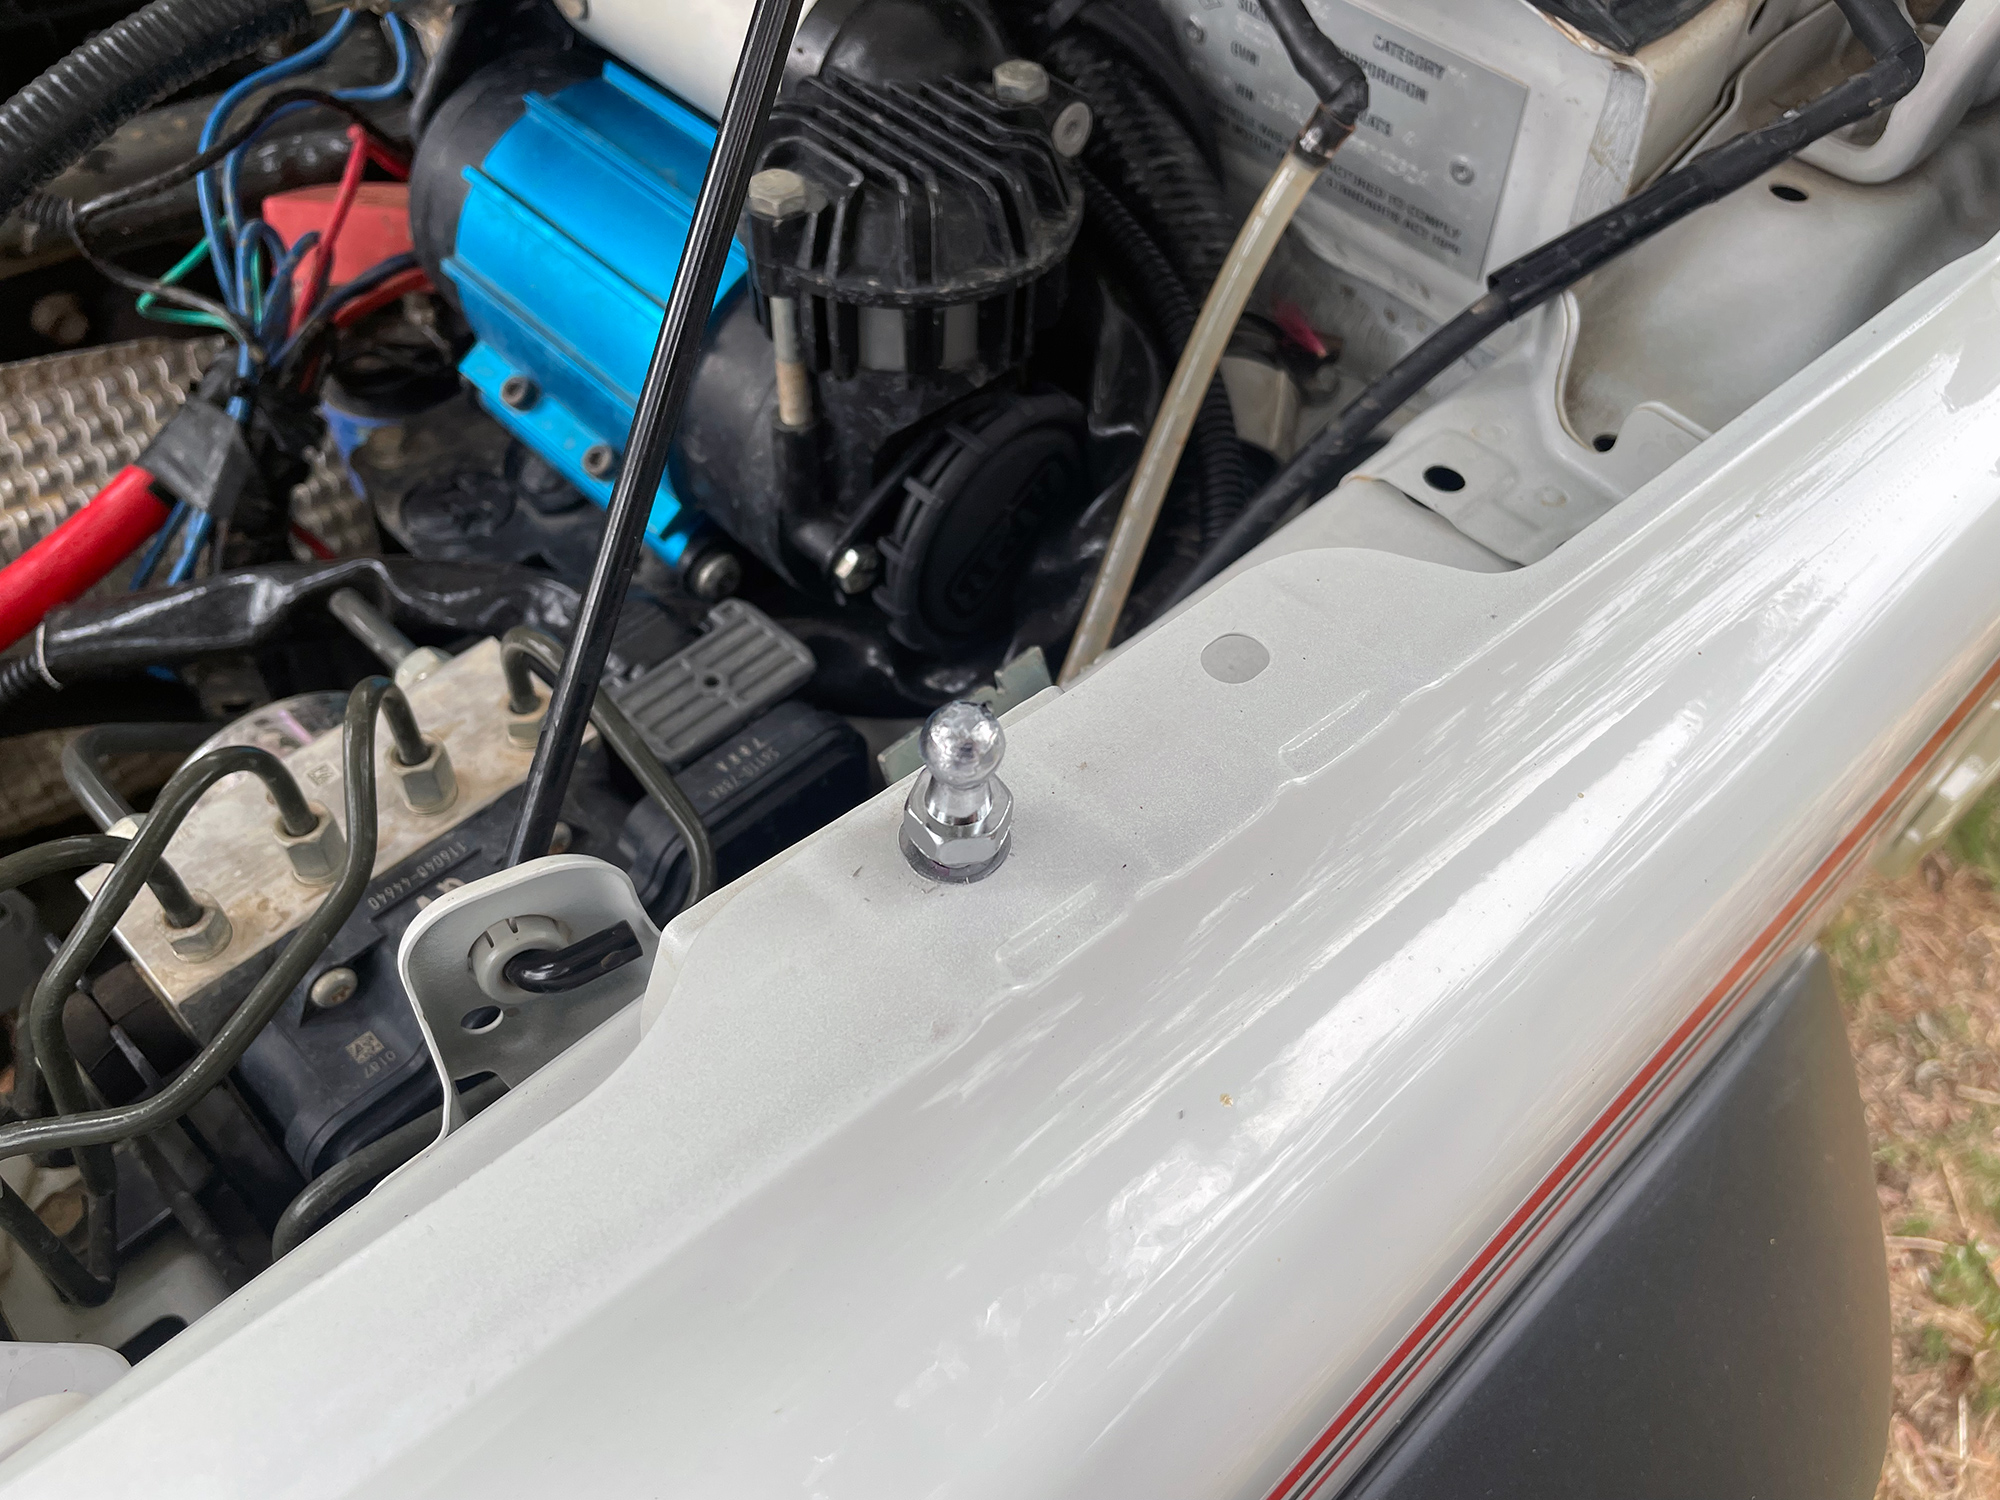
If the guard pushed out a little when you undid this bolt, push it in to align it when you put this pivot point in.
Install hinge side mounts
A sensible thing to do here is to undo only one bolt at a time initially which minimises the amount the bonnet will move on the hinges. Also, do one side at a time, then get the alignment of the bonnet right for that side, and move onto the second side.
“Bonnet alignment?” you ask. Why yes. The alignment of the panel gaps around the bonnet depends on the position of the bonnet on the hinges, and, there is a lot of flexibility here. If you get this wrong the bonnet will smack into panel beneath the wipers or the little panels at the back of the front guards. If it’s wrong the other way then the bonnet will be too far forwards and look weird.
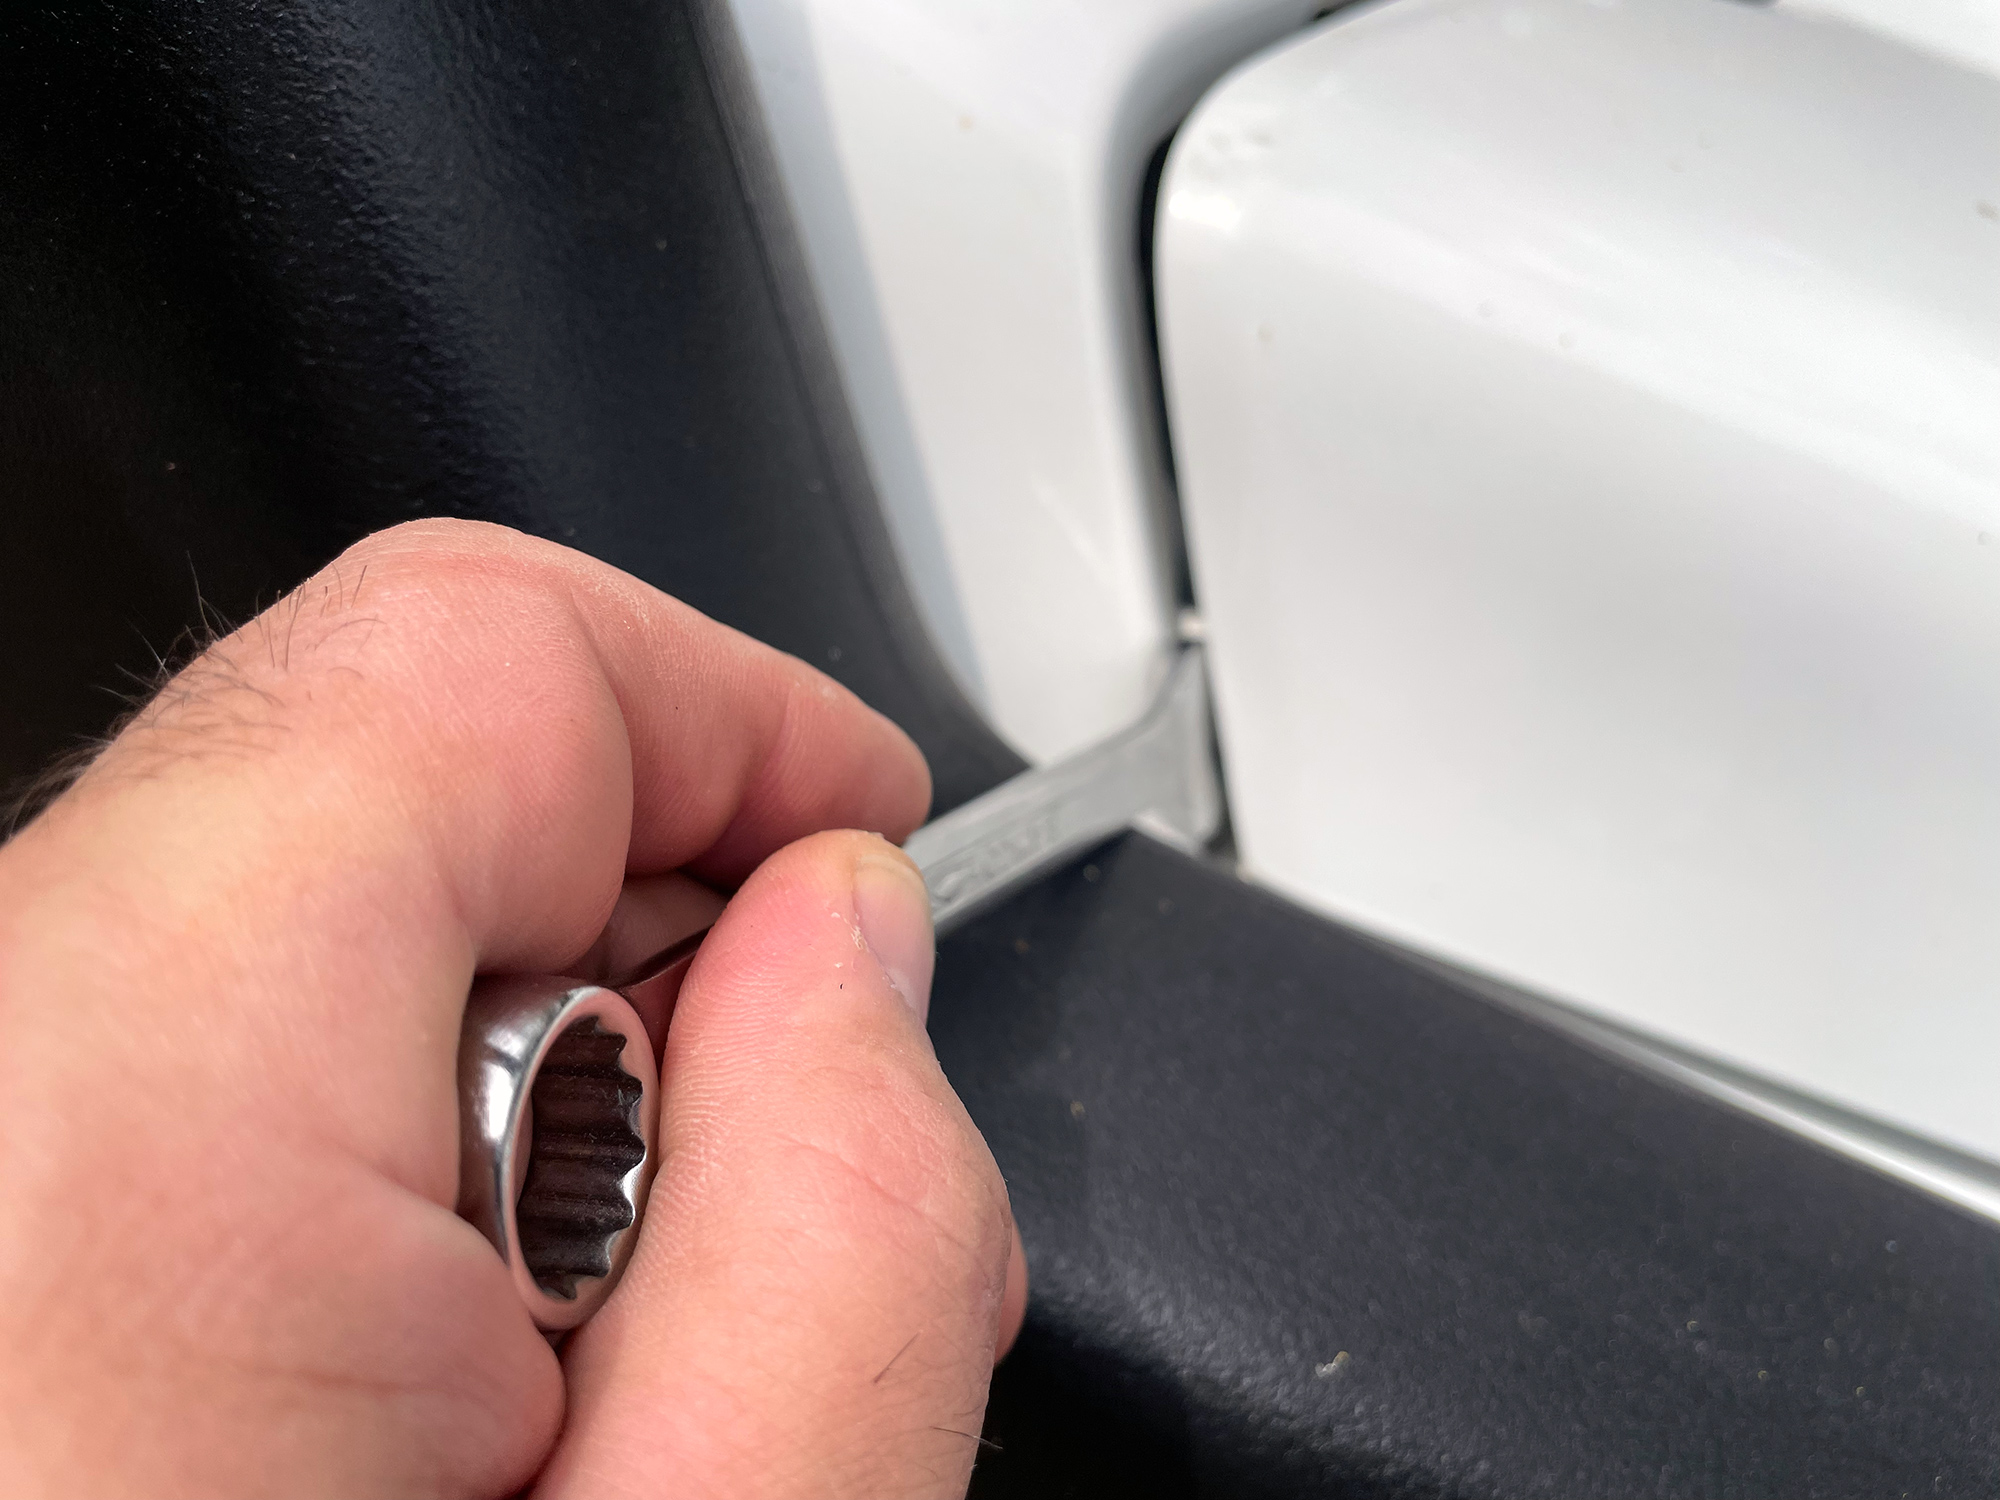
Before you start, find something that is basically the right thickness to fill in the gap at the back of the bonnet on the sides. This will give you something to refer back to as you work through aligning the bonnet after installing the mounts. I found a spanner which had just the right thickness head to match the gap on each side and kept this handy to refer to.
Now with this reference distance sorted, so you can replicate it when you get to bonnet alignment, you’re ready to install the brackets on the hinge side.
Start by just undoing the bottom bolt for the bonnet hinge.
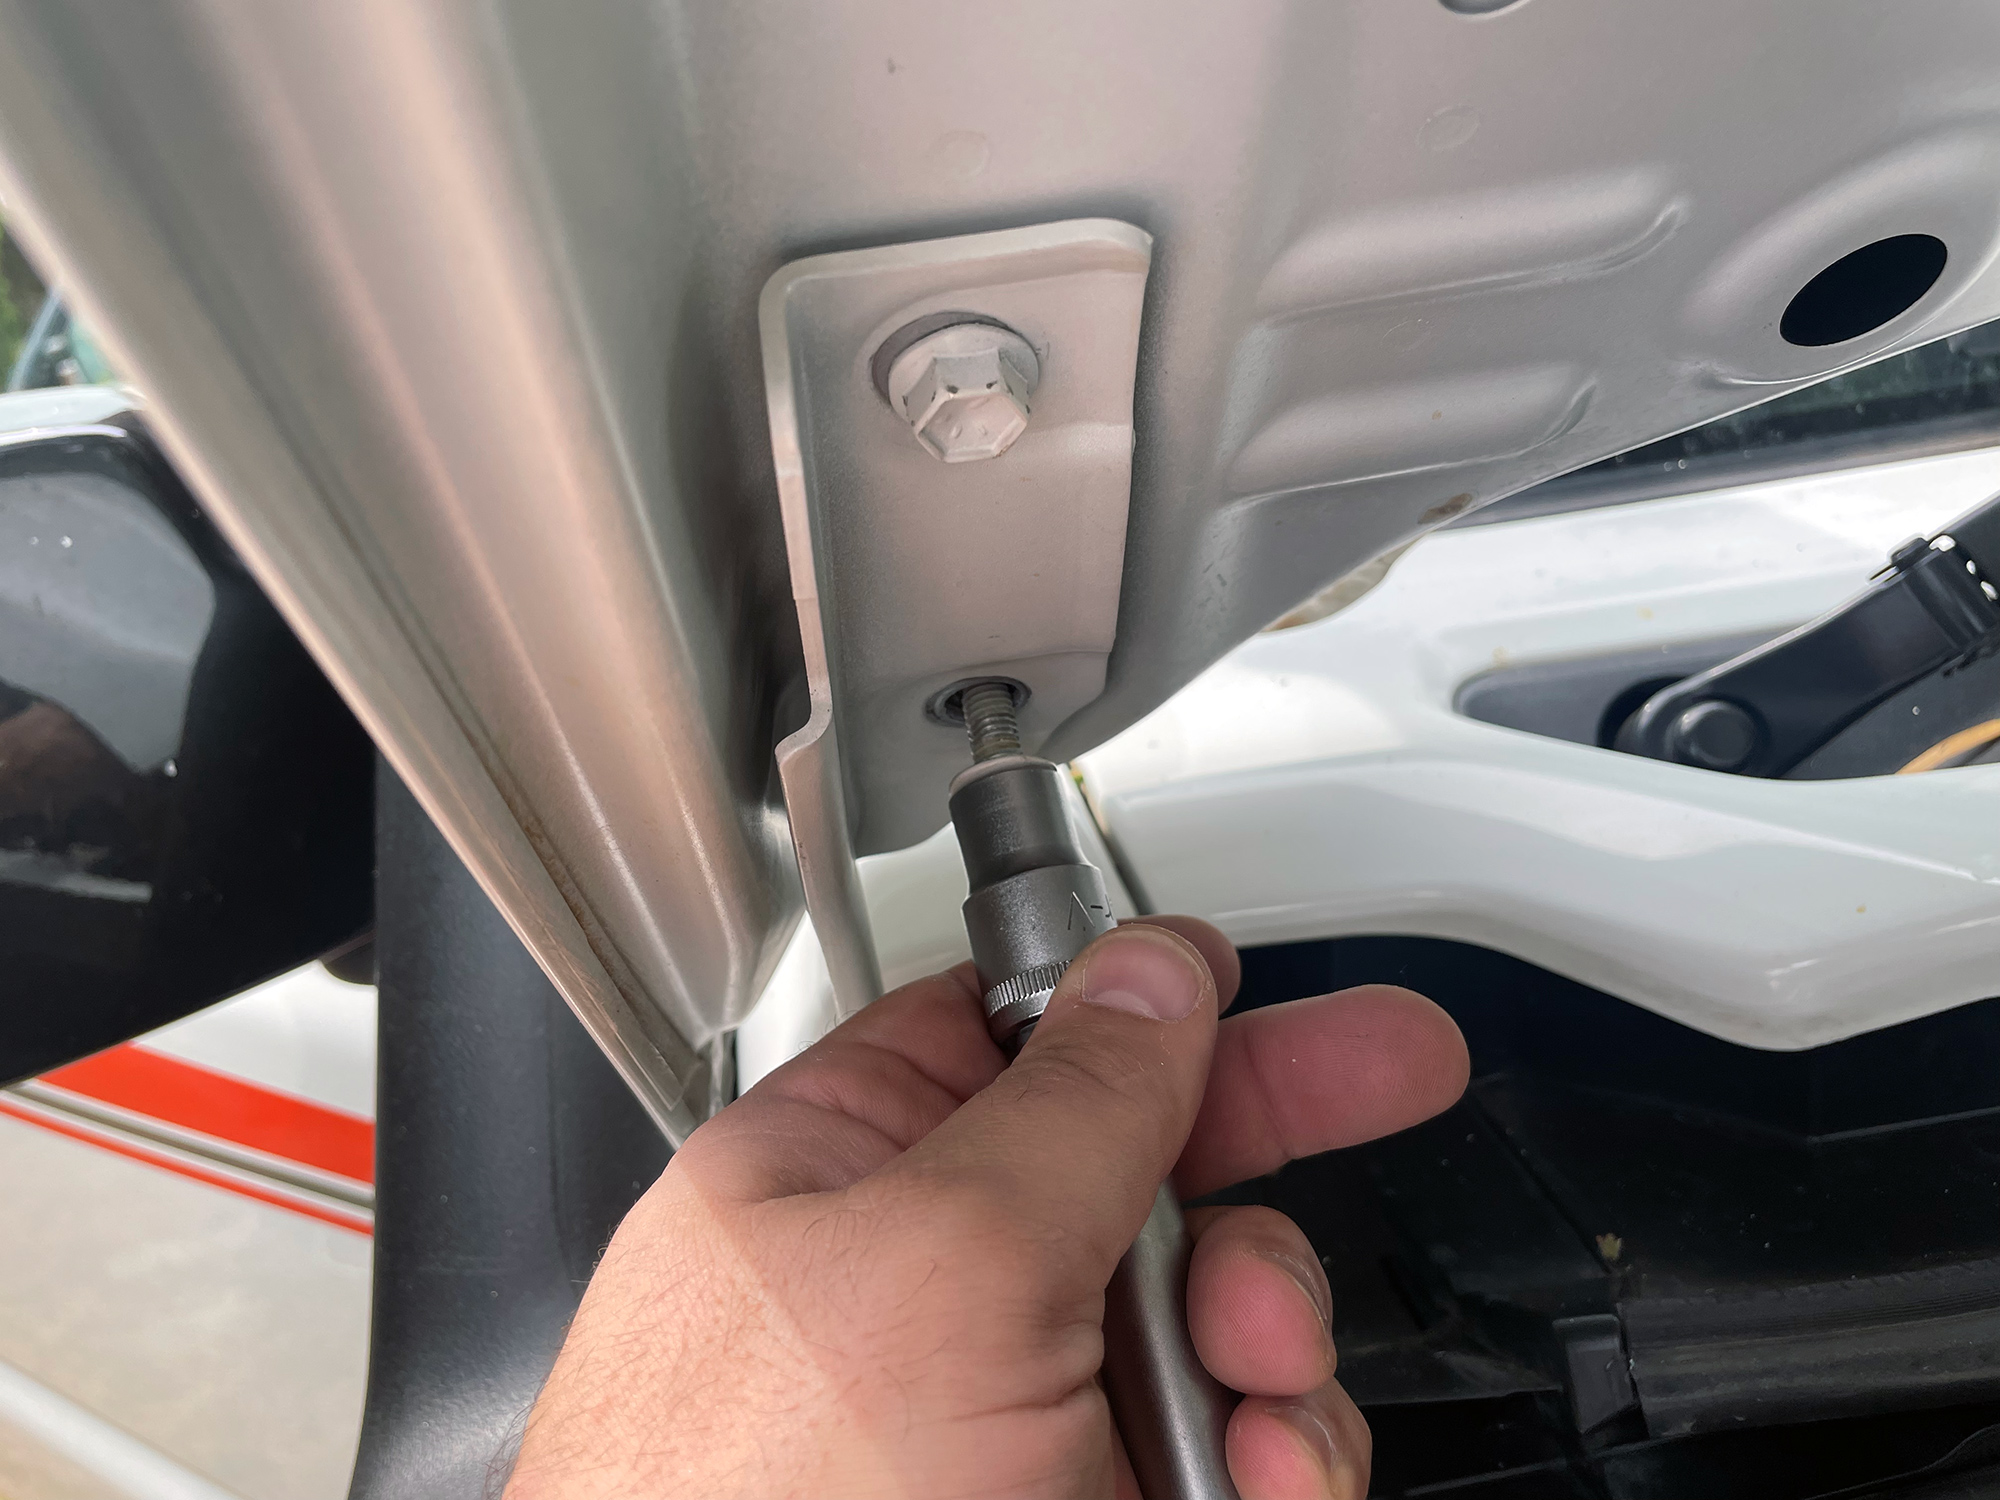
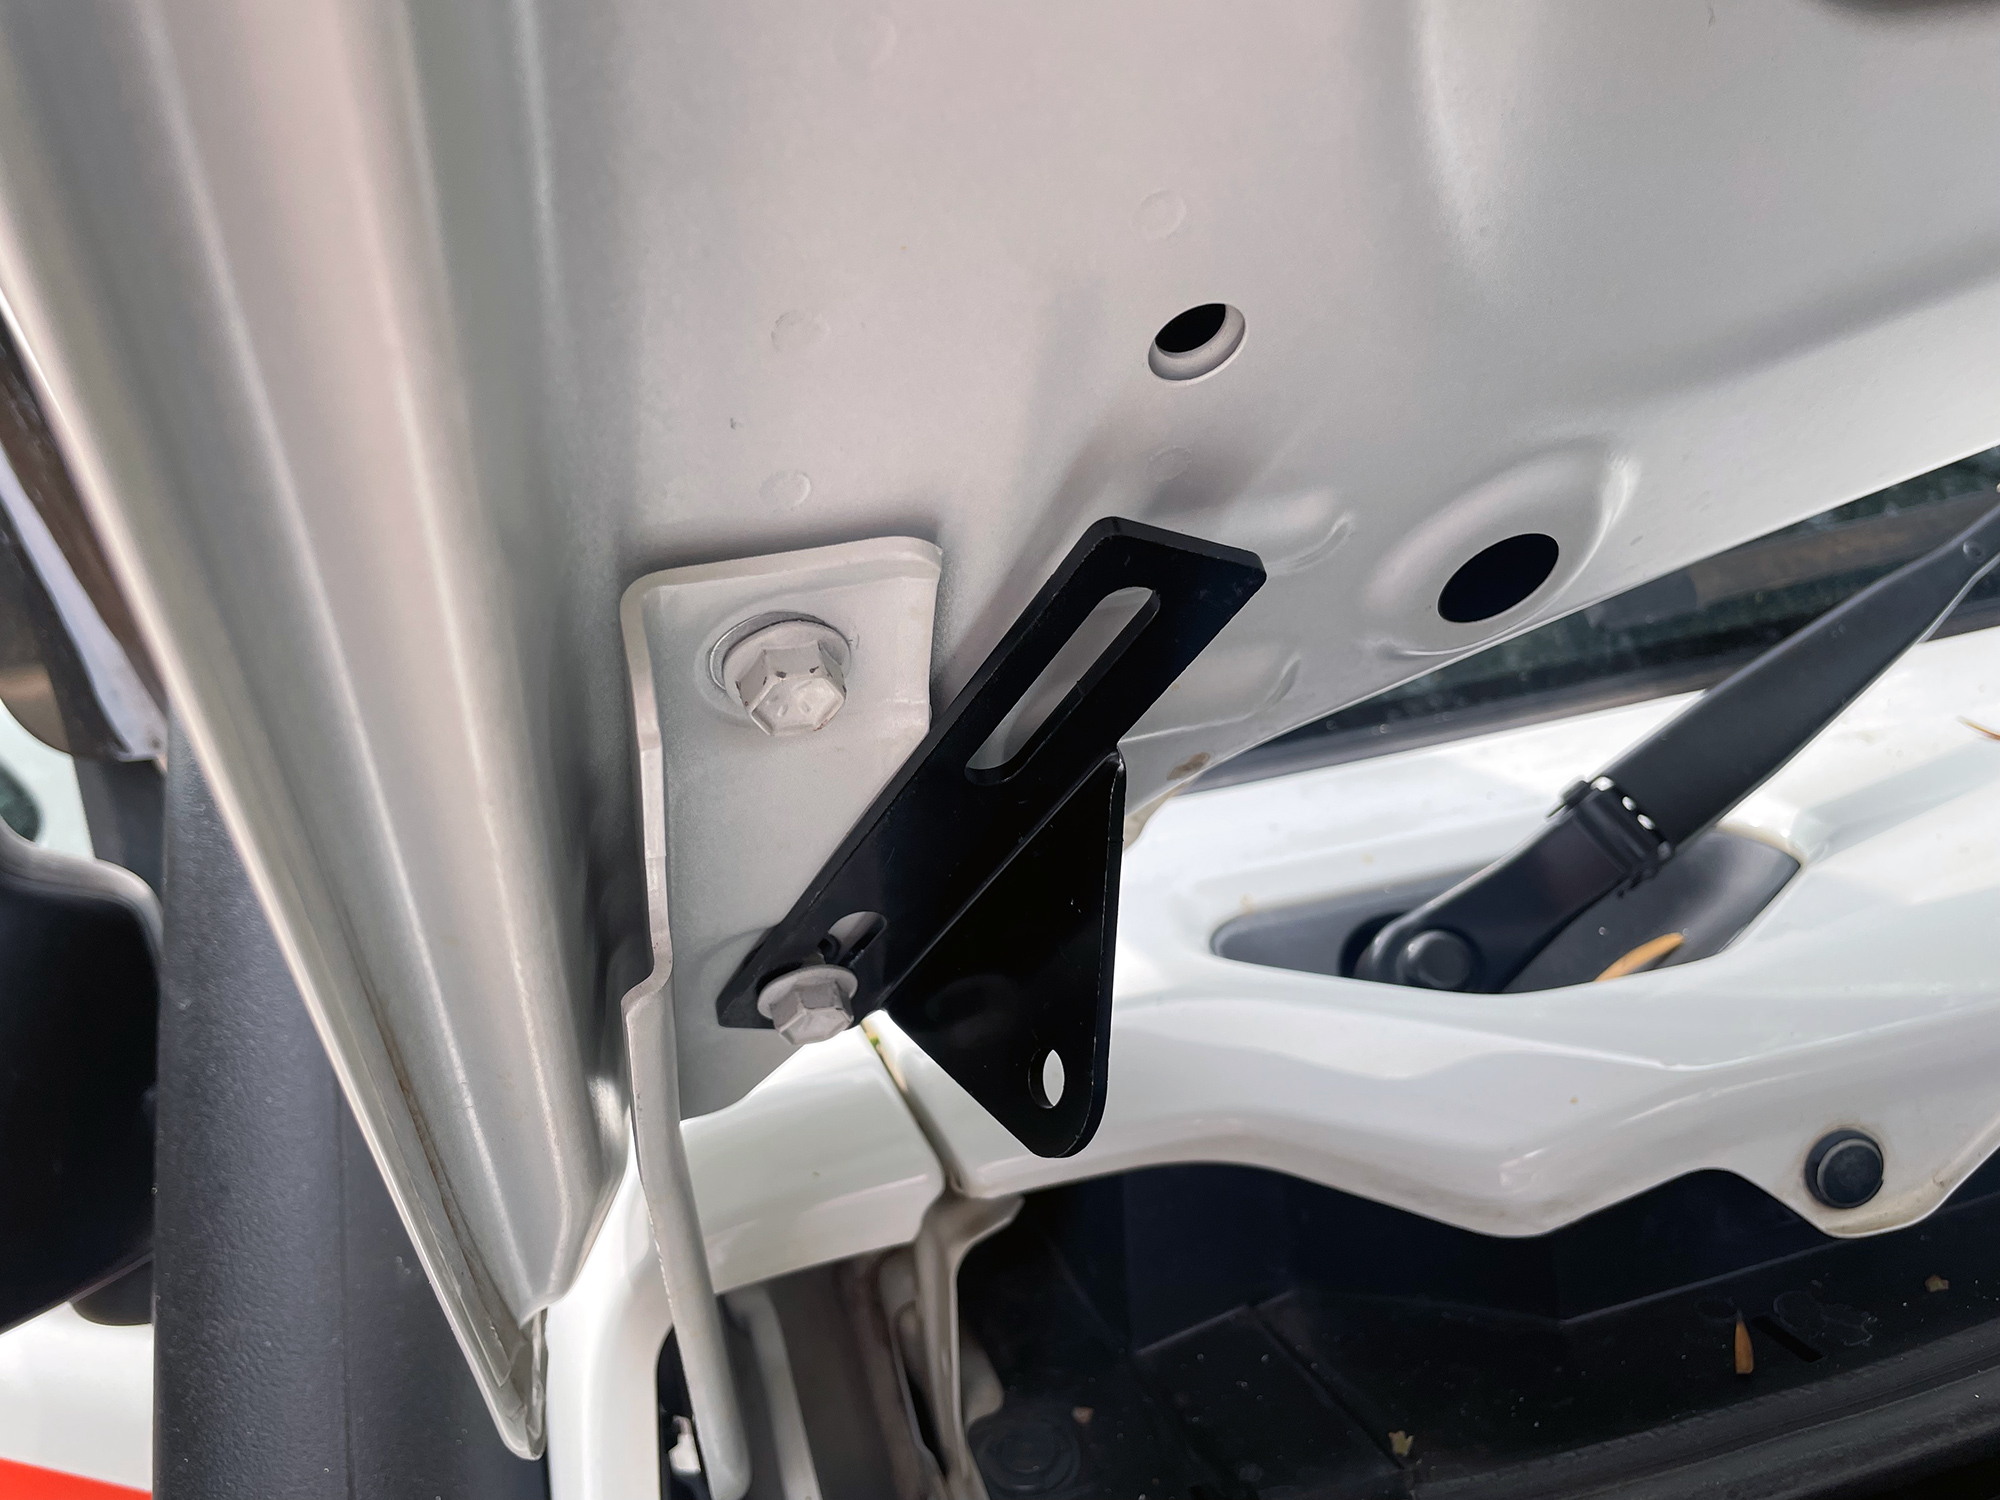
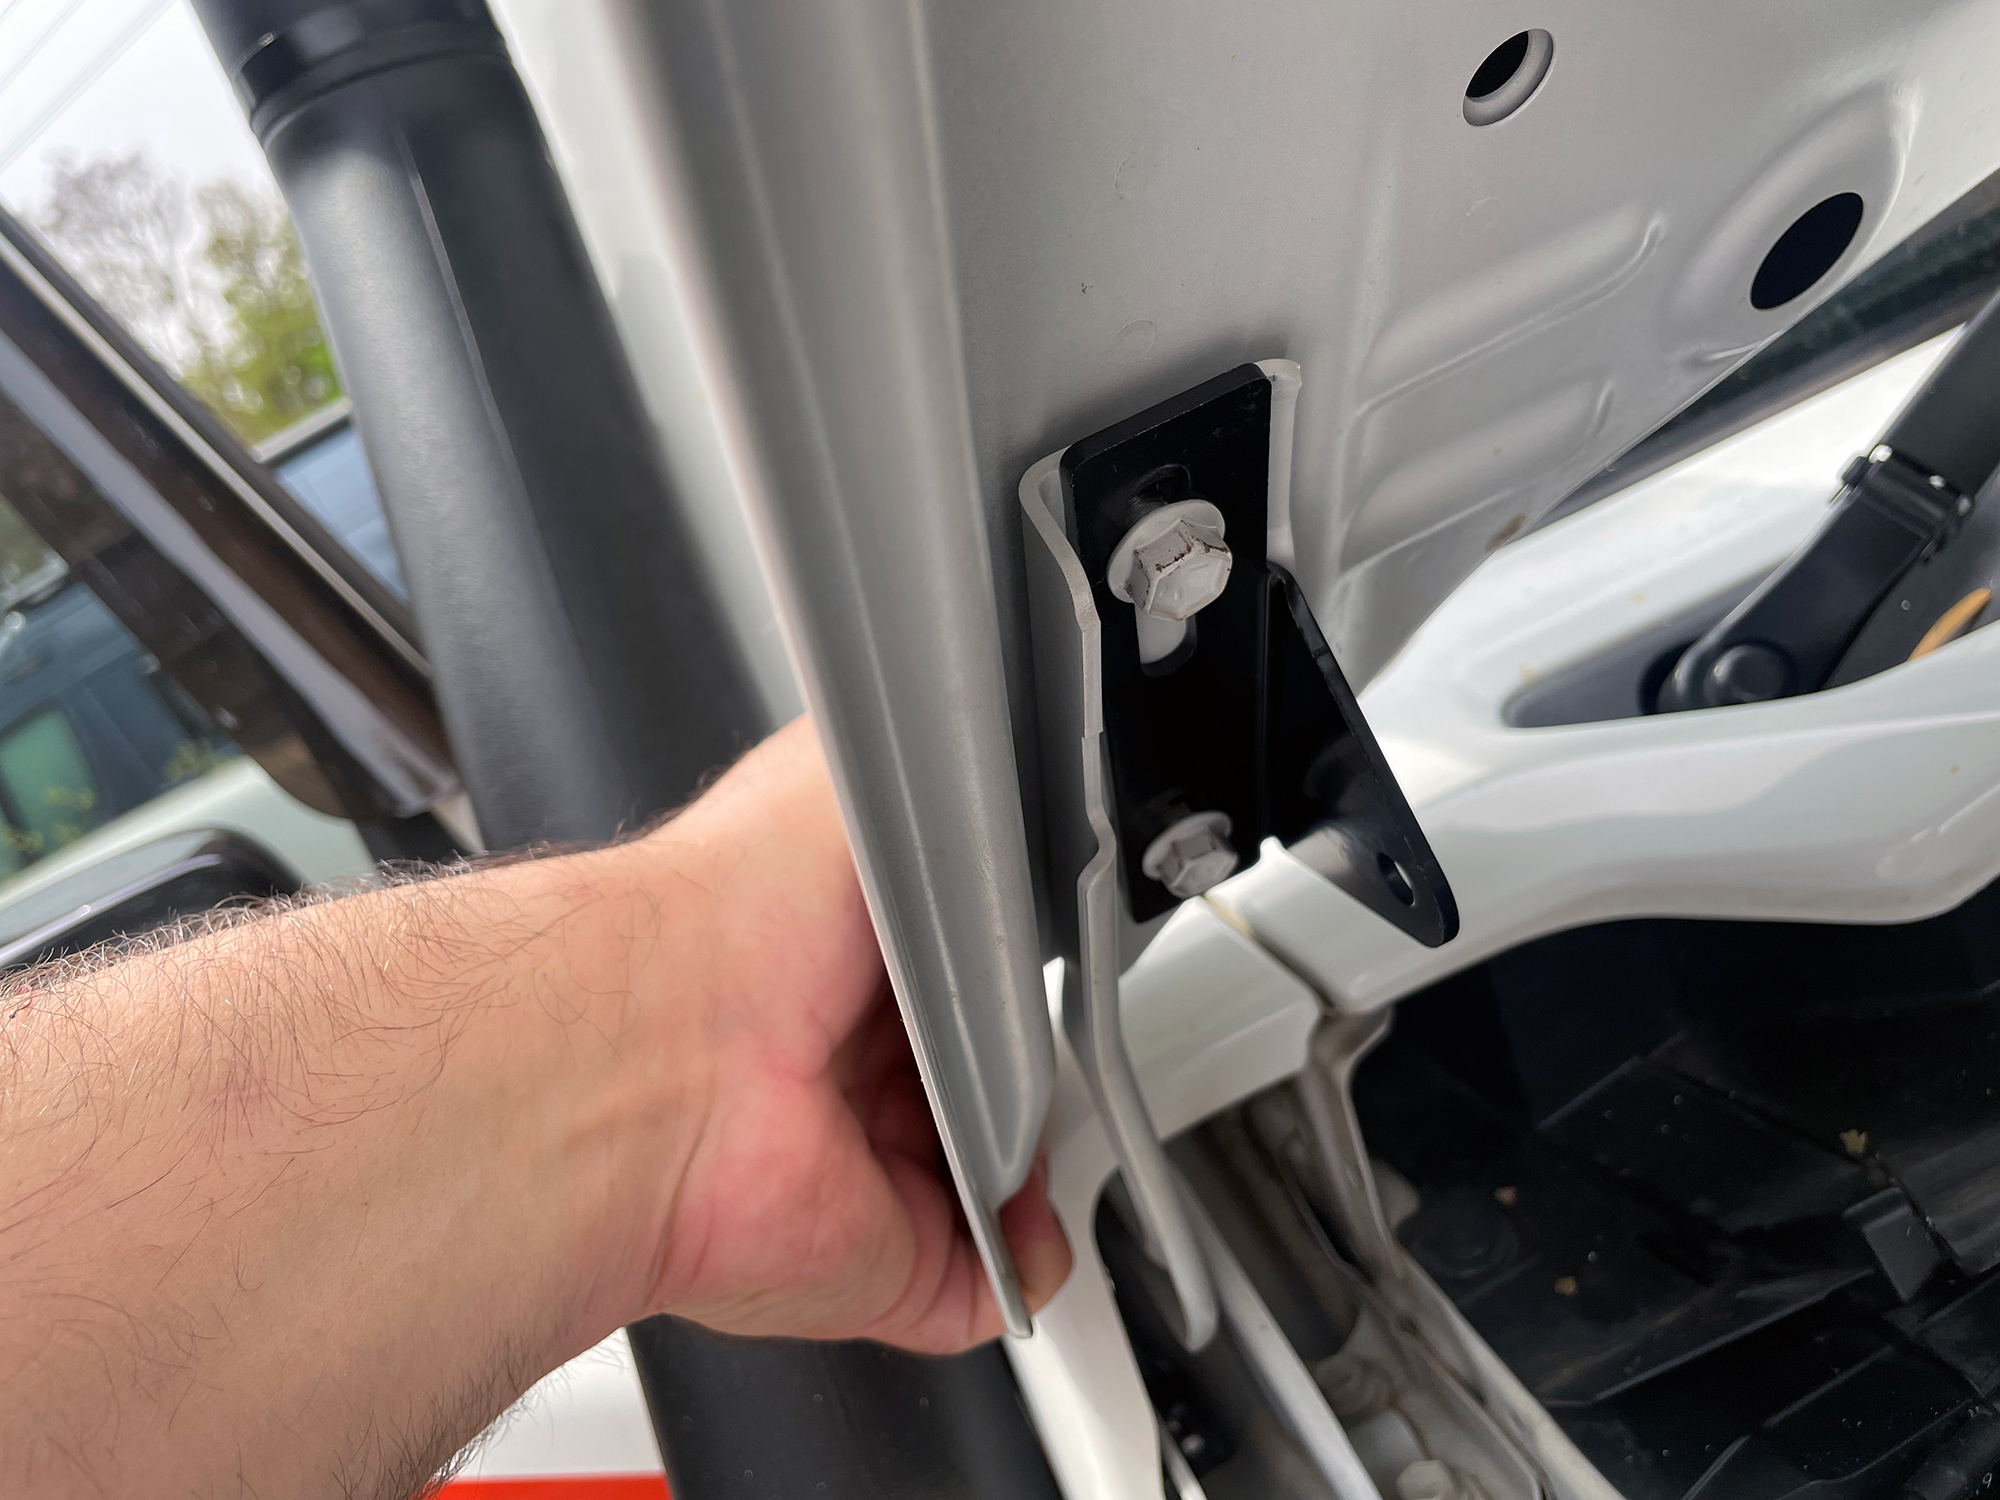
Now fit the appropriate hinge backet here. This kit was unmarked, but you want the pivot part of the hinge to be on the ‘inside’ and more towards the back of the bonnet.
You have the bottom bolt kinda tight enough that the bonnet and the mount don’t want to move easily, but also loose enough to let you pivot it. This will keep the bonnet mostly in position.
Undo the top bolt once you’re at this point, pivot the mount in from the side, and refit the top bolt. You want to be holding the bonnet at the back when you undo the top bolt in case you don’t have the bottom bolt tight enough to stop it sliding all the way back down the hinge.
Also note that the side with the bonnet stay needs you to keep the bonnet supported with something. The best option here is your head as the bonnet will try to pivot sideways due to the bonnet stay.
As noted, do one side at a time and get the alignment right on the first side before you move onto the second side.
Bonnet alignment
This is the bit I think a lot of people get wrong. When you undo the bonnet bolts you will move the bonnet inevitably and if you get it wrong you can damage the panels on the car or the back of the bonnet. My method of only doing a bolt at a time will reduce the chance of movement but you need to get the alignment right still anyway.
To check the alignment, shut the bonnet very carefully to make sure you don’t damage it. If it looks like it’s too tight, don’t fully close it but instead start by moving the bonnet a bit ‘up’ the hinge.
Even by being careful, you can still see that the bonnet alignment gets tight as the bonnet falls ‘down’ the hinge. This closes up the gap at the back of the bonnet.
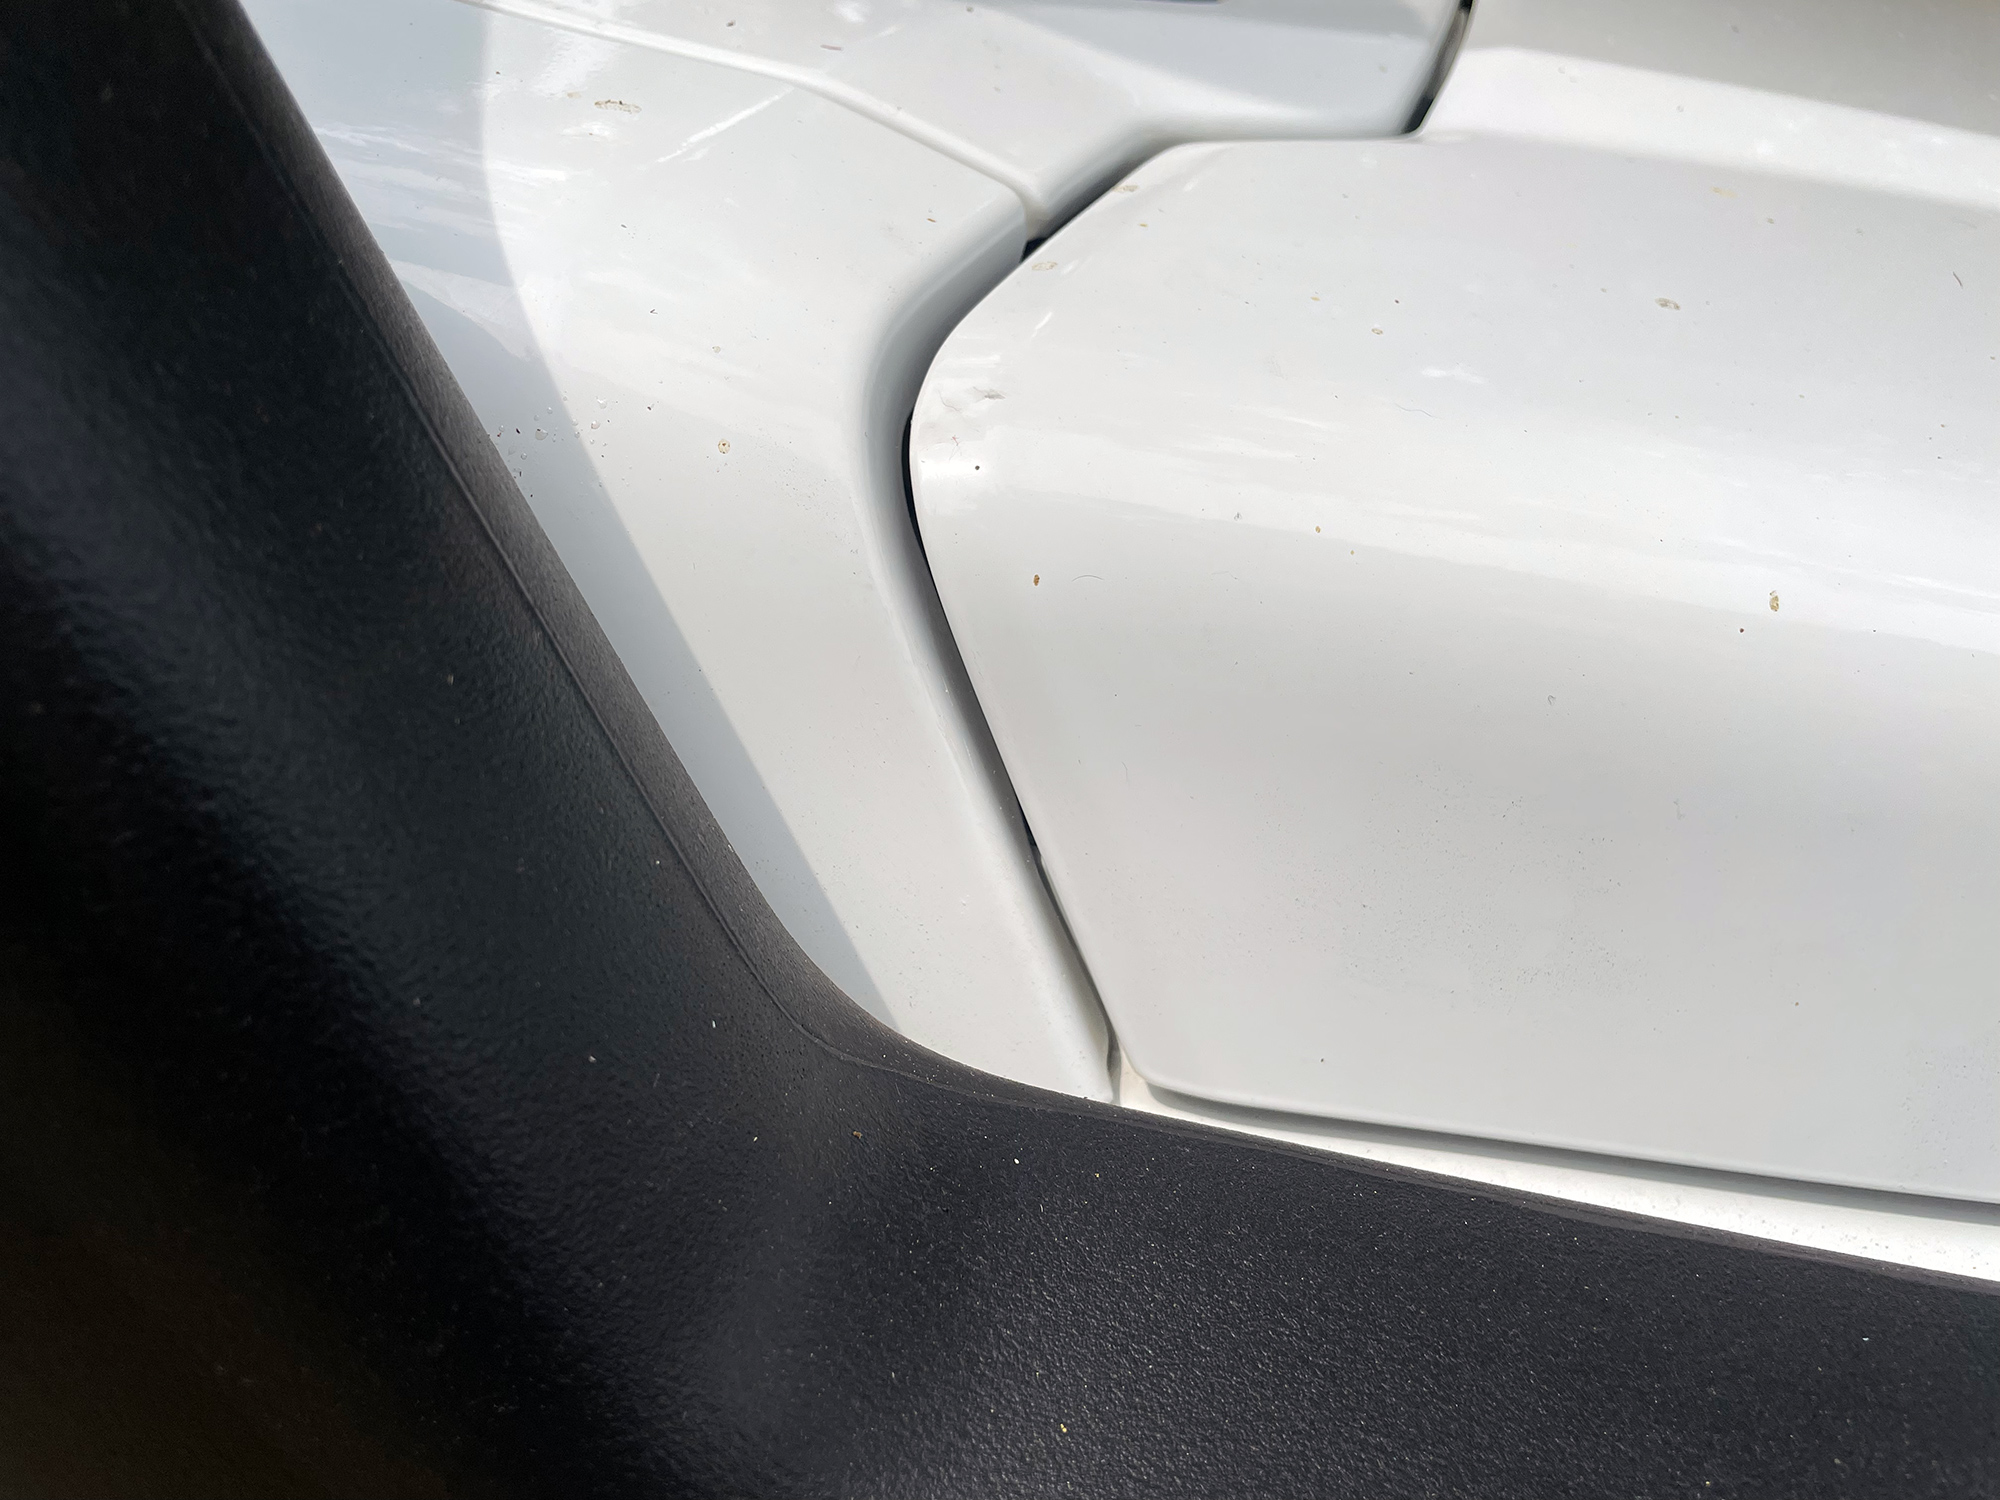
What you do here is open the bonnet up again, loosen the bolts slightly, and kind of pull the bonnet forwards a bit. Equally, if the gap is too large, you undo the bolts and push the bonnet a bit back on the hinge. Very small movements can make a huge difference in the gap.
After a bit of fiddling and checking against your reference thing to help get the gap right you will have it fully aligned.
Install struts
The final part is the easiest. Once the alignment is done on both sides then you’re ready to install the two struts. Make sure the clips are in the ends of the struts on the small end to make it easier to push it on.
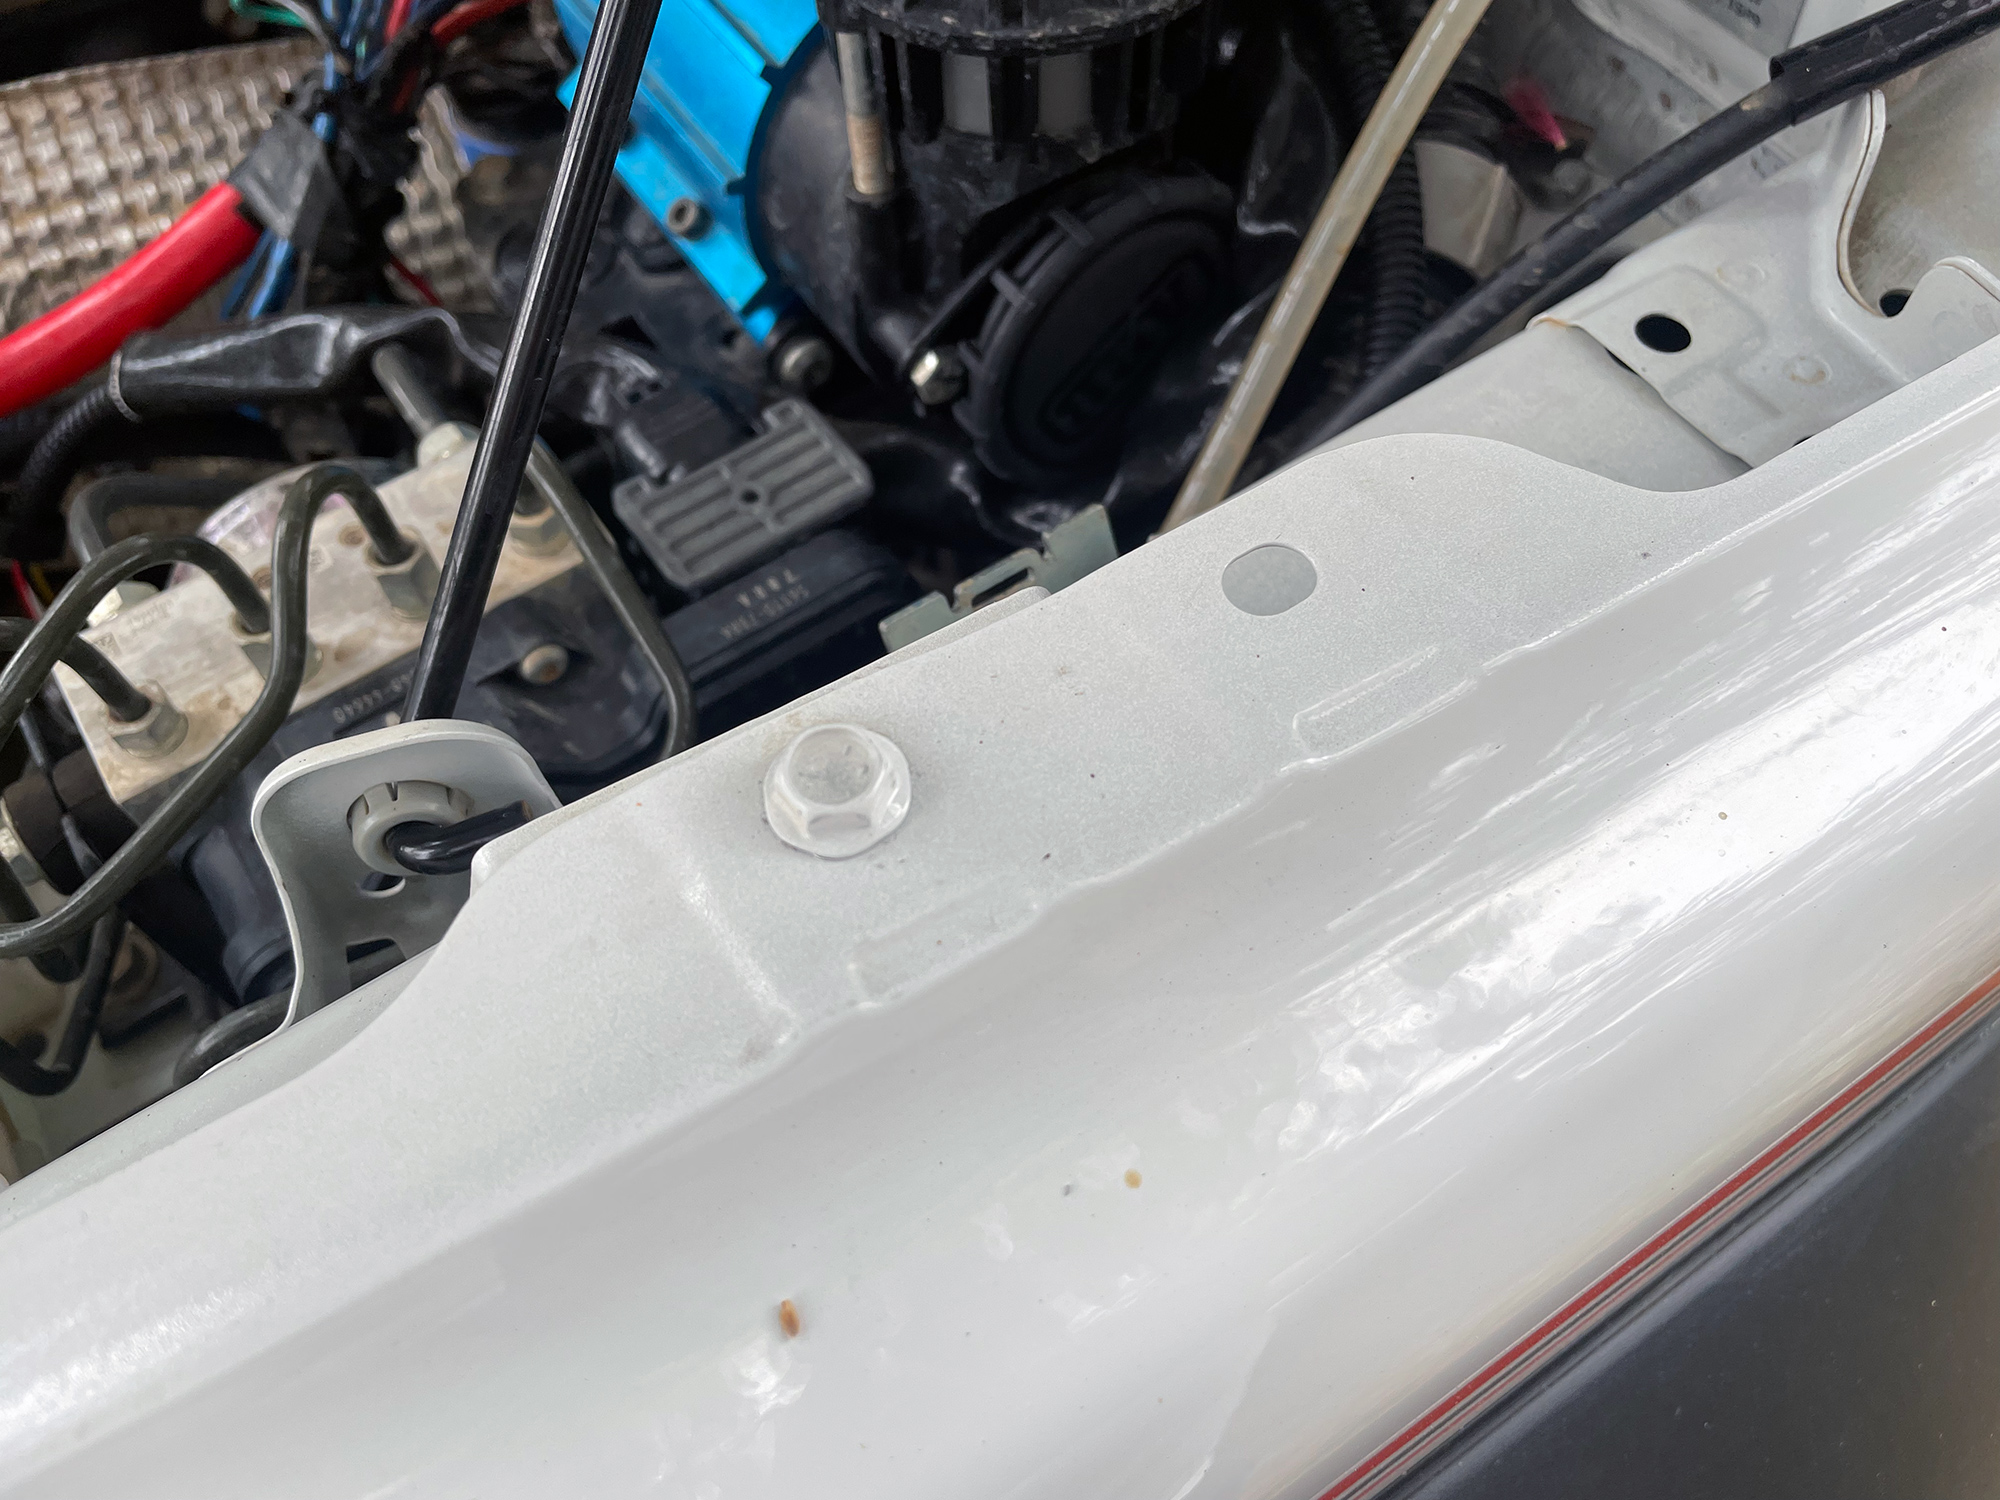
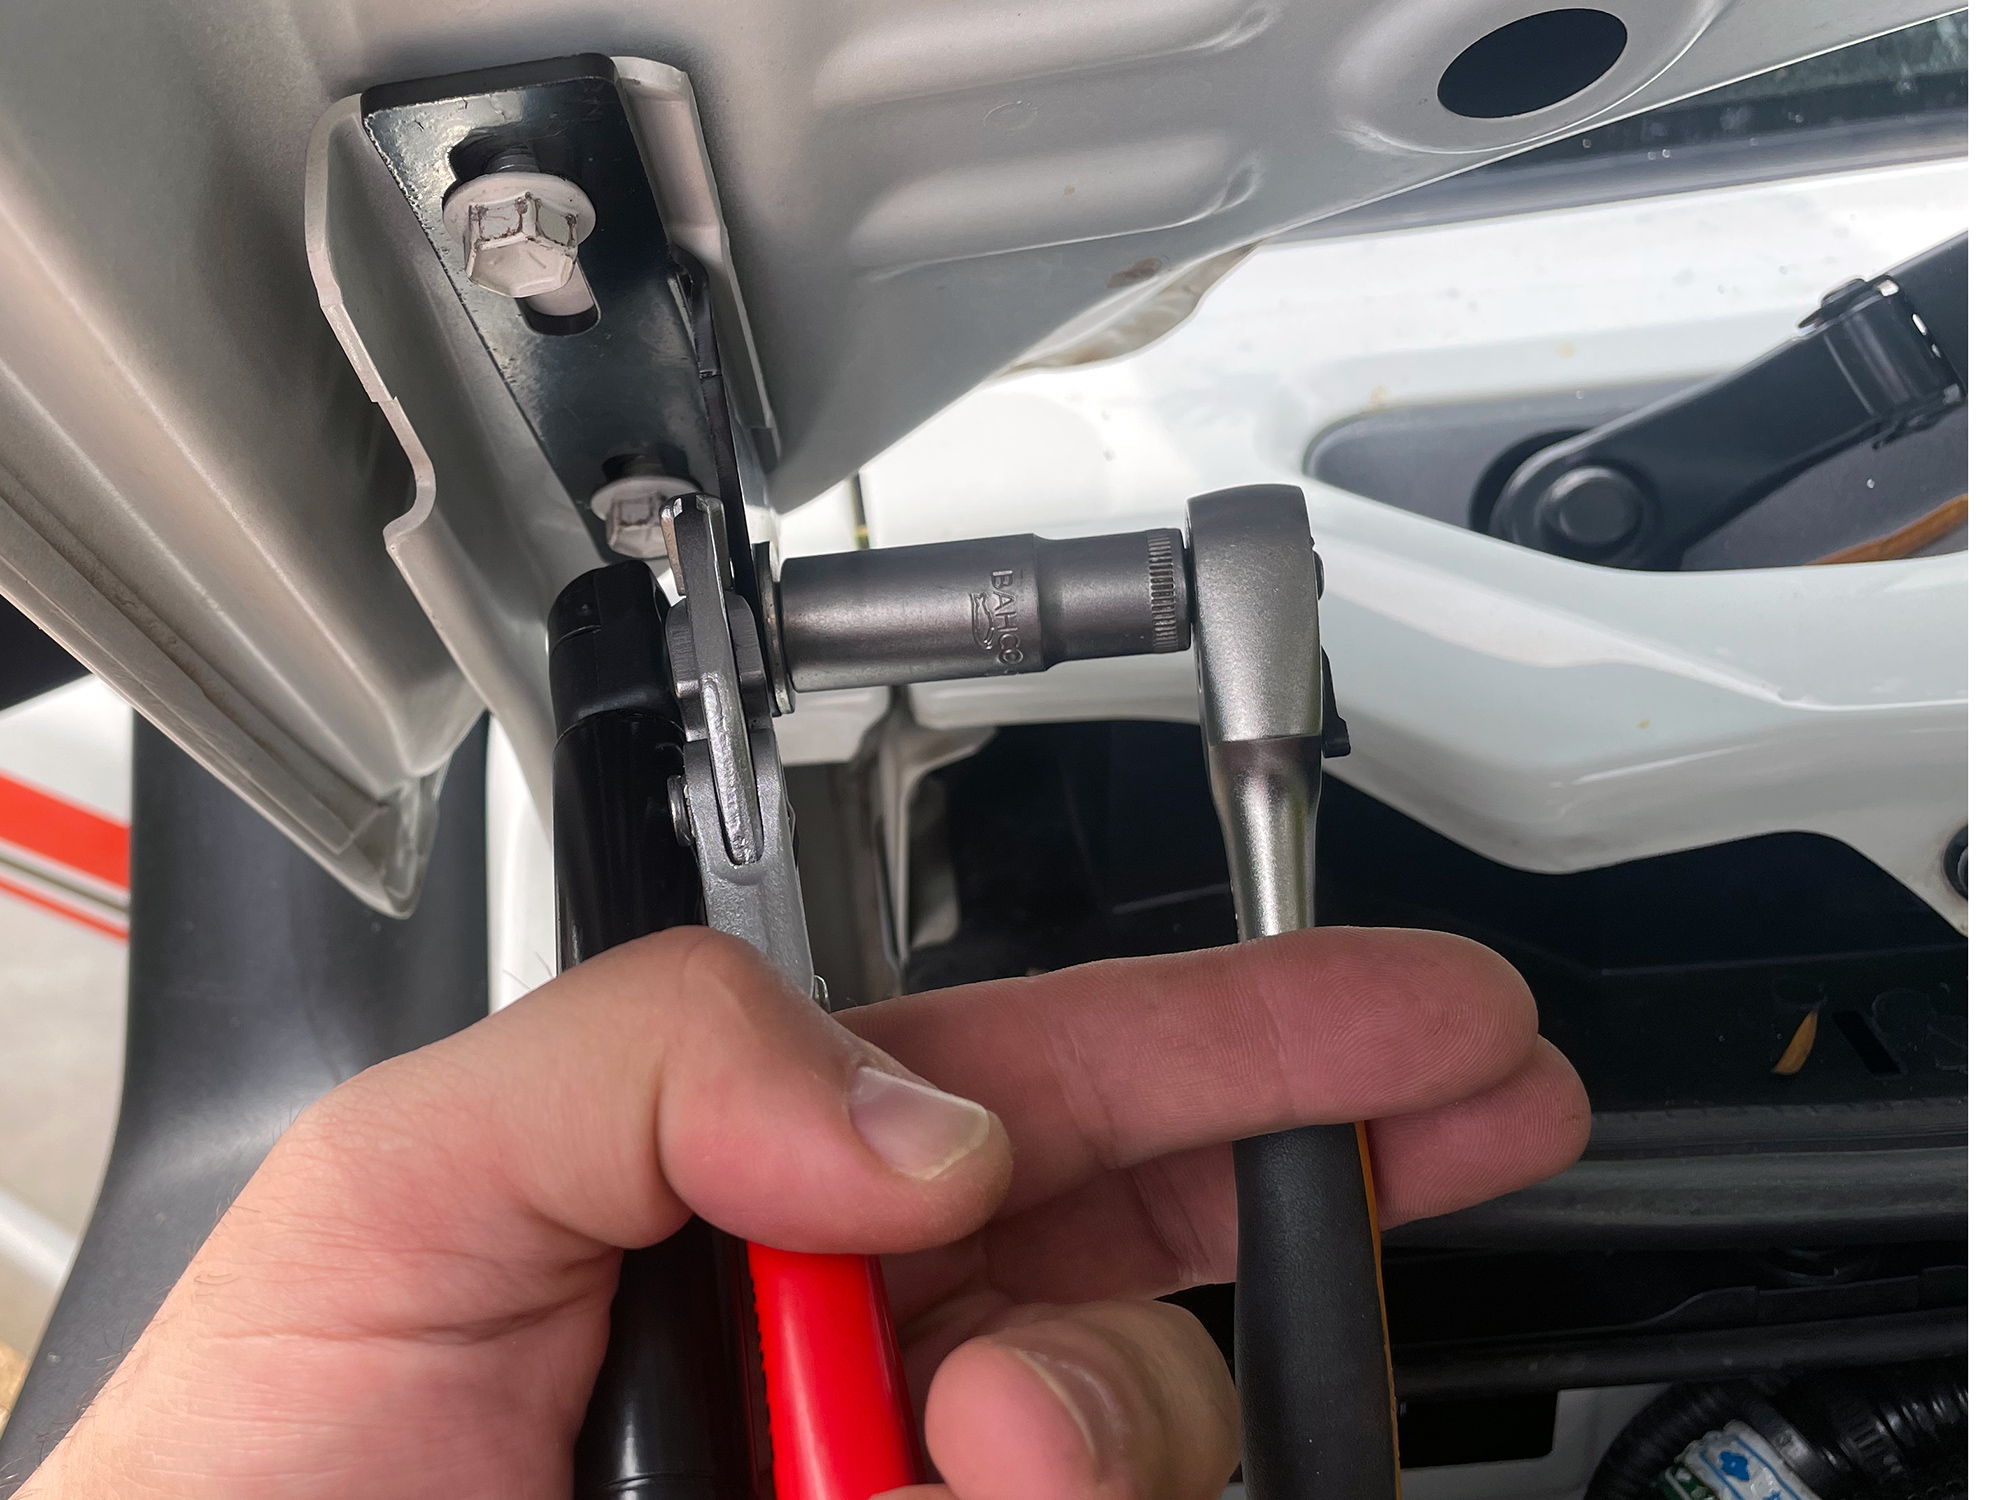
Now you install the upper end pivot in through the bracket. This is where I pull out an M8 nyloc nut rather than the nut provided with the kit. This way the bolt can’t undo as it pivots.
Hold the hex part of the pivot on the inside with something like an open-ended spanner or an adjustable wrench, and use a 13mm spanner or socket to do up the nyloc nut. Make sure the pivot is in the centre of the hole and square to the bracket as you do it up.
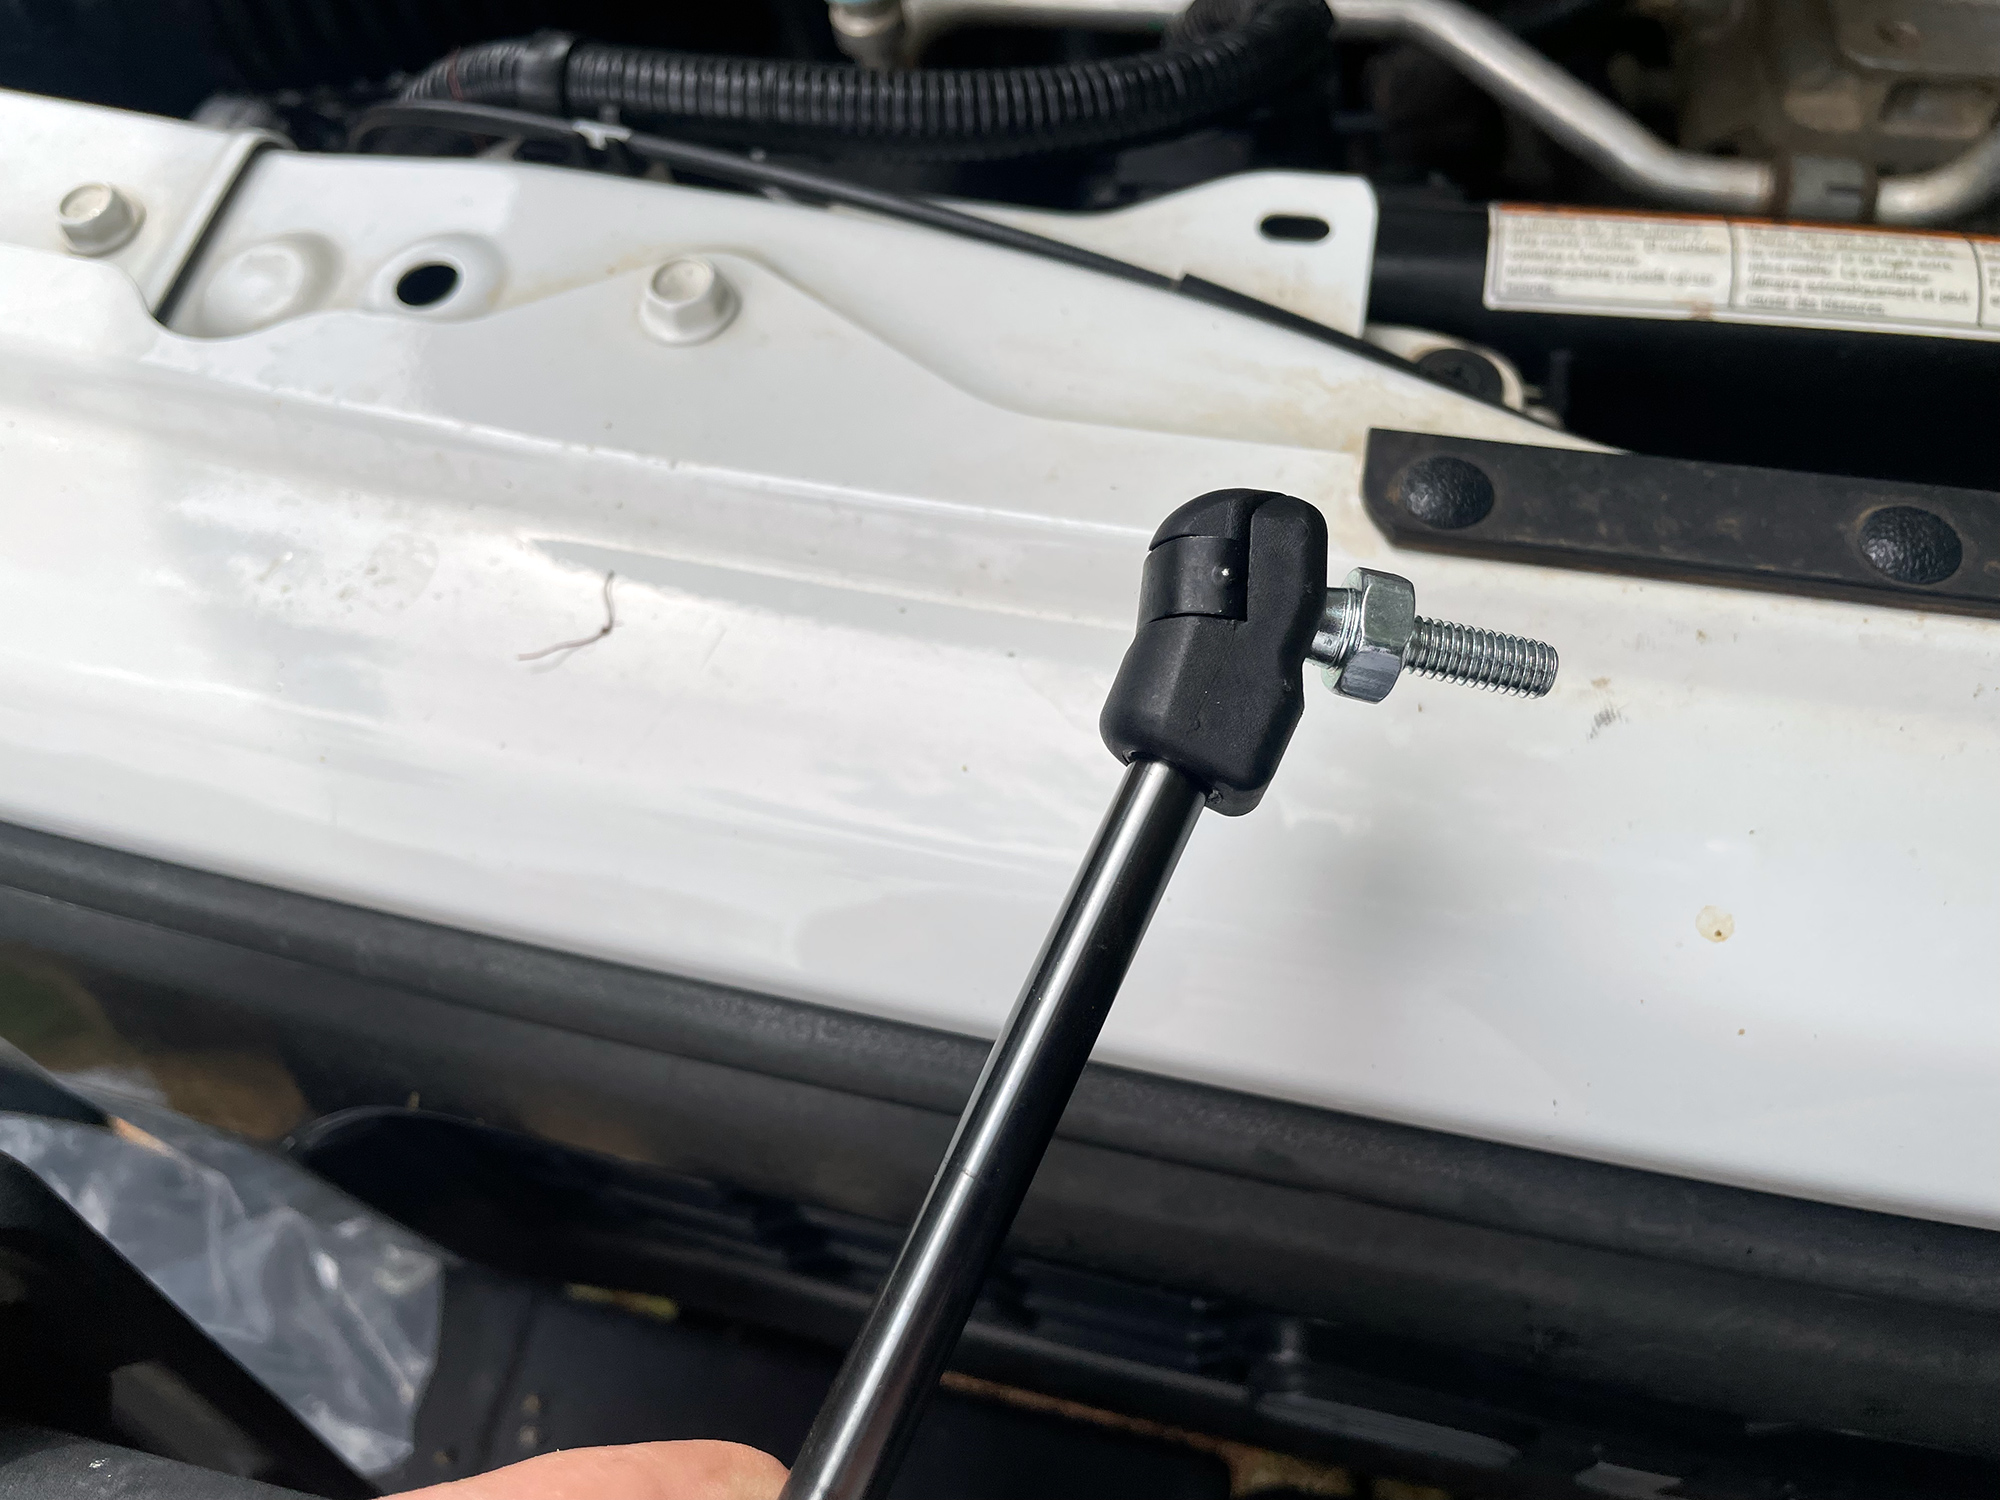
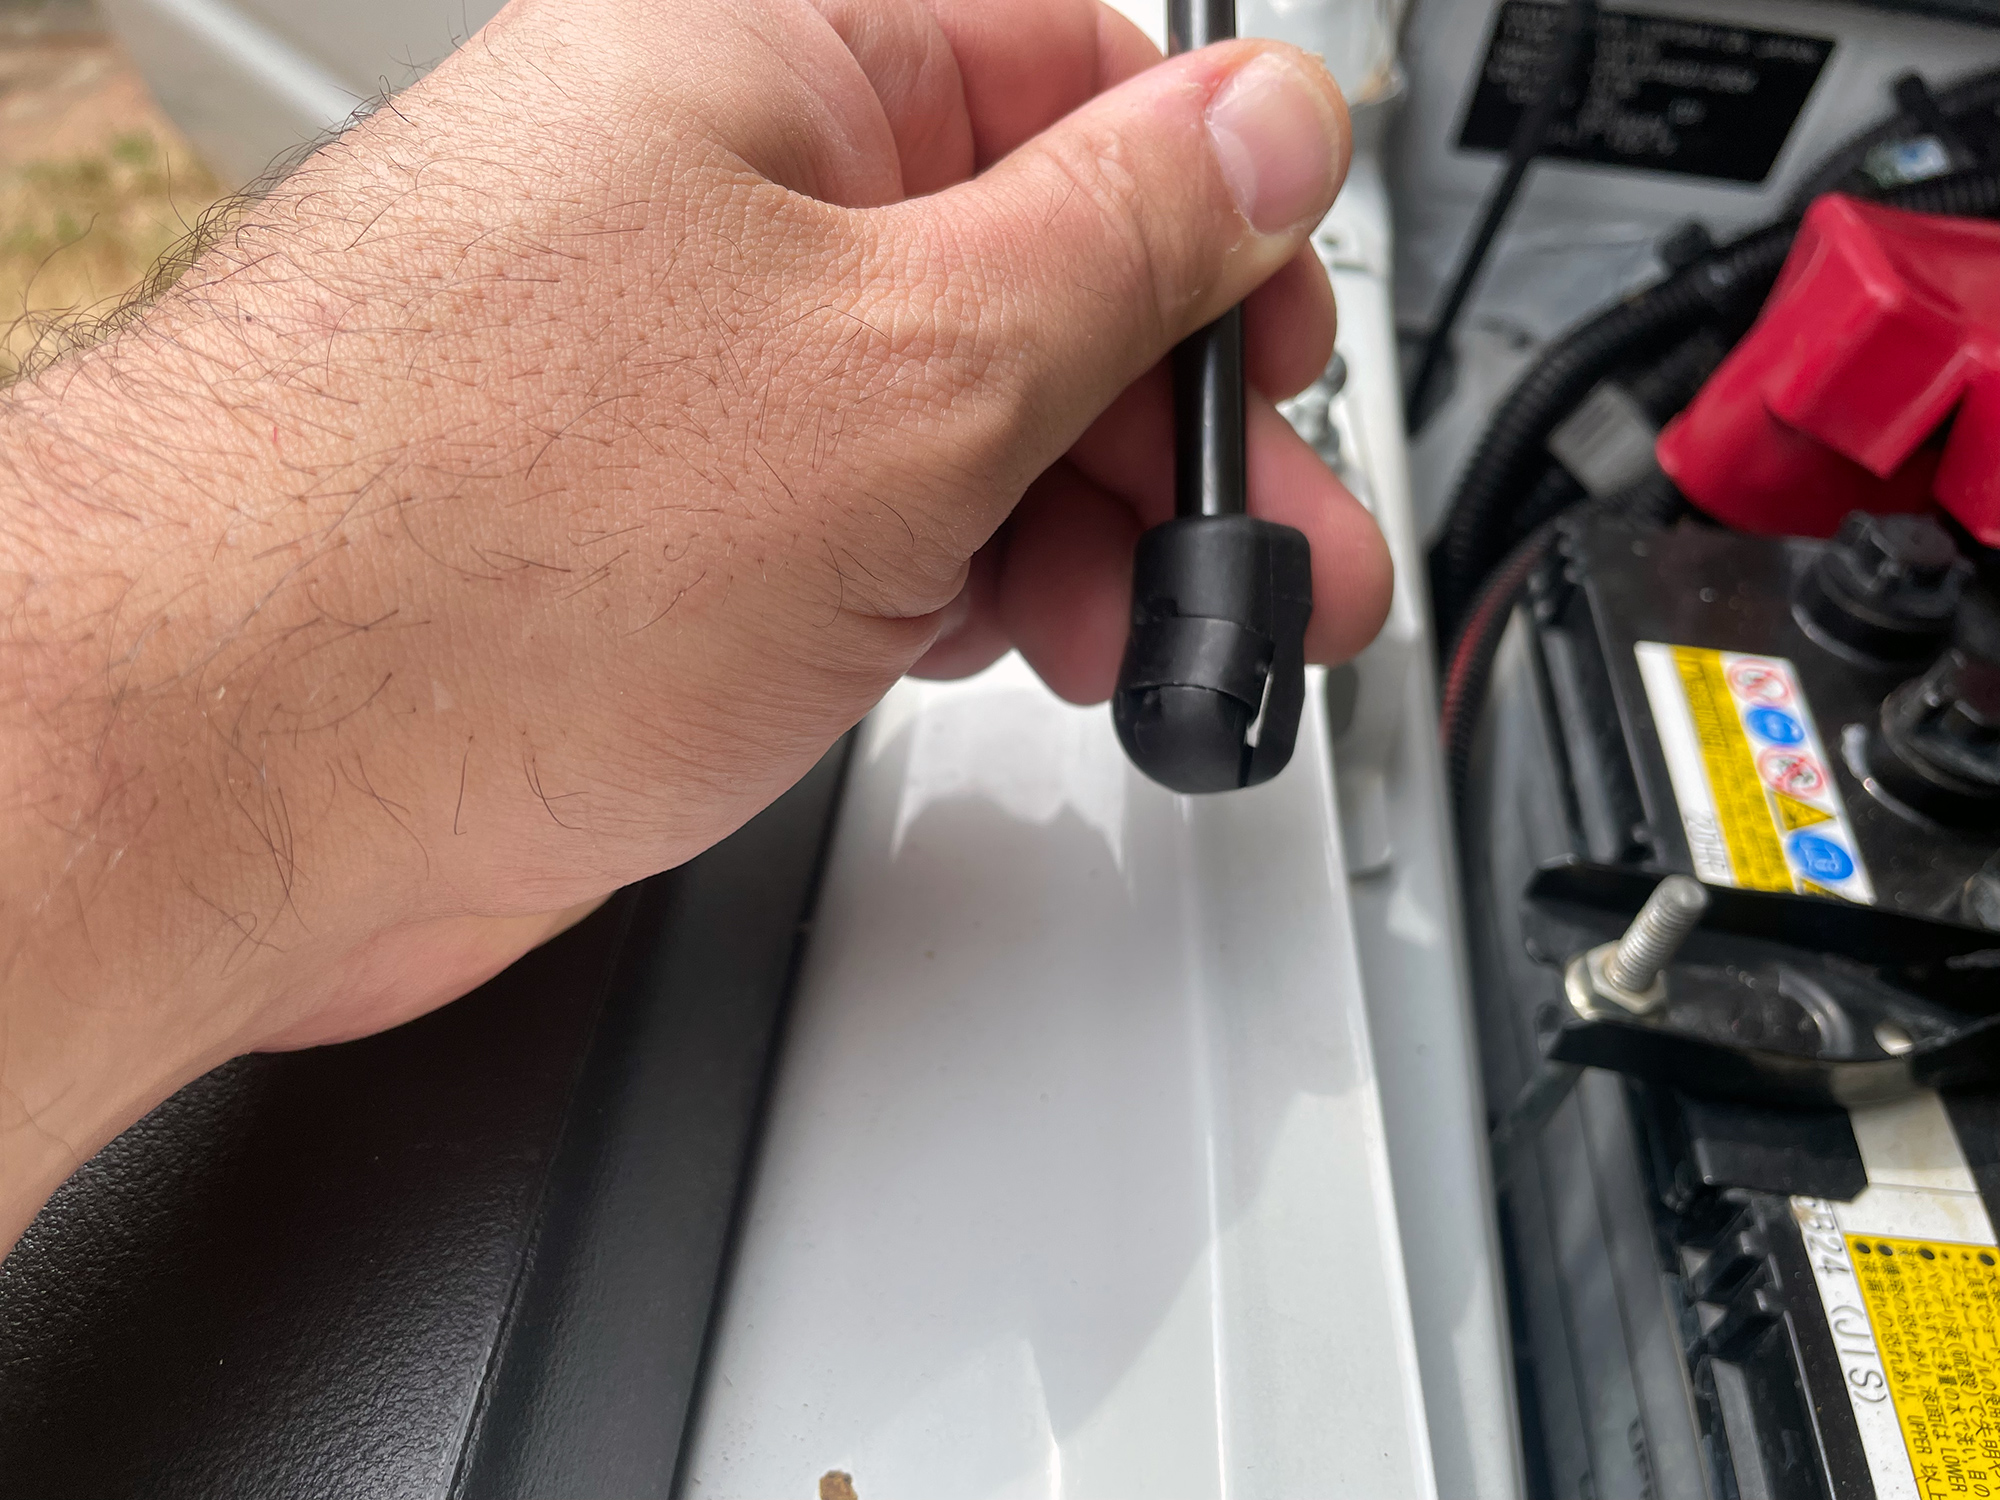
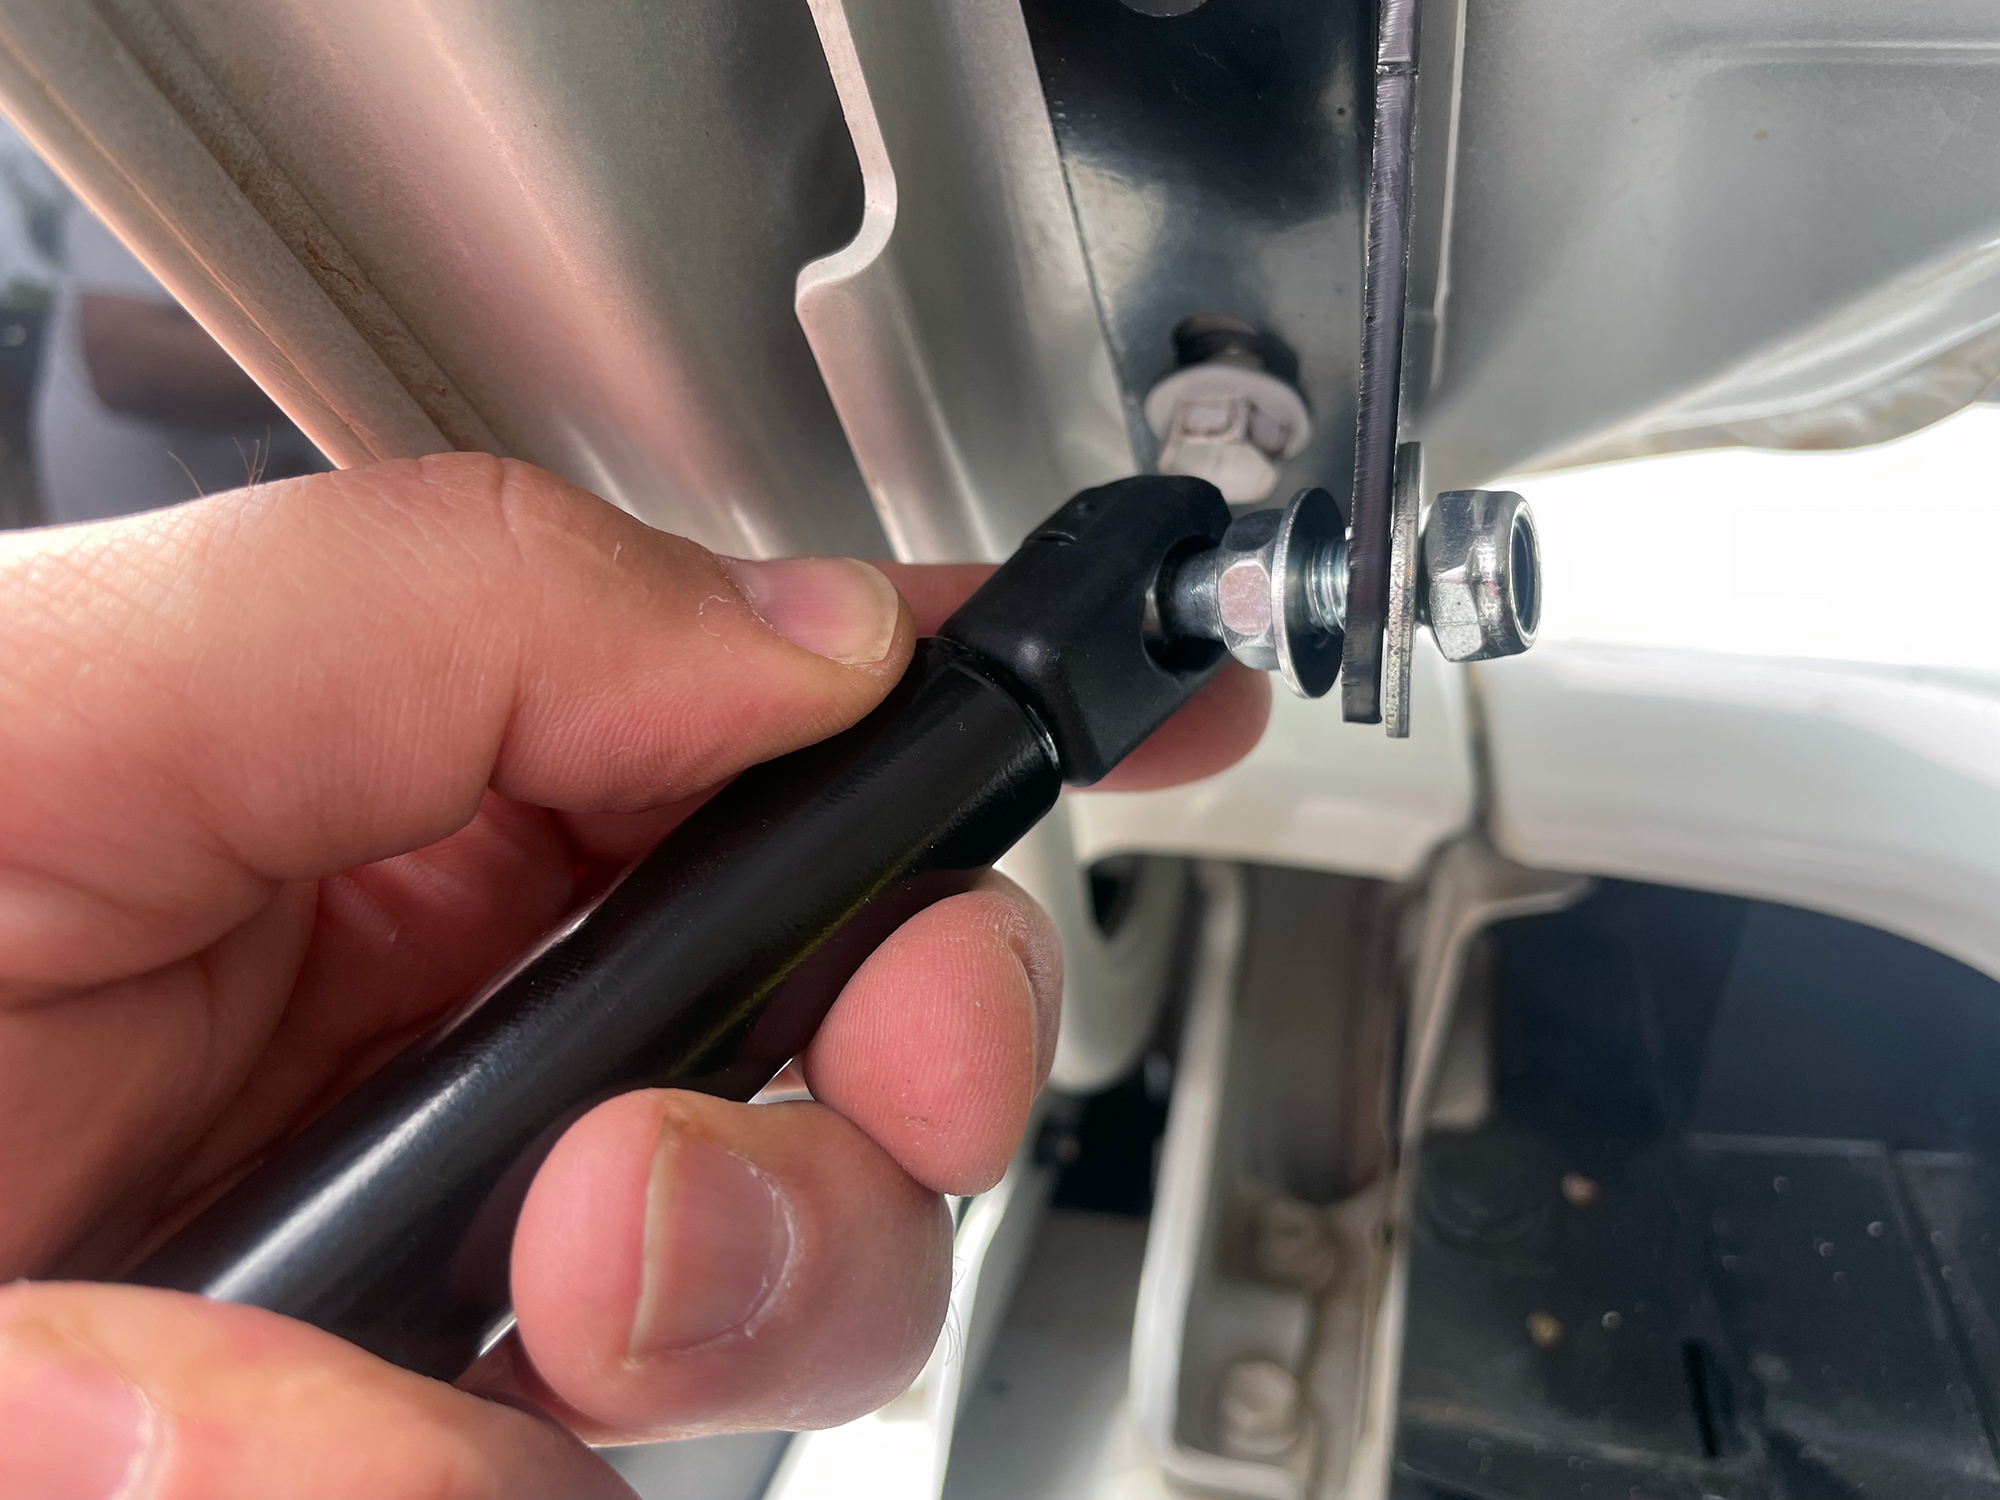
With the upper part installed, all you have to do now is press the other end onto the pivot on the guard. If you find it’s at the wrong angle, turn the end clockwise (so you don’t unscrew it) until it will line up. Usually you’ll need a pair of pliers or something to help turn the entire strut arm.
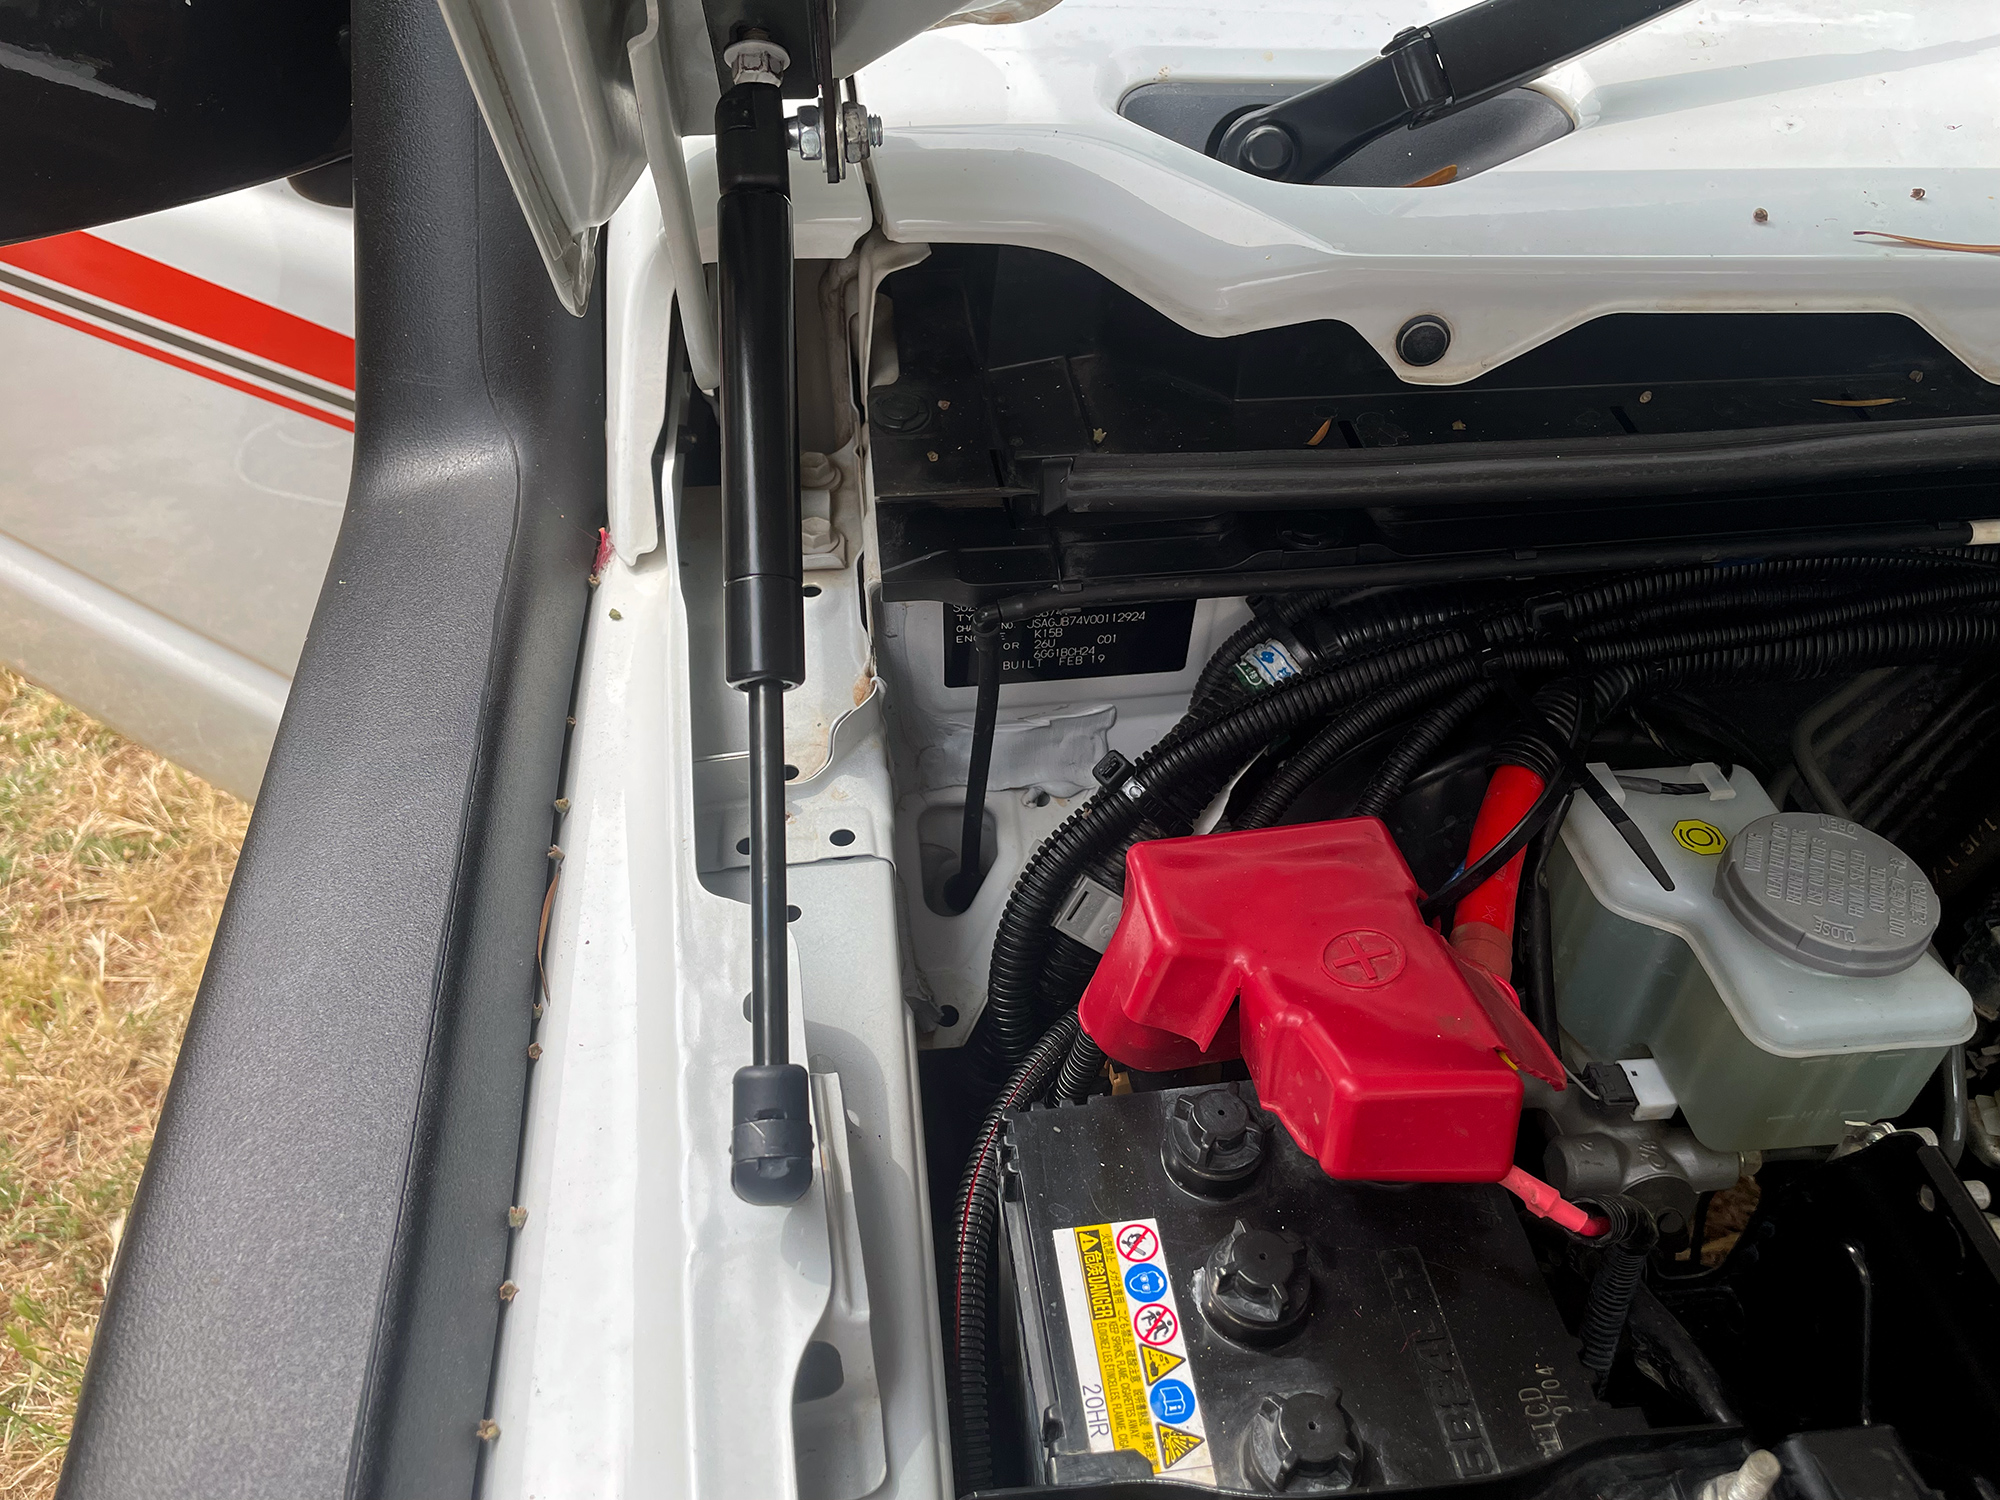
Repeat for the other side strut, release the bonnet stay and you’re all sorted!