
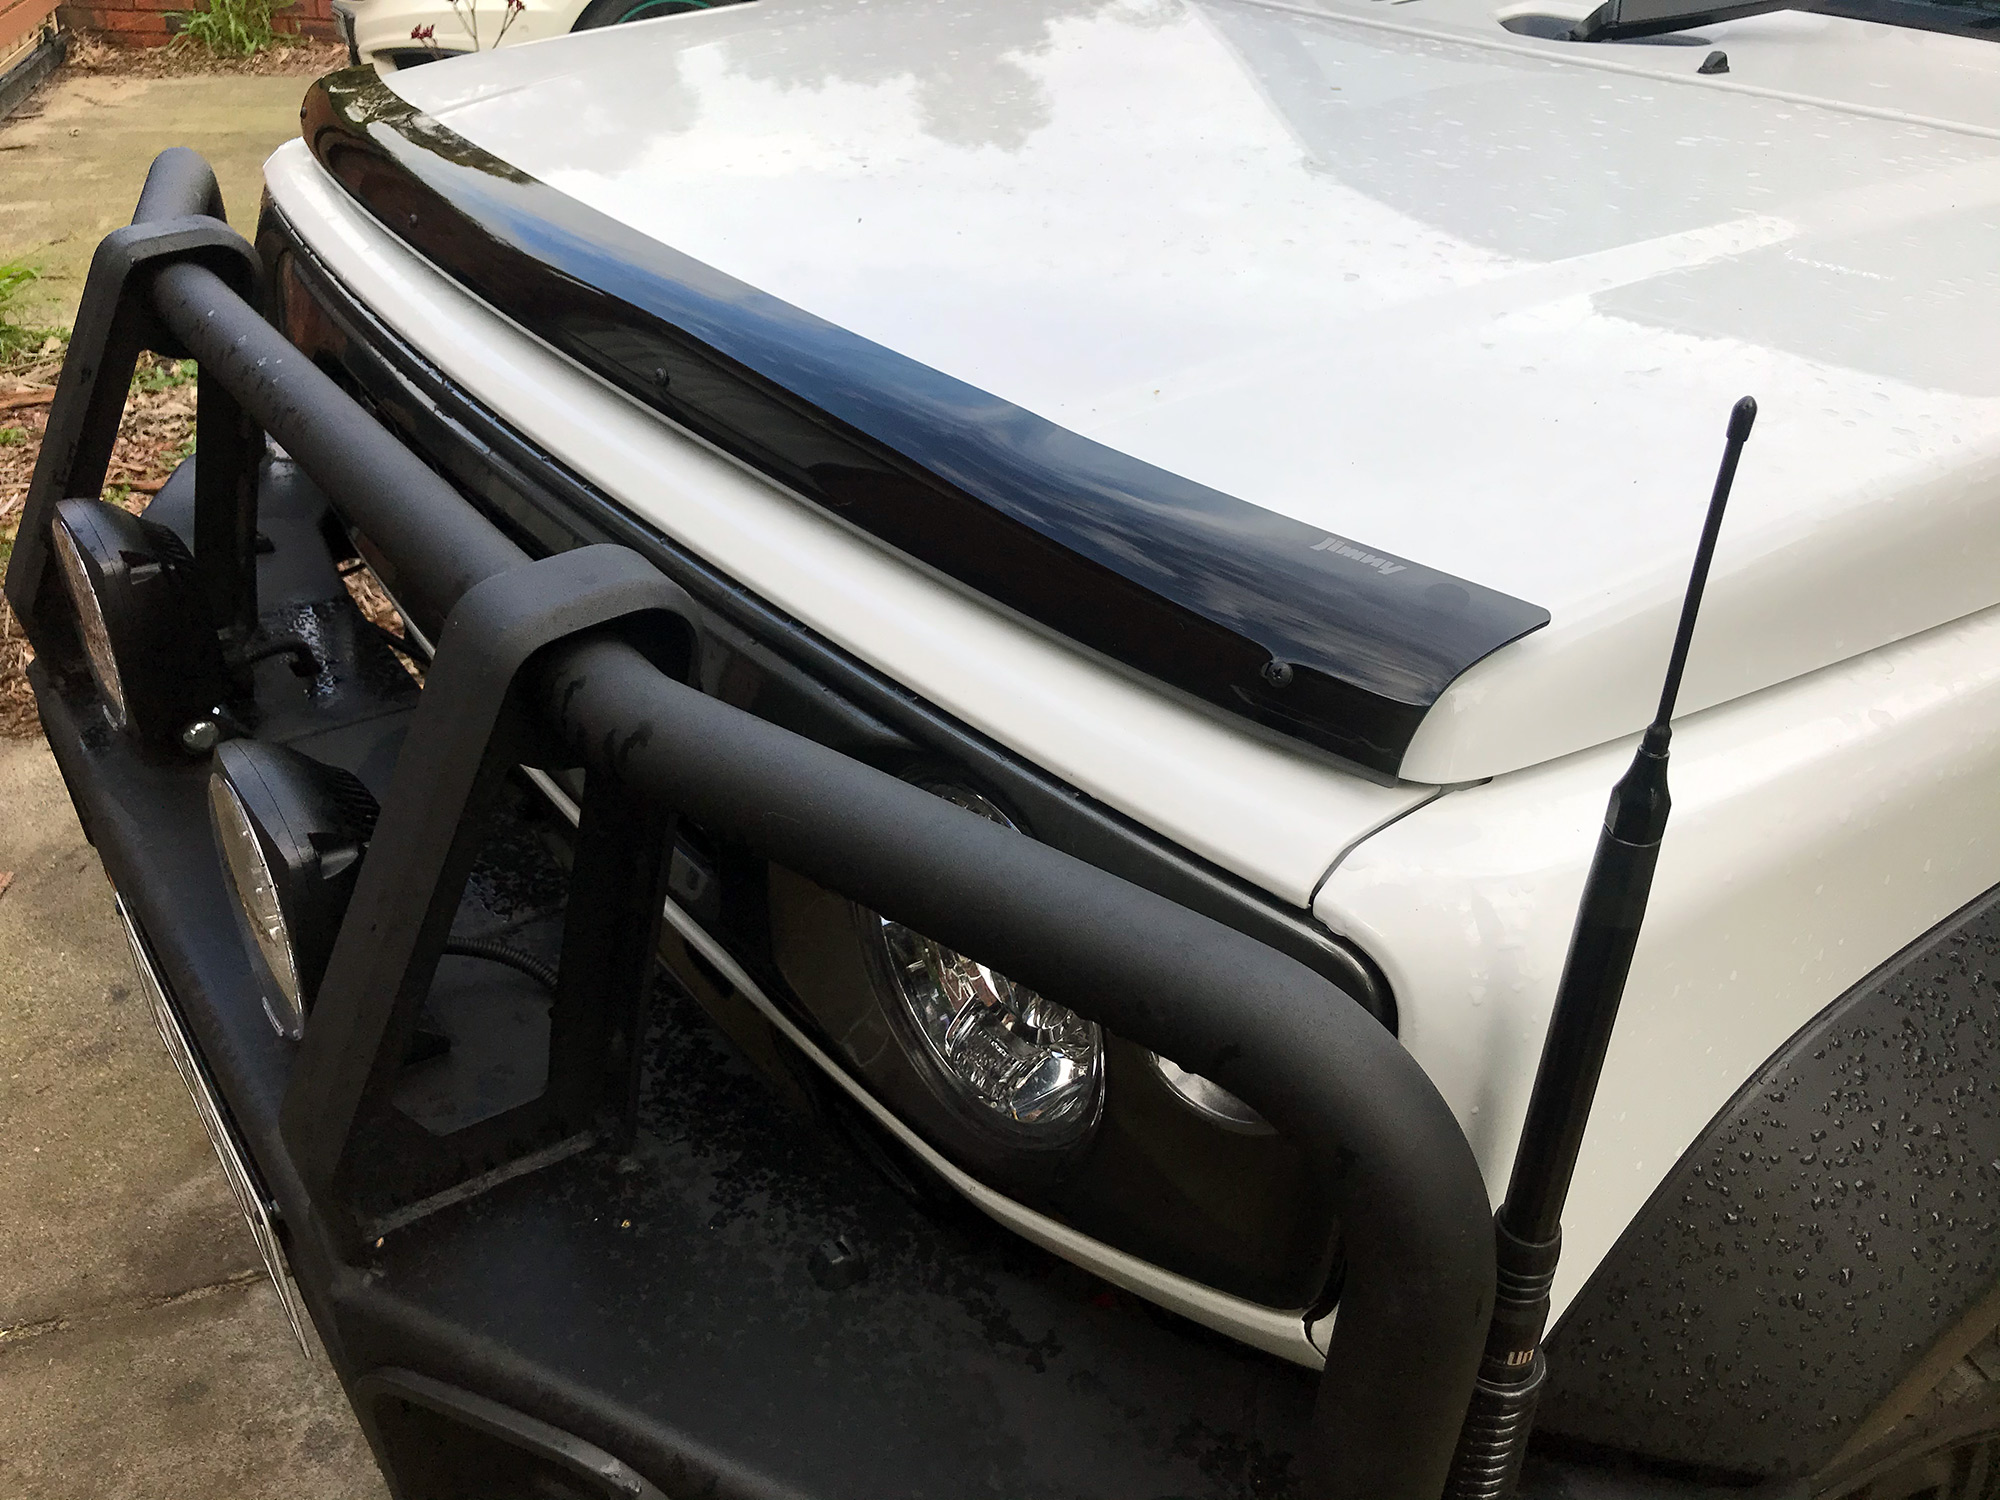
Window weather shields and bonnet protector
This is the installation of the factory weather shields and bonnet protector. There are other options out there but these are the factory ones and what I chose to install – part numbers in that linked article of mine cataloguing the factory accessories.
Out of these two mods I’d definitely recommend the window weather shields if you at all like driving with the windows partially down. The jury is more out on the bonnet protector. It works ok, but I’d probably have been just as happy using clear protection film. Some people report they think it cuts down wind noise by deflecting the air a bit further upwards and over the windscreen but I’m not so sure of that.
Bonnet protector
If you wanted a lower profile option here, I’d suggest the 3M clear protection film. It works really well in my experience with other cars; I, however, chose to try the factory protector. Unsure if it’s better, but it is fAcToRy so obviously should be the best choice…
Open up the bonnet to begin with.
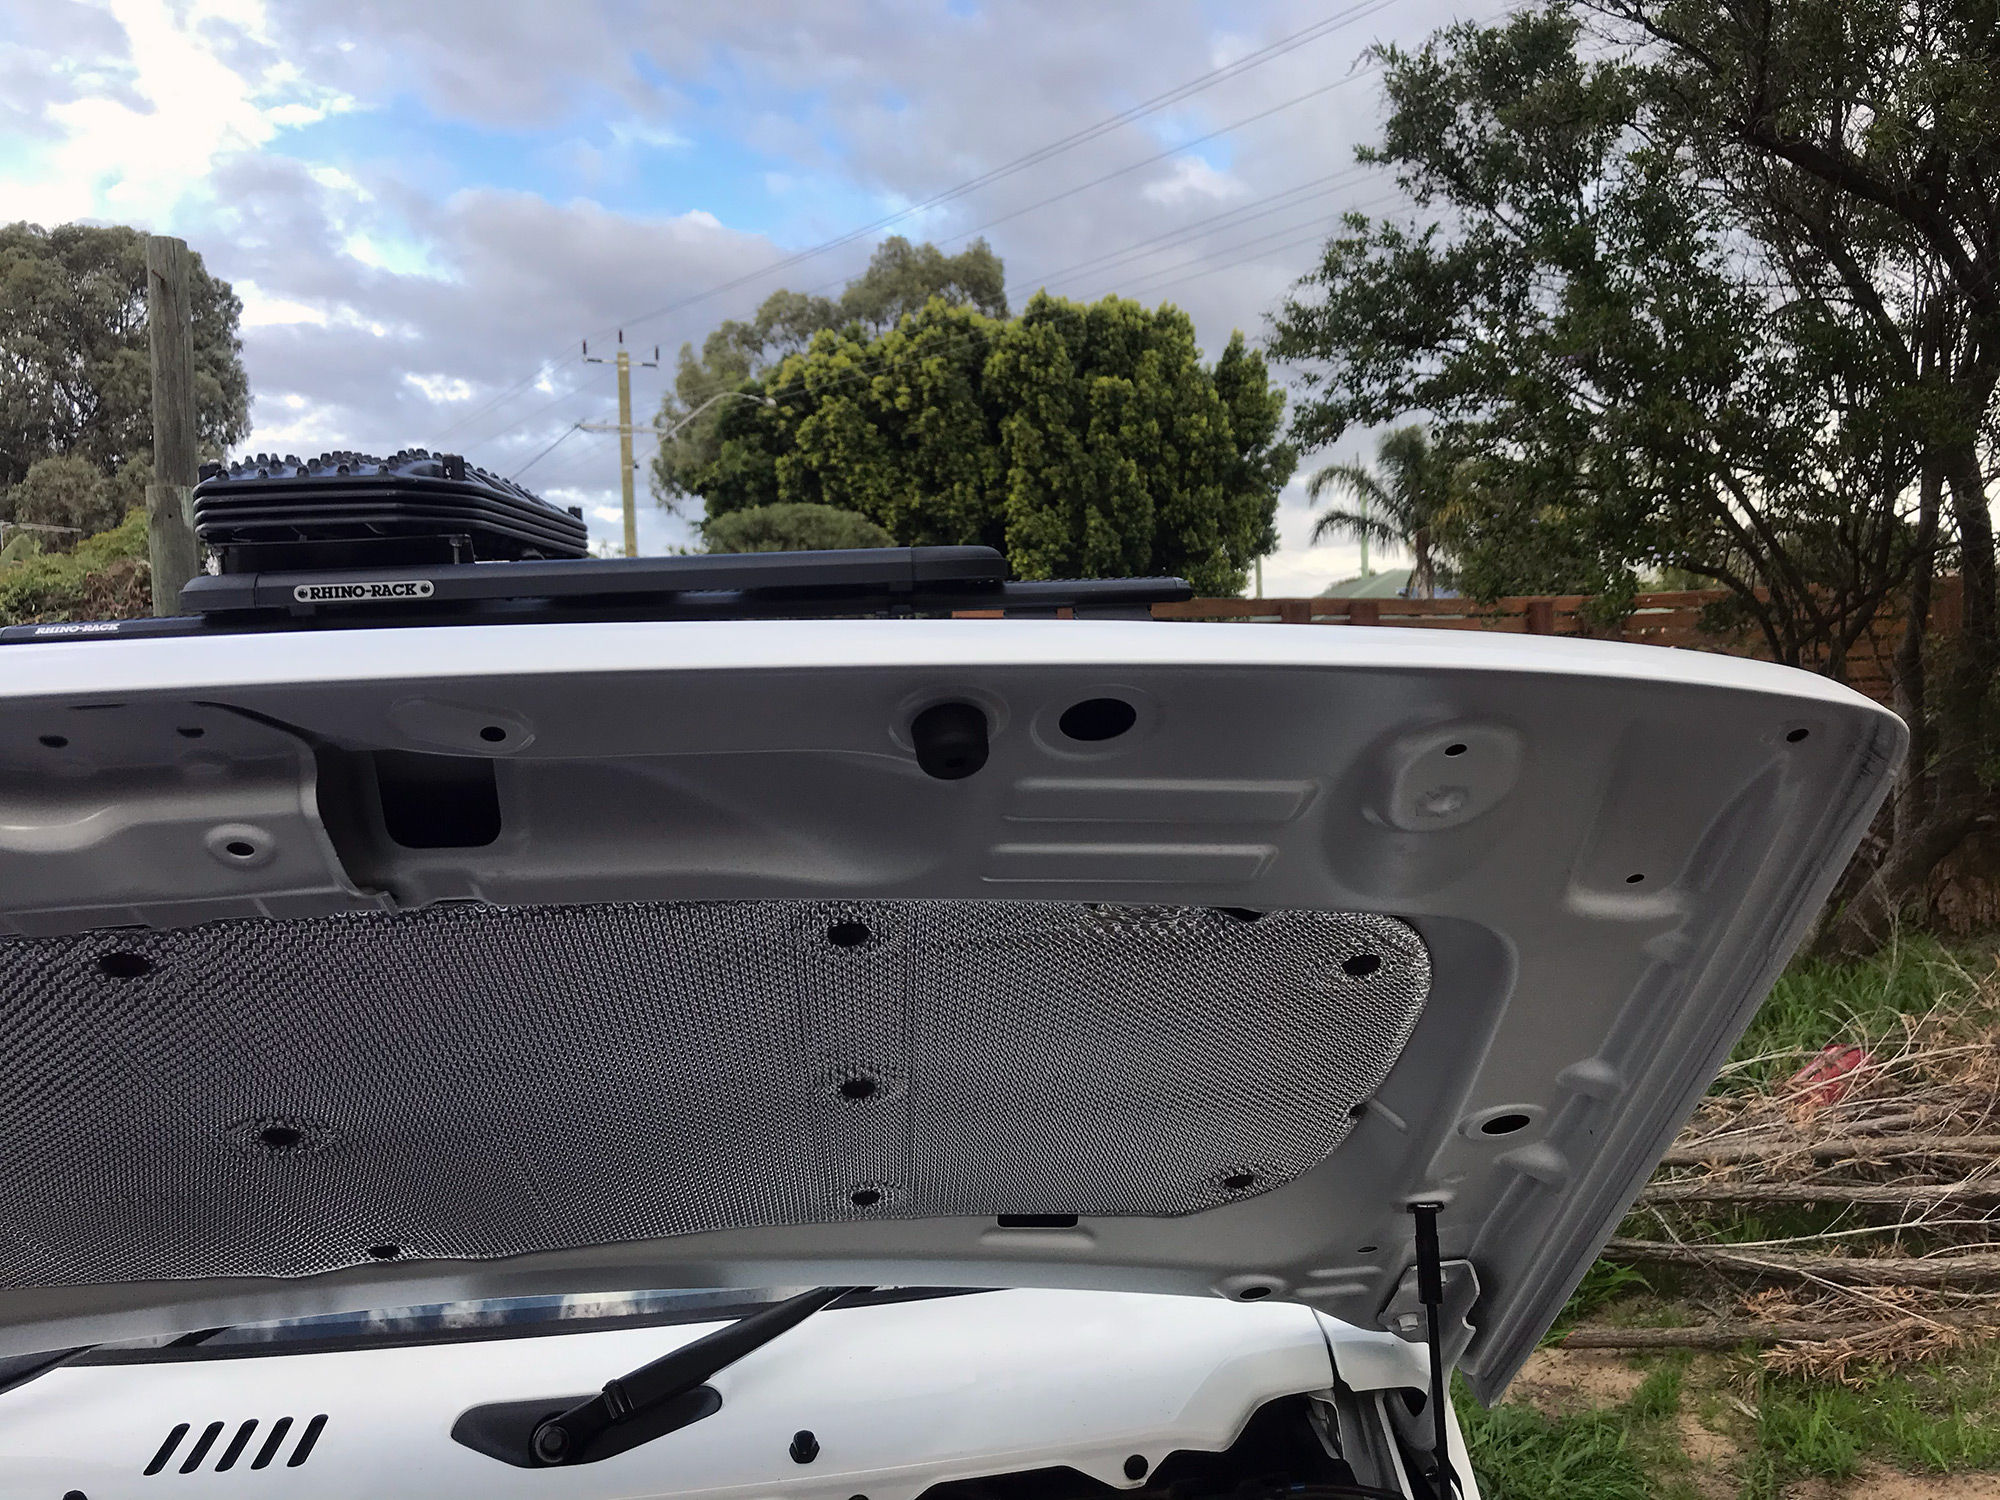
You want to start by lining up the protector to see where the 4 holes in it go; these holes show you where the mounts go and you’ll be sticking some protection film there so the mounts don’t rub through the paint on the bonnet.
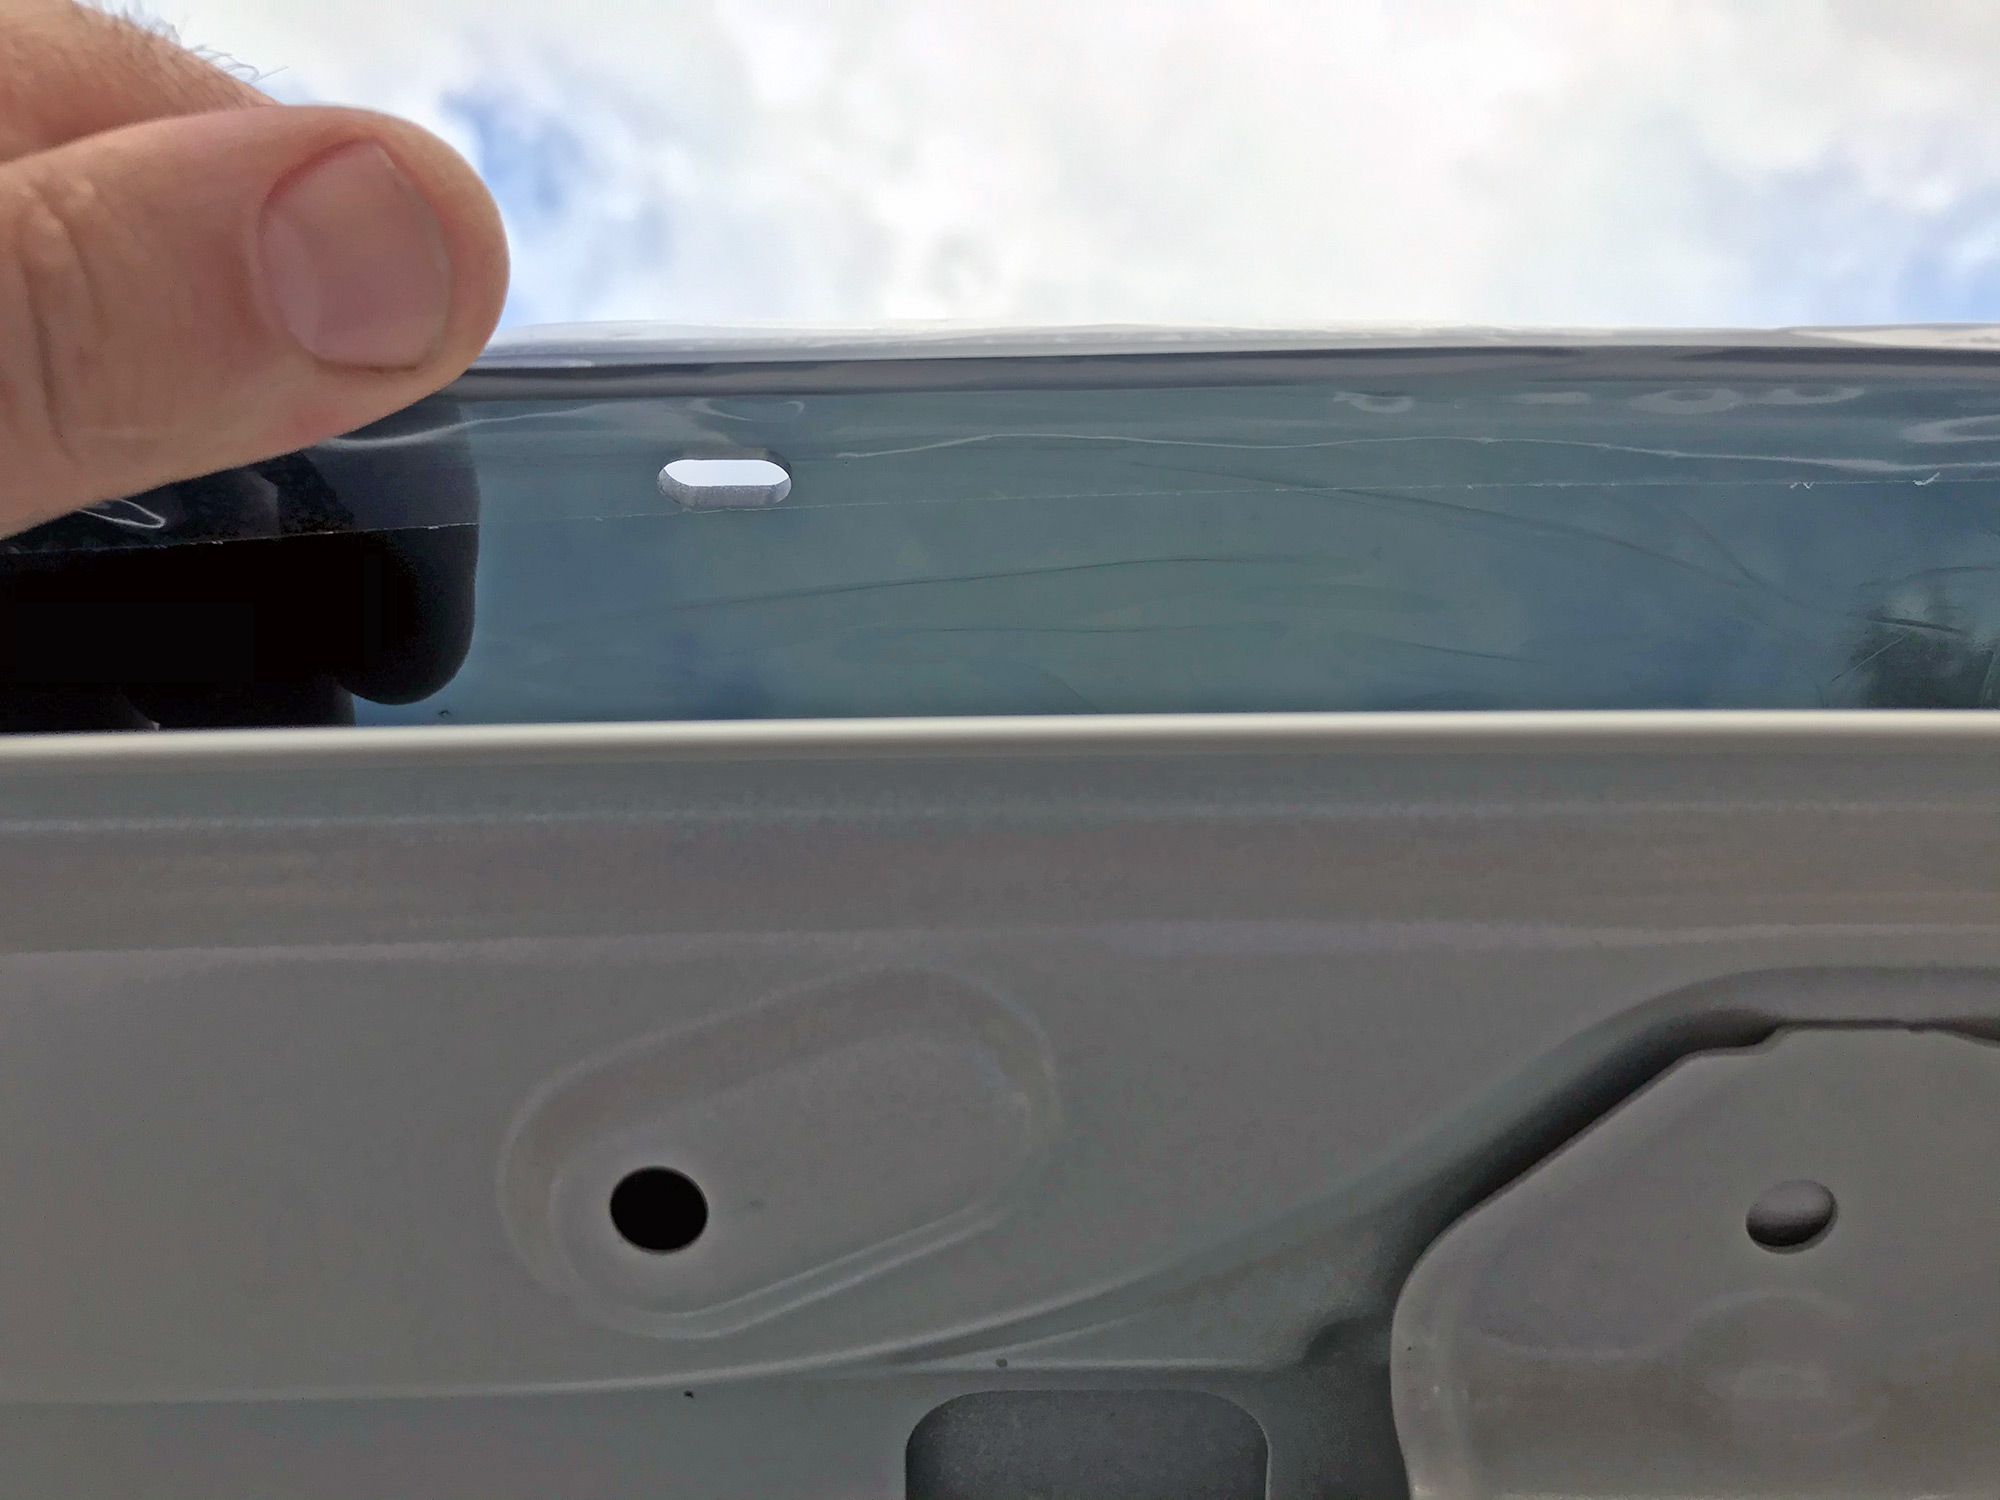
A couple of the holes line up with these raised impressions and their holes, so that helps verify where it will go.
Also check the alignment side to side and make some marks underneath where each hole in the bonnet protector will go to help you know where to prep for adhesive.
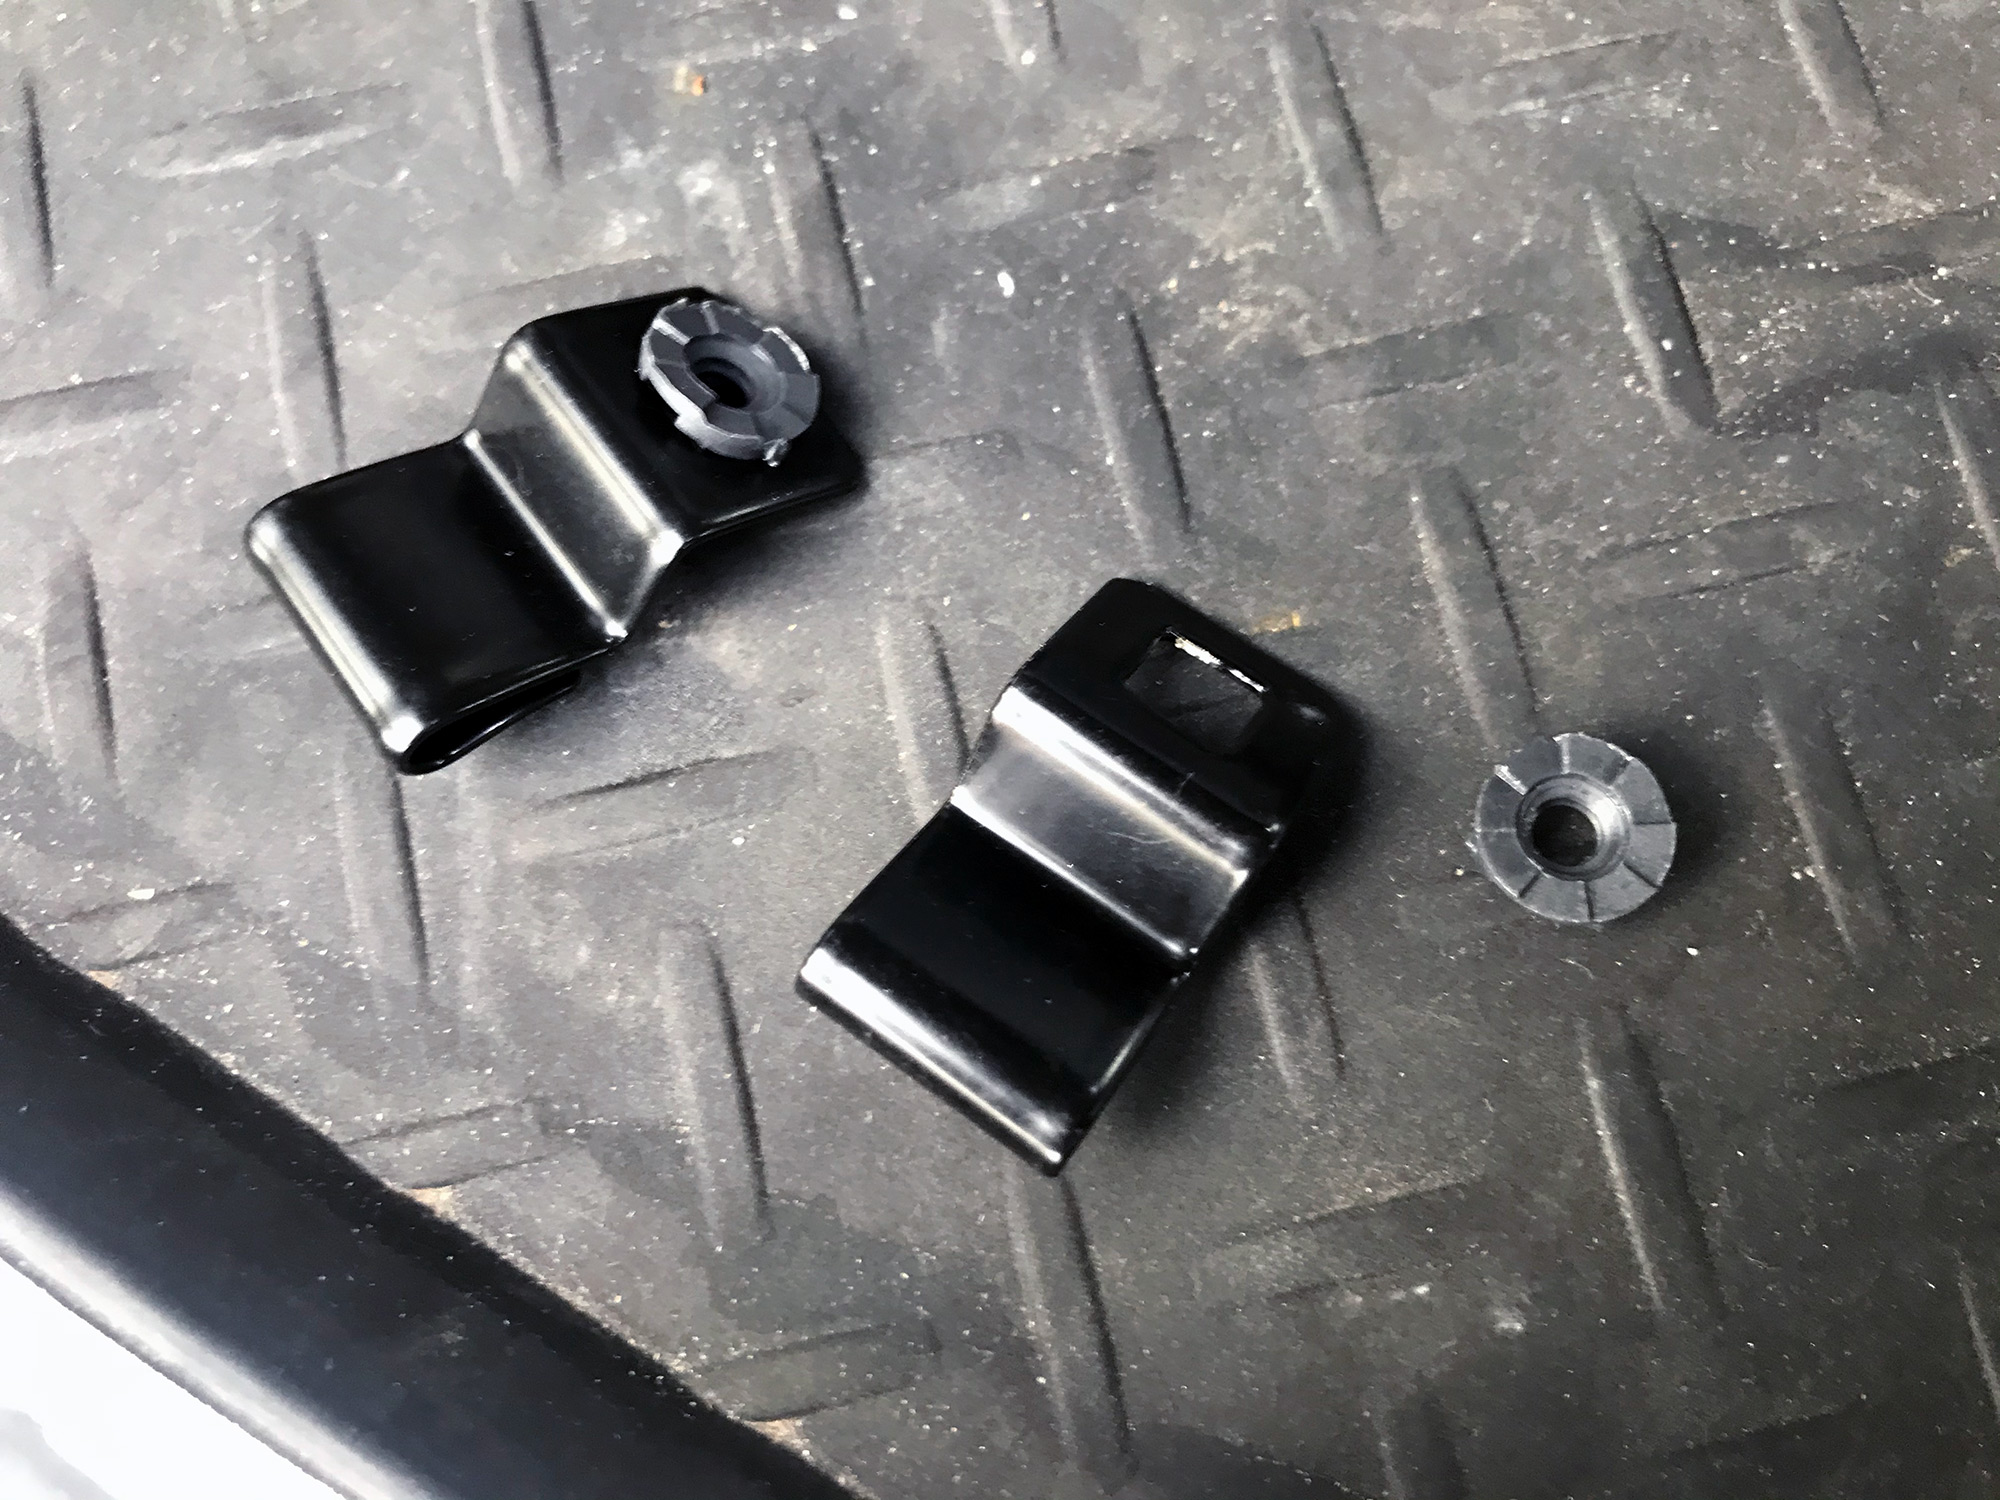
It’s a good time now to look at the hardware provided to understand how this will be held on.

There are a couple of larger and a couple of smaller mounts that clip onto the leading edge of the bonnet. Two use plastic mounts and screws to hold them, and two just press onto the bonnet. There are also 8 clear protection film pads. The larger protection film pads are used for the mounts, and the smaller ones where there are 4 plastic knobs on the underside of the top of the bonnet protector to stop them rubbing your paint off, too. Quite a well thought out kit really.
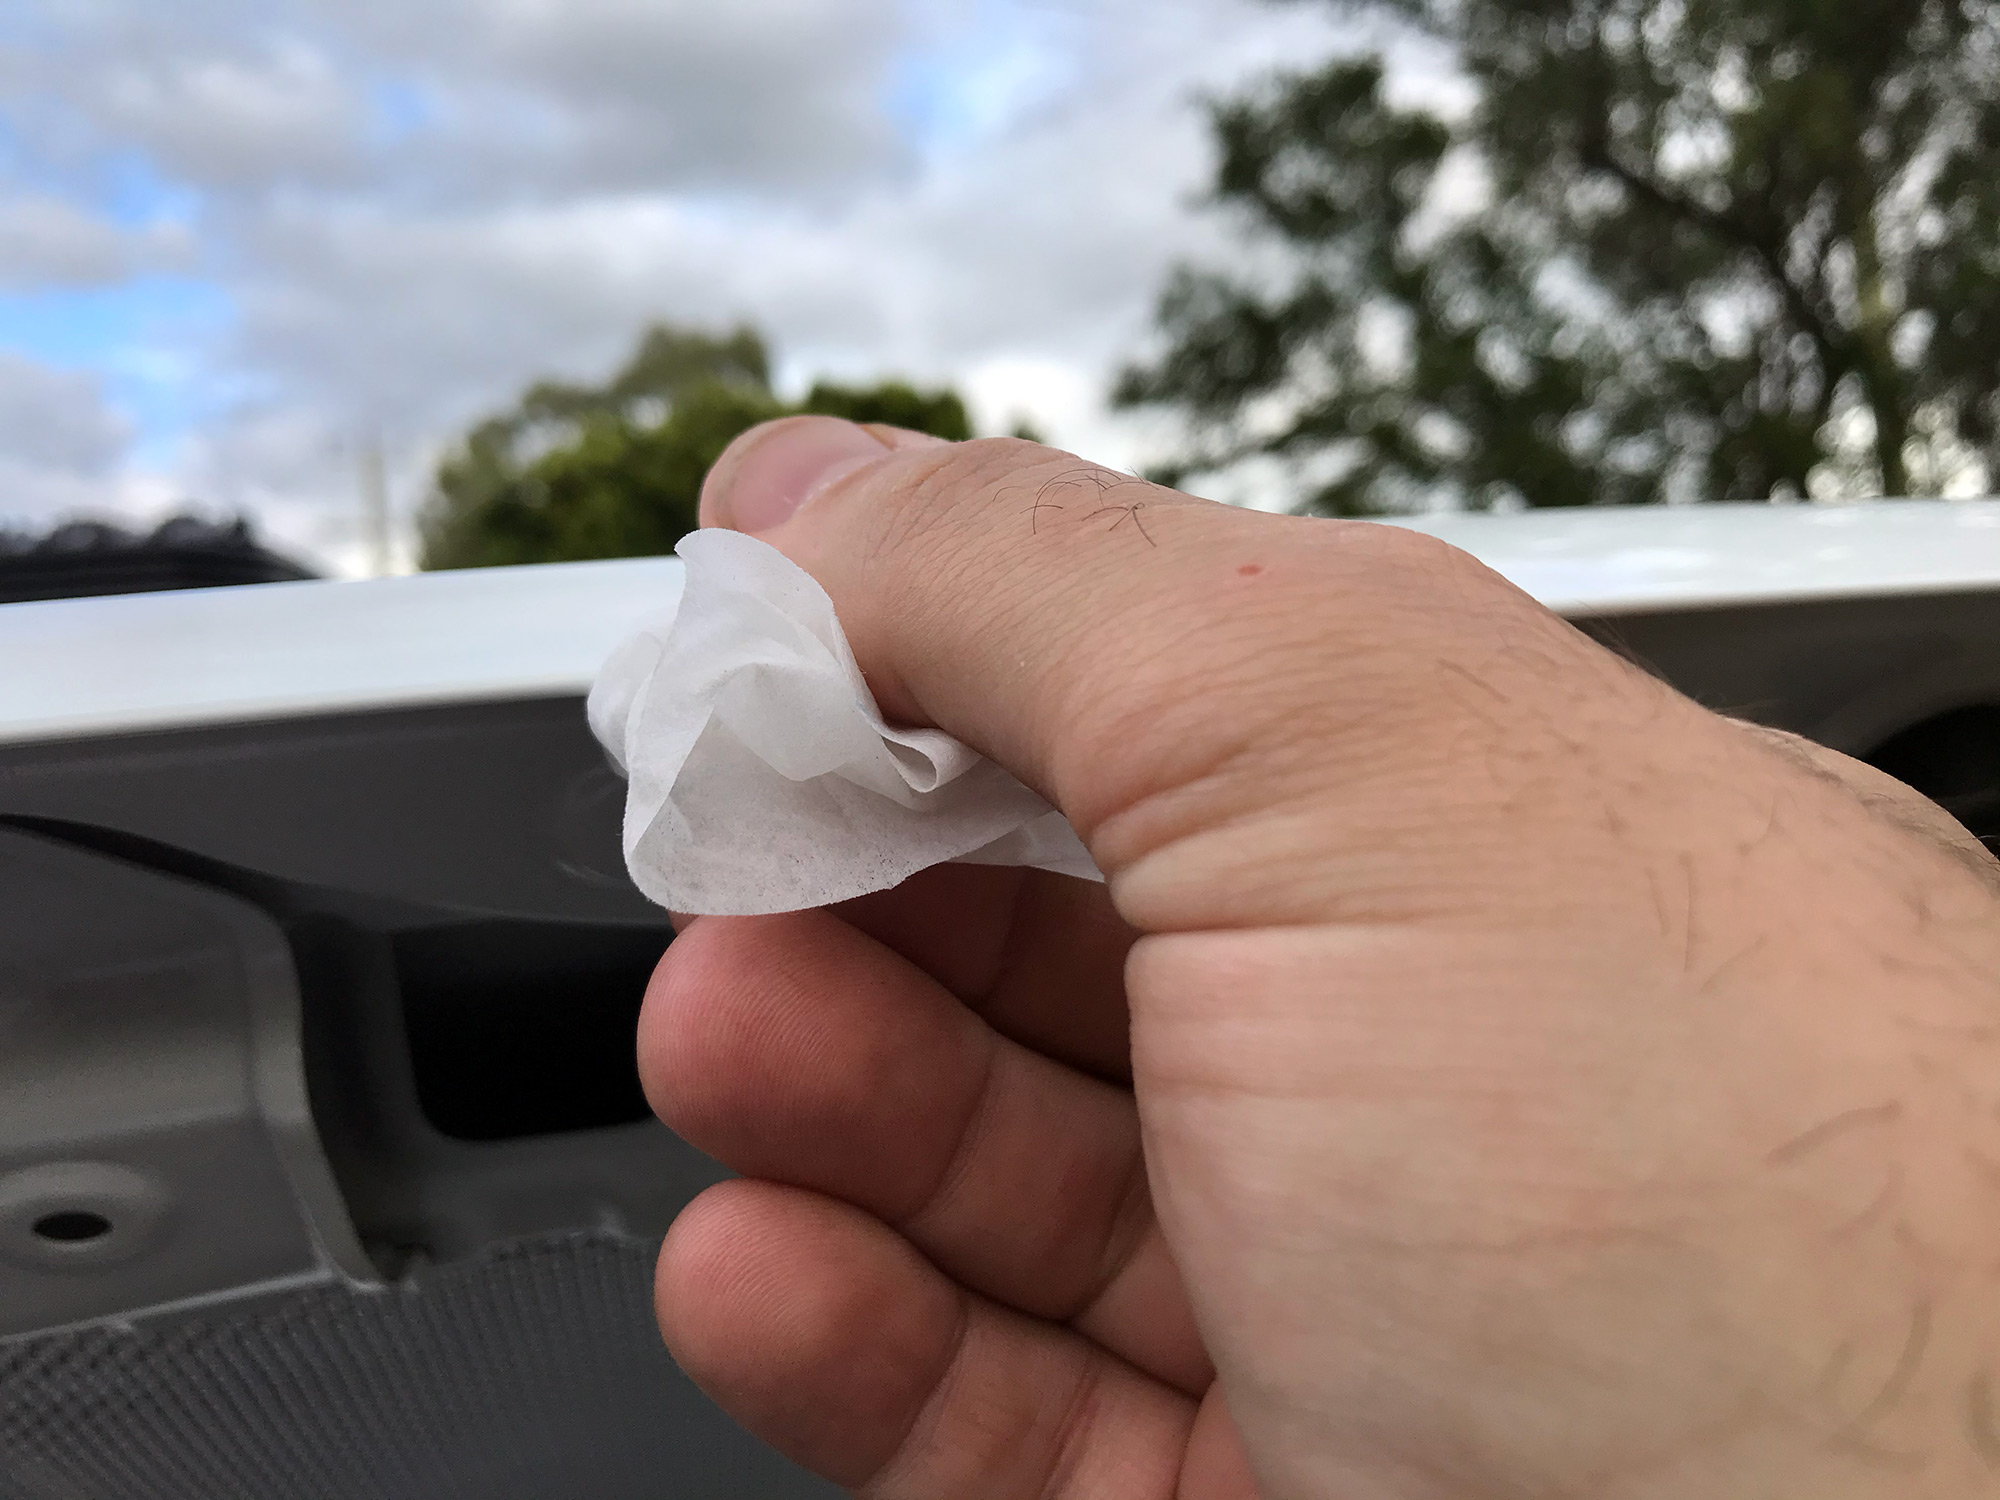
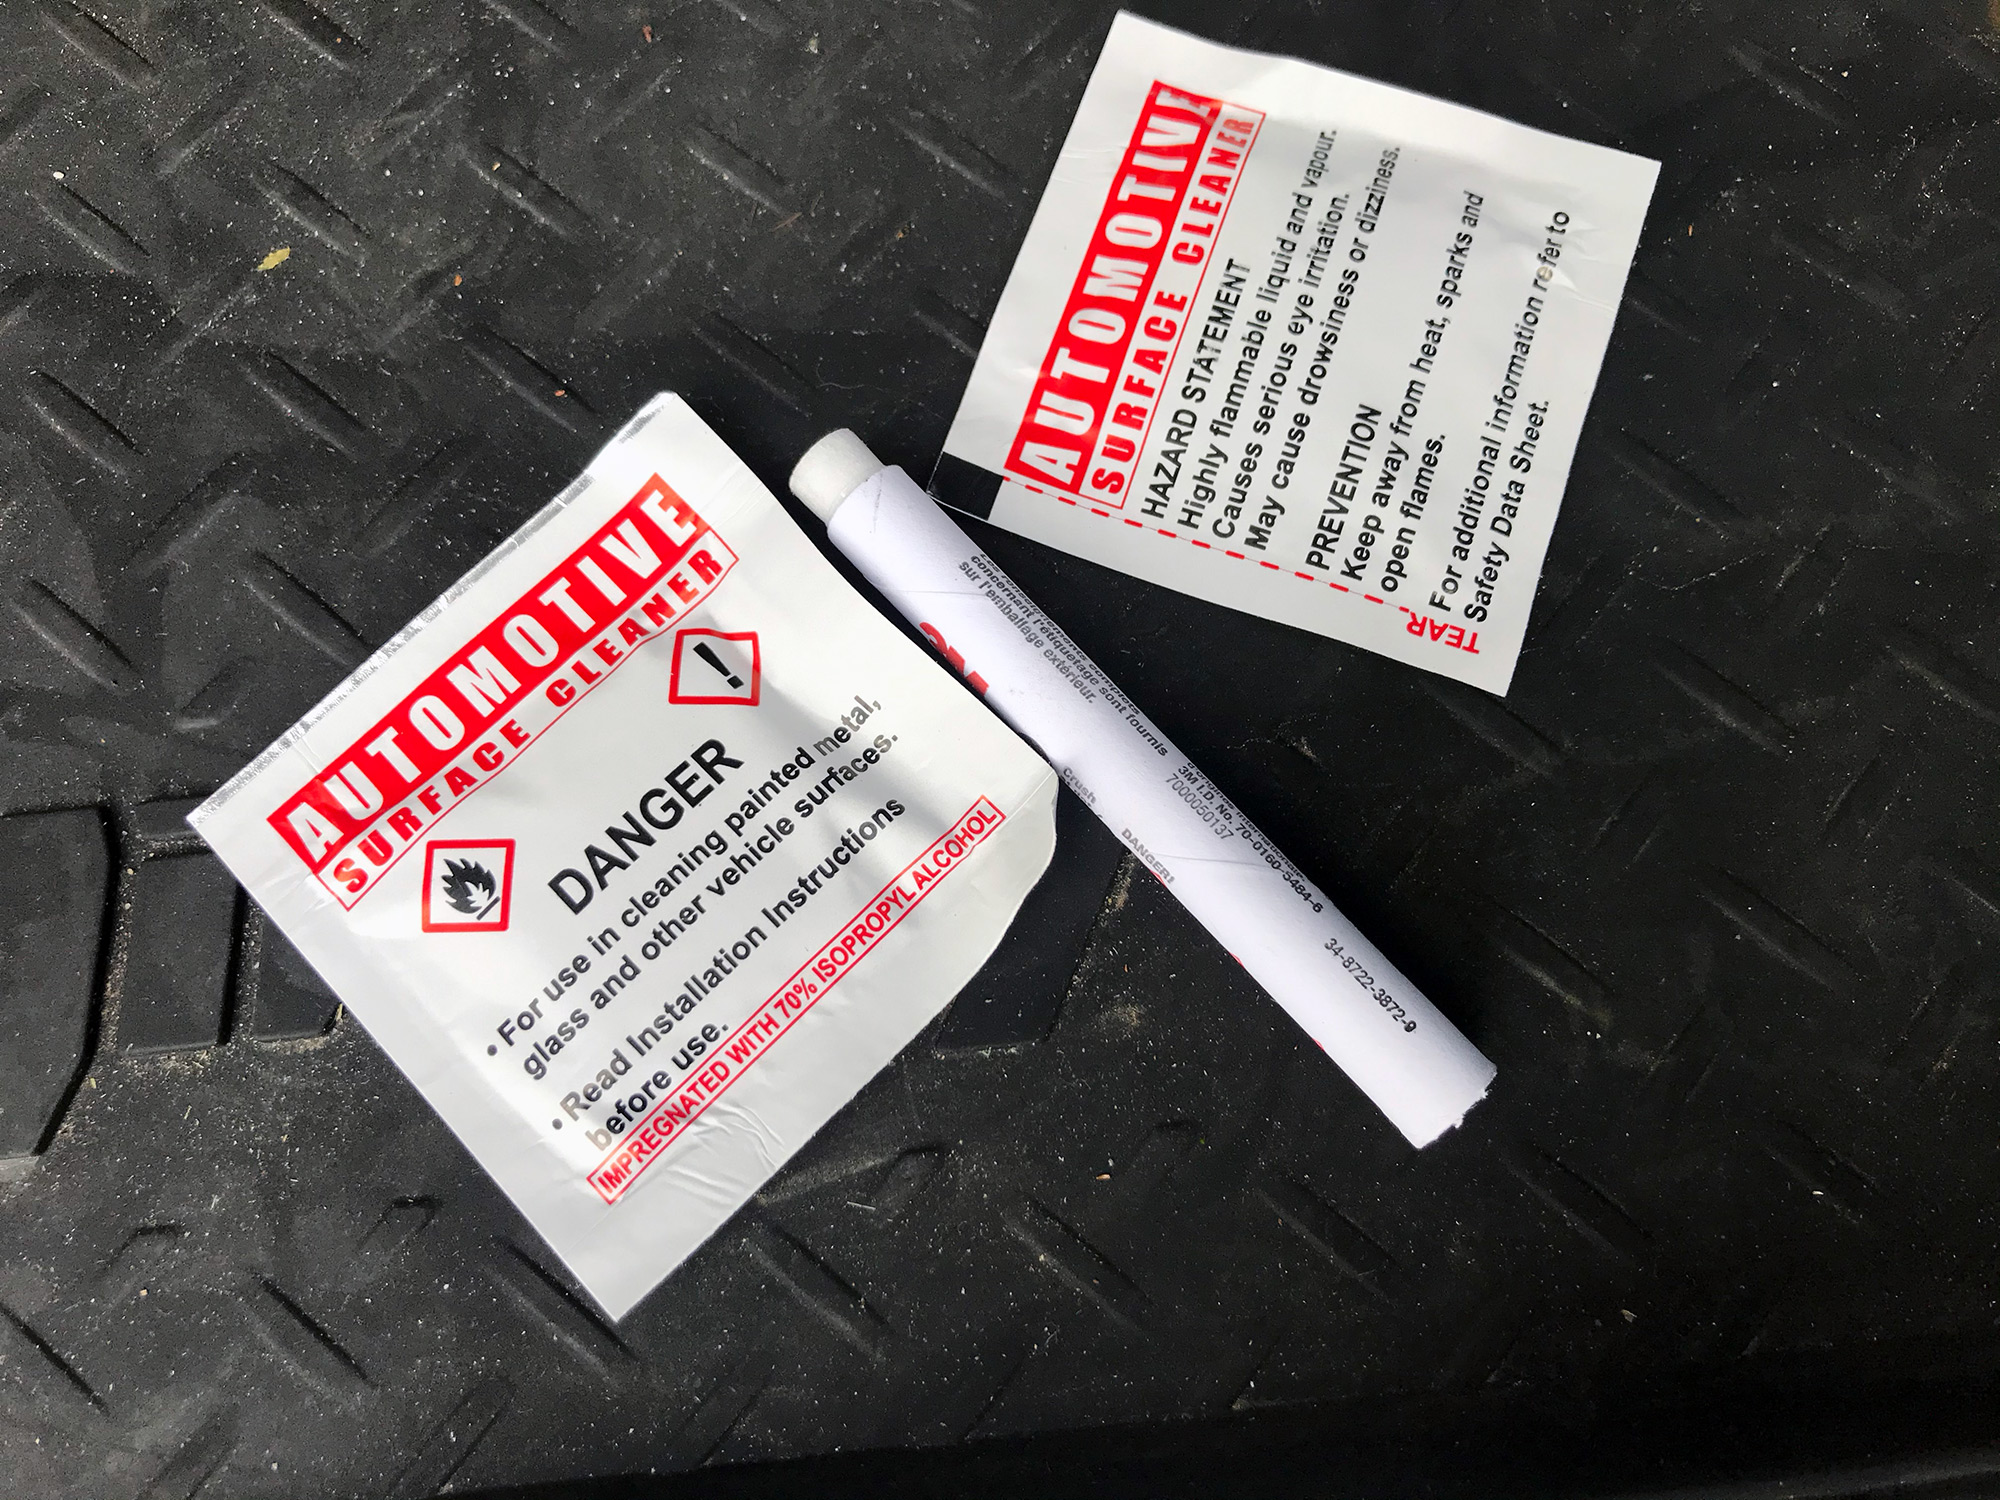
The factory kit comes with alcohol wipes to remove any grease or anything off the bonnet before you stick down the clear protection stickers.
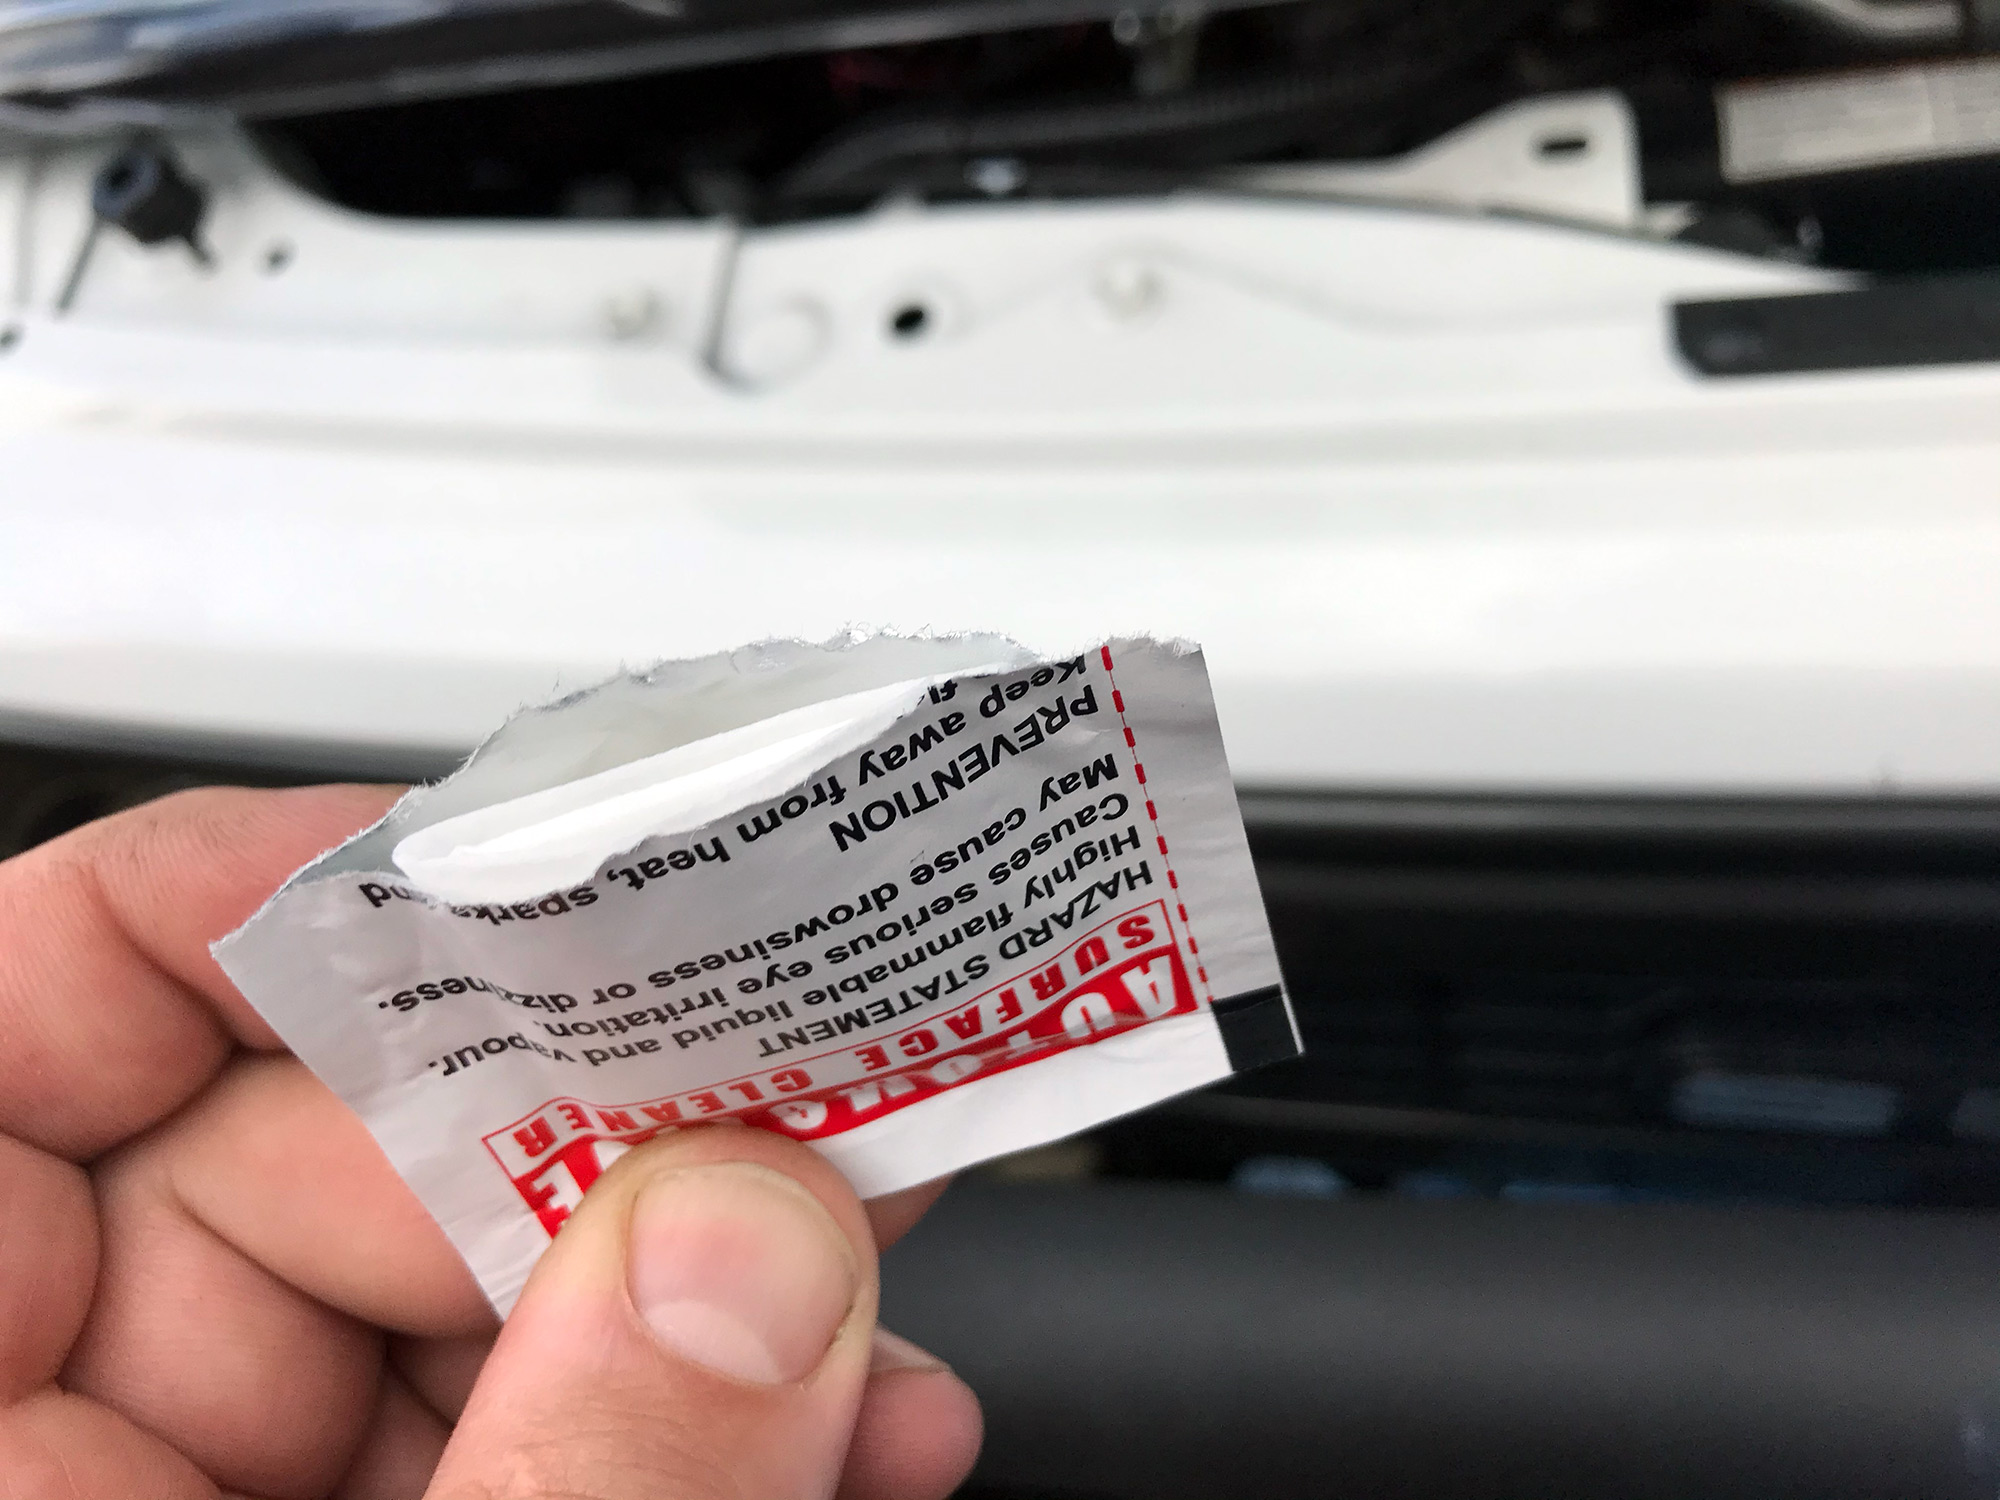
Give the bonnet – a bit top and bottom – a generous wipe with this wipe.
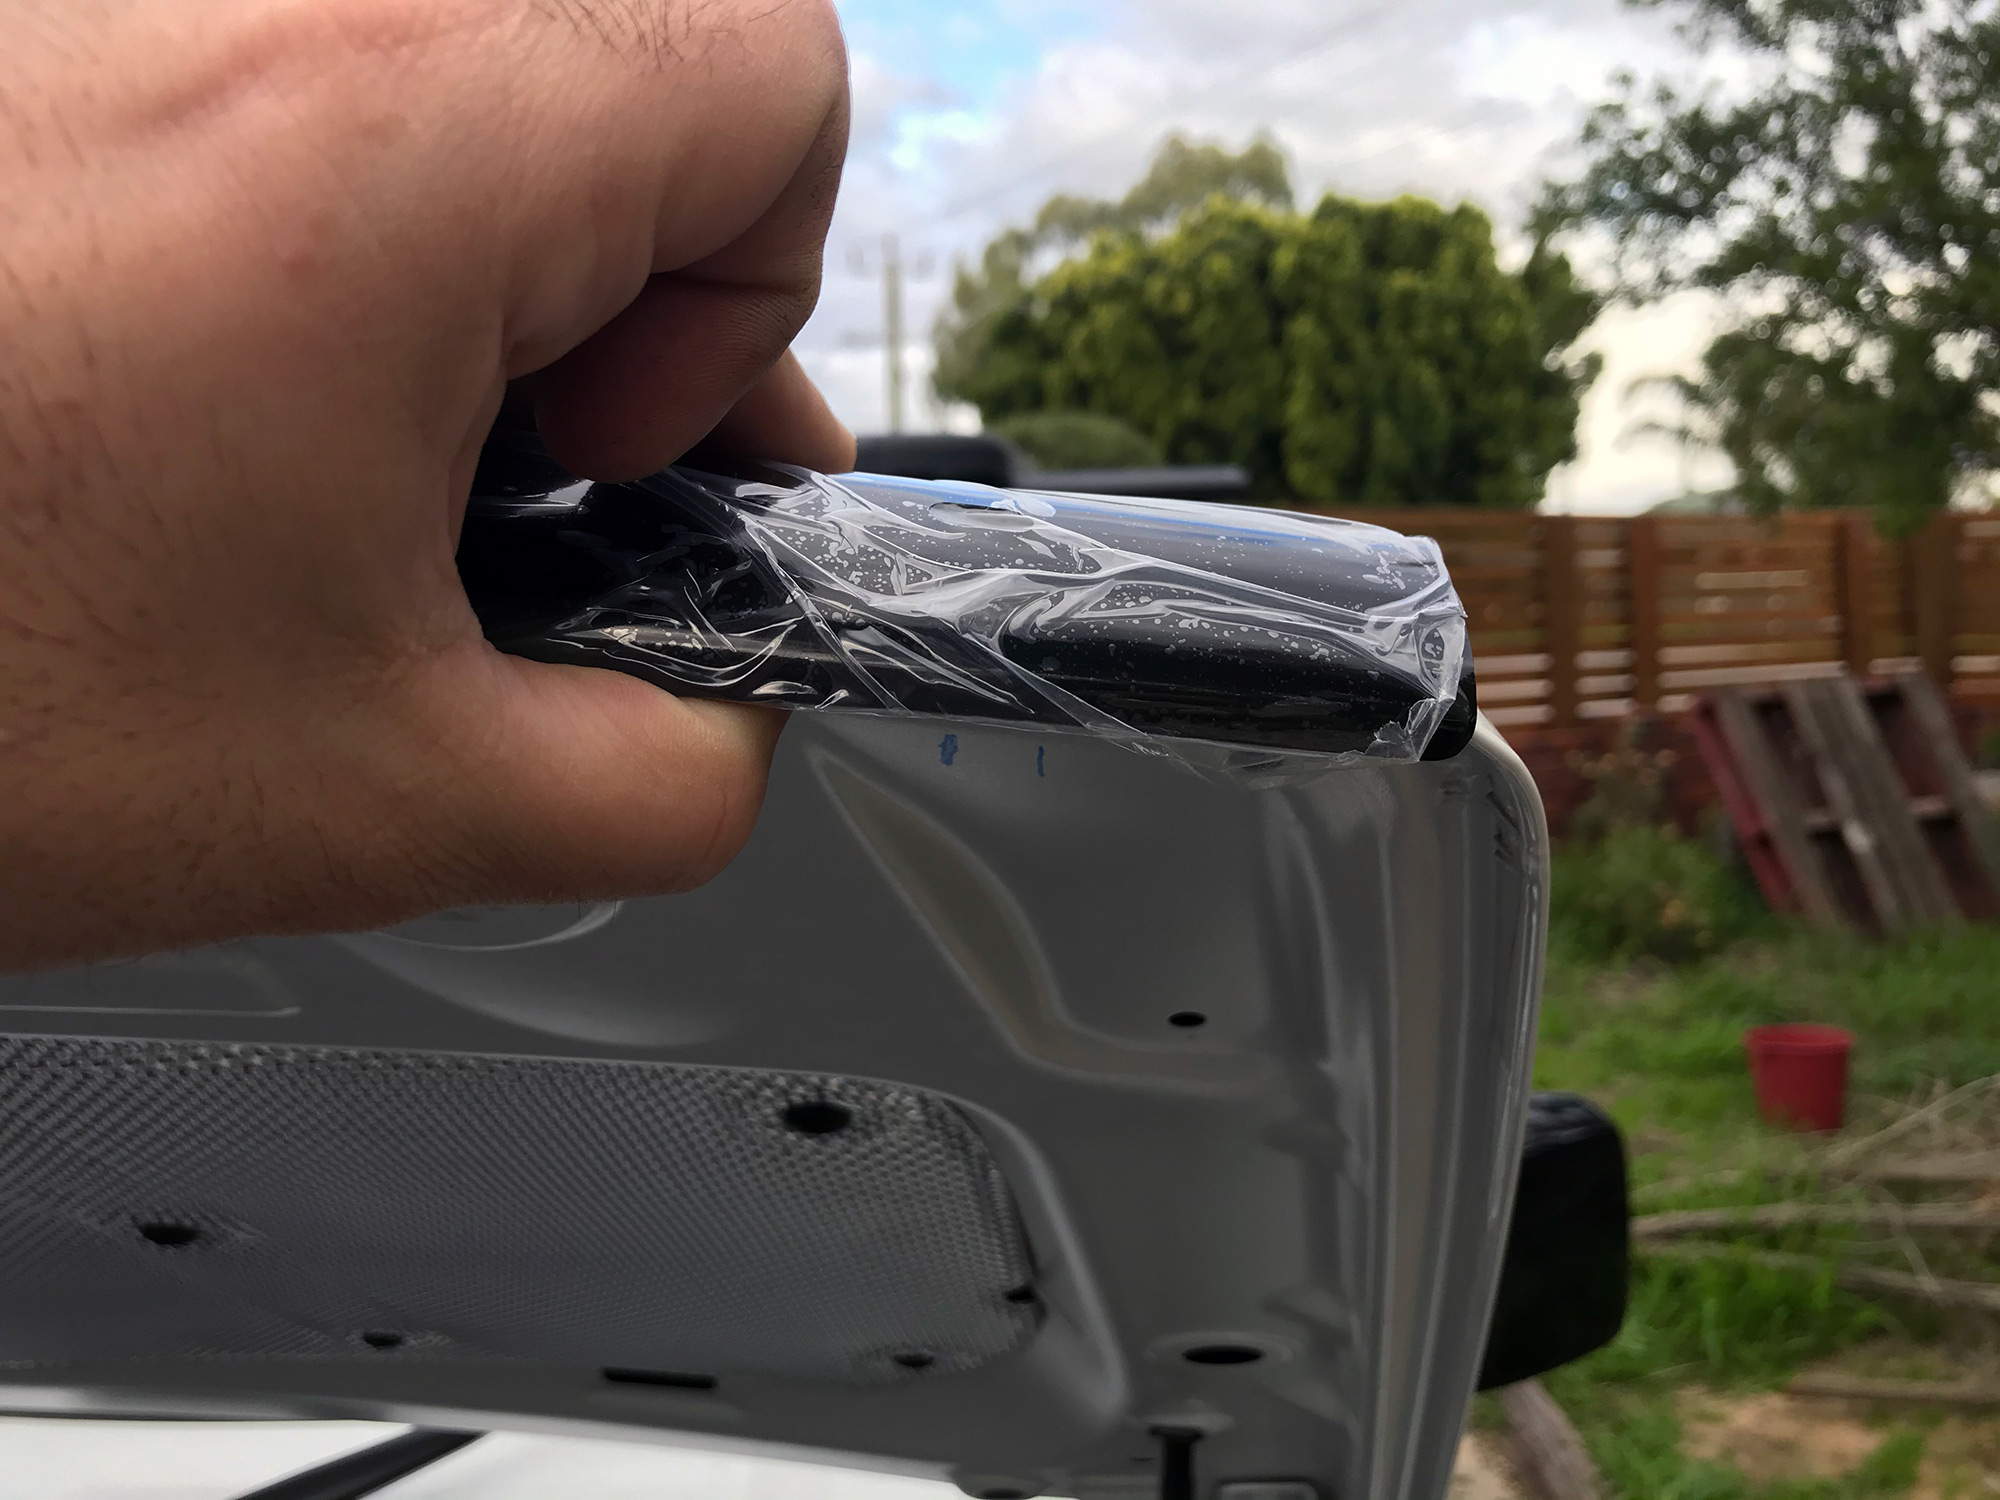
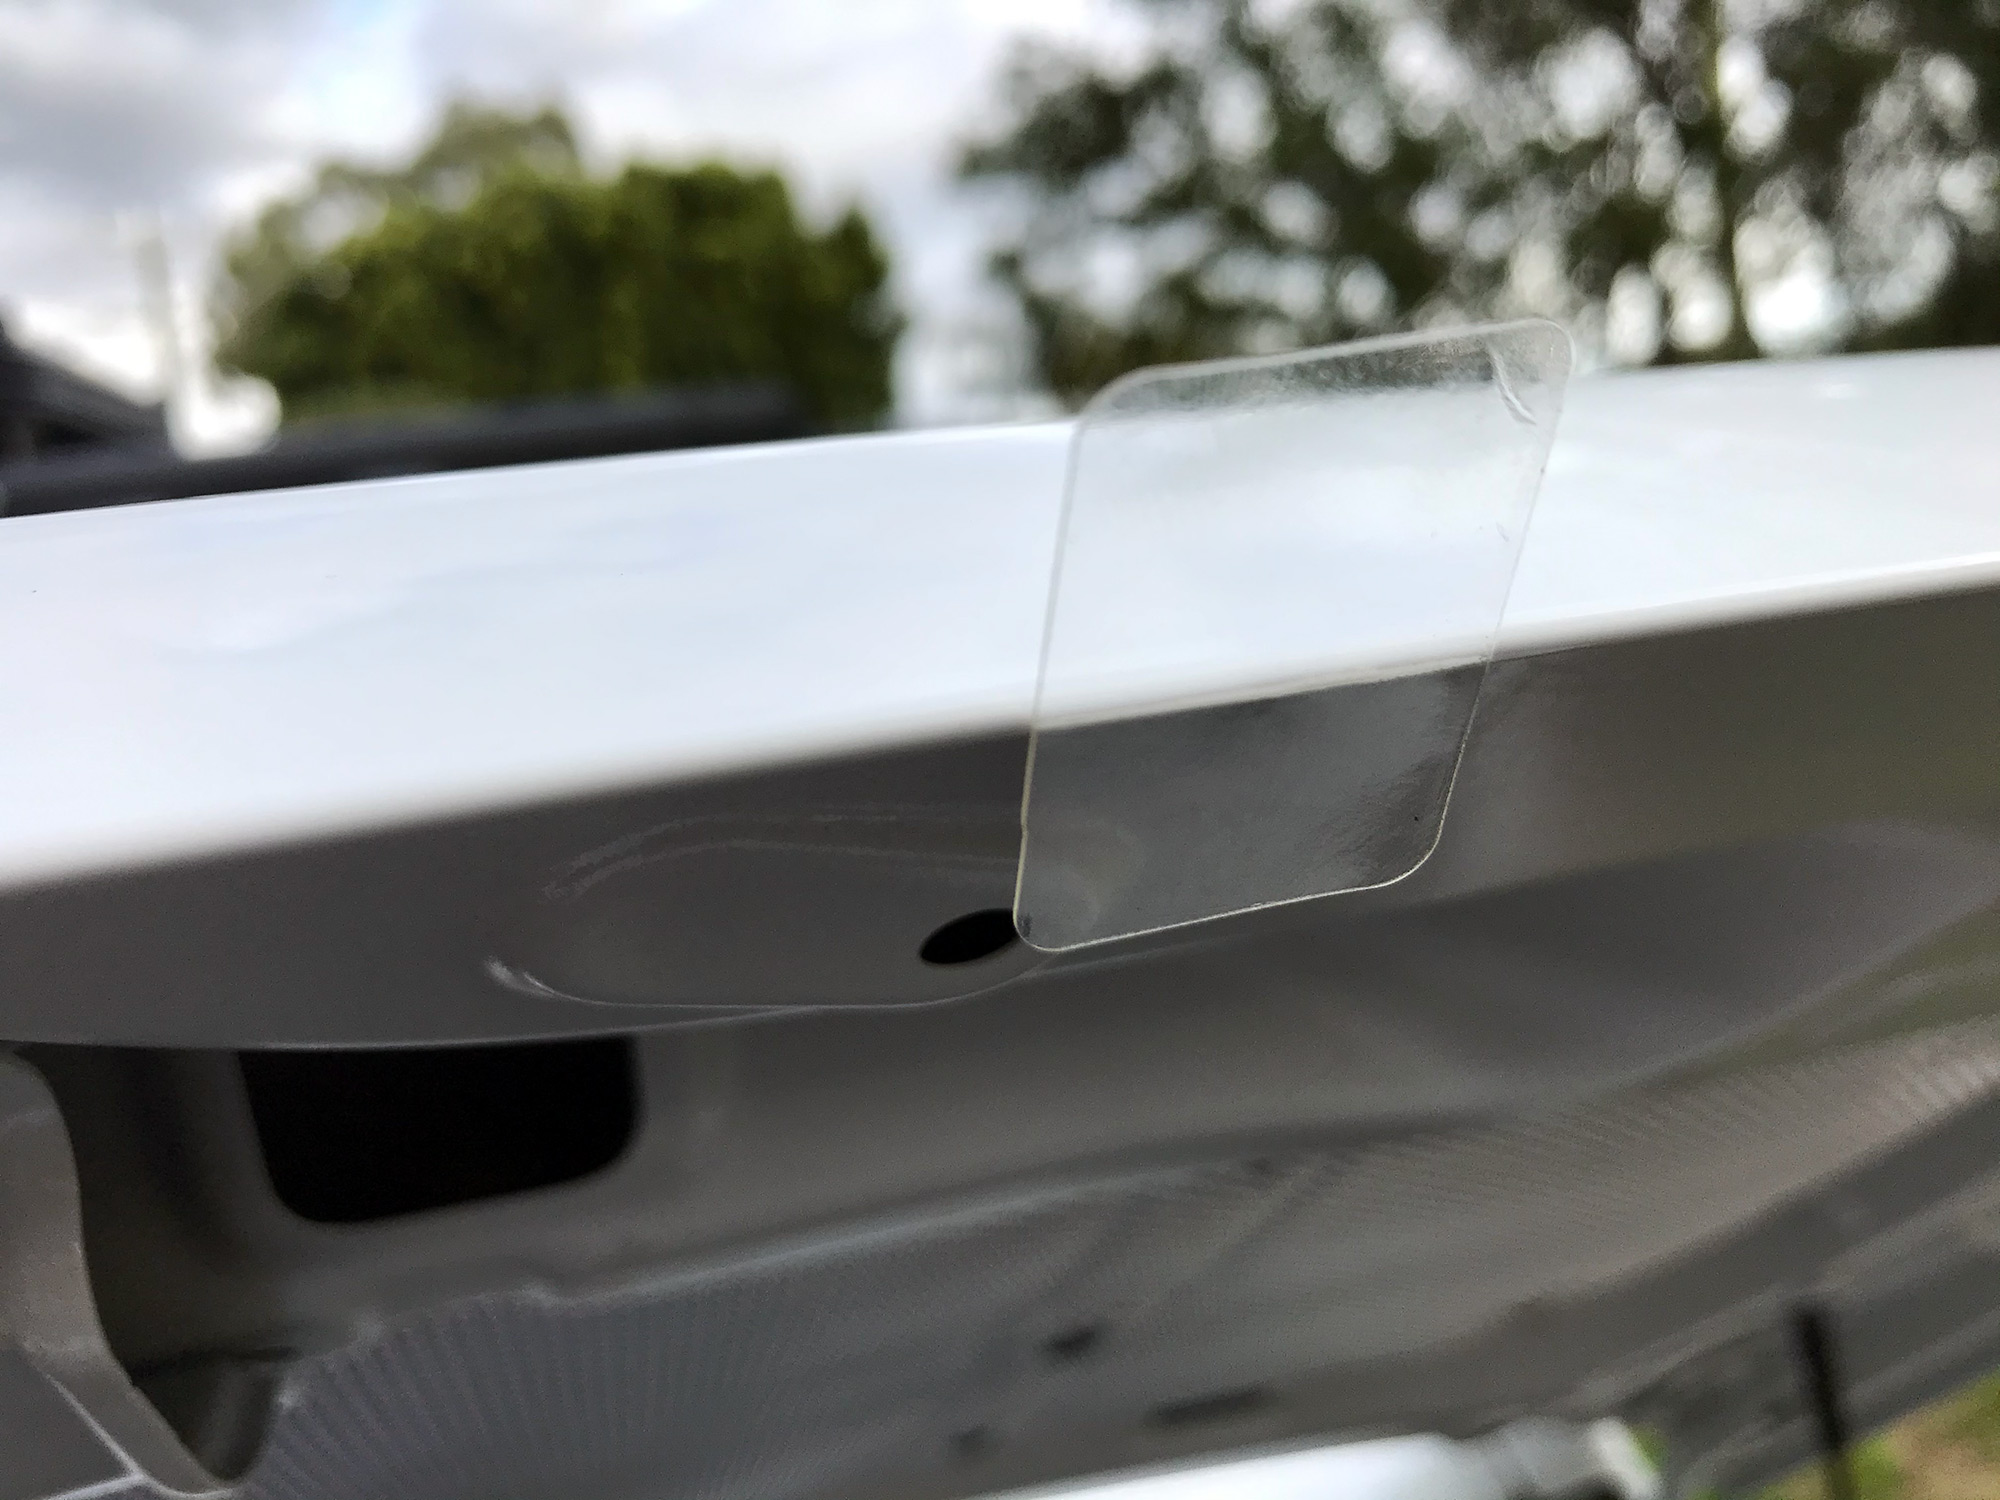
You’re now ready to stick on some of the protection film in each of the marked spots. Push it onto the edge of the bonnet and then push down both to the front and the underneath side of the bonnet.
On the parts where the larger mounts can go, start by putting them on and their little rubber screw thing into the top part.
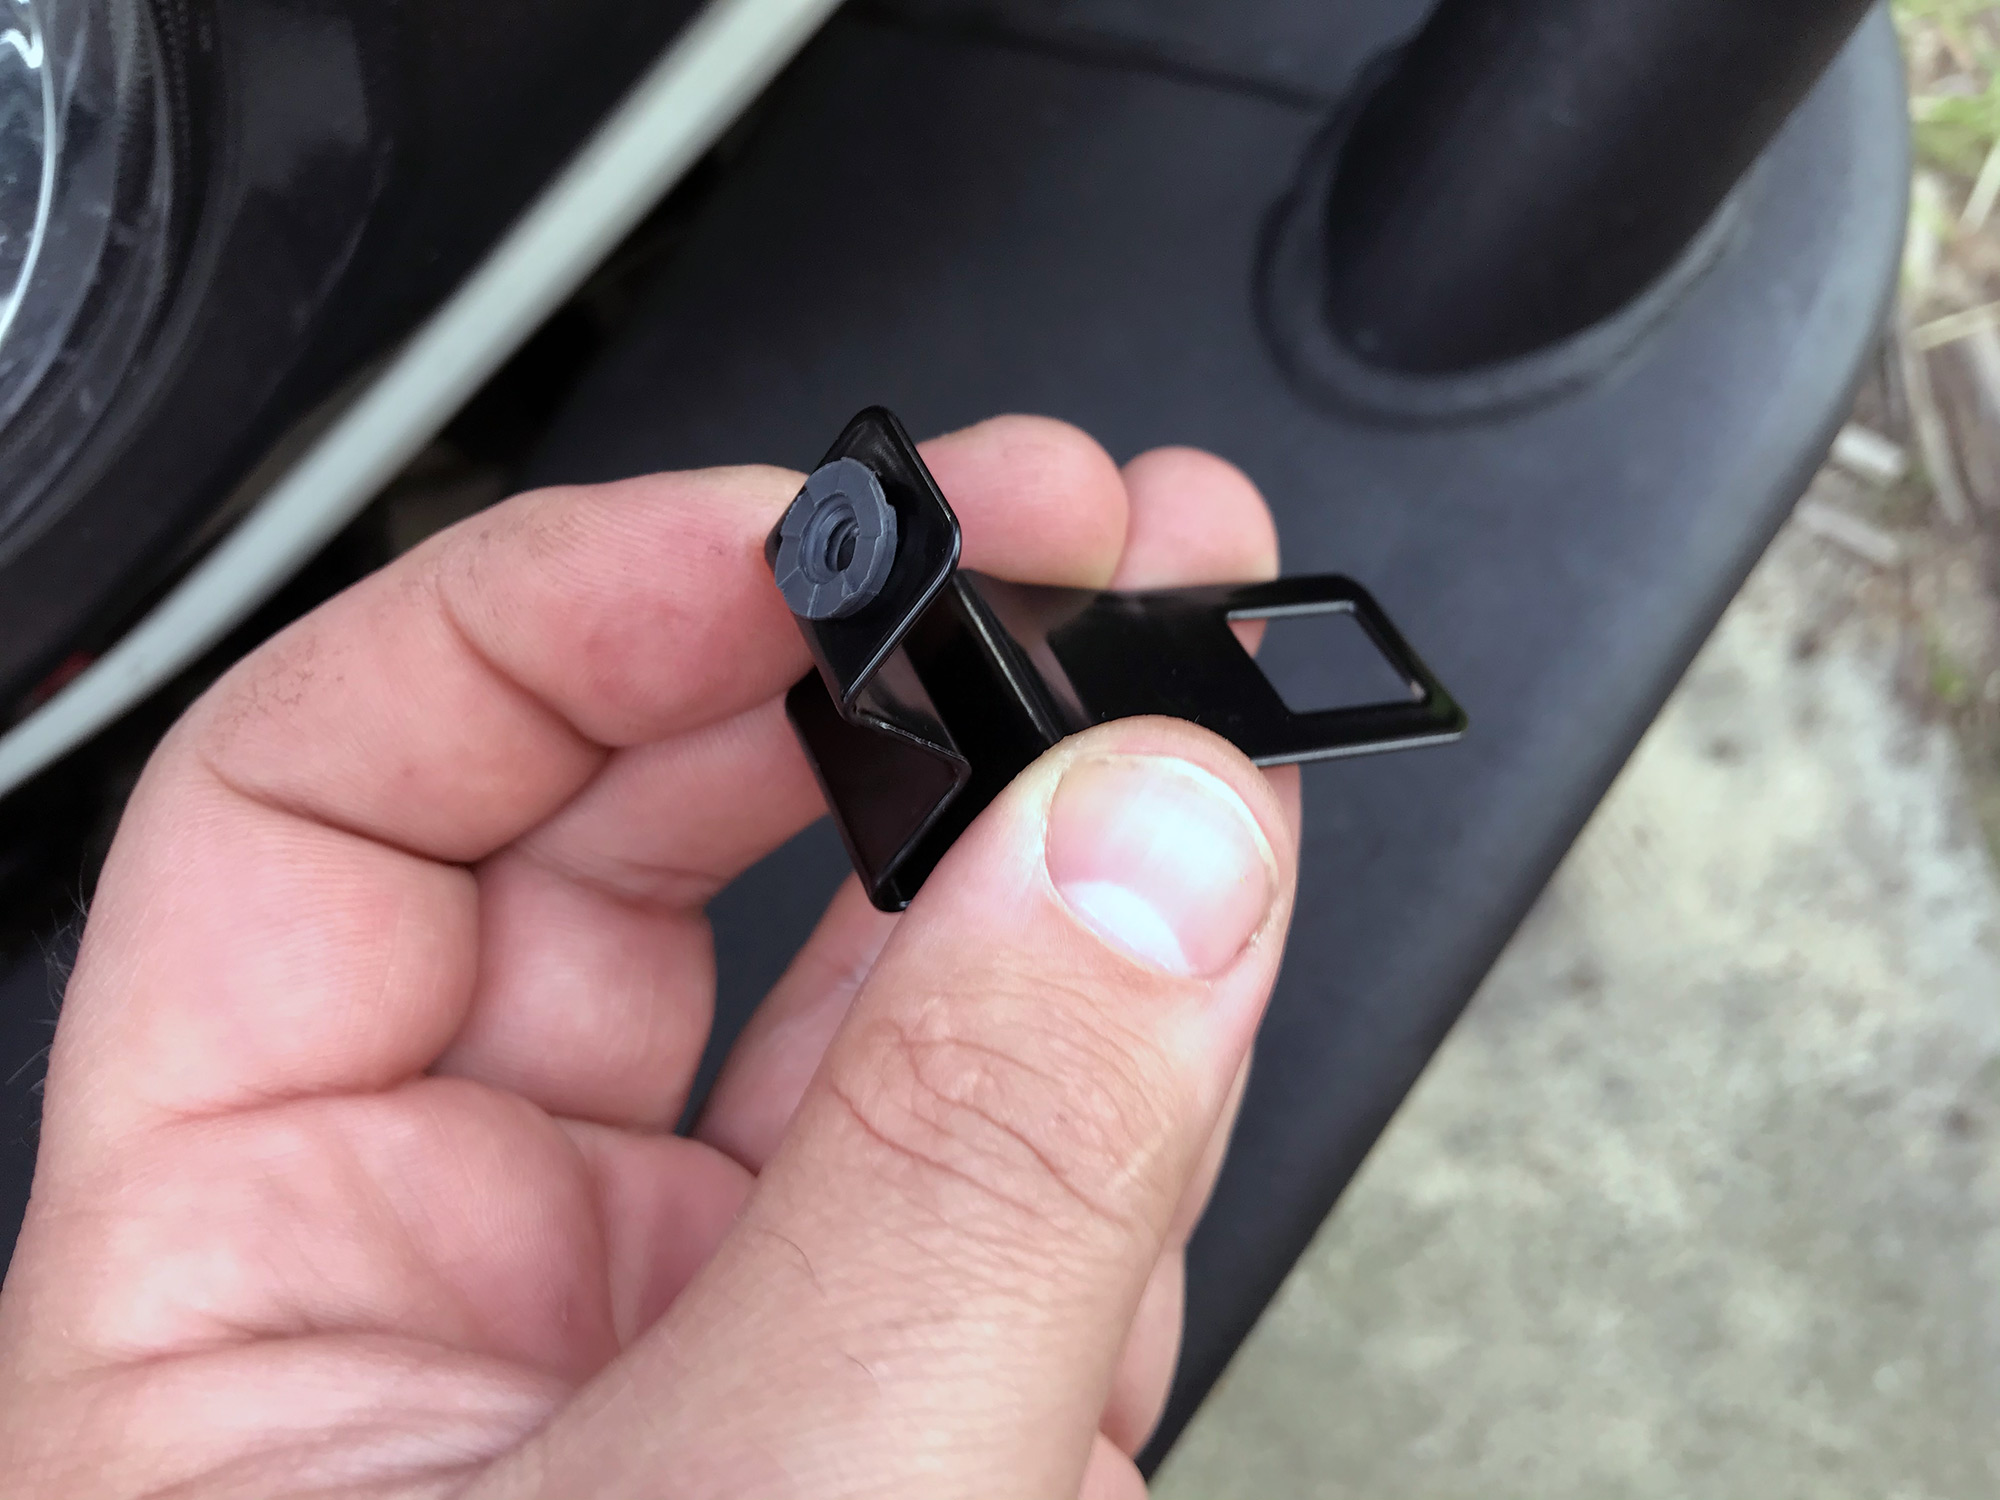
Then a little plastic thing goes into the hole in the bonnet which starts to act to retain the main mounts.
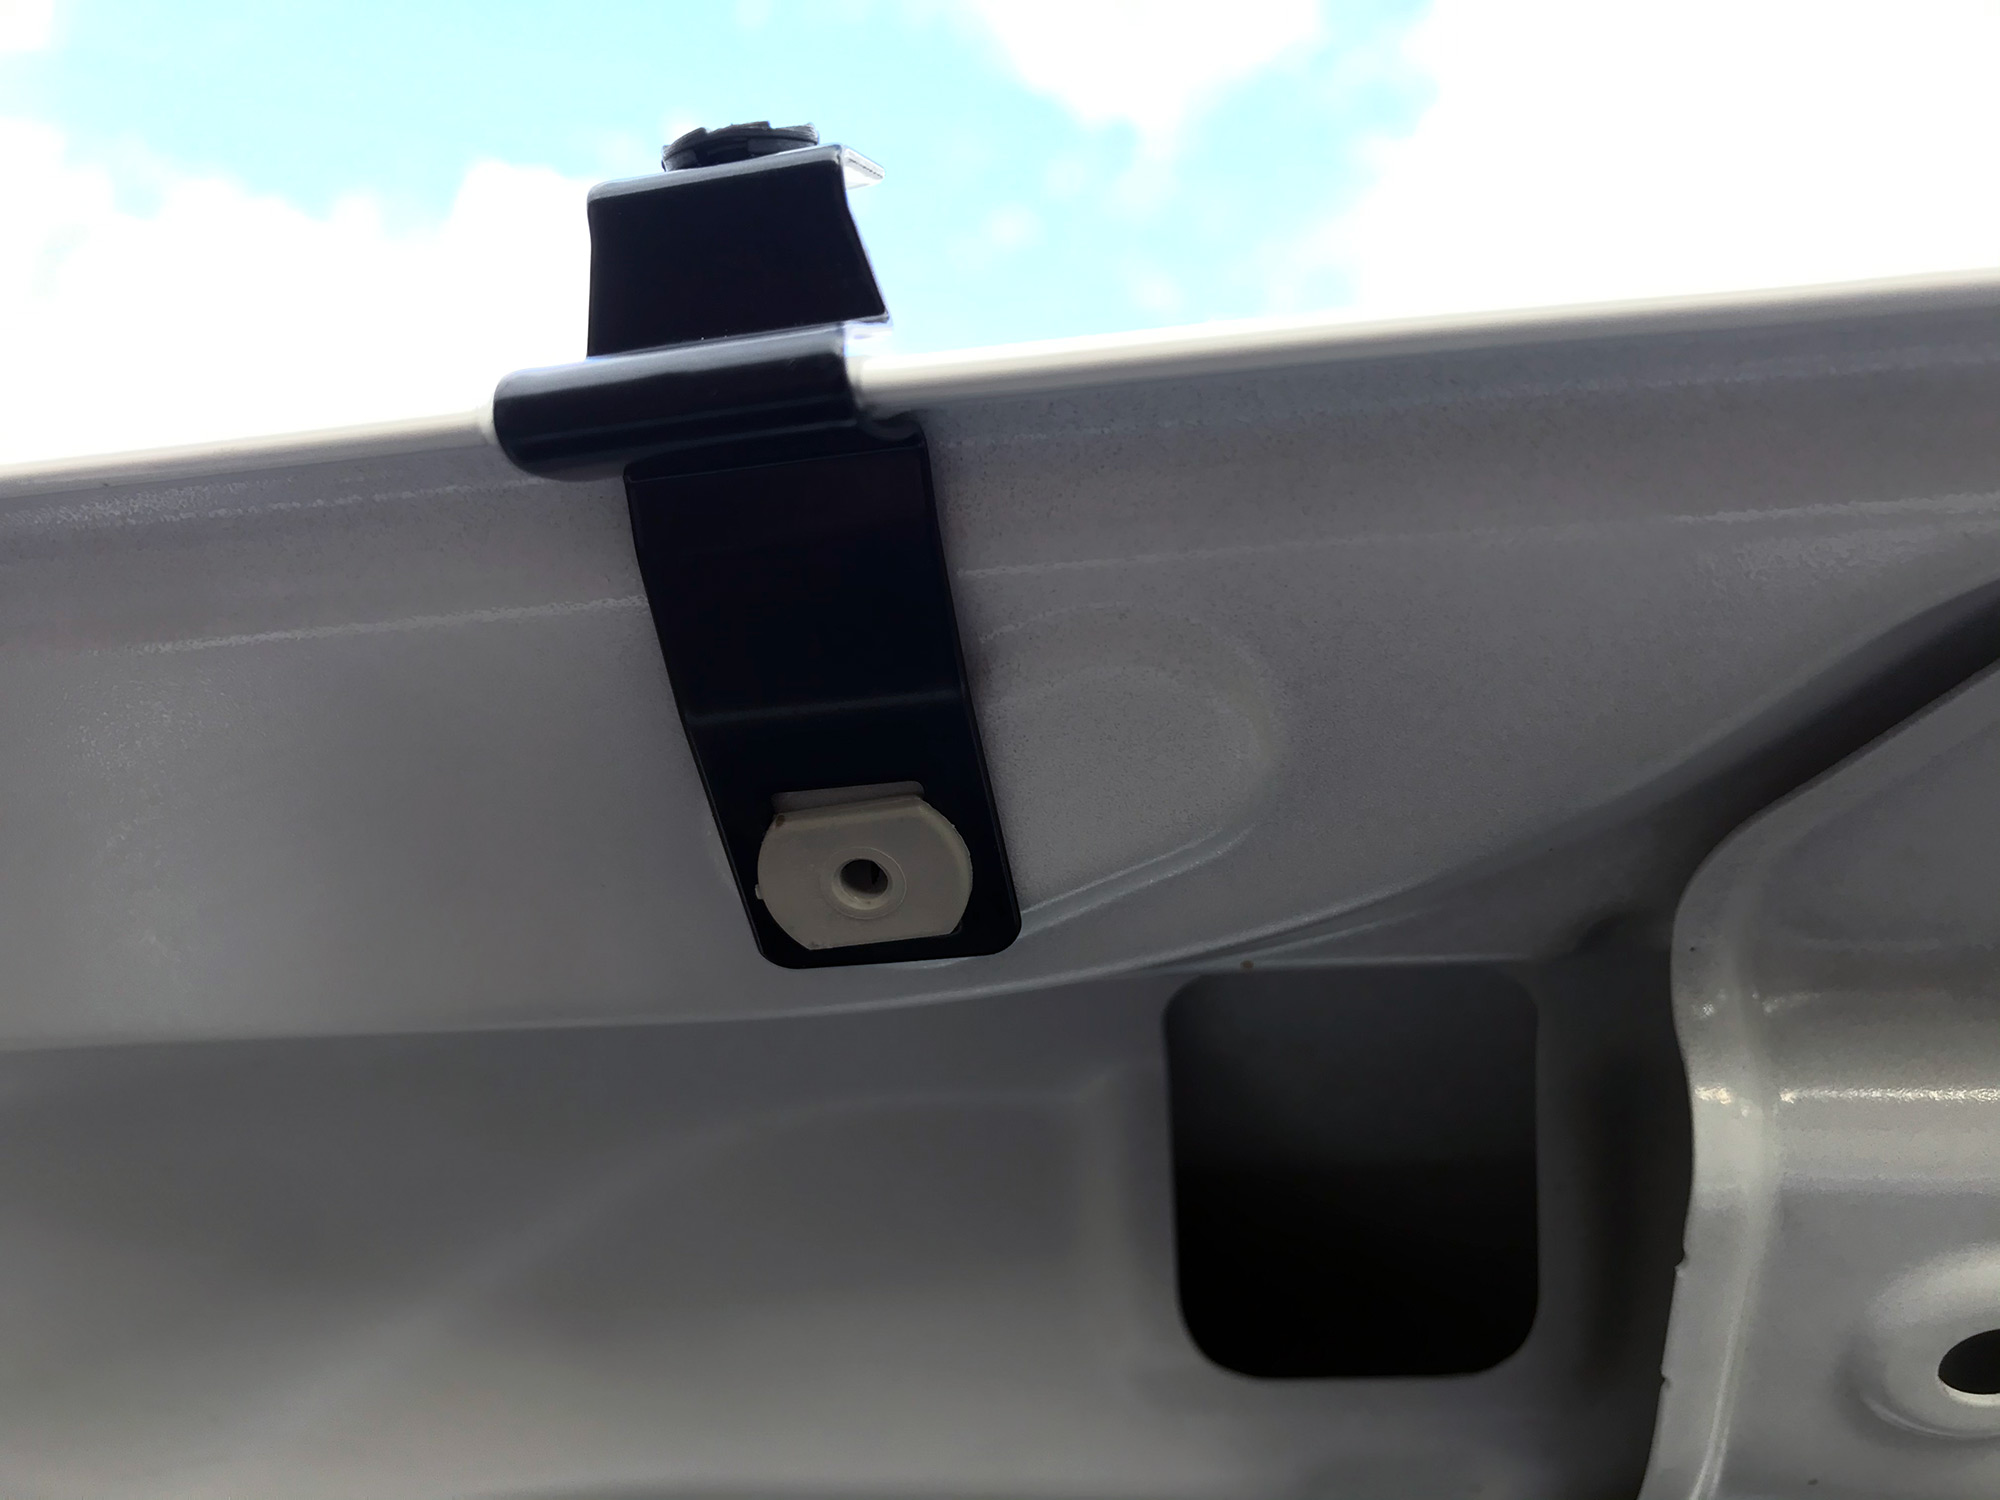
A couple of screws go into these to hold them out and tighten it all up.
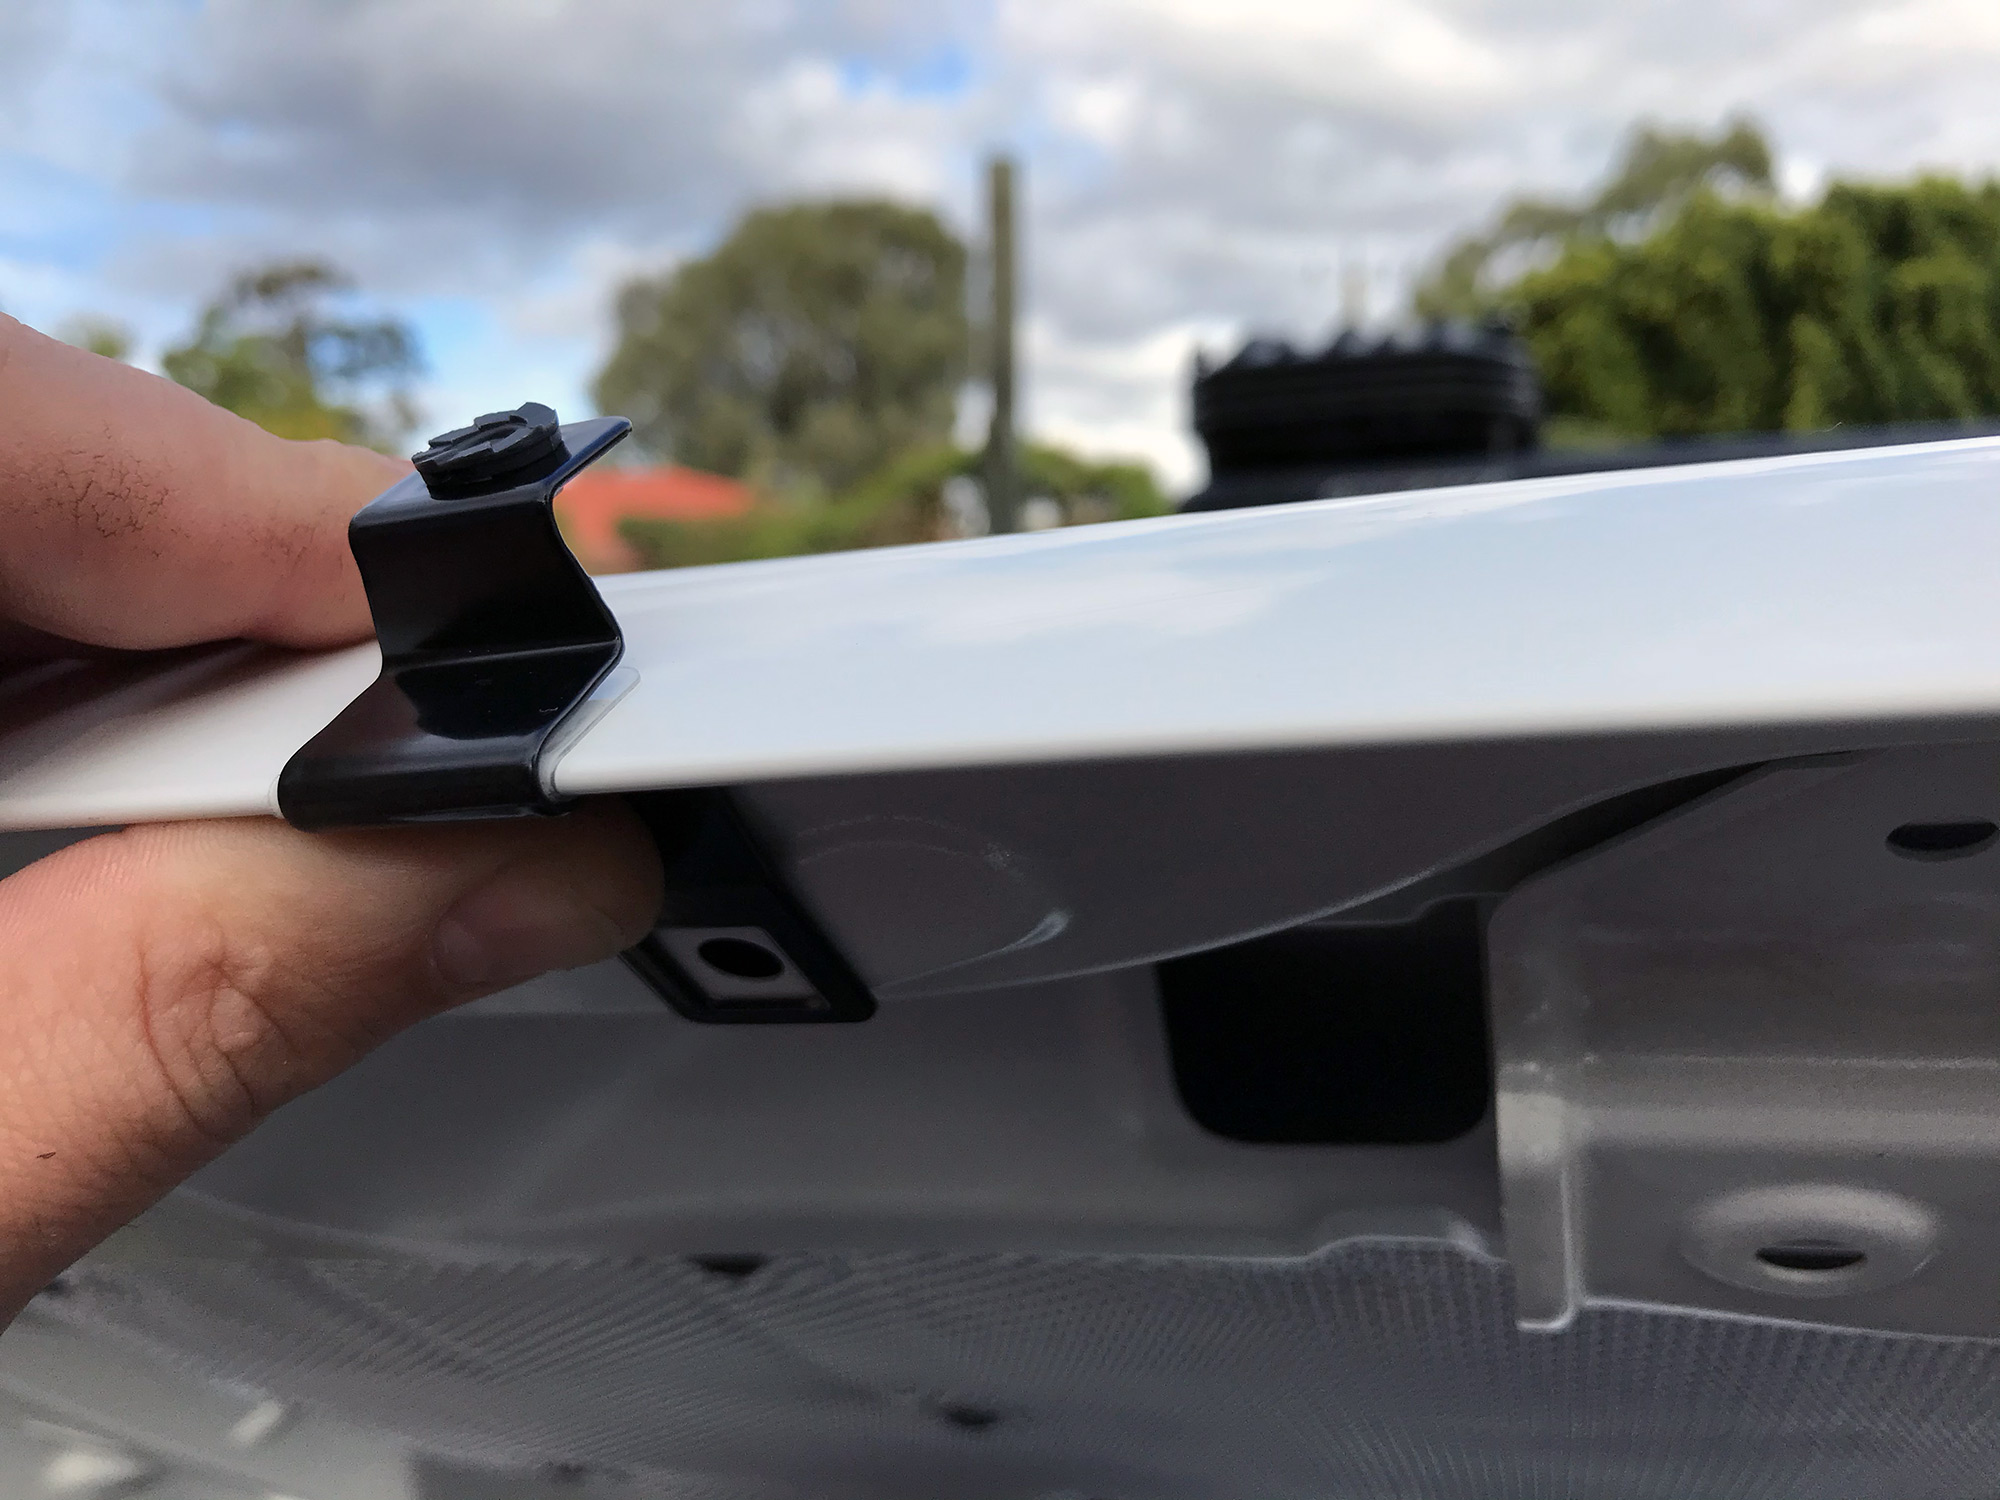
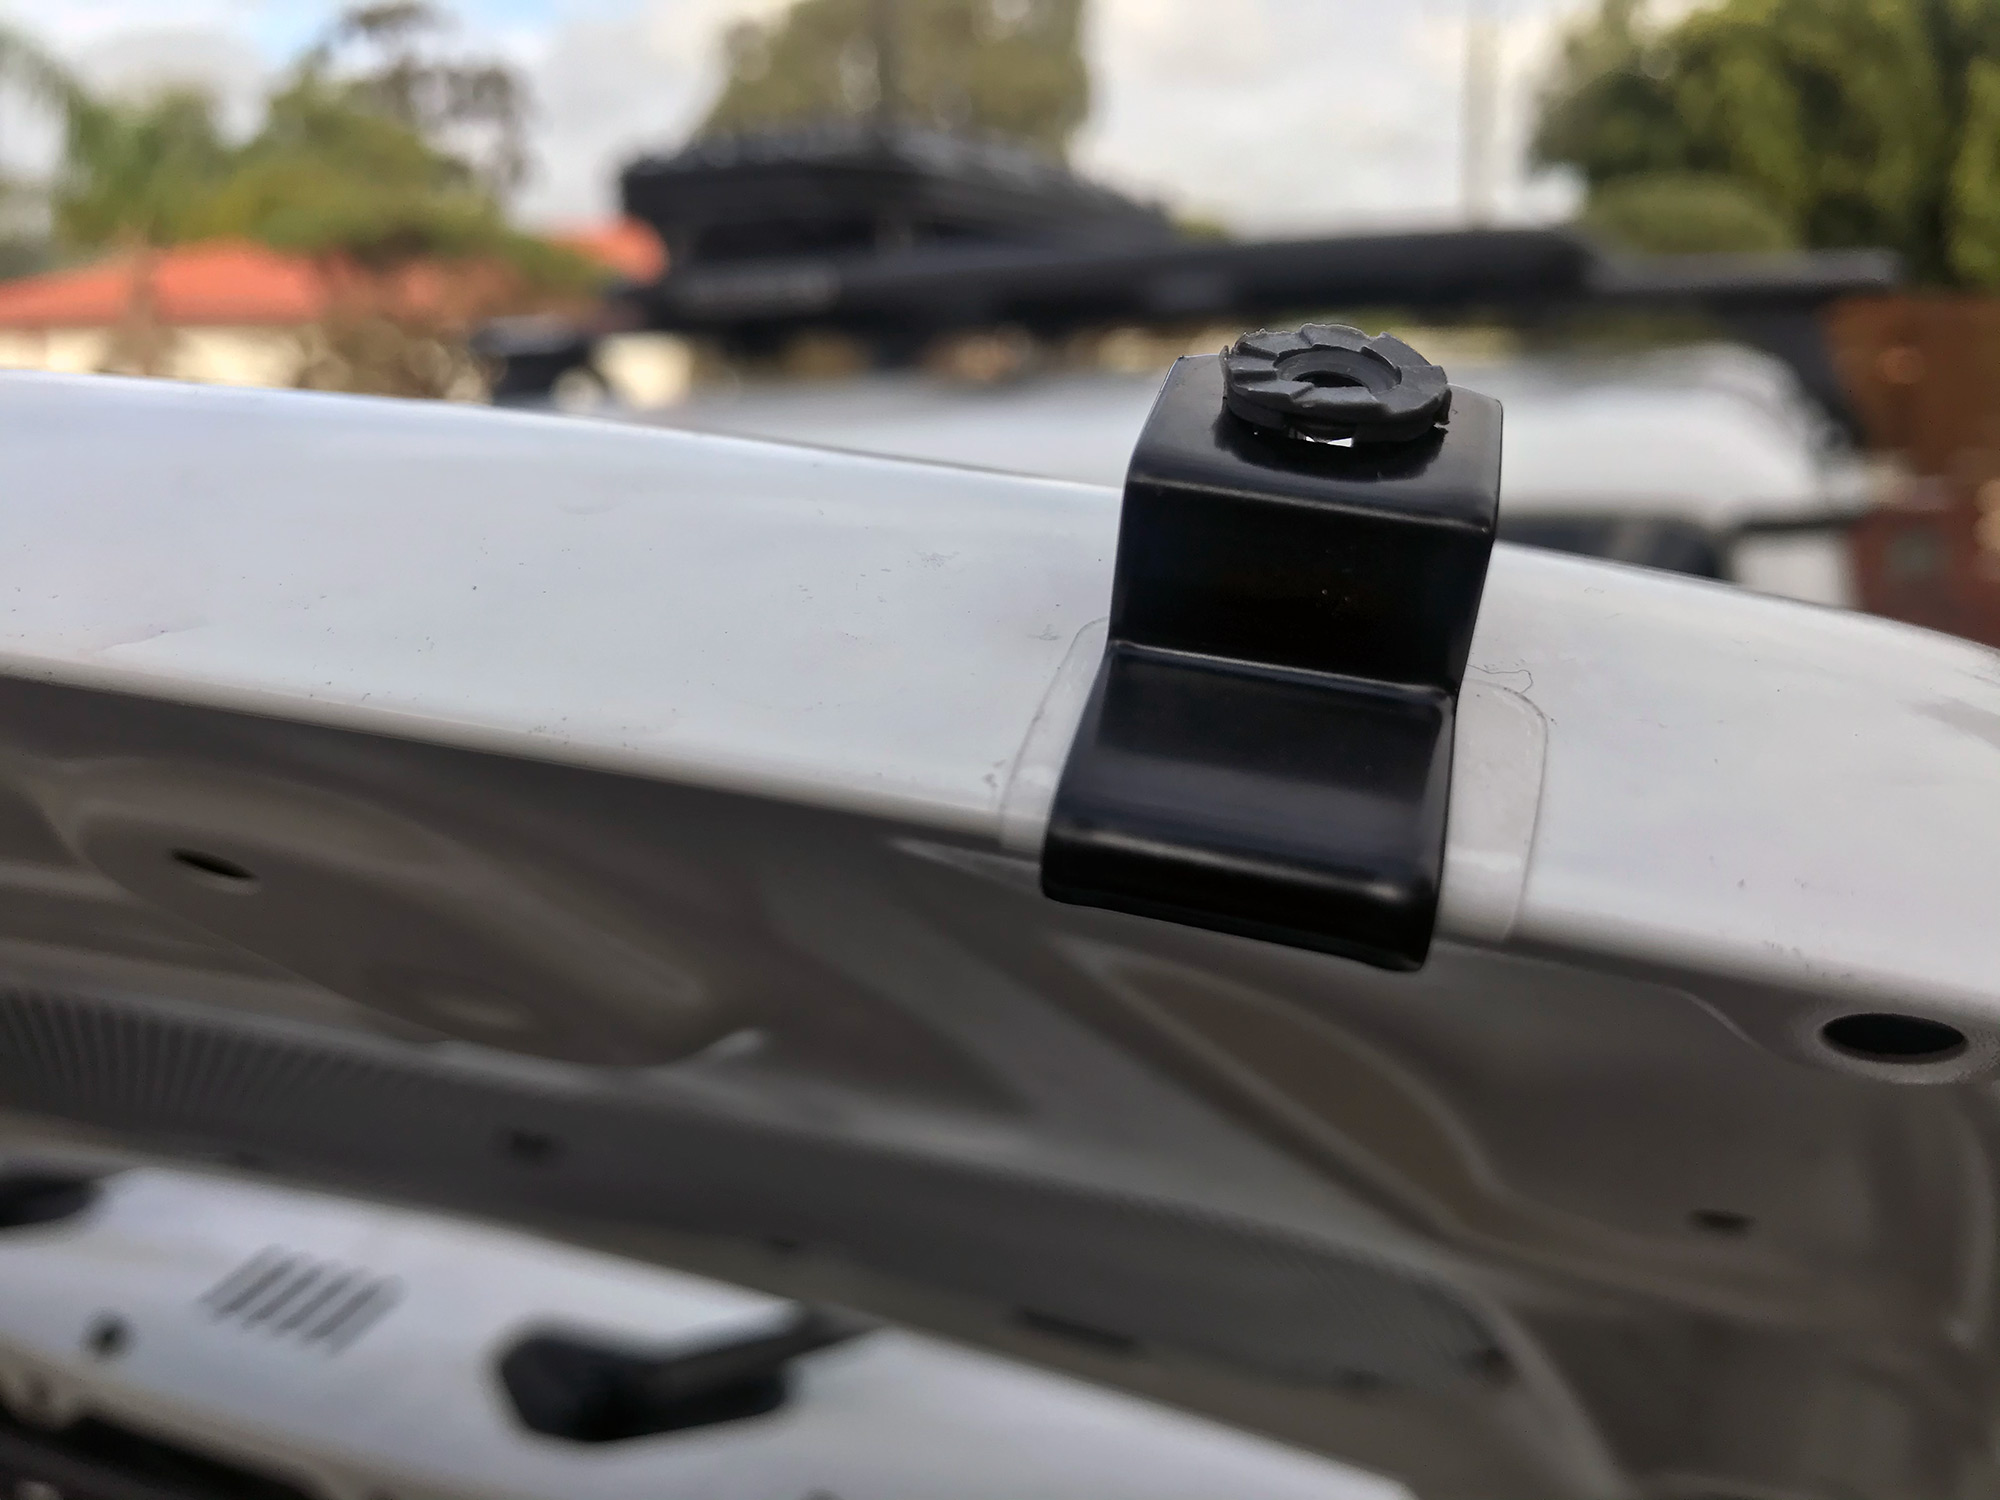
Now the smaller mounts can be prepped too.
These just press onto the outer areas of the bonnet for bolting everything on.
You can now lightly screw on the protector so you can get the alignment right side to side.
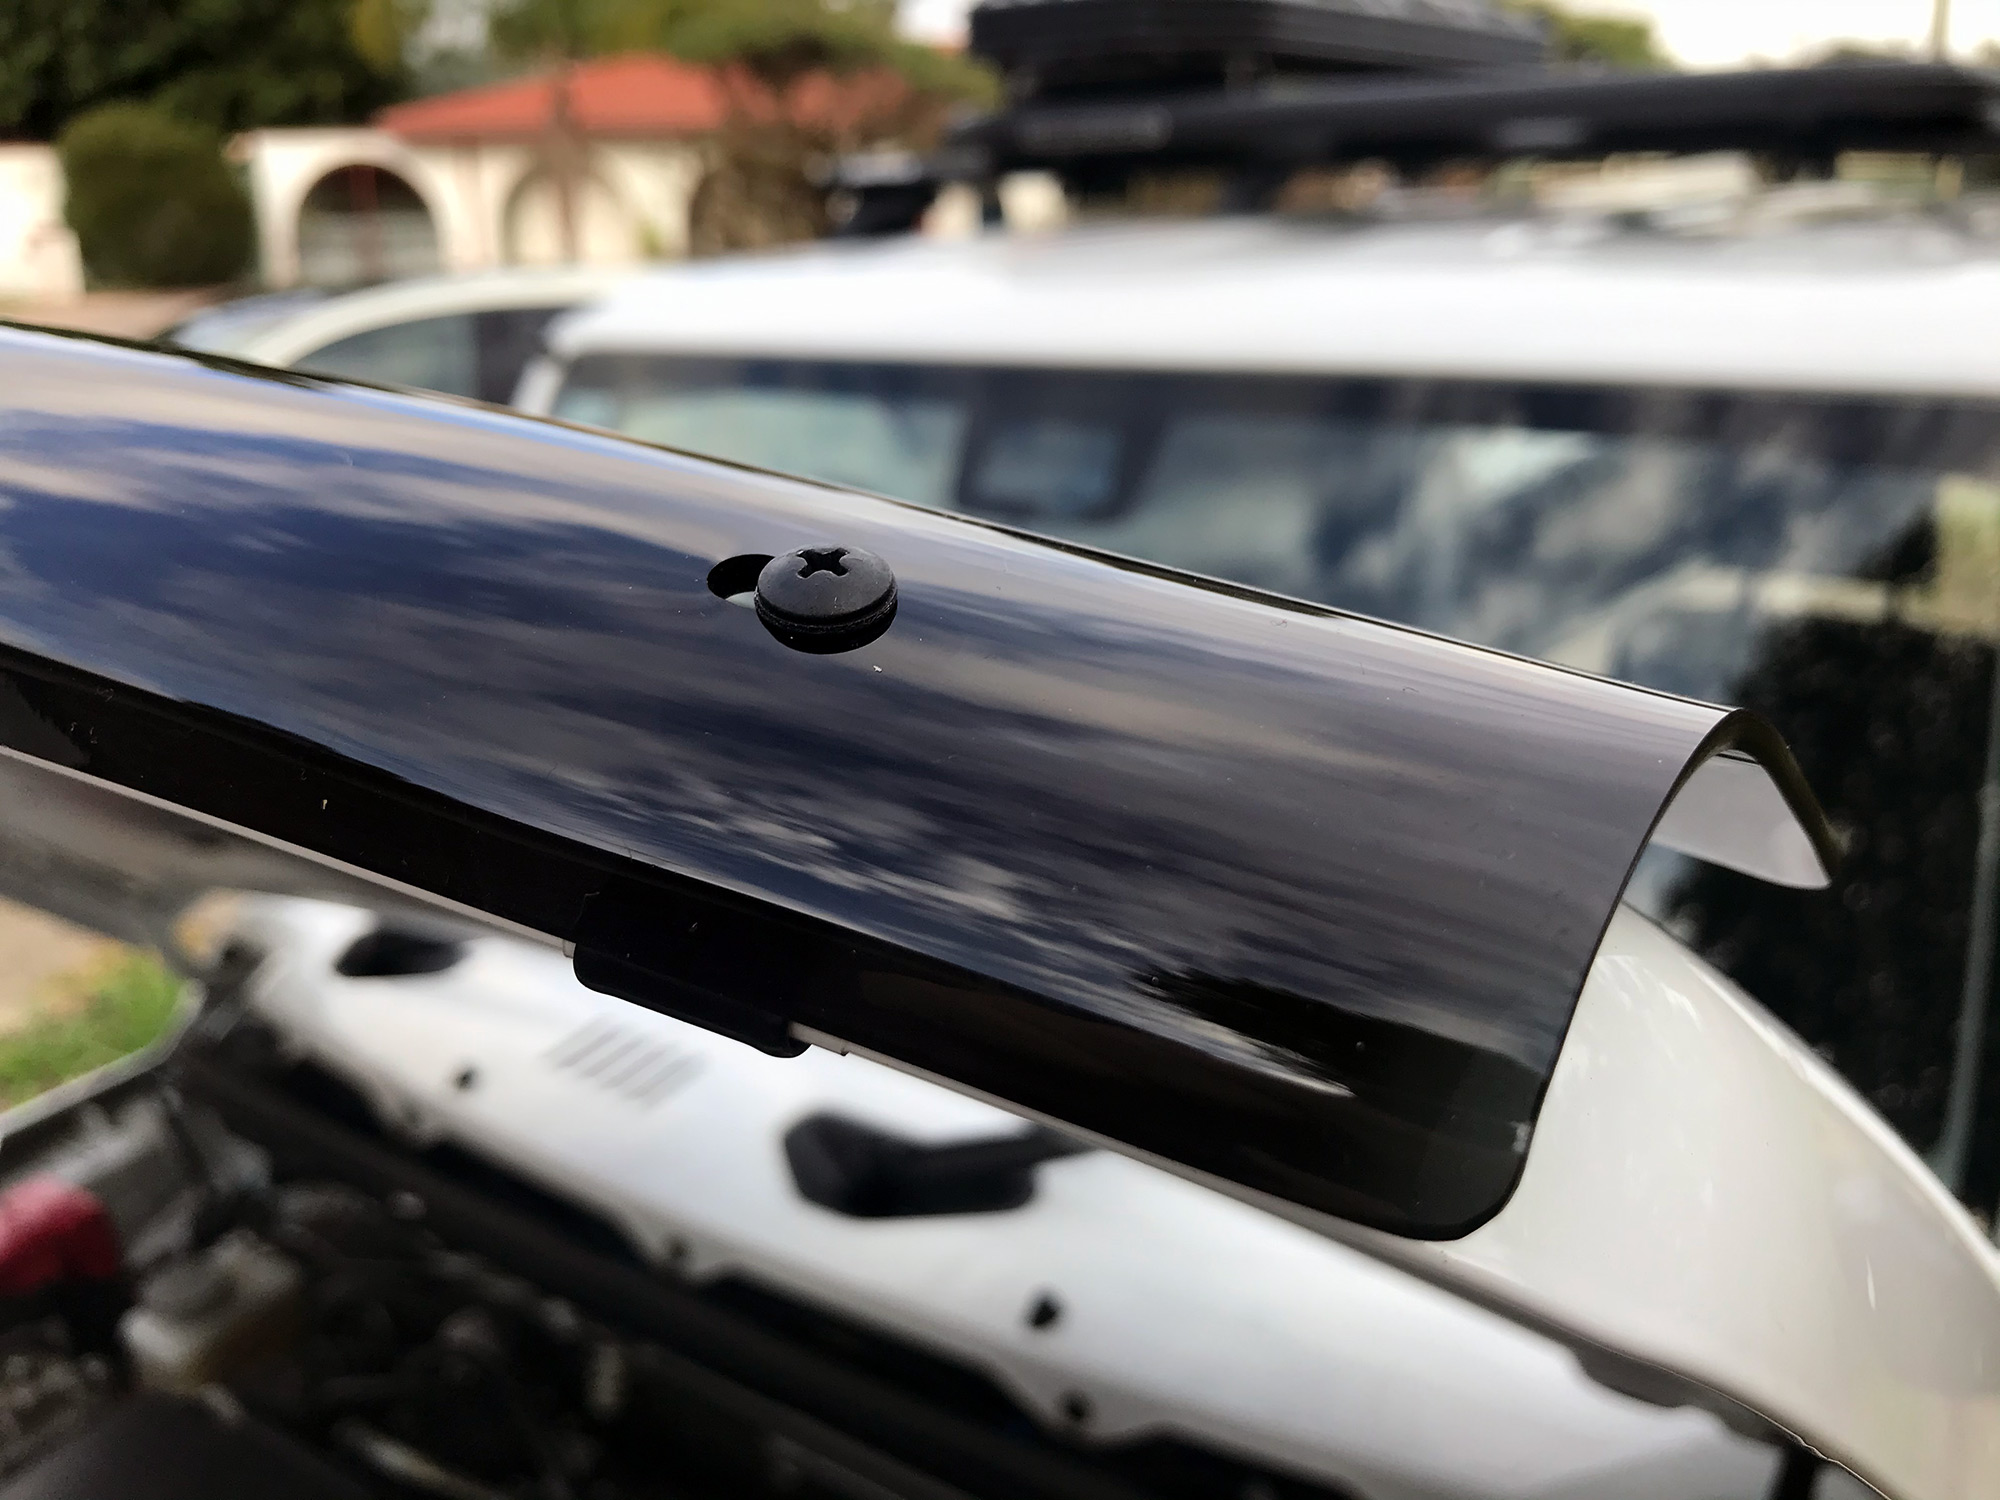
As mentioned, there are 4 little plastic knobs that hold the protector off the bonnet itself. You put some small plastic film underneath where each of these will contact the bonnet to also make sure you don’t rub through your paint.

Tighten up all of the screws and your new bonnet protector is installed.
Window weather shields
These are super easy to install. There are some non-genuine ones including some with more coverage, but I wanted the more sleek and tucked in factory ones. I also can’t speak for the non genuine ones but the adhesive on the factory ones is top notch.
The factory kit comes with some alcohol wipes and also an adhesive primer. It came with 2 wipes – one per door – but only 1 tube of primer so bear that in mind in that you should prepare to do both doors almost immediately after each other.
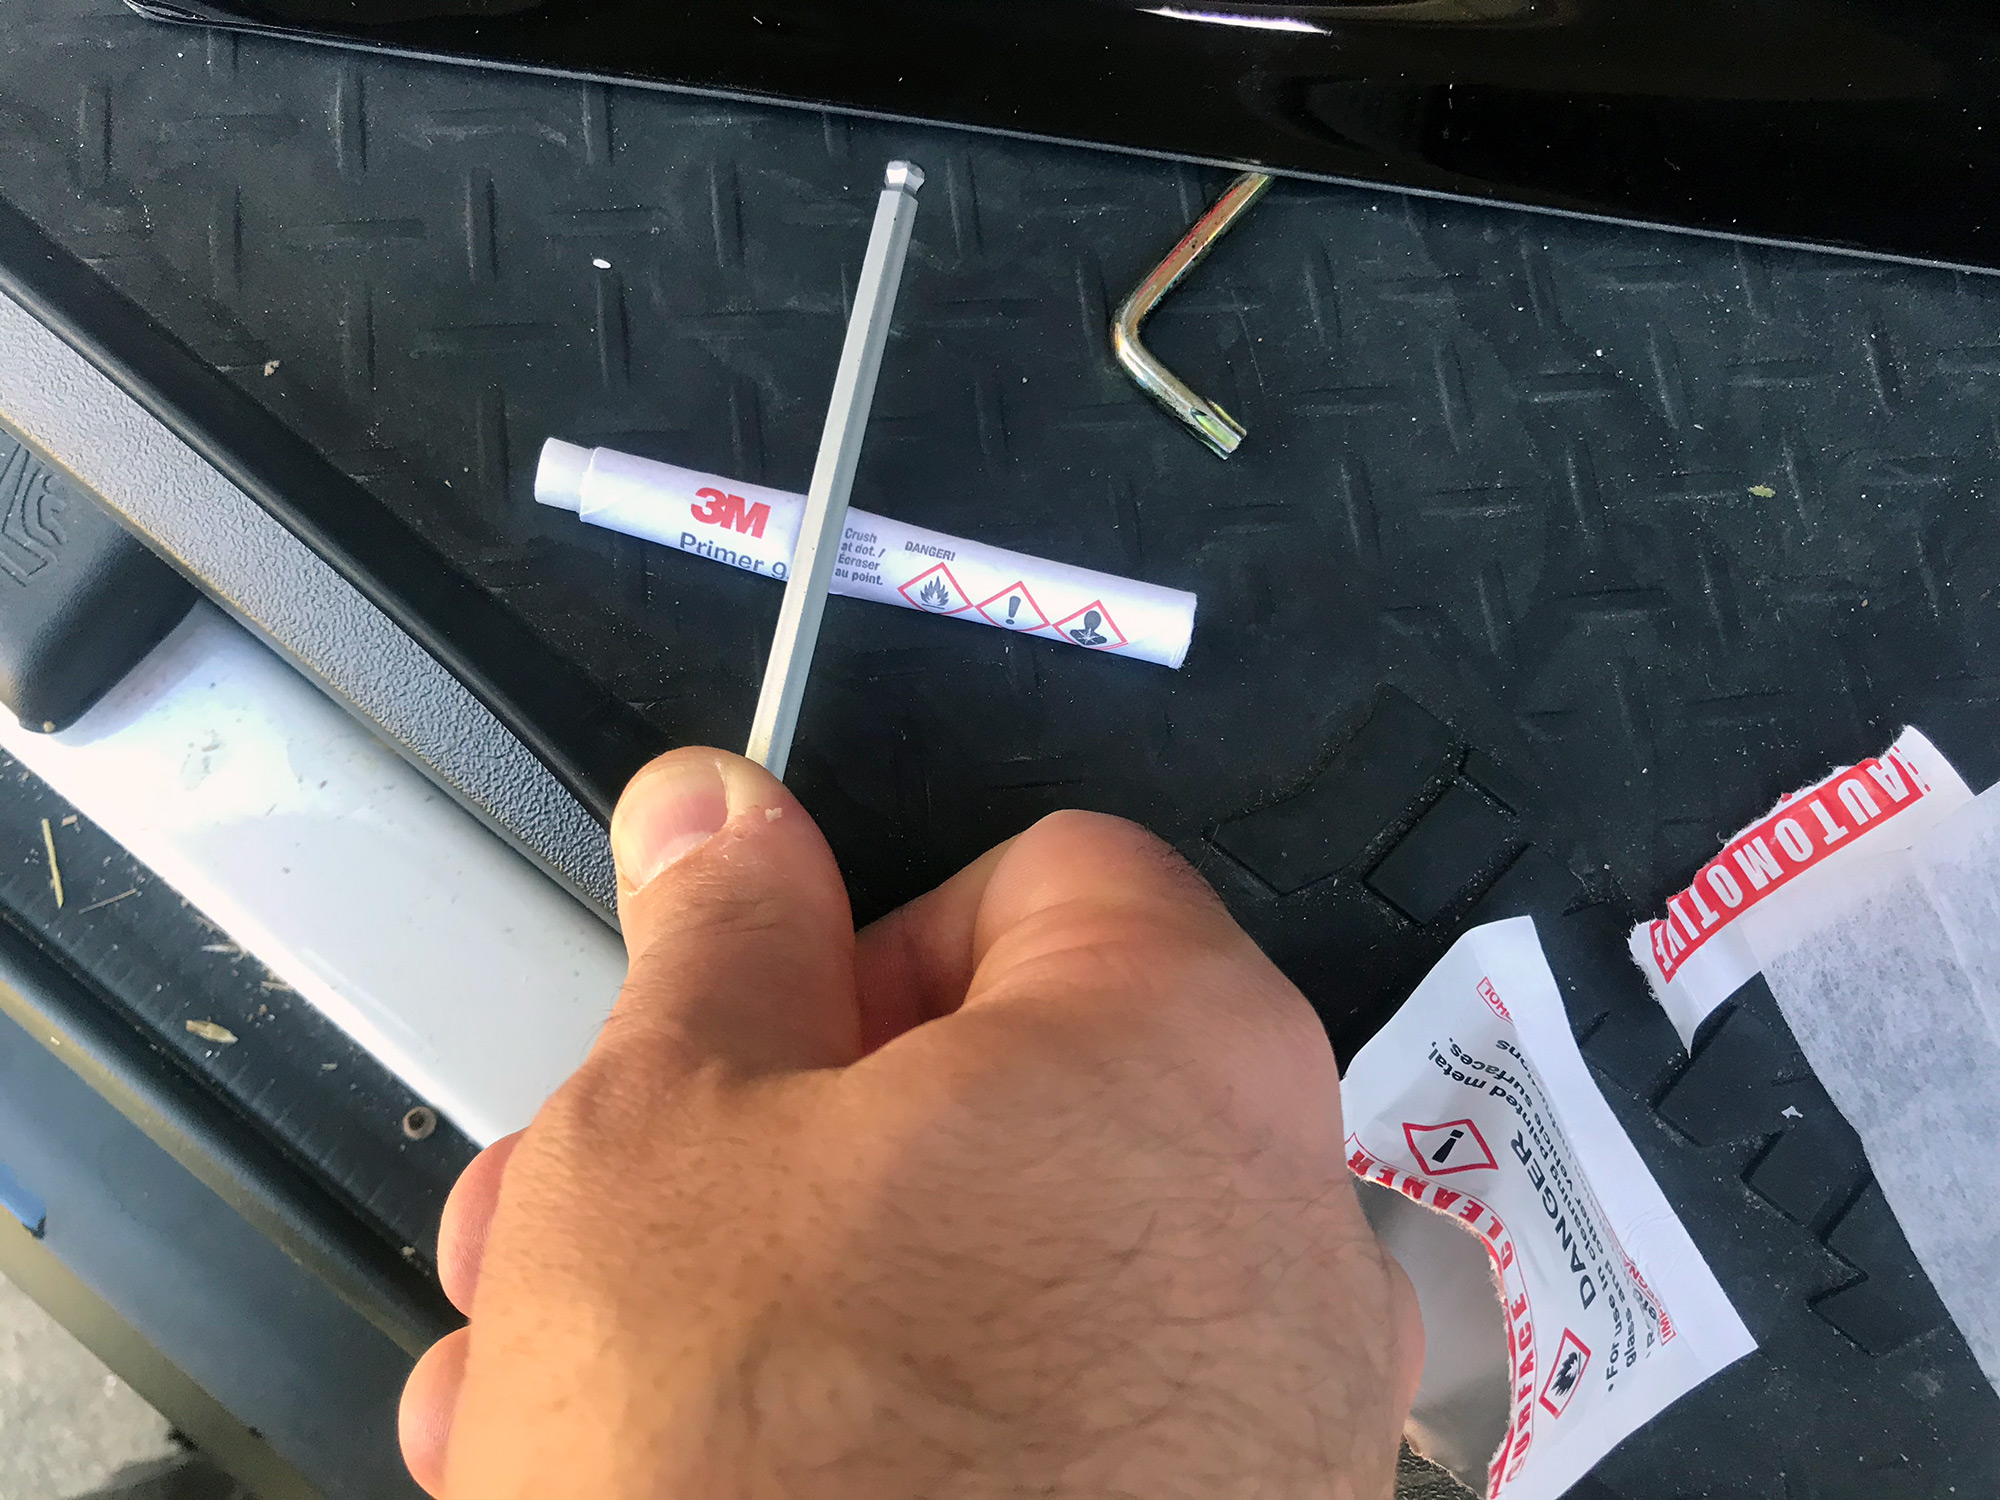
The primer tube has an inner glass capsule that needs breaking to activate it.
You then clean off the door frame with the alcohol wipes.
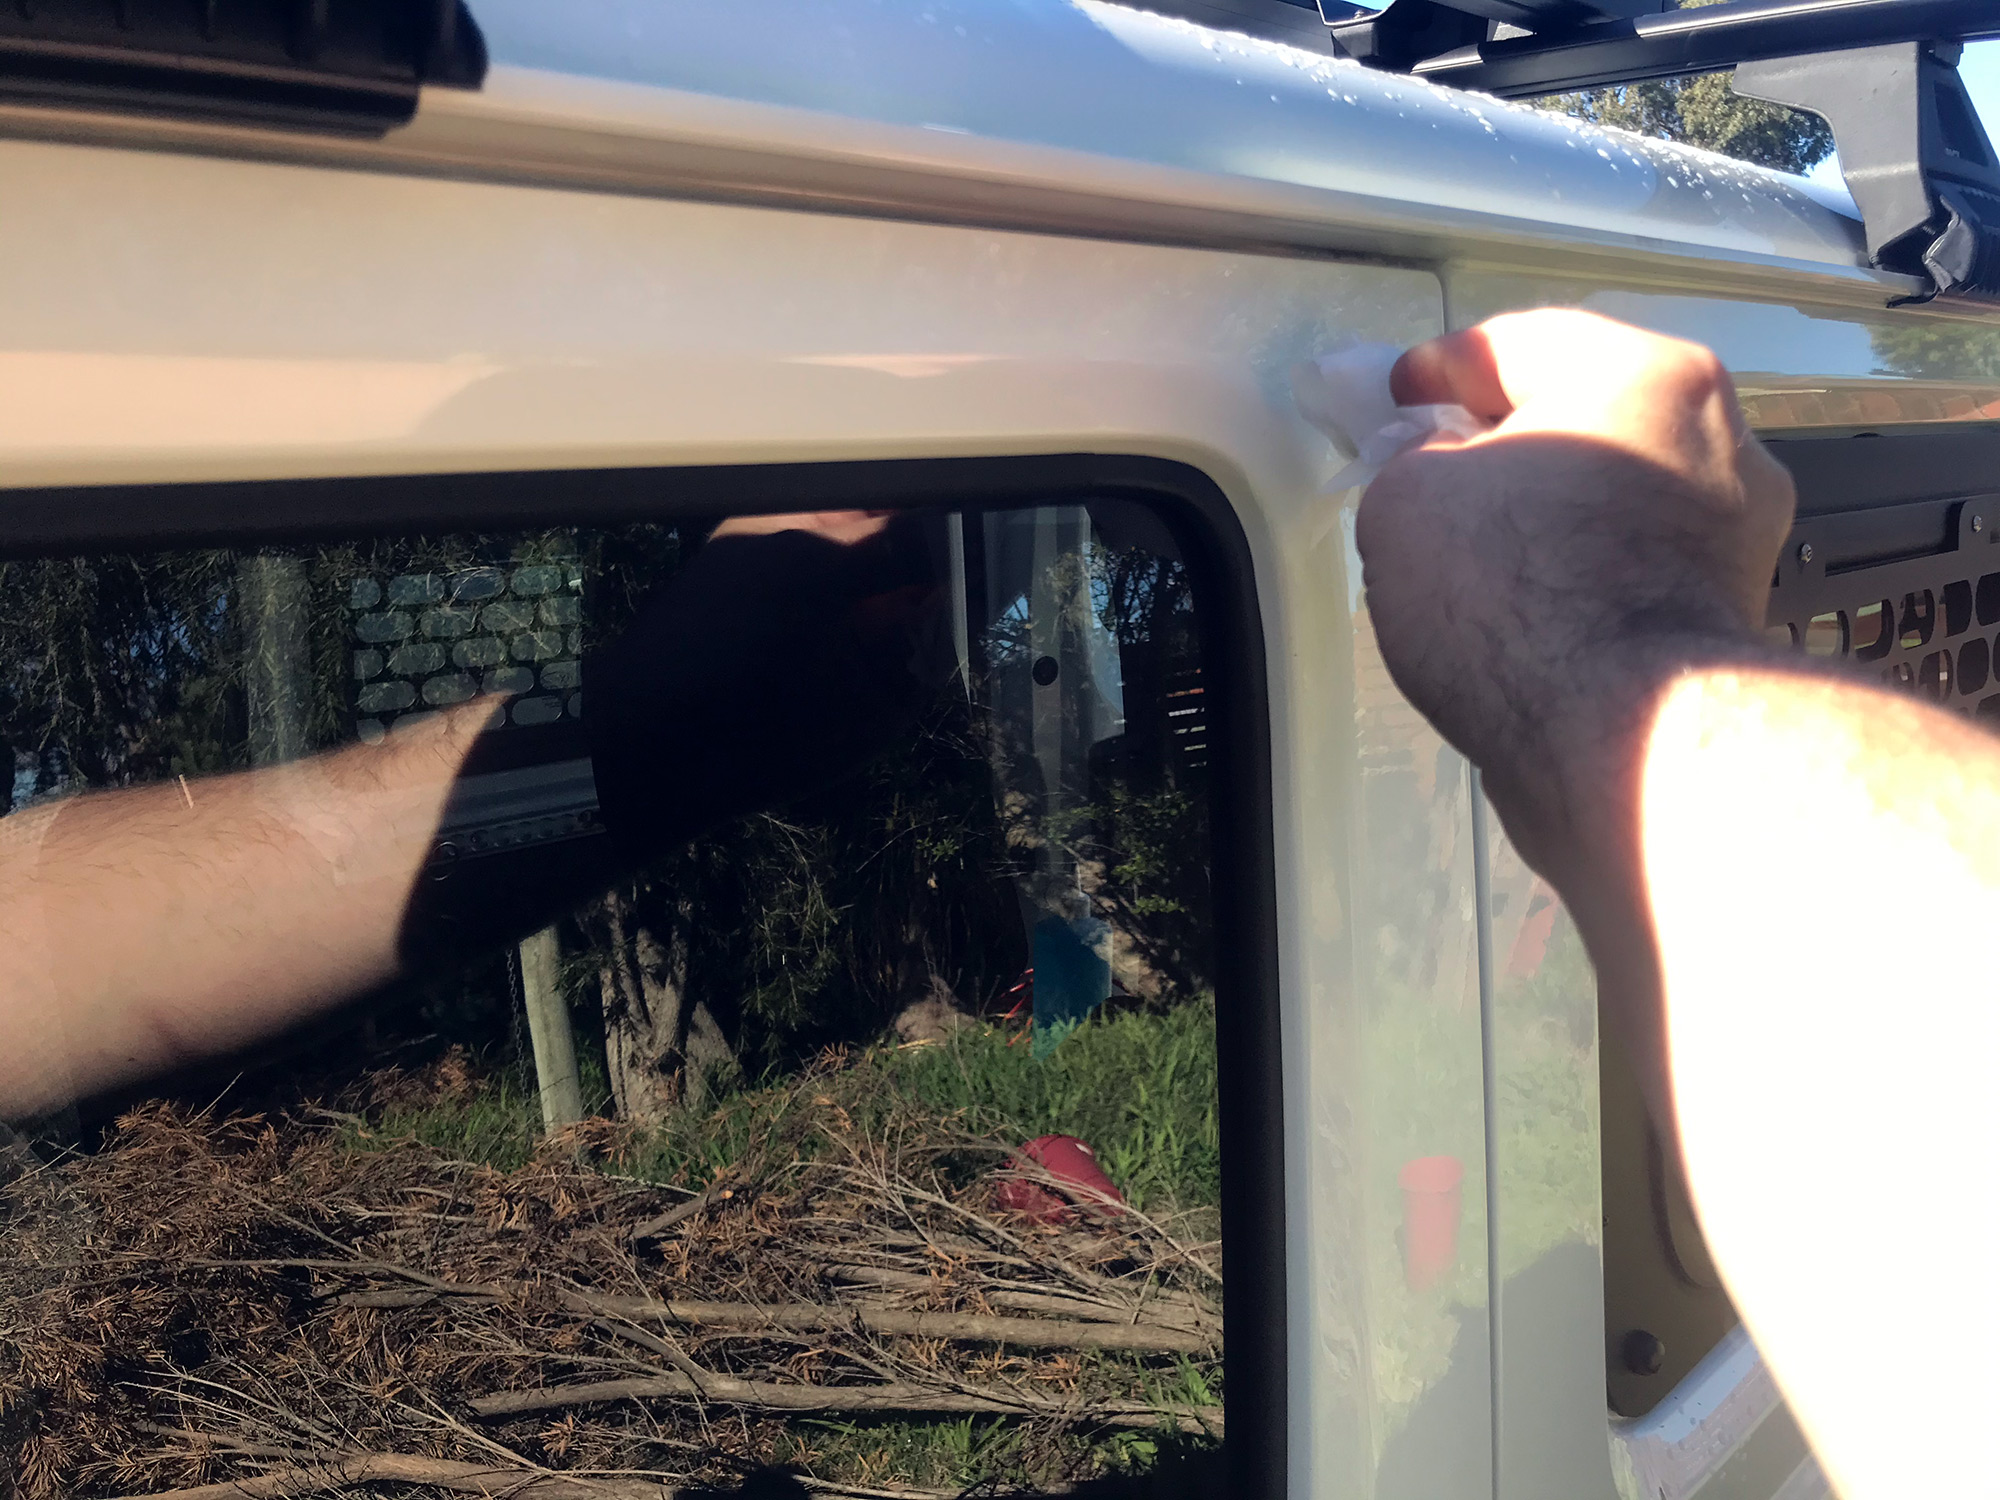
You then use the primer stick to run along where the adhesive will sit. Some people mount these guards lower but I put them as far forwards and upwards as I could for the neatest view from the side.
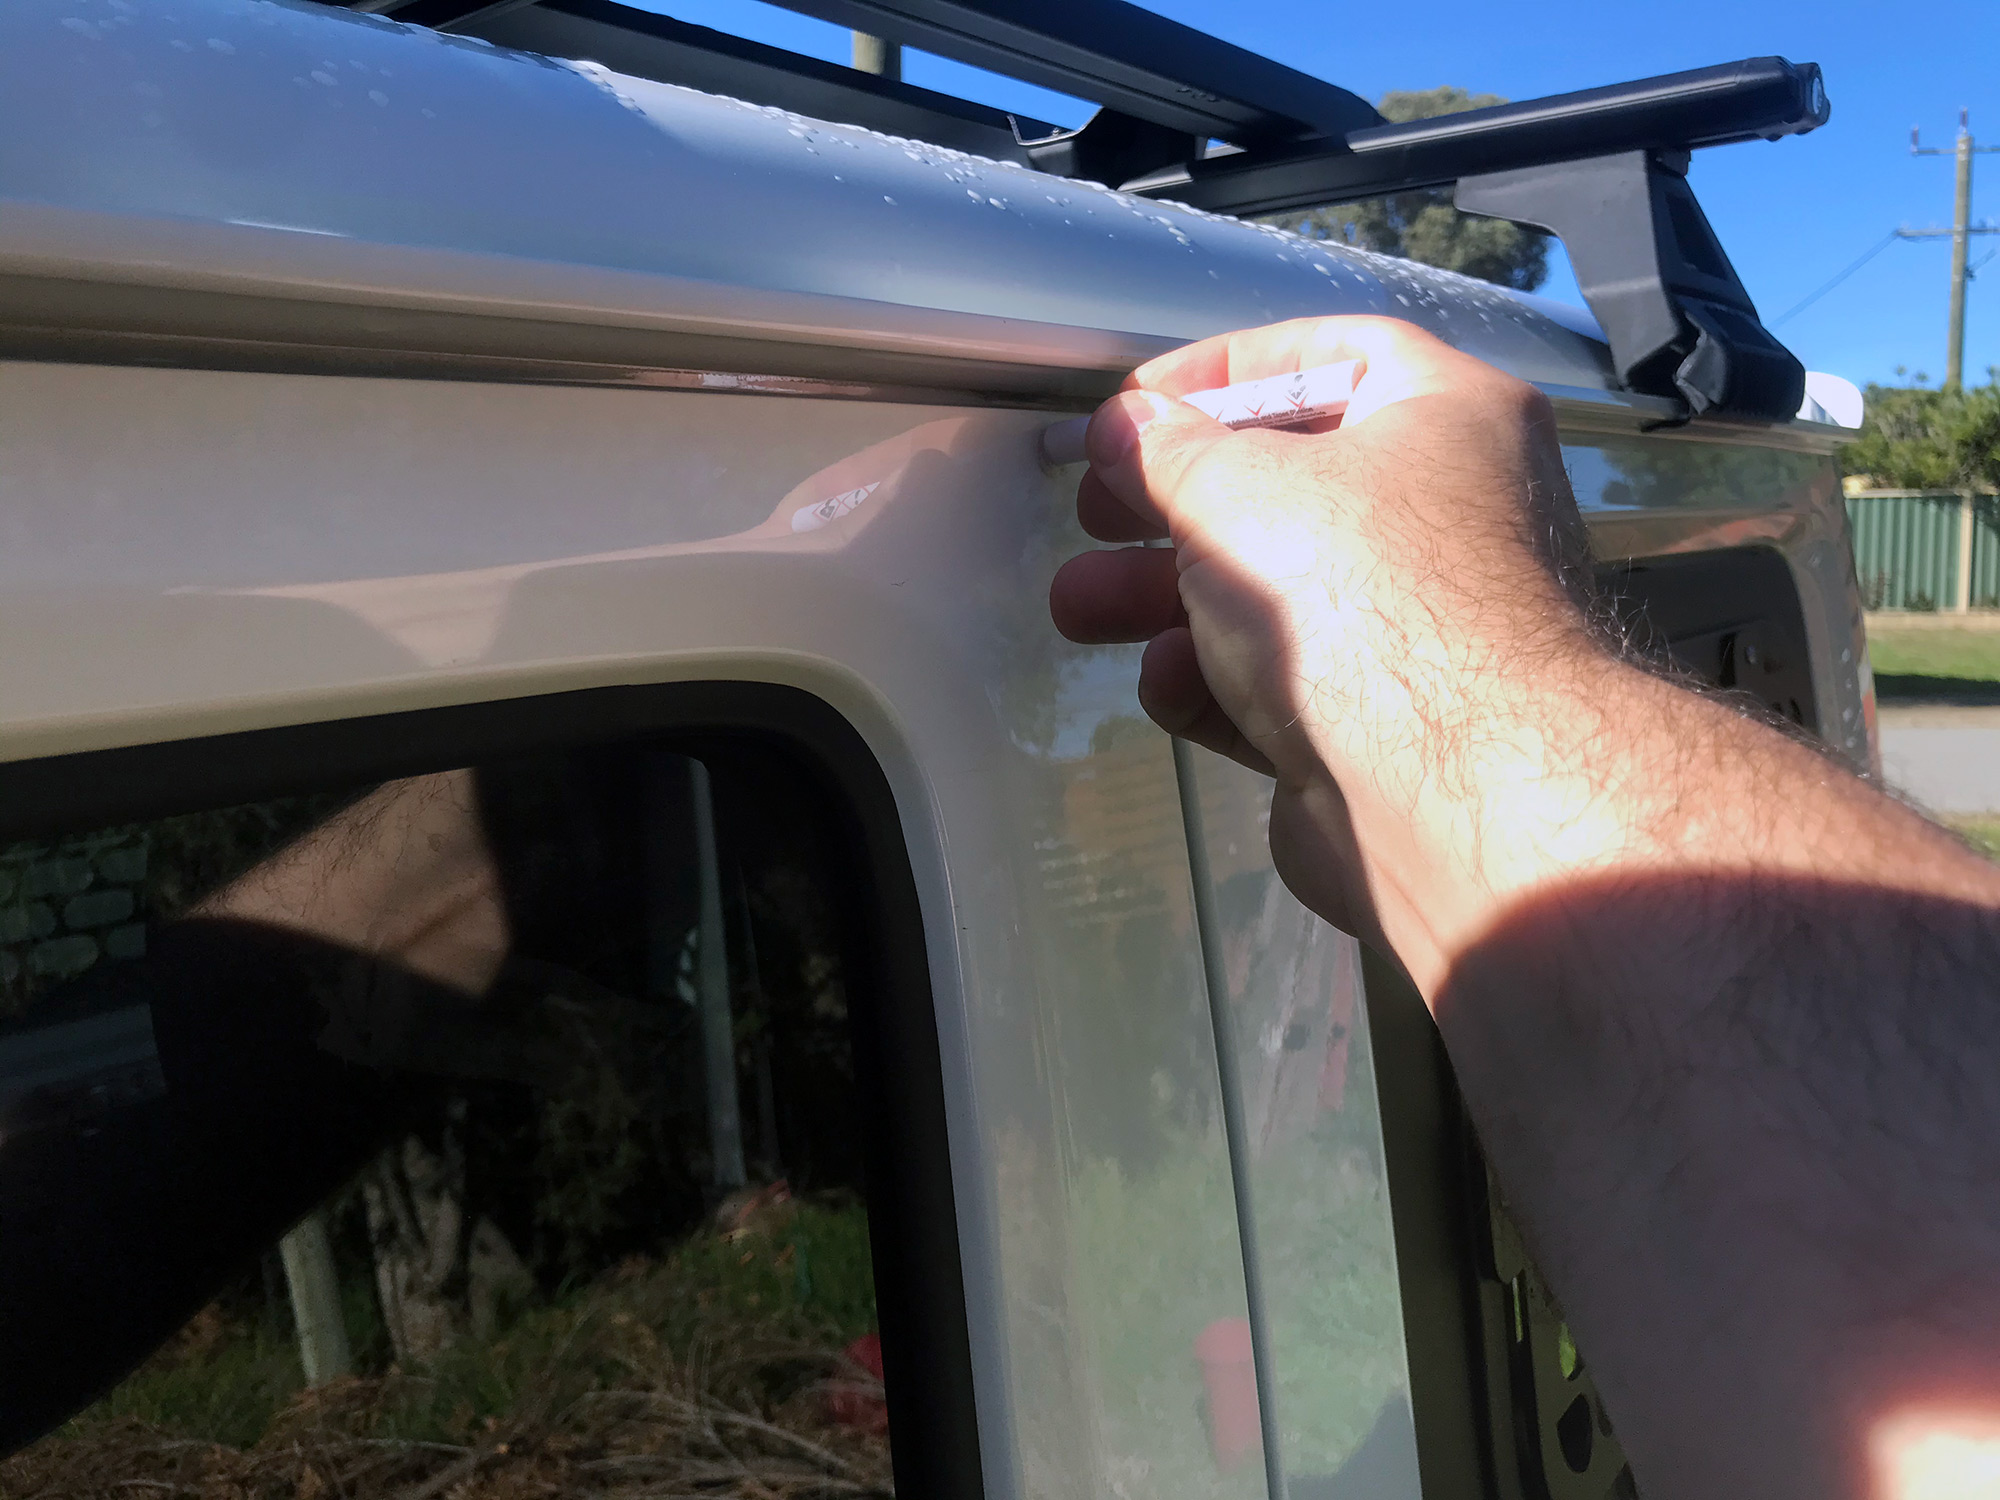
Peel back the adhesive backing strip…

… and stick your window protector on.
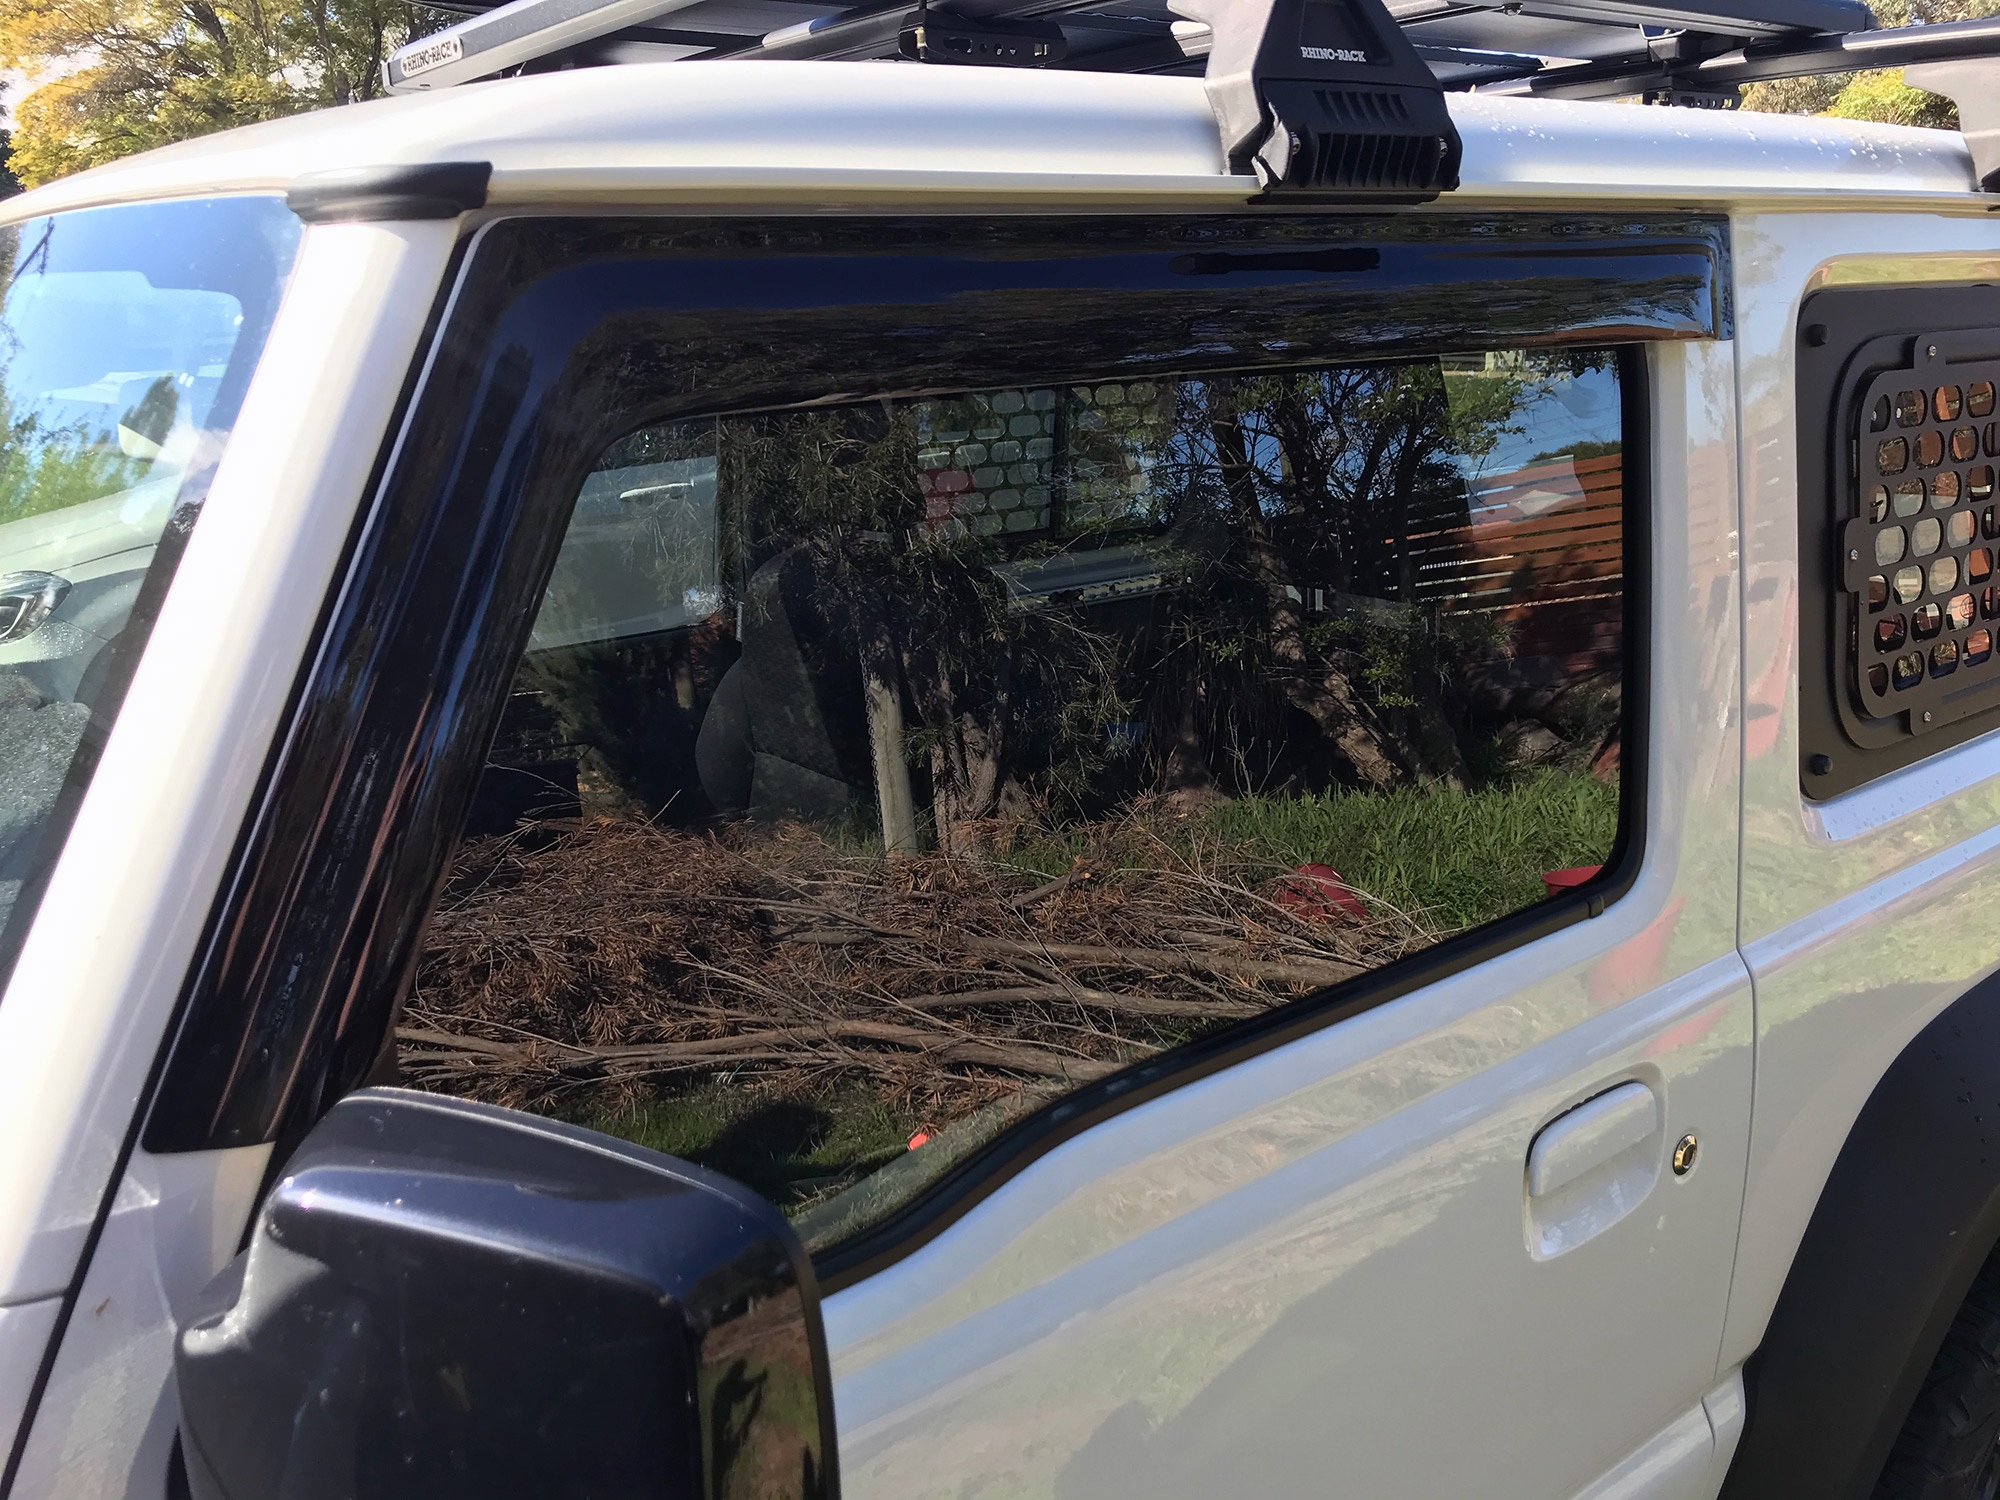
Done just like that! Really easy install and even after 3 years mine are still sticking on there really well.