
Valve clearance check K15B
Got a generation 4 Jimny and want to demystify the valve clearance check? This is specified to be done every 3 years/45,000 km so it’s worth knowing how to do it.
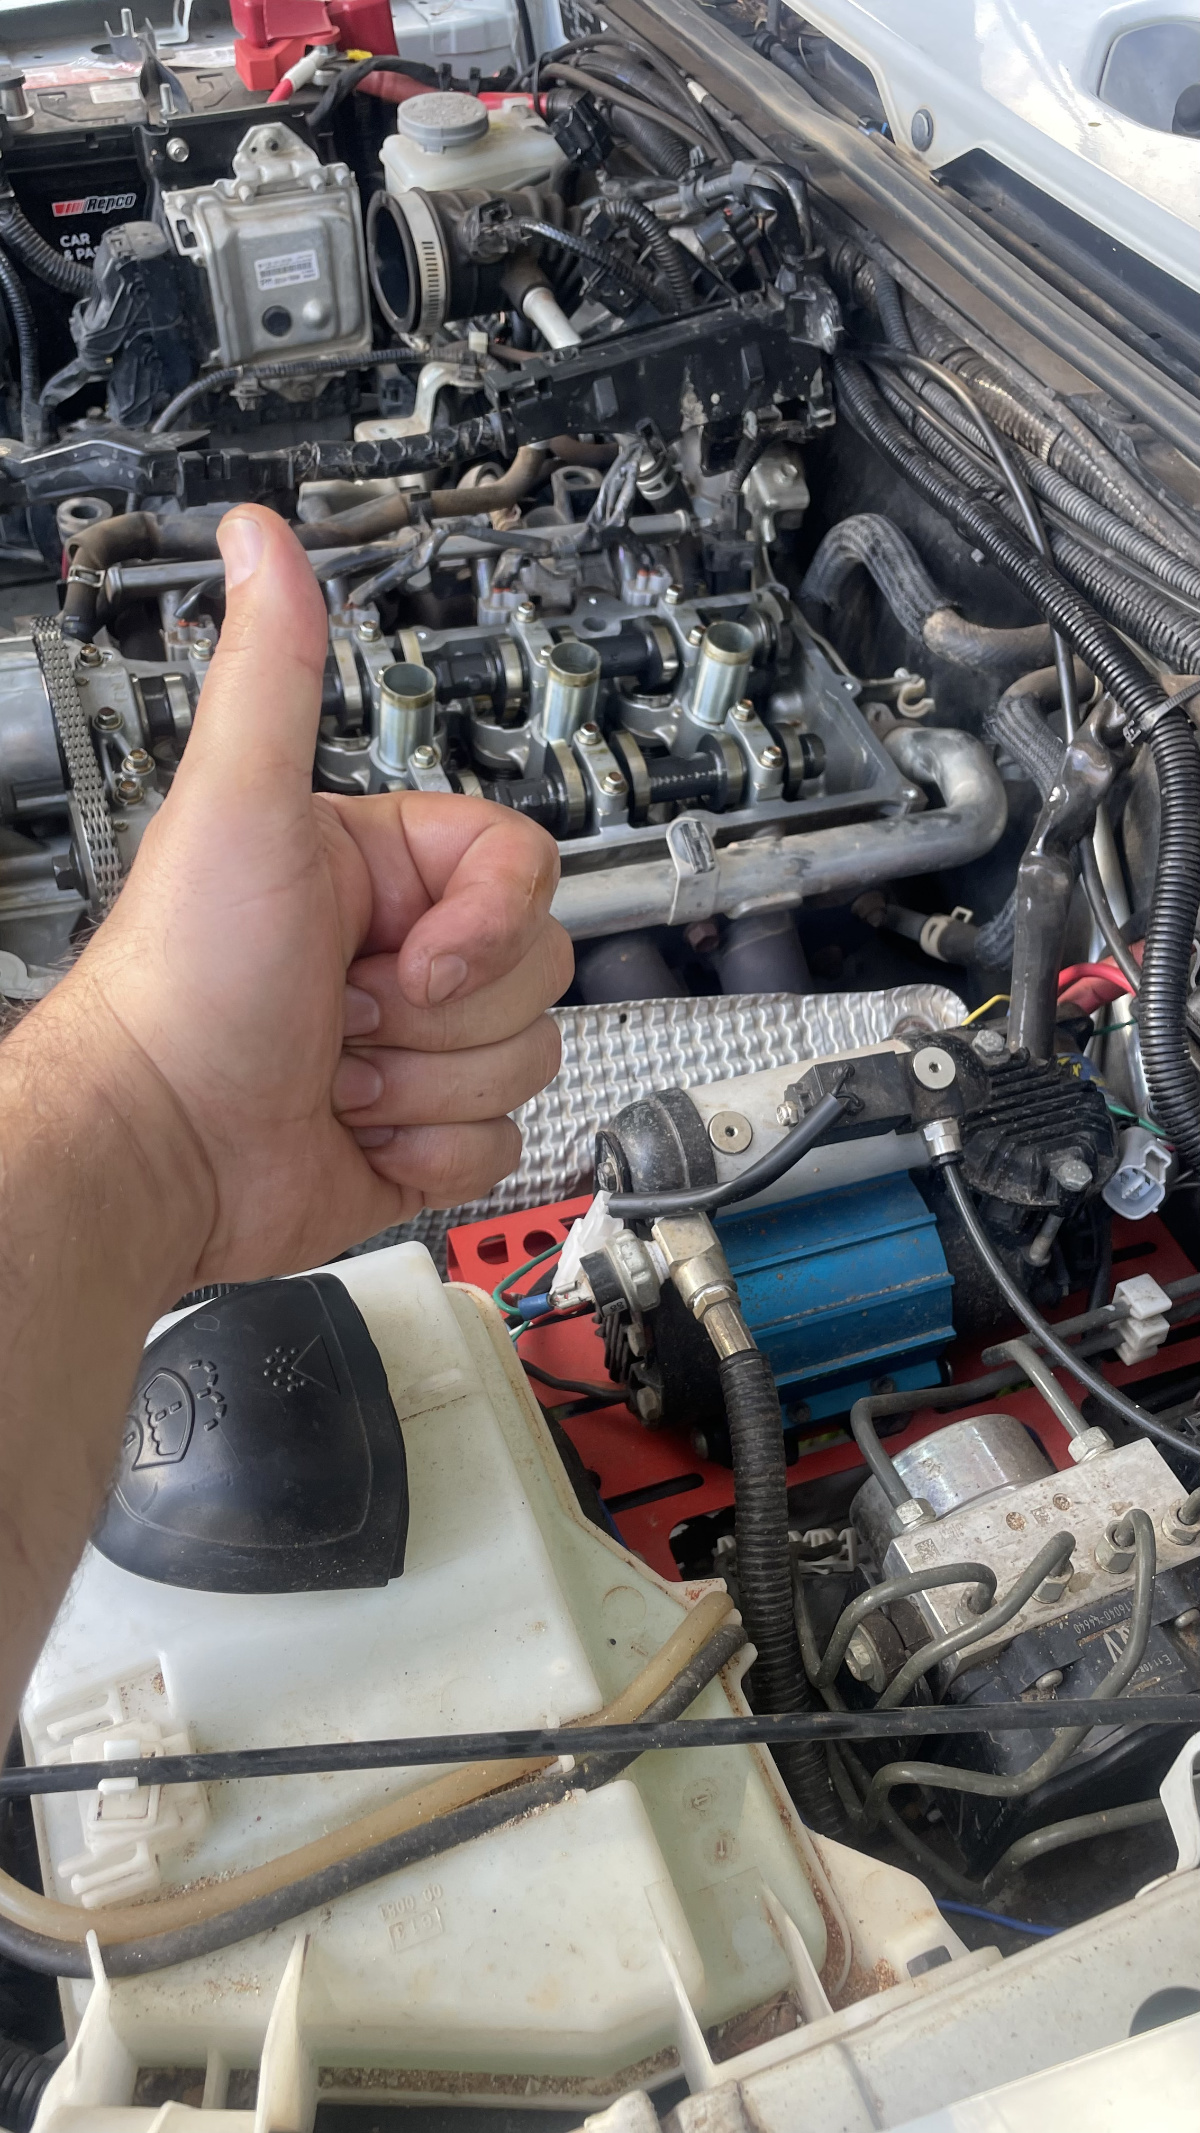
Yep, that’s me checking and passing my clearances most recently
It is not massively likely to need to actually change the clearances until the engine ages, however, it is worth doing. While valve clearances can open up (and make noise, and not fully open the valves as the engine operates), worse is where clearances close up. Exhaust valves are more likely to do this: they are the hotter side of the combustion chamber and the valve seats can recess into the cylinder heads over time.
Once every 3 years it is only an hour or so of work to get in, check them and button everything up. I think it’s well worth doing to stay on top of things. Plus, since you pull the coils to get the valve cover off, you might as well also do the spark plugs at the same time and keep the engine running super healthily.
Things you’ll need
- Feeler gauges
0.14 mm and 0.23 mm for the intake clearances and 0.30 and 0.40 mm for the exhaust clearances
If you need to change them, you’ll need other sizes to measure where they are and a micrometer to verify the current bucket thickness - 16 mm spark plug socket (if you’re pulling the plugs, which you should do)
- New valve cover gasket
- RTV sealant
- 10 mm socket: a couple of the bolts need some extensions and/or deep sockets, and a couple you want a very shallow socket
- 8 mm socket to undo the air box hose clamp
- Pliers to undo some clamps
Procedure
Getting to the valvetrain
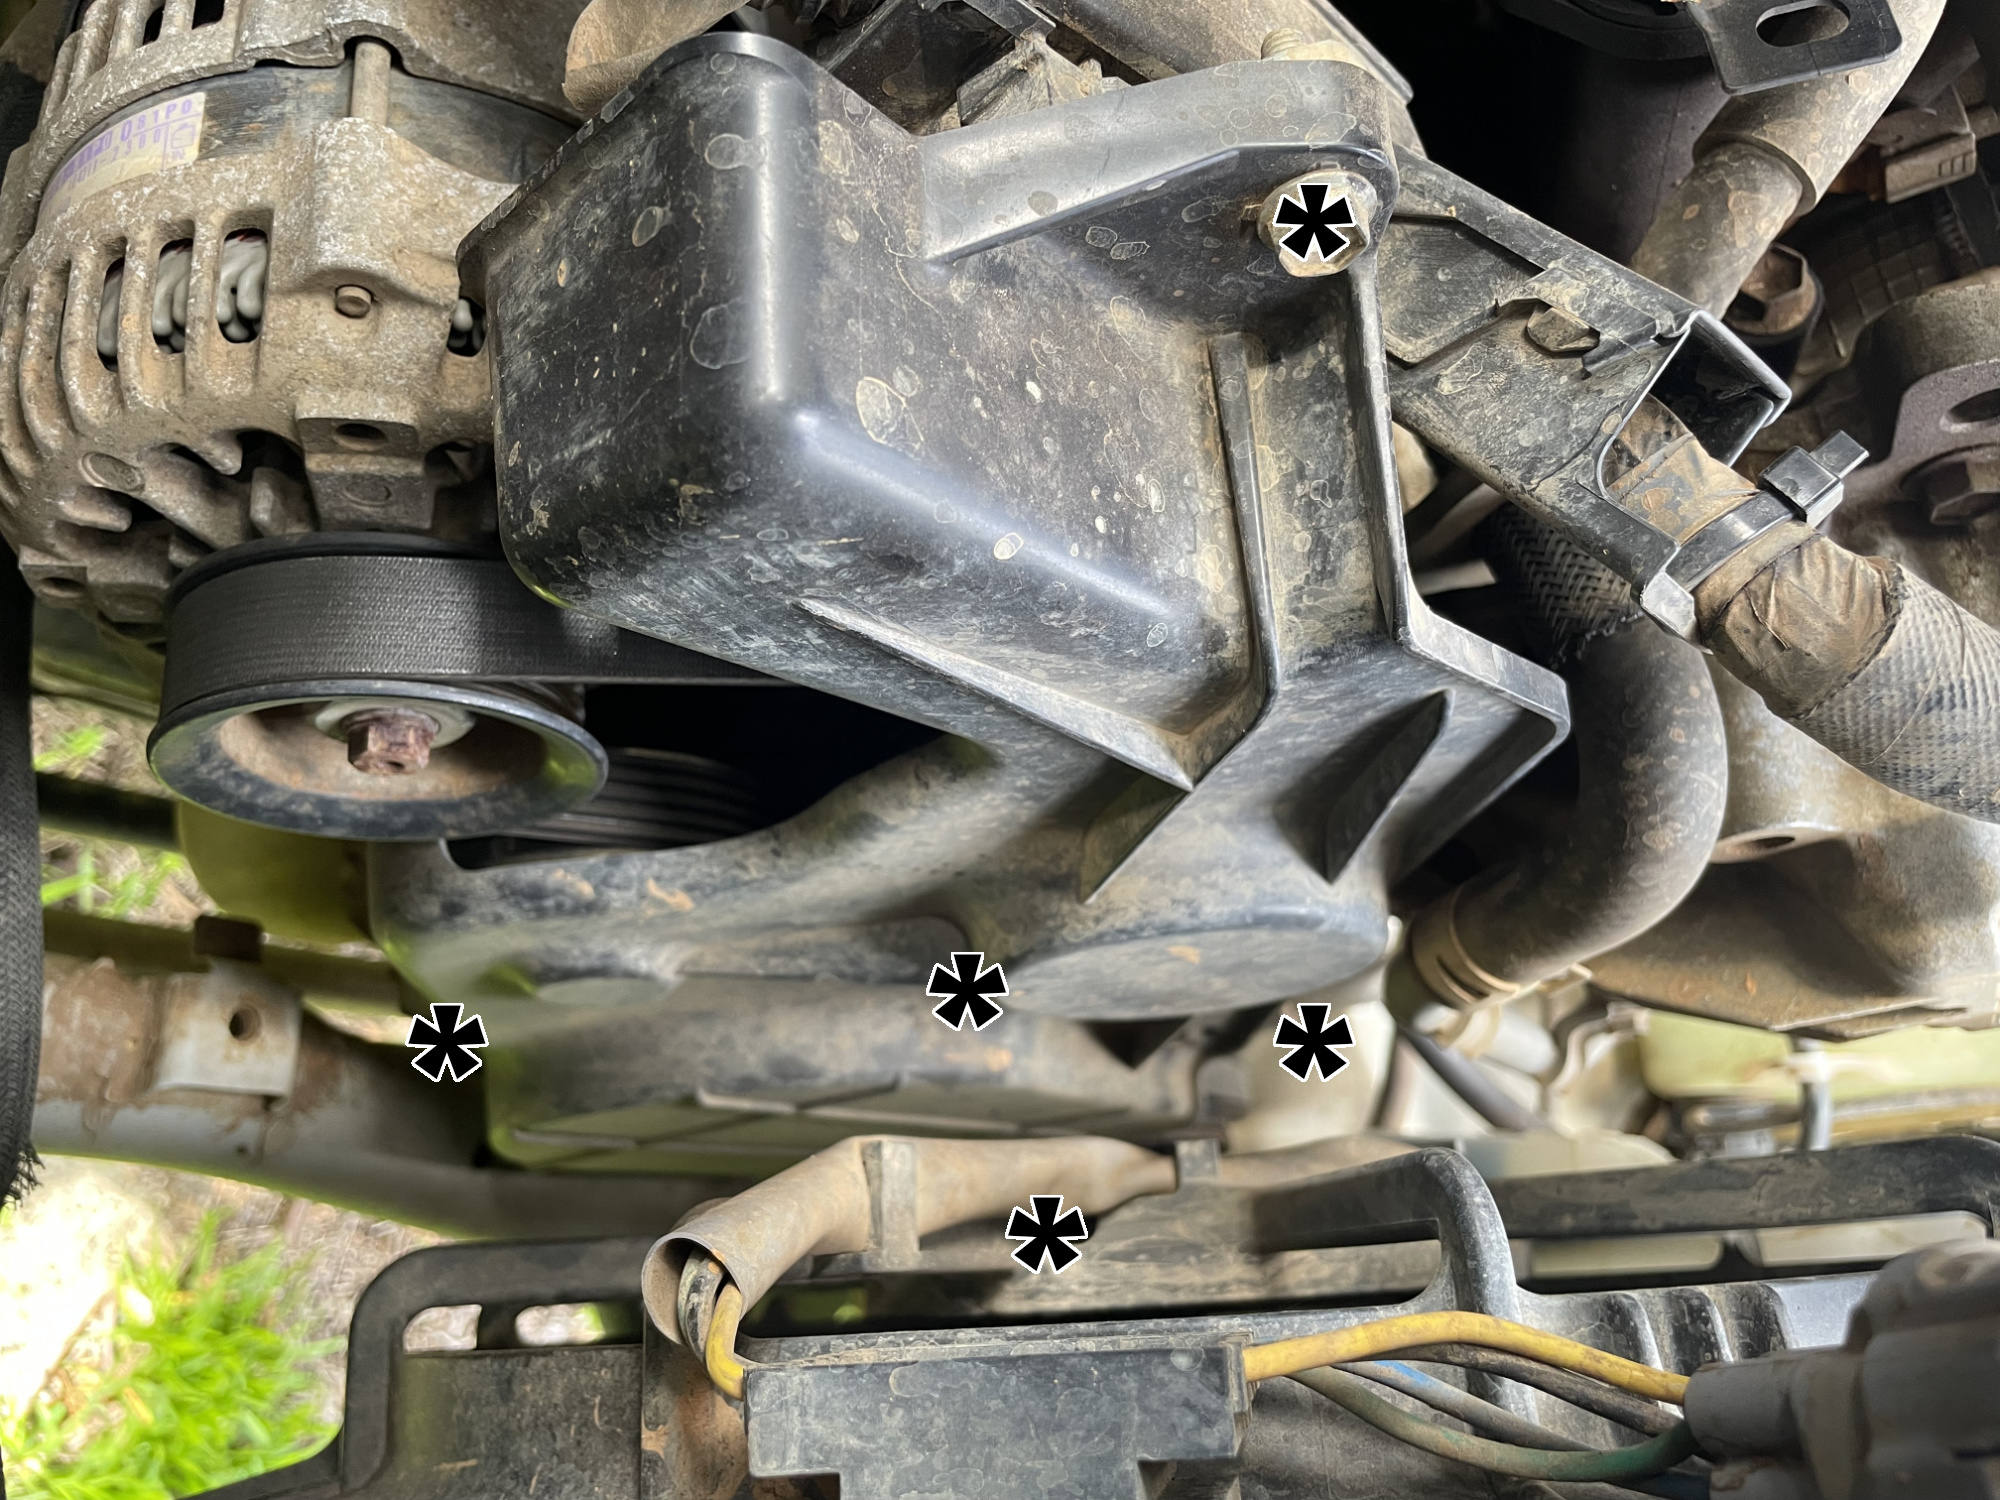
First step here is to remove the belt cover. There are 5 10mm headed bolts here. The one in the middle of the cover is a bit of a bastard to get to, you may need a ratchet spanner or a shallow 10mm socket and ratchet to not hit the thermofan when you’re undoing it. Two of the bolts are easiest to get from underneath, the one near the alternator and on the passengers side of the car up the top are super easy to get to though.
Asterisk in the following pic shows roughly where the bolts are. Remember, there’s 5 of them, make sure all 5 are undone.
Once you’ve got that off, pull the input hose to the air box to get it out and also give yourself a bit of room. With my snorkel this is easiest pushing it to the side.
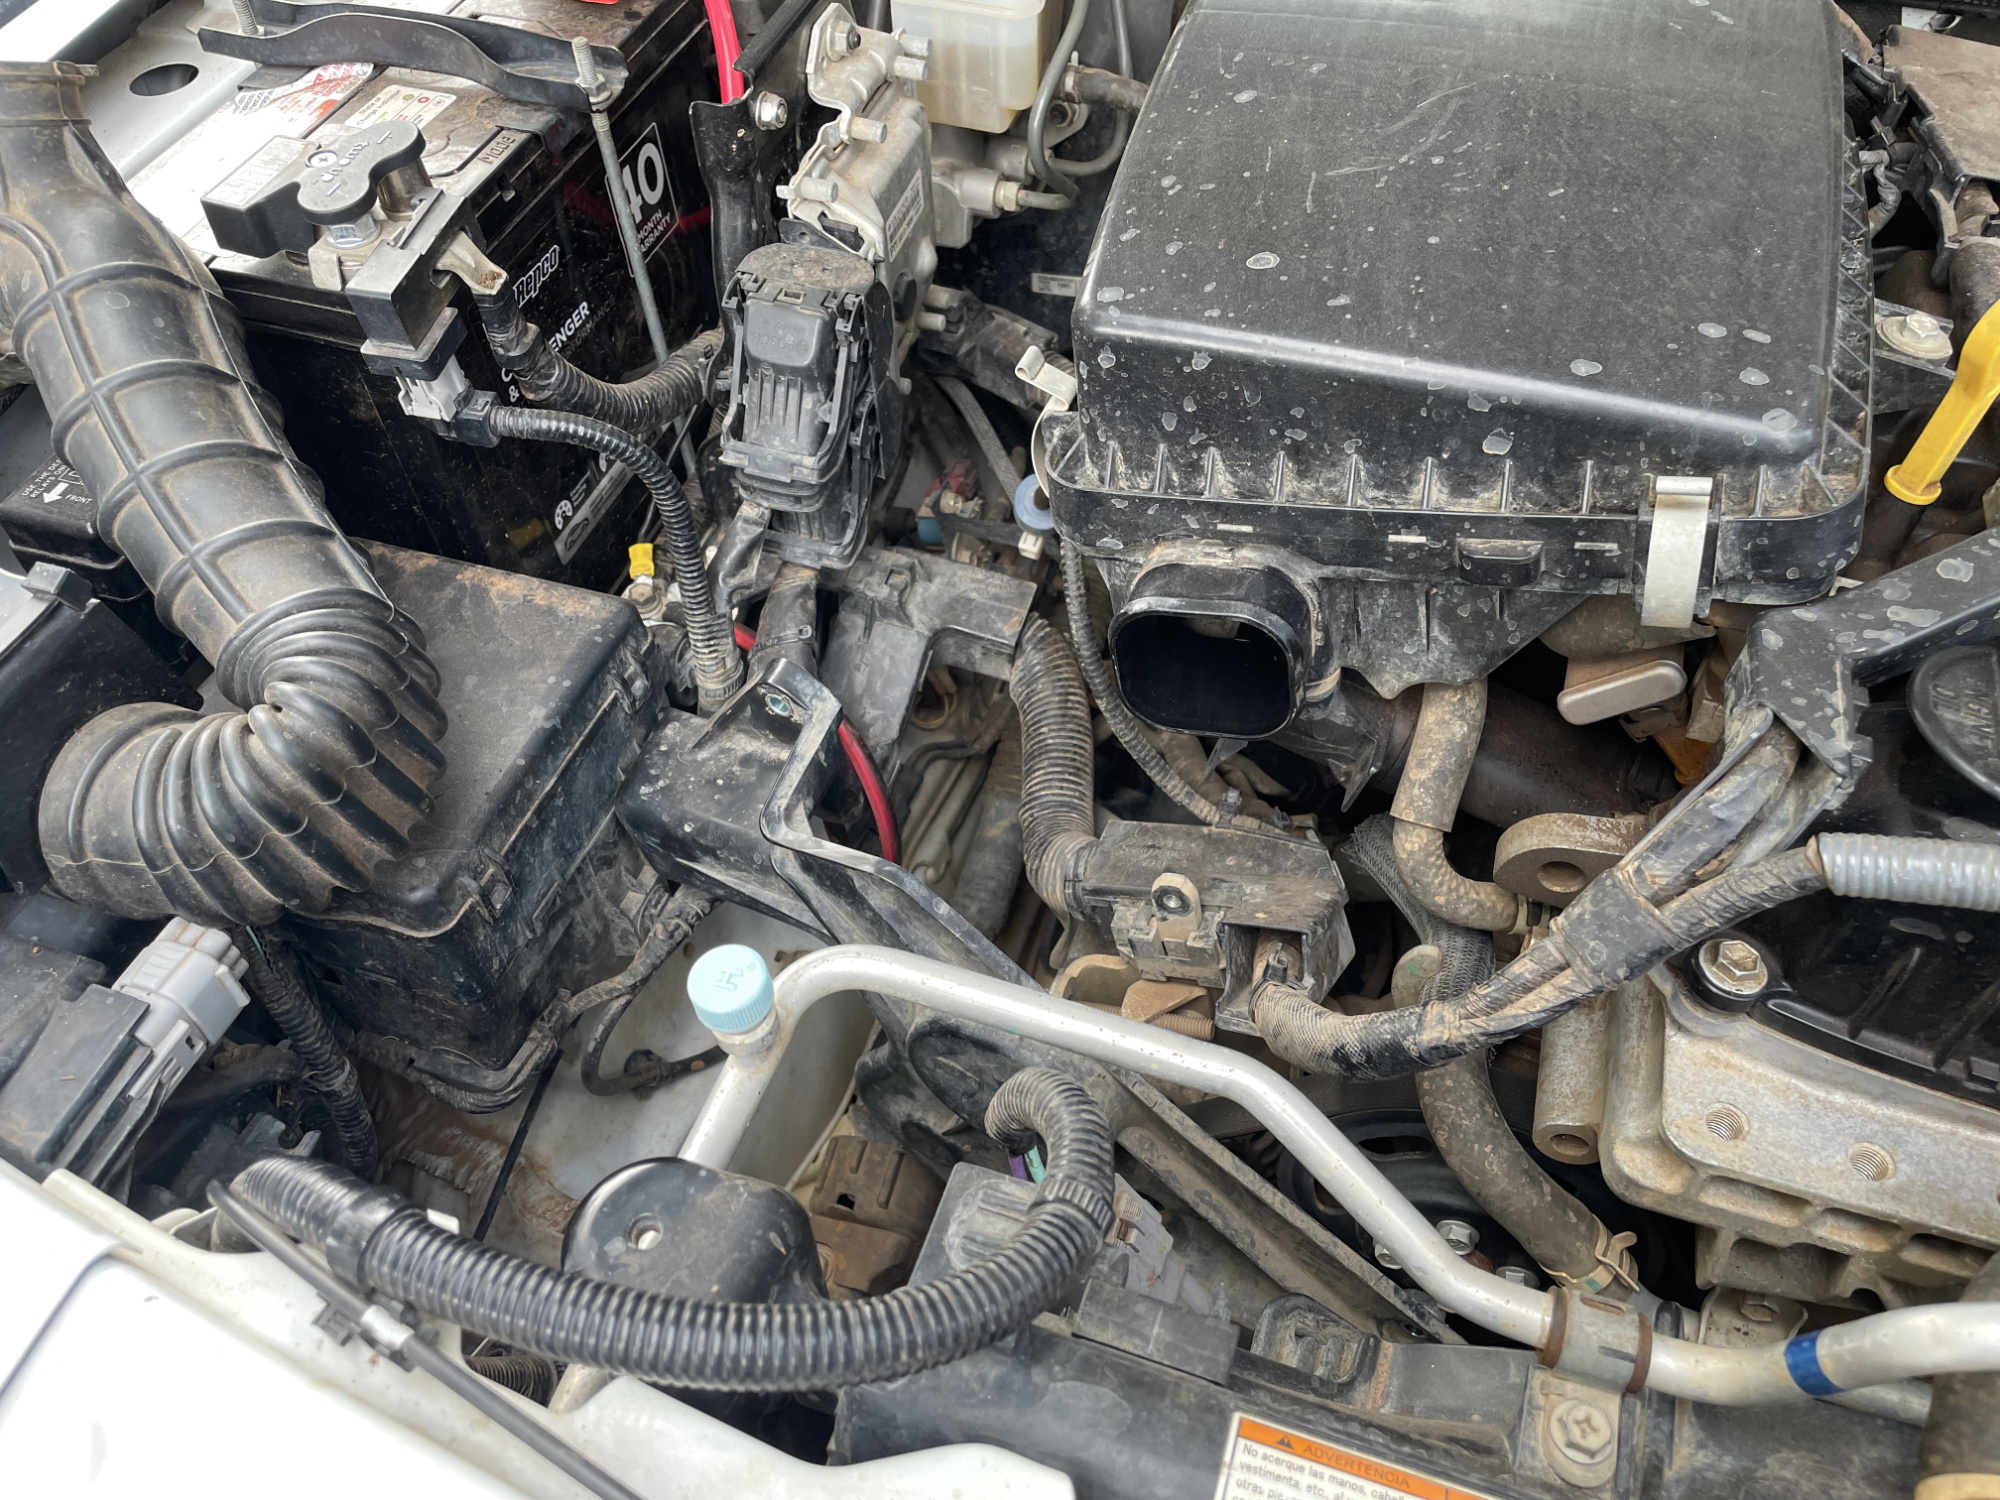
Next up, undo the airbox to throttle body clamp at the airbox end
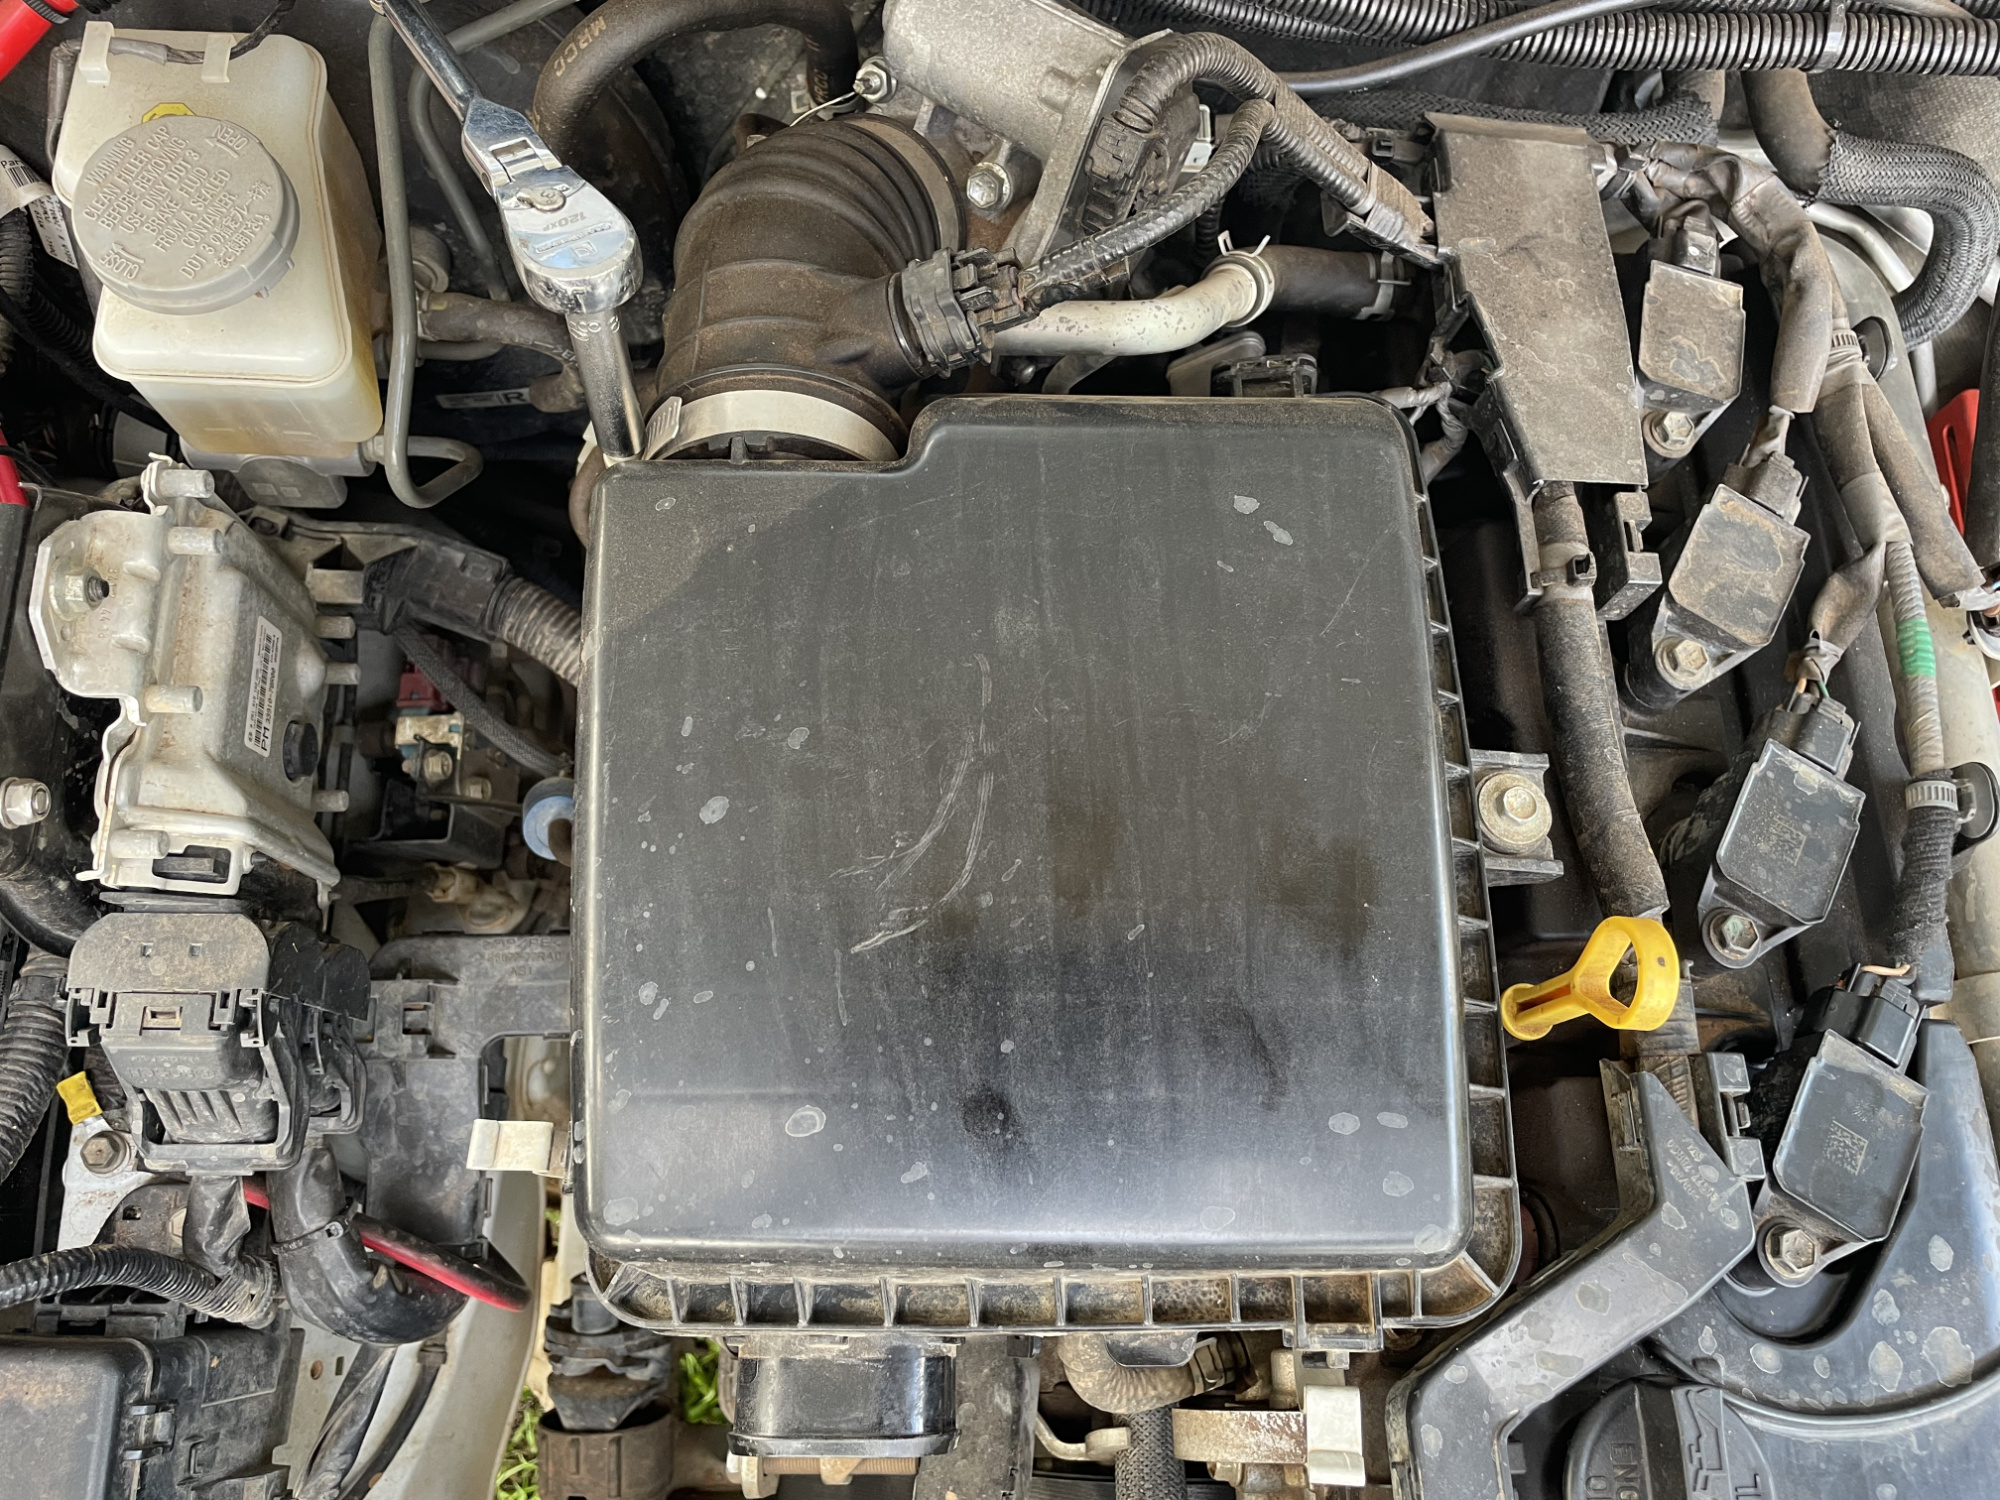
Take the airbox lid off, and unclip the wiring that sits to the ECU side of the air box
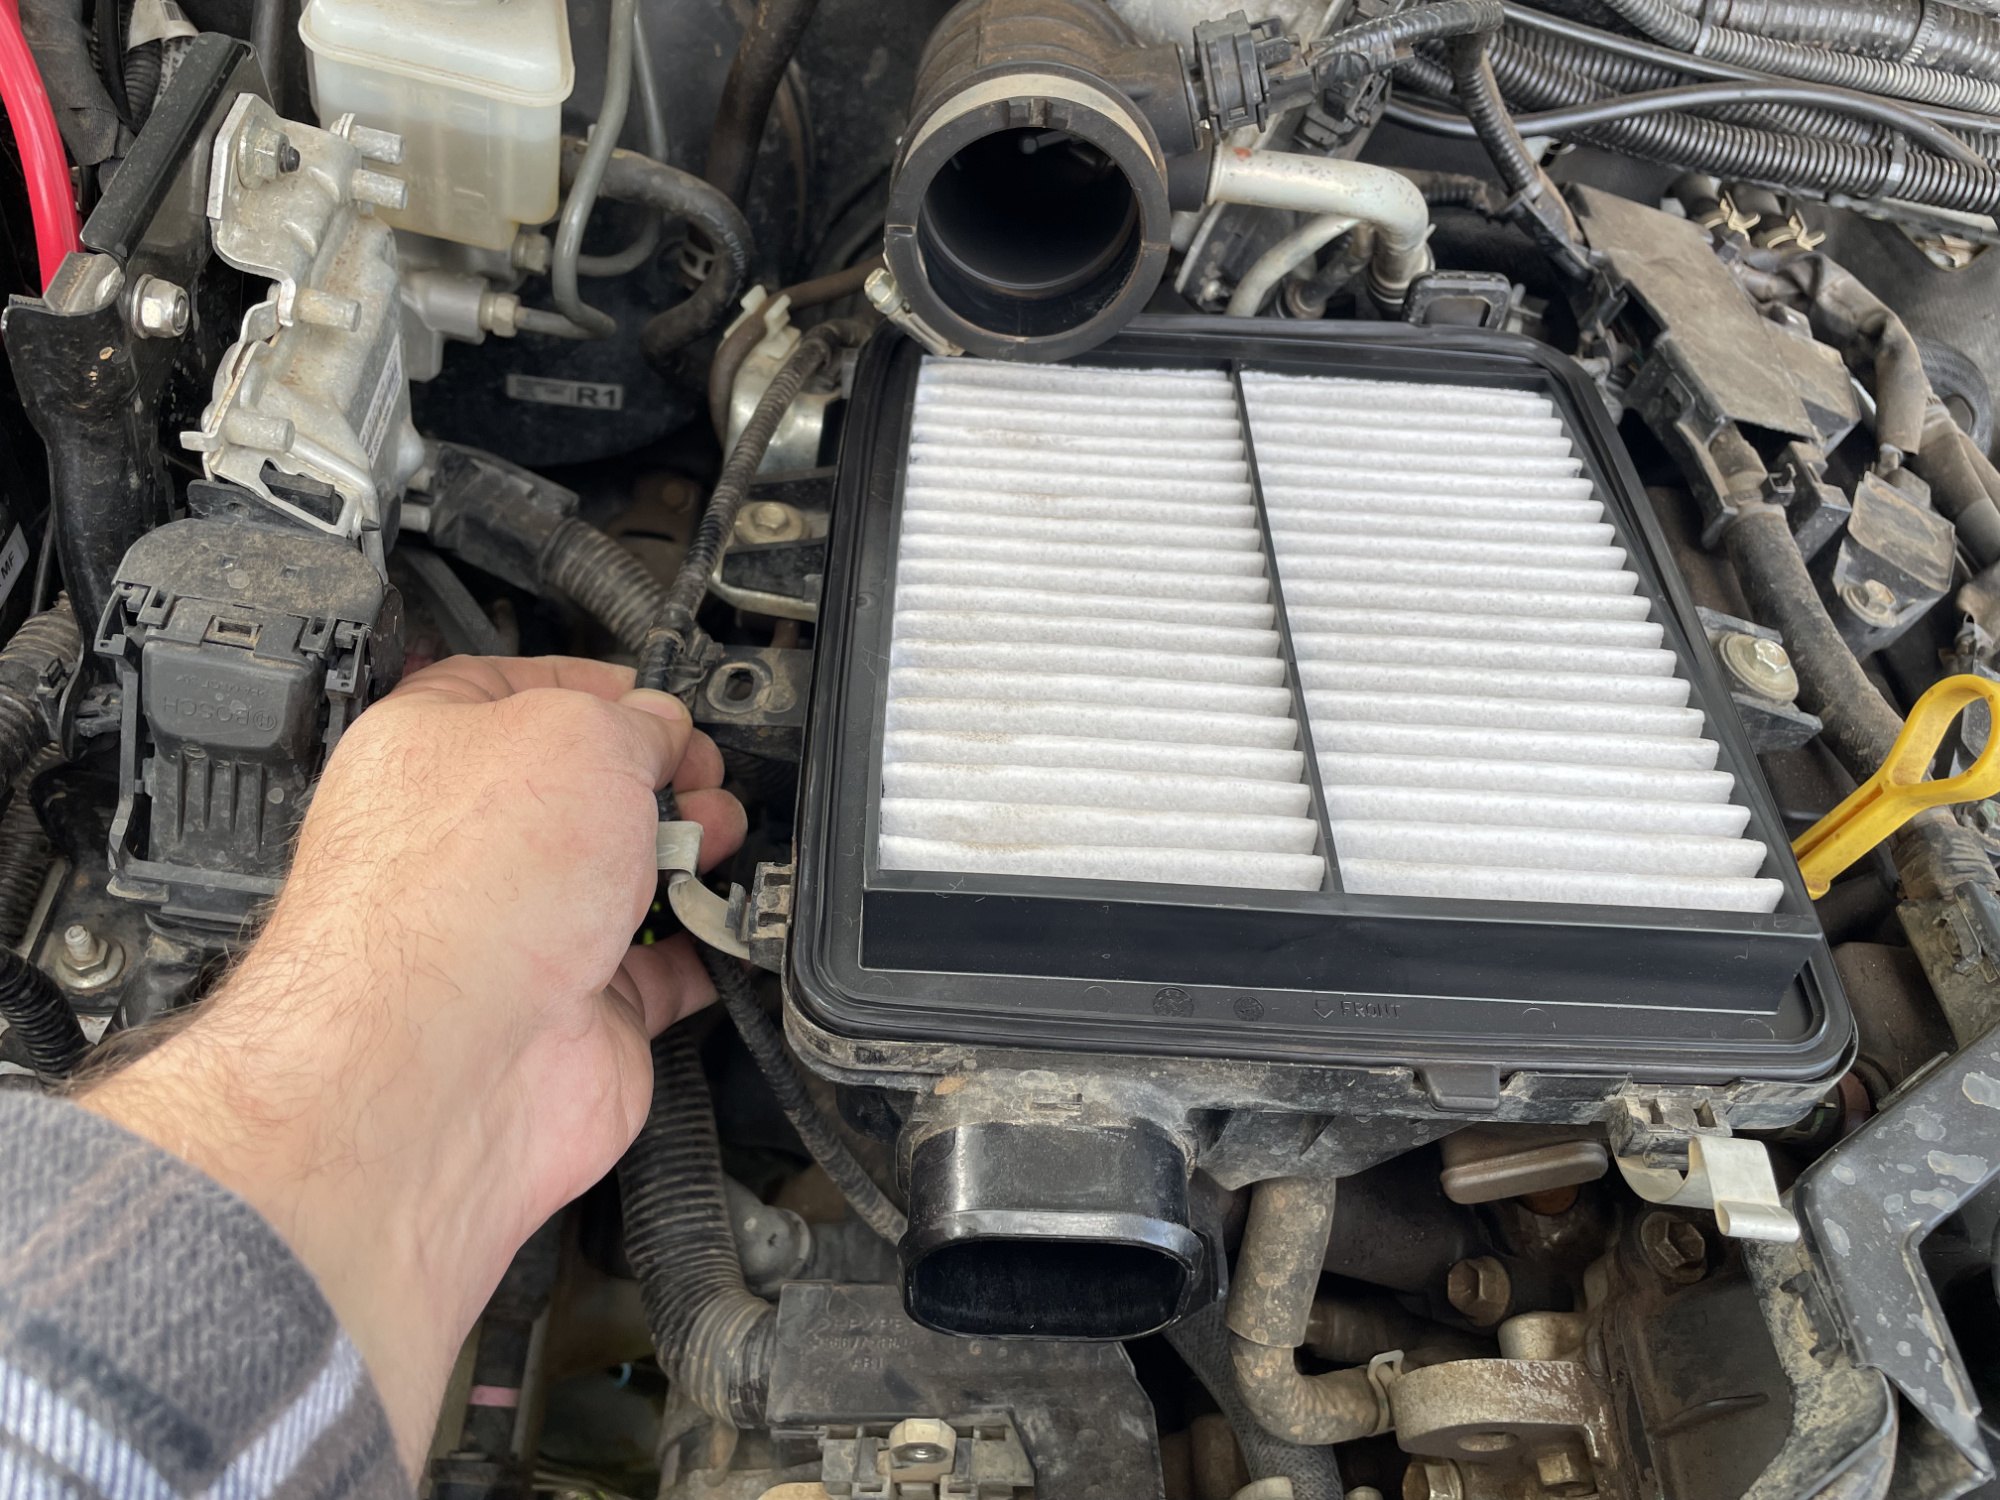
Undo the two 10mm headed bolts that mount the airbox base to the engine
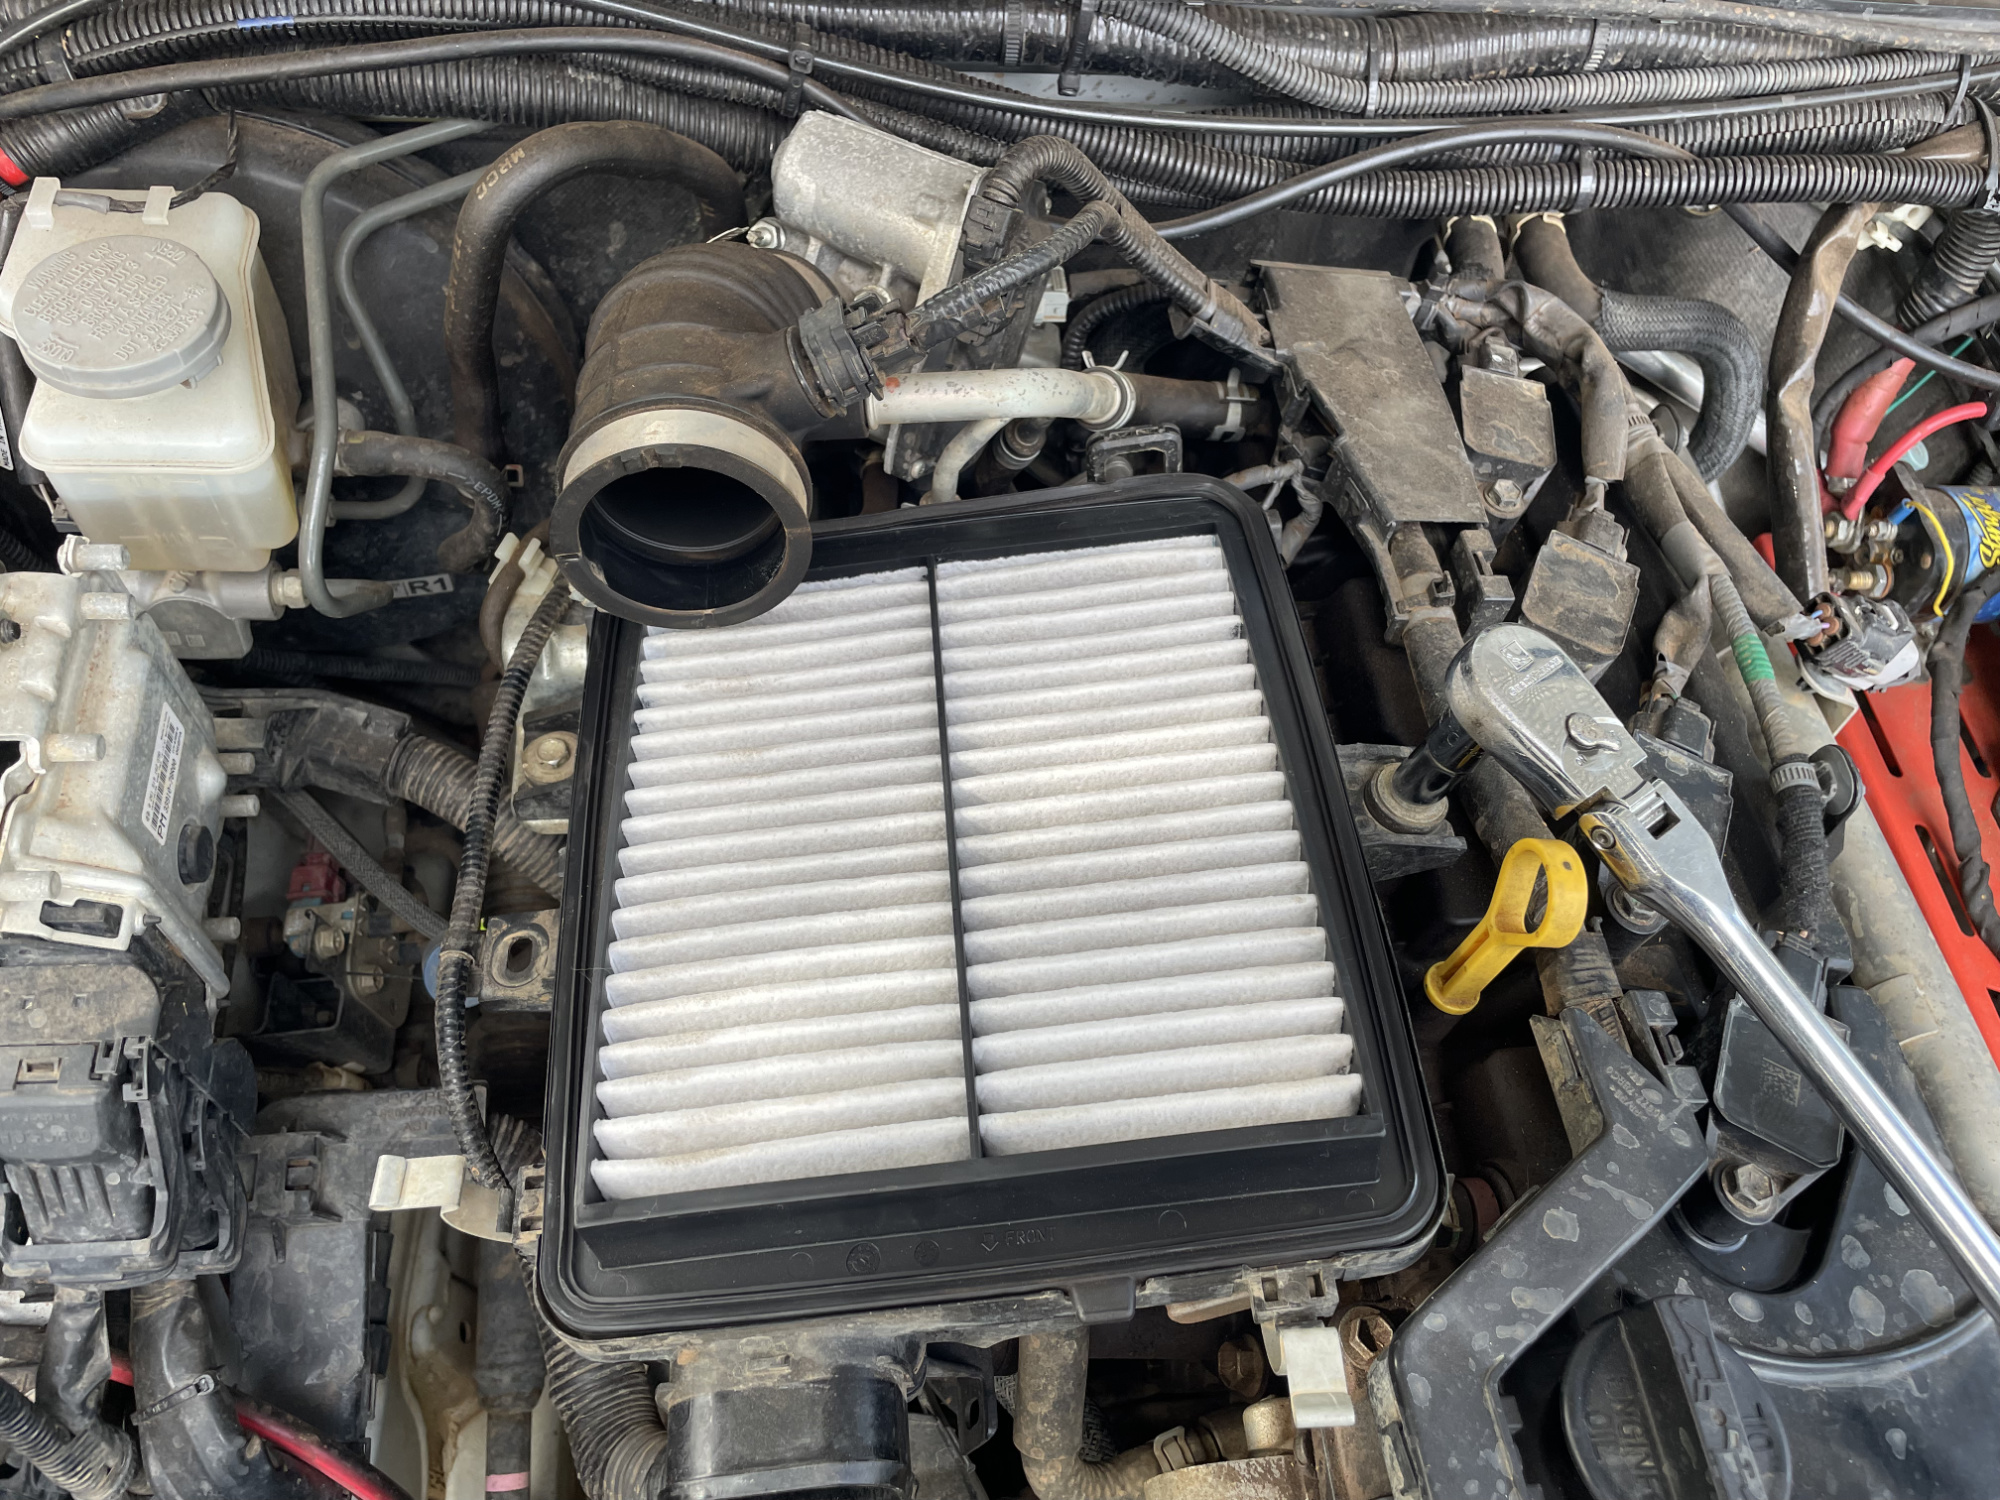
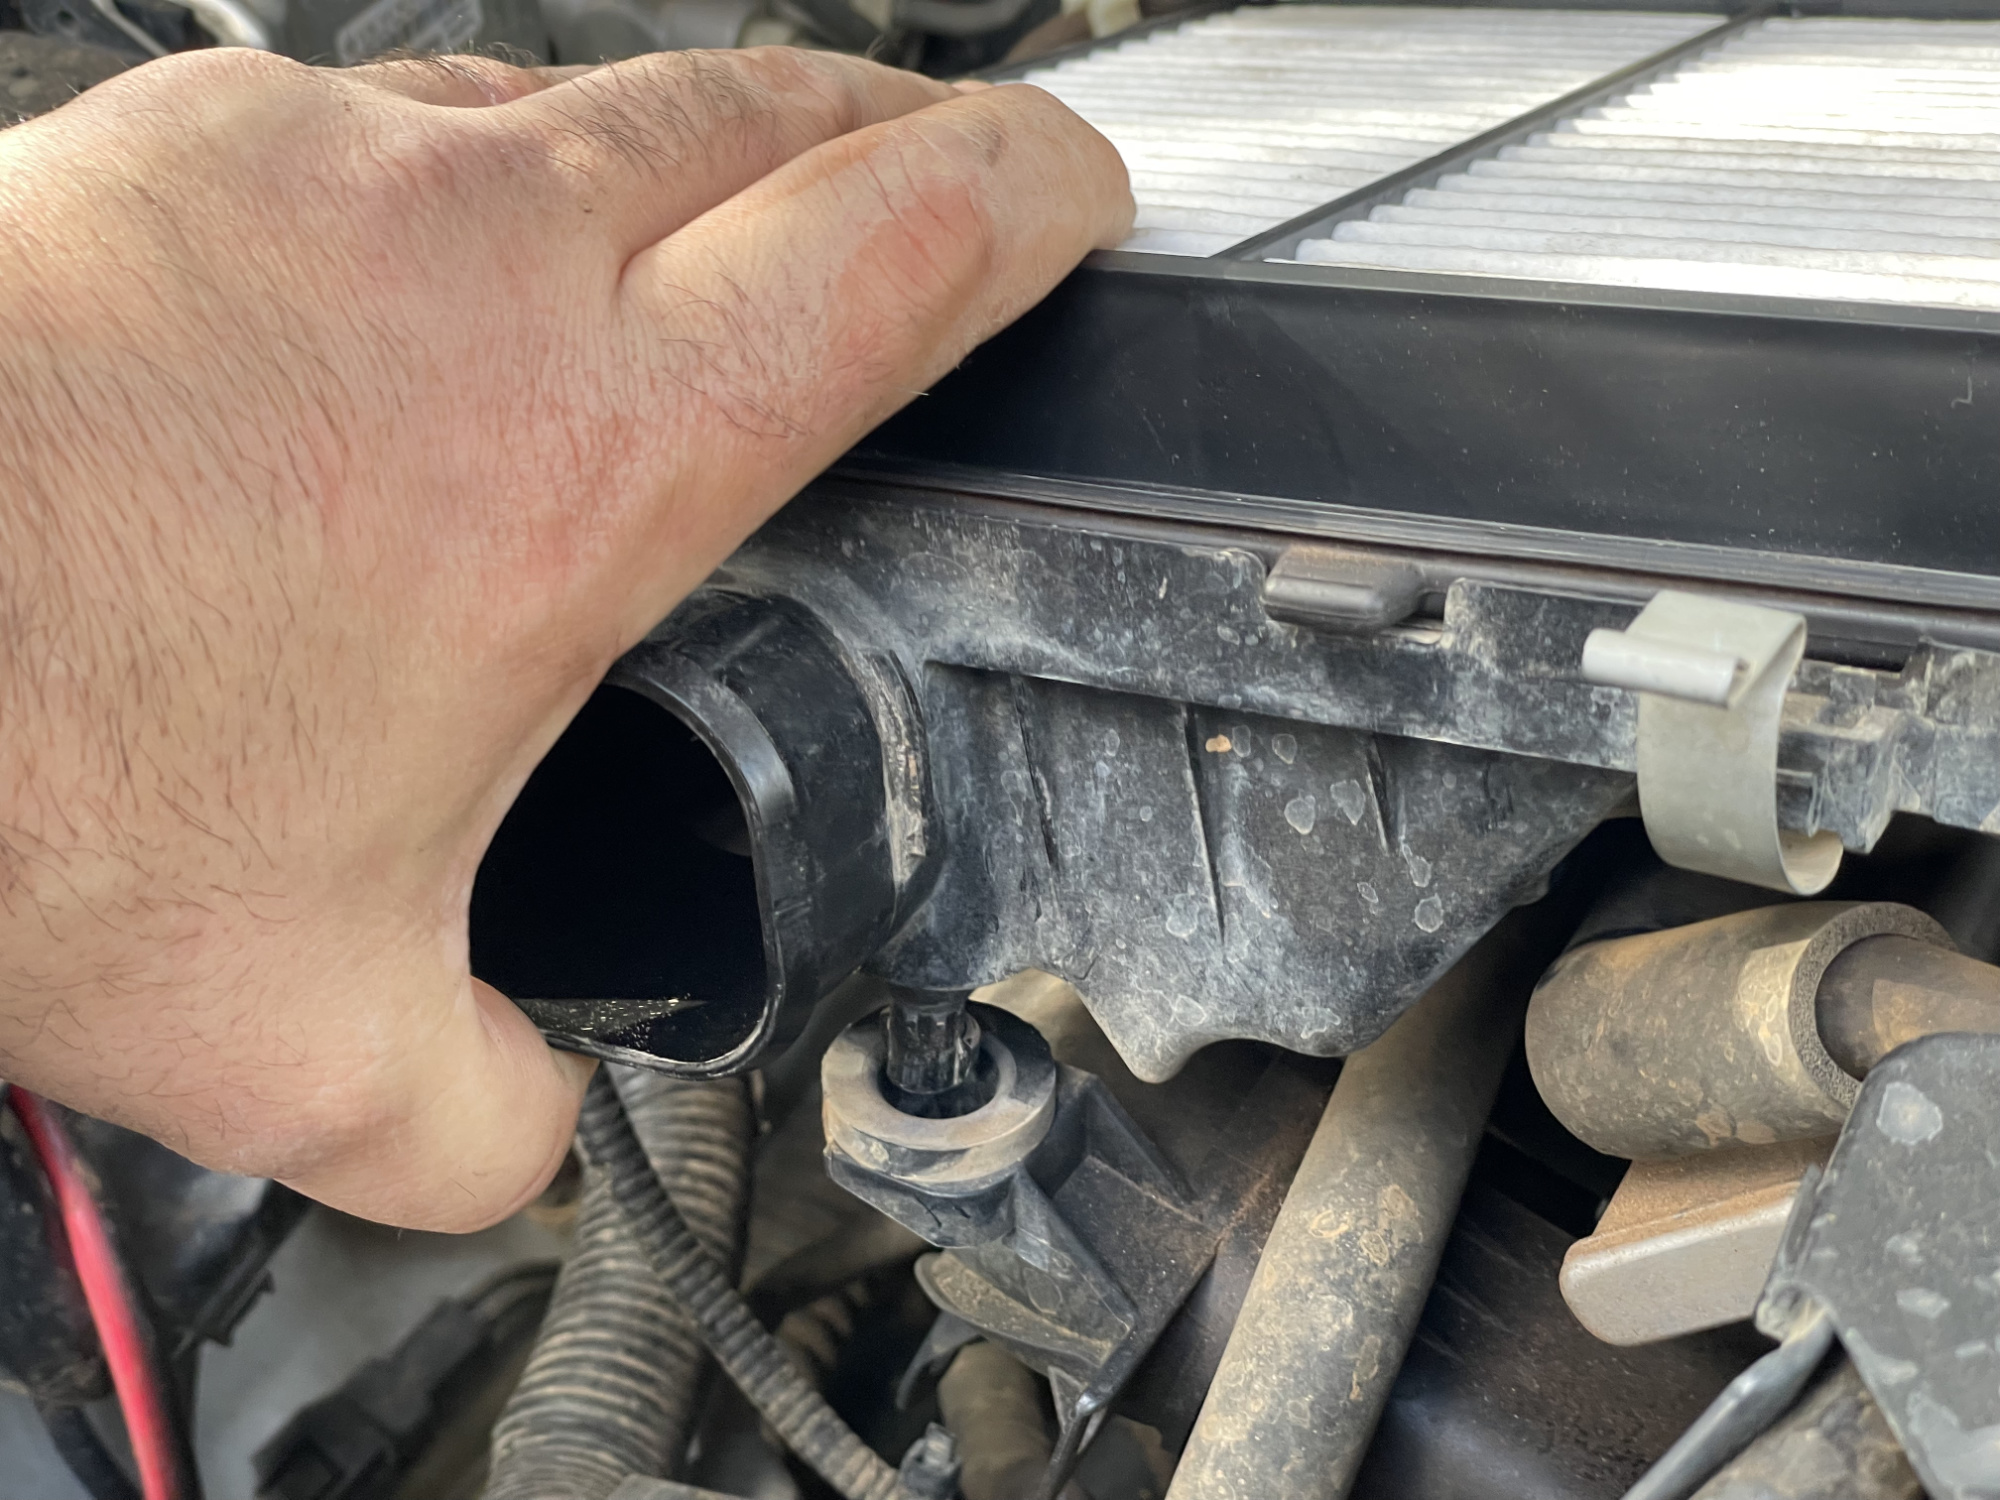
With the two bolts undone, you just lift the airbox base up (the air filter can stay put if you’re lazy like me). There is a pin at the front of the airbox which pushes into some rubber, but it should come up fairly easily
This now reveals the intake manifold and a few hoses and stuff you’ll have to disconnect
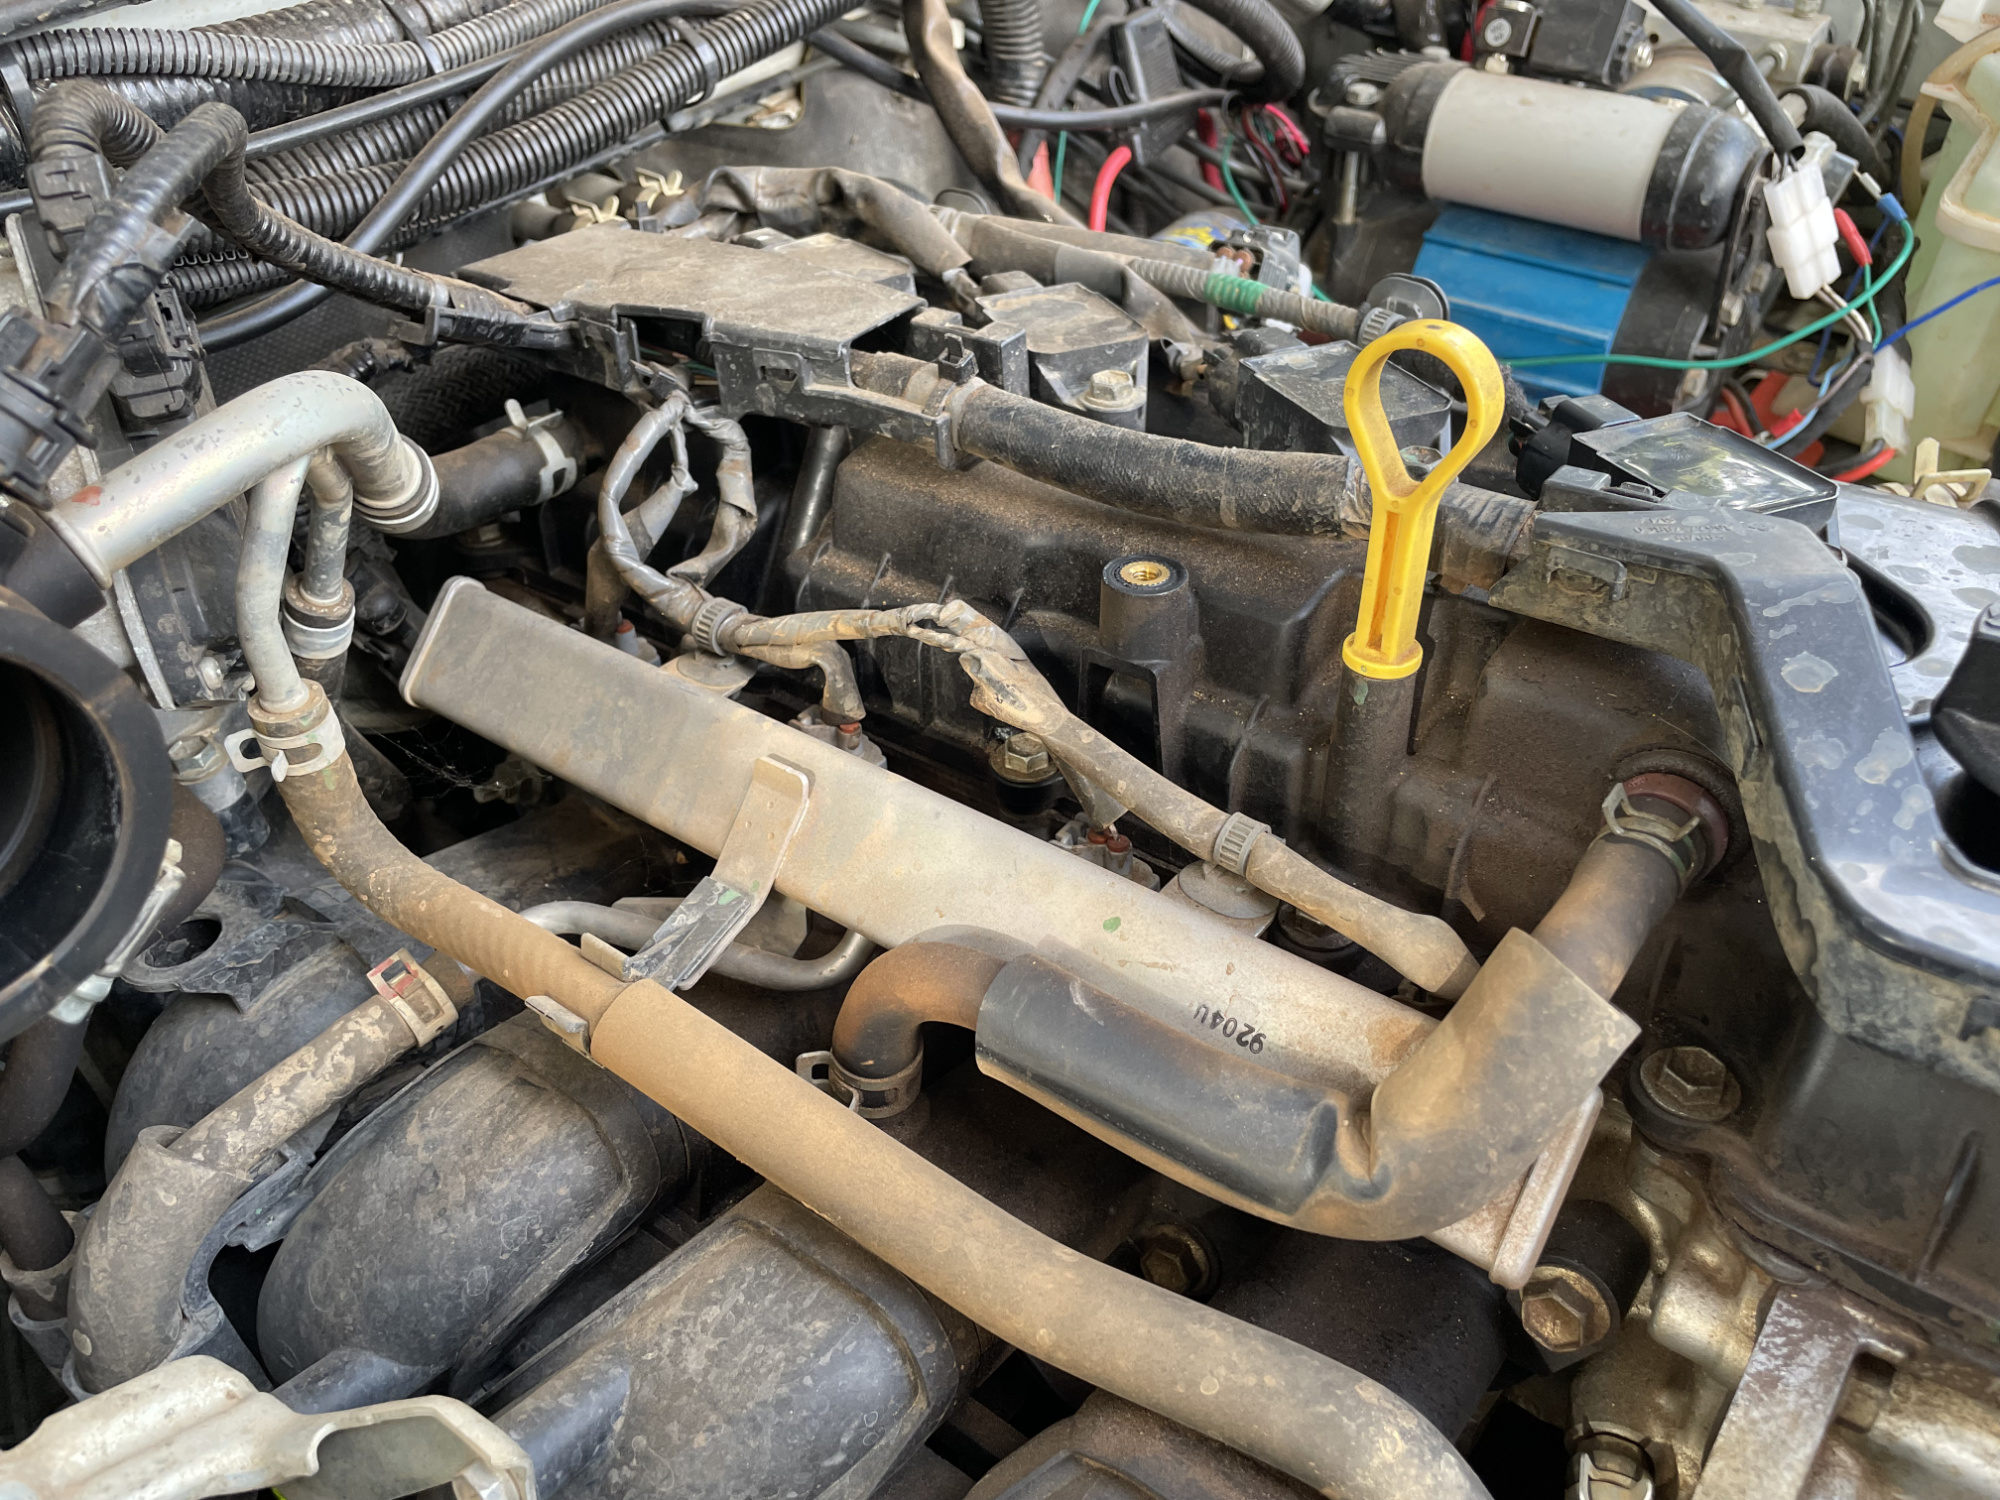
First off, starting with the PCV valve and hose, which is the hose out of the valve cover at the front of the engine
I usually try to keep the PCV valve with the valve cover, which you achieve by undoing the clamp at the valve cover end
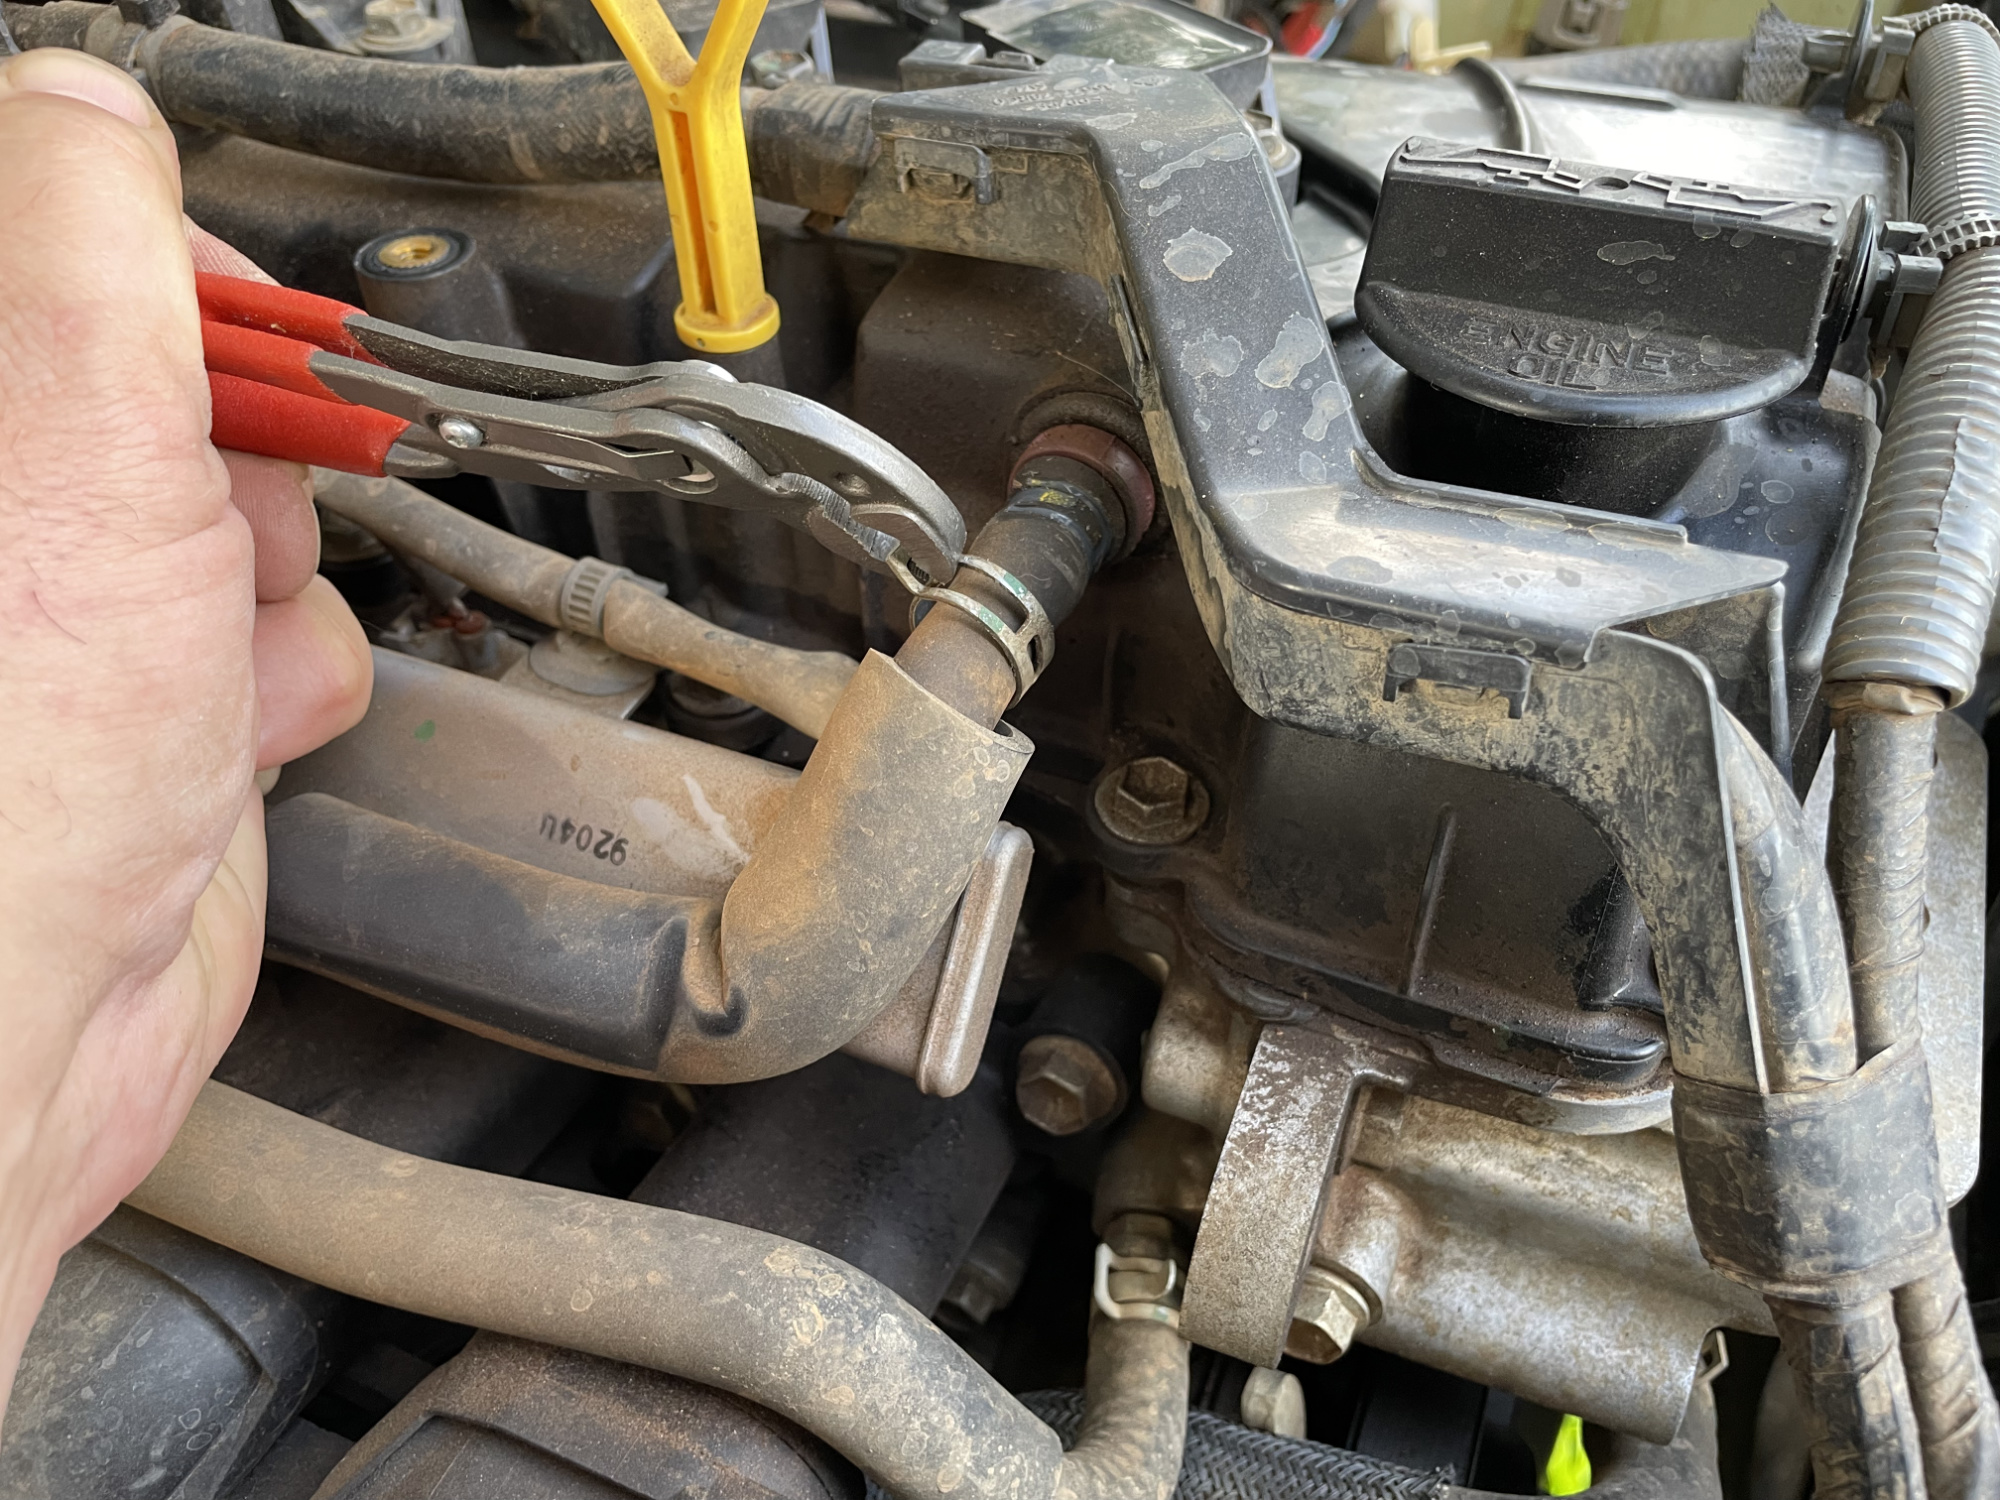
However, a reasonable amount of times the entire PCV valve will come out instead of staying with the head. Easier to have the clamp off anyway just in case you’re changing out the PCV valve.
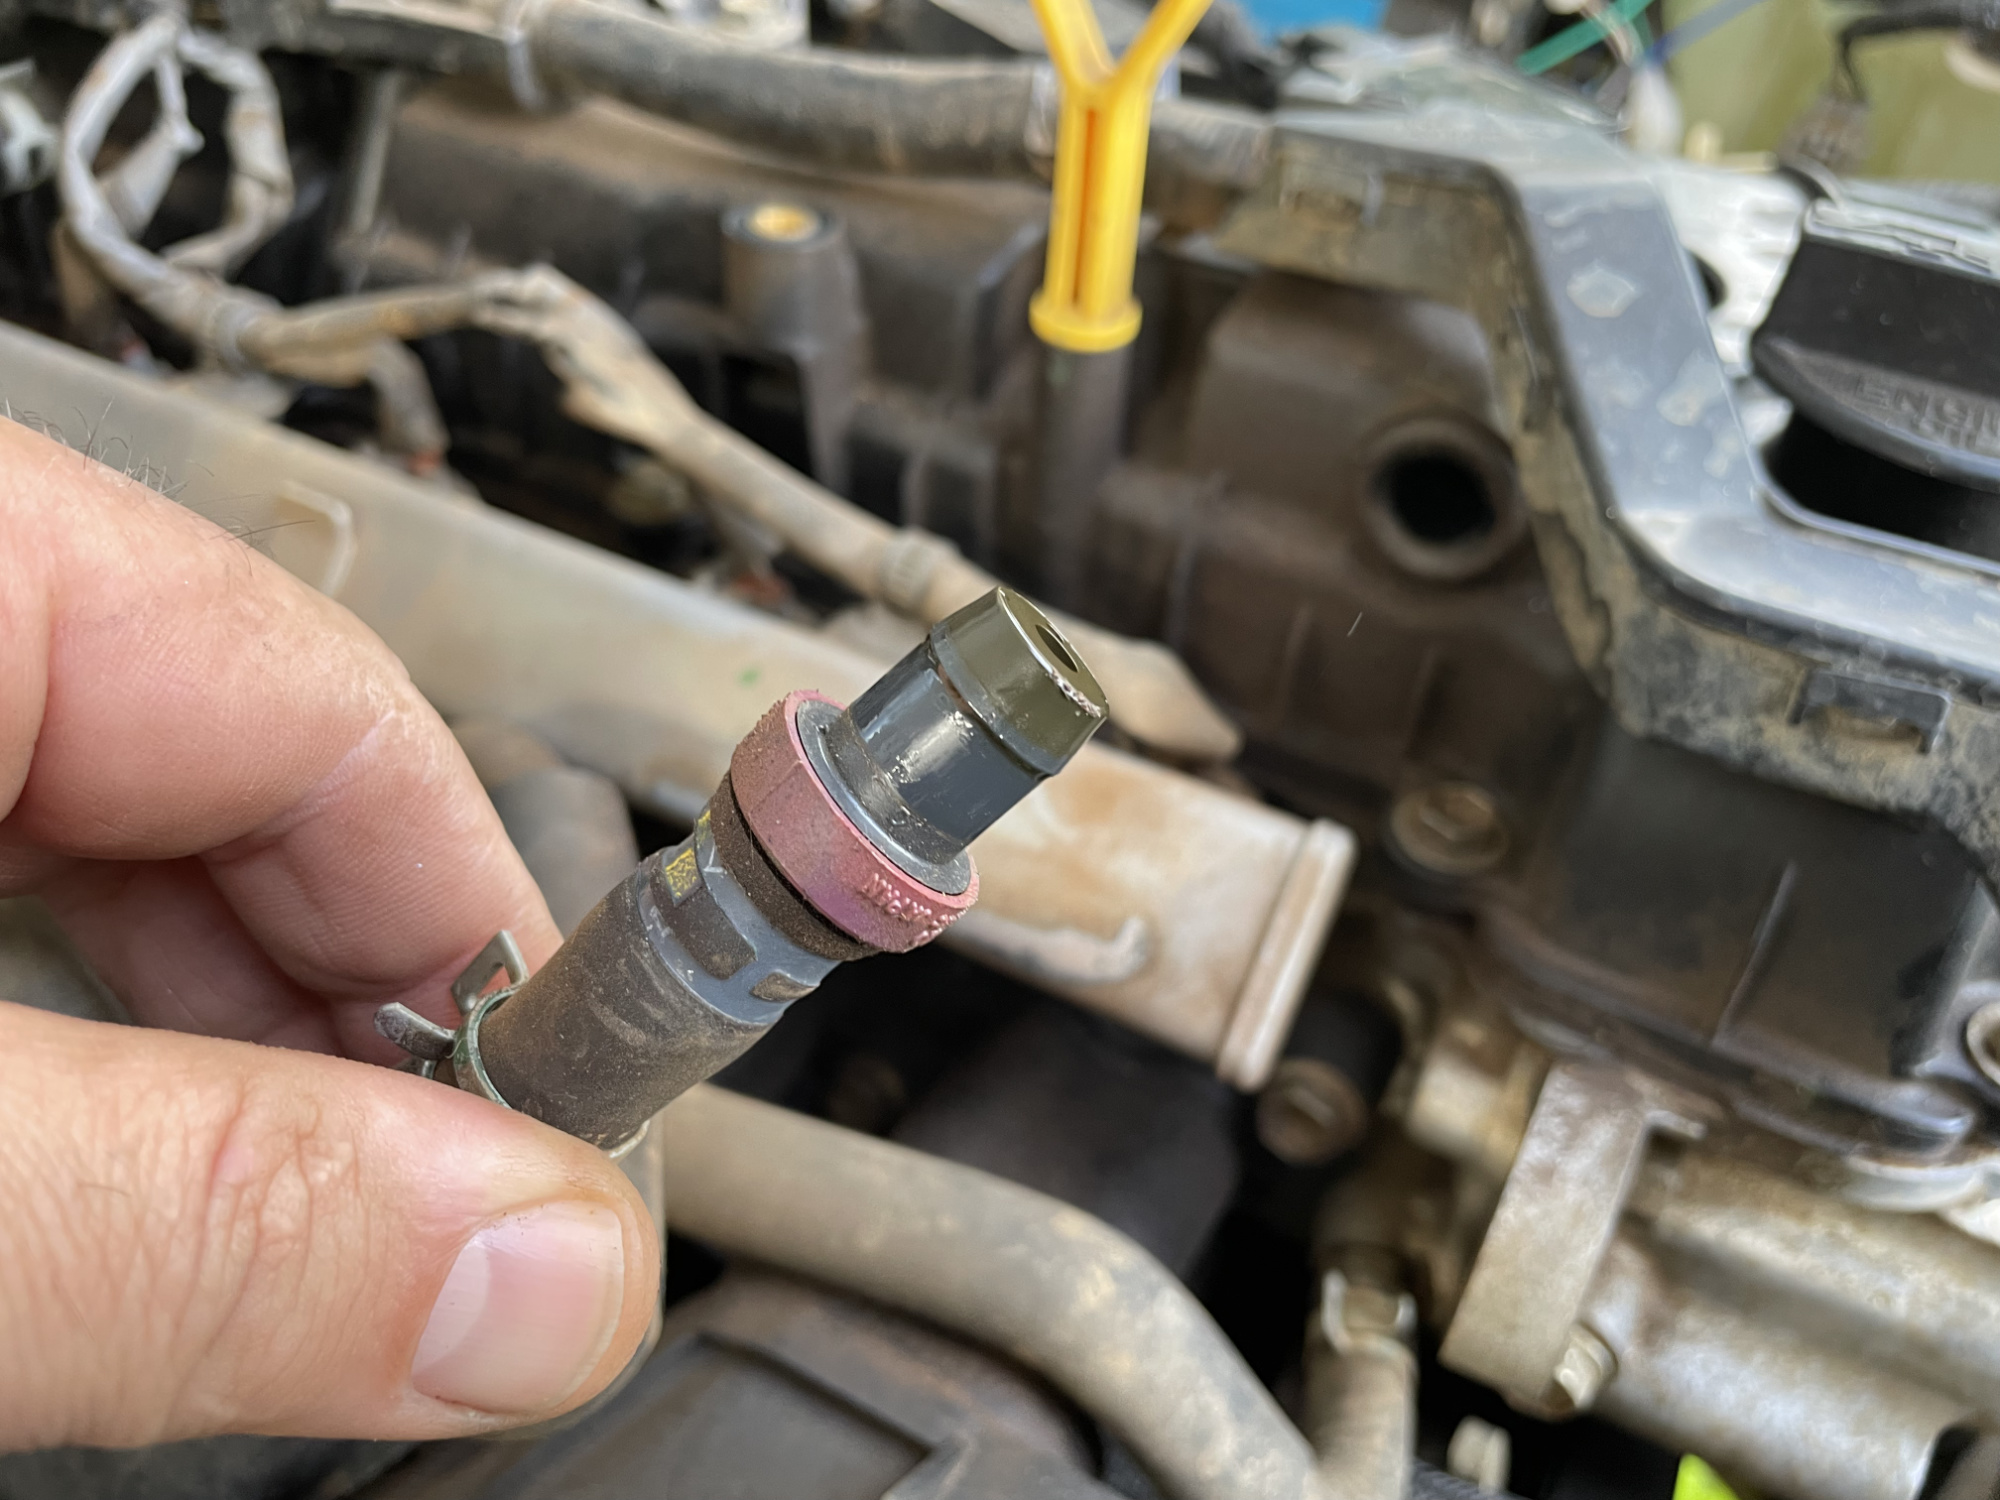
Just tuck the hose +/- PCV valve out of the way to make yourself some space.
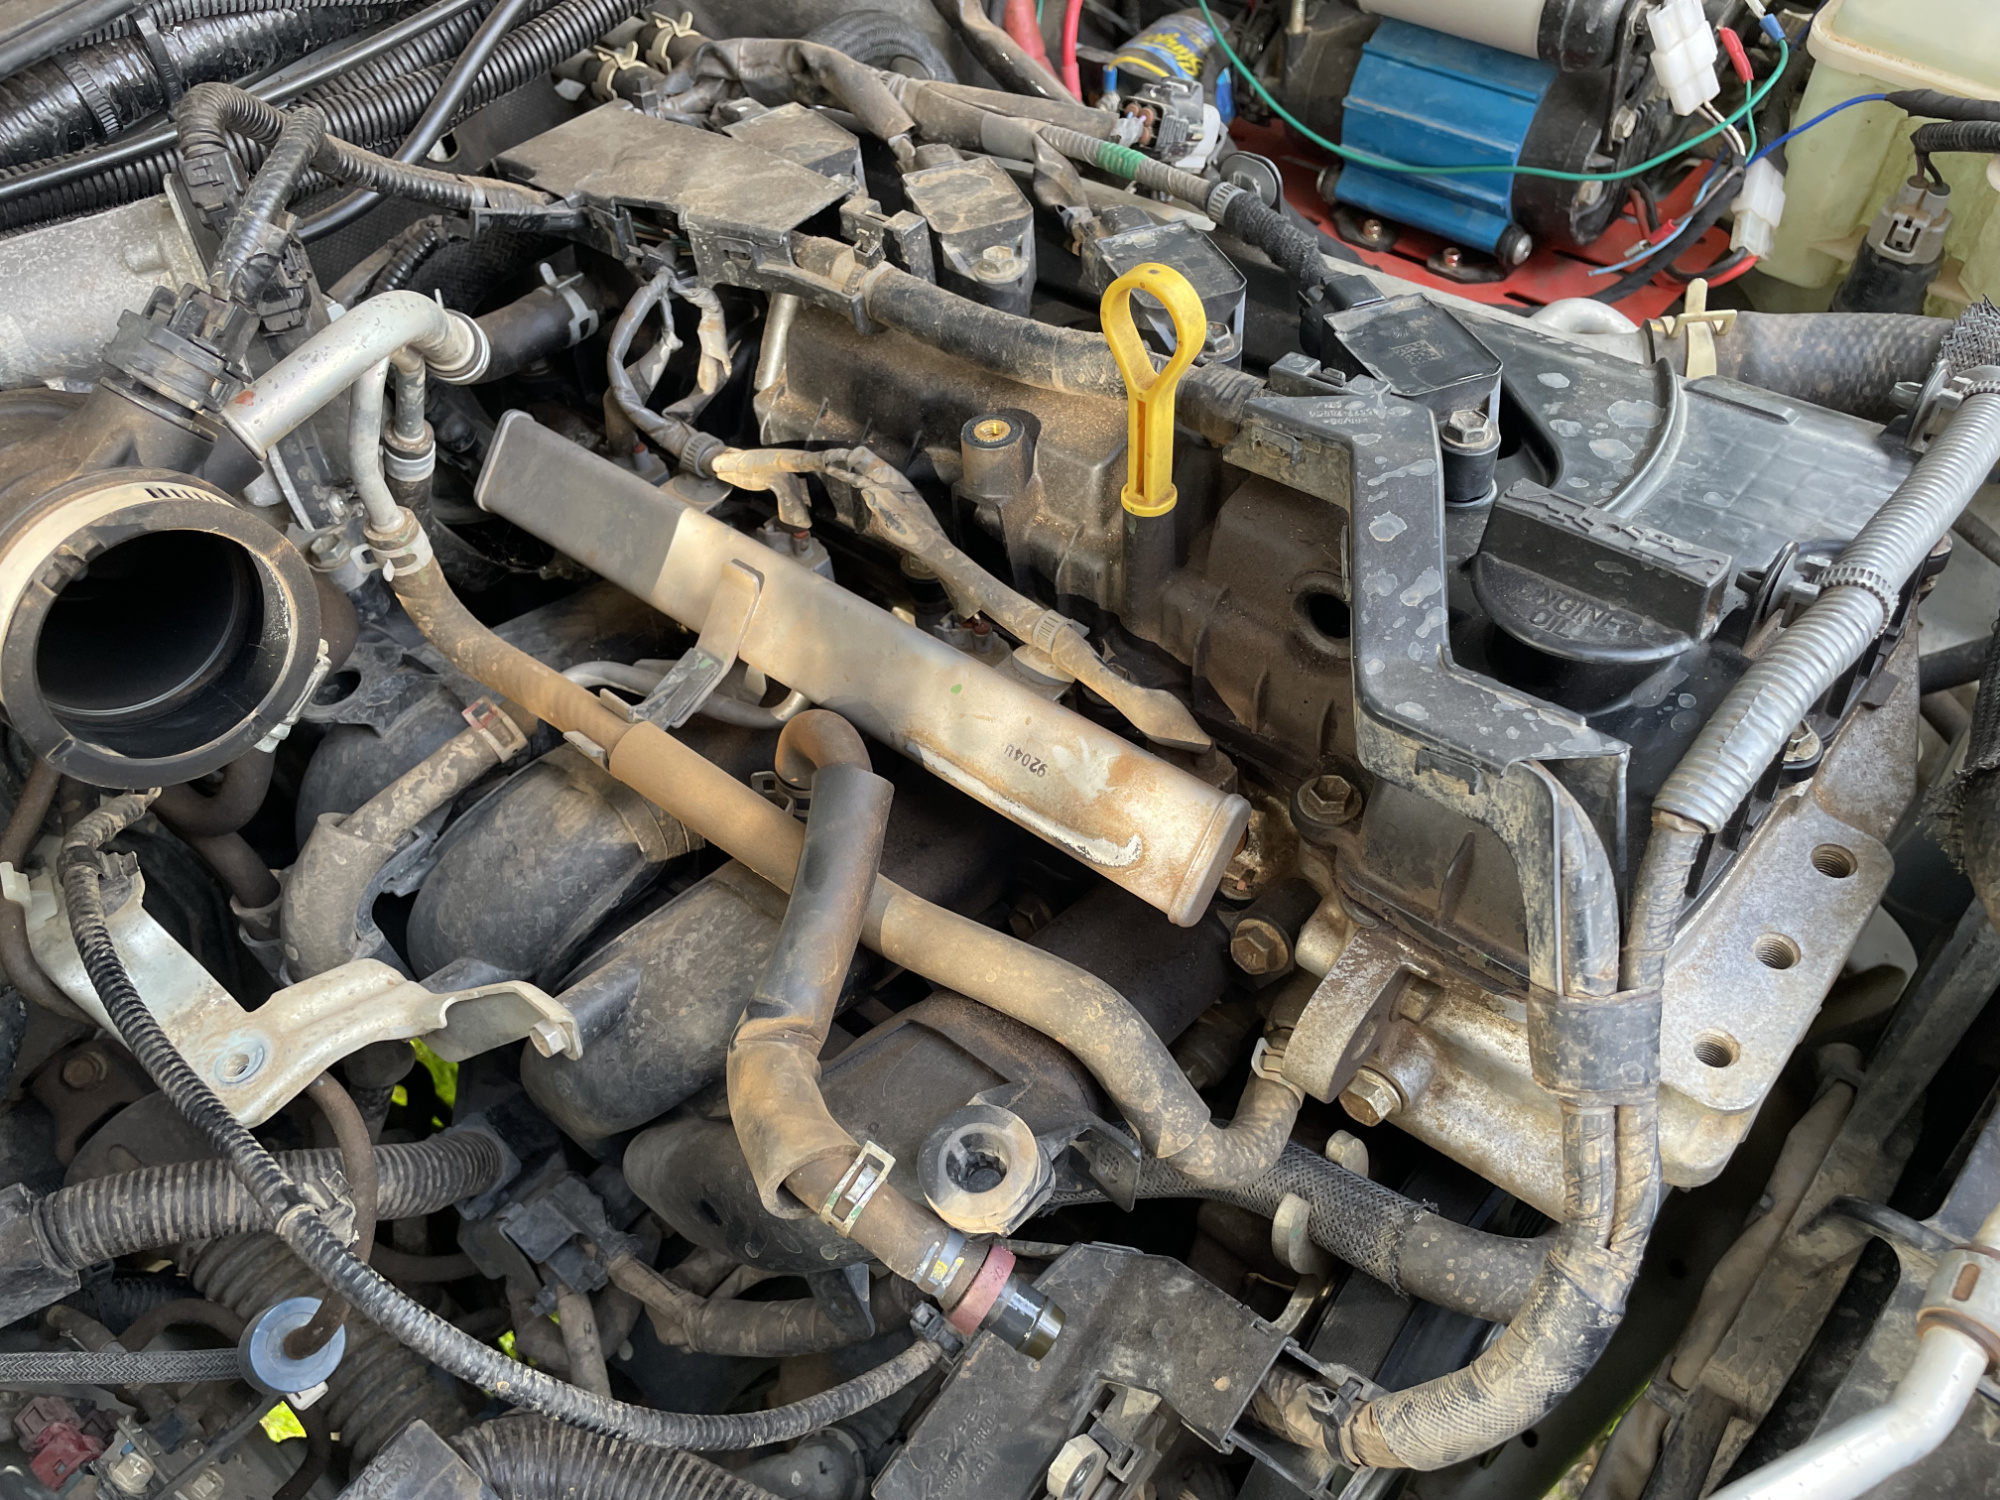
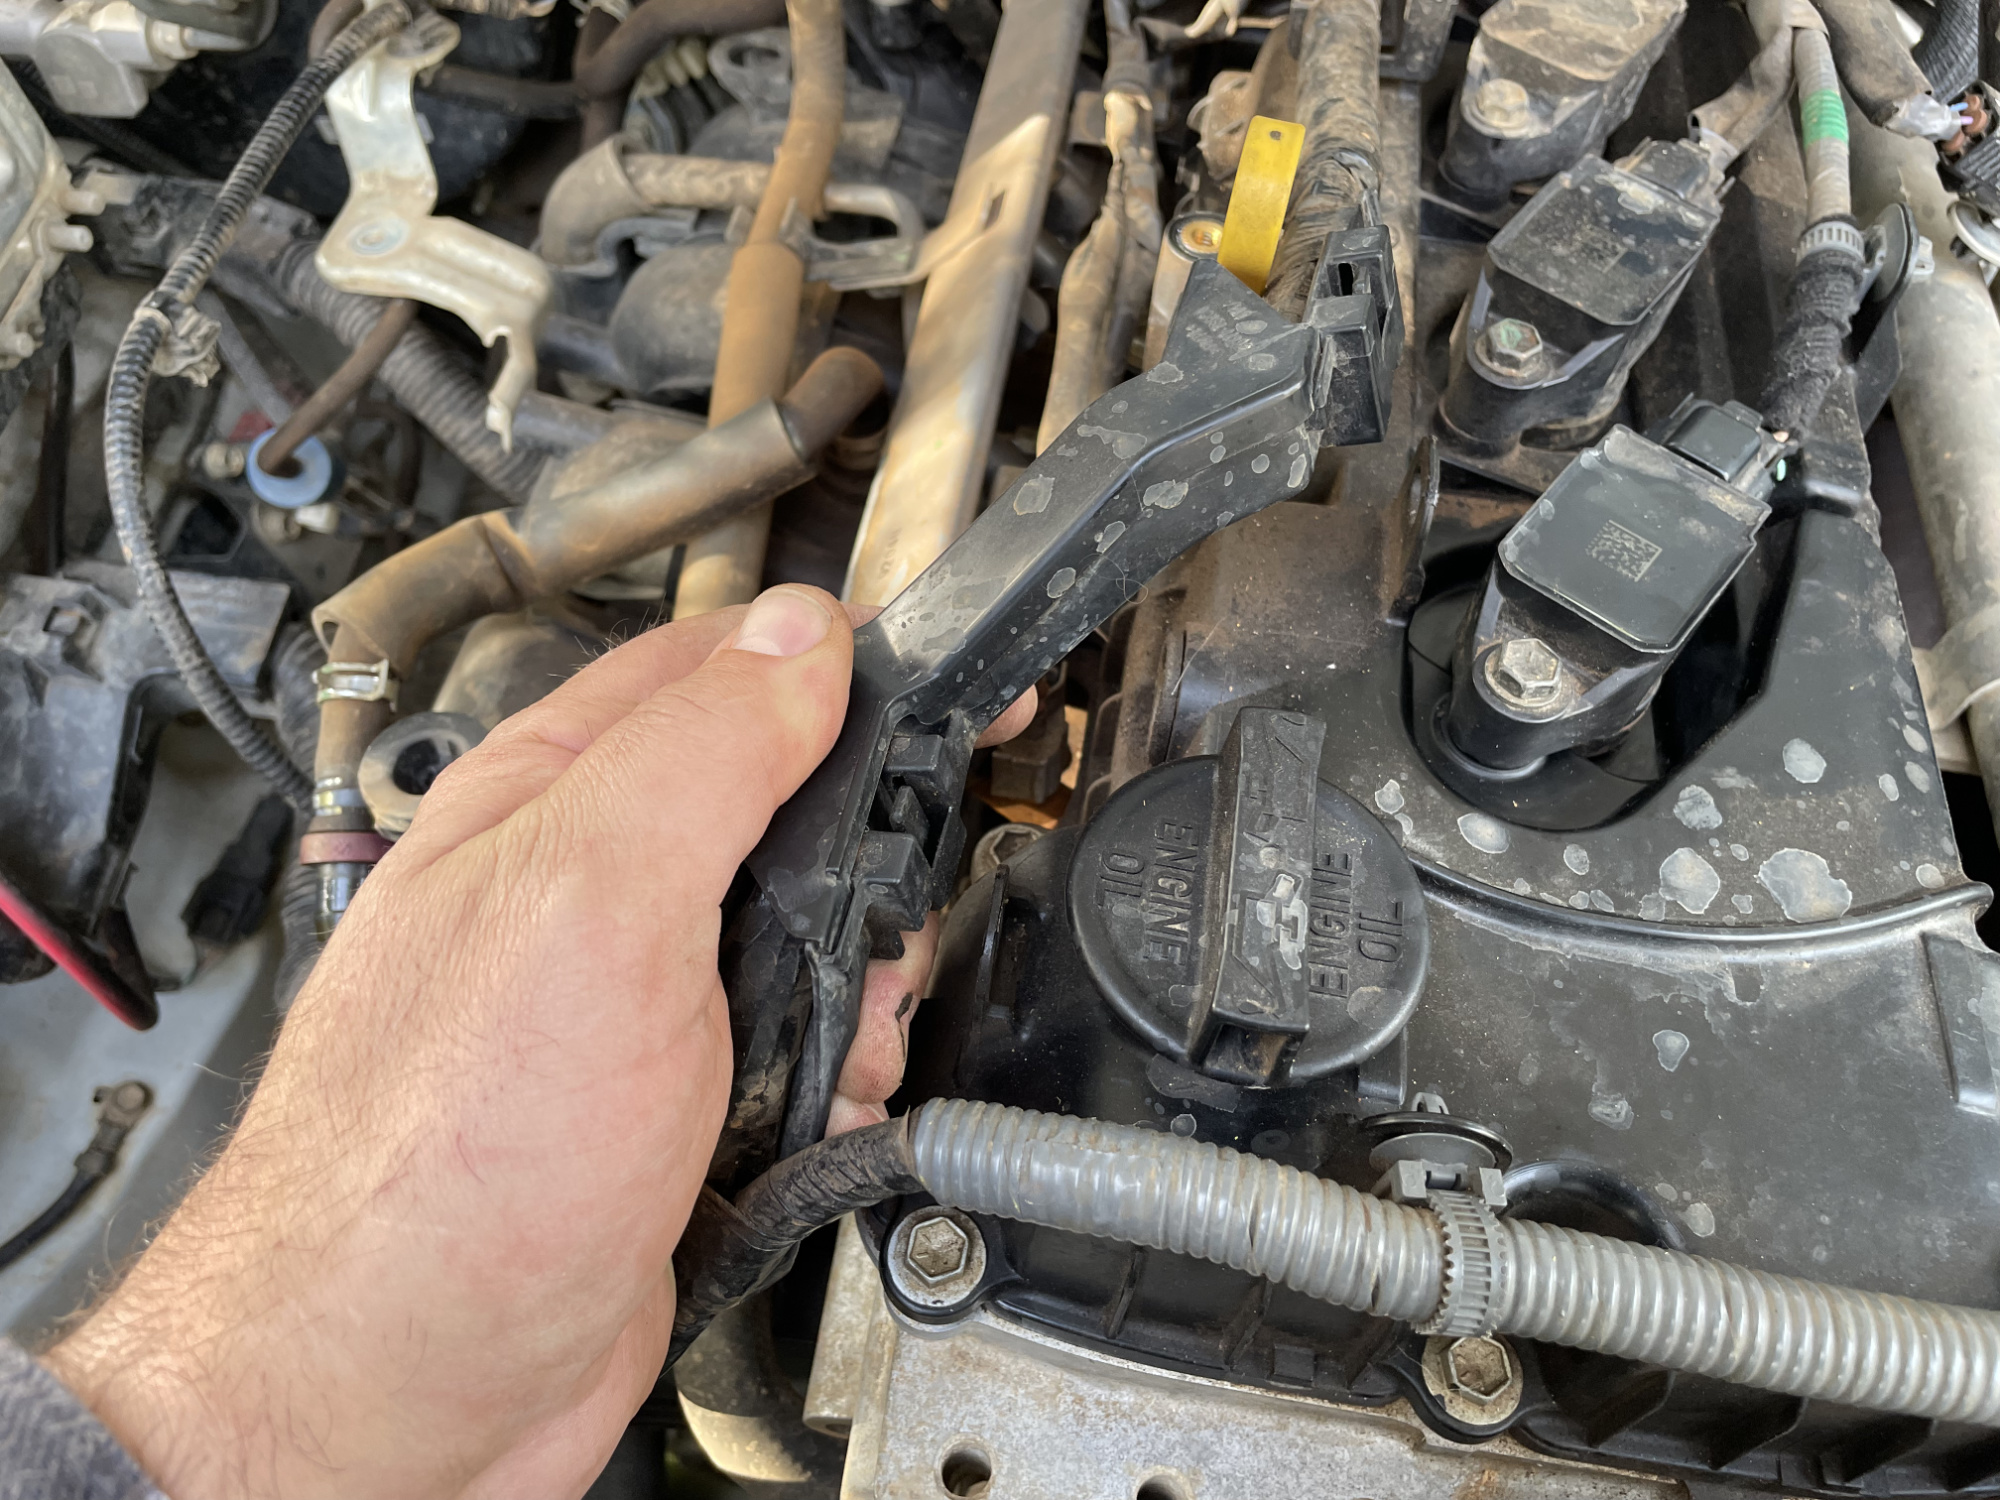
Now we’ll work our way around the wiring. Start with the plastic channel near the oil cap: there are clips that you release to lift it up off the brackets built into the valve cover
Then undo the clamps on the wiring that runs along the front of the valve cover
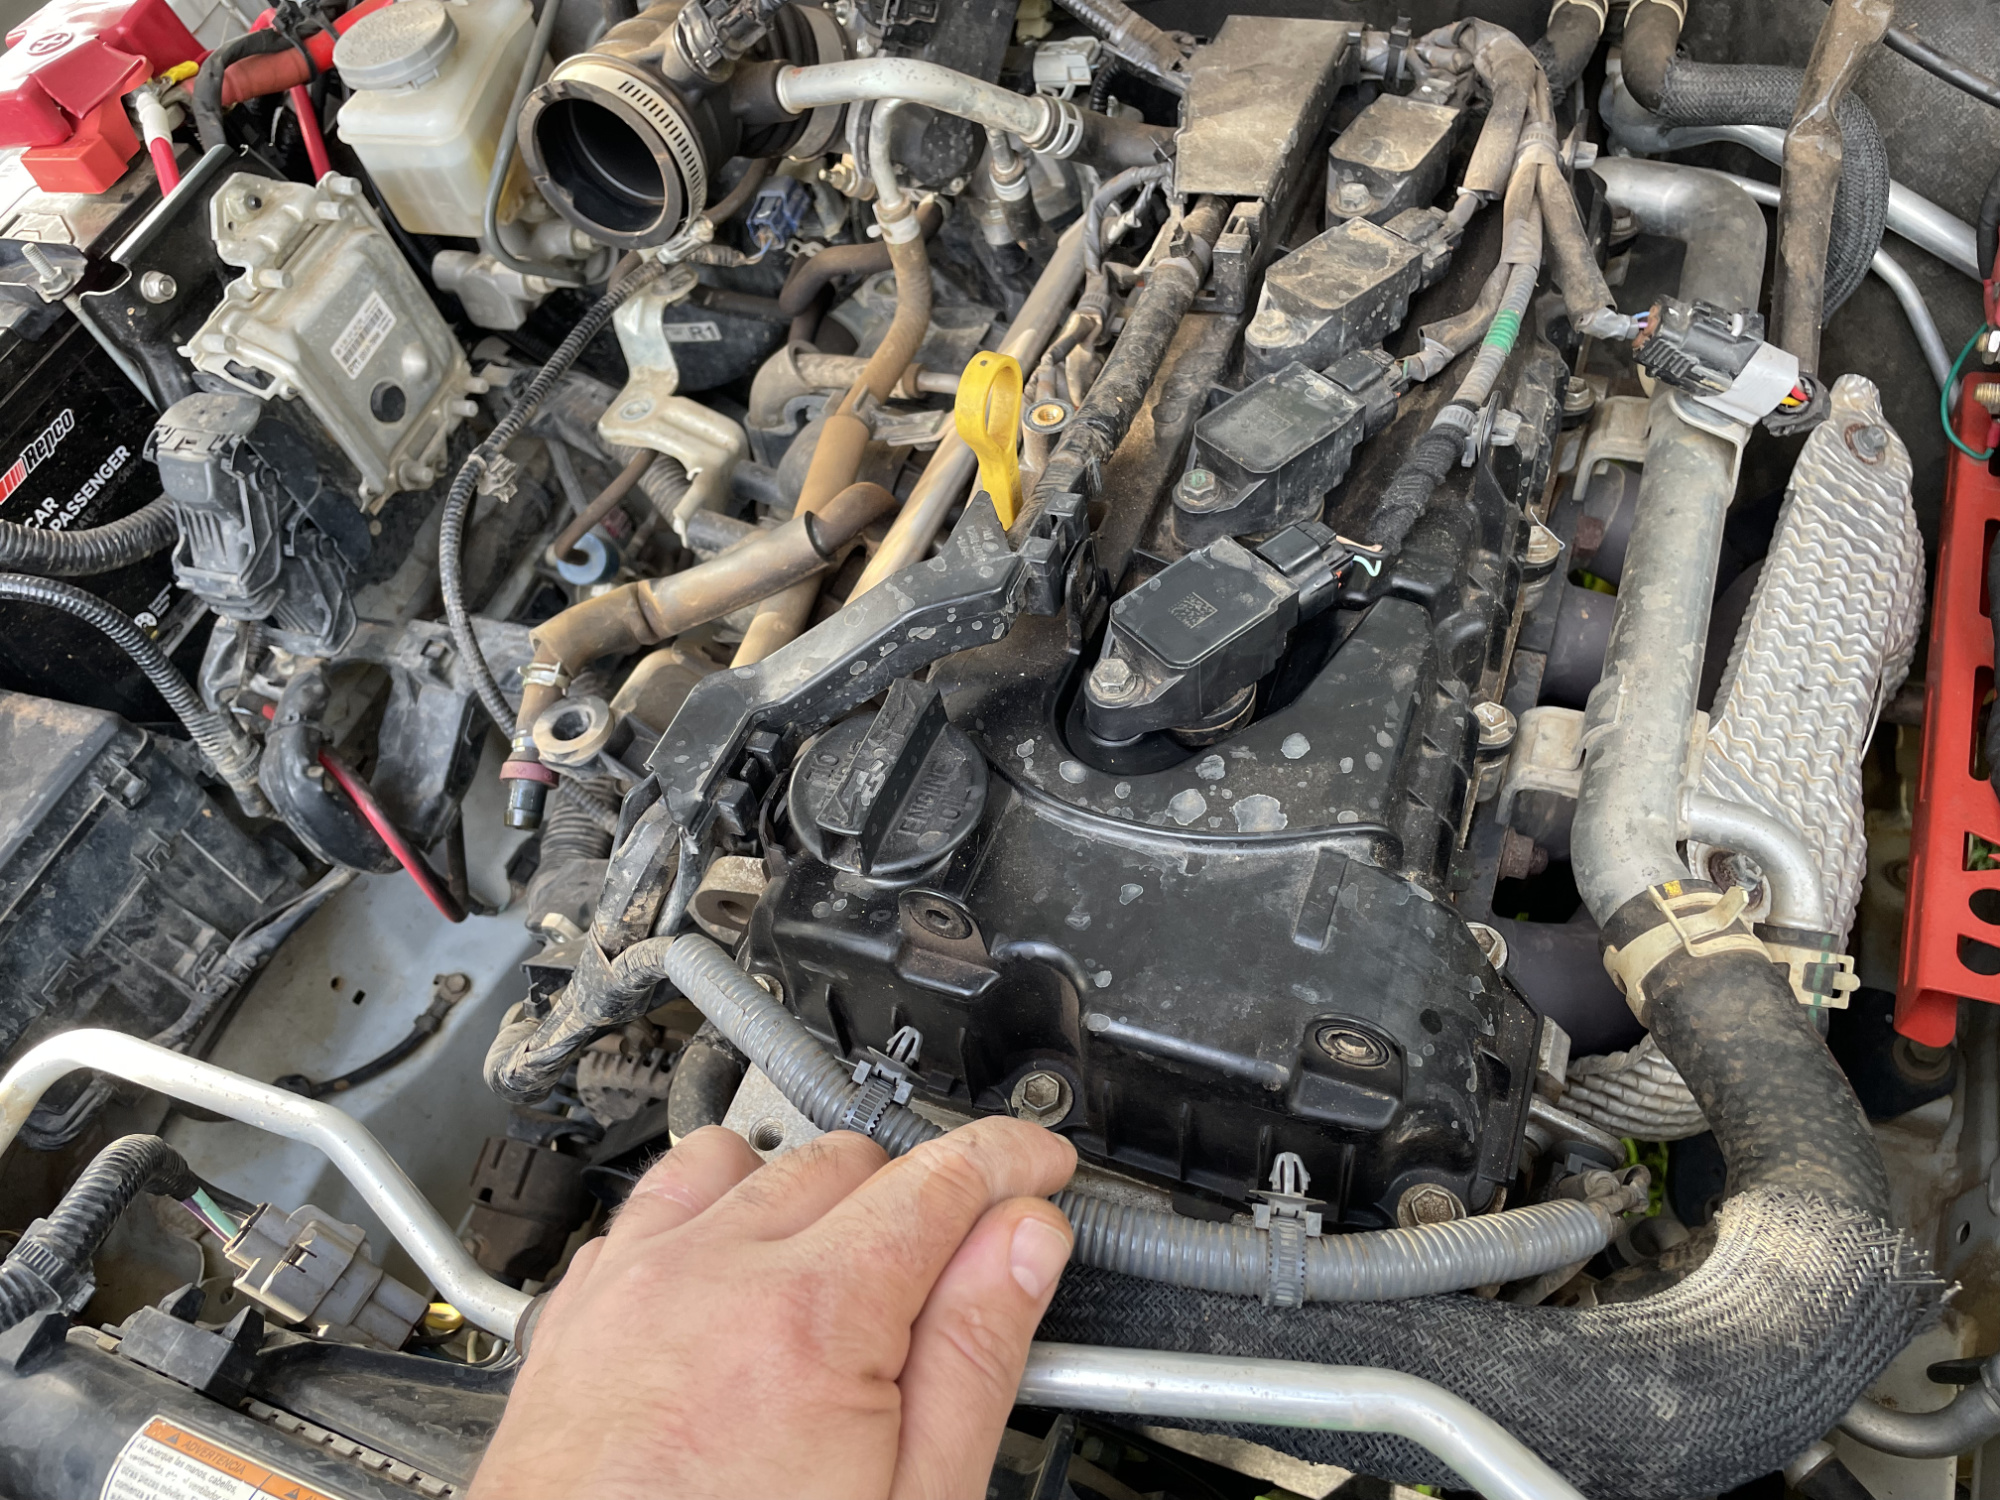
Then work down the coils, starting at cylinder #1’s coil
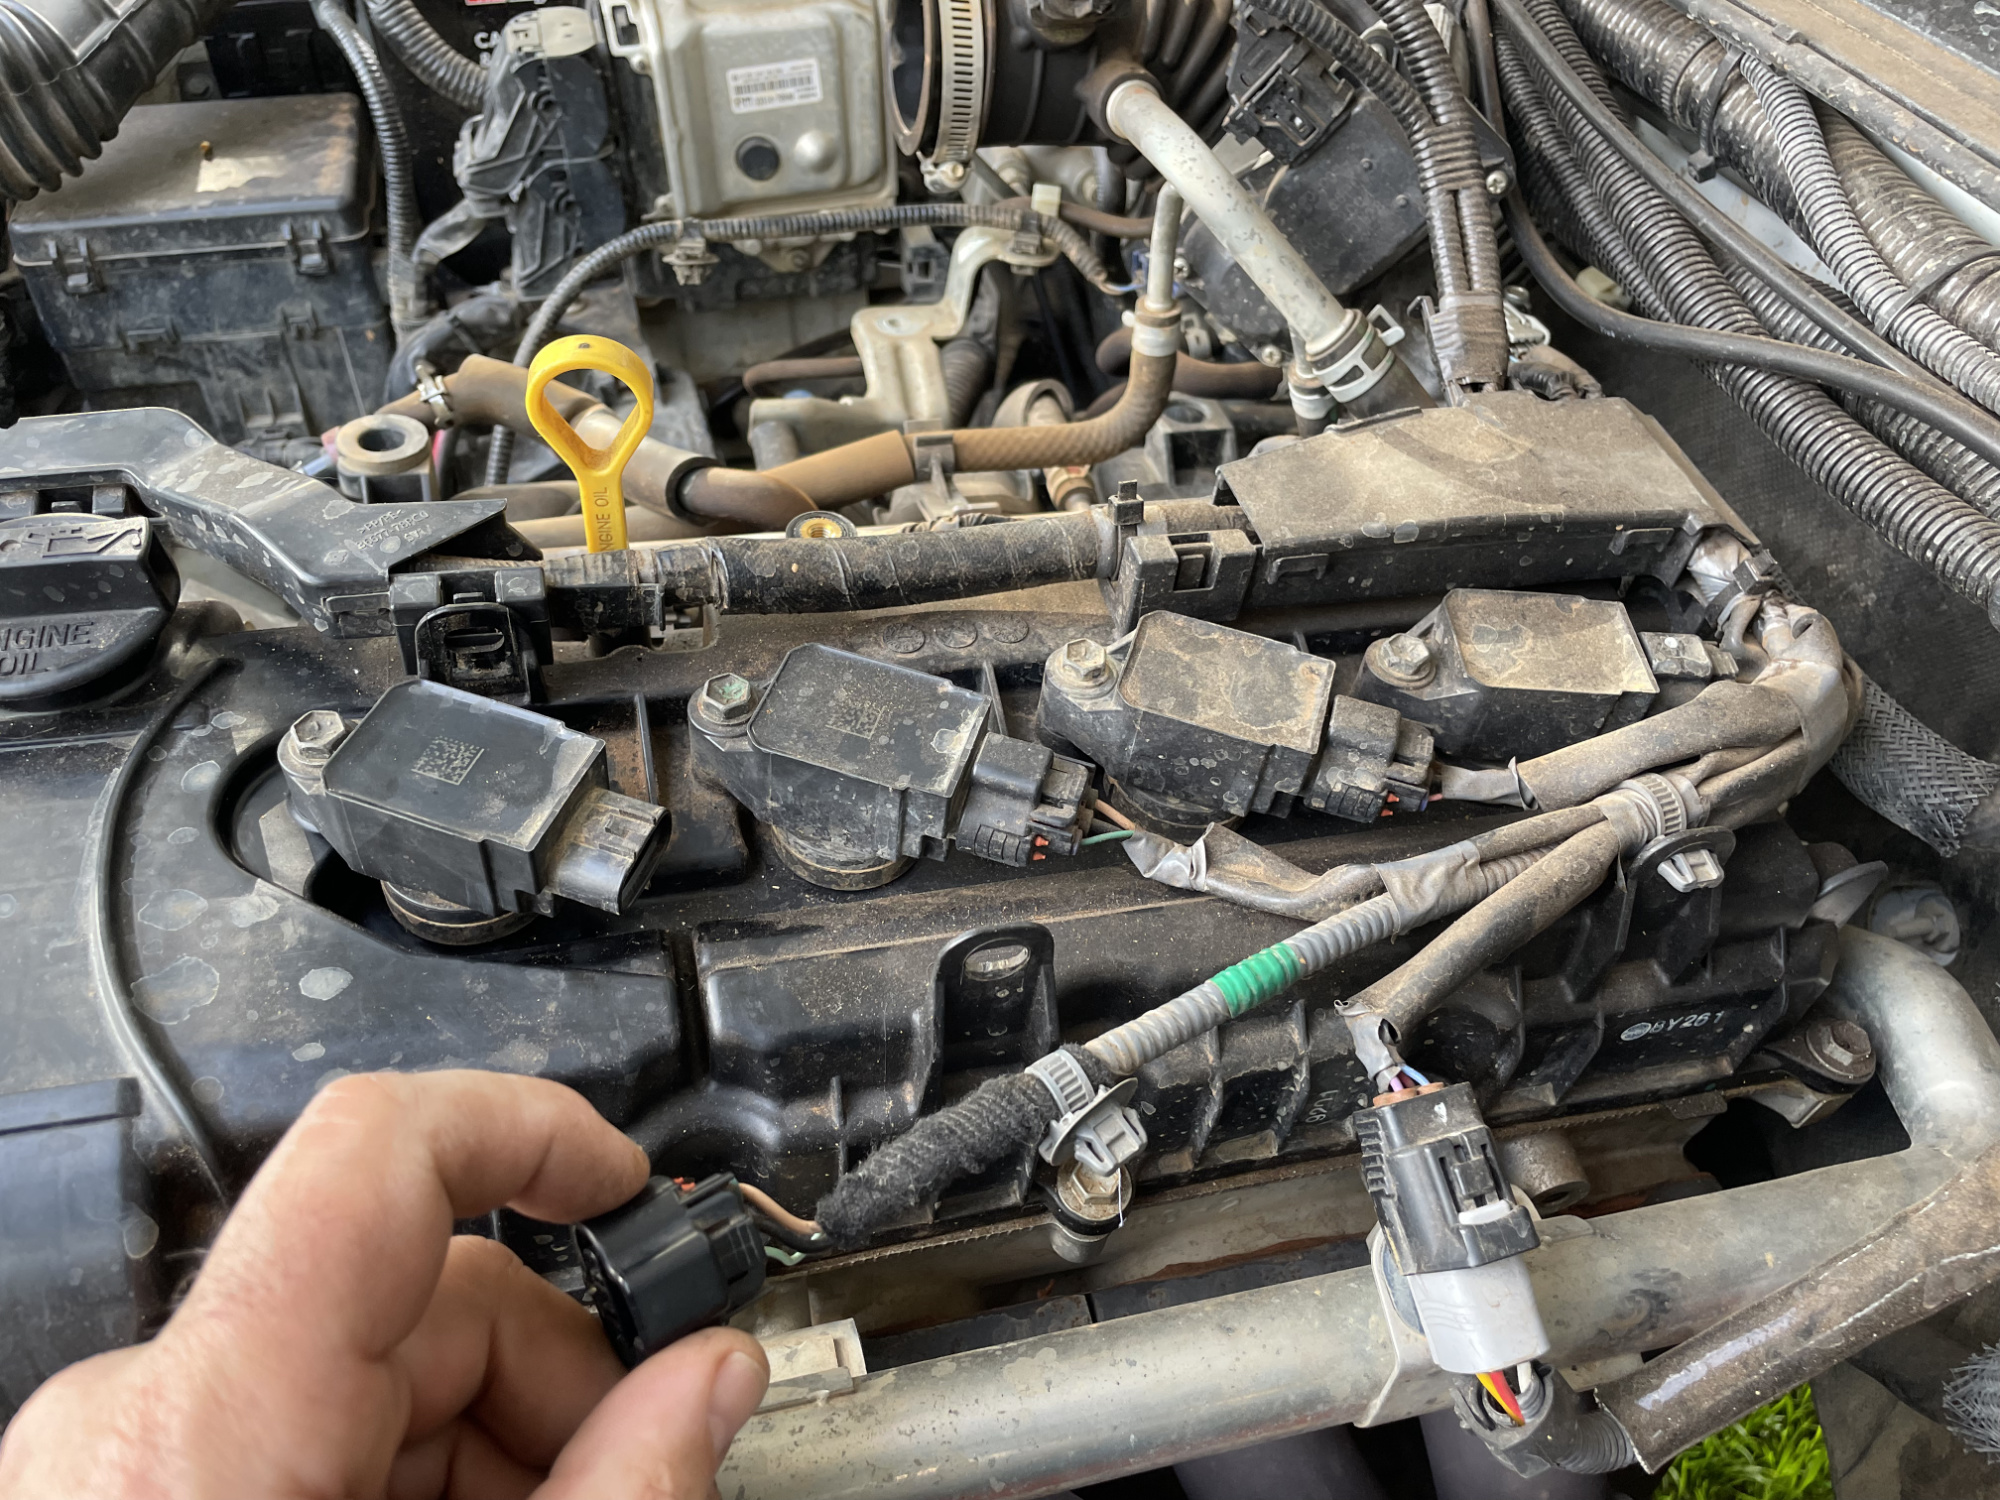
Undo the rest of the coil wiring and the O2 sensor wiring that mounts to the coolant pipe that runs along above the exhaust manifold
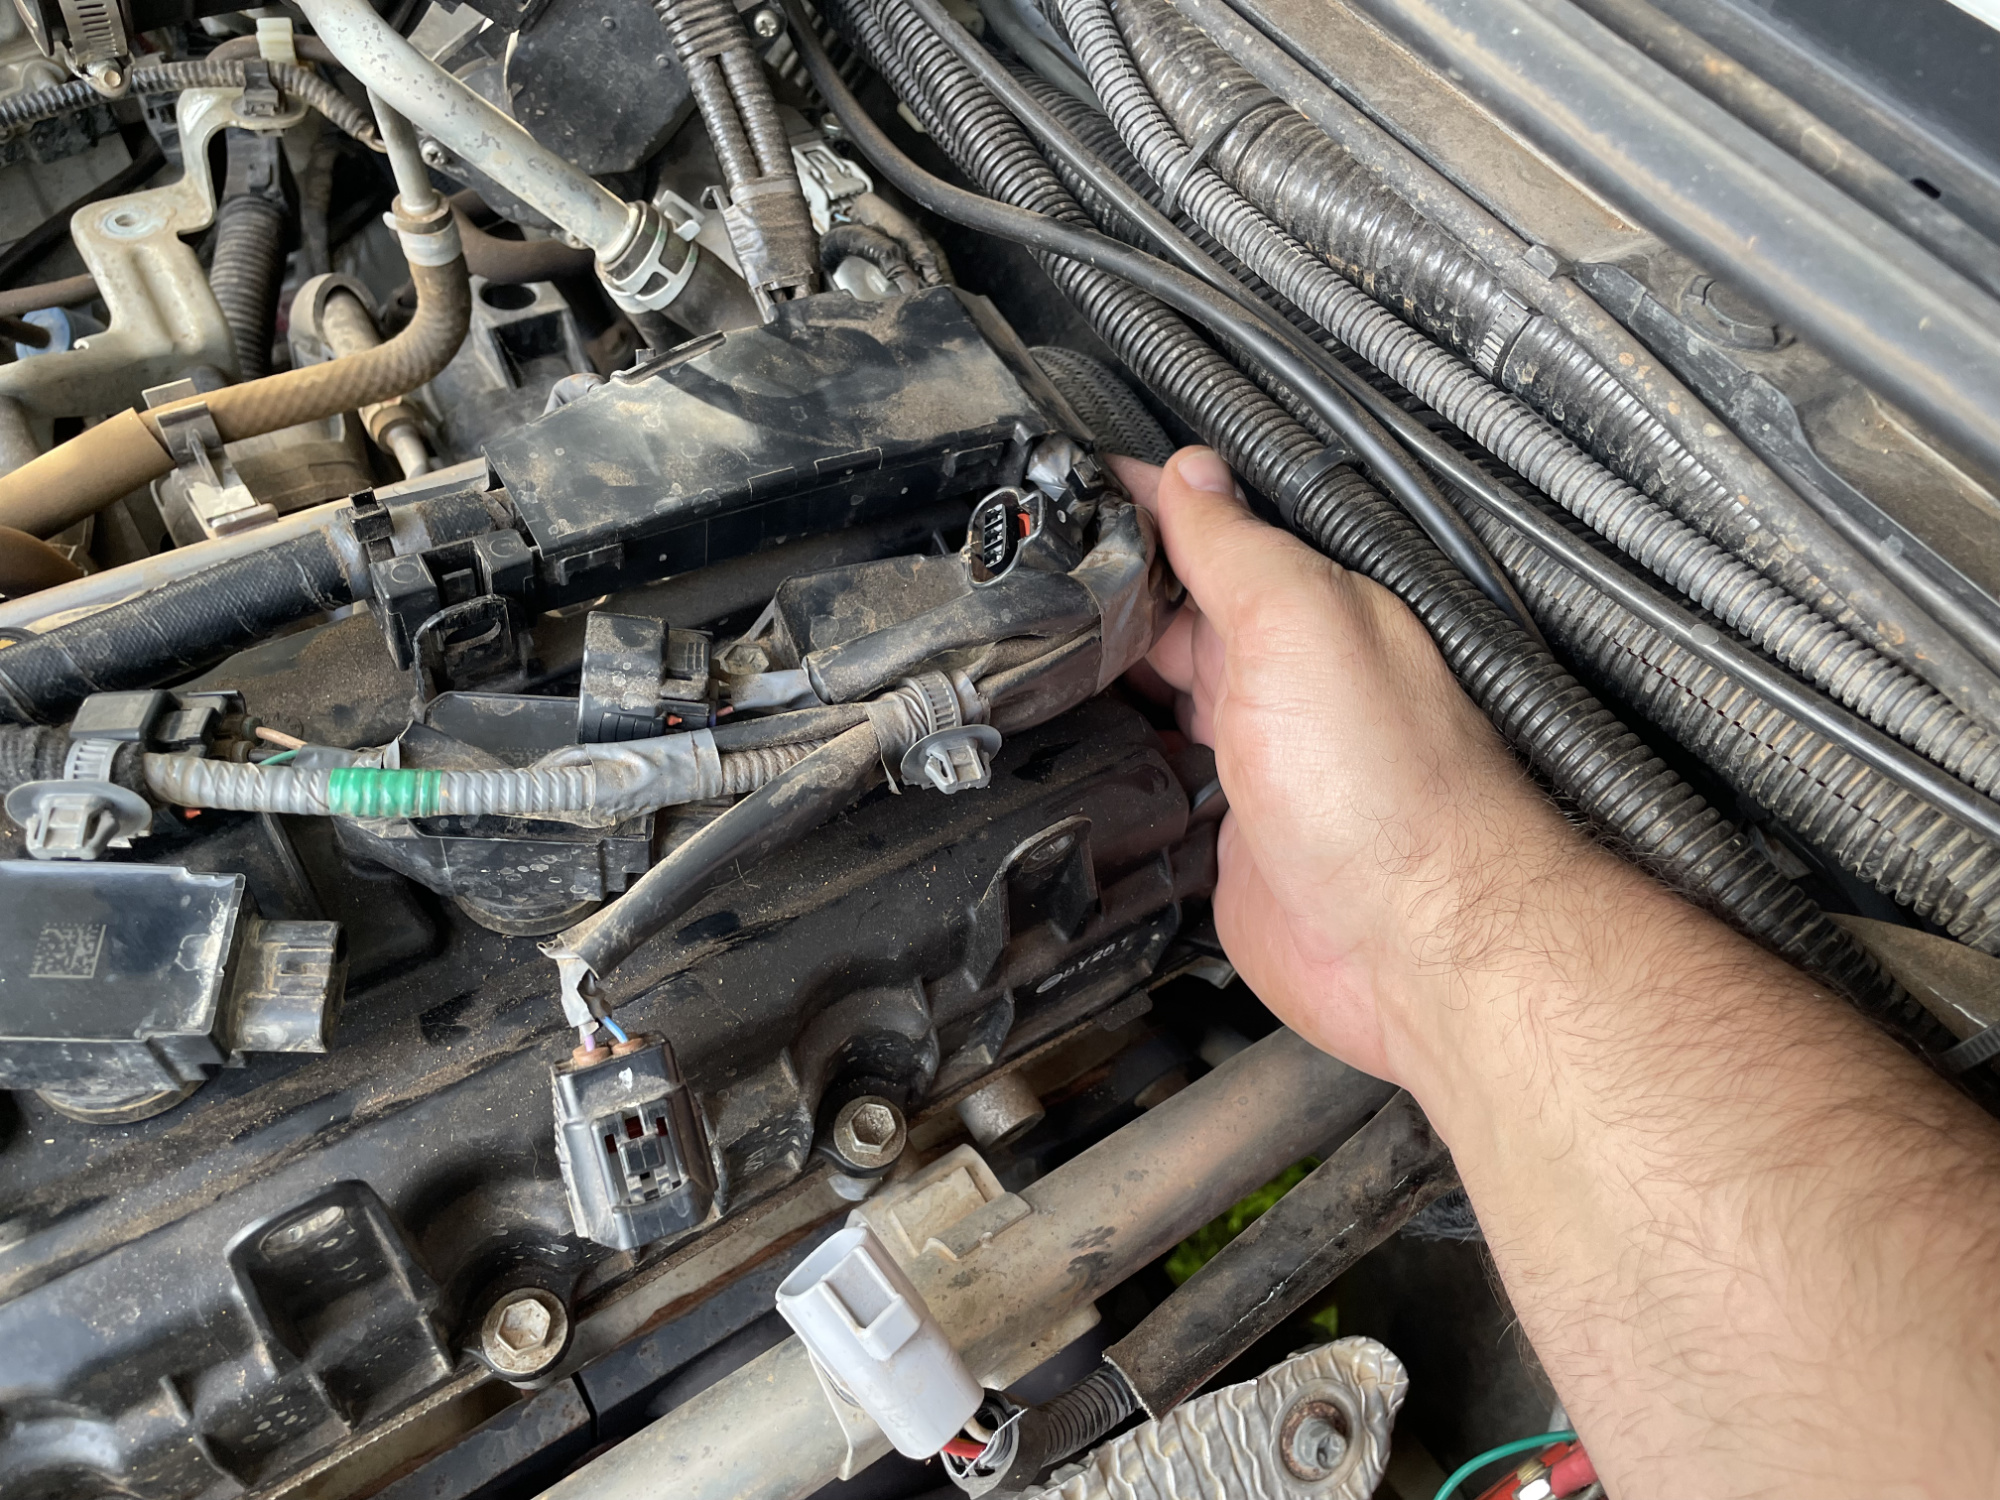
There is a 10 mm bolt at the back of the valve cover which mounts the rearmost wiring, undo this now
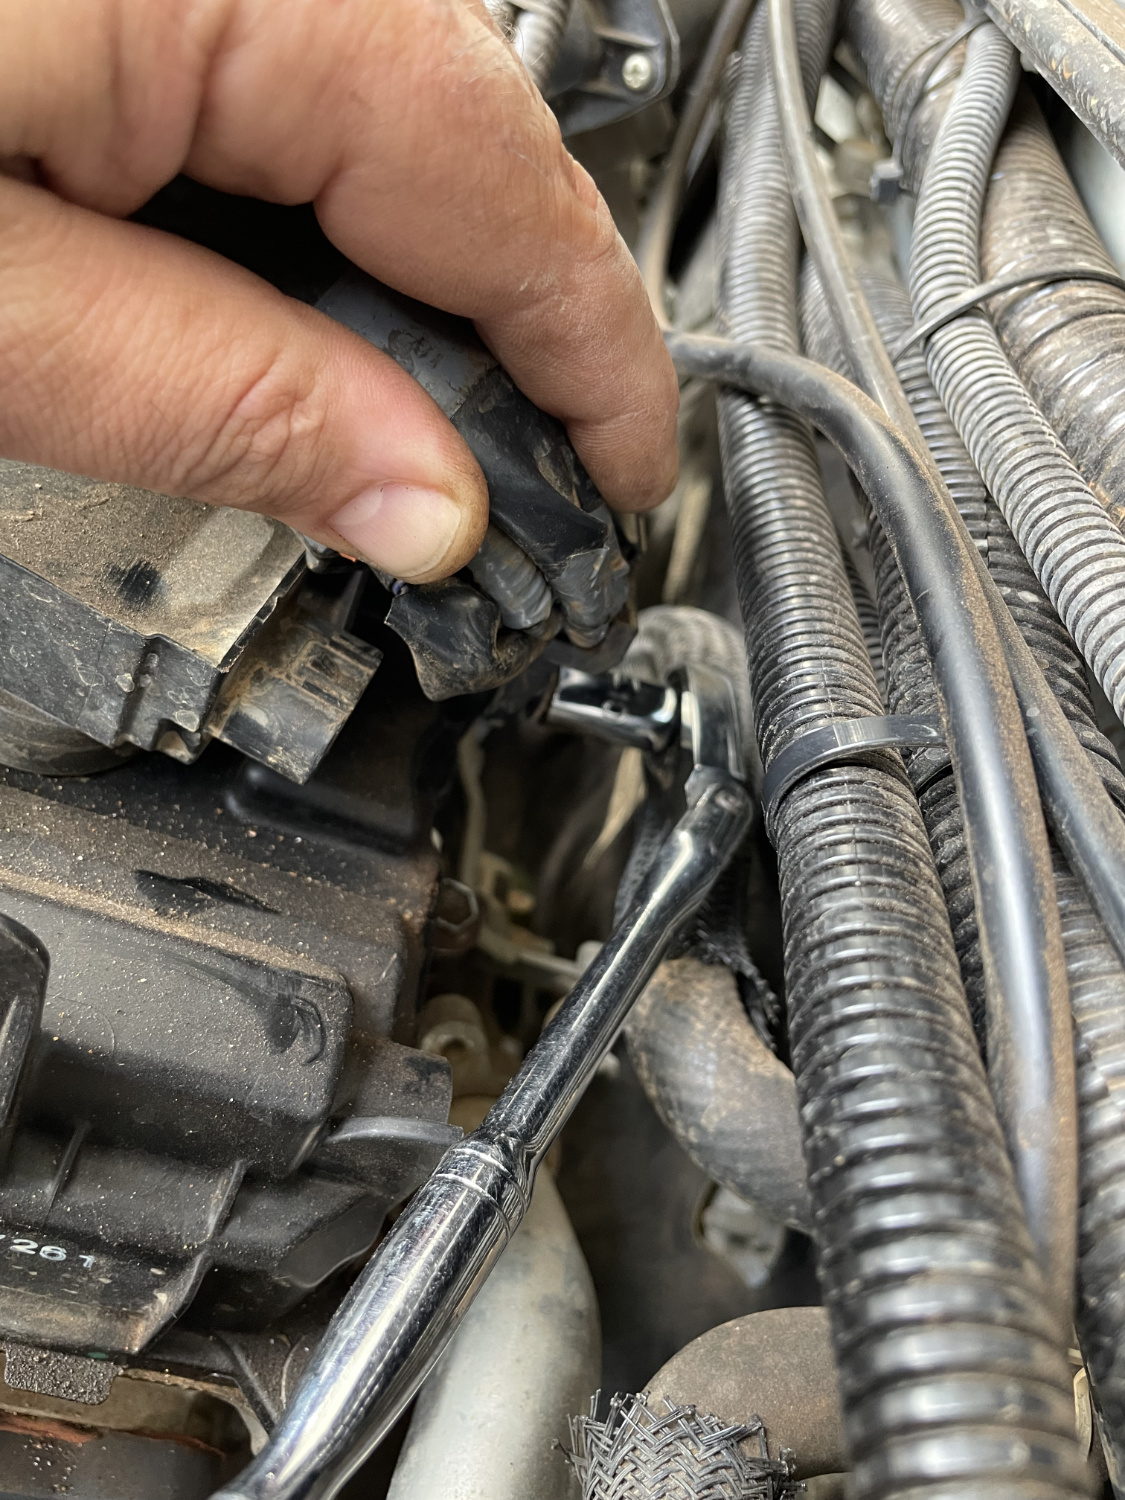
You can now pull the wiring out of the way and up to the side, or down below the valve cover at the front of the engine
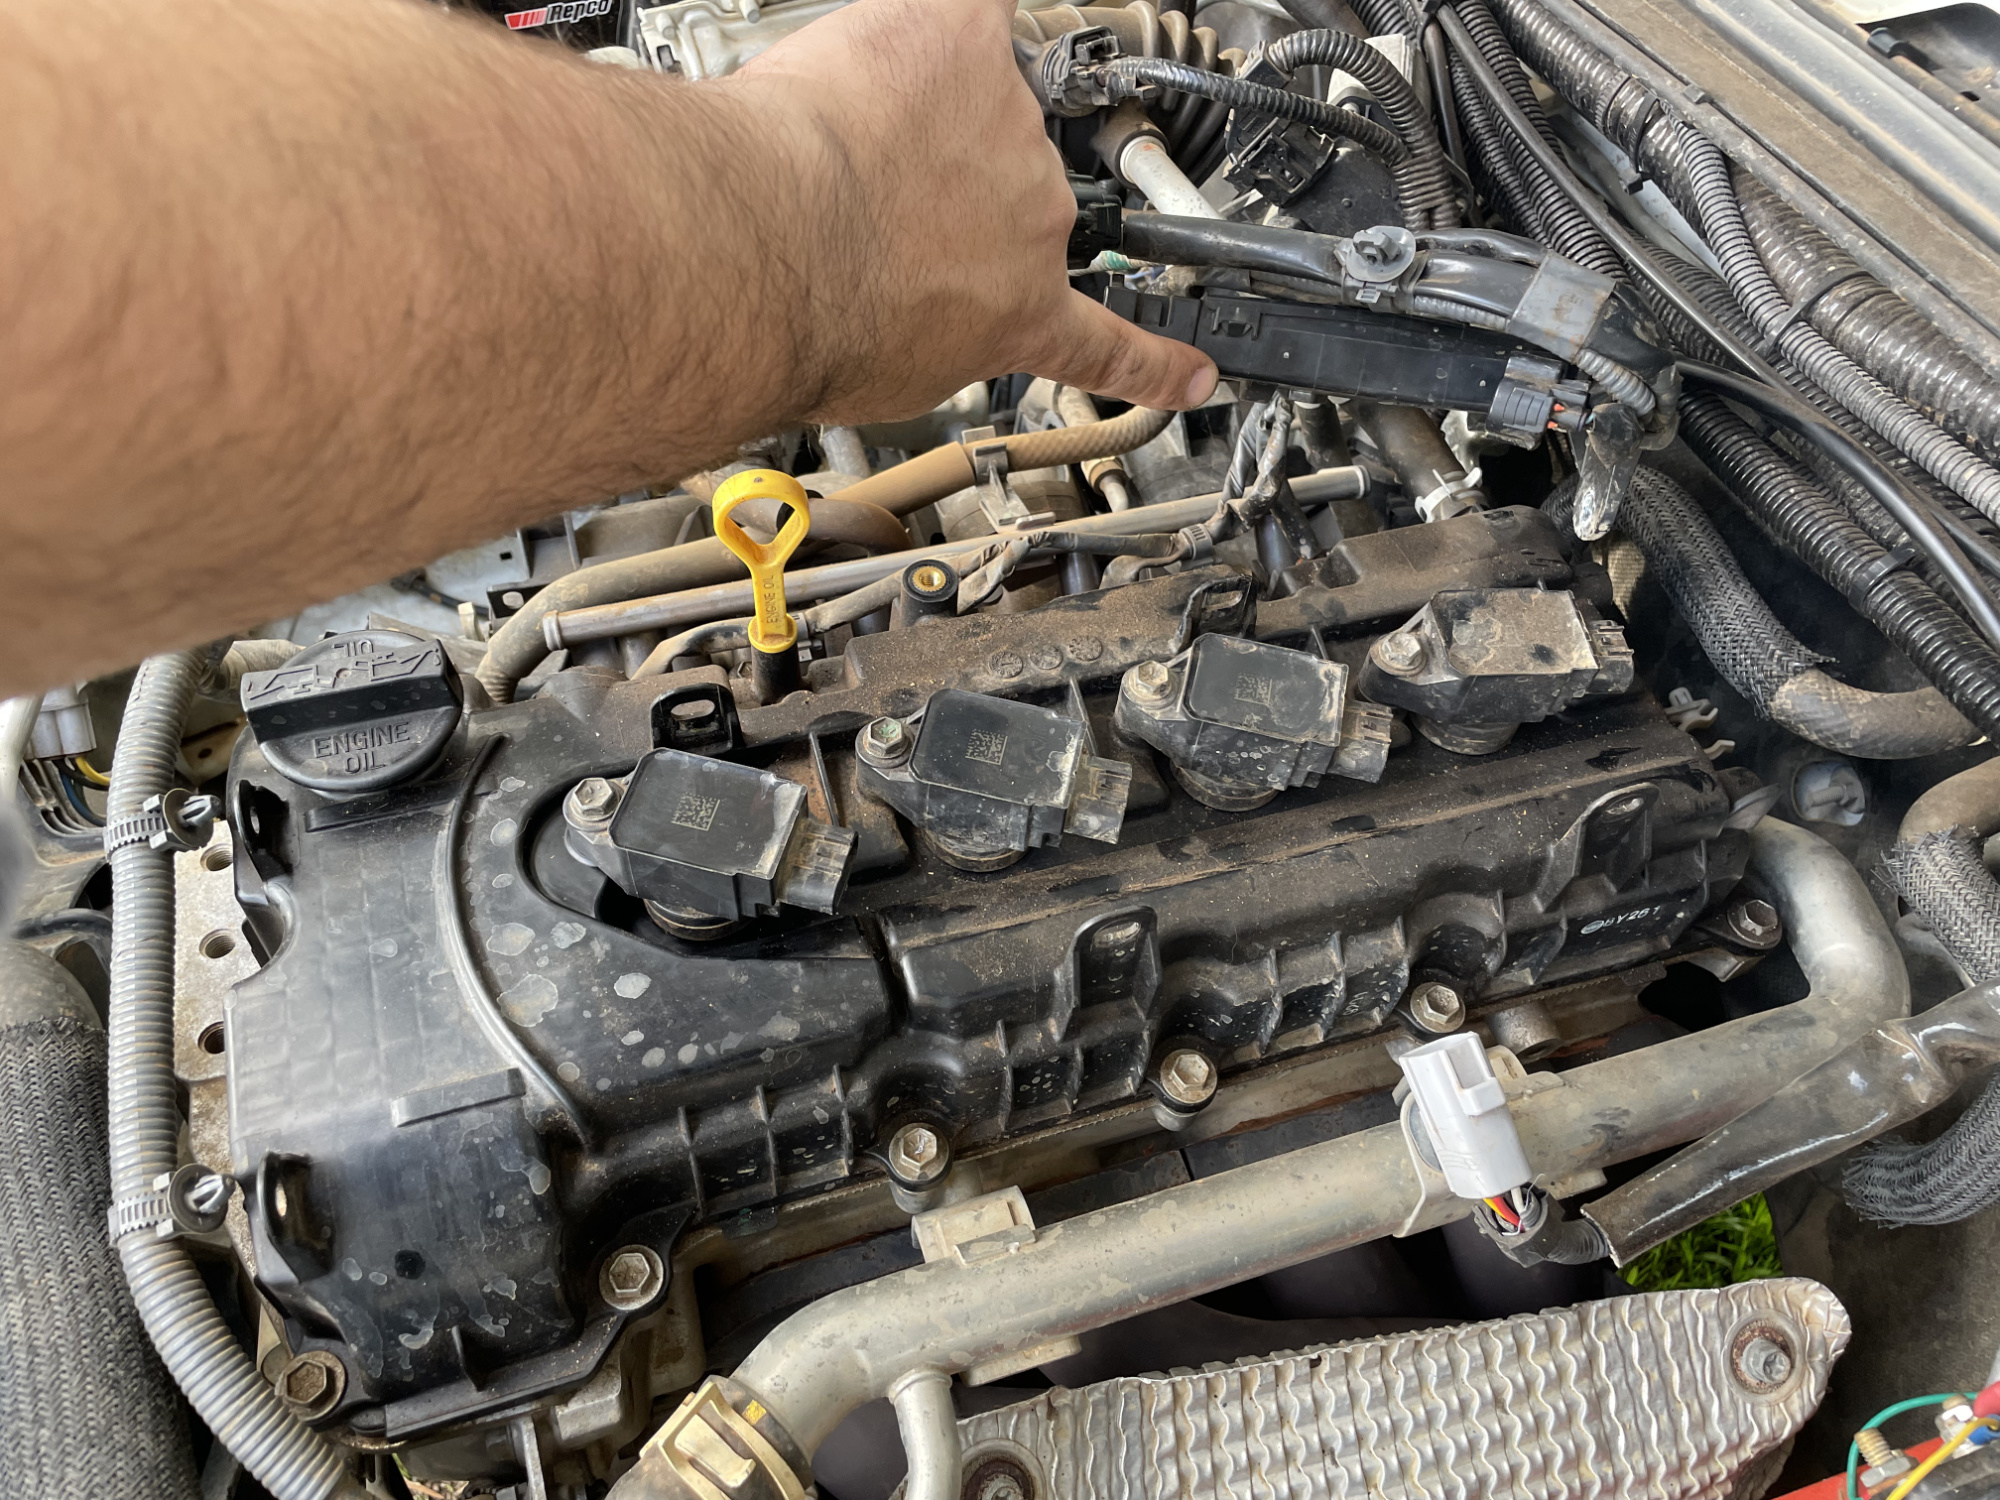
Remove the coils and the oil dipstick at this point, plus also the backmost hose off the valve cover
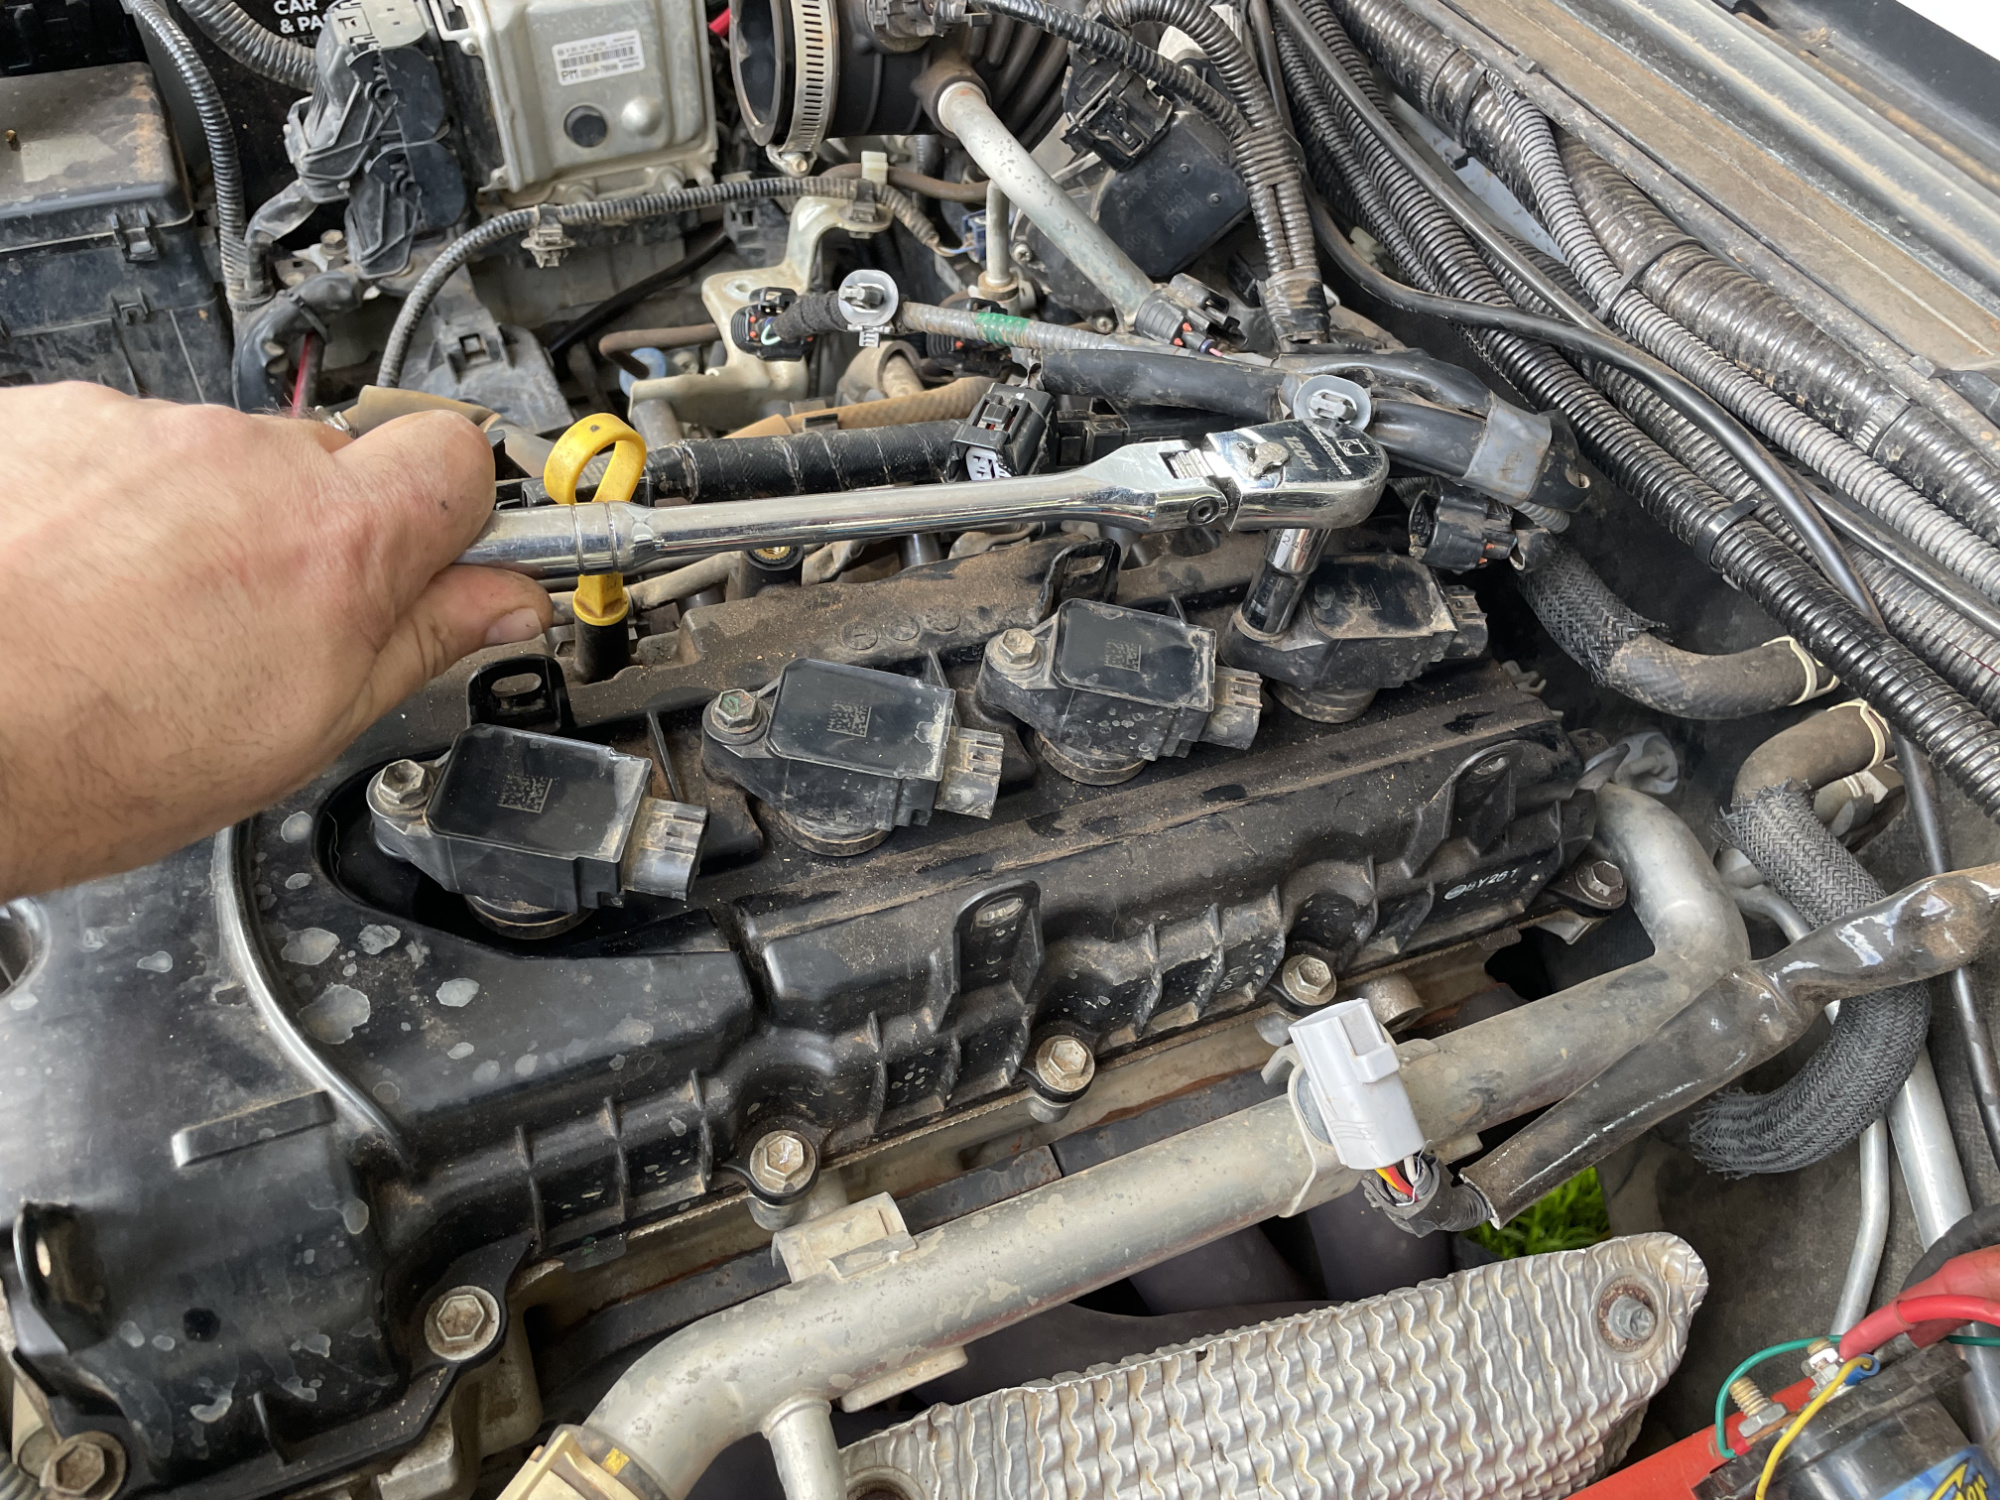
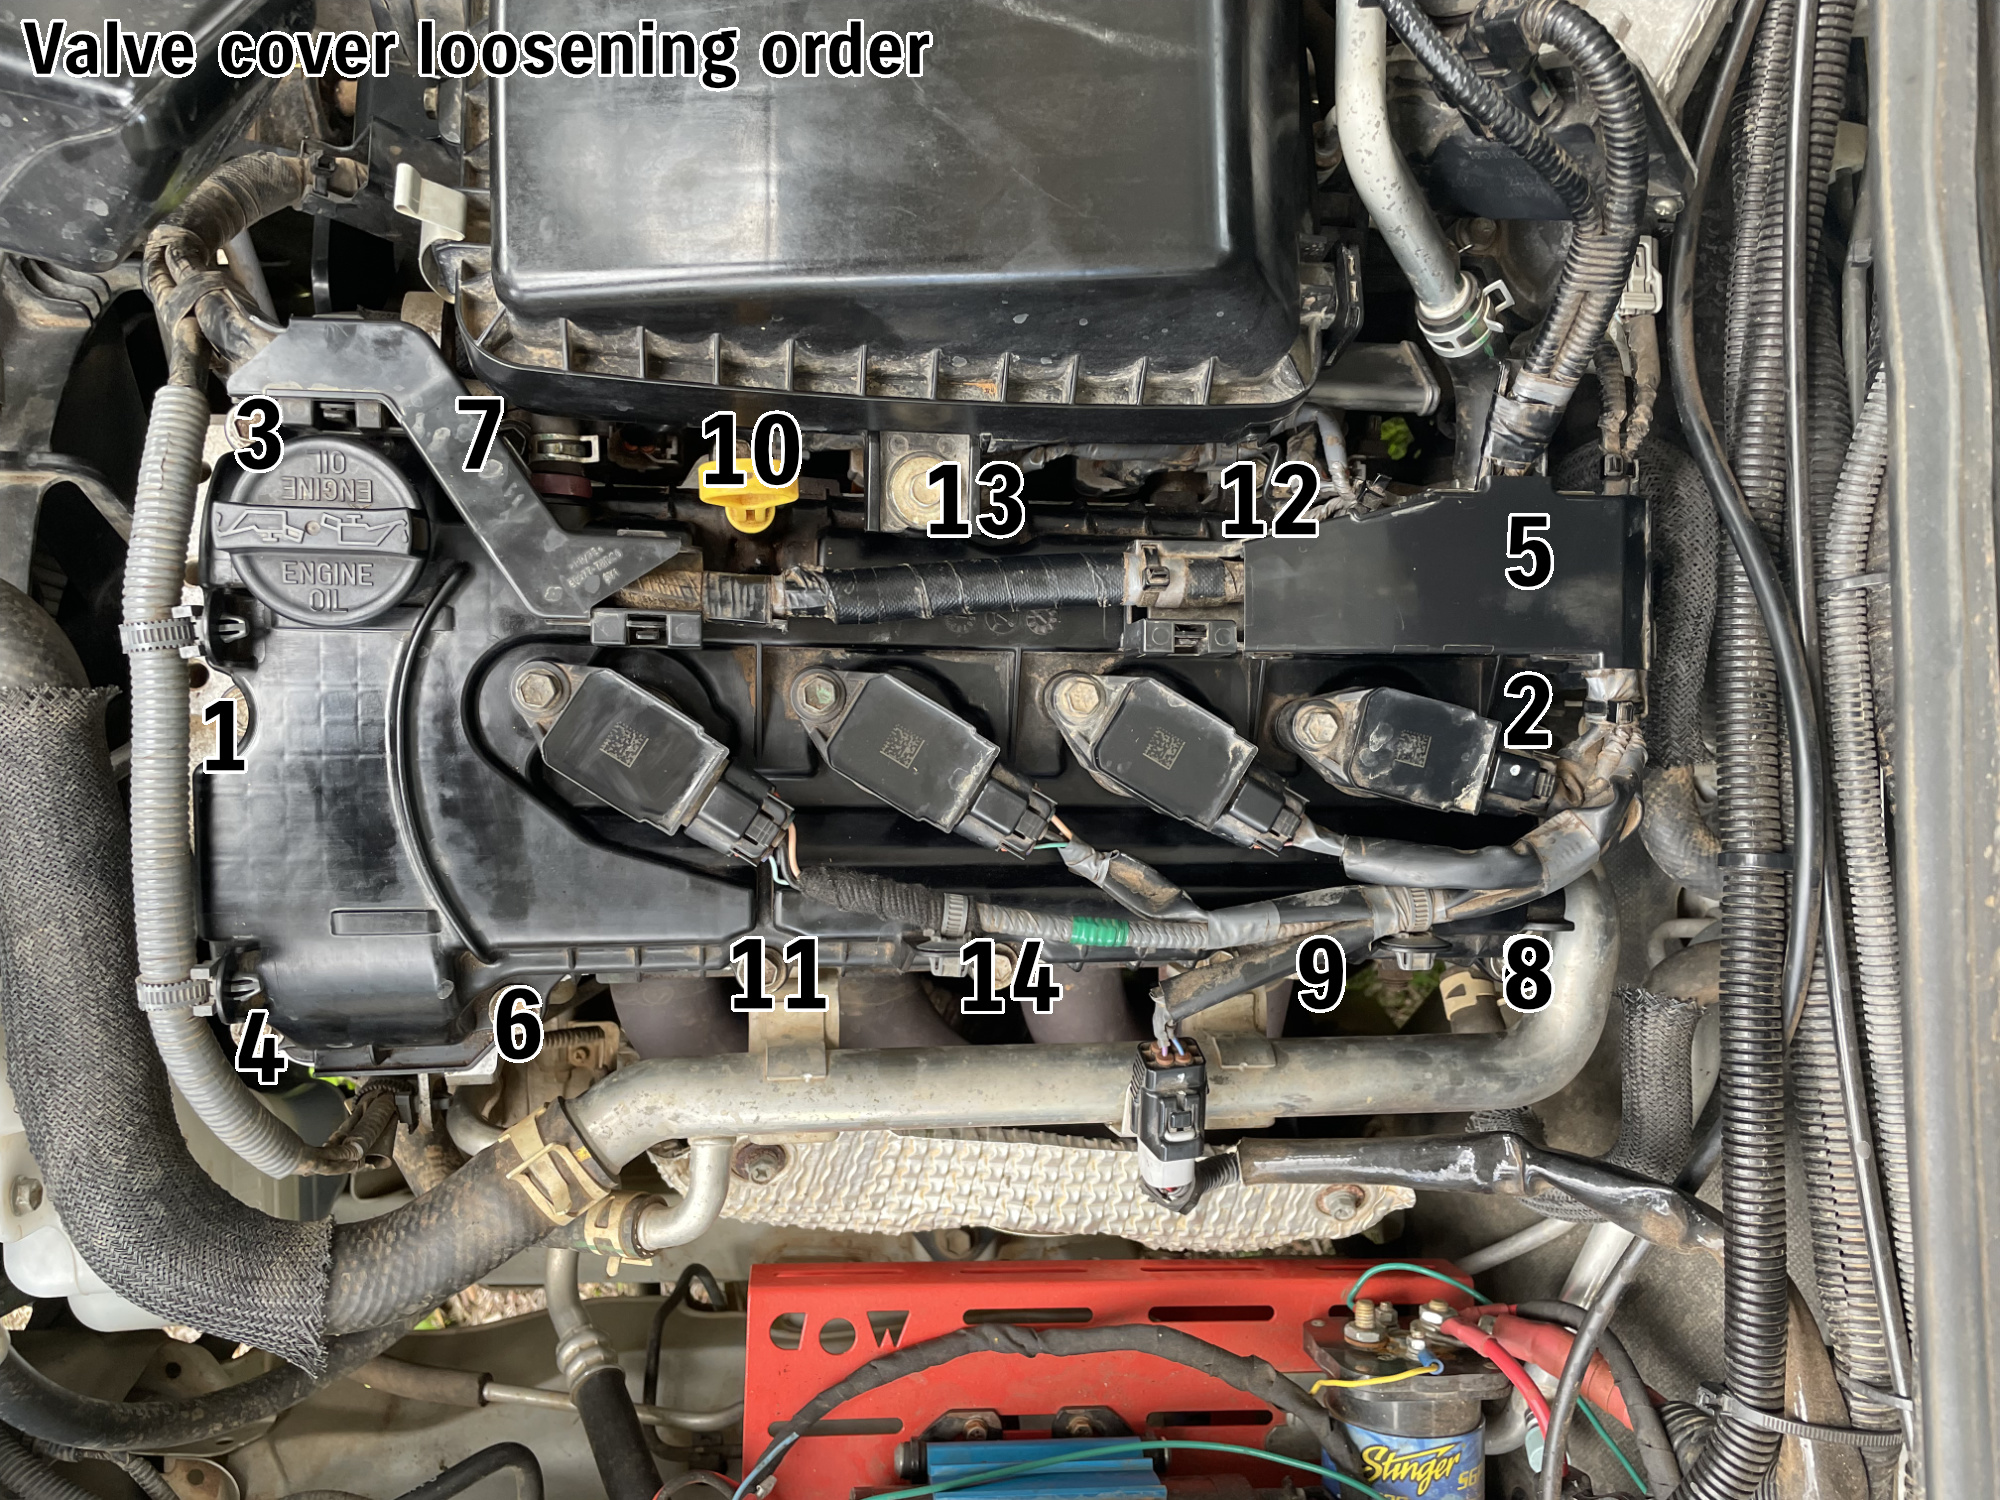
Now we’re at the point of loosening the valve cover bolts. There are 14 here; I suck at getting pictures during the procedure but Suzuki say to loosen these bolts slowly and evenly and in a circular pattern, starting from the outside. The precise order is as follows:
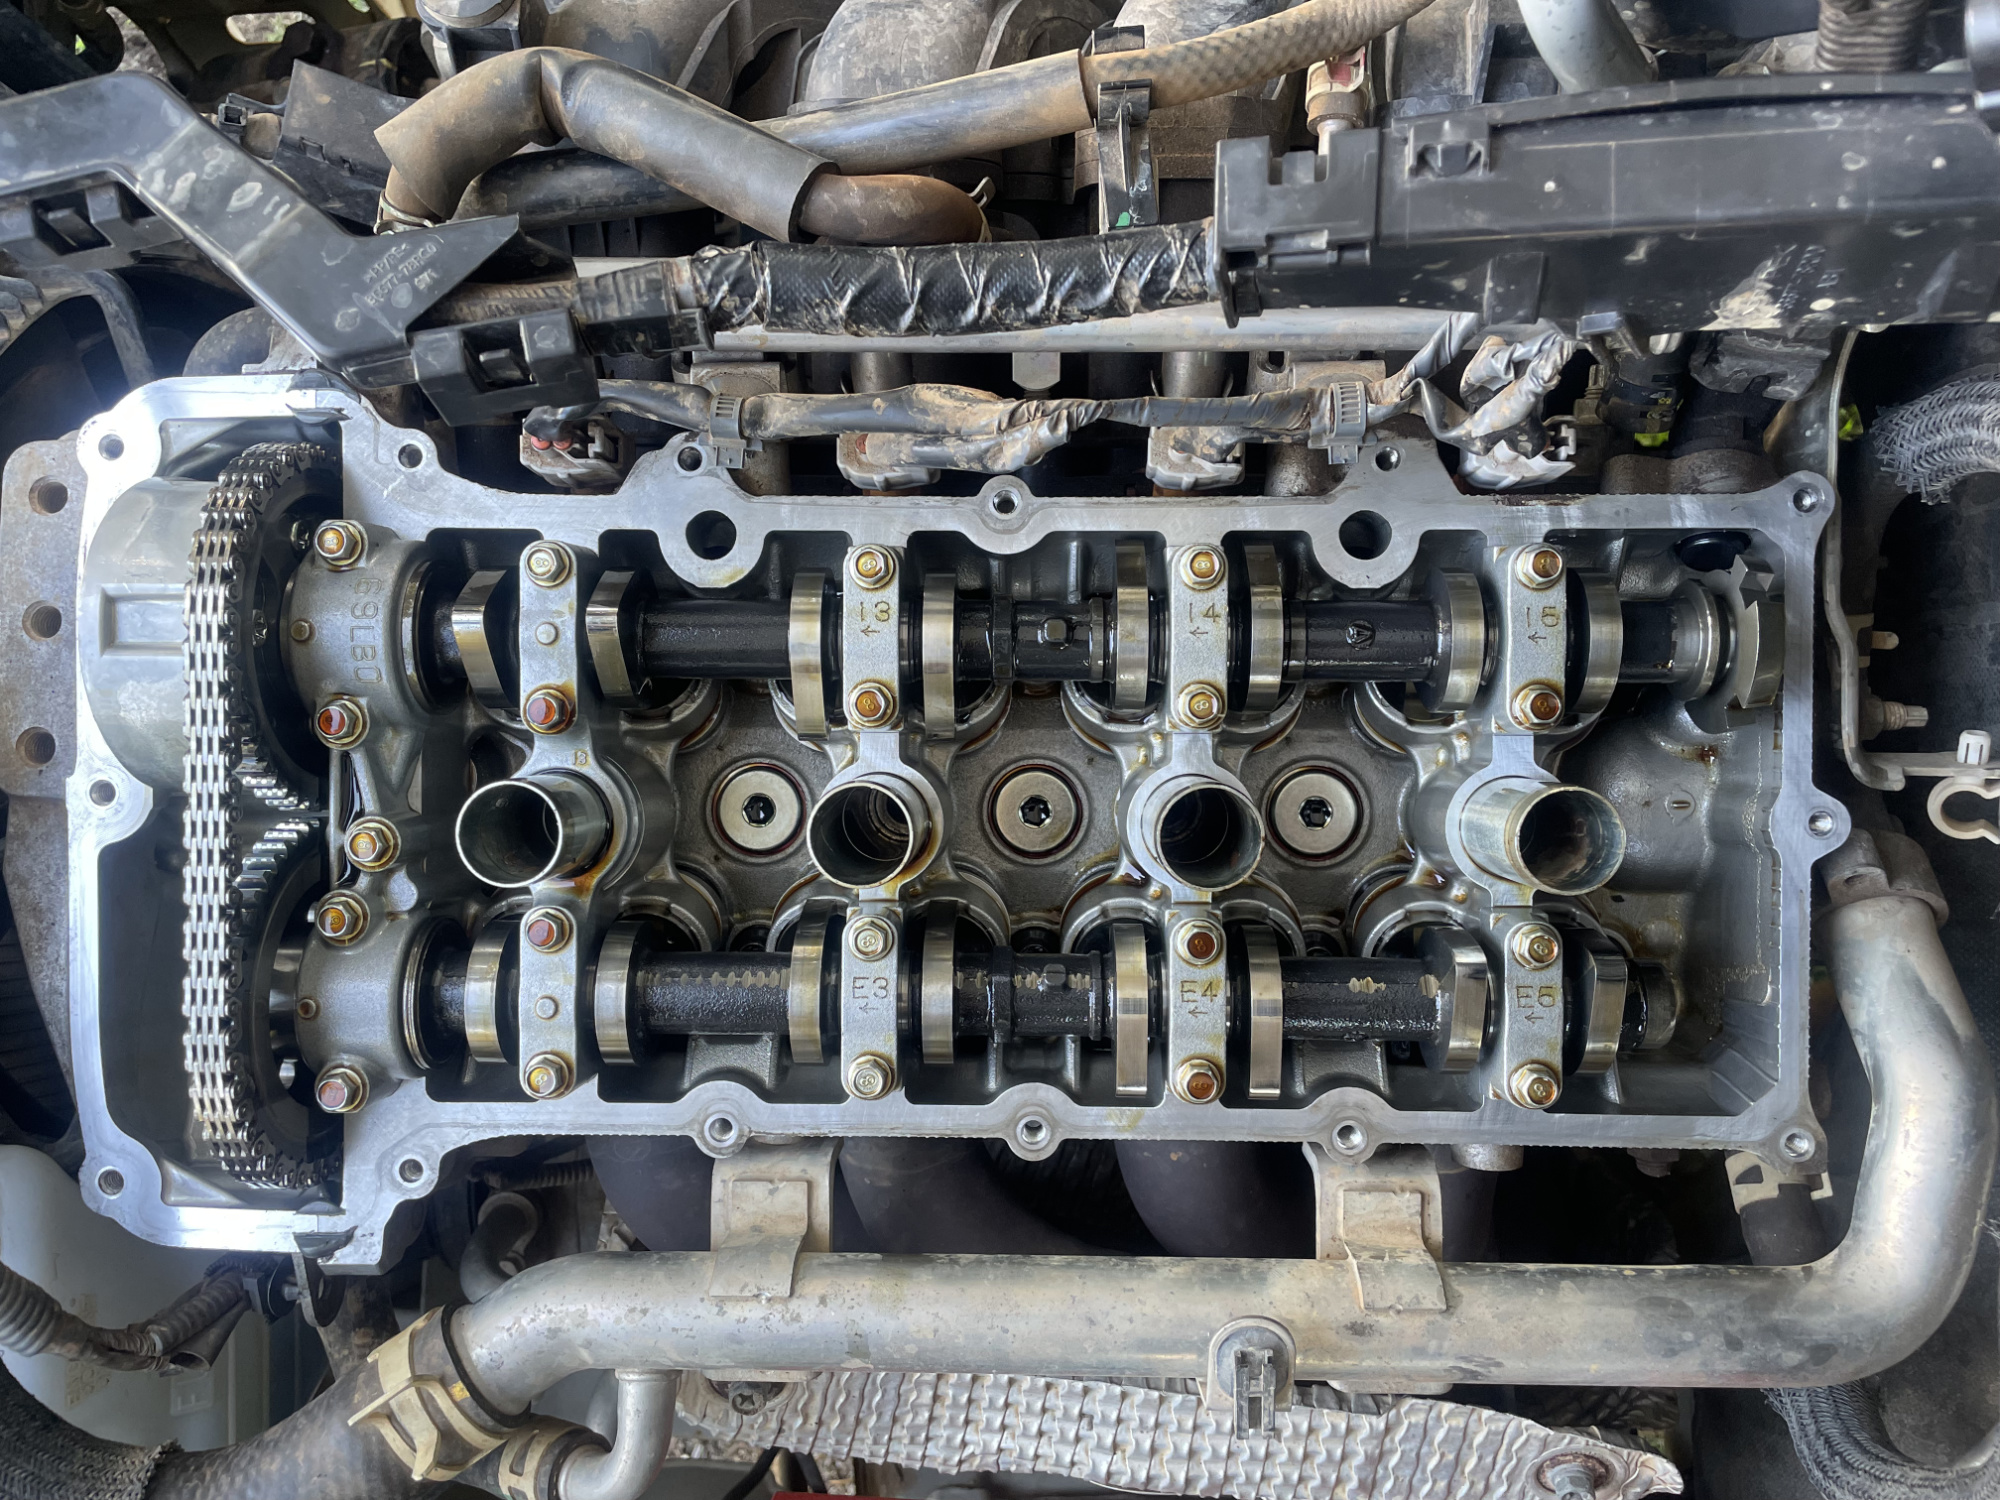
At this point we can remove the valve cover and we have access to the valve train.
Clean off around the mating surface between the cylinder head and the valve cover gasket carefully and step back and admire the Jimny’s simple but awesome valvetrain
Measuring clearances
Here’s where we measure clearances. This is not at all hard, you measure the clearances on particular cylinders with the cam lobes pointing basically upwards (slightly off to the side for exhaust valves)
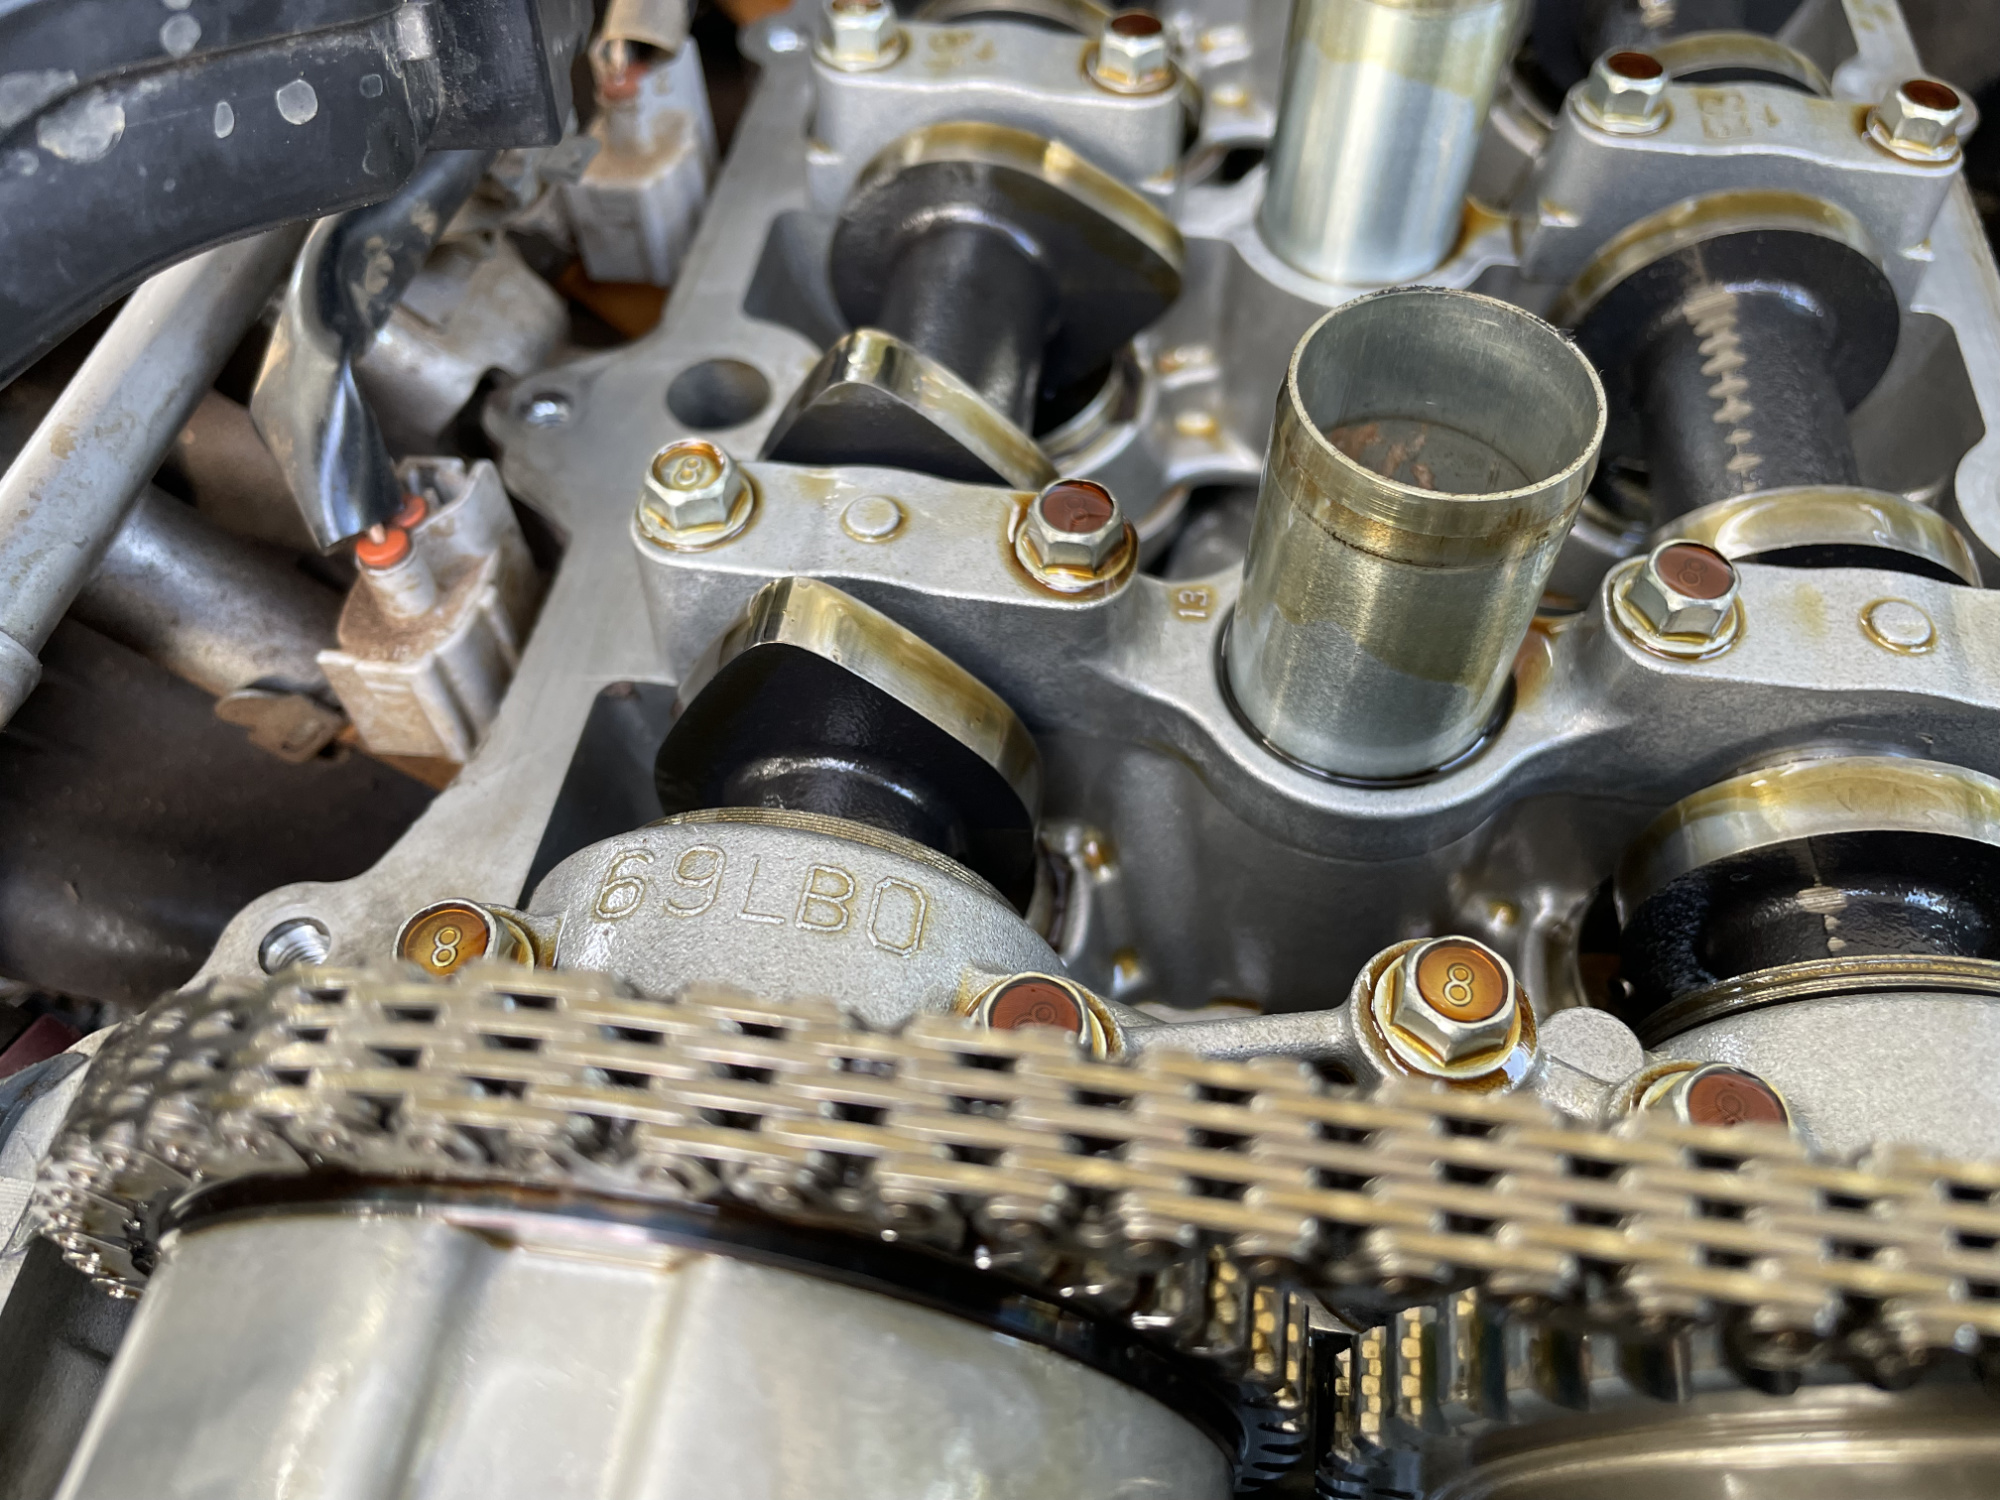
You measure by inserting feeler gauges between the base of the cam lobe and the valve bucket. You need to be on the base of the cam profile when you measure, otherwise you will get an apparent tight clearance once the lobe is starting to push on the bucket
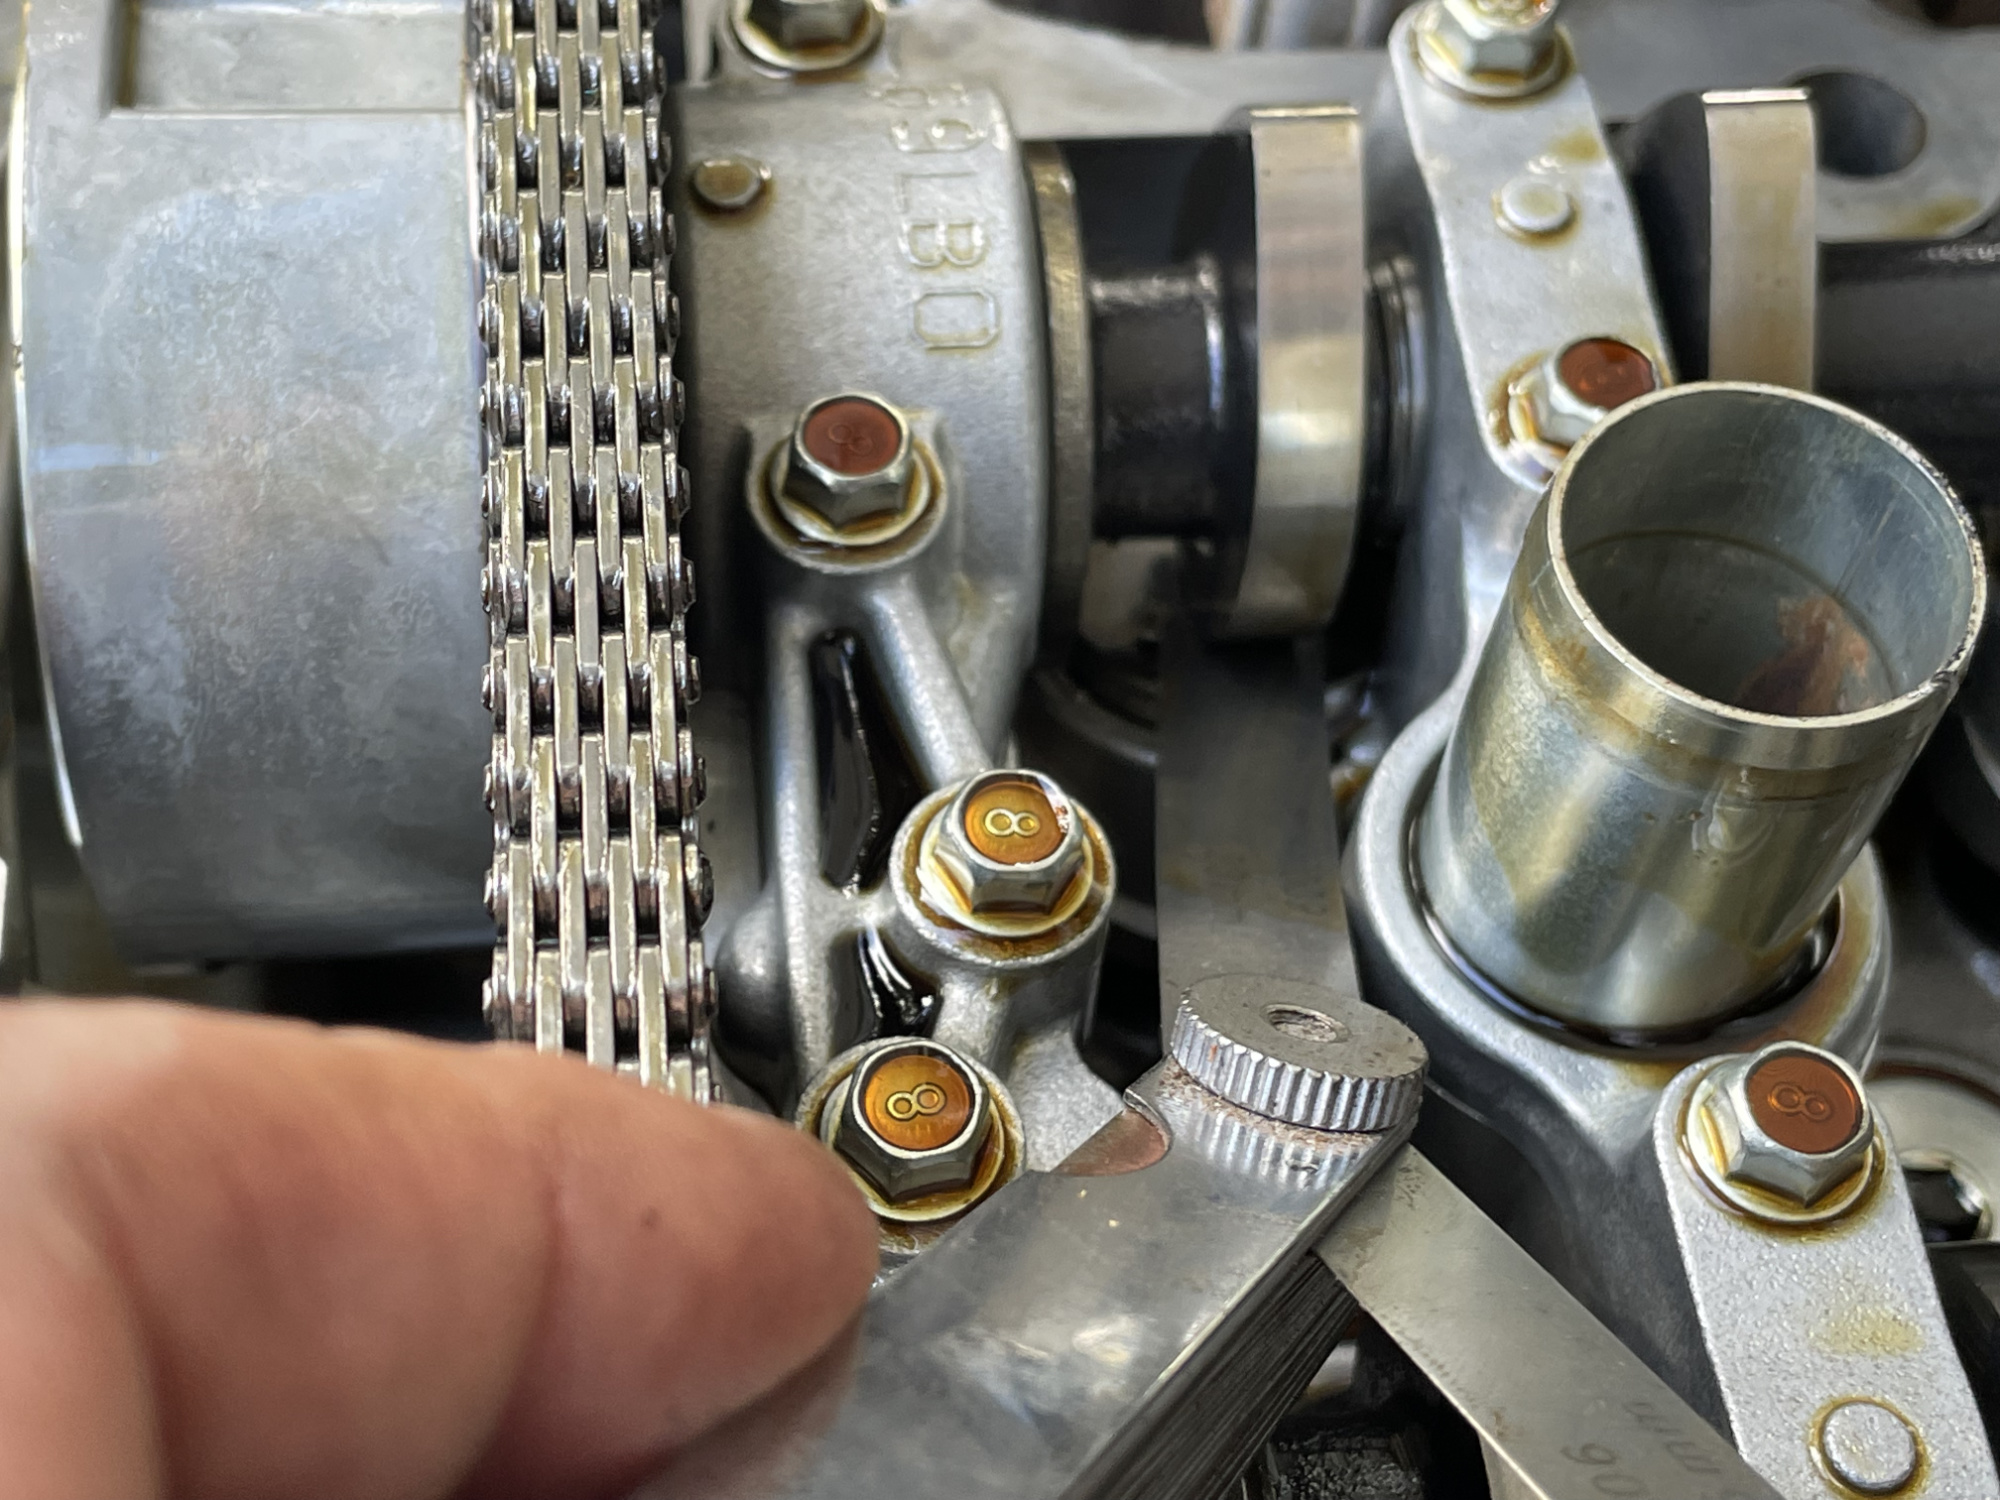
Clearance specifications
Intake should be between 0.14 mm and 0.23 mm
Exhaust should between 0.30 mm and 0.40 mm
The way I test this personally is to treat it first as a go/no go. If you can fit in the smallest size possible, but you cannot fit in the largest size, then no point precisely checking the clearance
Measuring order
Here’s the relevant measuring order, and the clearances you’re shooting for
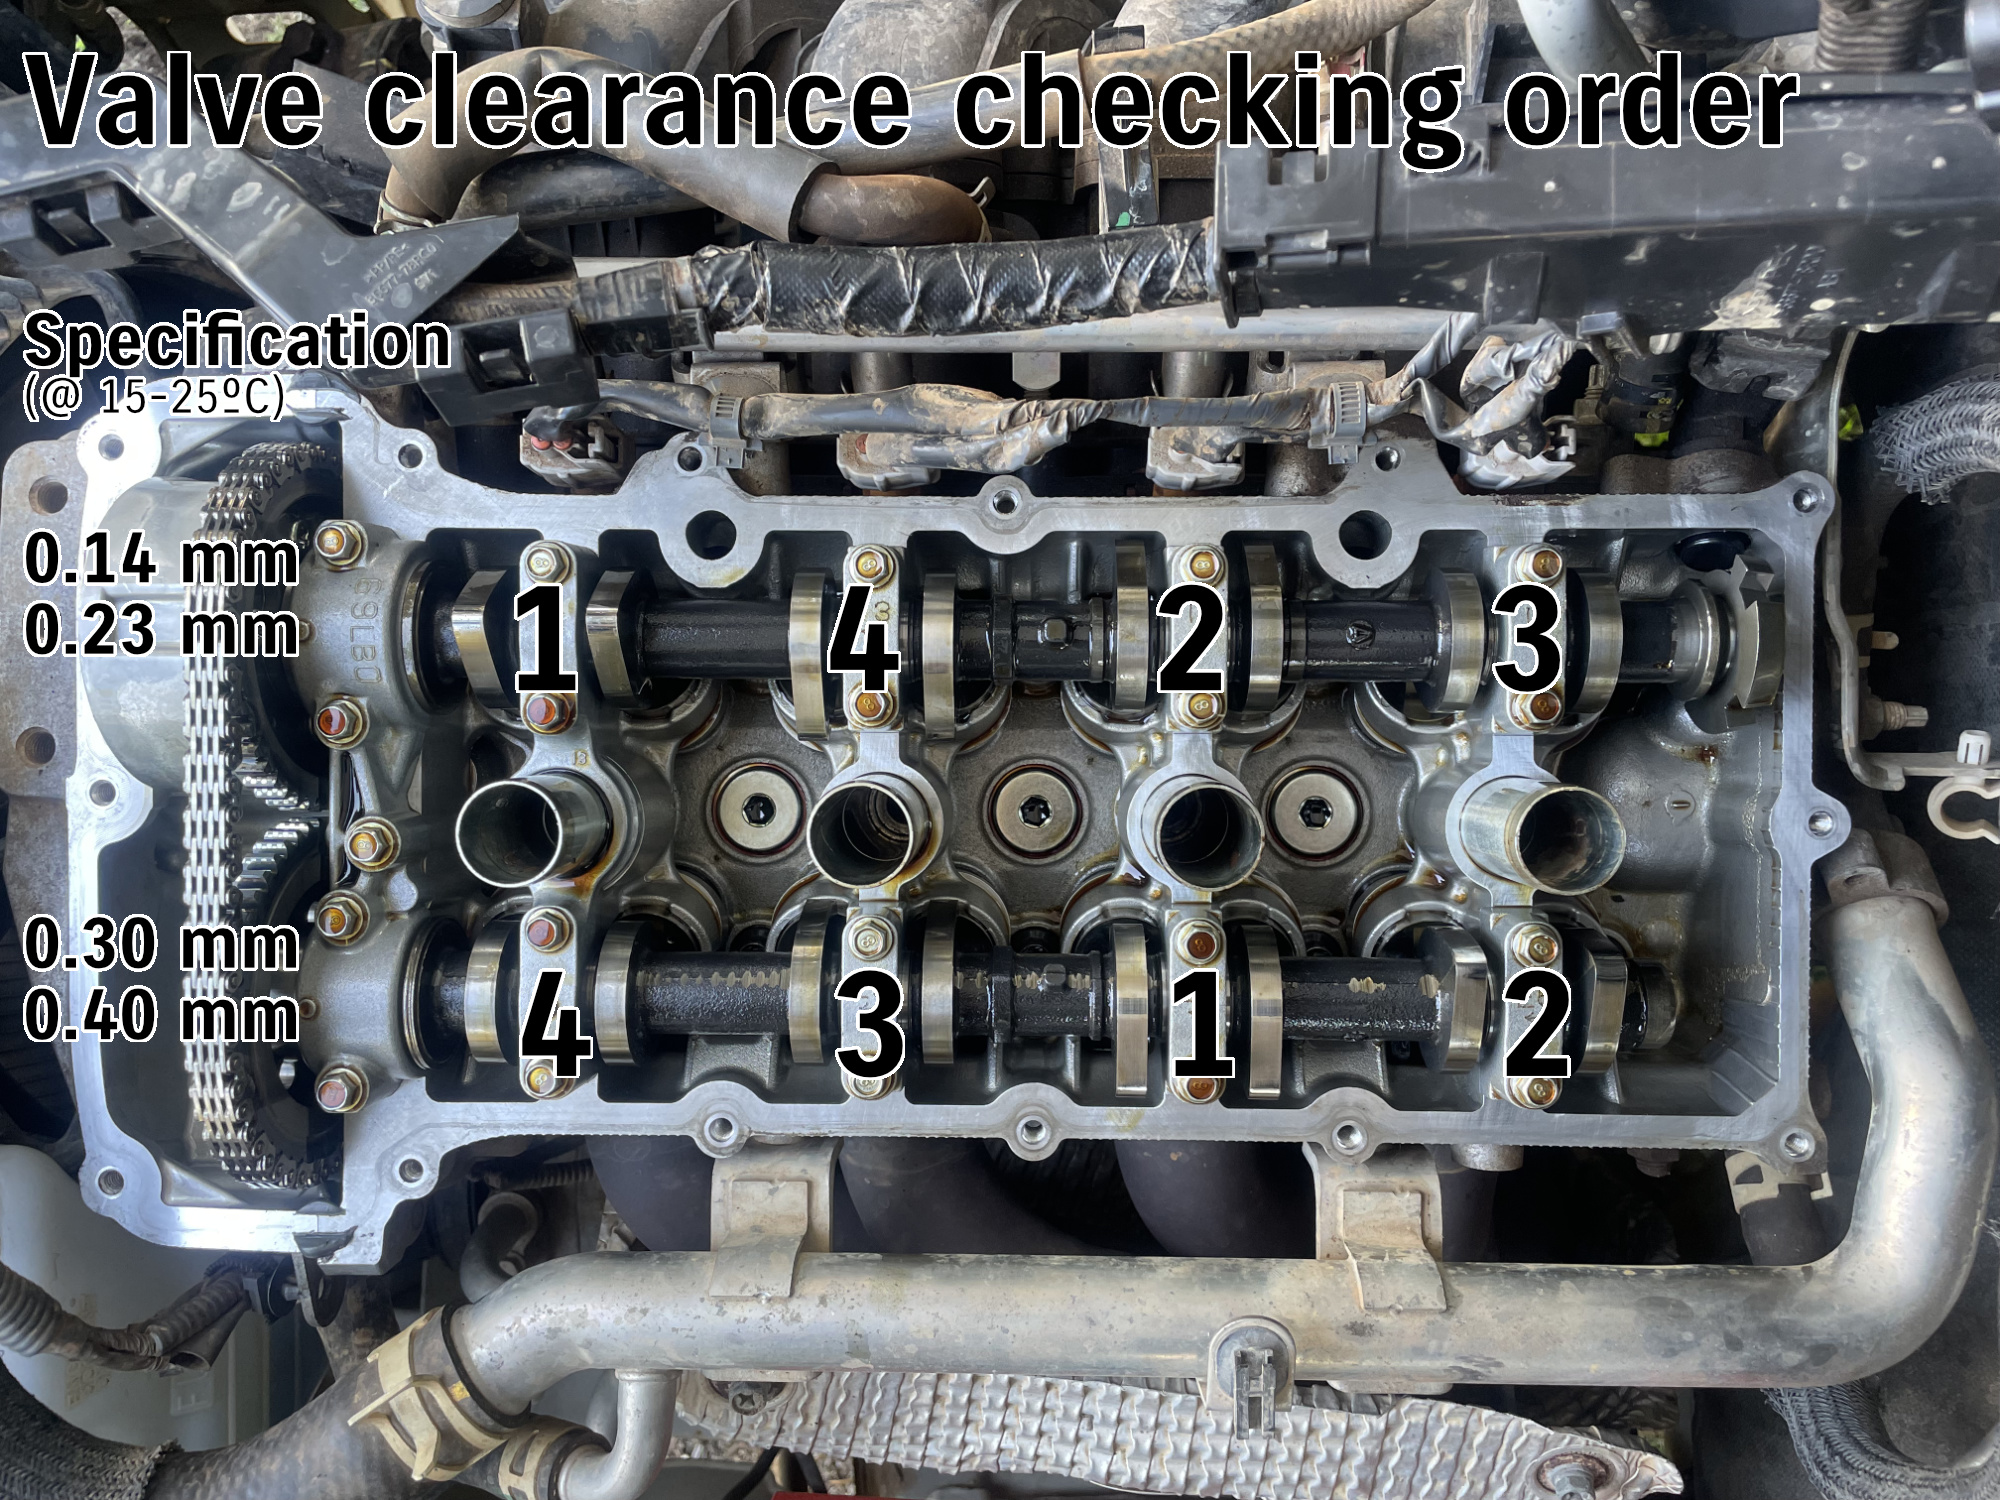
Note that the lobes do need to be pointing basically upwards. You measure one particular set of intake and exhaust valves, rotate the camshafts 90º (crank 180º), measure the next set of intake and exhausts, and repeat this 4 times.
The crank is turned with a 17 mm socket. Remember that the cams turn half as fast as the crank, so 90º between valve clearance checks at the cams becomes 180º at the crank.
If you have to change clearances
You first need to set the engine up at top dead centre with the cam pulleys marks pointing away from each other. Then the cam chain tensioner is locked out using an M8 bolt, and exhaust cam sprocket is removed.
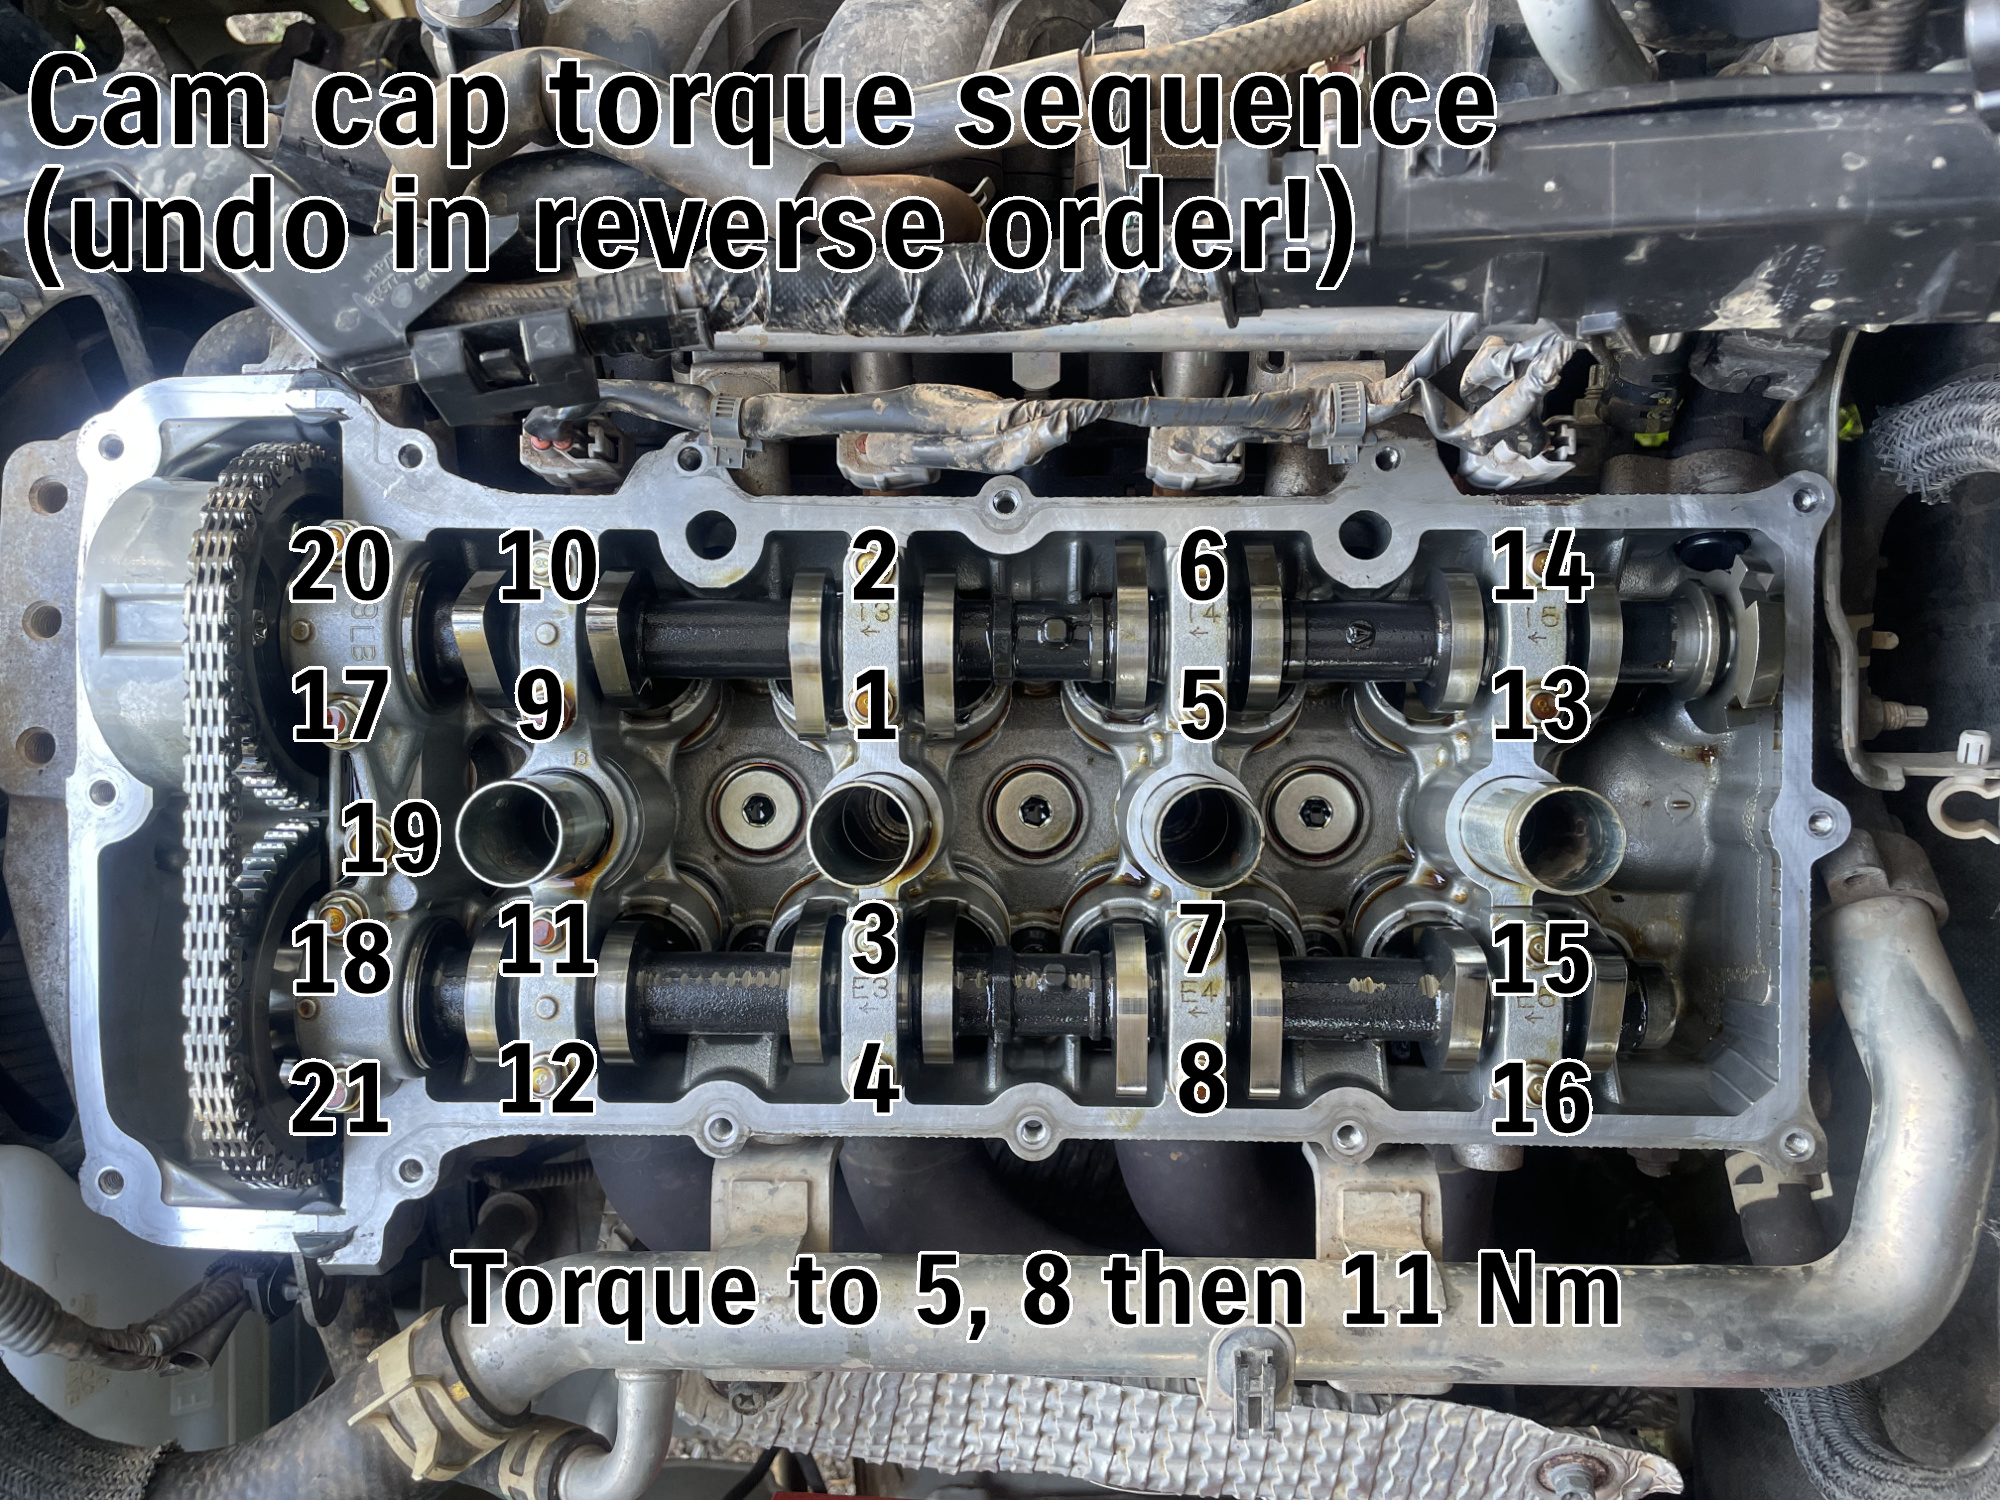
You loosen the bolts for the cam caps from the outside in, and remove the cams, change the relevant bucket and then refit.
This is the important bit: the torque order for the cams (note that removing the cams is done in the opposite order, i.e. 21 down to 1; they are tightened 1 through 21 at each torque setting, then the next torque setting is done 1 through 21 etc etc
Refitting
Refitting is pretty straightforwards
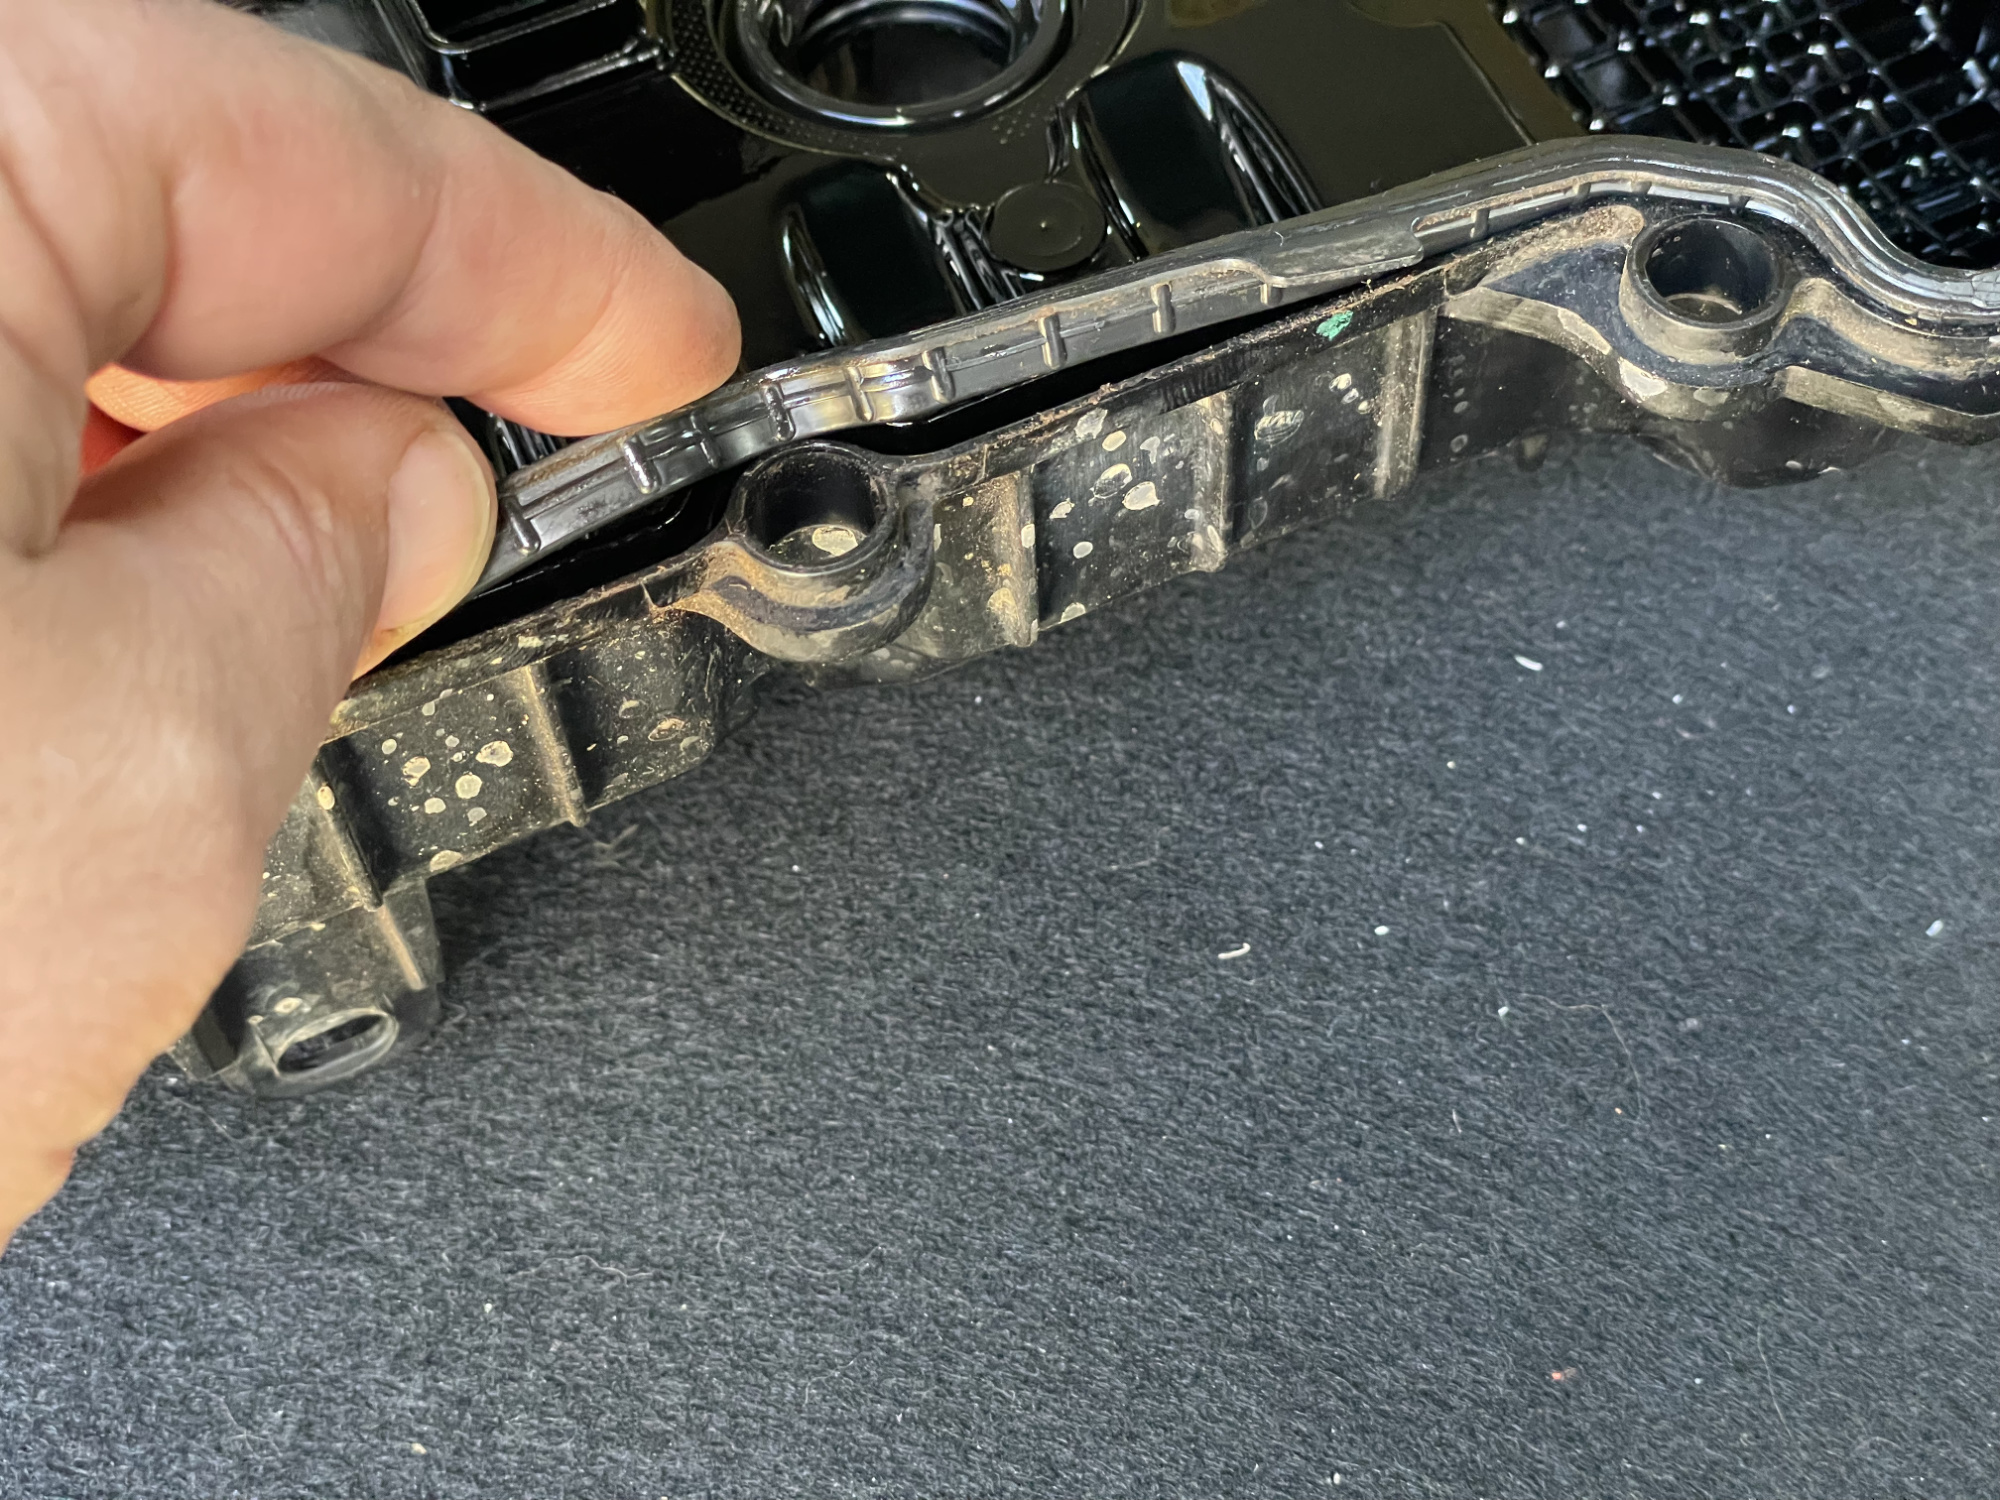
You need to make sure you put some oil on the o-rings that go around the spark plug tubes and also fit a new valve cover gasket
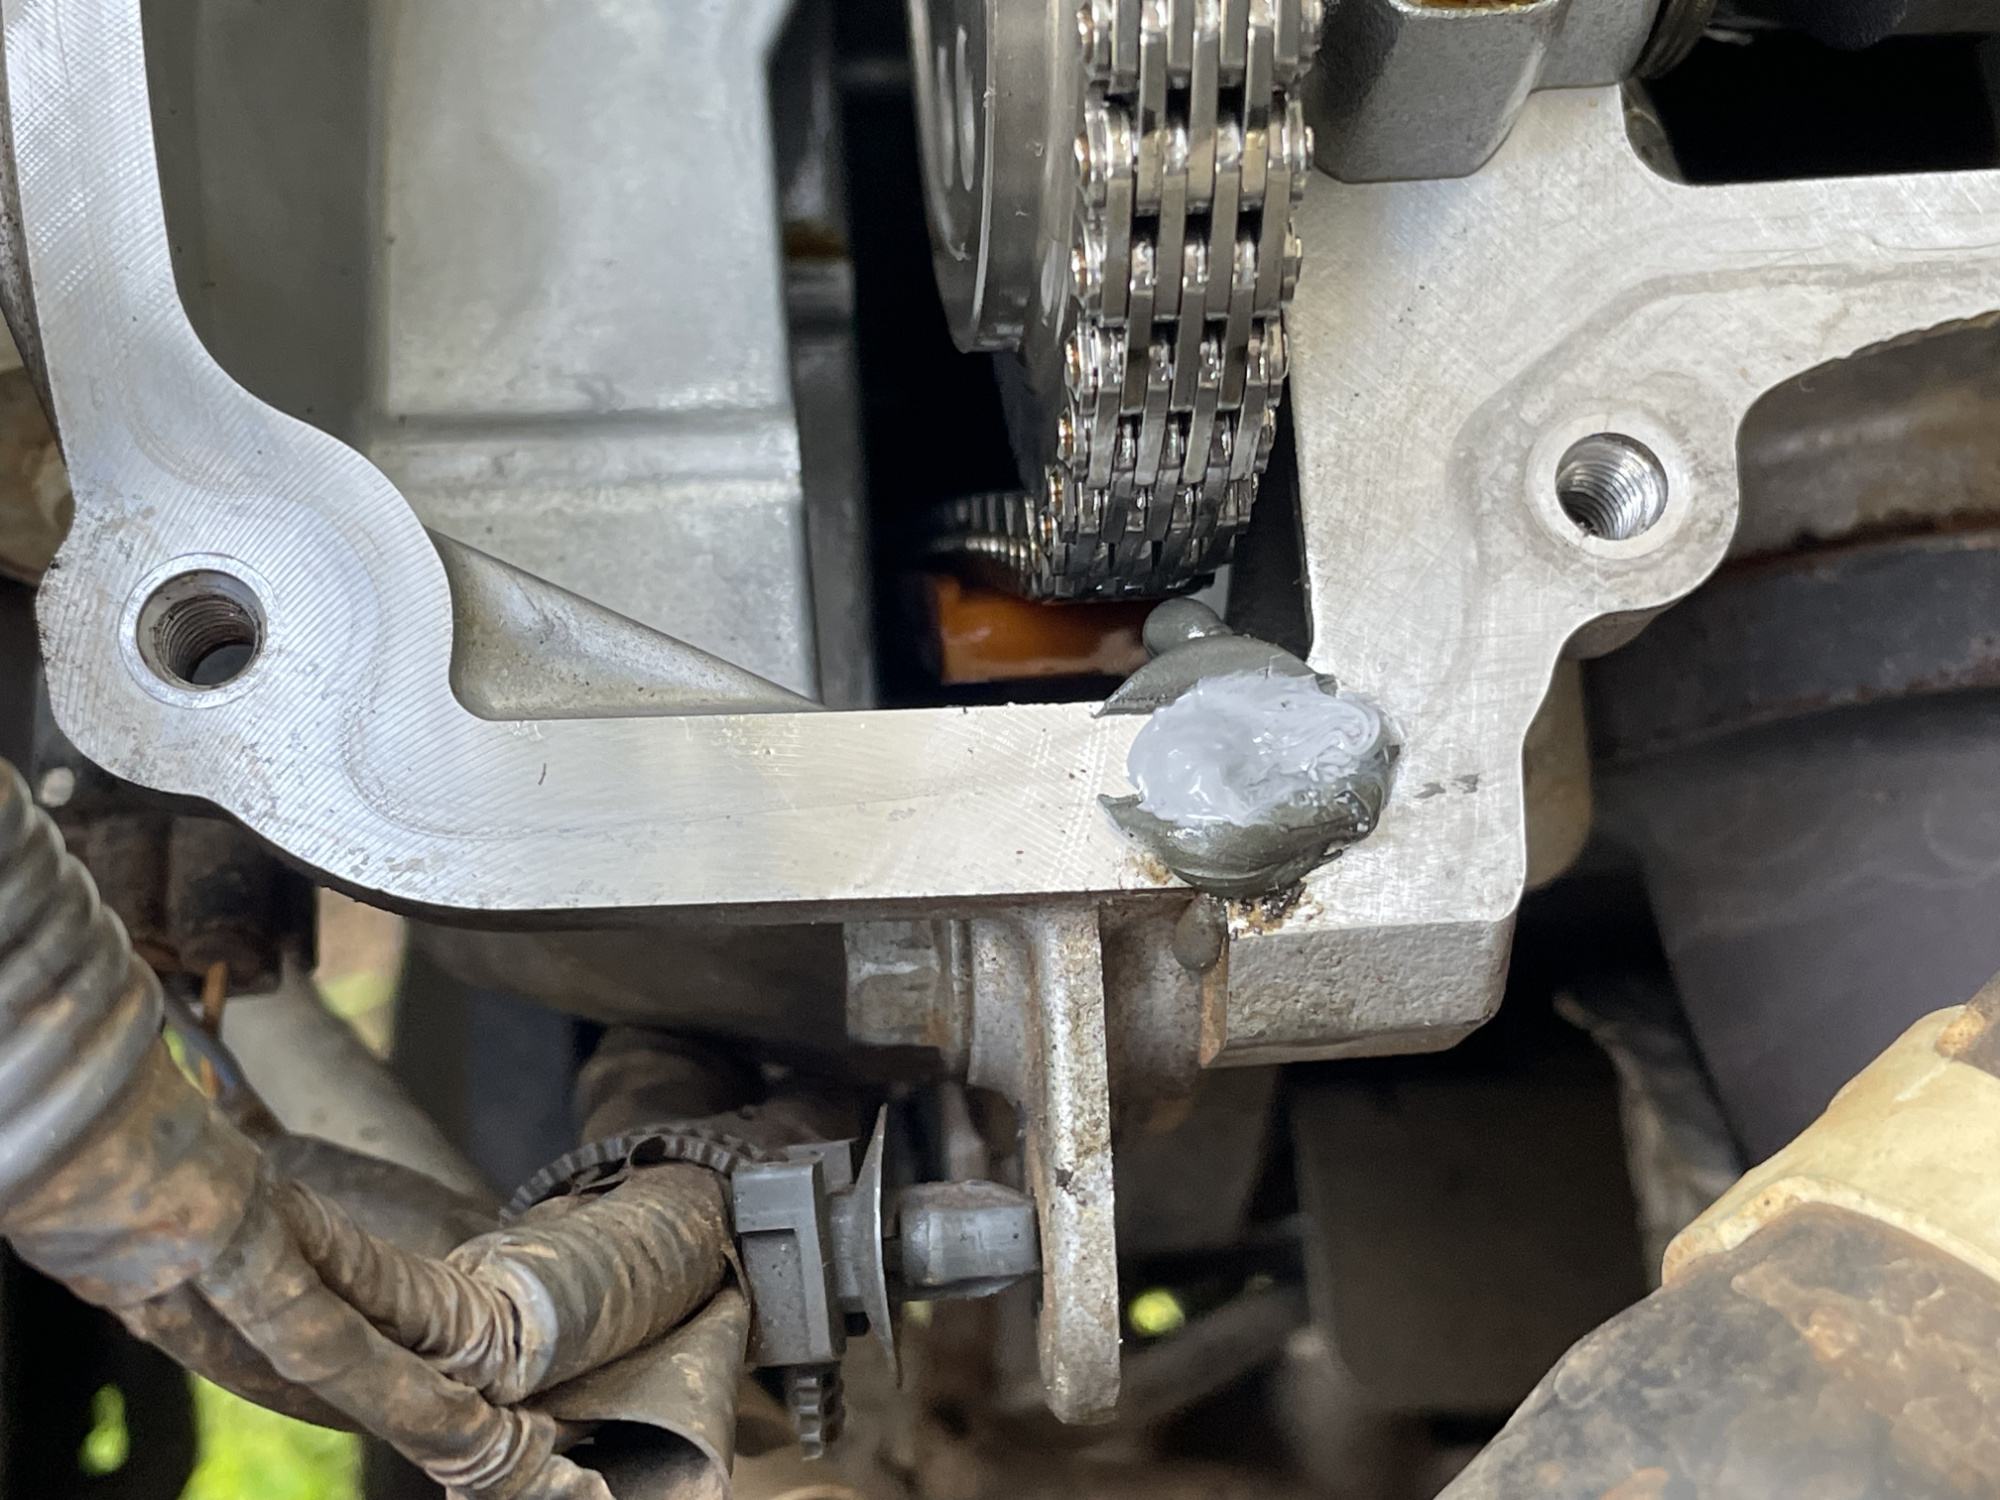
A small dab of RTV is needed on each side where the timing cover meets the cylinder head
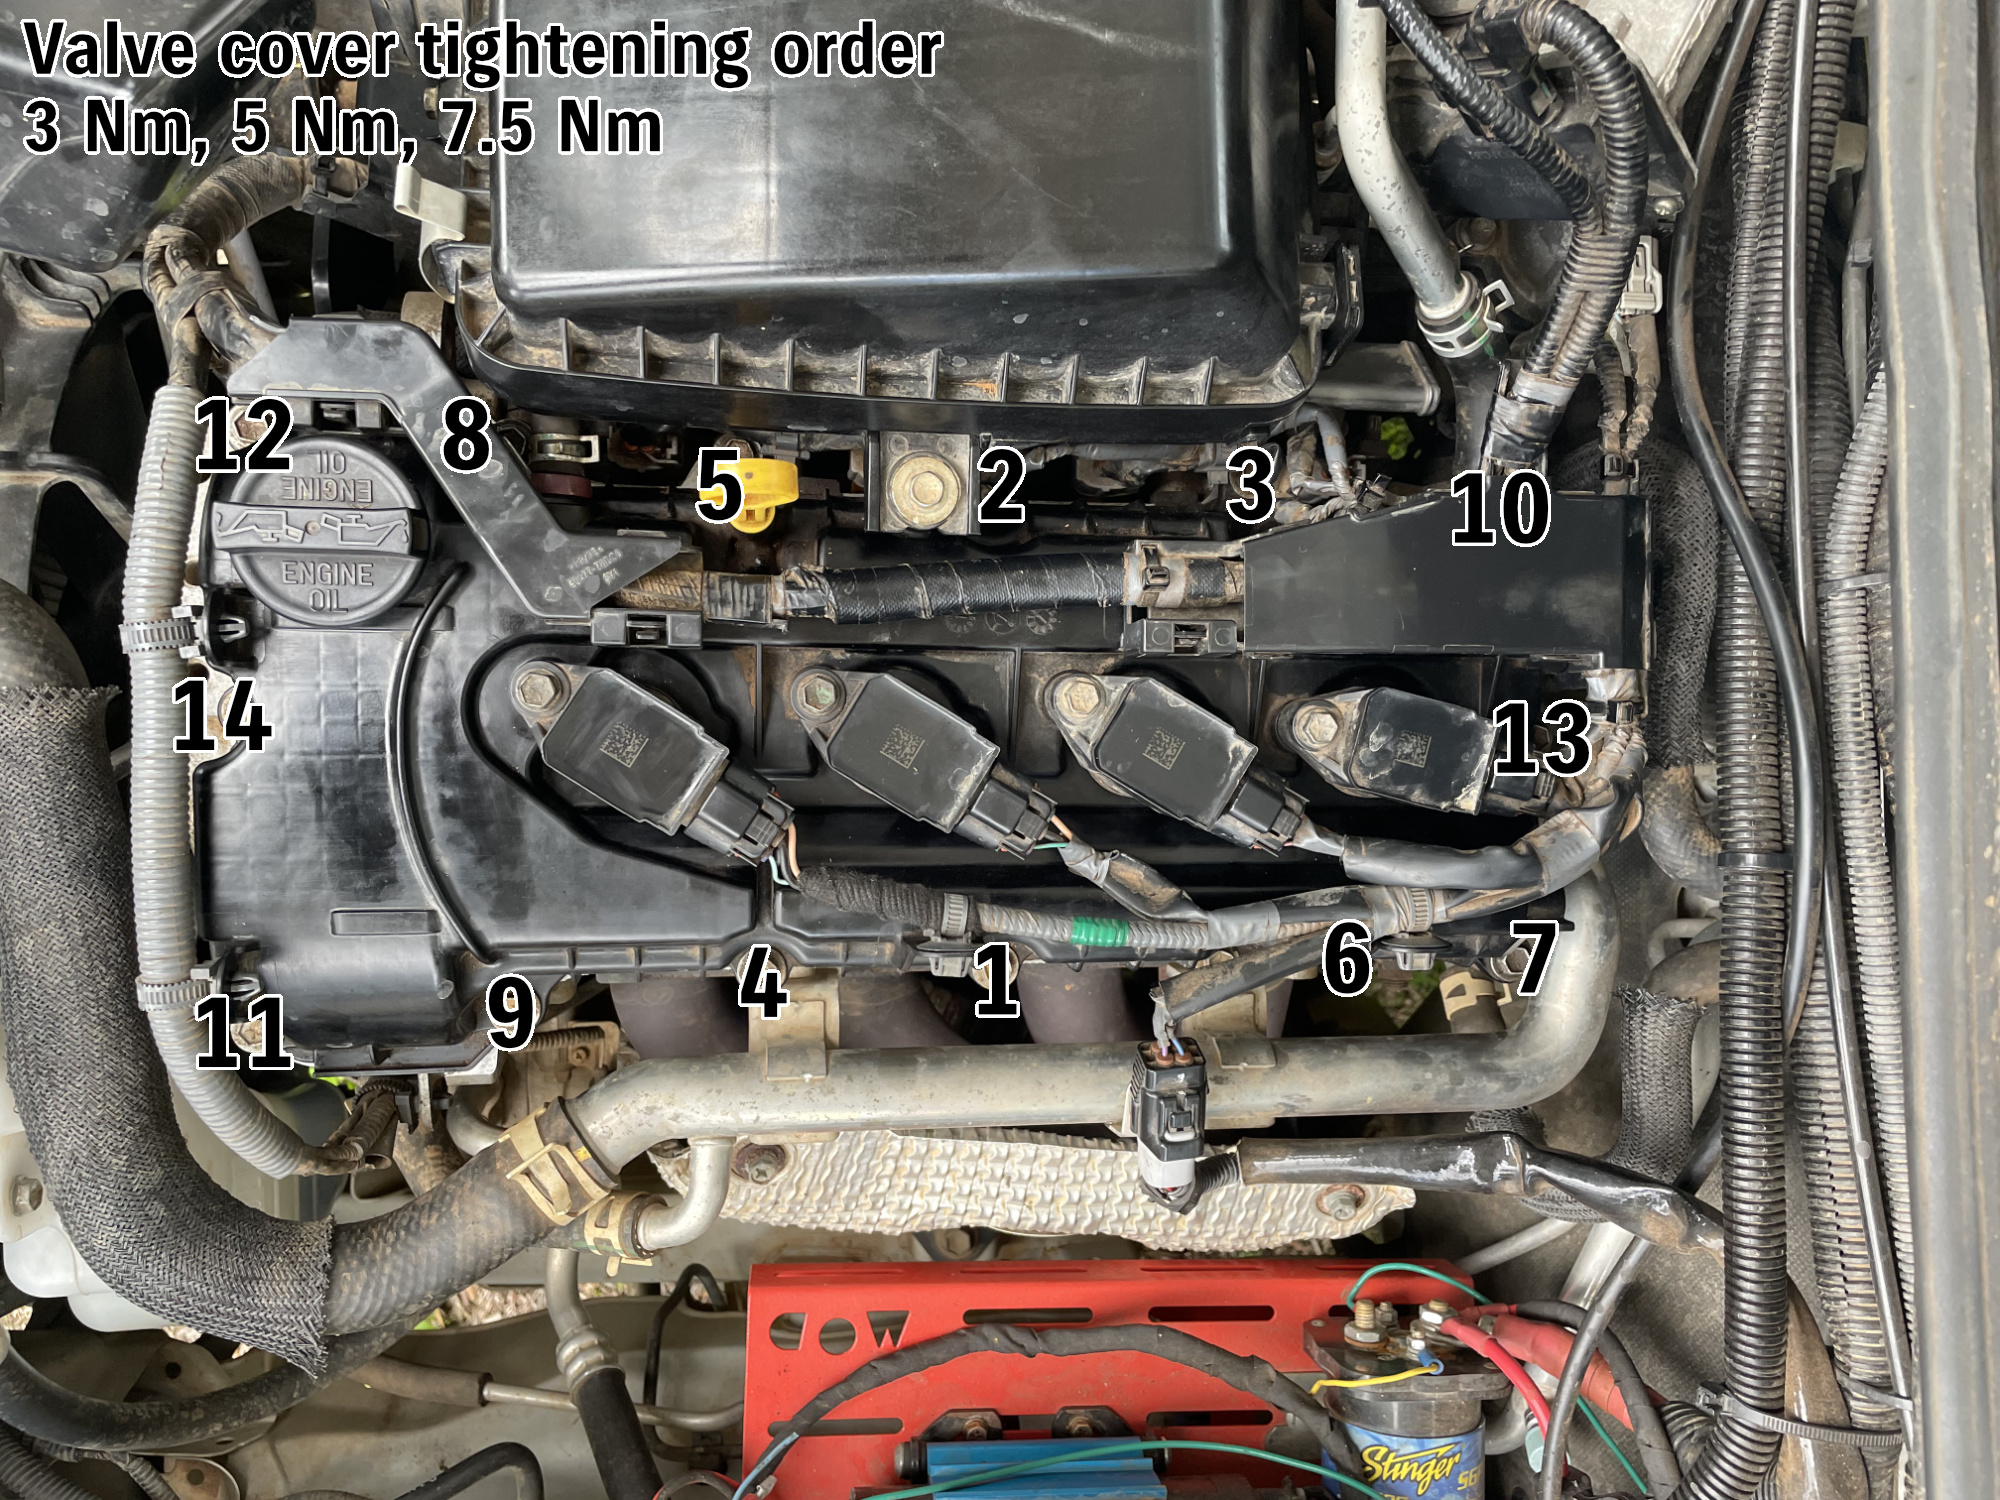
Valve cover complete with its new gasket goes onto the cylinder head. Nip up all of the bolts till they just seat; you need to torque them from the inside out in a spiral pattern to 3 different torque settings sequentially: 3, 5 and 7.5 Nm.
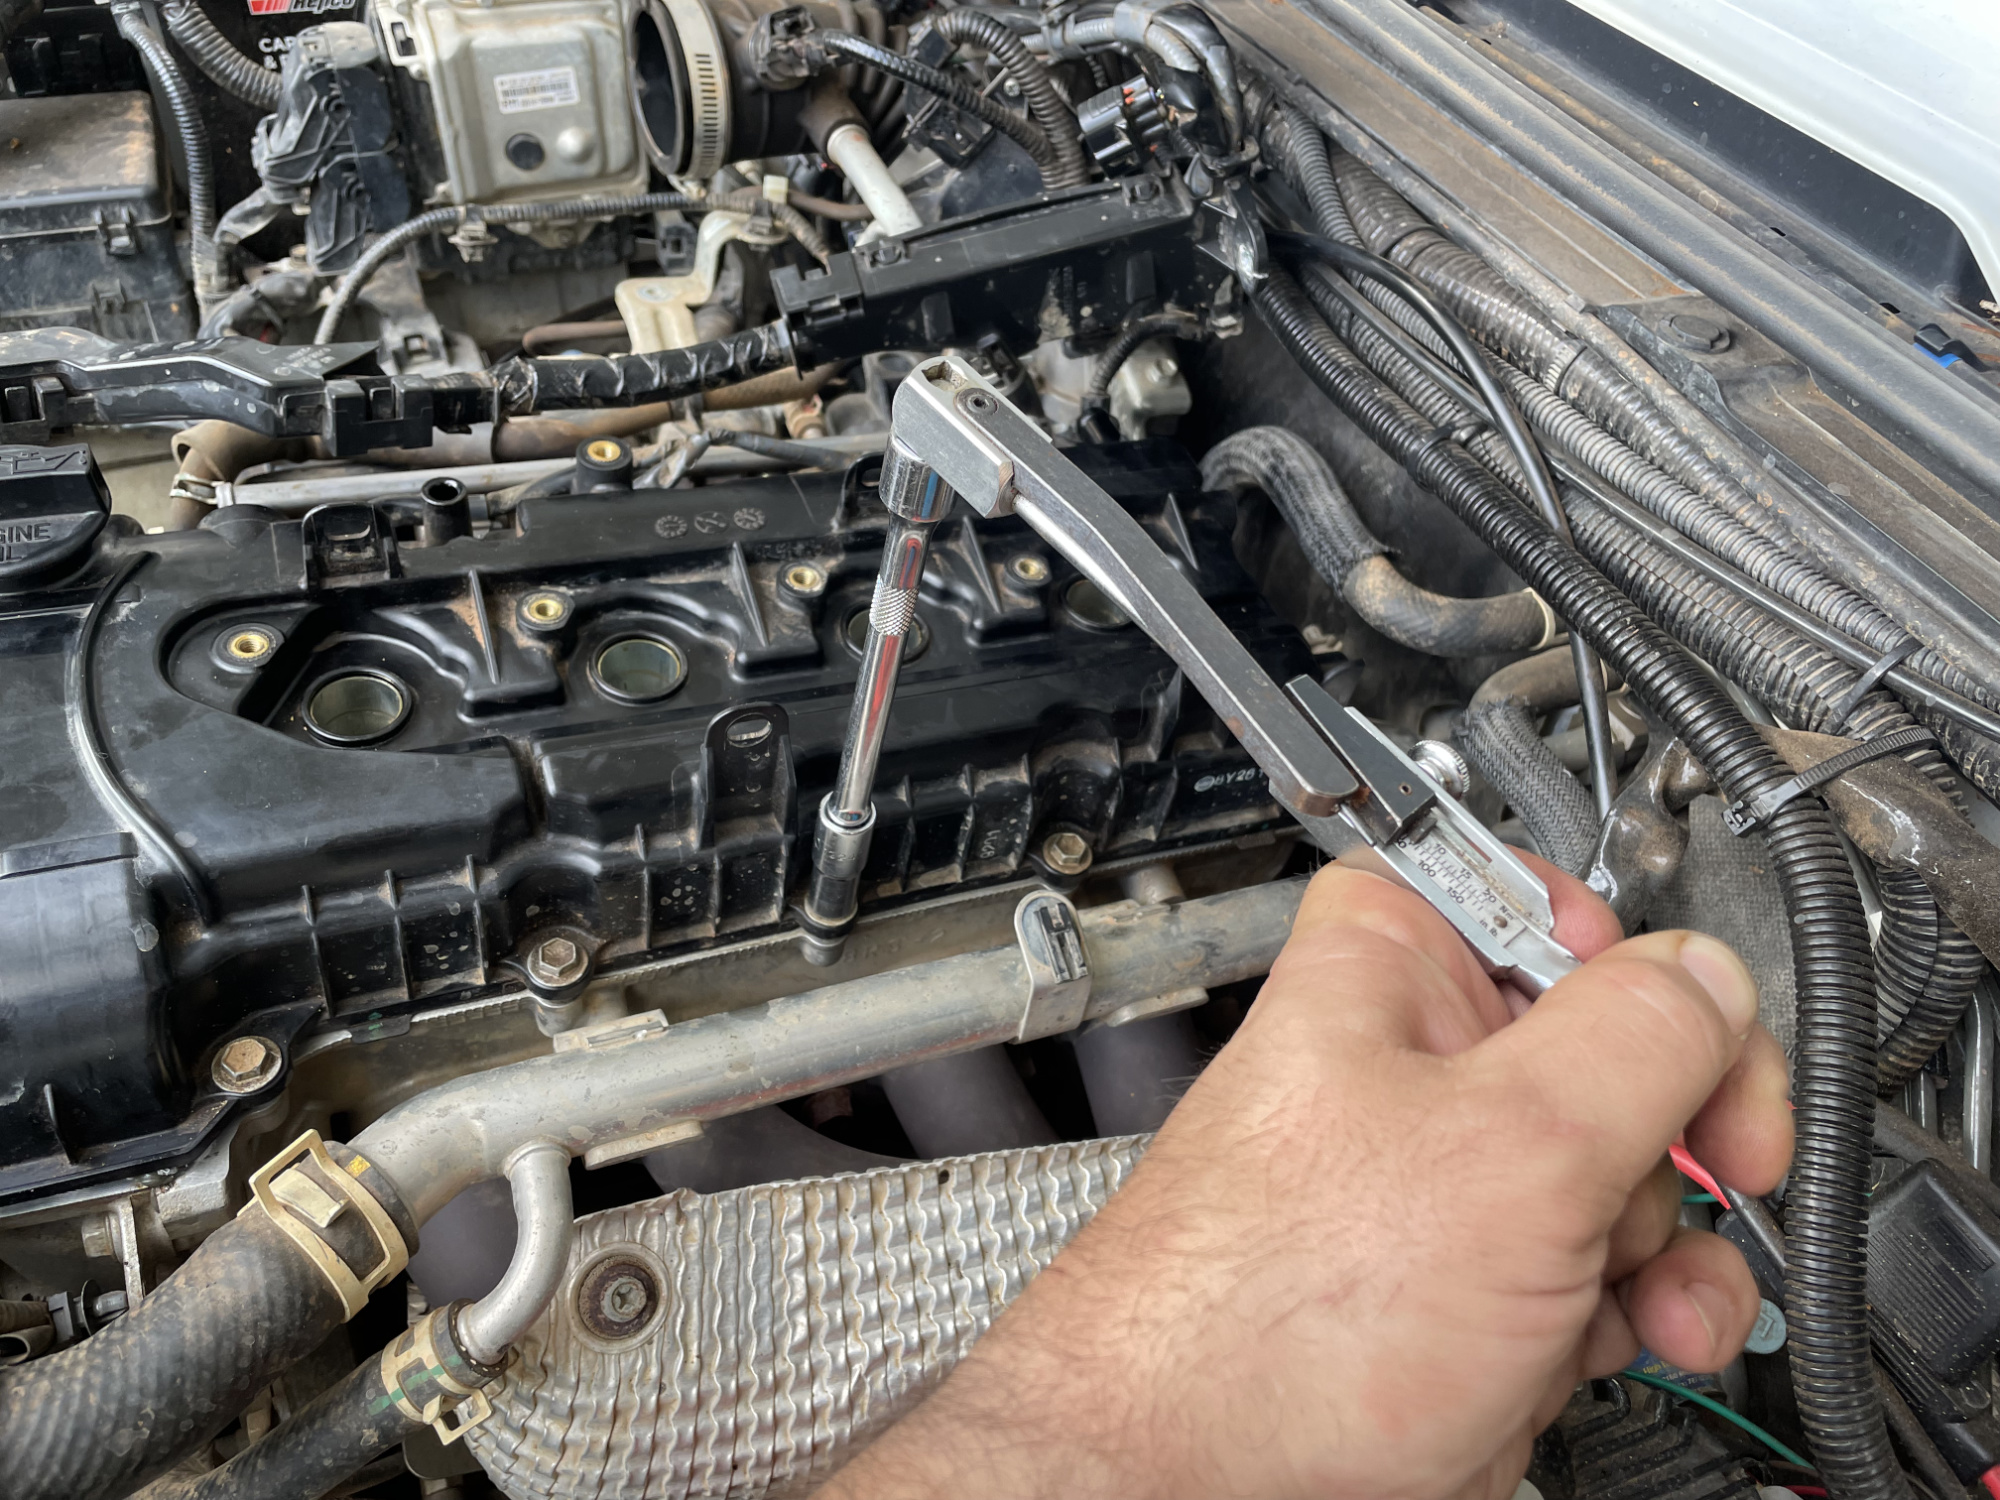
It’s a good excuse for me to whip out the old deflecting beam Warren & Brown torque wrench to do these. You don’t want to deform the valve cover or pinch the gasket so being slow and methodical with the torque sequence is needed
Torque the spark plugs to 18 Nm, or 1/2 turn after finger tight if using new plugs (and you should be)
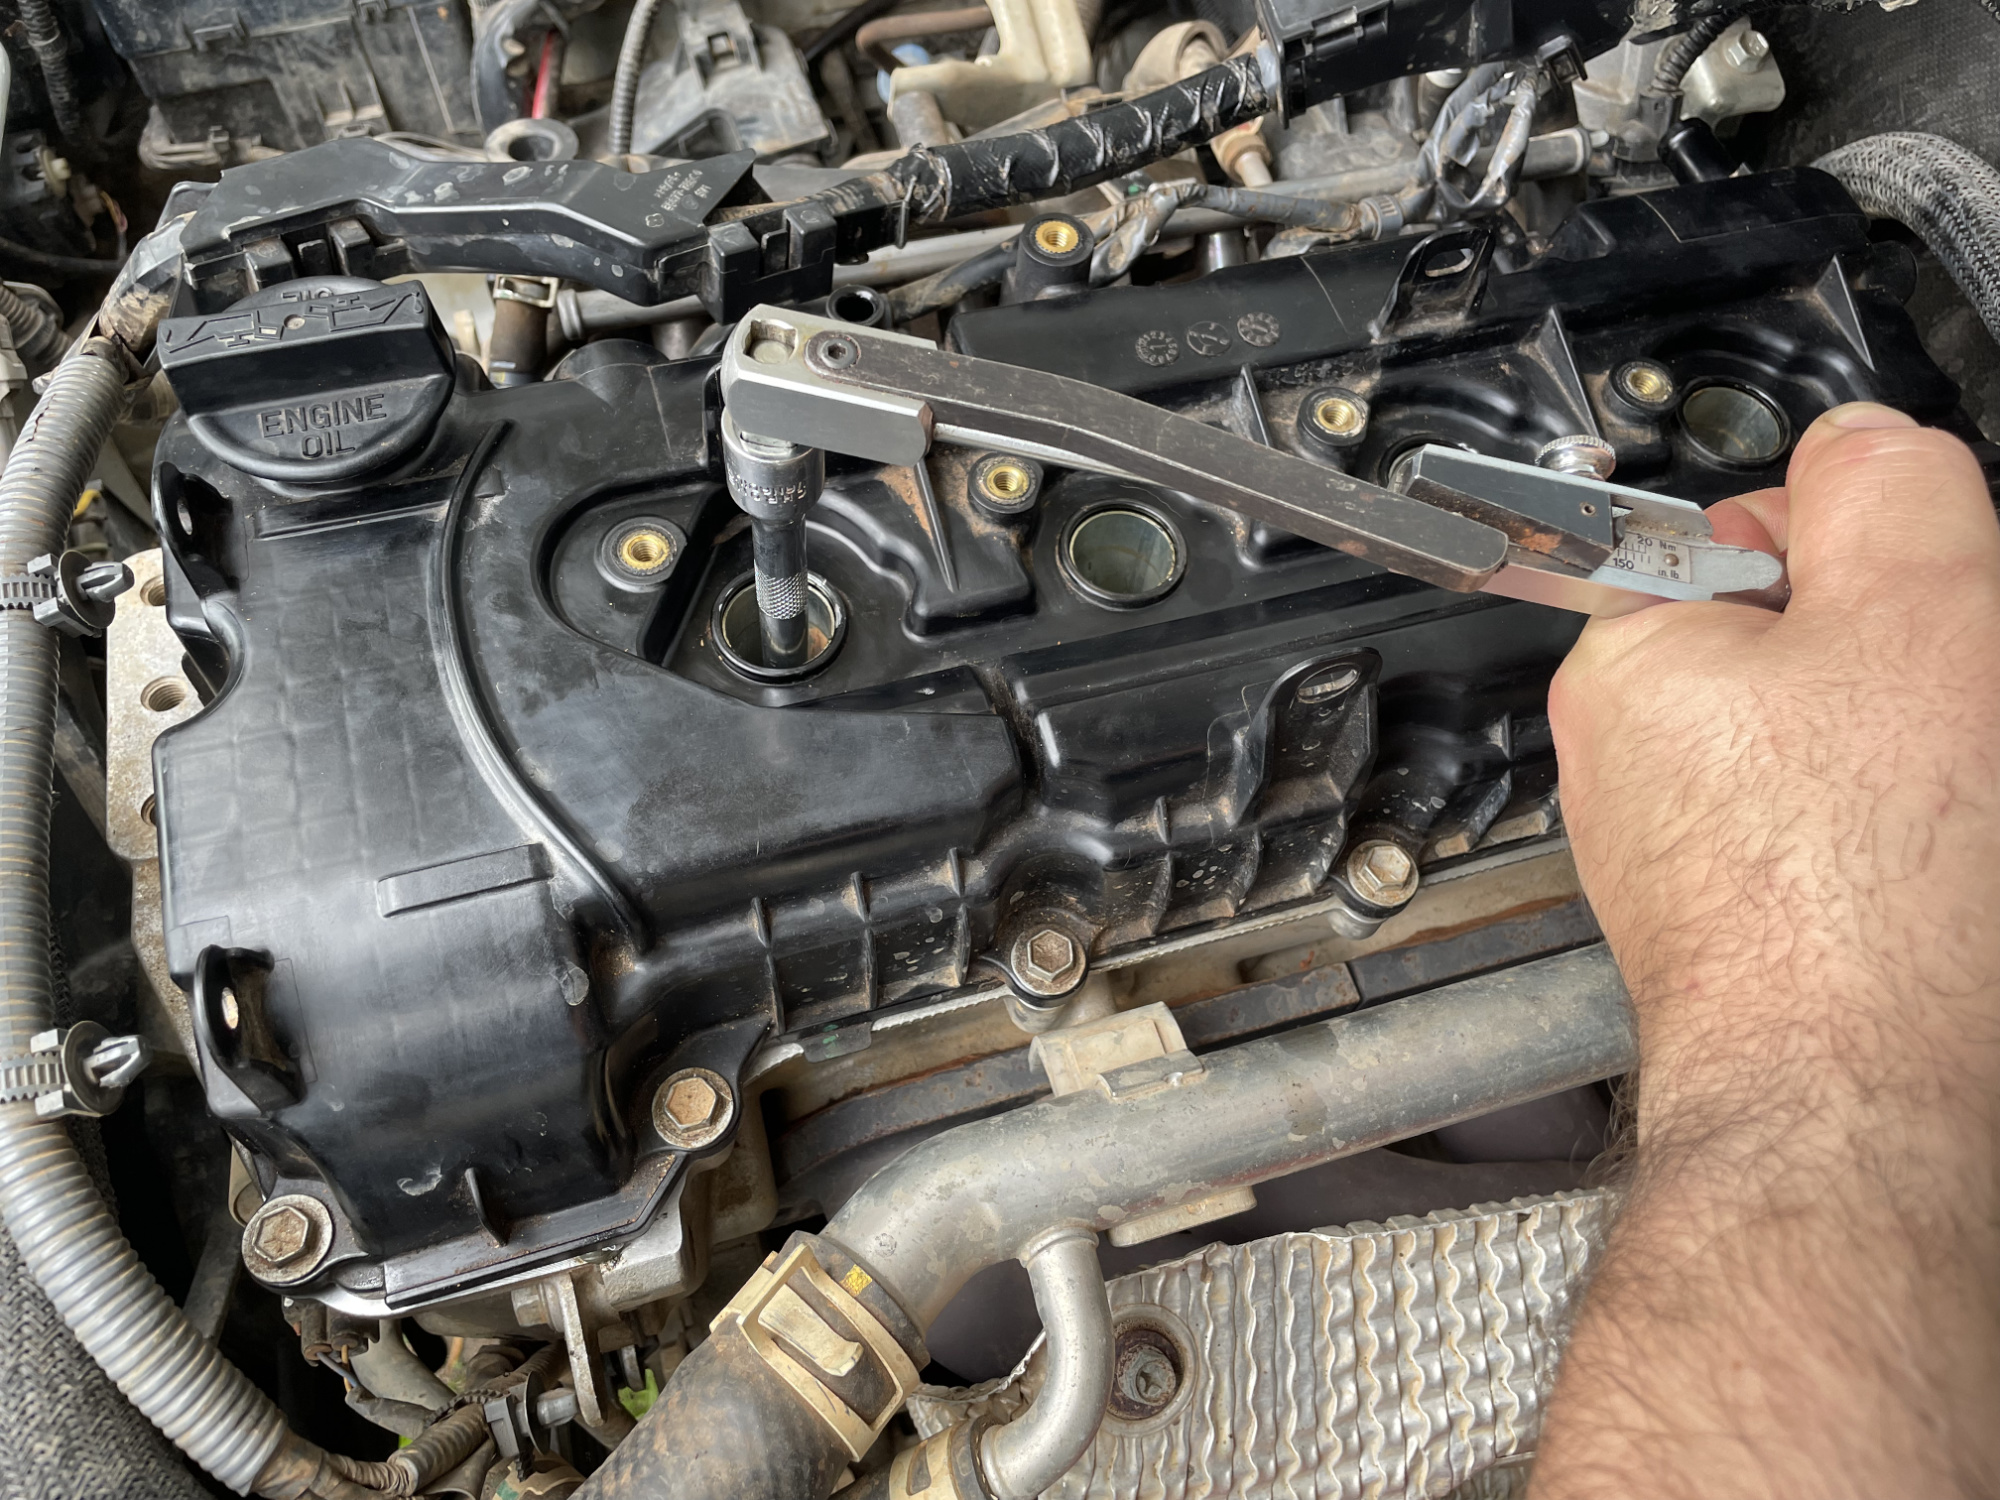
Now pop the coils in, do them up, and refit all of the wiring and the PCV and the valve cover breather hose to the throttle body air intake hose
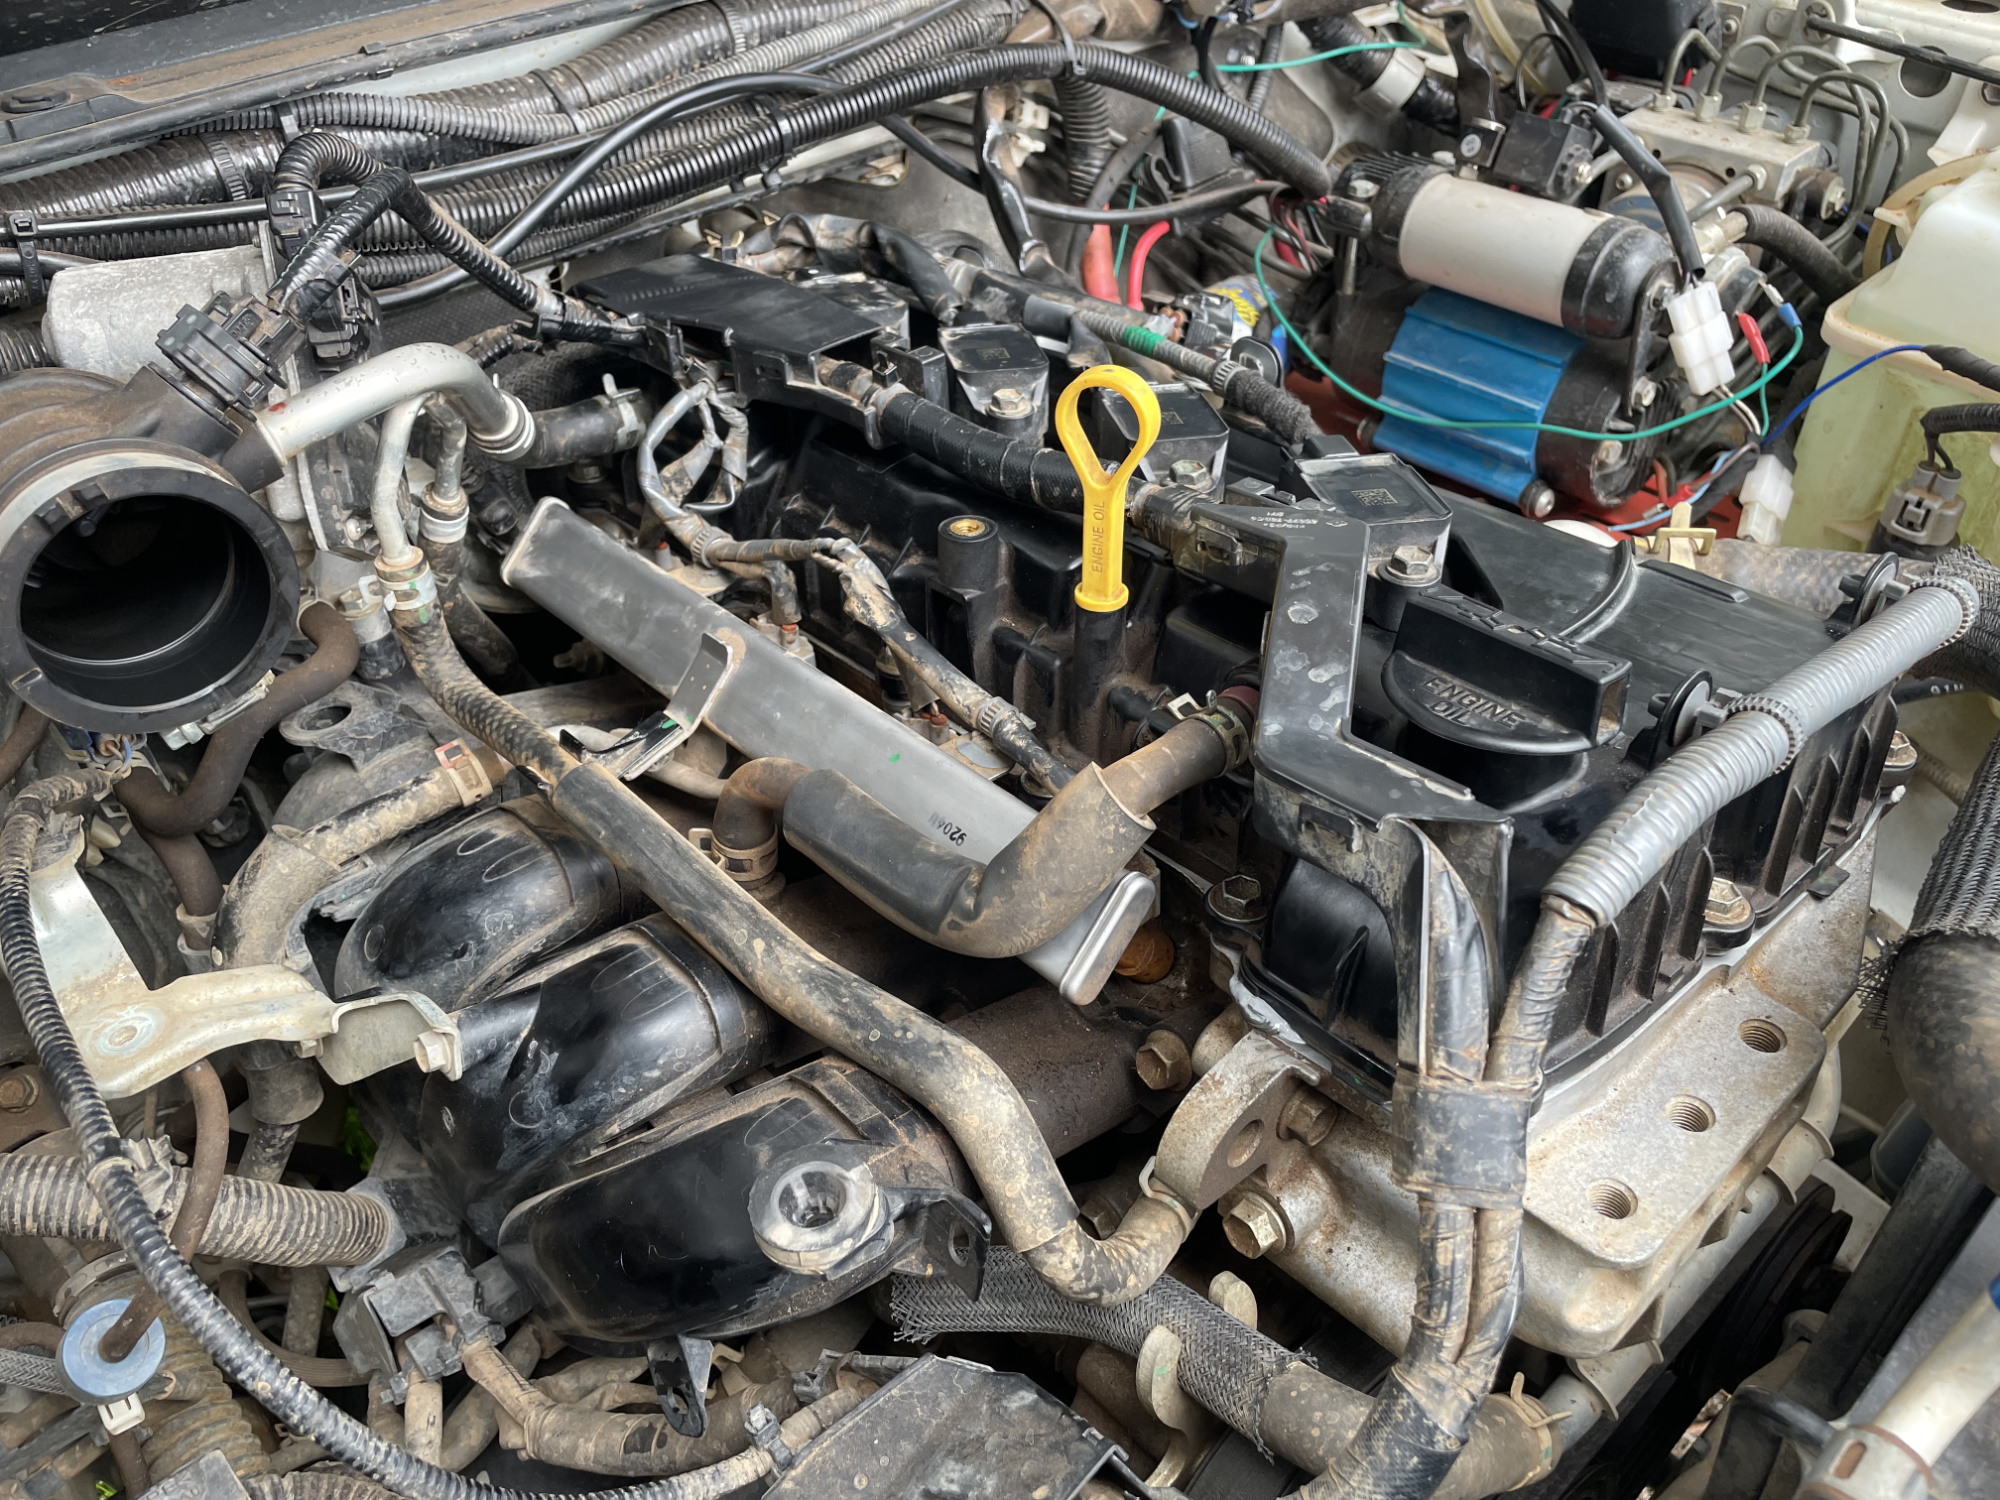
Remember to refit that pesky 10 mm bolt at the back of the valve cover that retains the wiring!
Airbox then goes on and put the belt cover on and you’re done!