Rear door storage
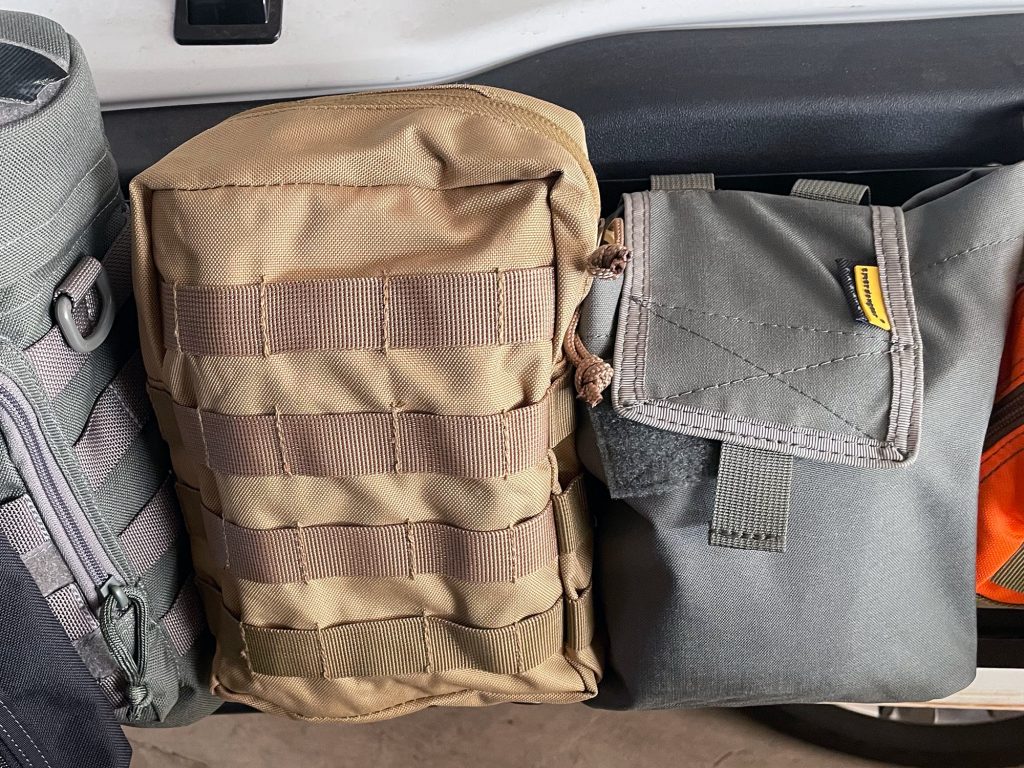
This is a pretty simple mod, much like installing the roof shelf, but there’s a couple of tricks to make it awesome. I didn’t get many pics during the install but here’s my notes. Before we get into that, here’s the current arrangement for some inspiration as to what I keep there on a daily basis.
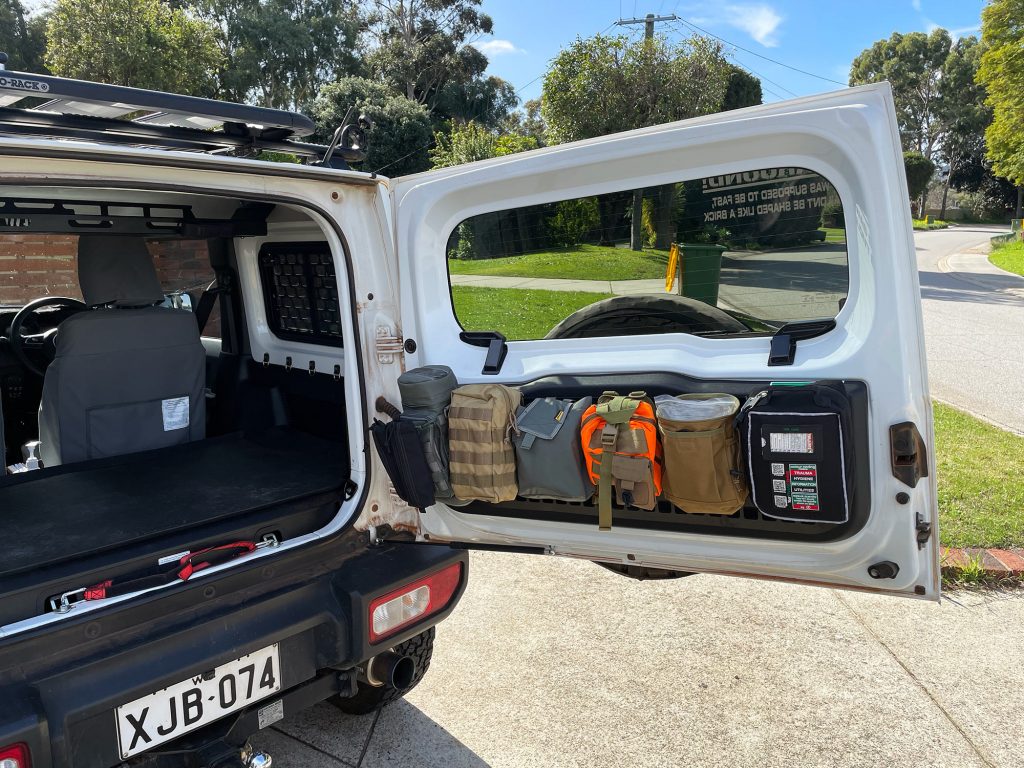
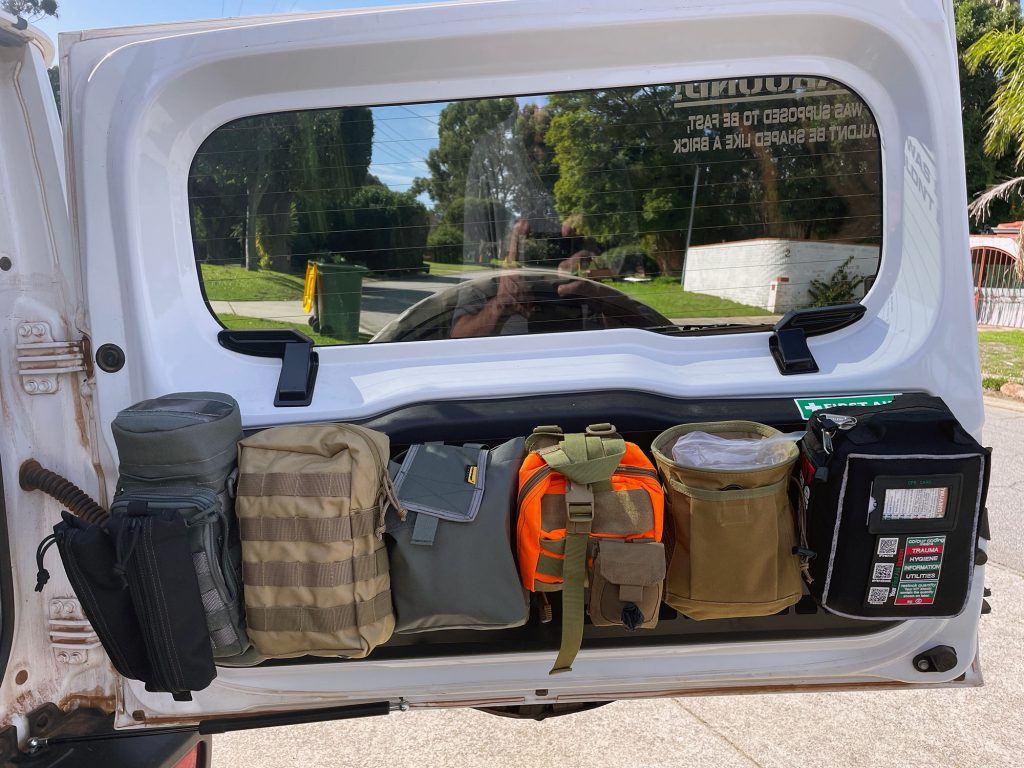
This mod starts with the molle panel from JimnyStyle, as nicely thought through by GeordieJimny. This attaches to the rear plastic trim piece on the rear door.
Attaching it is super easy although you will need a drill, a 4mm allen wrench/socket and also a 10mm spanner or socket if you use the hardware out of the kit. I went a bit fancier and I put in some countersunk rivnuts, with a washer at the back of the nuts to give them some extra purchase against the plastic.
Start by yanking off the plastic trim. This just pops in place with some plastic trim pieces in a few spots so just lever it up with a plastic trim removal tool till you can get your hands behind it and pull it away from the door.
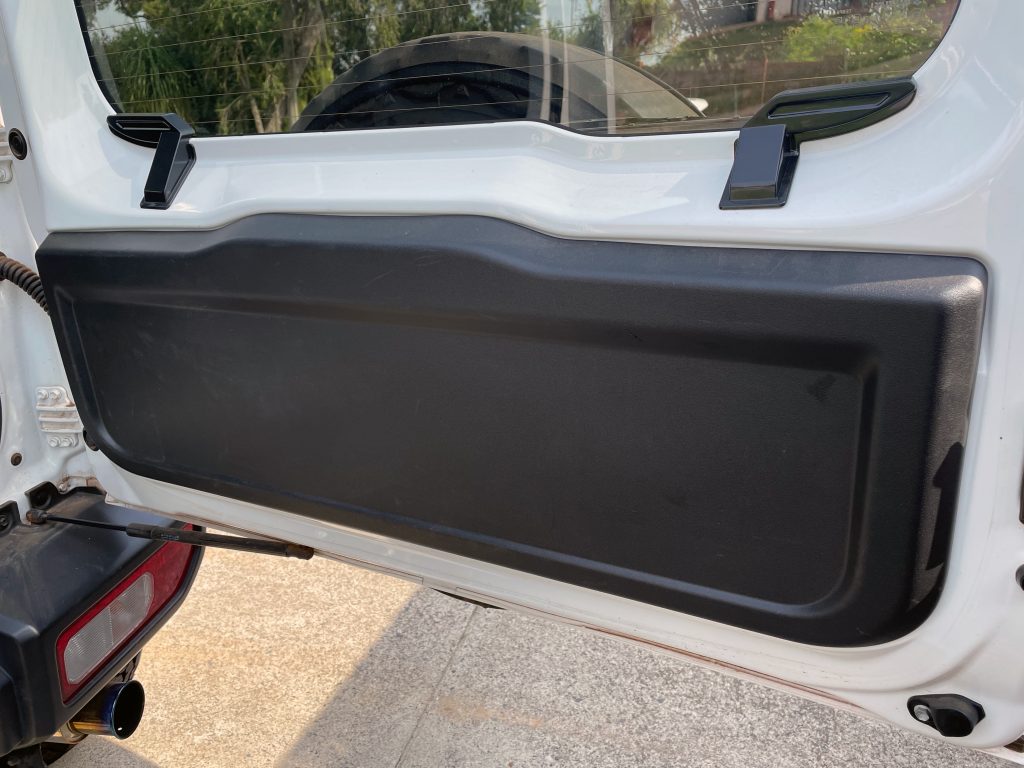
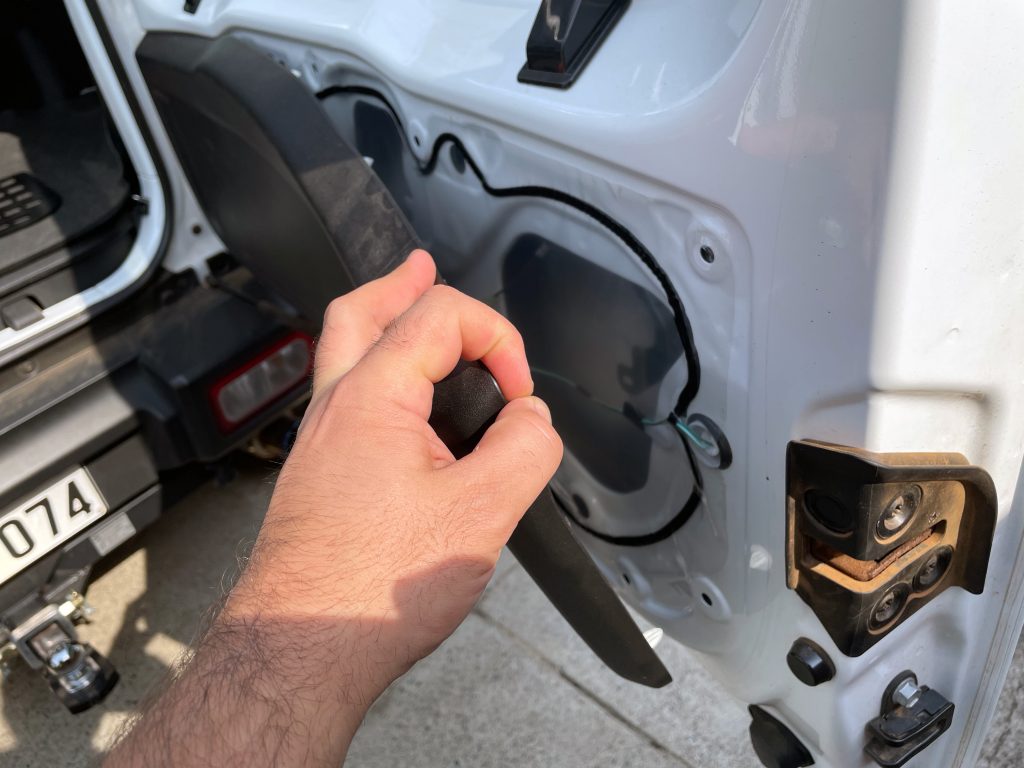
I positioned the panel fairly high up on the plastic panel to mark out a couple of the drill holes, drilled them out and then used the panel as the template for the other holes with a bolt through the first couple of holes to hold it in place.
If you were just going to use the hardware from the kit then this is where you’d drill the holes out to 1/4″ or 6.5mm (useful to have a bit of play in the holes). In my case with the countersunk M6 rivnuts needing a 9.1mm hole I just wobbled a 9mm drill bit a bit into the pilot holes I drilled. These are then countersunk with a 13mm drill bit and installed using a rivnut installer.
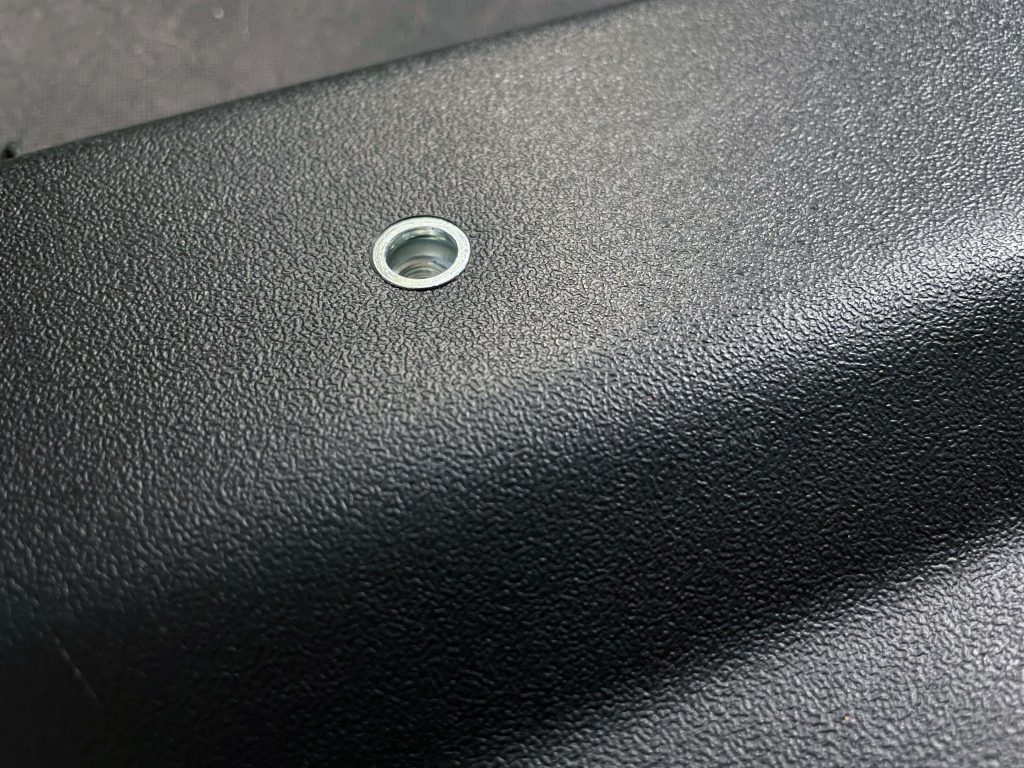
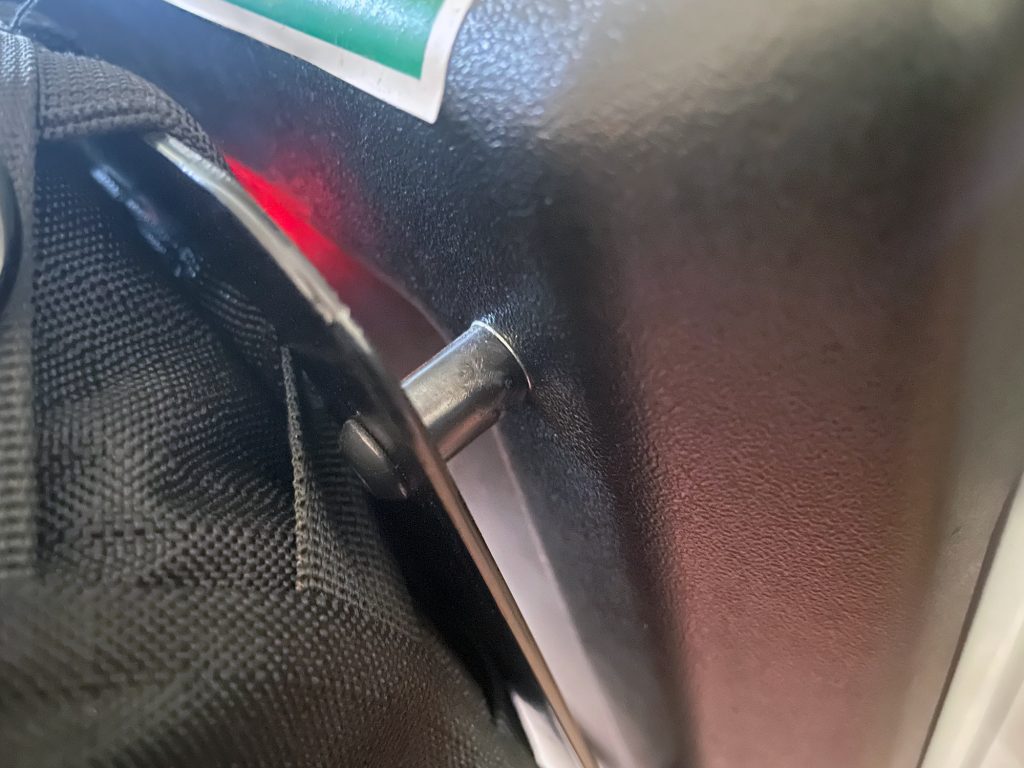
The panel bolts on with some standoffs so there’s enough room to get your hand behind the panel to fix items to the panel.
I also did a quick test fit of some random bags I had lying around at this point.
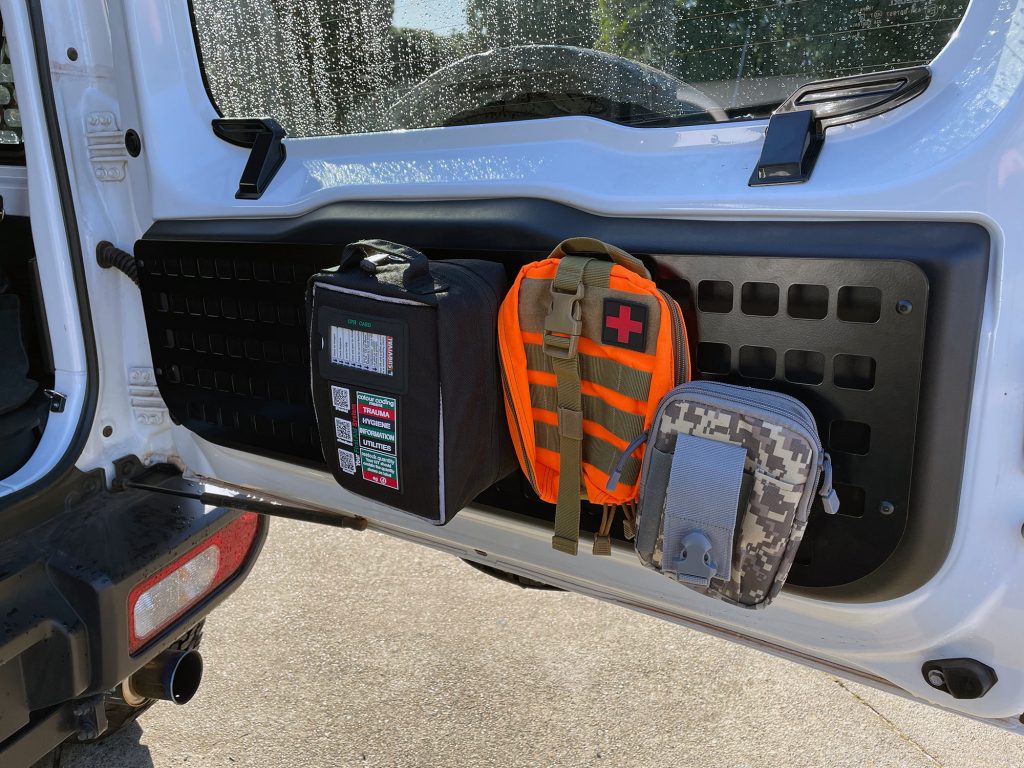
One little note: when I first installed the panel I had the pouches quite low which pushed the rear boot area mat forwards when I shut the door. I have now since attached everything over the top of the panel and it all is held up away from the mat which is good.
If I was to install it again, I’d likely have mounted the panel even a bit further up the plastic trim piece as this would make things easier to avoid issues with the rear rubber mat, although now I’ve got everything attached up nice up and high it’s a bit of a non-issue.
Suggestions on molle pouches to get & where to get them
The thing with molle compatible pouches is they are now everywhere. Their sizing varies a lot as do their uses, and exactly what you want to store in them will dictate what you get. Some people go for matchy-matchy pouches whereas I go for function over form, which is why I have a mismash of pouches.
A note on maxpedition pouches here: unlike some of the cheaper pouches, maxpedition pouches utilise independent straps to hold them onto webbing or molle panels. The method they prefer you use, their own ‘tac-ties’ are great, but they are an additional thing to buy. I have a bunch of these from when I’ve used these pouches for work but it’s something to consider if you like their pouches… that said, cable ties work great if you don’t want to spring for the genuine fabric ties.
First aid pouches
I mostly have been using a Survival Supplies Australia first aid kit – they produce a pretty well priced, well stocked and organised pouch – even before having a molle panel in the car.
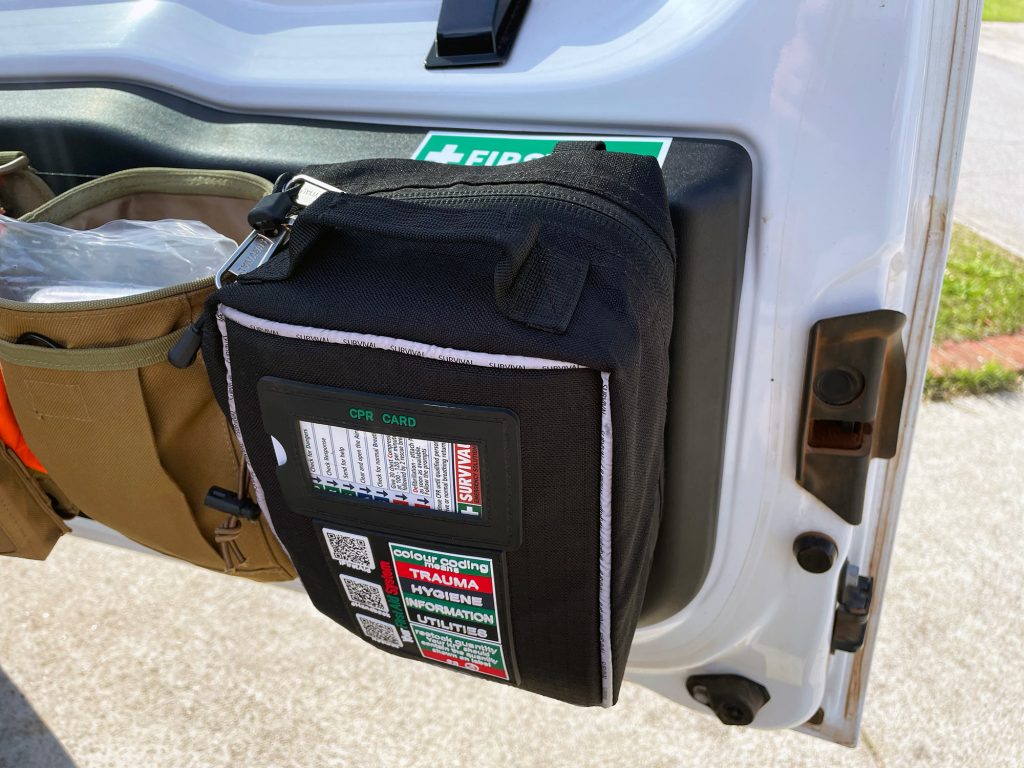
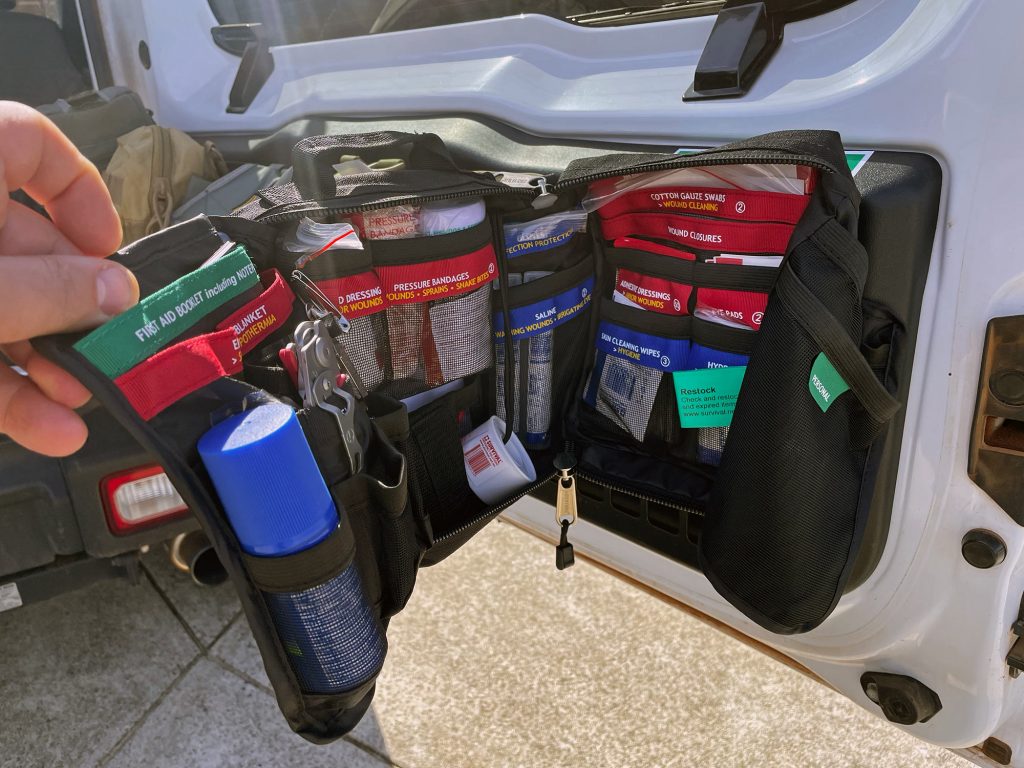
The one downside I would say to their kit is that presently the pouch they provide it in is fixed to the back panel. One of my other generic pouches – used for safety gear – is a rip away pouch, and it would be good to organise a first aid kit in a similar pouch.
Most of the ripaway first aid pouches are quite small and limited in their internal storage; I shopped around for ages before I found one on Amazon by some brand called LIVANS which is an expanded pouch with better and more organised storage options.
I will write a separate article on stocking this to replicate the survival supplies kit but with potentially some upgraded components, but for now it’s done.
To this kit I added an additional front rip-away pouch. This is a smaller one, just a generic ripaway pouch I liked the shape of, which can hold the specific snake bite kit. This gives me an option to grab just the snake bite kit off the front if someone is bitten, or, grab the whole setup if needed.
I also have a glove dispenser with this kit so I can easily access some nitrile gloves. I mostly have this separate to make it faster to get the gloves if I need them; super useful even just for moving roadkill off the road or something like that. More on glove pouches later.
Regular pouches: the workhorse
Since I don’t have a use for a lot of these I don’t have great shots of them lined up but I would refer you to geordiejimny’s blog on molle pouches. His setup is super neat. I also use Maxpedition pocket organisers as little tool pouches so they could be some inspiration for your storage needs.
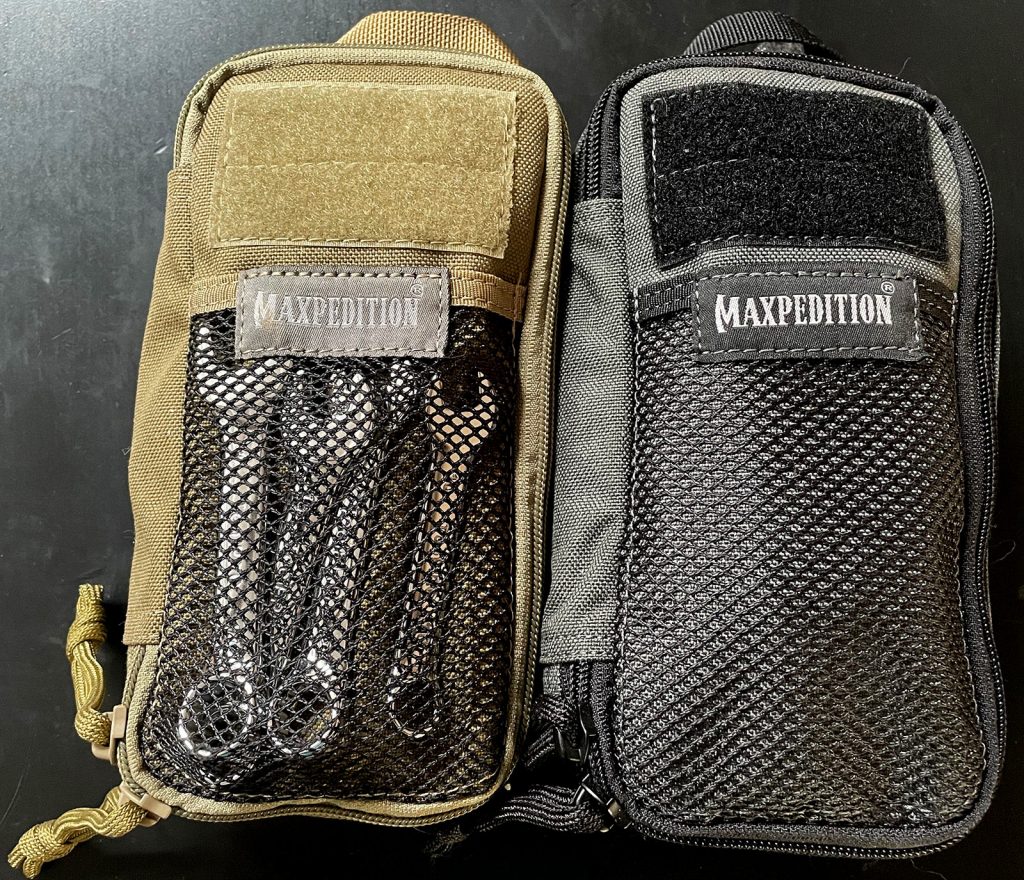
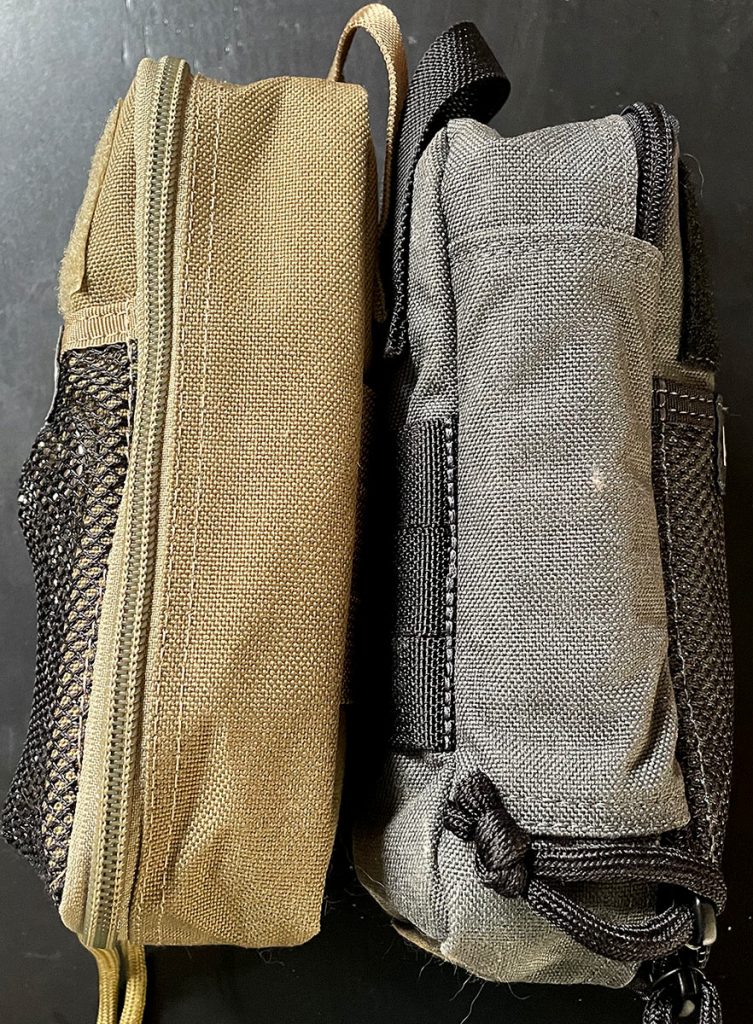
I also have some small wide-ish pouches which fit in nicely in front of some of the other pouches.
I also use a rip-off pouch to hold some safety gear for everyday use. You’d be surprised how often a high vis vest and some safety glasses come in handy. The fluro bag in my everyday use setup on the back door holds these, and some earplugs and face masks to cover most of the safety things I need.
‘Dump bags’ are a great and convenient way to organise loose things
I use ammo dump bags quite a bit even for work stuff, they’re a great way to hold things on your waist and the same applies to the car. They’re a good way to put in tent pegs or random awning bits, or kits that don’t fit elsewhere. They also fit bottles quite nicely too for a way of holding some drinks.
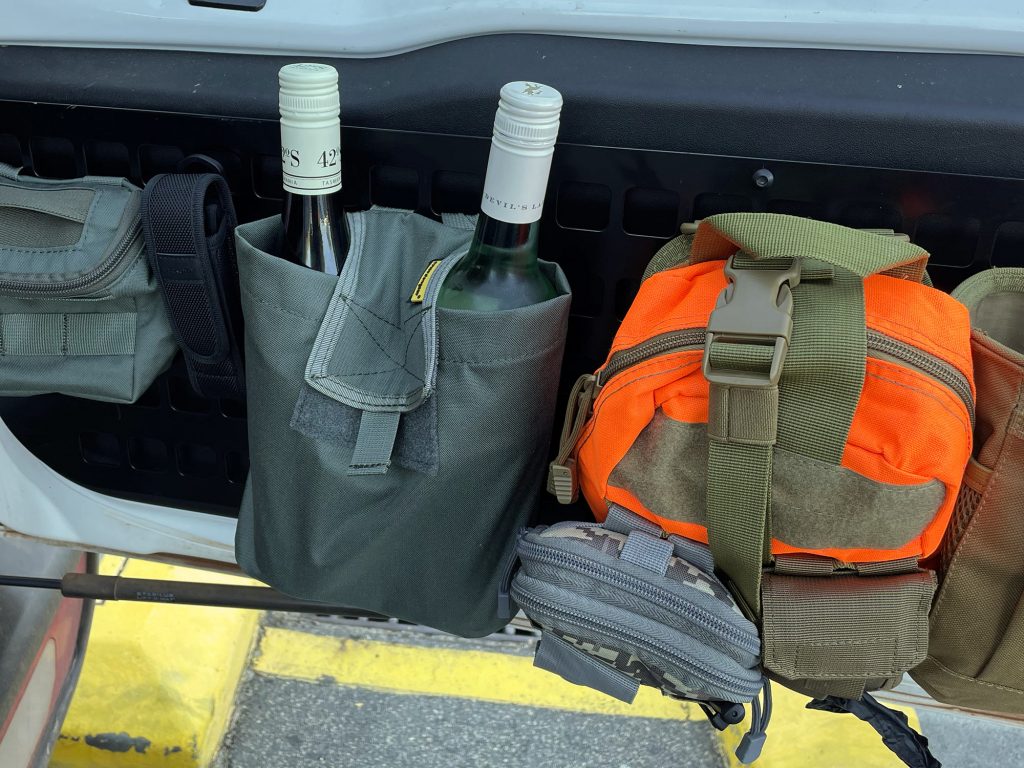
No huge prference here. I use the giant maxpedition roll-up dump pouches as interior storage but I have some generic ones from ebay and aliexpress which work well too.
Although the wine storage looks hilarious, mostly this particular pouch gets used to hold actual ‘dump’ supplies – primarily a roll of toilet paper, a small hiking trowel and also wet wipes. All in one dump station, really!
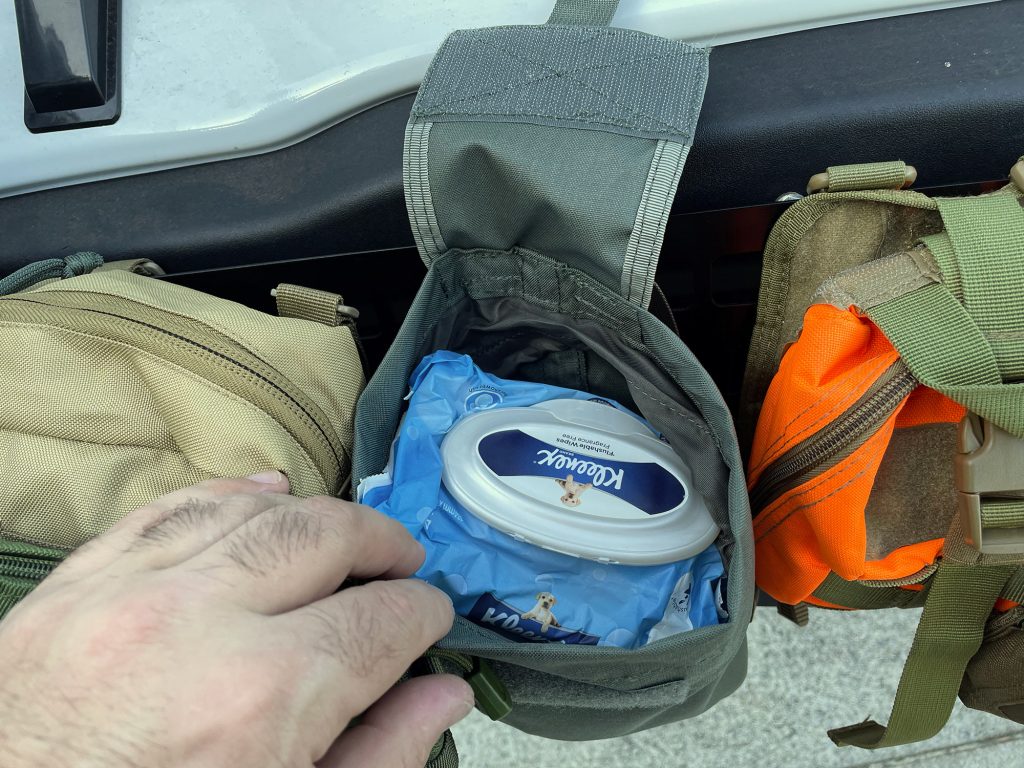
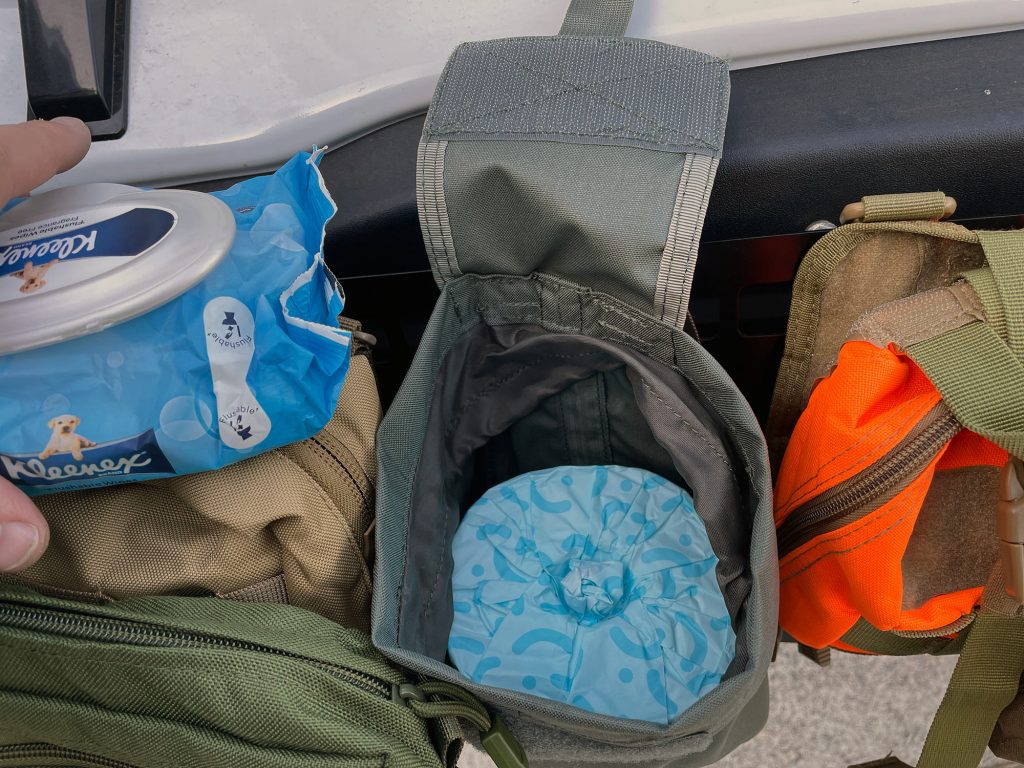
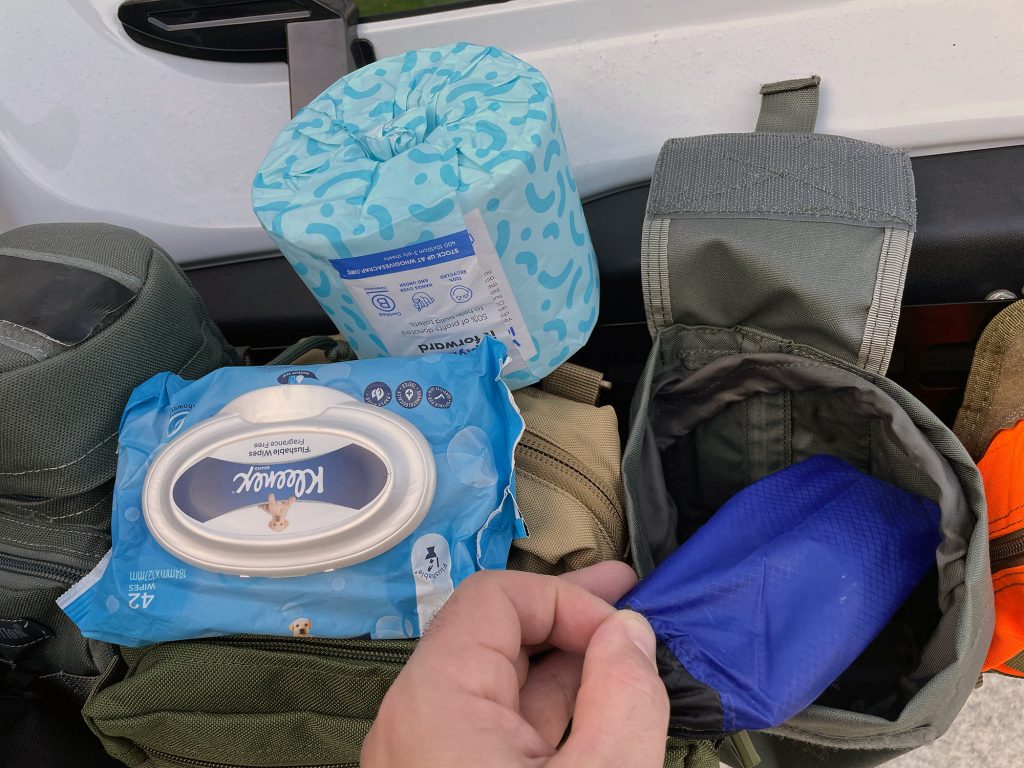
My other dump pouch has various uses, in lieu of a proper first aid kit specifically for this I use it to store a ziplock bag of bandages designed for snake bites.
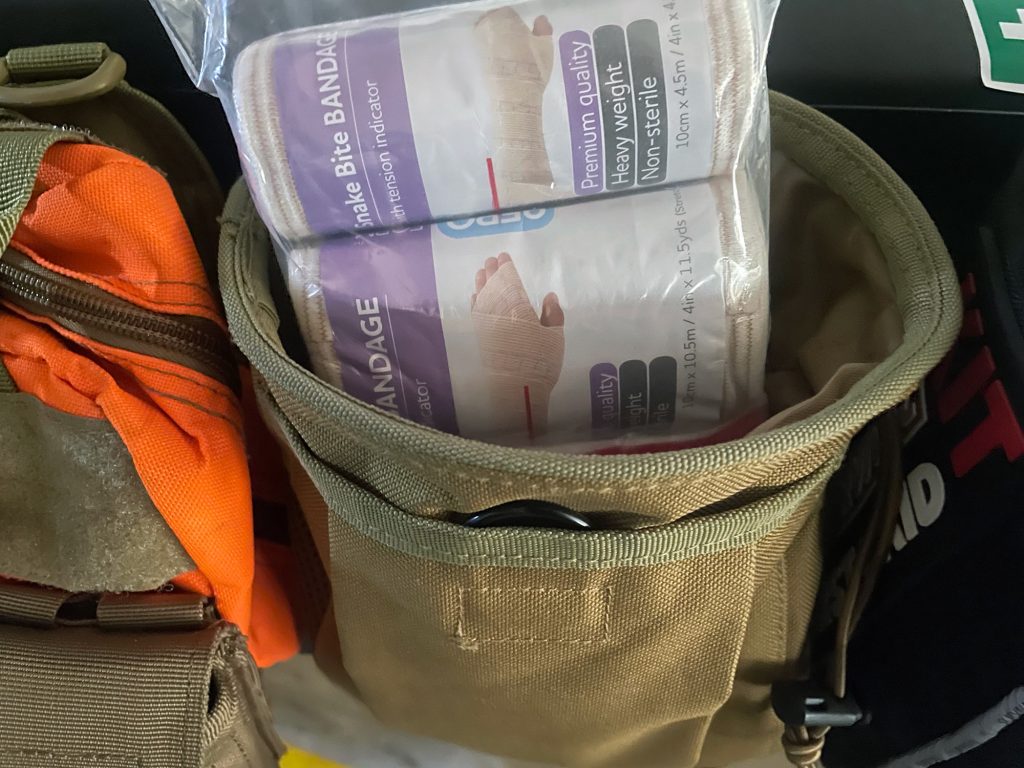
It’s also a great spot to store things like awning walls and pegs, although that’s less of an issue as they can now go on the roof shelf.
Glove dispensers: not just for gloves
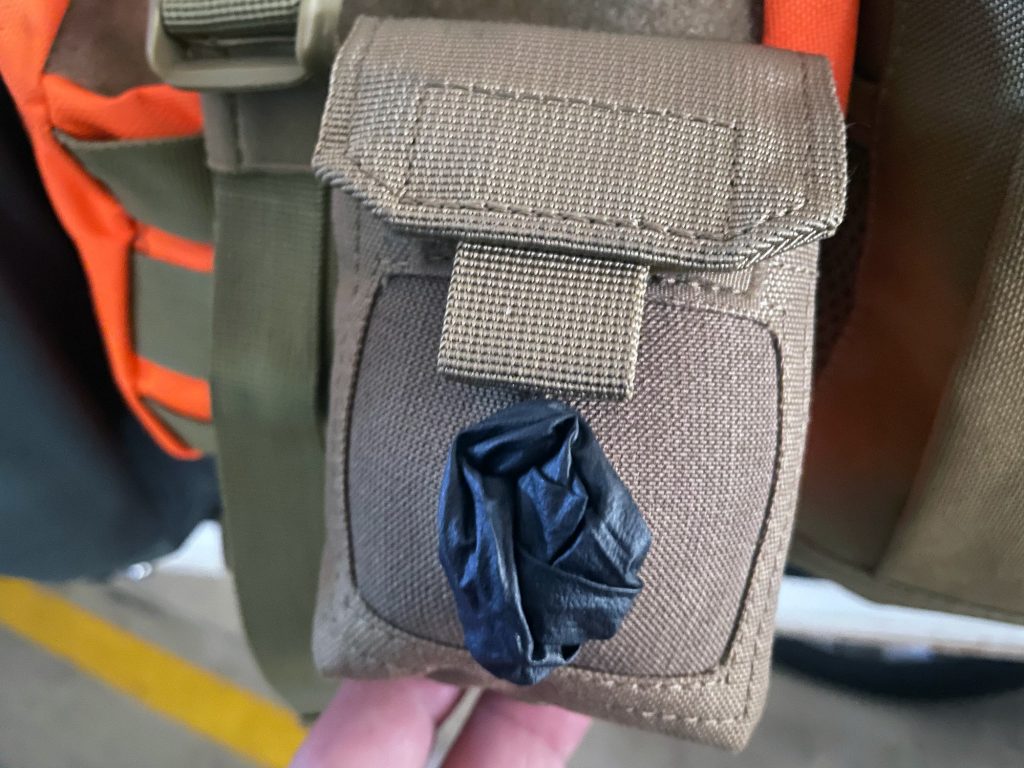
I do use a specific glove dispenser pouch to give me access to gloves on the outside of a pack…
… but they are equally useful for other things. I have an extra large glove pouch which I did use for camp lights, providing you fast access to magnetic camp lights through the hole…
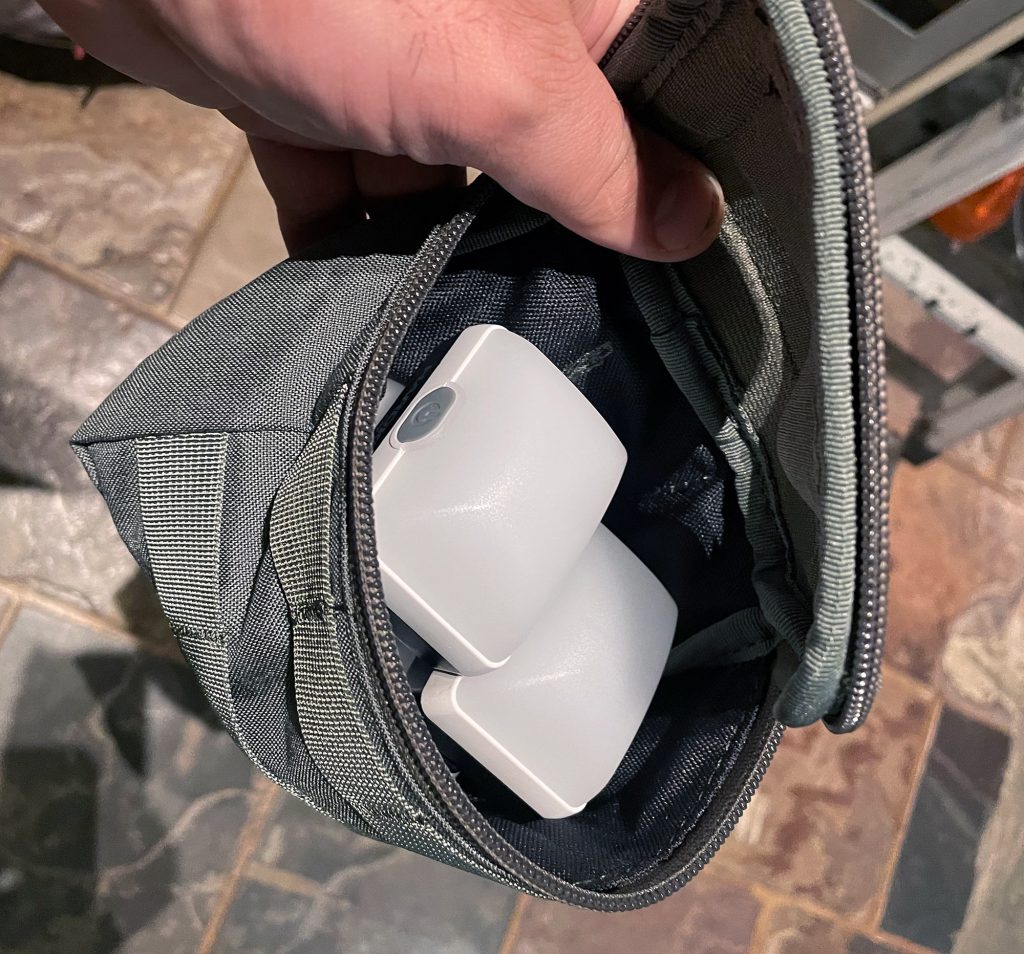
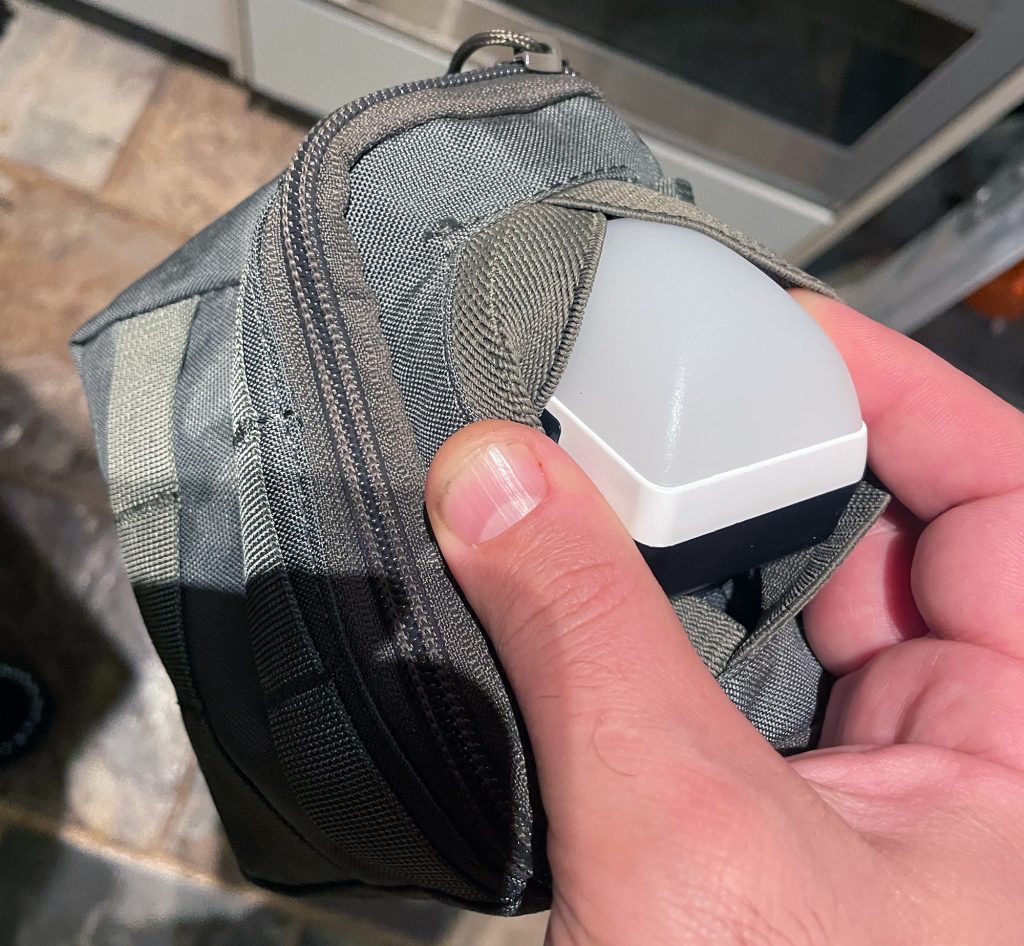
Mounted onto the back corner of the TLR shelf this glove pouch is amazing to provide me access to camp lights easily without unzipping the bag.
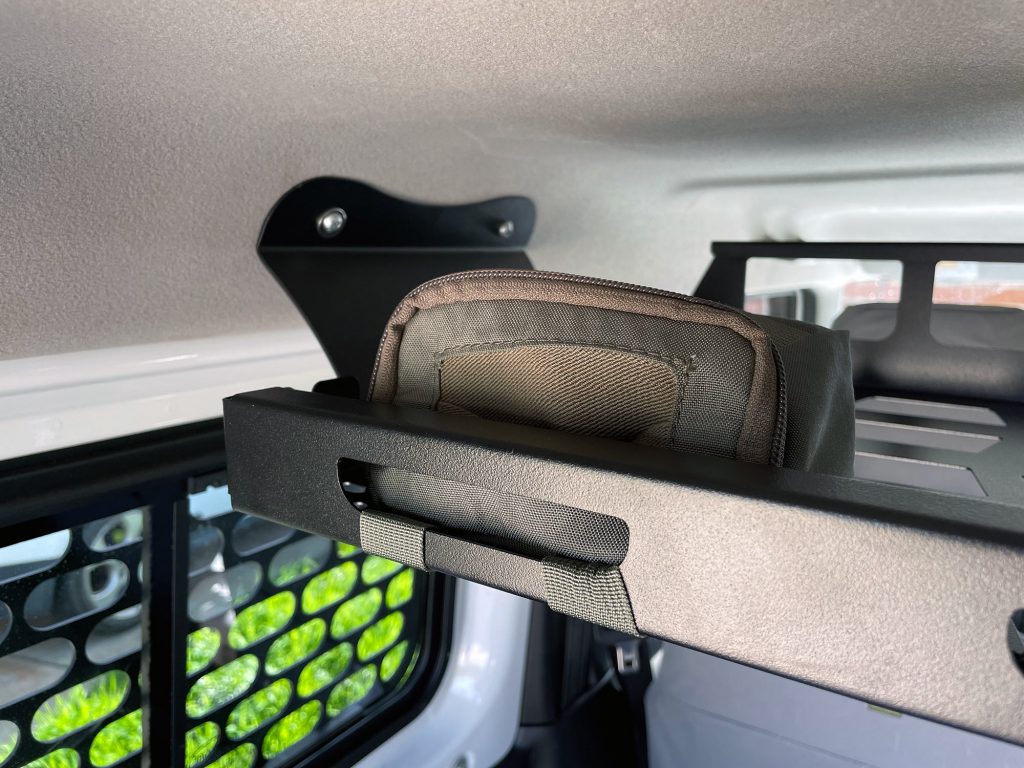
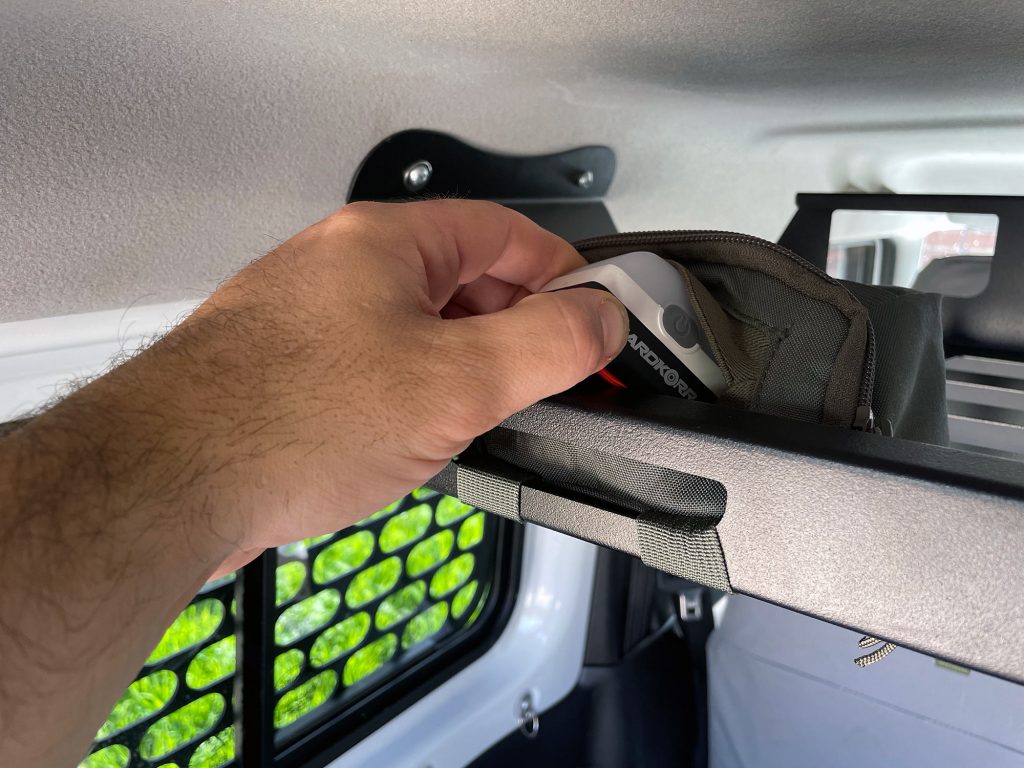
Glove pouches also work well to hold reusable shopping bags!
Water bottle holders
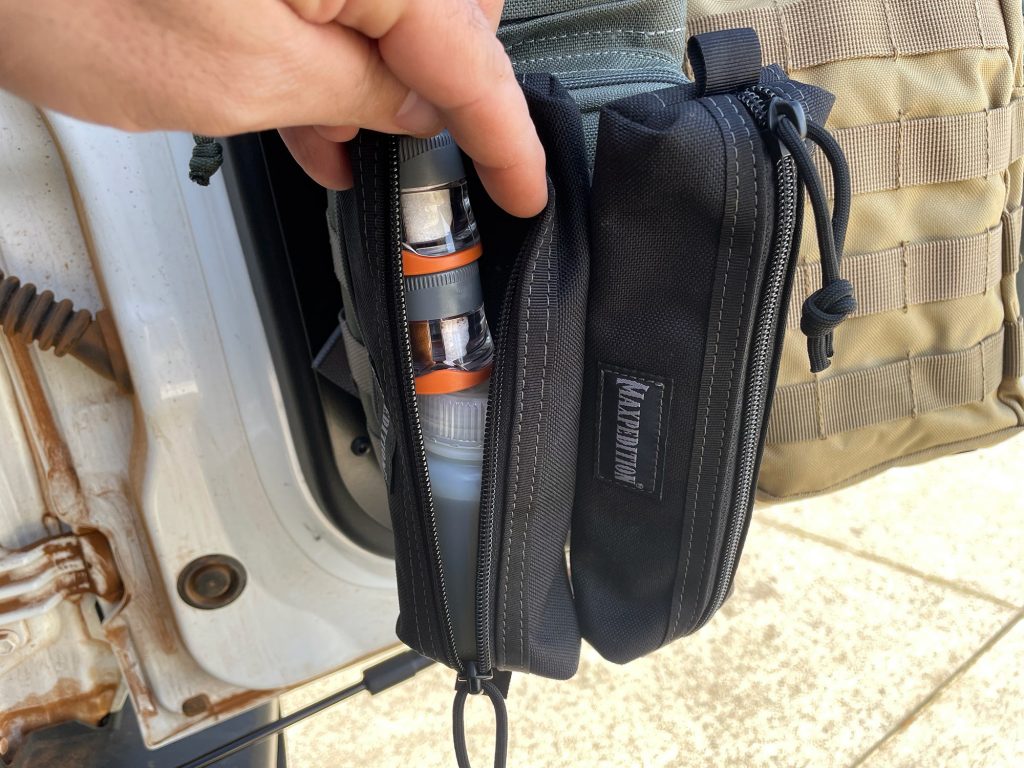
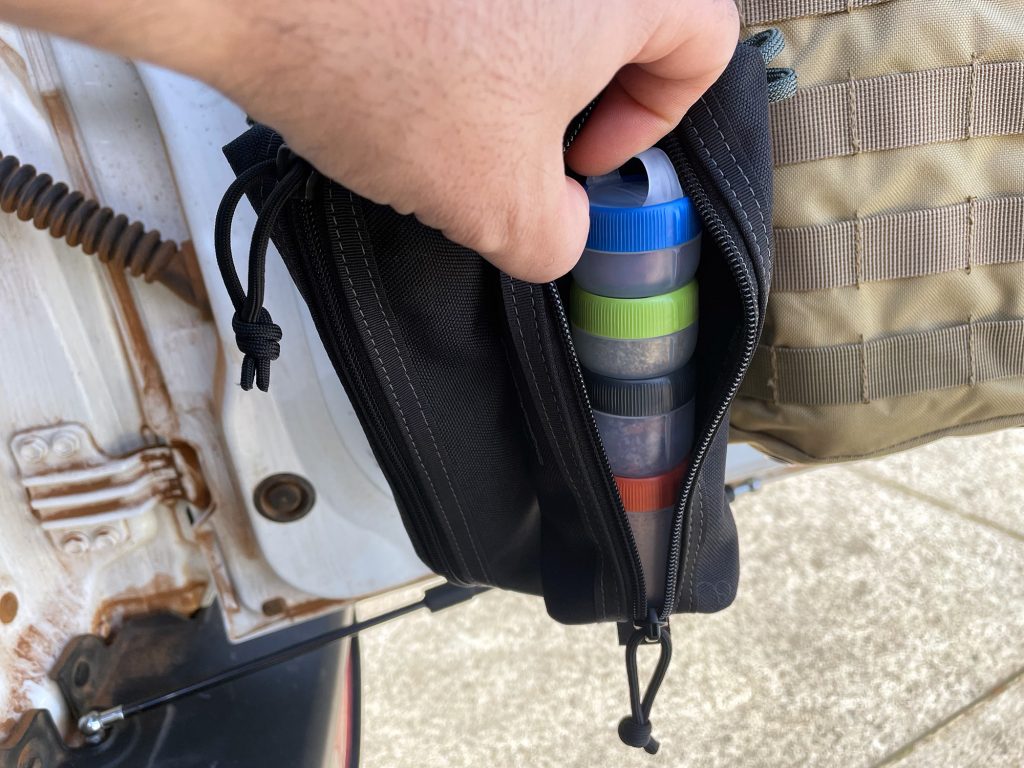
I have two of these. One is a large maxpedition water bottle pouch which I actually mostly use for holding cans and bags of food when offroad. This pouch also has an extra front pocket, which holds cutlery, and then I have two very small pouches on the front which holds condiments.
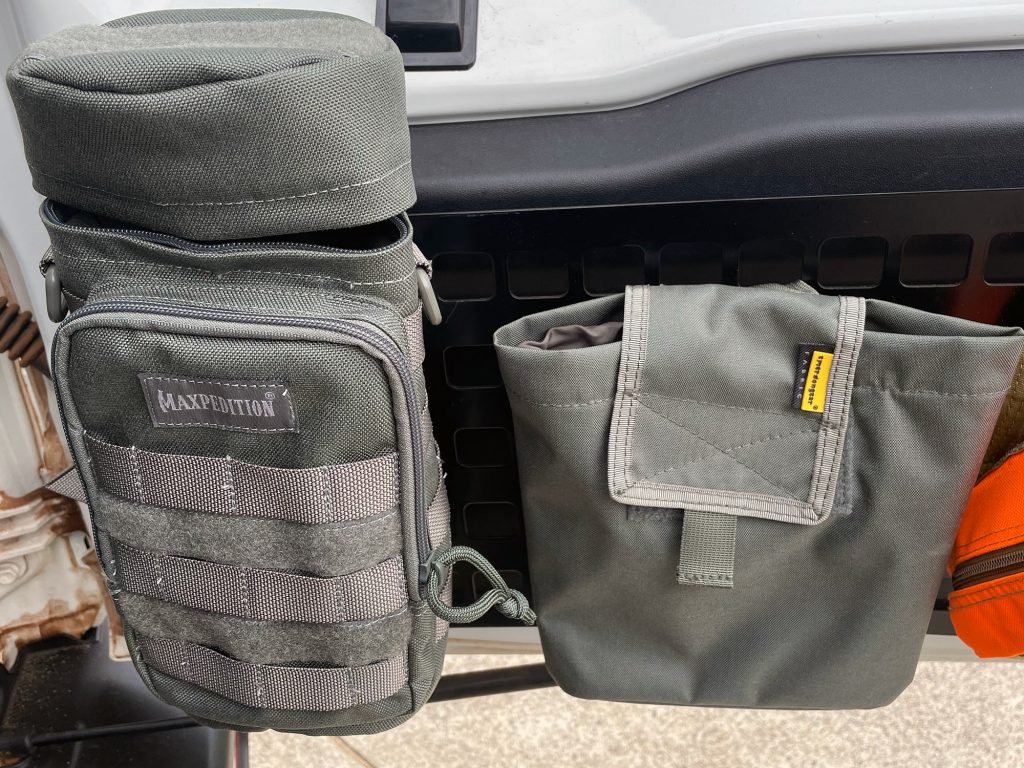
This pouch is great, it’s a good option for giant camera lenses as well as bottles or cans. Most of the time I keep it fairly empty in the main pouch but I like it for the ability to put both canned stuff and also dehydrated meal packs in the main part.
I can confirm, however, it will fit my 1.5L Camelbak water bottle which is an excellent bottle.
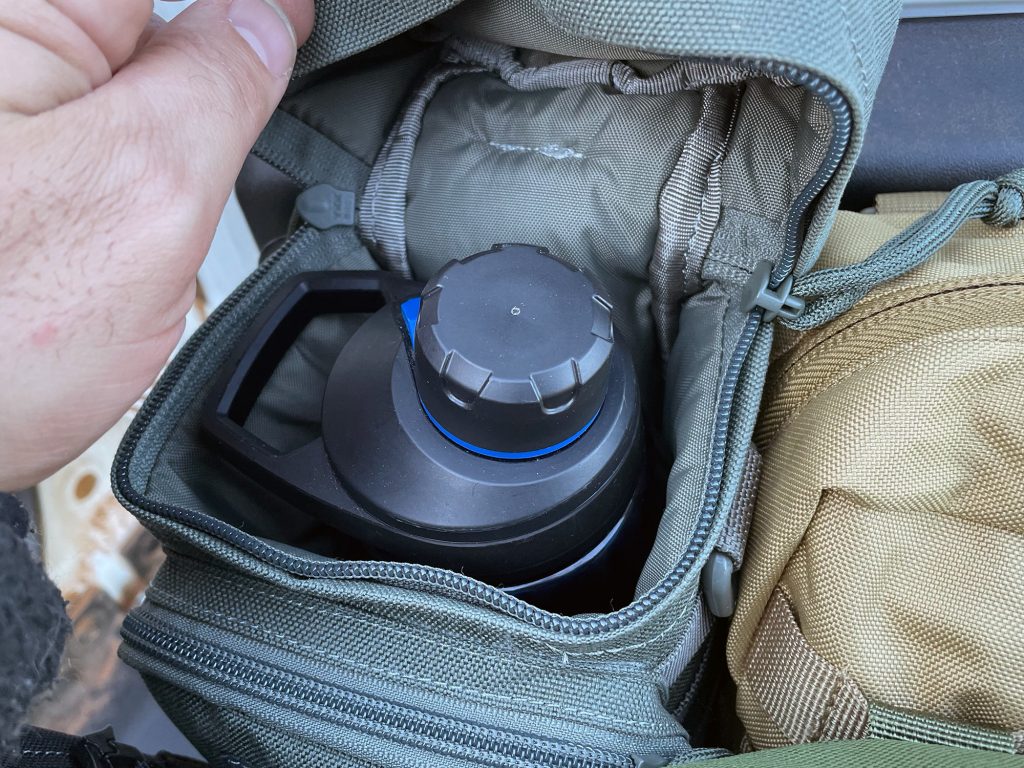
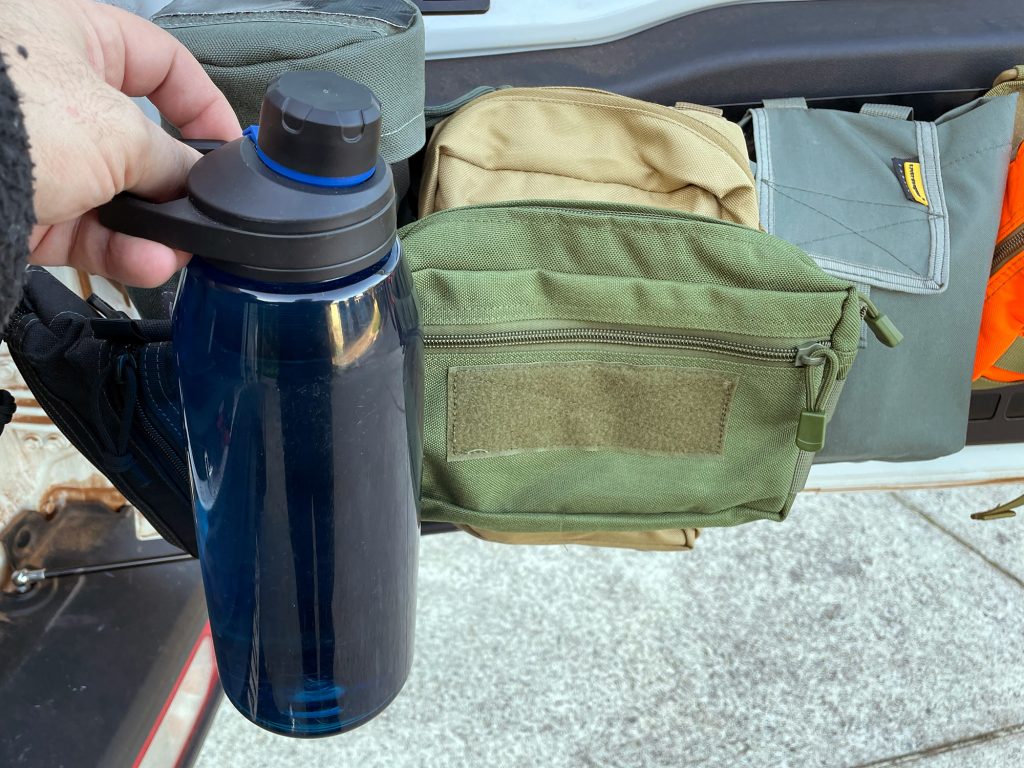
The front additional pouch on it is a good spot to store additional flat things too.
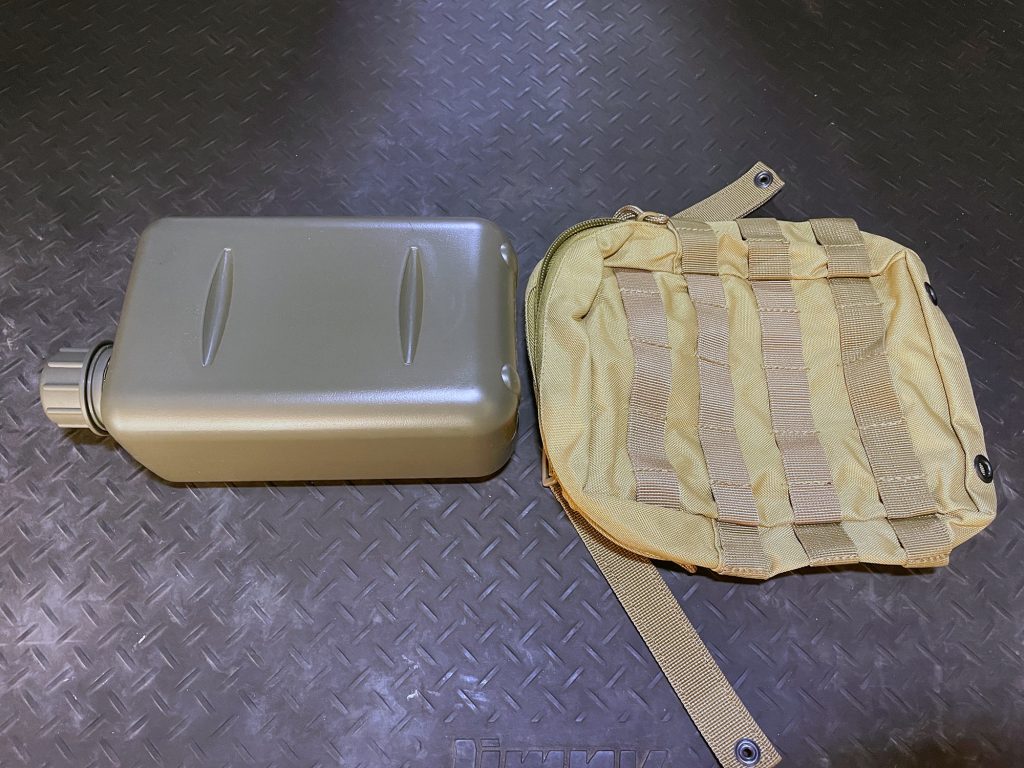
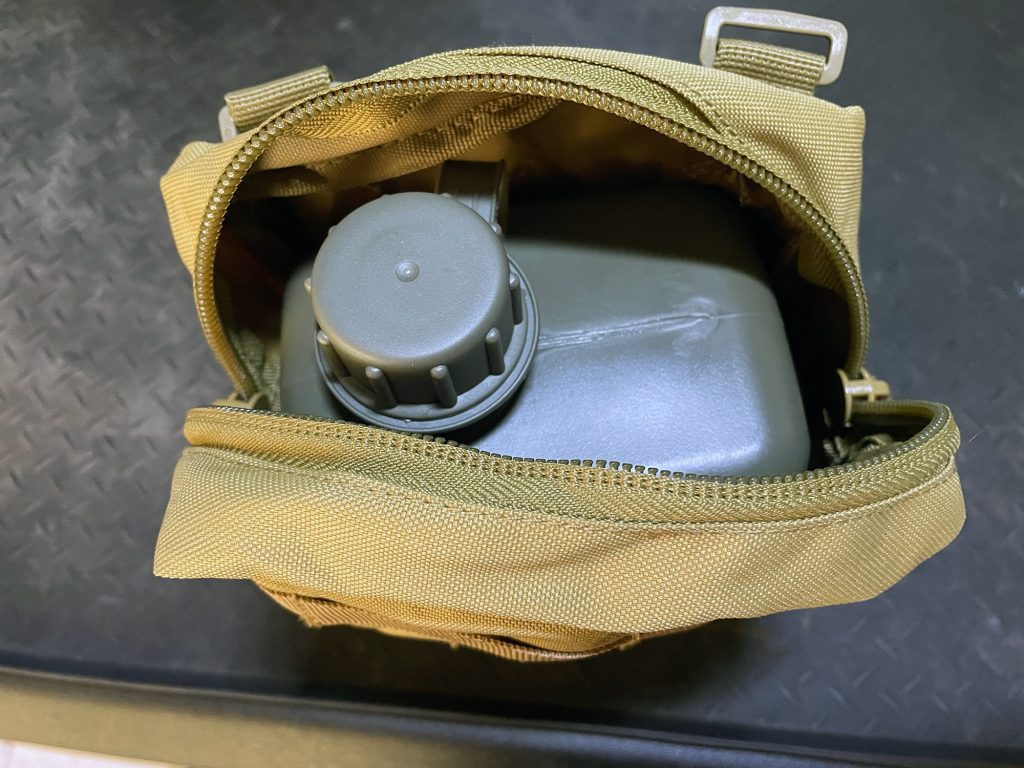
The other type of water bottle pouch I use holds a South African 2L water canteen plastic bottle. This is the ‘go to’ daily water bottle when even doing a short trip. I keep at least a reasonable amount of water in it so no matter where I am I can hydrate and keep up with the hydro homies.
The pouch is a TAS pouch (TAS part number 3374) which specifically holds the South African army 2L water bottle. This pouch is pretty generous, there’s even room to tuck some other things around the bottle if you wanted.
Small pouches
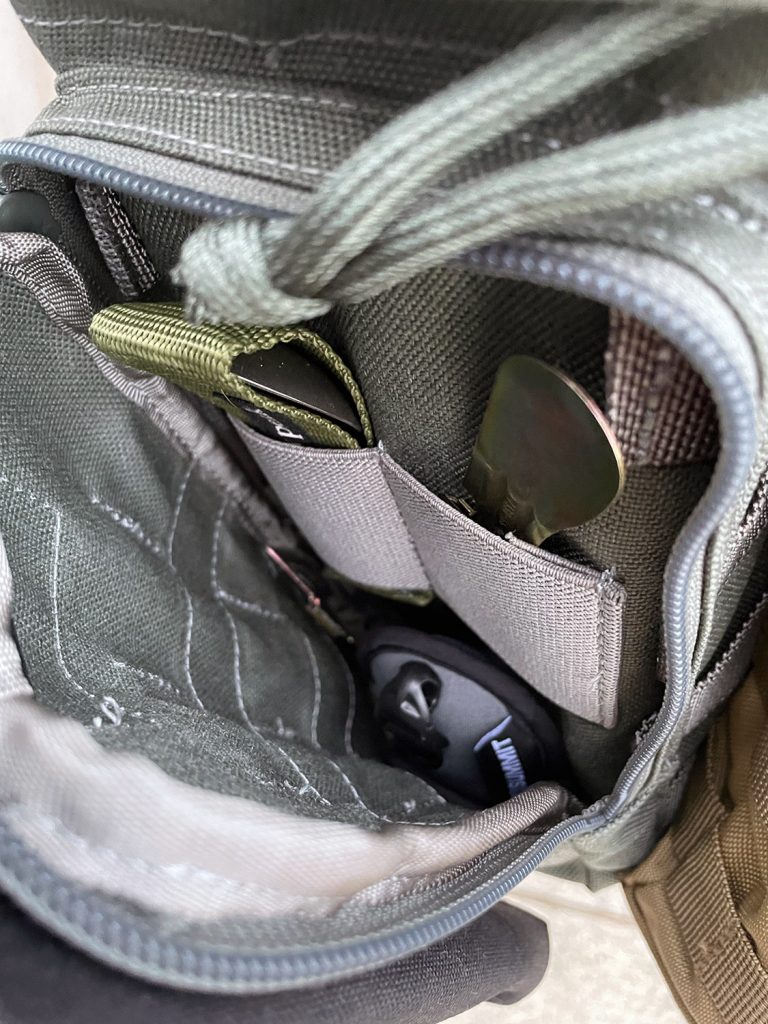
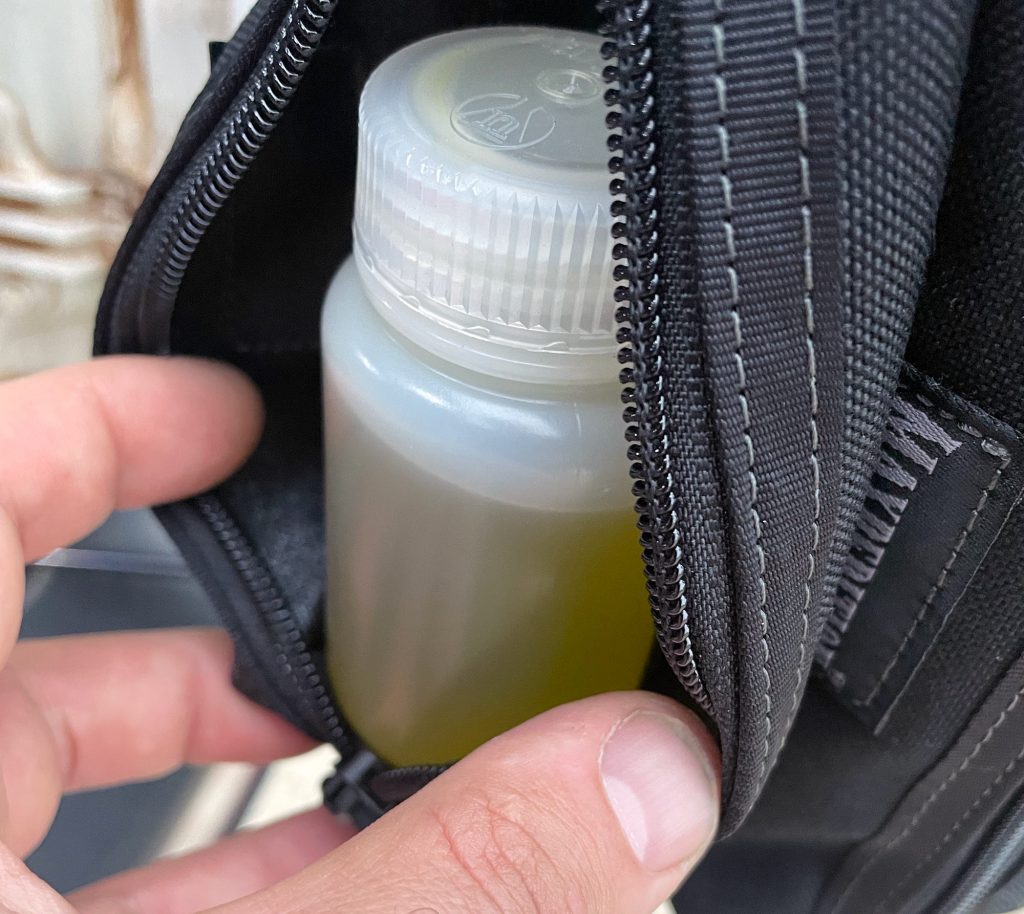
I talked about the small pouches I use for condiments/spices etc earlier but these are Maxpedition coccoon pouches. They’re a really good size to store small containers in them, I use some small salt and pepper containers, some multi-stack plastic containers and also little Nalgene type bottles for things like oils and sauces when going away.
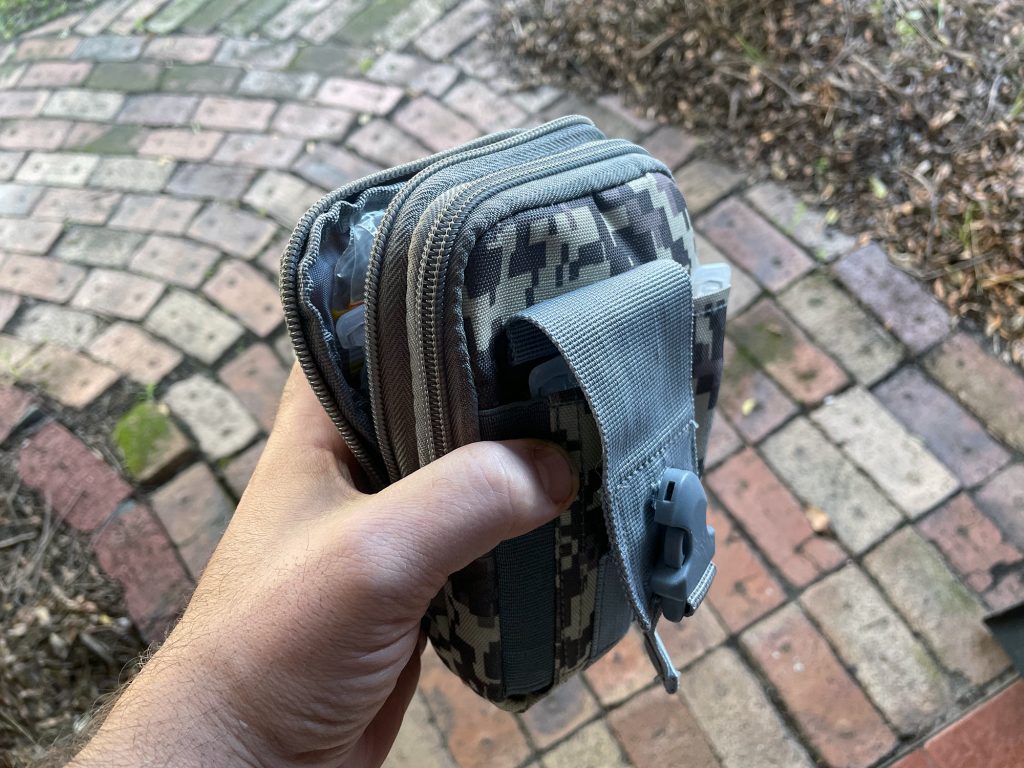
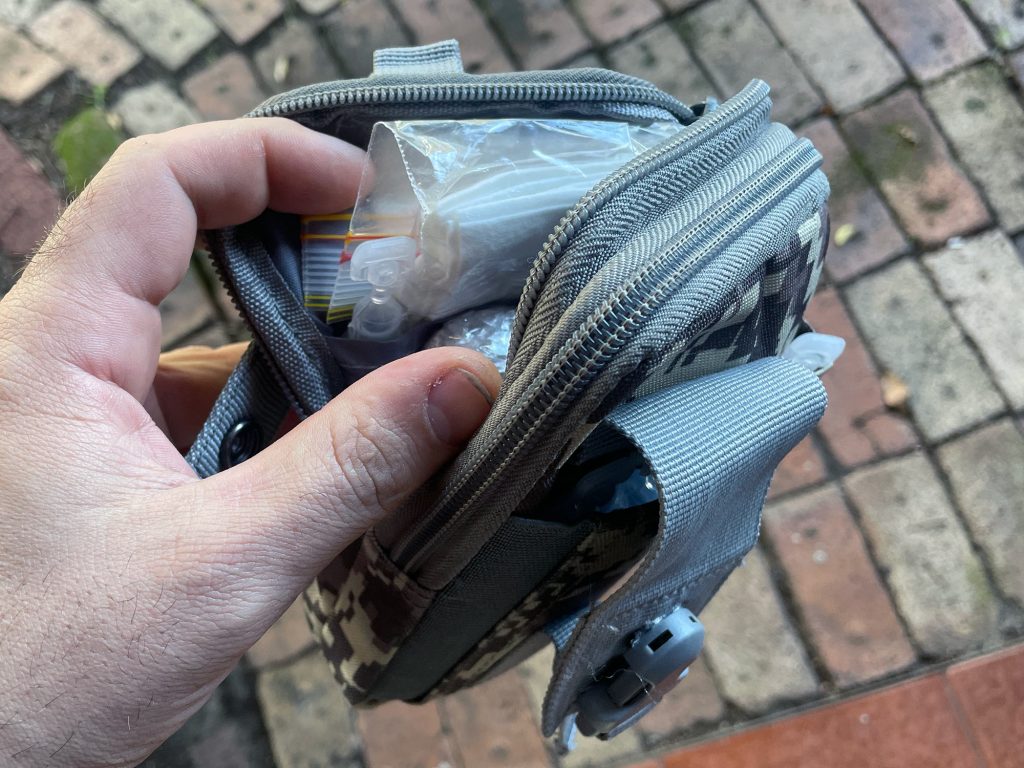
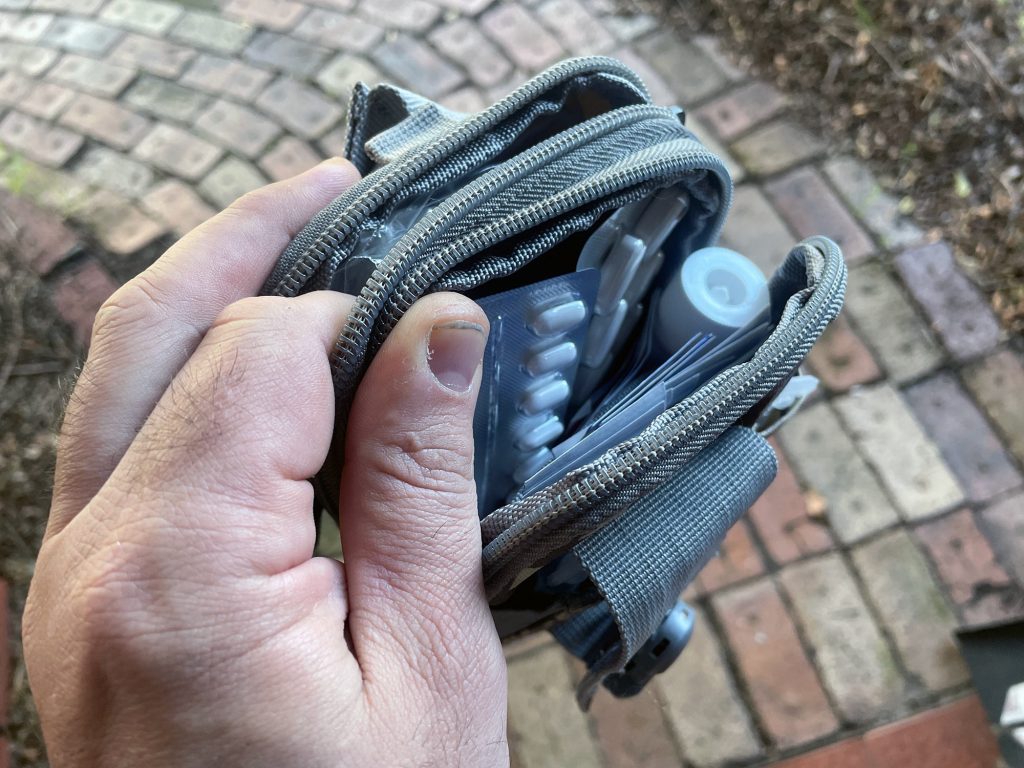
I also use a small pouch designed as a ‘phone and equipment’ pouch as a random small first aid pouch. This is the kind of thing I’d throw in a pocket or in a backpack for a day walk away from the car so it usually lives up on the roof shelf, but it holds a few small bandages and stuff to deal with little injuries away from the car.
Other utility pouches
This isn’t something I hang off the back door but it might be useful for you: for work things when I’m needing access to a few tools and a compass and stuff I use this little pouch from Maxpedition to hold leatherman, some hand tools, a multimeter, and a notepad and a couple of snacks to survive the day.
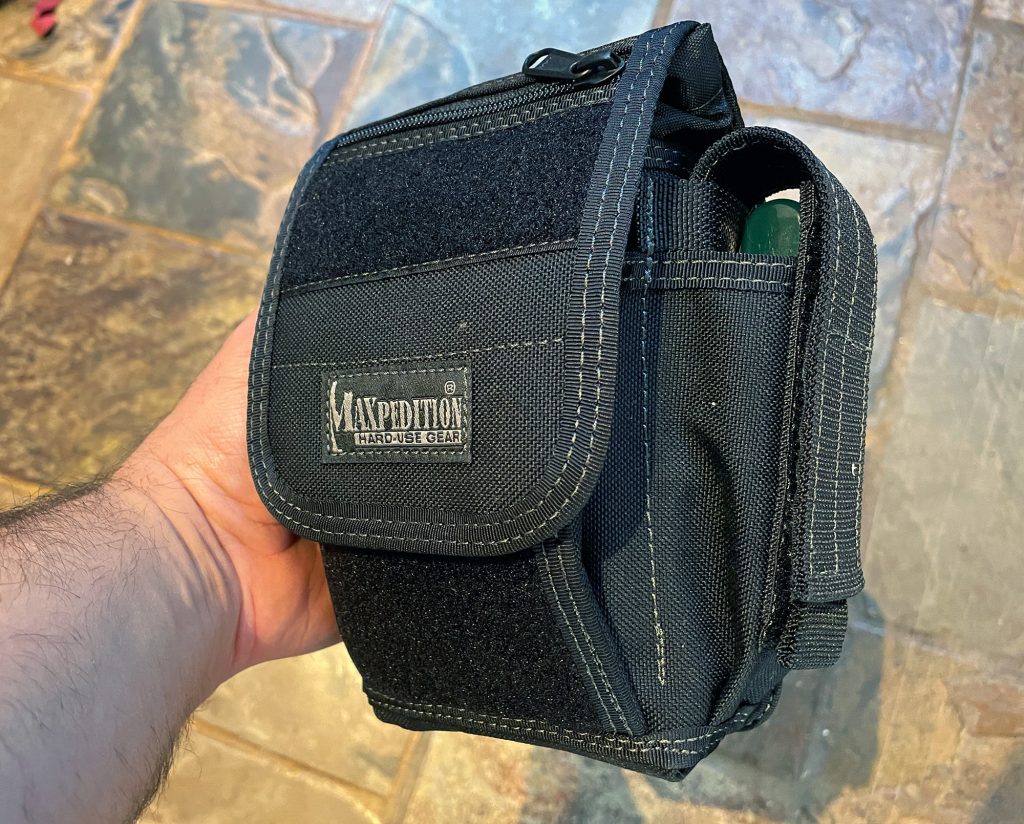
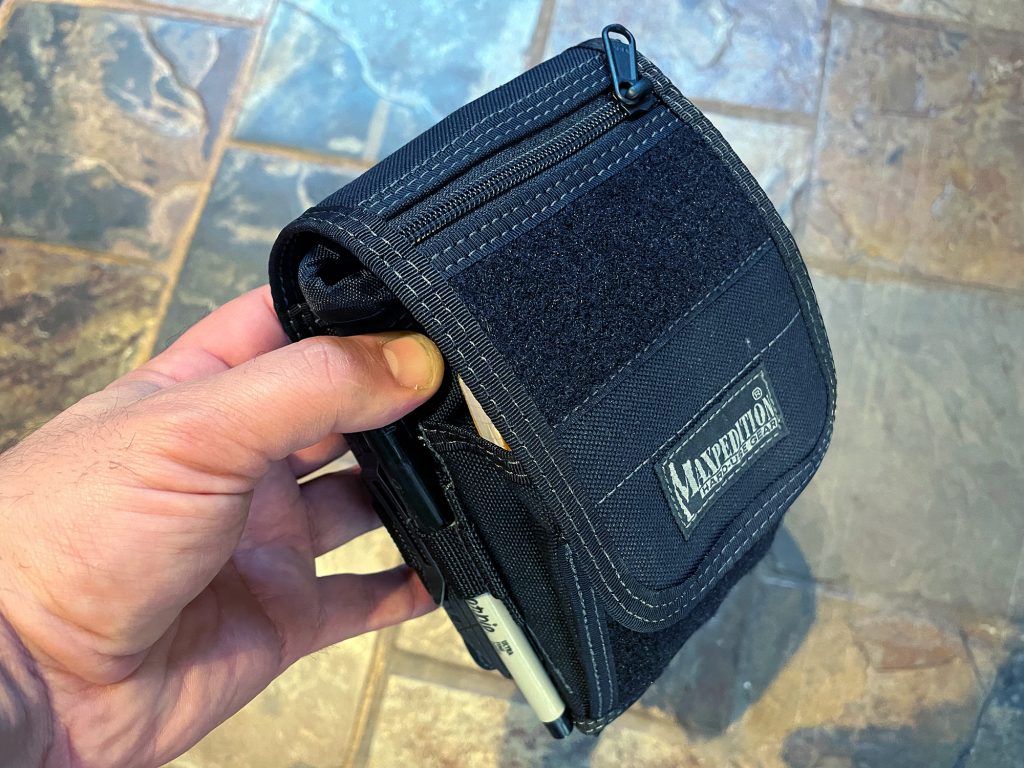
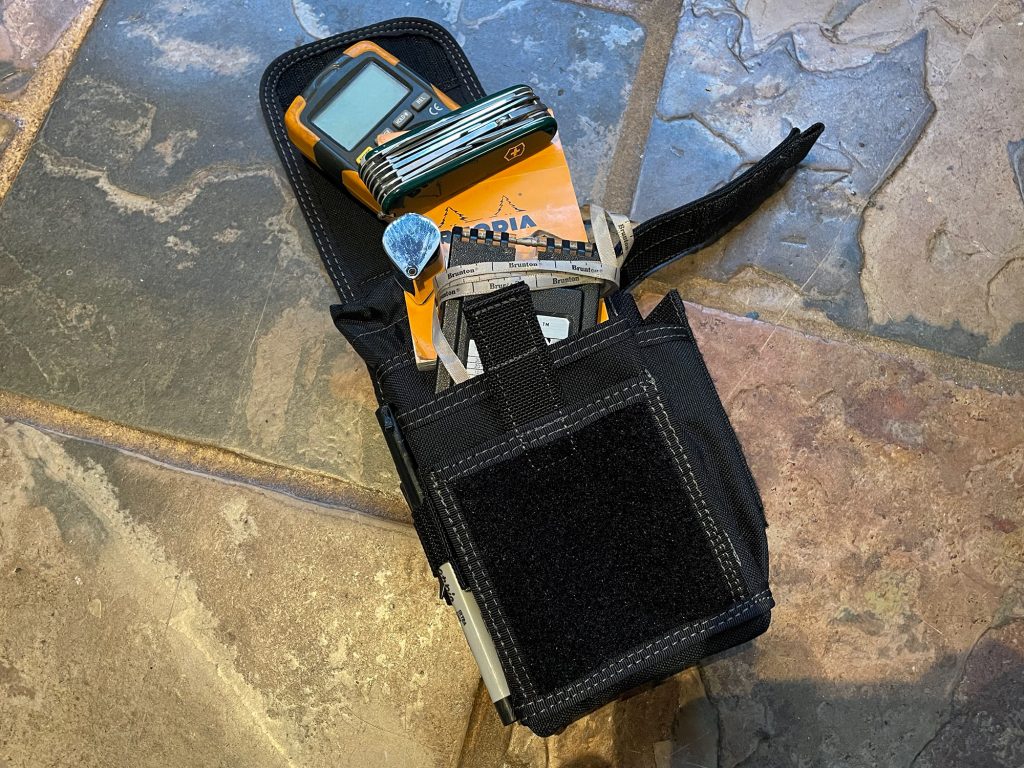
It can also go onto your belt, not just onto molle webbing, and it would actually make a good addition to a car kit if you wanted a small tool holder that might also carry some things if you’re going on a short hike away from the car when travelling!
It also might be a good way to hold things like small binoculars plus multitools and similar if that’s your thing.
Hopefully this has been a good overview of the multitude of options out there for storage on a molle compatible panel for the back of your Jimny. Sometimes it’s hard to know what you might want to do without seeing some of the options.
