MOD roof hammock
Roof storage in the Jimny is actually a pretty handy thing to optimise your packing. While I’ve used another option for a roof shelf previously, I decided to change it up and install the MOD roof hammock for the 4th generation Jimny.
MOD themselves have published a super informative (plus quick and to the point!) video on its installation:
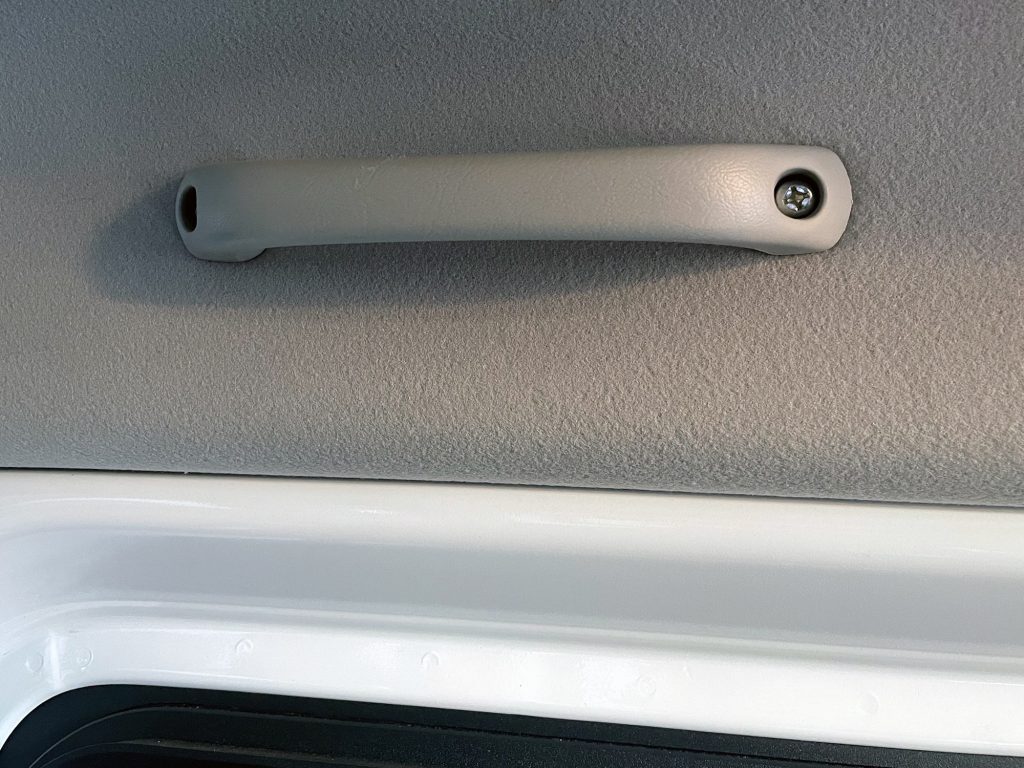
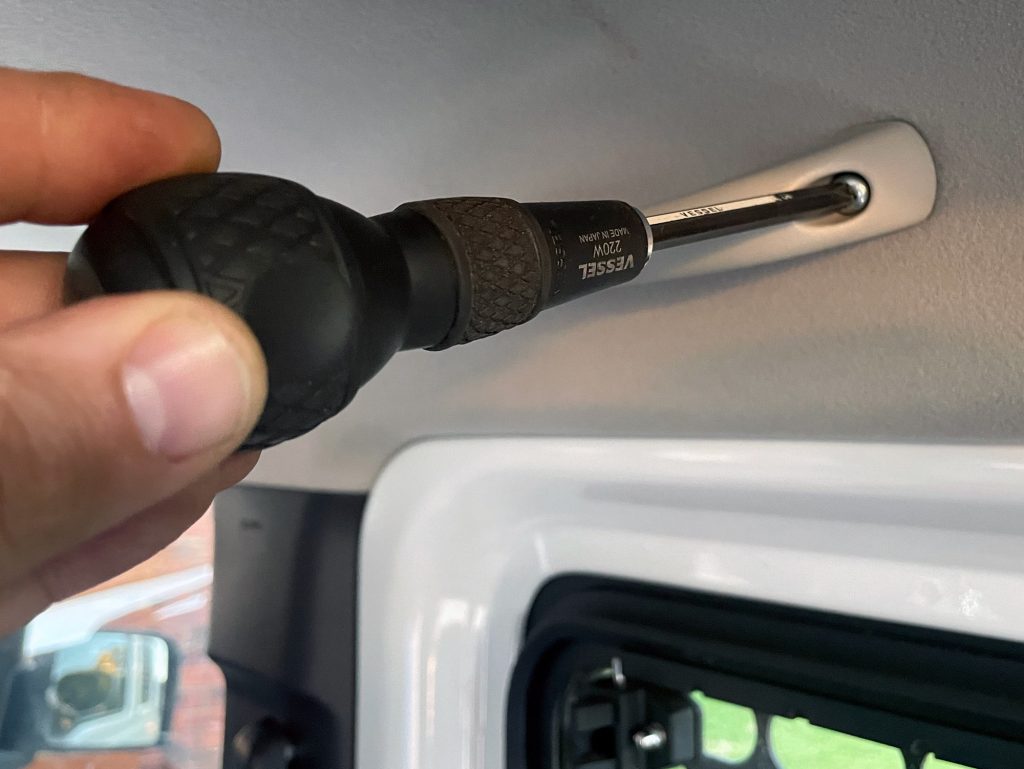
Installation starts the same as any other roof shelf: remove the grab handles from each side in the rear of the car.

These just unscrew with a couple of Phillips head screws. They aren’t in super tight so nothing serious needed here.

The other thing you’ll need to remove are the four push-in roof lining holders. These are best undone with a plastic trim removal tool, but since my head lining is already not perfect I just grabbed something I had to hand.
Just get underneath them with something and lever them up…

…and pull them out to expose the threads underneath.

Note I have a RAM mount ball in one of the two threads up here as it’s a good angle for onboard filming, so I only needed to pull out one of the two head liner retainers.
You do the same with the rear: one at each corner of the opening to the boot from the rear door.

Now comes the hardware. There’s 4 longer and 4 shorter button-headed M6 capscrews. The longer ones go with the plastic shaped toggles that retain the straps for tensioning the hammock, the shorter ones are what hold the sides up to where the grab handles go.

Start with the longer bolts to give the tensioning straps somewhere to go. In each of the holes exposed by removing the headliner retainer clips, put one of the longer bolts into it, with the toggle and the plastic washer on the bolt. Rear ones need the cutouts facing towards the door opening to have the right angle for everything to go on nicely.

Now you’re ready to get the hammock up onto the head liner. There is an orientation to this: the narrower part goes towards the front of the car and the wider part to the rear, and the smoother side of the canvas goes up towards the headliner.

I put the front part on first to make it a bit easier.

Then lift it up at the back and clip it onto the rear tensioner mounts.

Now you just have to do up the 4 side mounting bolts into the grab handle holes.

With that it’s all installed. You can see the view from the back just how low profile it is (but still provides reasonable storage!), which is good for rear visibility and cabin lighting.

Contrast that to a similar view of the TLR roof shelf I previously used:

The cargo hammock is perfect for a few soft things I like to always keep in the car: a small towel, a little soft sided storage thing, couple of other random things, an umbrella and a jumper. I wasn’t using all of the height of the TLR shelf so it’s a good compromise for me to swap to something lower profile and lower weight.

I really like the aesthetic choice of going for a bold and bright colour with it, too. A very welcome change to the car for a new year and a slightly revised internal storage setup.
Comparison with the TLR roof shelf (or other roof shelves)
Major benefits
Even access front and rear. Most of the cargo shelves have a tall front lip (to stop stuff sliding forwards when braking) which is good, but limits access from the front of the car. The cargo hammock gives you better access forwards and backwards.
This setup is good if you want to have optimised headroom in the back for occasional rear seat guests, as it intrudes less into the cabin height wise.
The roof hammock, being fabric and also smaller, weighs less than any of the roof shelves. The lower height and fabric nature also lessens the chance you’ll overload it (and offroad that can result in breaking the mounts for the grab handles which aren’t fun to get someone to re-do the spot welds).
It doesn’t block the roof light as much as a roof shelf does, which is nicer for even cabin lighting at night.
It’s also a cheaper option: current exchange rate has it just over $100 AU (plus postage from South Africa) versus $290 retail (plus postage) for the TLR roof shelf or $320 for the Kaon roof shelf. Even with the postage price you are still a long way ahead.
Drawbacks
Harder to see what you’ve stashed up there, at least at a glance. All of the roof shelves are a lot more visible given their gridded nature. That gridded nature also gives you other attachment points for things like MOLLE style bags. (While I have a bunch of those, I didn’t use them on the roof shelf for the most part).
Being less tall, it can hold less stuff (especially less tall stuff) and probably wouldn’t be ideal for carrying quite as much weight as the roof shelves. That said, damaging the grab handle mounts is possible with overloading any roof shelf.
You can’t use this as the start of a system involving a luggage divider. In lieu of official cargo barriers (as the factory one didn’t meet Australian standards) these are the best thing if you want a fully divided rear storage area.
Without the front and rear lips there’s less ability to store things on mounts on the shelf. I did use the front of my roof shelf to store an umbrella and a lightweight titanium shovel on the back lip, however, the umbrella at least can live in the cargo hammock and be more easily retrieved.
