
Interior lighting upgrade
The Jimny has ok(ish) interior lights, however, there are brighter LED upgrades available that drop into the housings. It’s about a 5 minute change including making sure you have the polarity right for the lights!
I originally swapped in fixed brightness LED panels; I liked the colour temperature but they were too bright, and, I kinda wished they were either red or amber for minimising loss of night vision or for reducing the amount of insects attracted into the car. I tried tinting the lenses but it definitely did not give the expected result. I finally swapped in some dimmable and colour changing options and I think this would be my recommendation for people to do, even if only for the brightness options.
Standard fixed brightness LED panels: these are buyable in a lot of places; I’d get them straight from the source ex China.
Adjustable brightness panels: these are much harder to find but are available here. I couldn’t find them on Aliexpress etc, mostly found them listed on Yahoo and Amazon Japan. I managed to score them on Marketplace from someone who ordered two sets – really pleased with them, but I’d be happy to pay a higher price just for the quality of life improvement of adjustable brightness.
Go the brightness and colour changing ones. Way better option.
Onto the how you do it component of this writeup.
Swapping out stock globes for LED panel lights
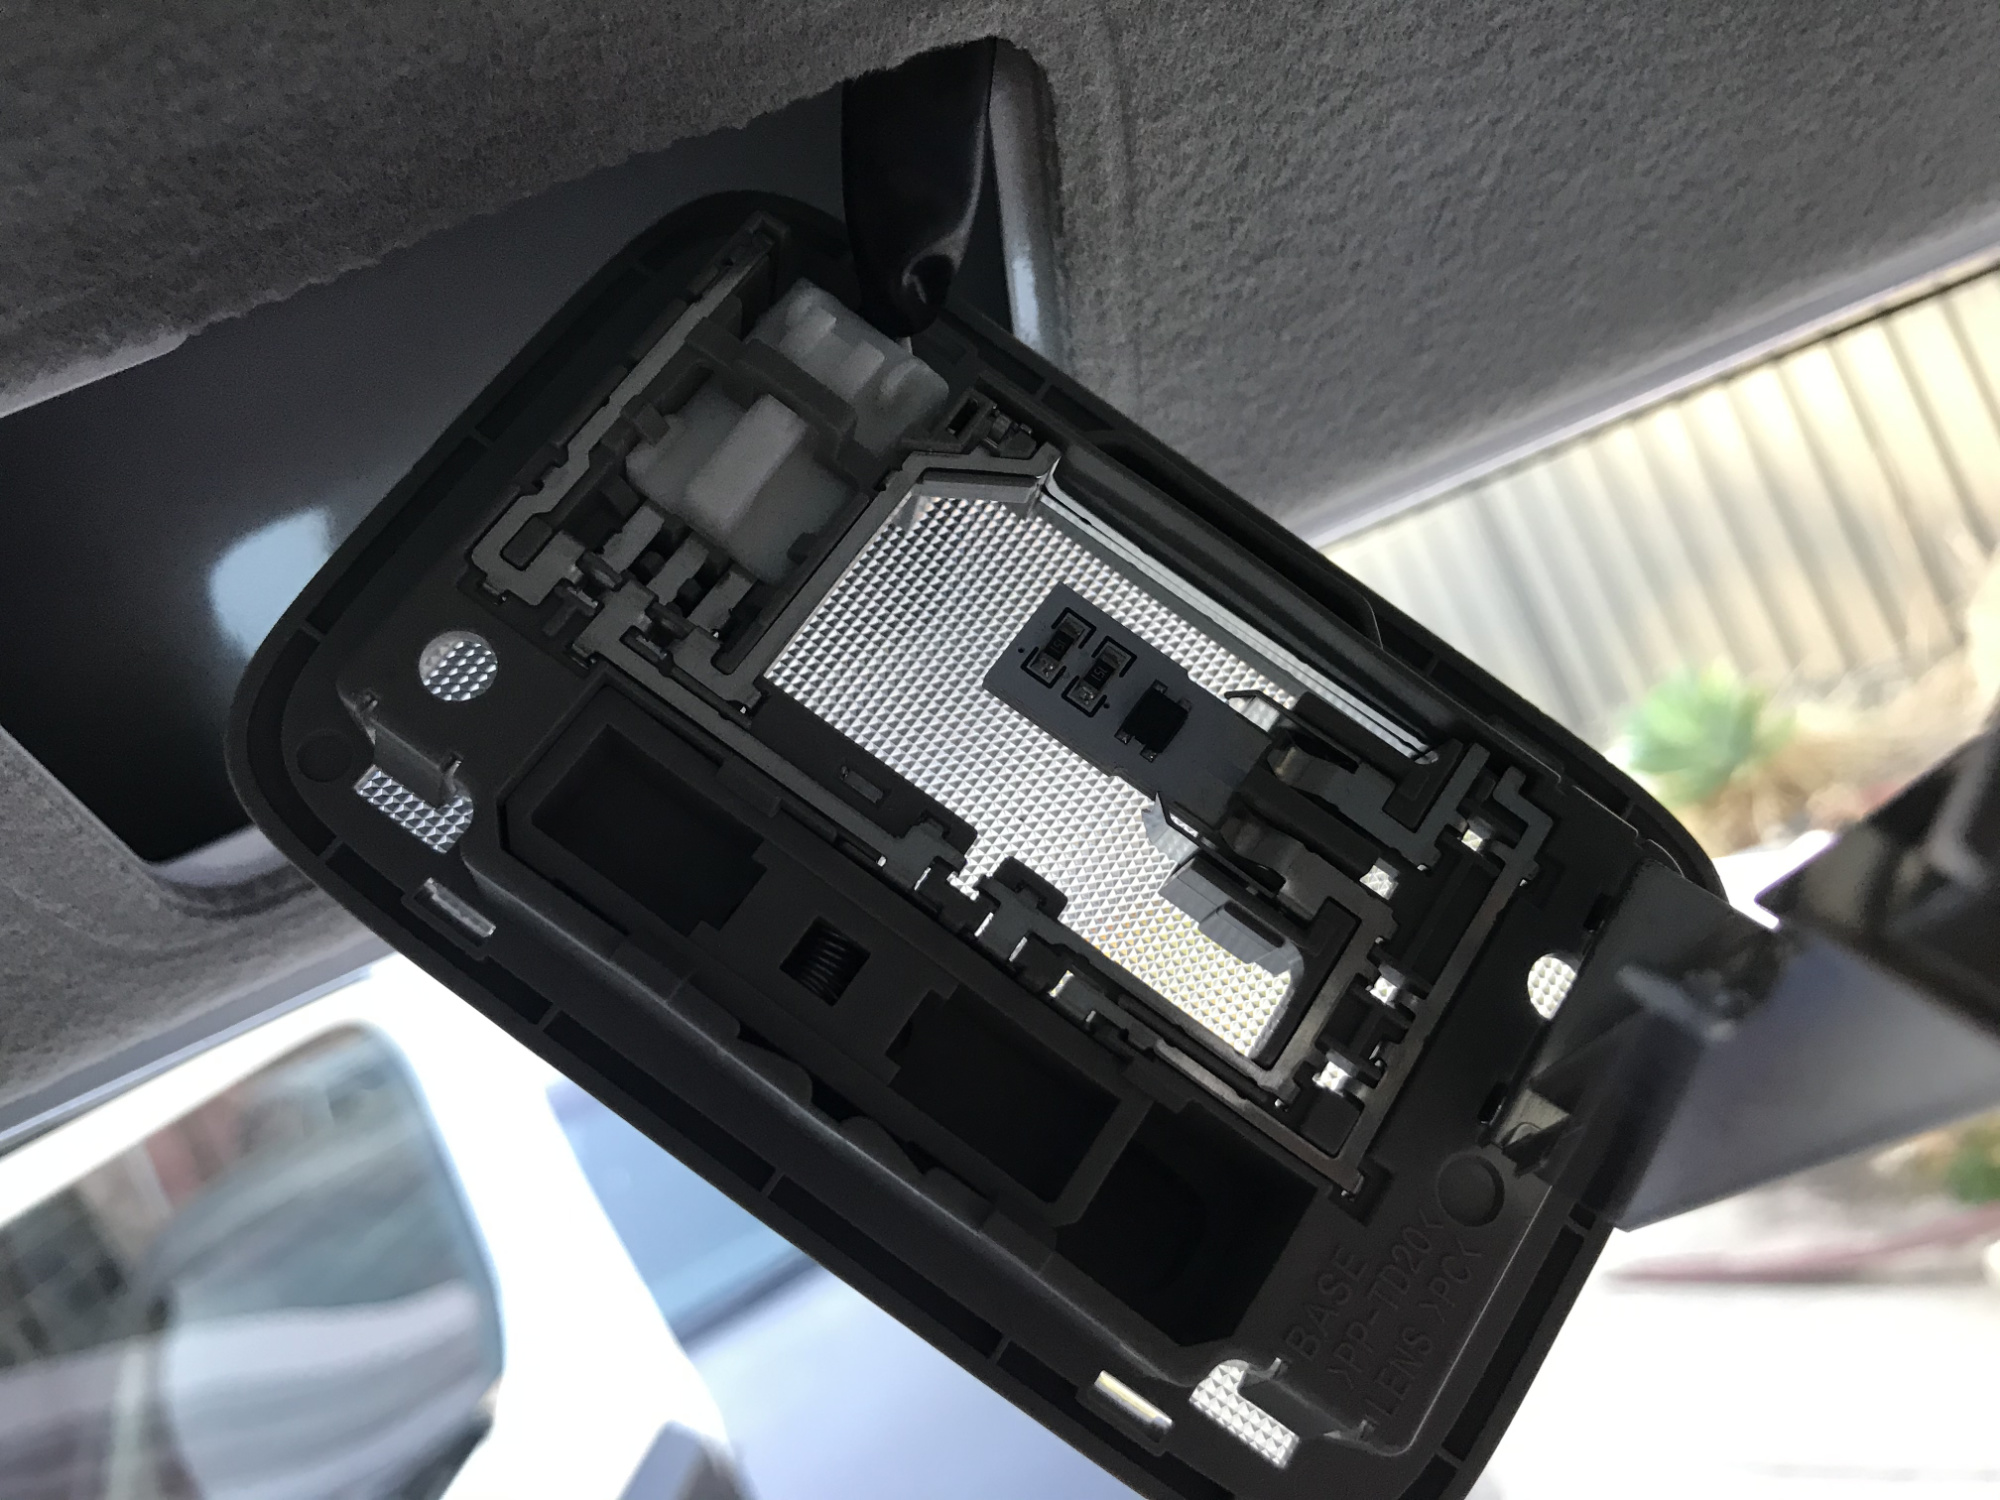
Not hard to do for the front one. There’s two little slot parts that you can see towards the front of the car which you can lever out with an appropriately thin flat implement. With care a screwdriver can be used, if you don’t want to risk plastic damage then a very narrow trim removal tool will do here too.

When you replace the globe you will notice you have two orientations you can put it in. LED boards can require polarity to be correct; I put the negative (black wire side) towards the passengers side of the car and that worked. It’s worth testing before you put it all back together.
The LED panels have adhesive foam at the back to use to stick them into the housing.
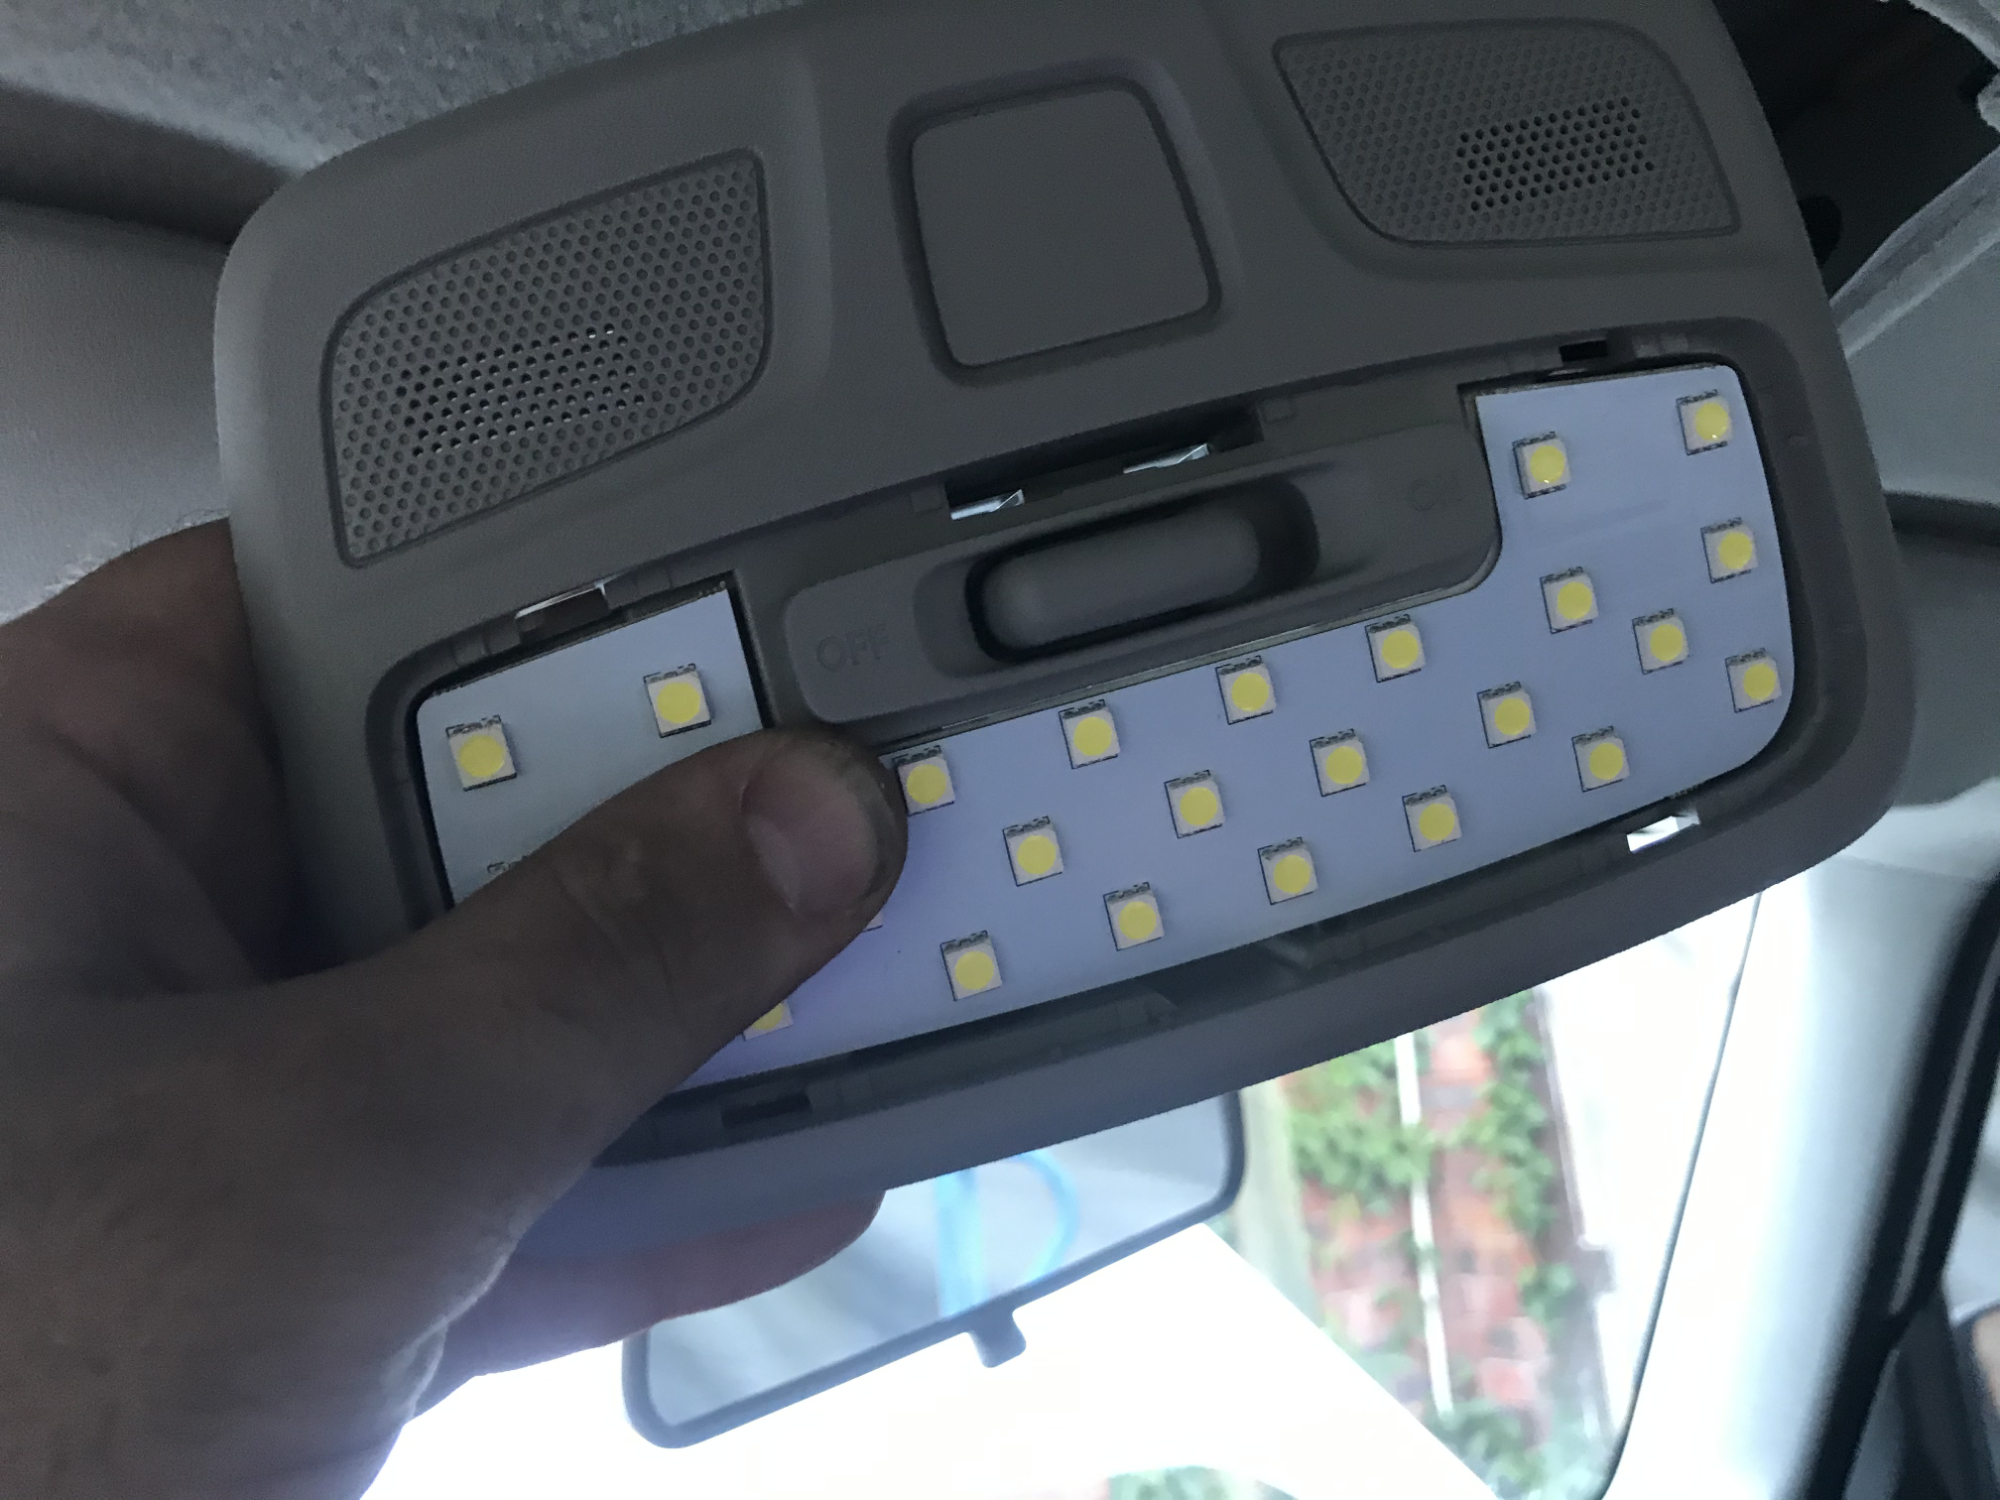
Many come with foam to provide extra support; I didn’t use these on my first LED panels and they lasted 5 years no problems at all so I wouldn’t bother adding them.
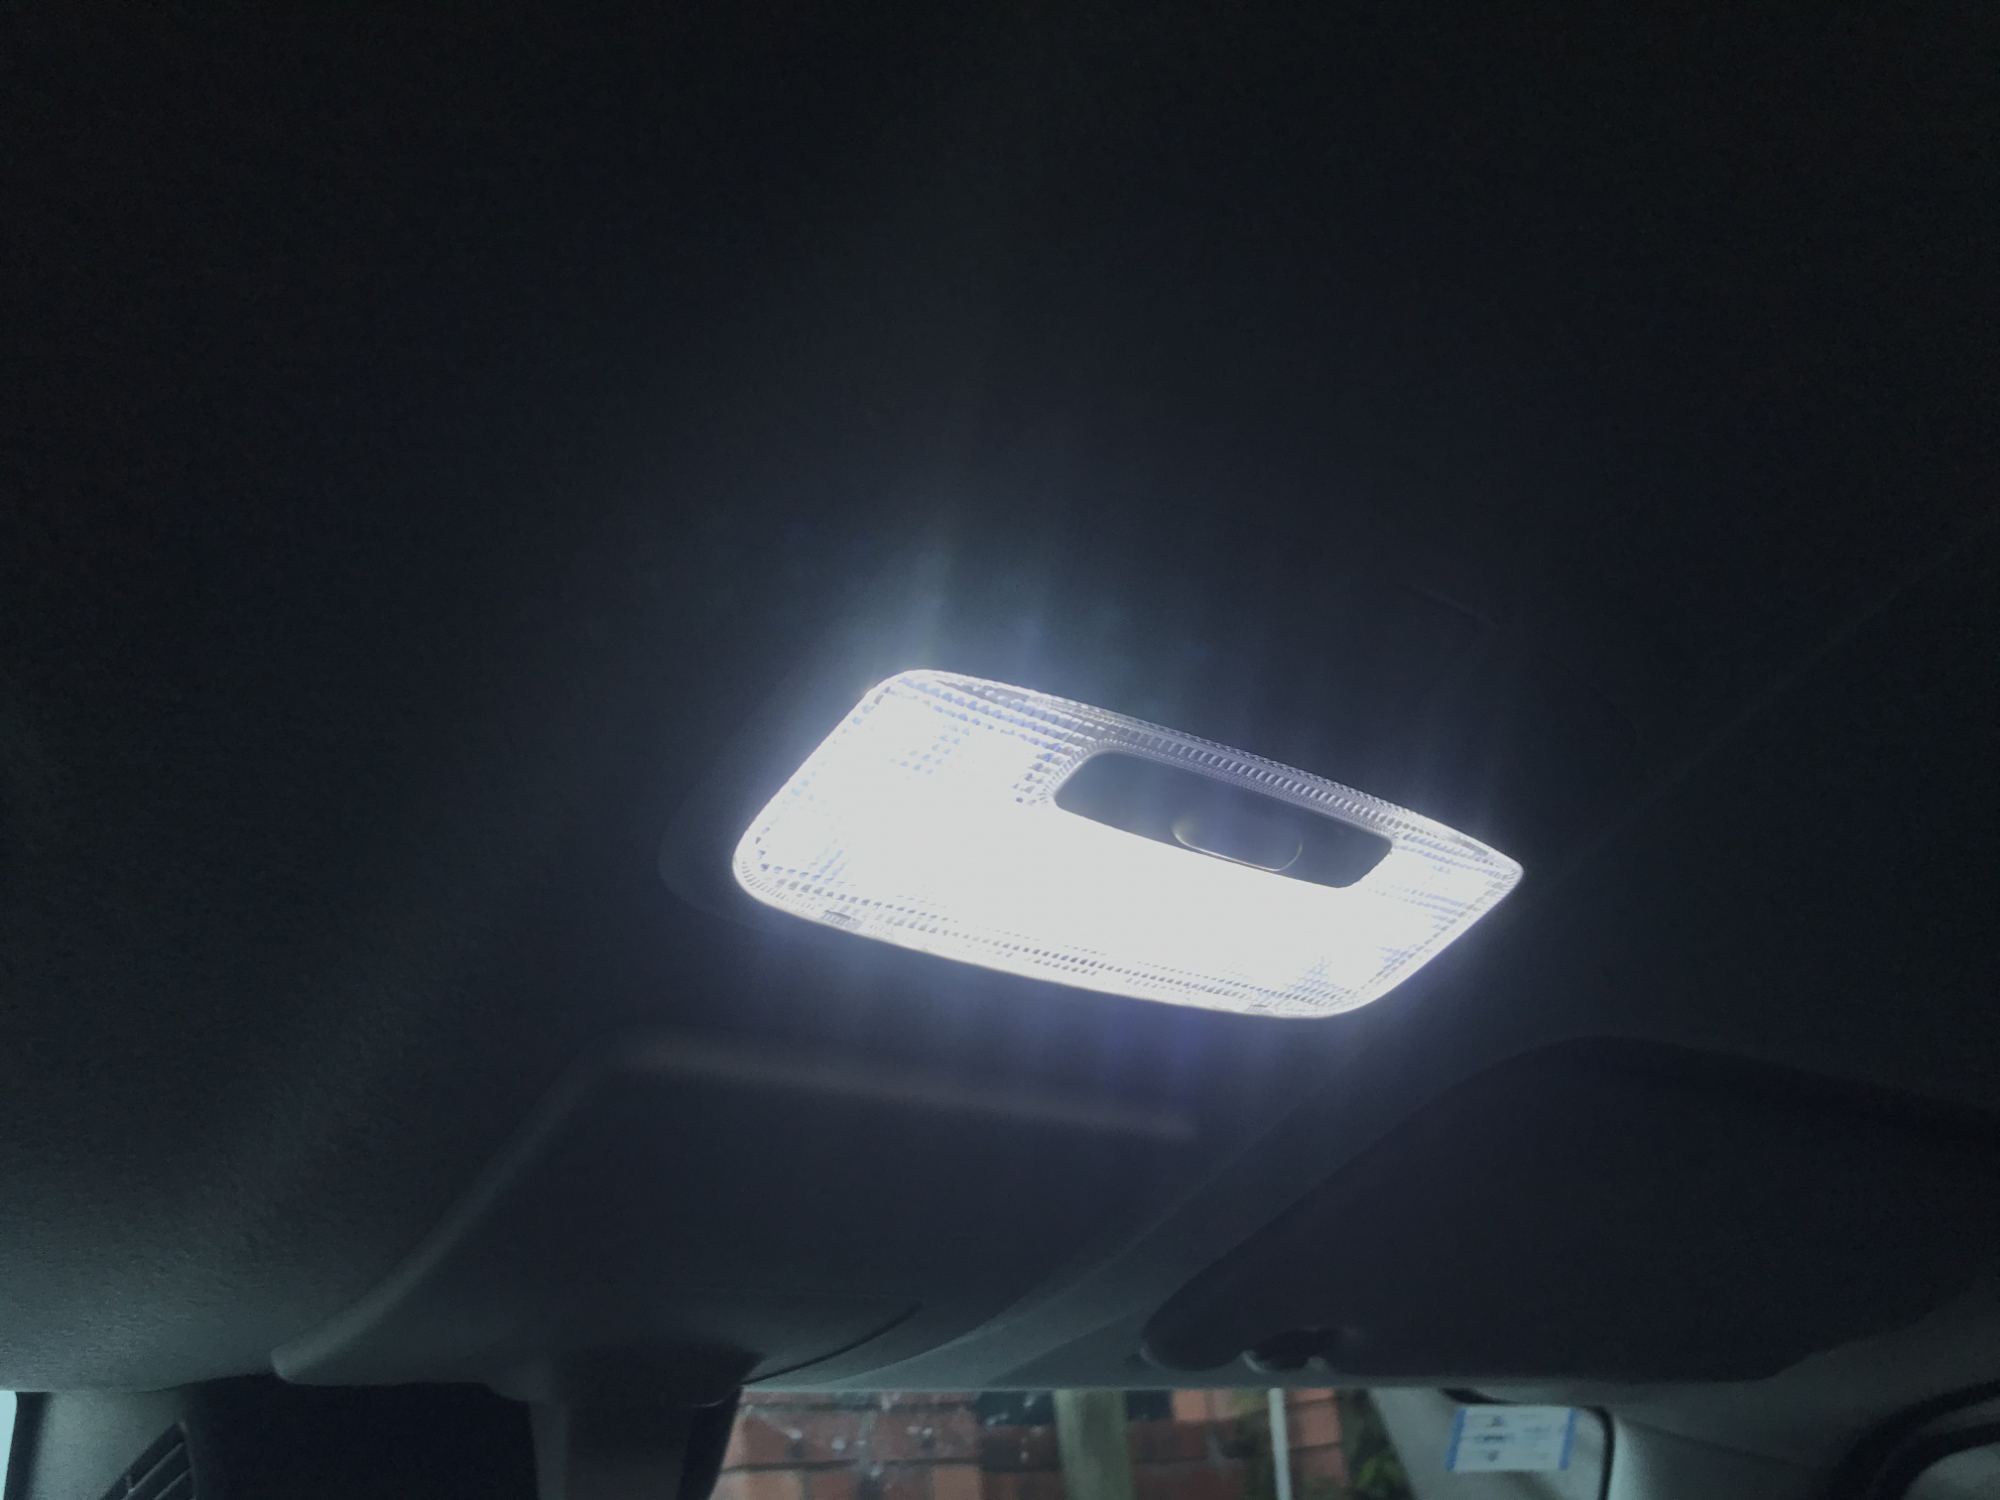
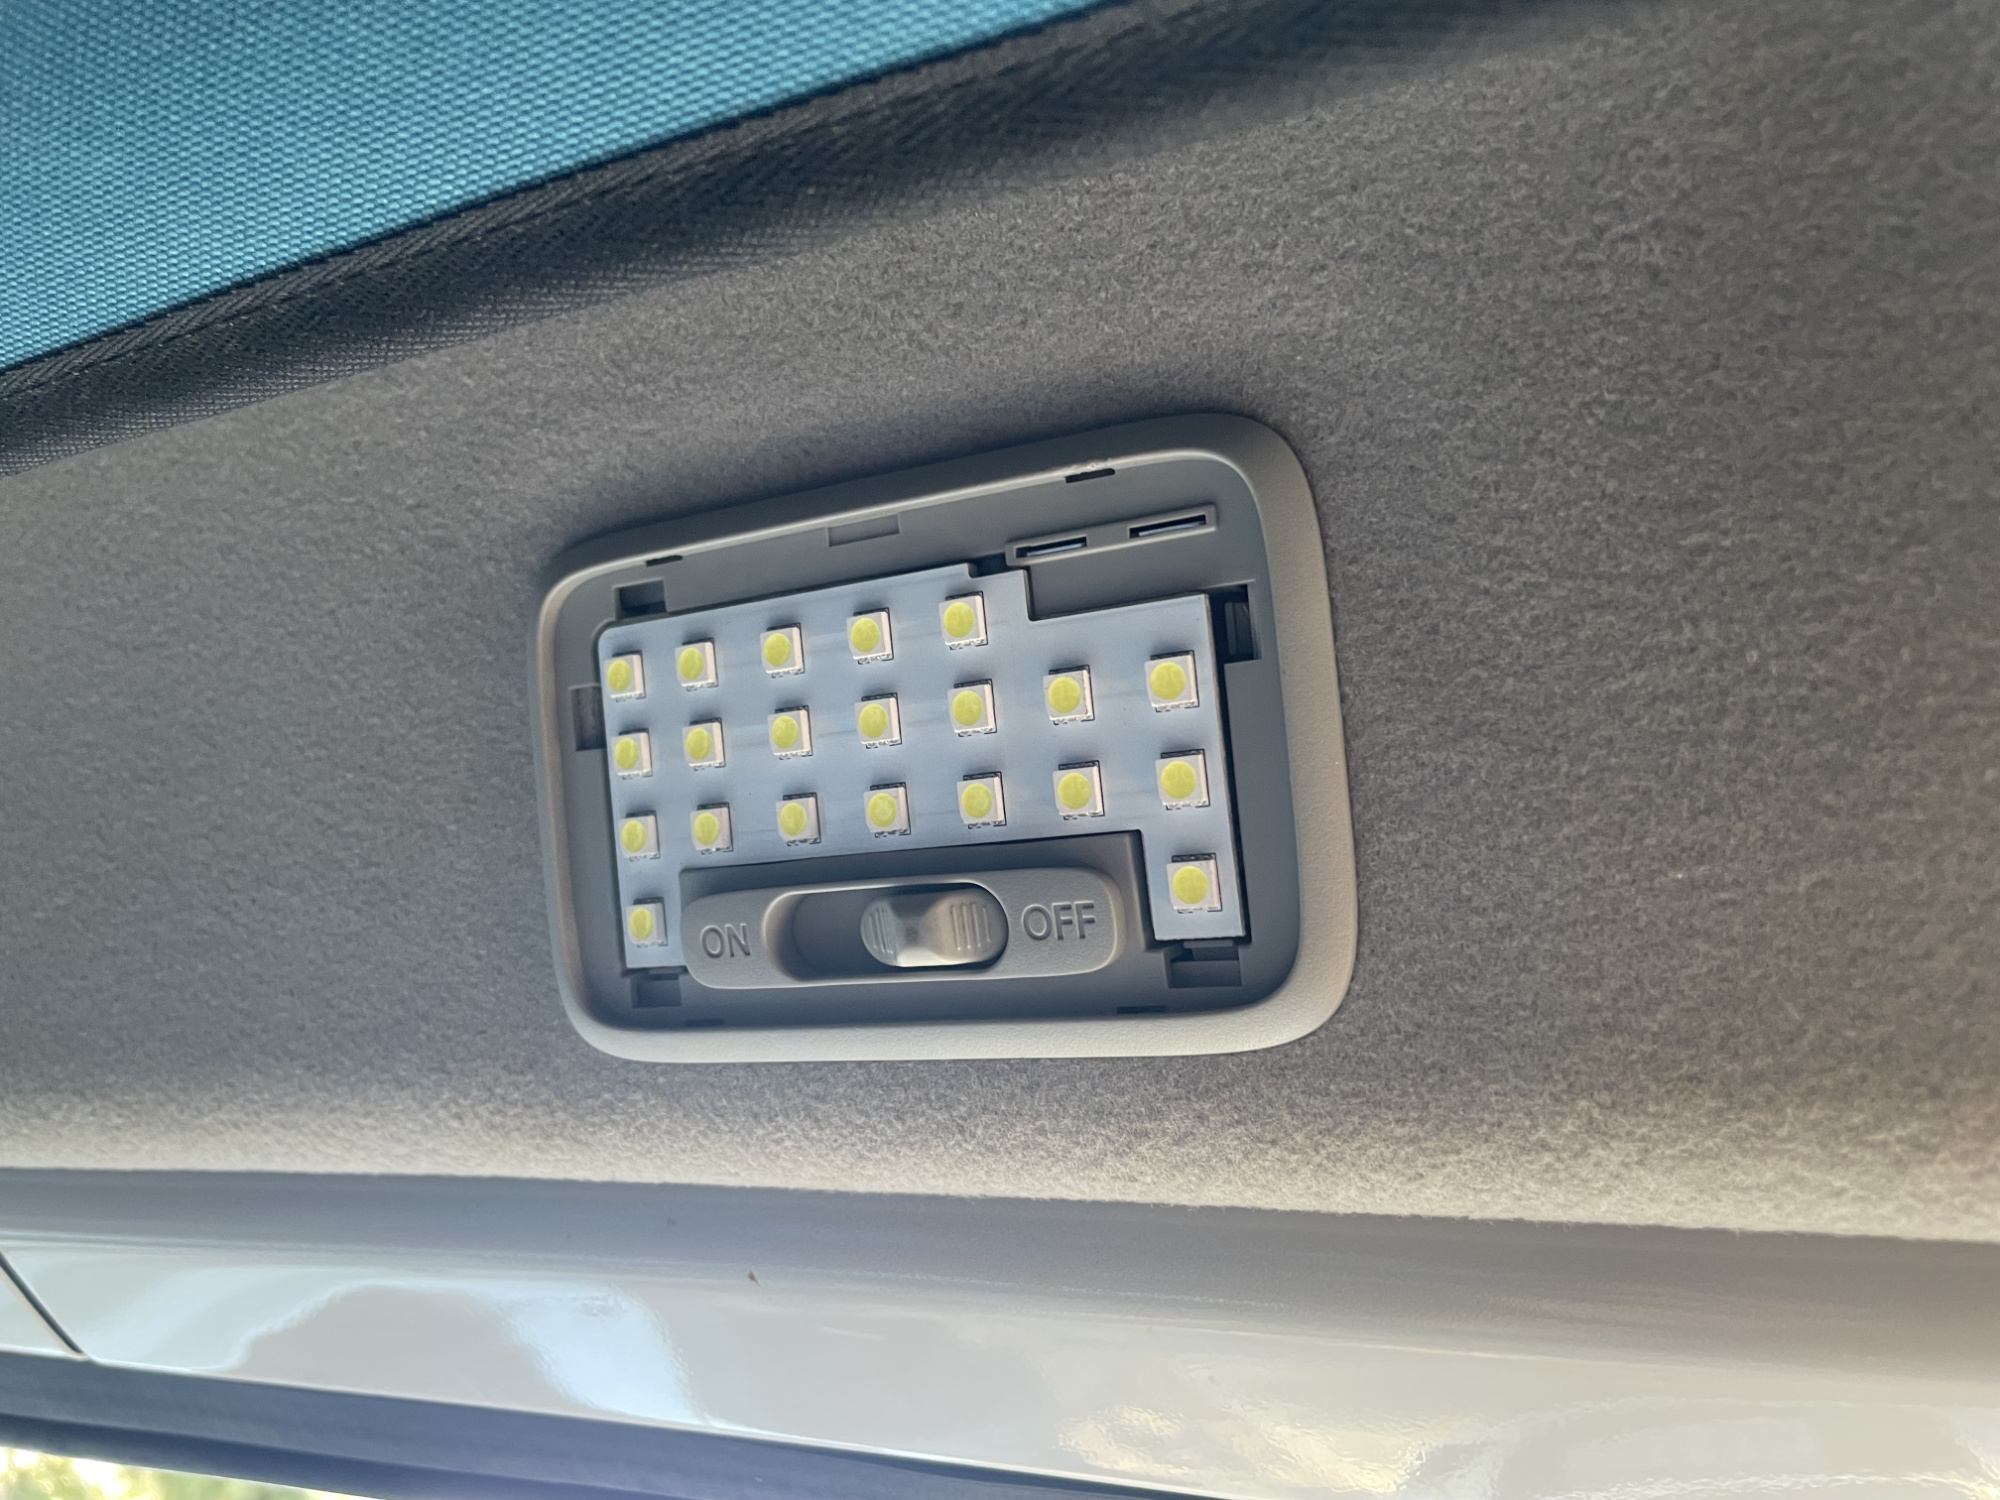
With that done you’ll discover the light is much whiter and brighter. Too bright for me, in fact…
The rear is slightly trickier to get the lens off. If you’re worried about damaging the outer plastic of the light then the best option is to use a trim removal tool and pull the entire light out of the head lining.
There is then a shield for the bulb you have to remove to access the bulb and/or to push the lens out forwards.

You can then put in the bulb. My kit came with two options here: a less bright direct wedge replacement bulb and a brighter panel option. I first tried the wedge bulb replacement: no need to remove the lens if you do this option.
It was fine, but nowhere near as bright as the front (where I had no other option but the large LED panel!) so I swapped to the rear LED panel as well so brightness was even front to rear.
If you’re putting in an LED panel then you do need to push the lens out from the front to properly access the part where the panel goes.
It was then as bright as the front i.e. too bright for what I was after, at least the car was even.
Results from tinting the lens
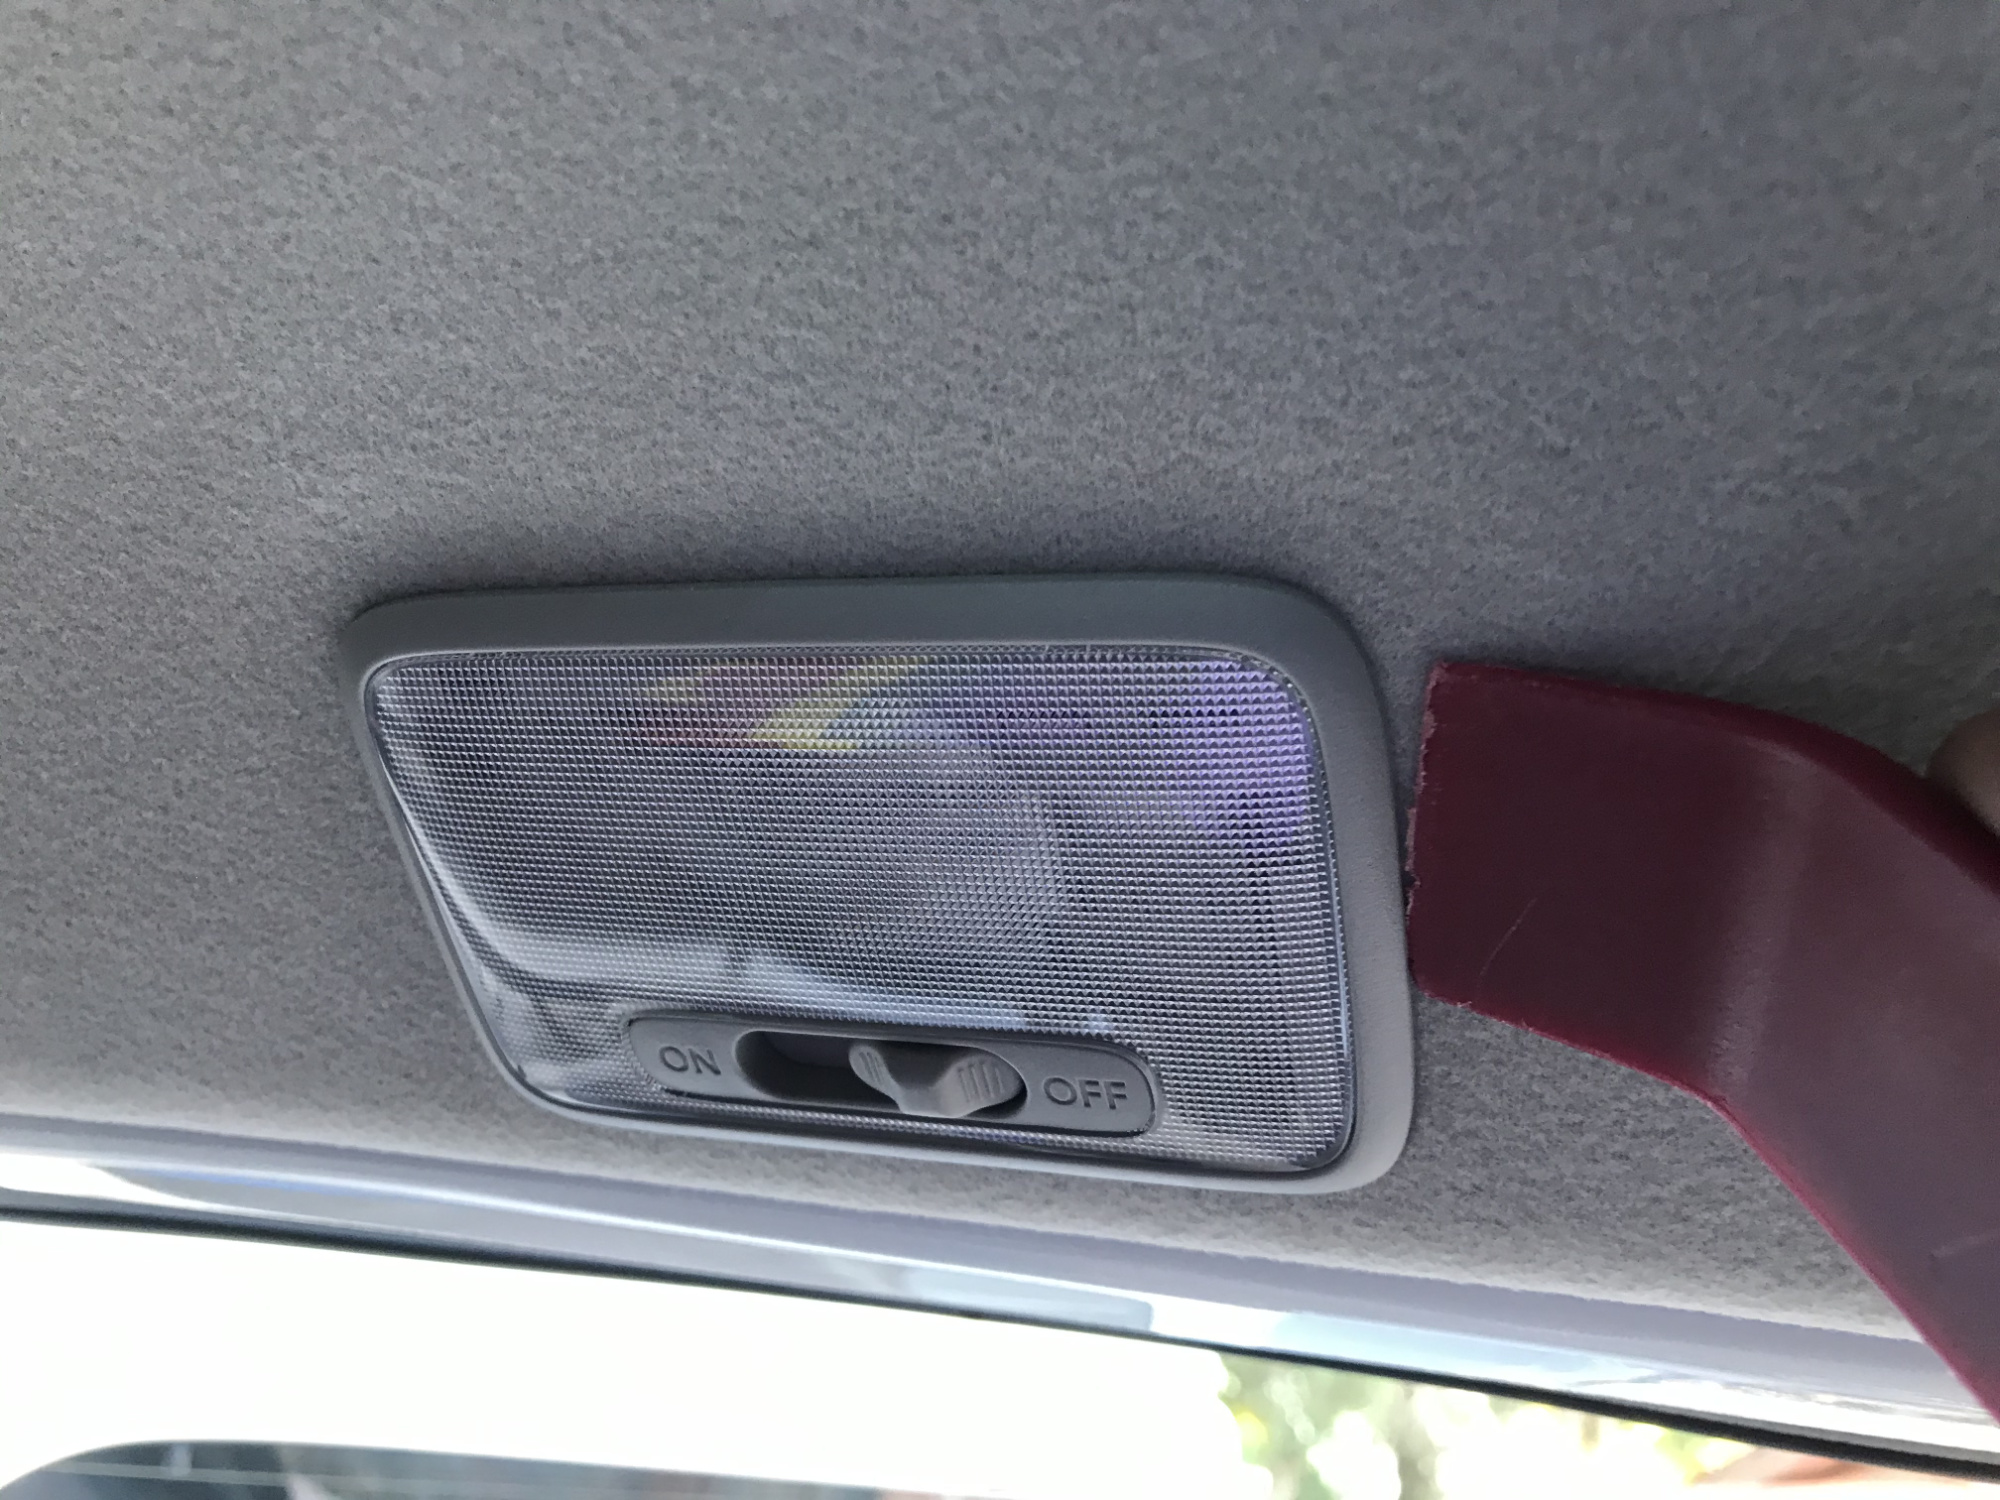
Look, it just didn’t work out how I expected. I tried for a deep red using a proper lens tinting spray designed for taillights.
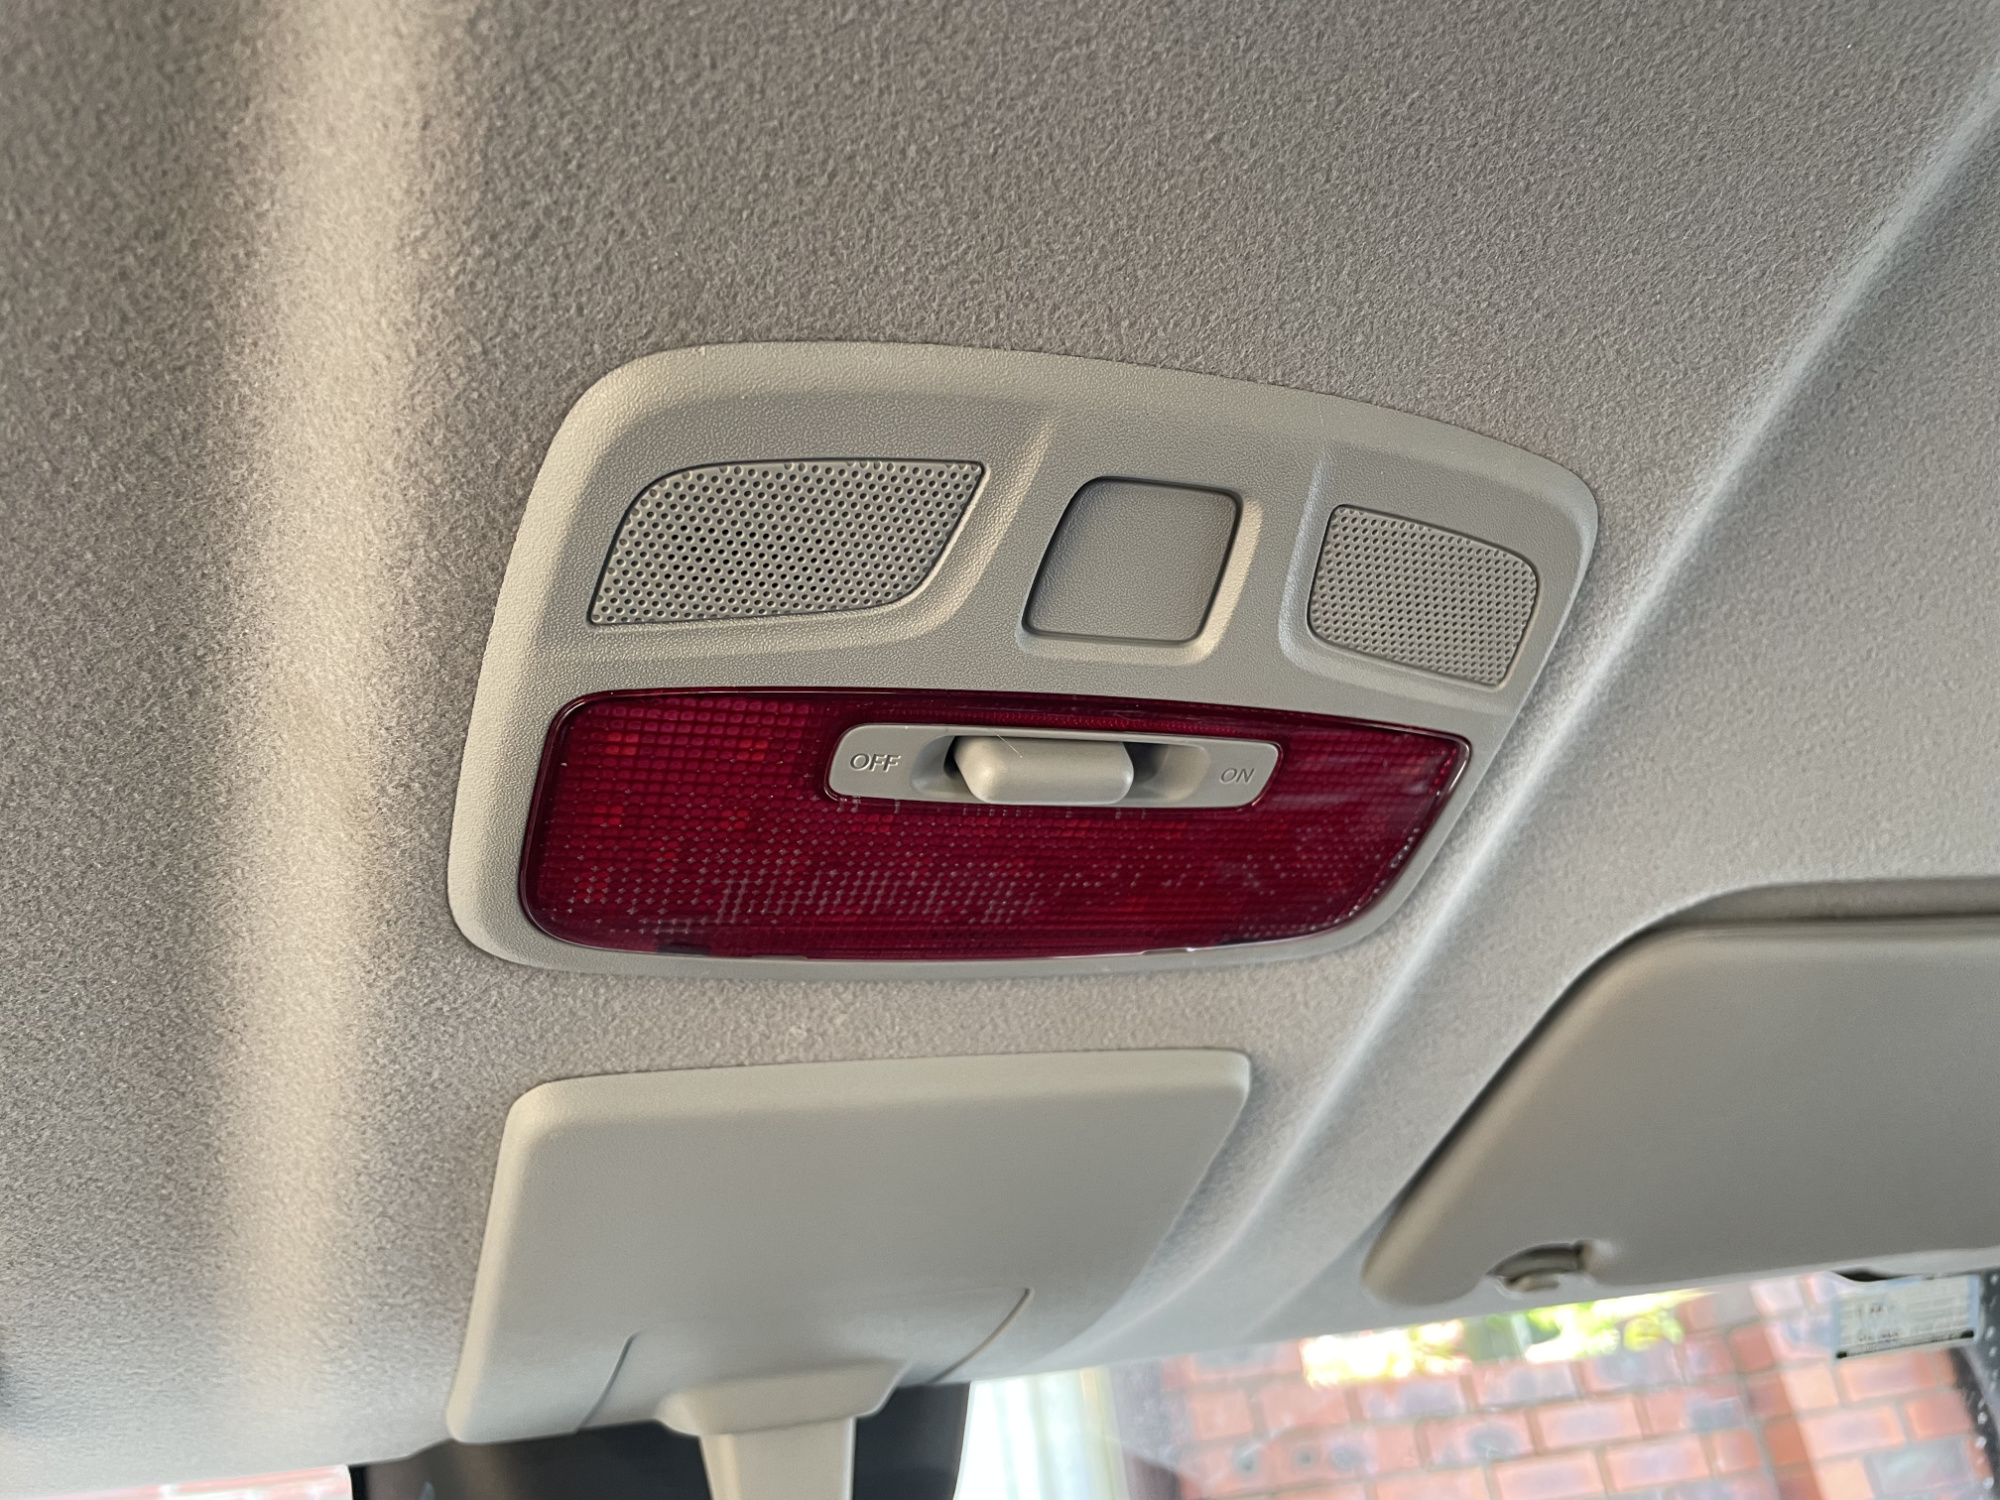
It was a very different colour inside the car compared to how the lens looked!
A cool effect but not what I wanted to drive around with every day.
It also didn’t dim the brightness at all, despite how much darker the lens looked… so, don’t bother trying this. If it’s too bright or you’re worried about the brightness then just get dimmable panels.
… note that there are FIVE WHOLE YEARS between me thinking it was too bright and finding dimmable ones. It wasn’t bad enough for me to want to instantly change it, just one of those mods where I was like, gee, I probably should get around to finding a way to make it dimmer. Then I never did.
Swapping to dimmable panels
This is what I should have done to begin with! Essentially the same as I showed before, just putting the different panels in.
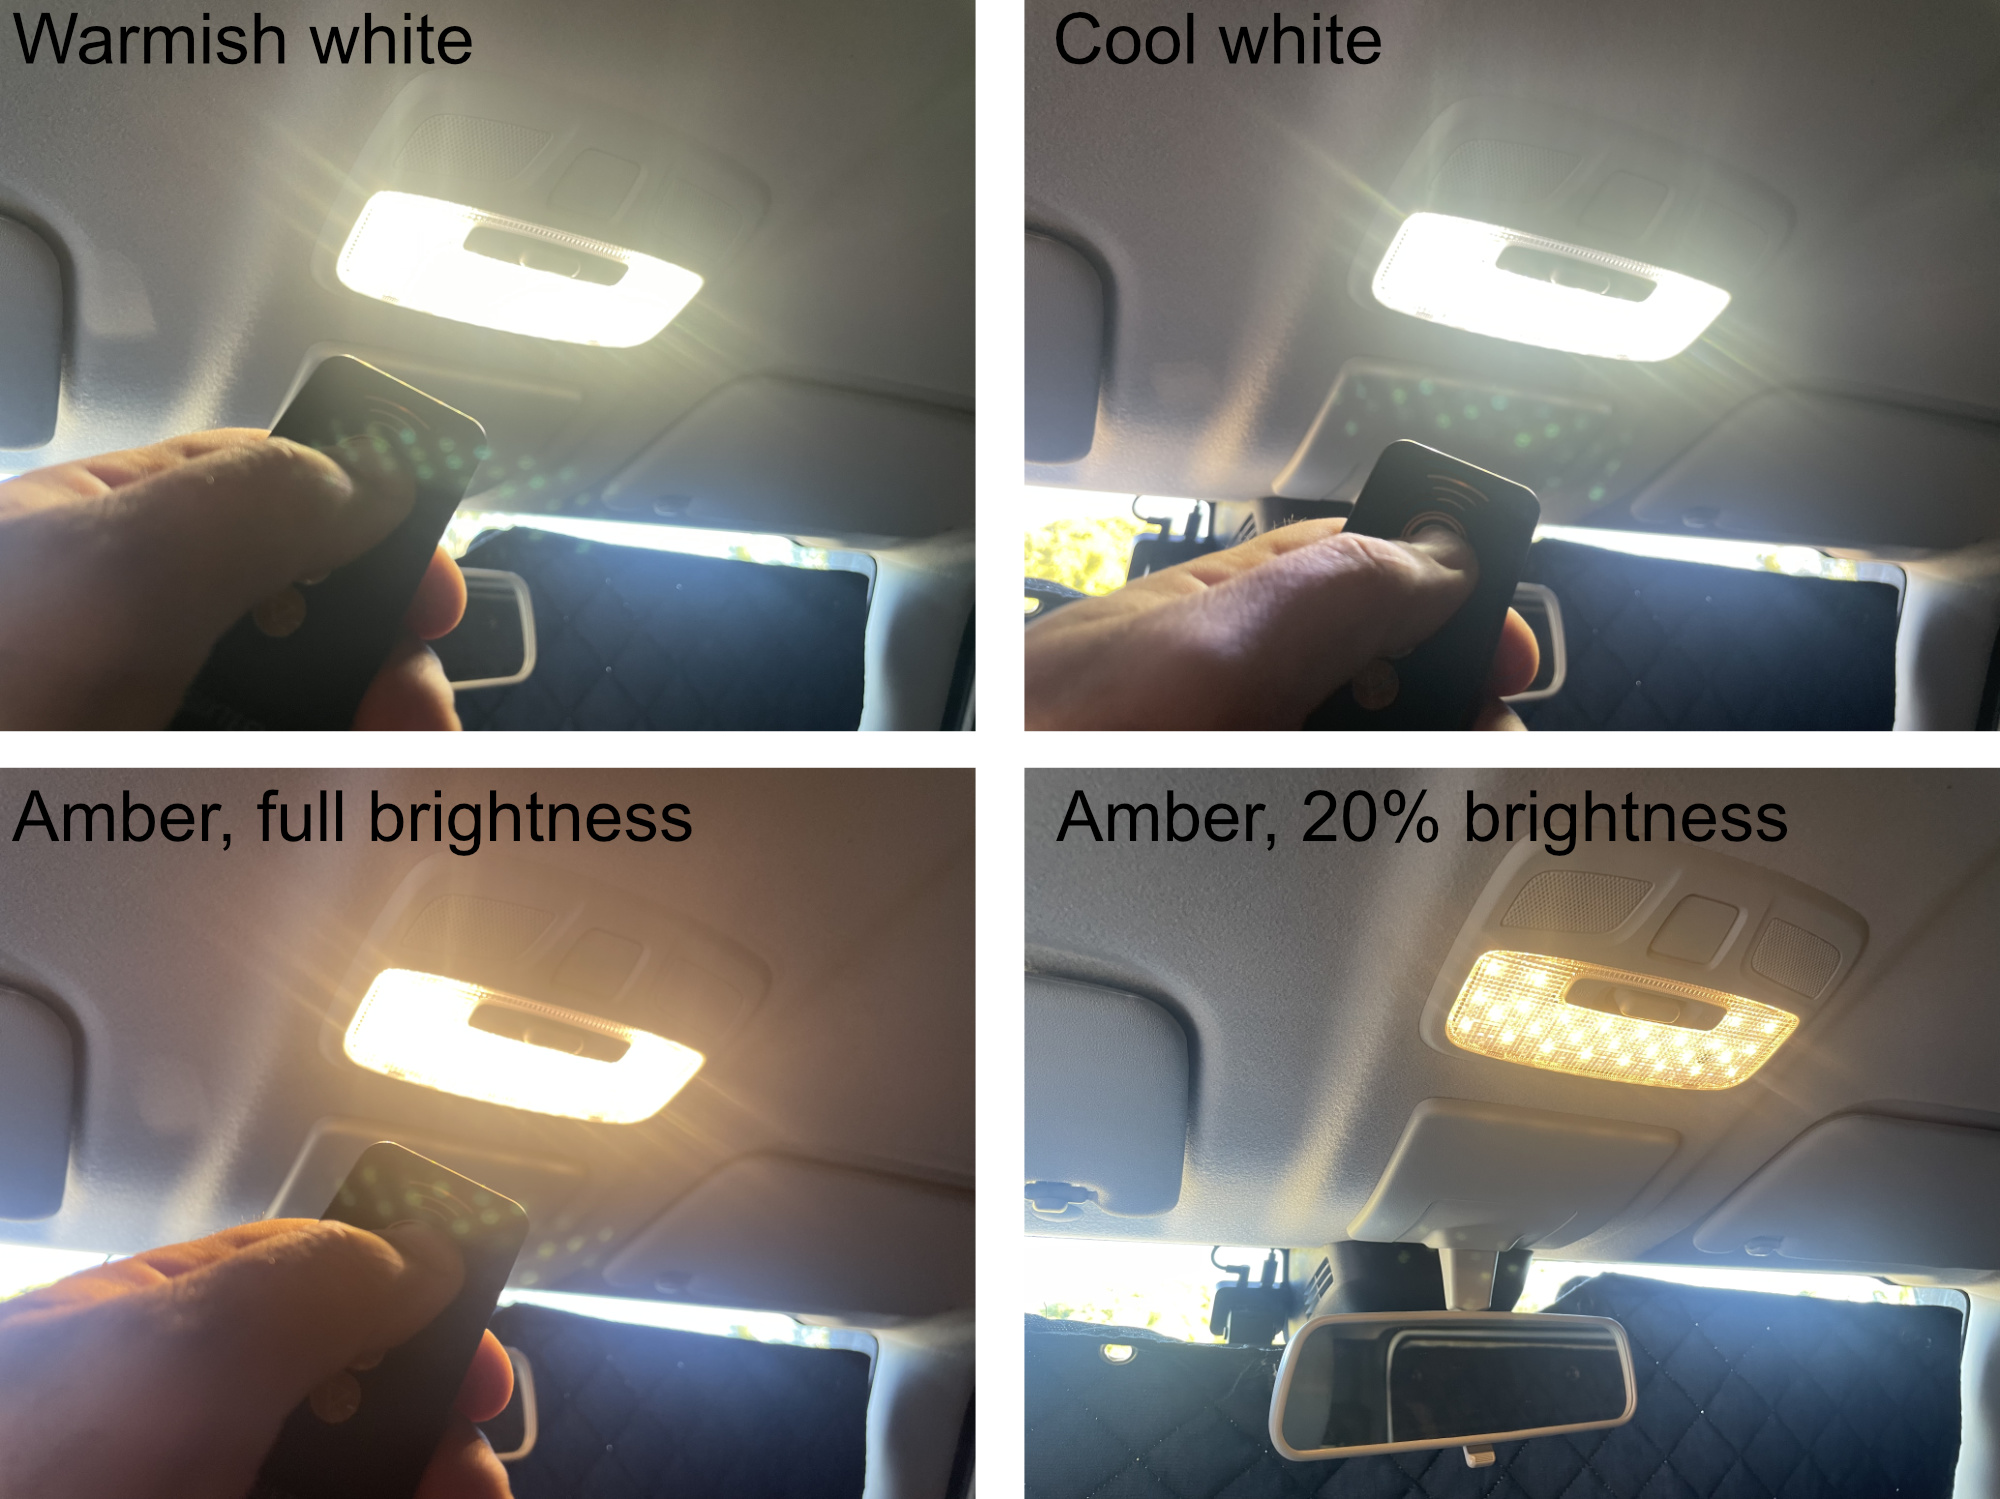
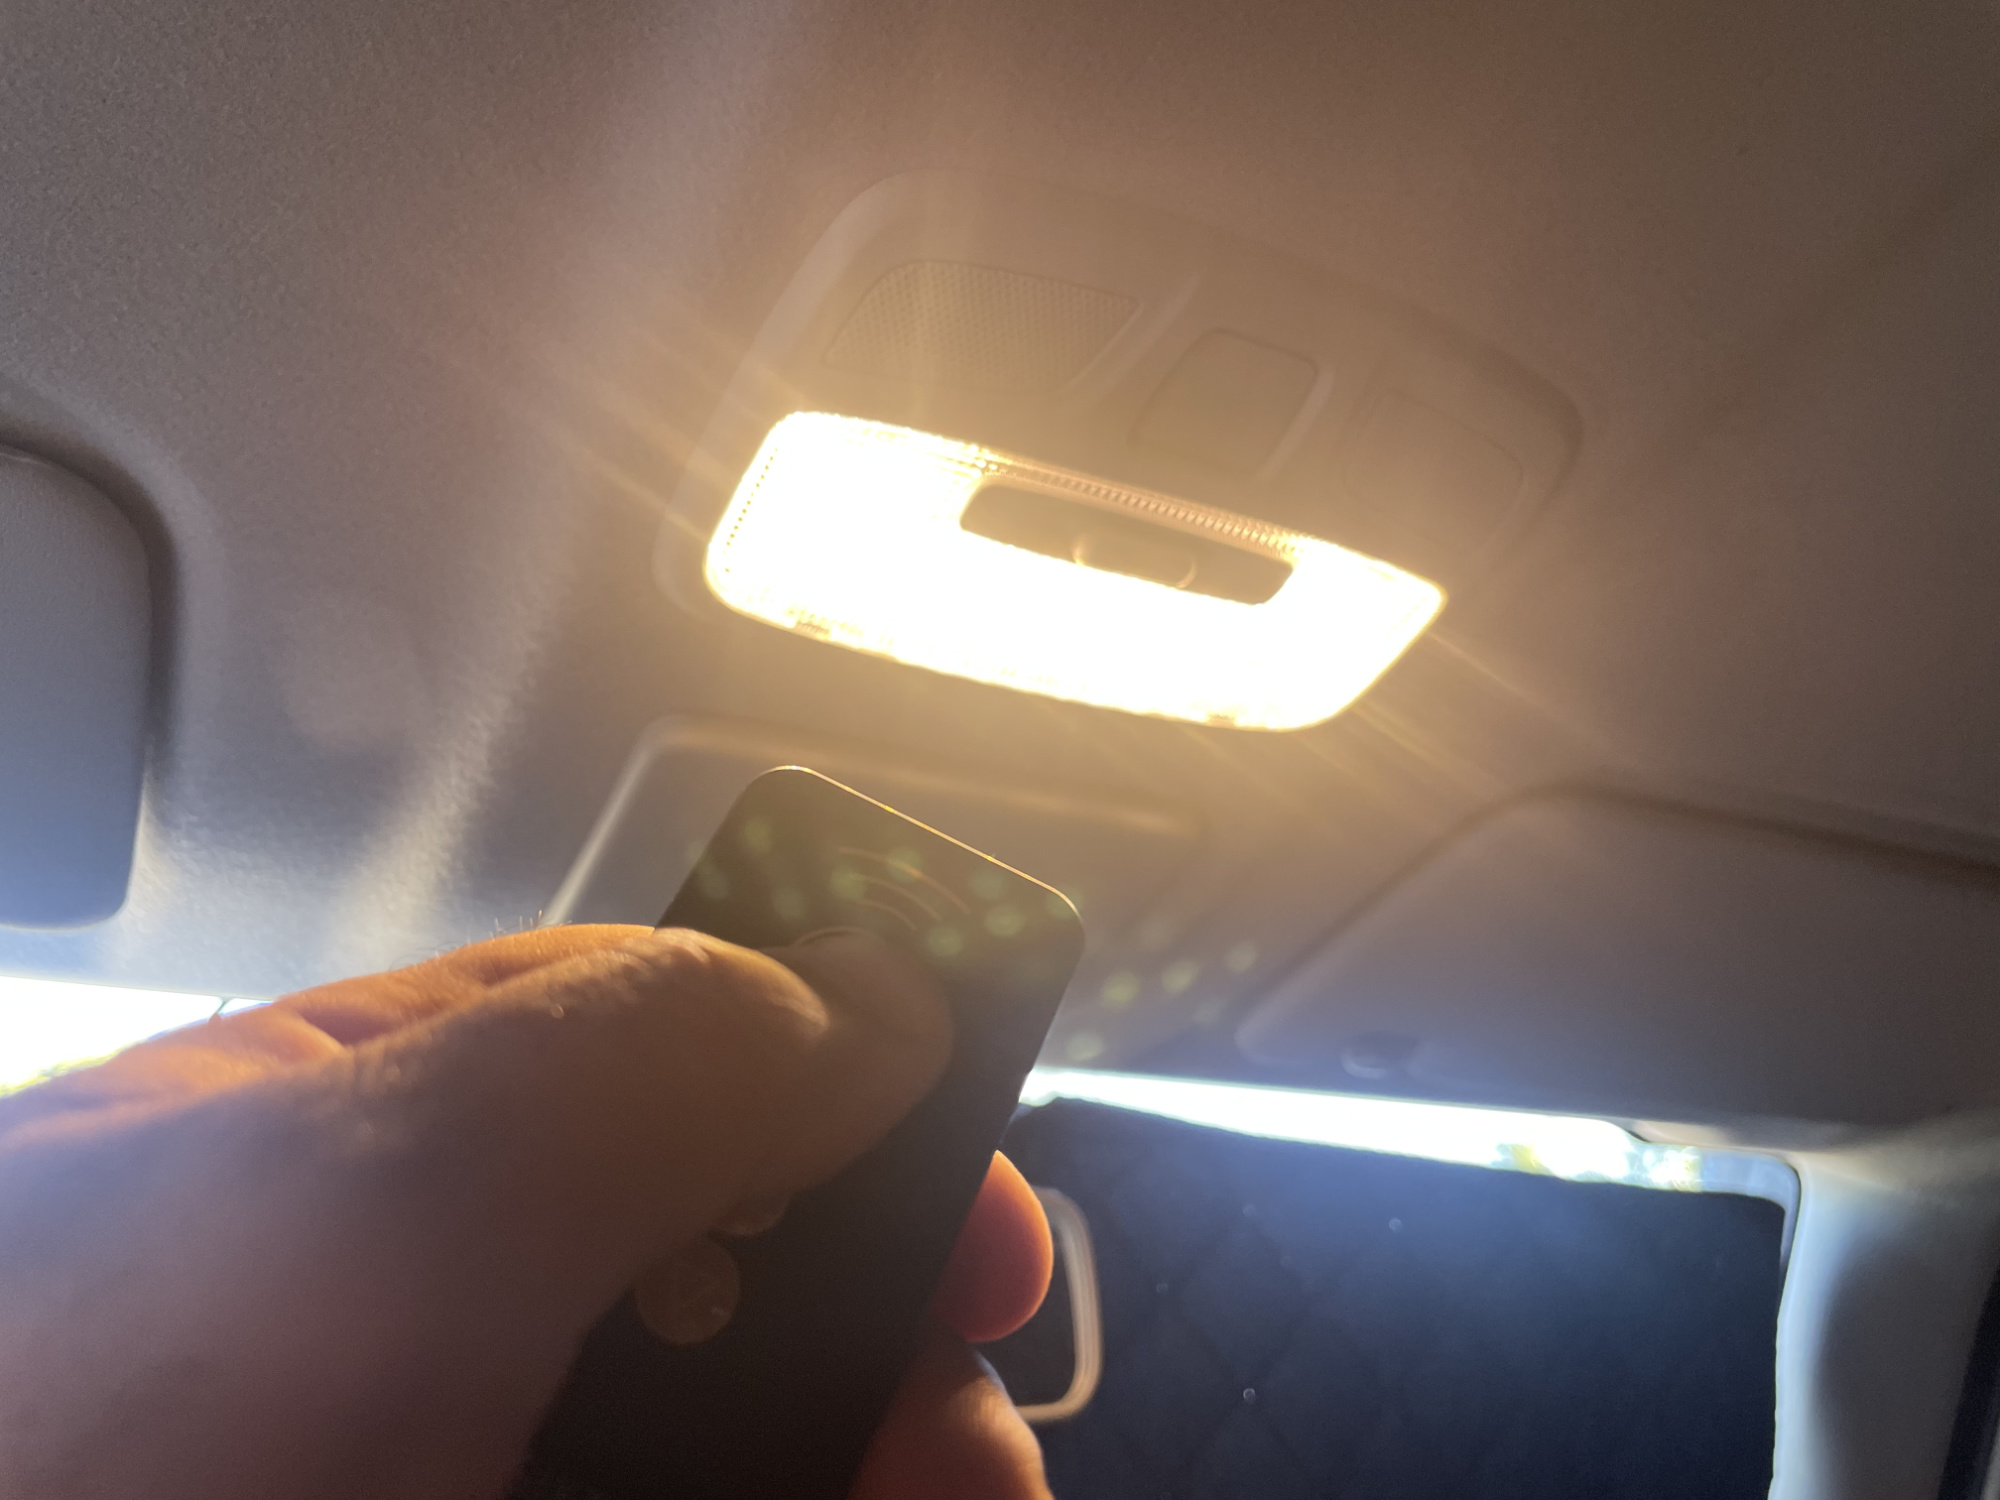
With the lights on, the kit comes with a remote you aim at the particular light you want to vary and use the on/off button to change the colours (between warmish white, amber, a cool white, and off; then back to warmish white) and the up-down buttons to set the brightness to one of 10 levels.
It’s really very good. The amber will be perfect for camping, and because you set the brightness etc only for the light you point it at, you can change the brightness front to rear independently.
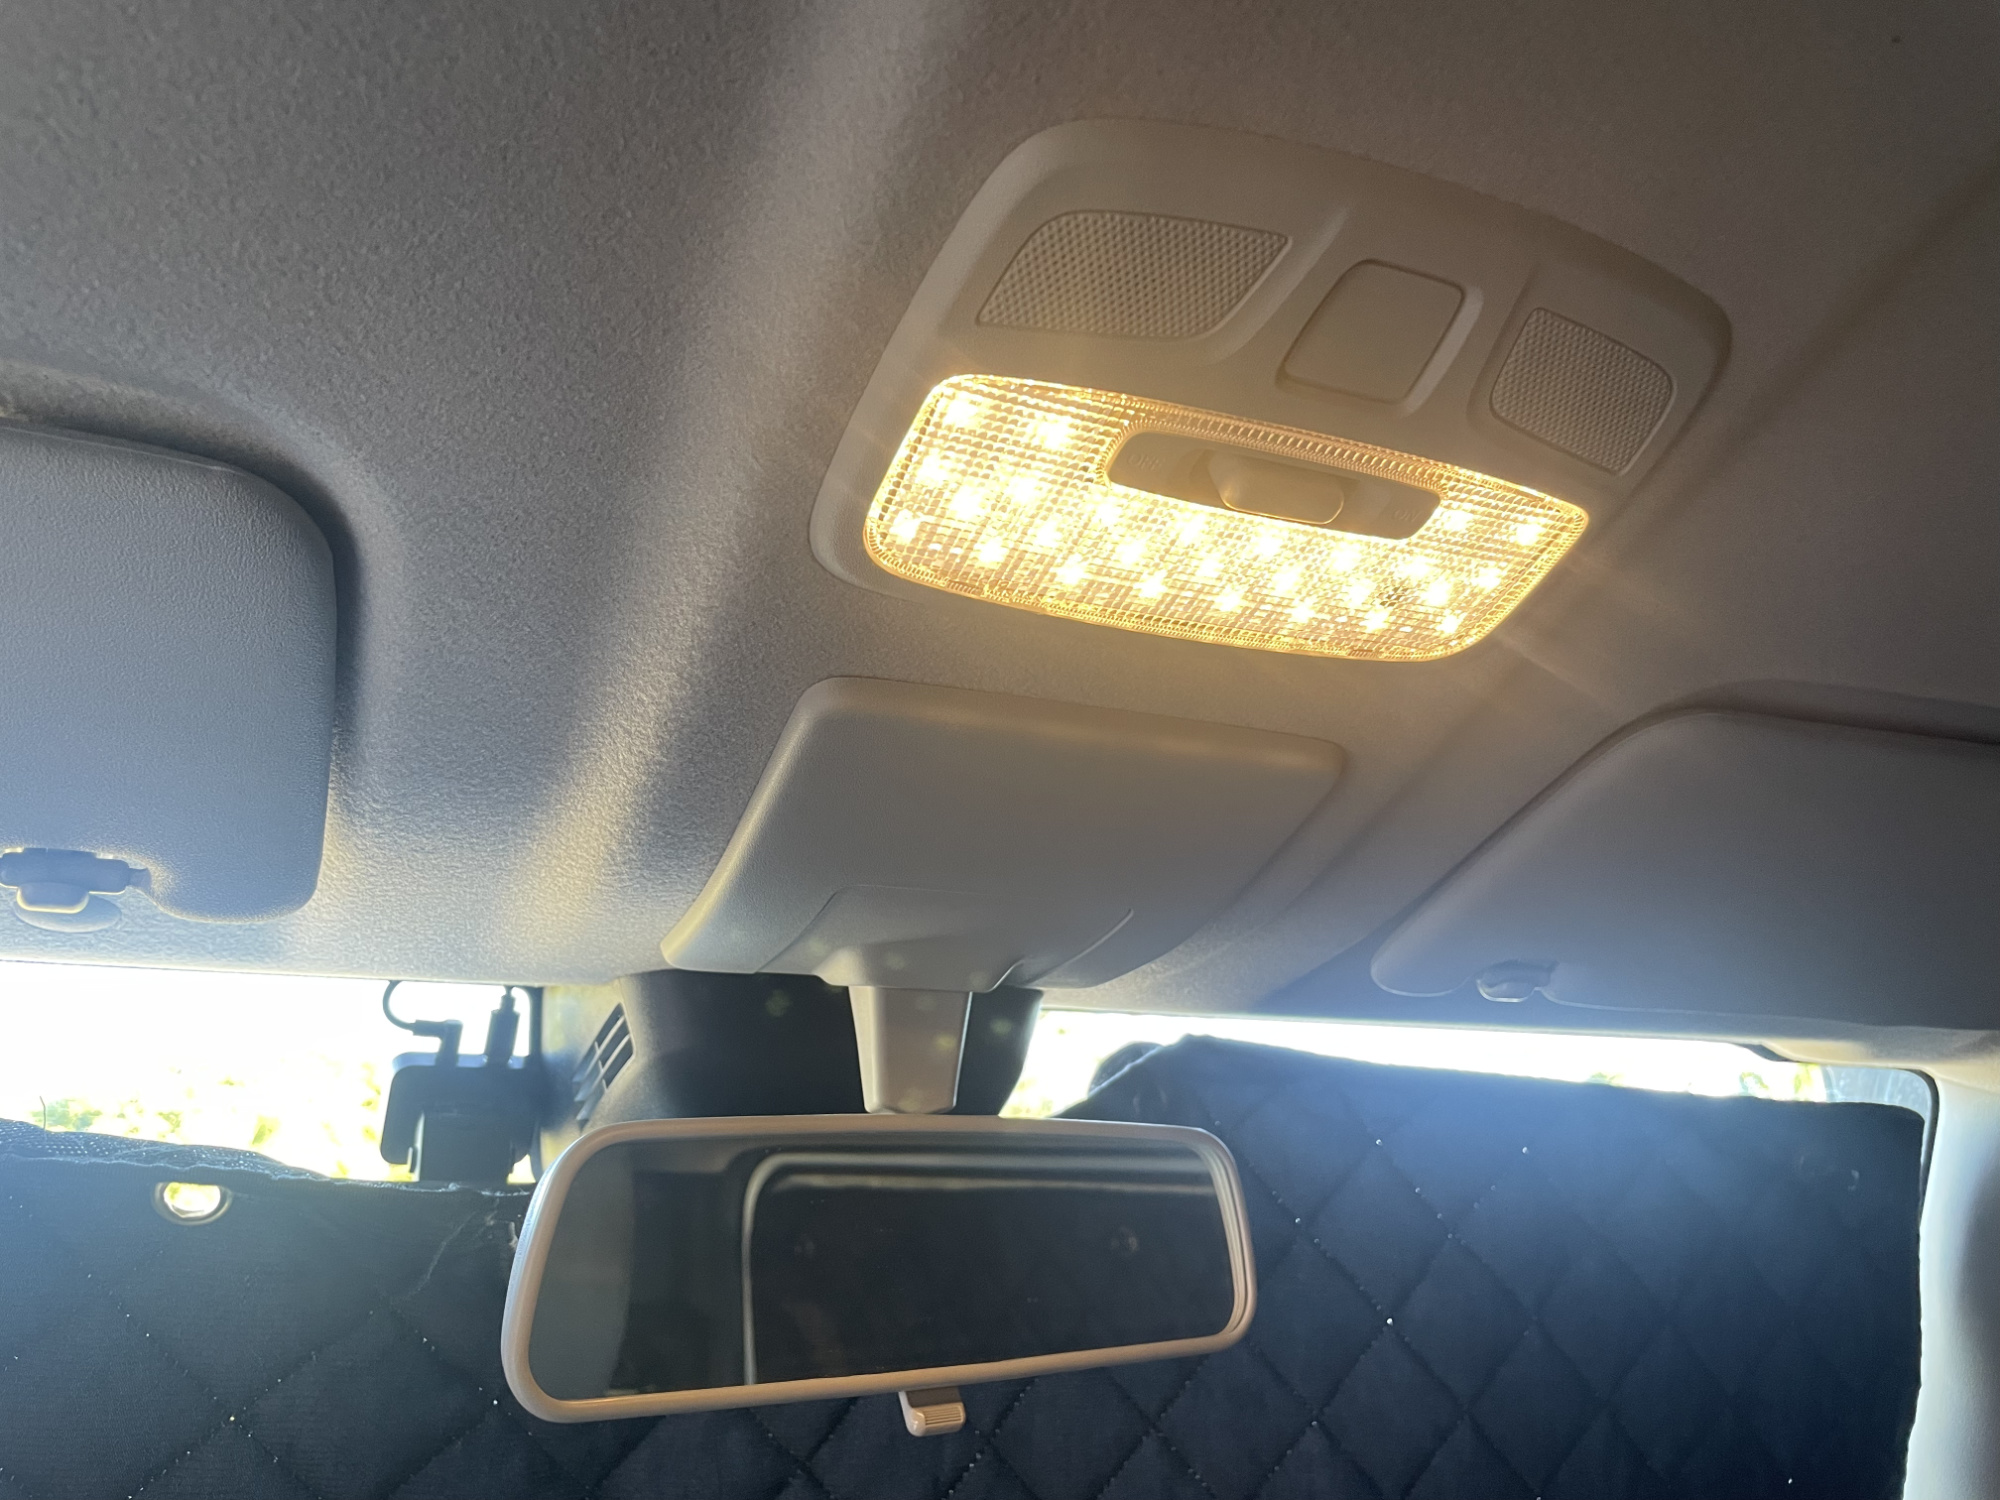
Here’s the colours, first off warmish white.

Then amber, perfect for camping to minimise insects.
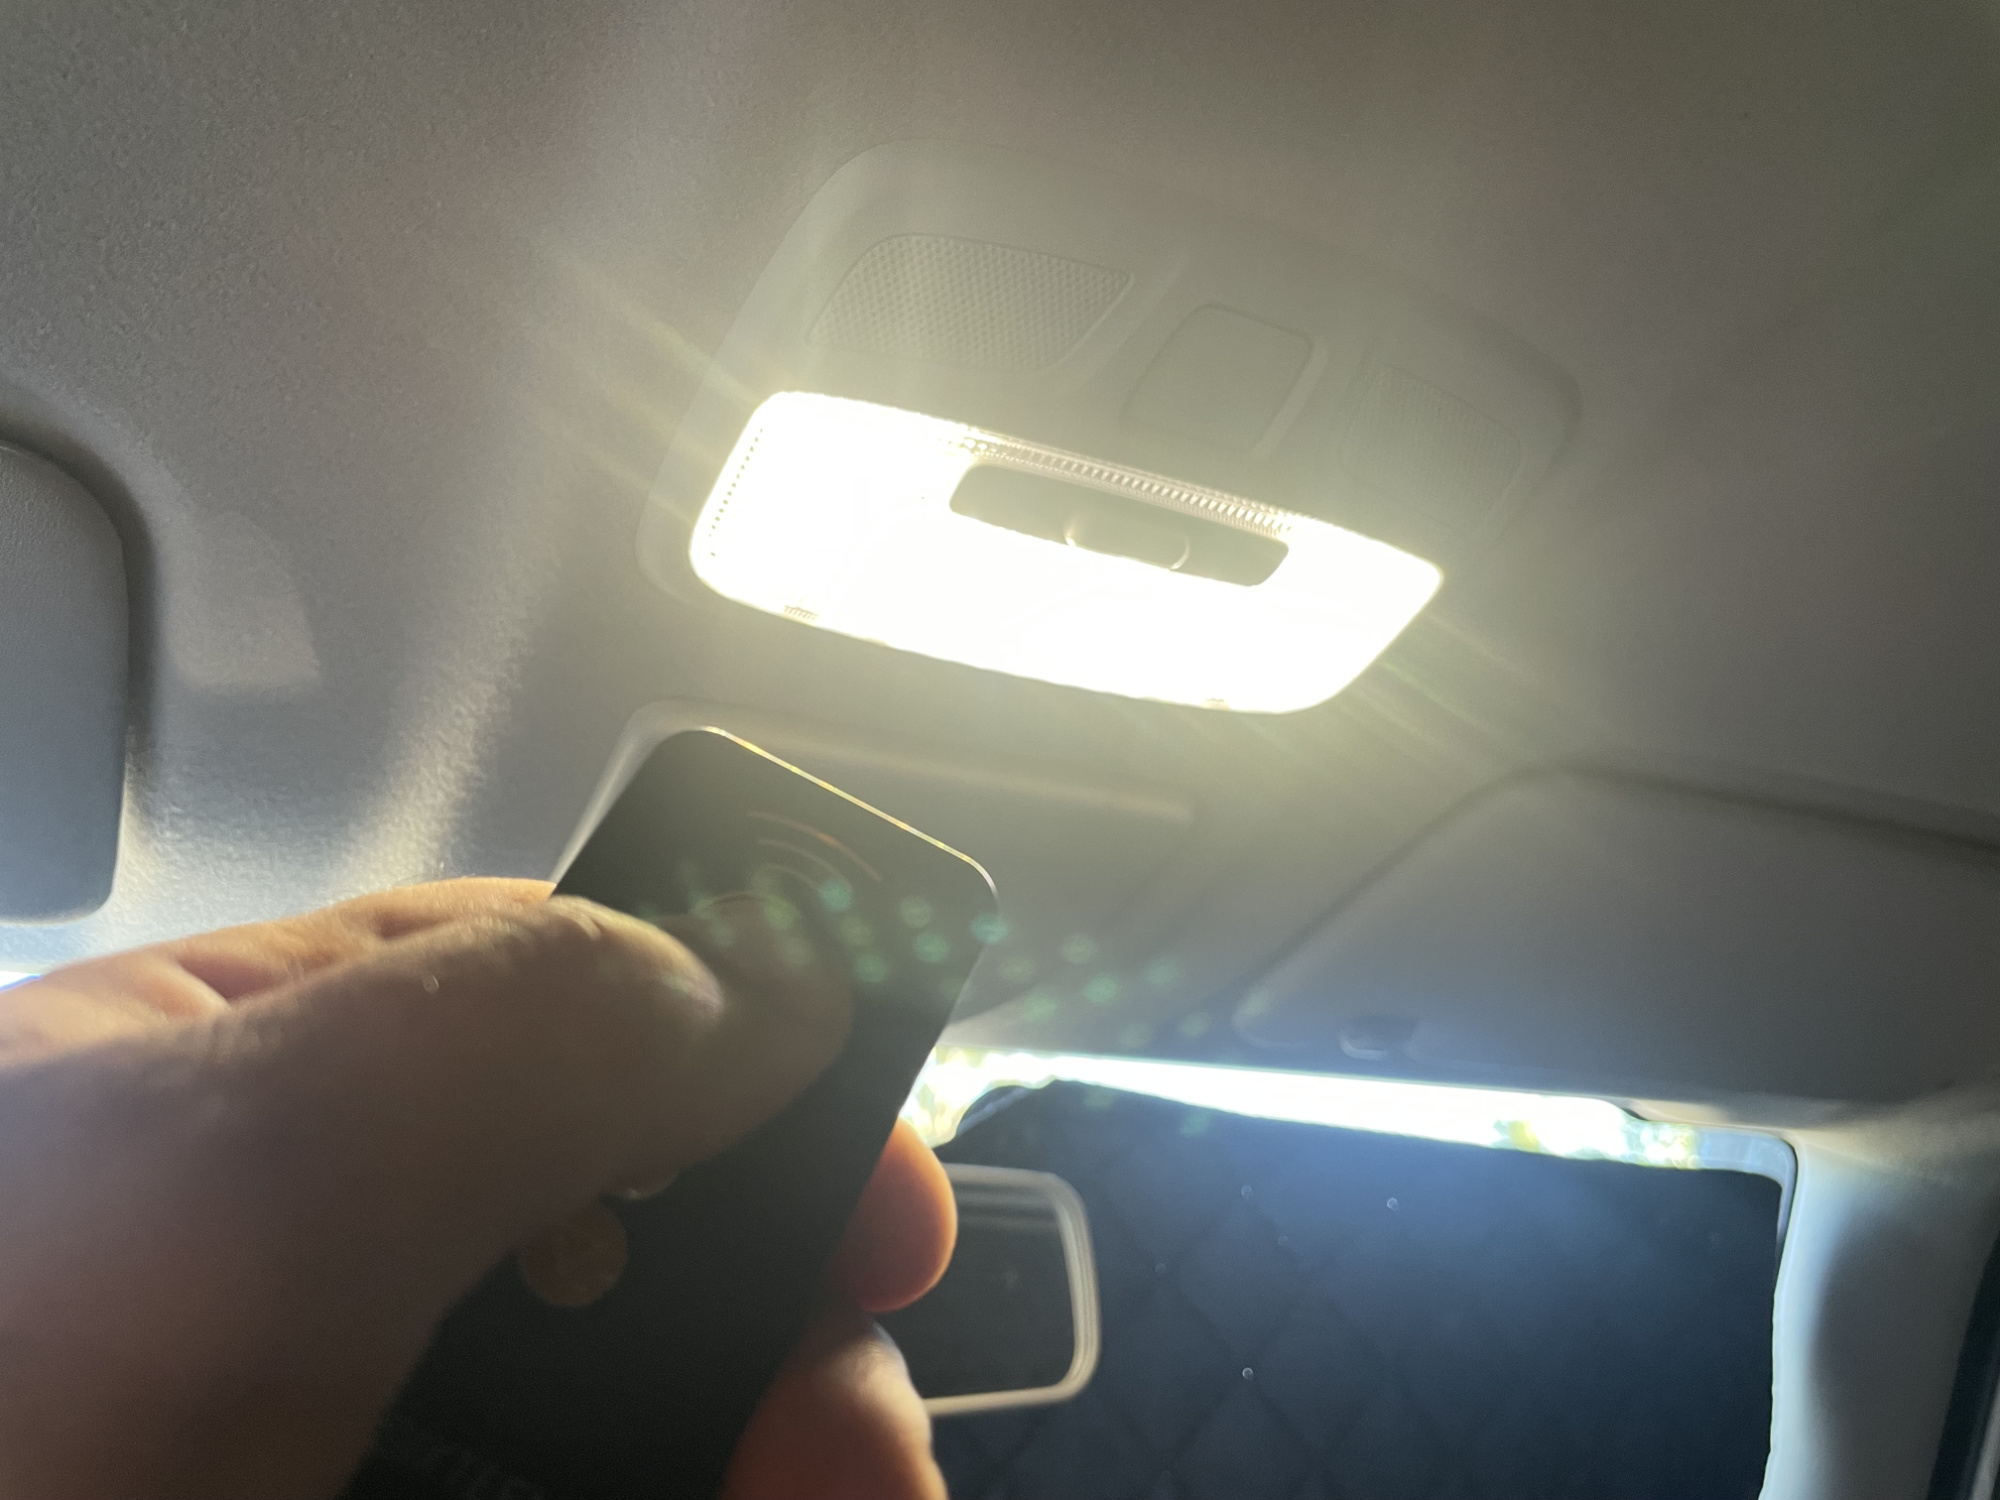
Finally: cool white, probably best for matching the colour temperature of the LED headlights etc.
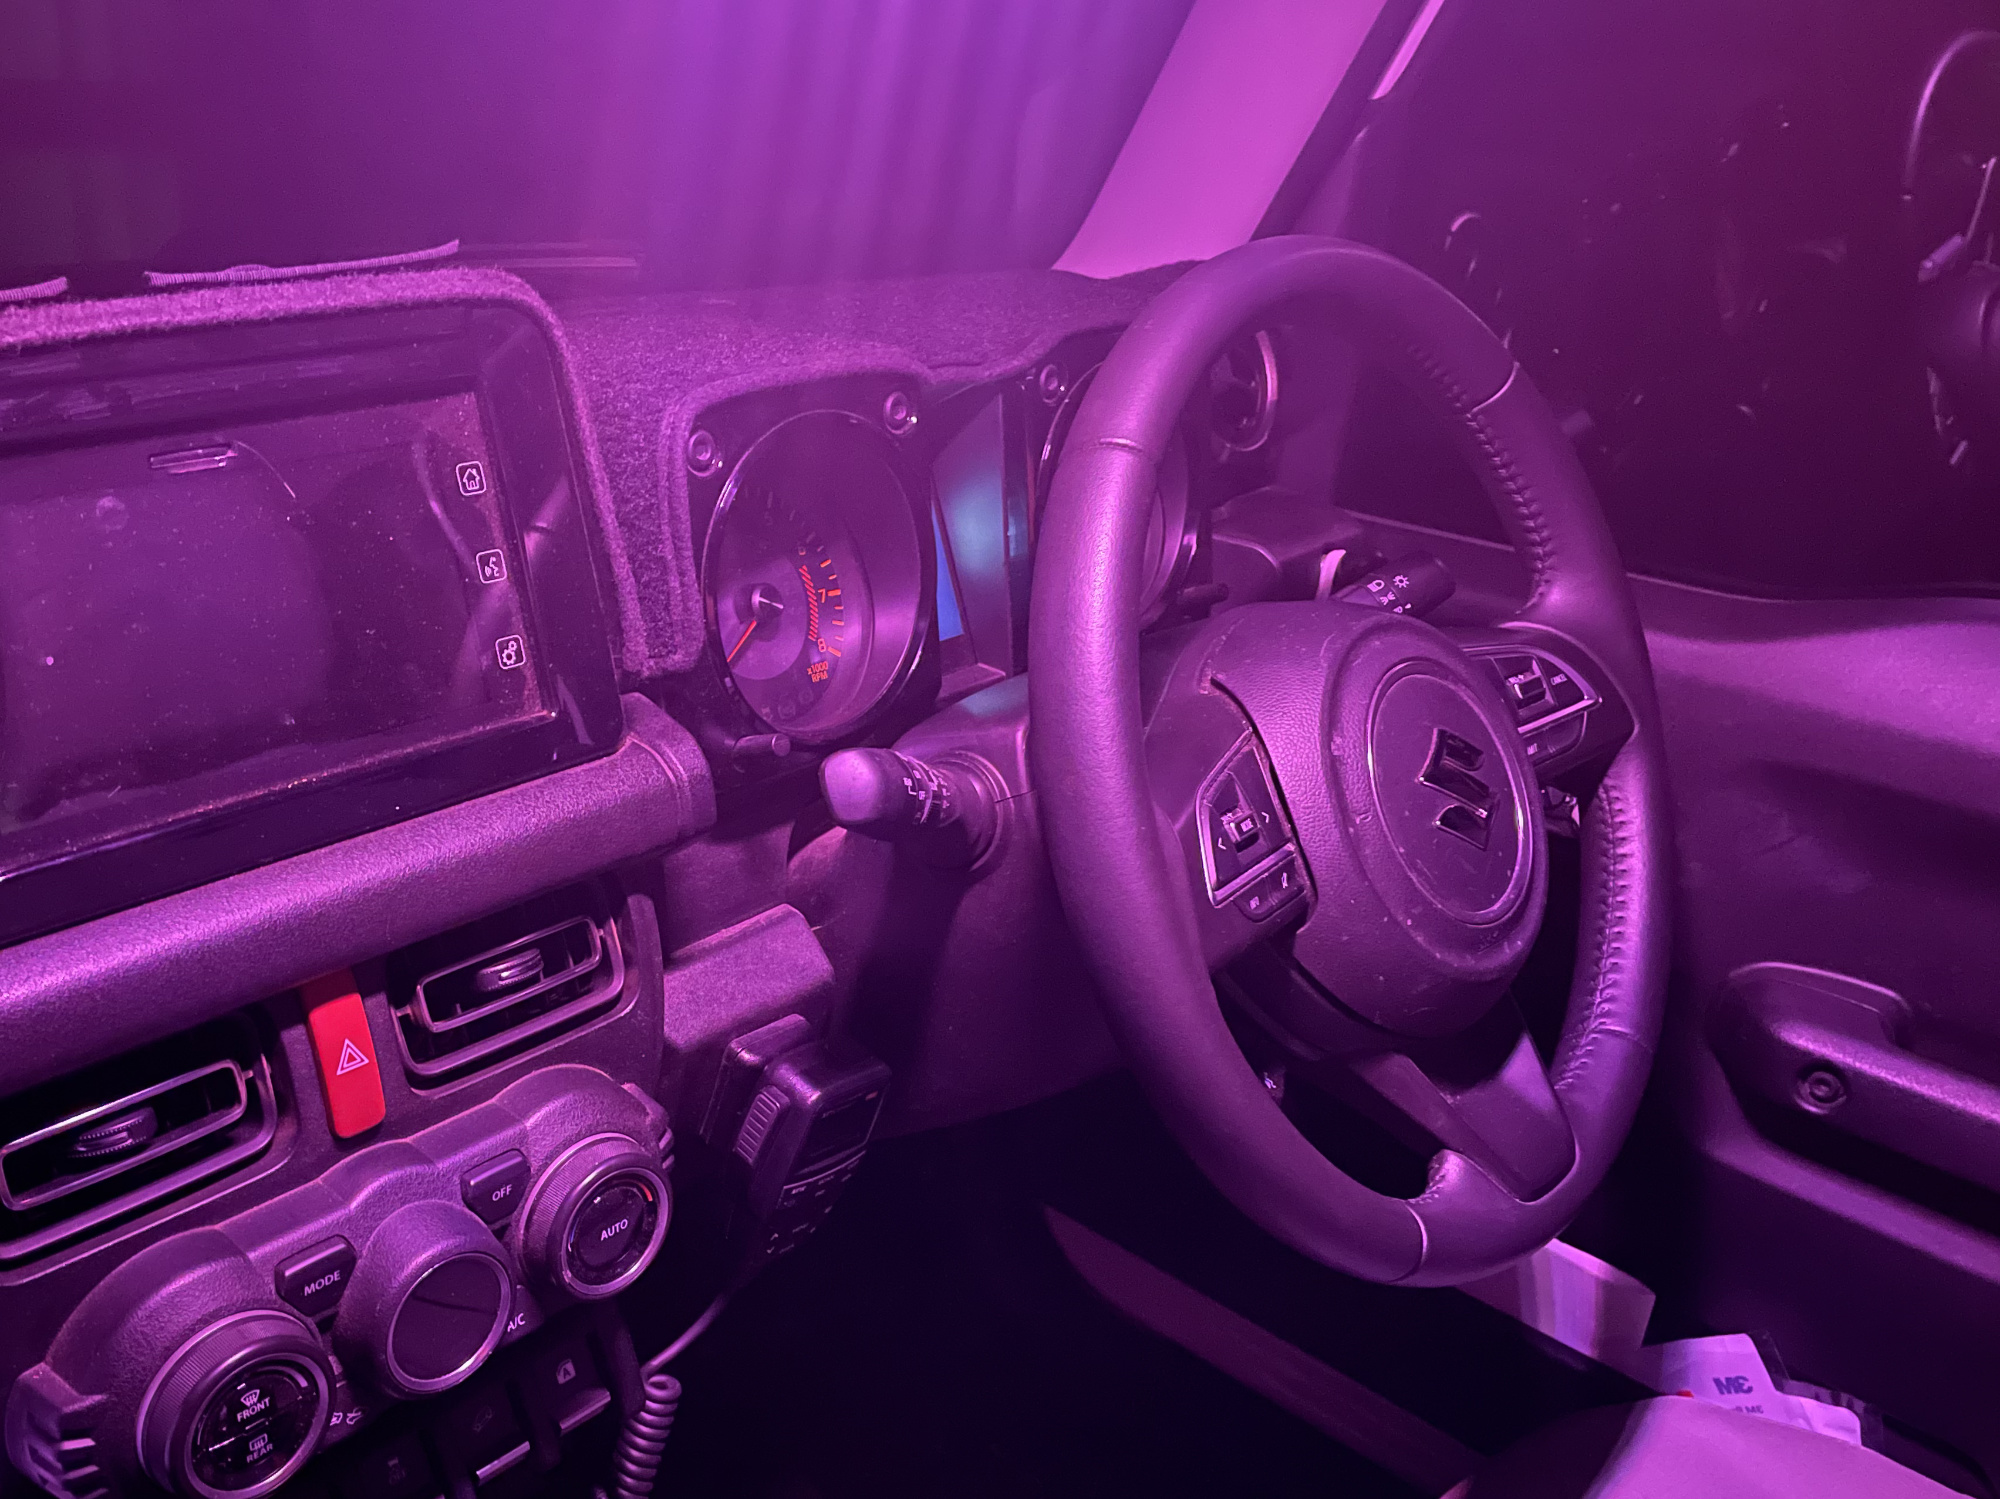
Too hard to illustrate but the brightness changes are very meaningful and I have the lights on about half brightness in the back and maybe 20% in the front area.
Here’s it on that 20% dimmer; the camera is doing its best to enhance the light, it’s more obvious in person.
Even better, your last settings are remembered when the light turns back on, too!
Recommended upgrade. If you want better interior lights, skip the annoying bit I did and just find some dimmable ones. They’re worth it.