
Body washing and detailing
I’m actually going to go through two different routes with this option: one is the pragmatic/practical way for most people, cognizant that most 4wds are never going to have perfect paint, and the other is for the more fastidious 4wd owner. Bear this in mind as you go through this article: a lot of people would be unhappy using a fairly intensive contact wash for a car if you’re a detailer, but 4wds end up getting bush pin striping and the like. I will illustrate how to polish out some of these blemishes, though, so it’s not like you can’t get there with a 4wd.
Just like my other cleaning articles, I don’t think you need specialist 4wd washes or anything. There are some products that are worthwhile, e.g. if you do a lot of red dirt driving then a pindan staining remover is worth it, but a lot of the products sold as shifting salt etc are formulated very similarly to most car washes.
Sections
- Practical and pragmatic
- Pre wash: hose it down
- Wheel wash
- Initial shift: foam broom
- Main wash
- Dry and post treatment
- Perfectionist
- Contactless pre wash
- Wheel clean
- Two bucket cleaning
- Drying the car when needed
- Fallout remover
- Claying the paint
- Polishing to remove imperfections
- Paint protection: waxing or ceramic coating
Practical and pragmatic
This is going to really trigger the detailing nerds. To cover off something first off: this wash involves relatively heavy contact to a dirty car. This can promote swirls or marks in the paint. You can polish these out, but it won’t give you the ultimate finish. It is, however, a fast way to wash your car & if you’re kind of careful it’ll still be ok. In addition, 4wds I have end up with little scratches in the paint from driving in the bush anyway so it’s not marking the paint more than using the car marks the paint.
I wouldn’t recommend this level of cleaning for a darker car if you’re particularly about the finish of the paint. For that you want to follow more of a perfectionist route.
For this type of cleaning you’ll need:
- Hose for rinsing
- Foaming brush
- Wheel brush(es)
- Cleaning products:
- Wheel cleaner
- Body shampoo
- Plastic/vinyl trim cleaner/protectant
You could absolutely consider other brands or items than I’ve linked, but I thought I’d just link to what I use. Certainly other quality brands like Meguiars or Bowdens Own are worth getting, as are products in various categories from detailing specialists like Waxit.
Pre wash: hose it down
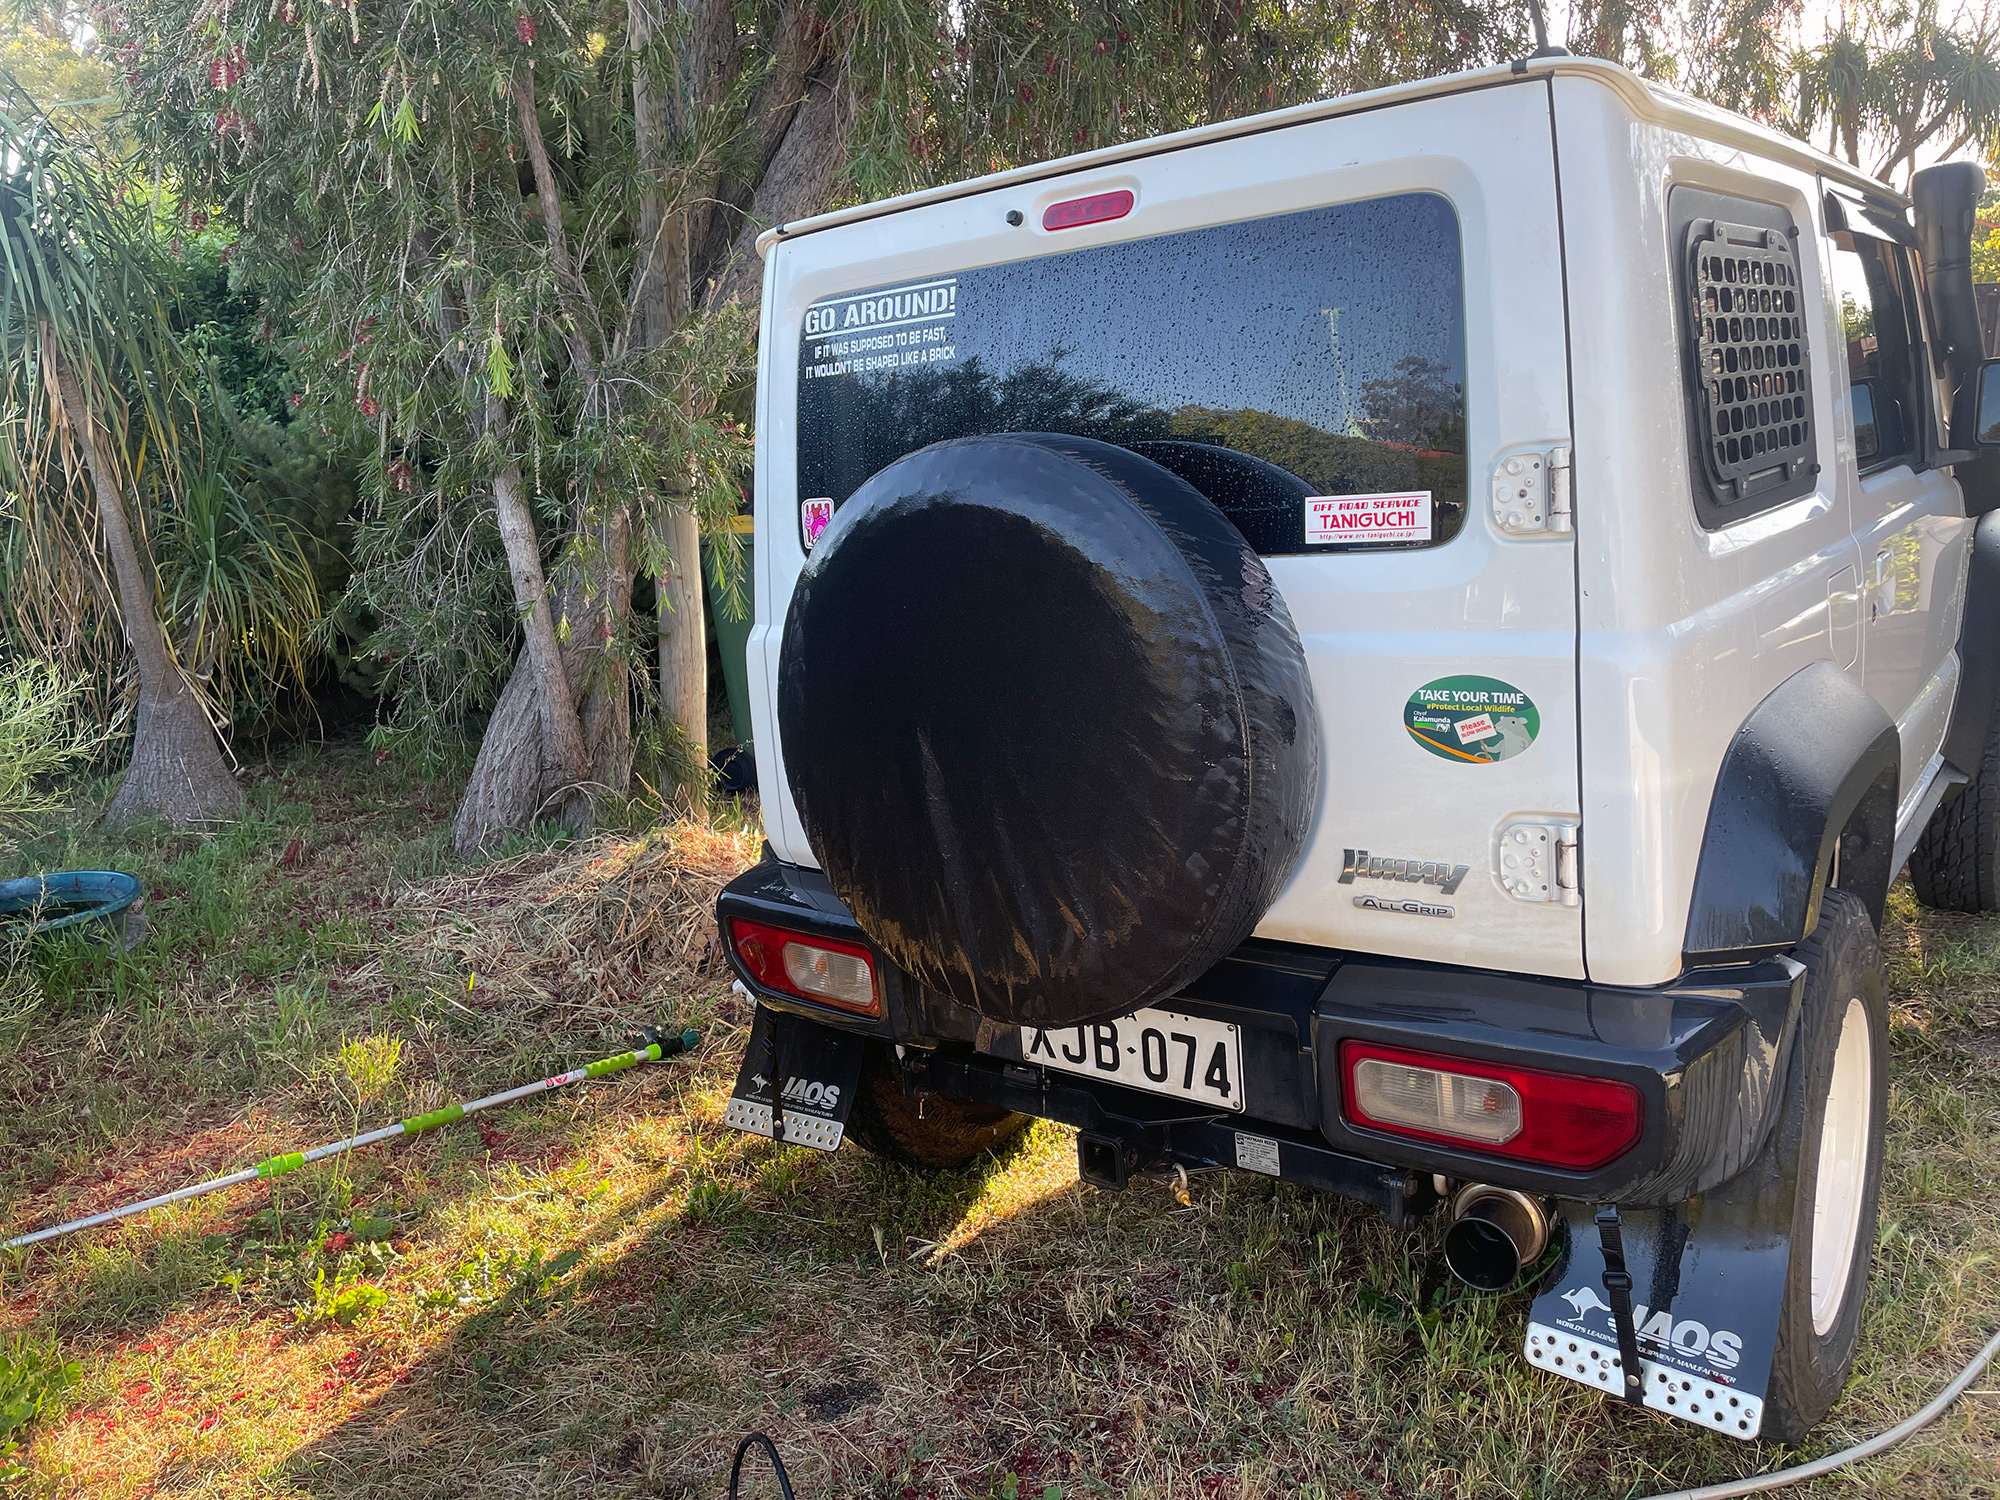
I do this absolutely first as it shifts a bit of the dirt, but you end up rinsing again after doing the wheel cleaning.
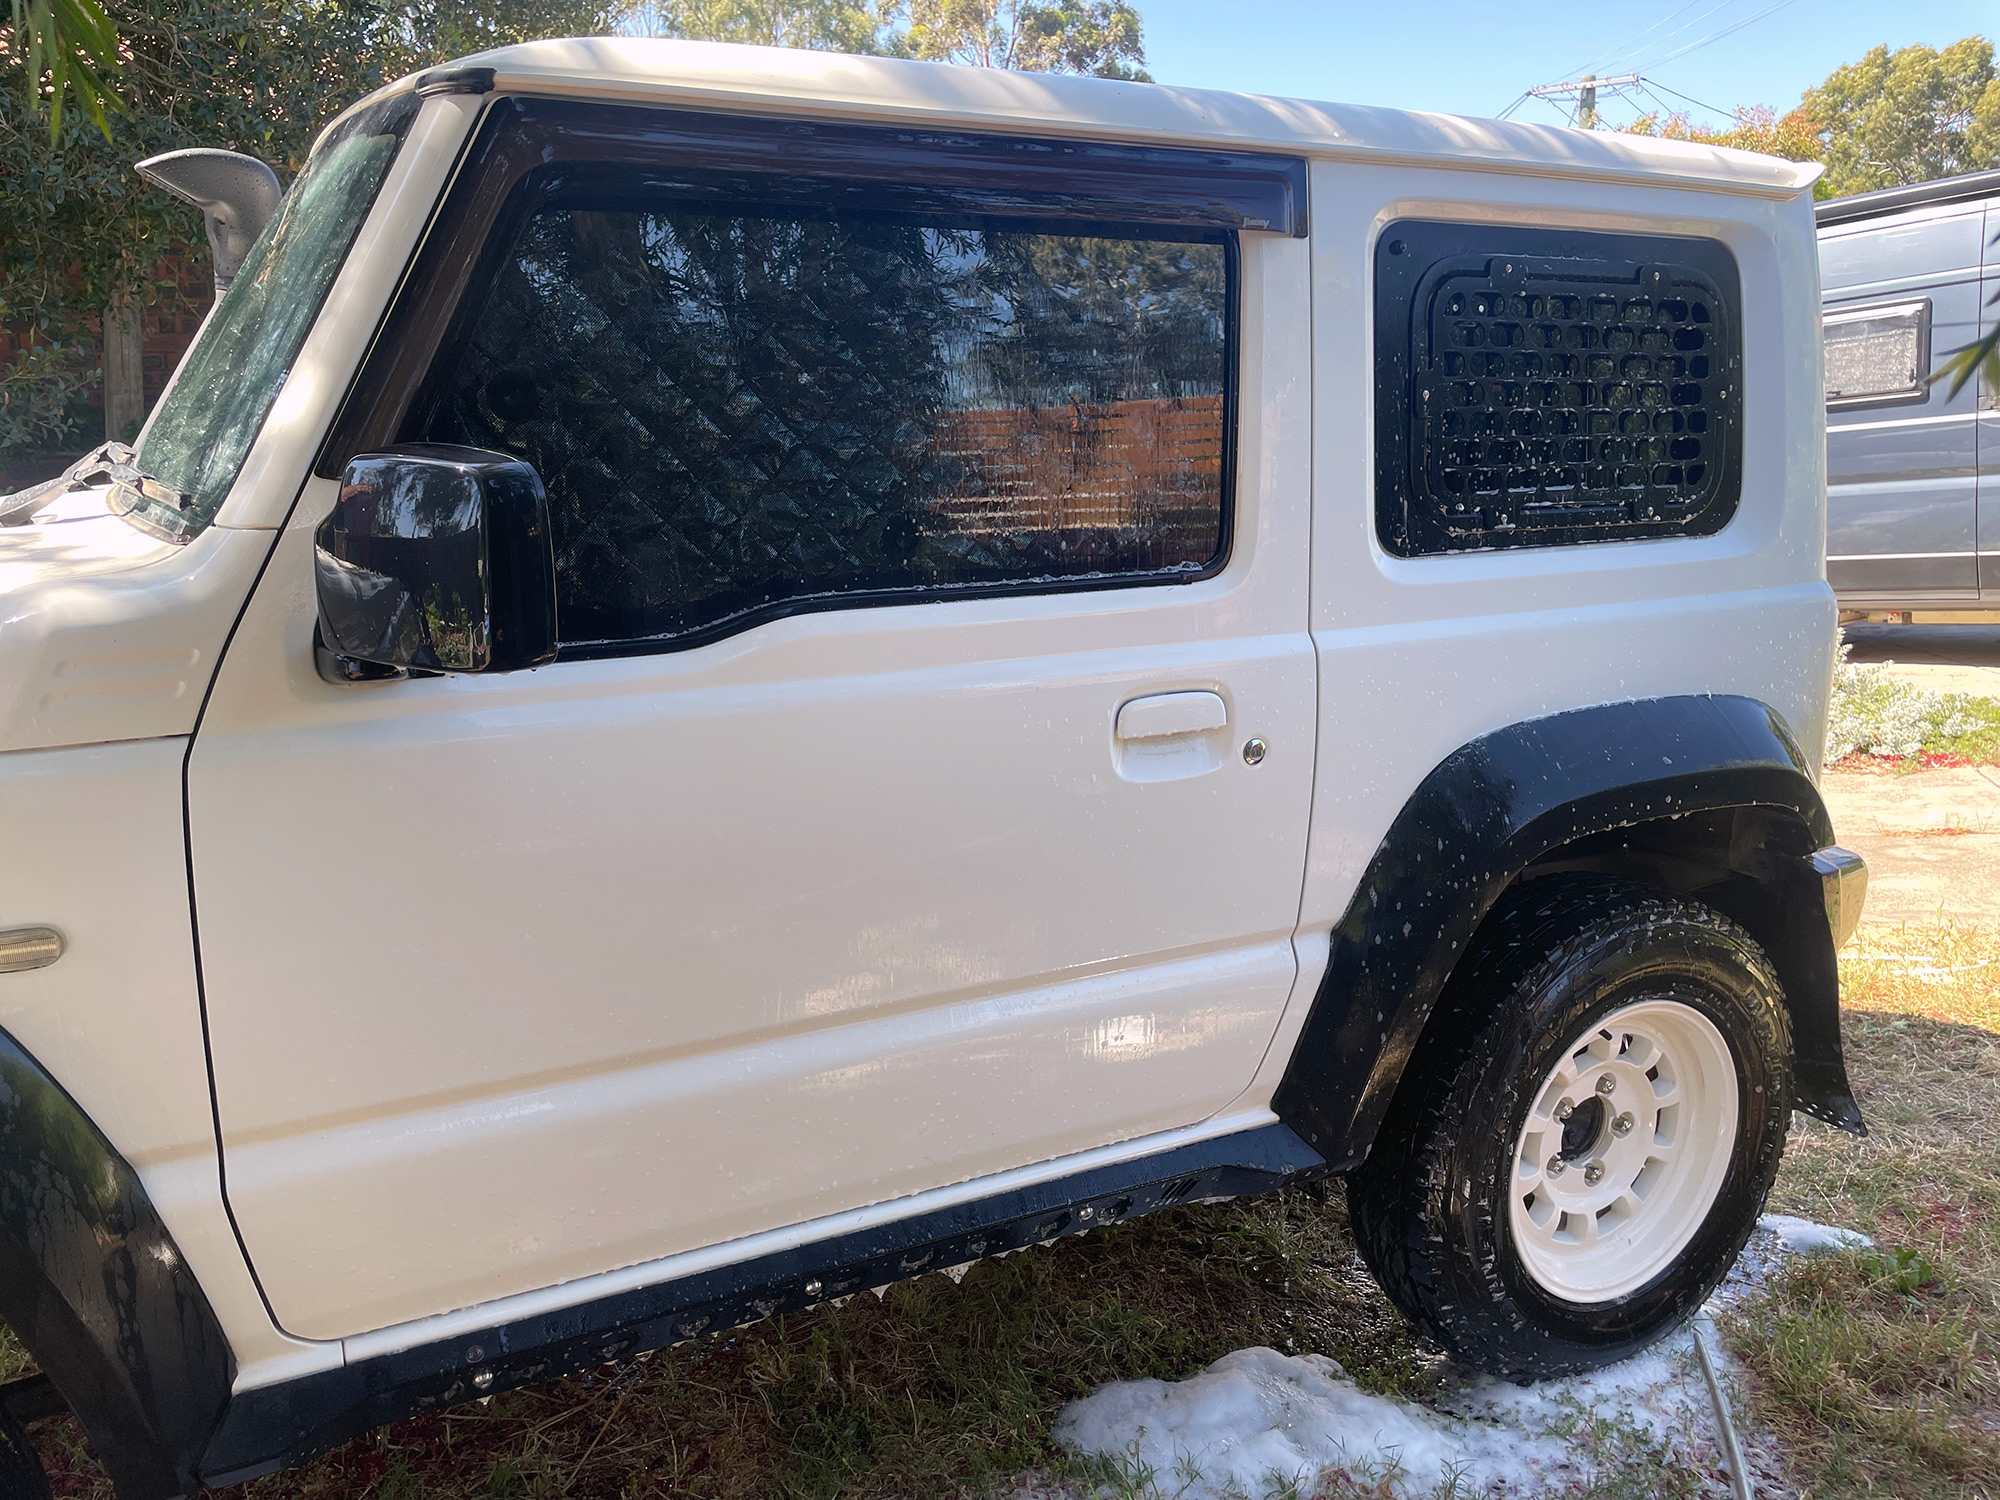
This pic is before rinsing the body; turns out I literally forgot to get a post rinsing photo! It didn’t shift much dirt so it looks like this, just wet.
Wheel wash
This is where you end up doing quite a bit of work as there’s not really an easier way to do it than a semi-fancy way. I would recommend using an alloy wheel safe wheel cleaning product: while you can use harsher chemicals on steel wheels, the modern alloy wheel cleaners work about as well and they’ll be safe for alloy wheels you might have. If you have an upsec Jimny with alloy wheels from the factory then obviously you’ll want an alloy cleaner anyway. In my case I now have aftermarket alloy wheels anyway.
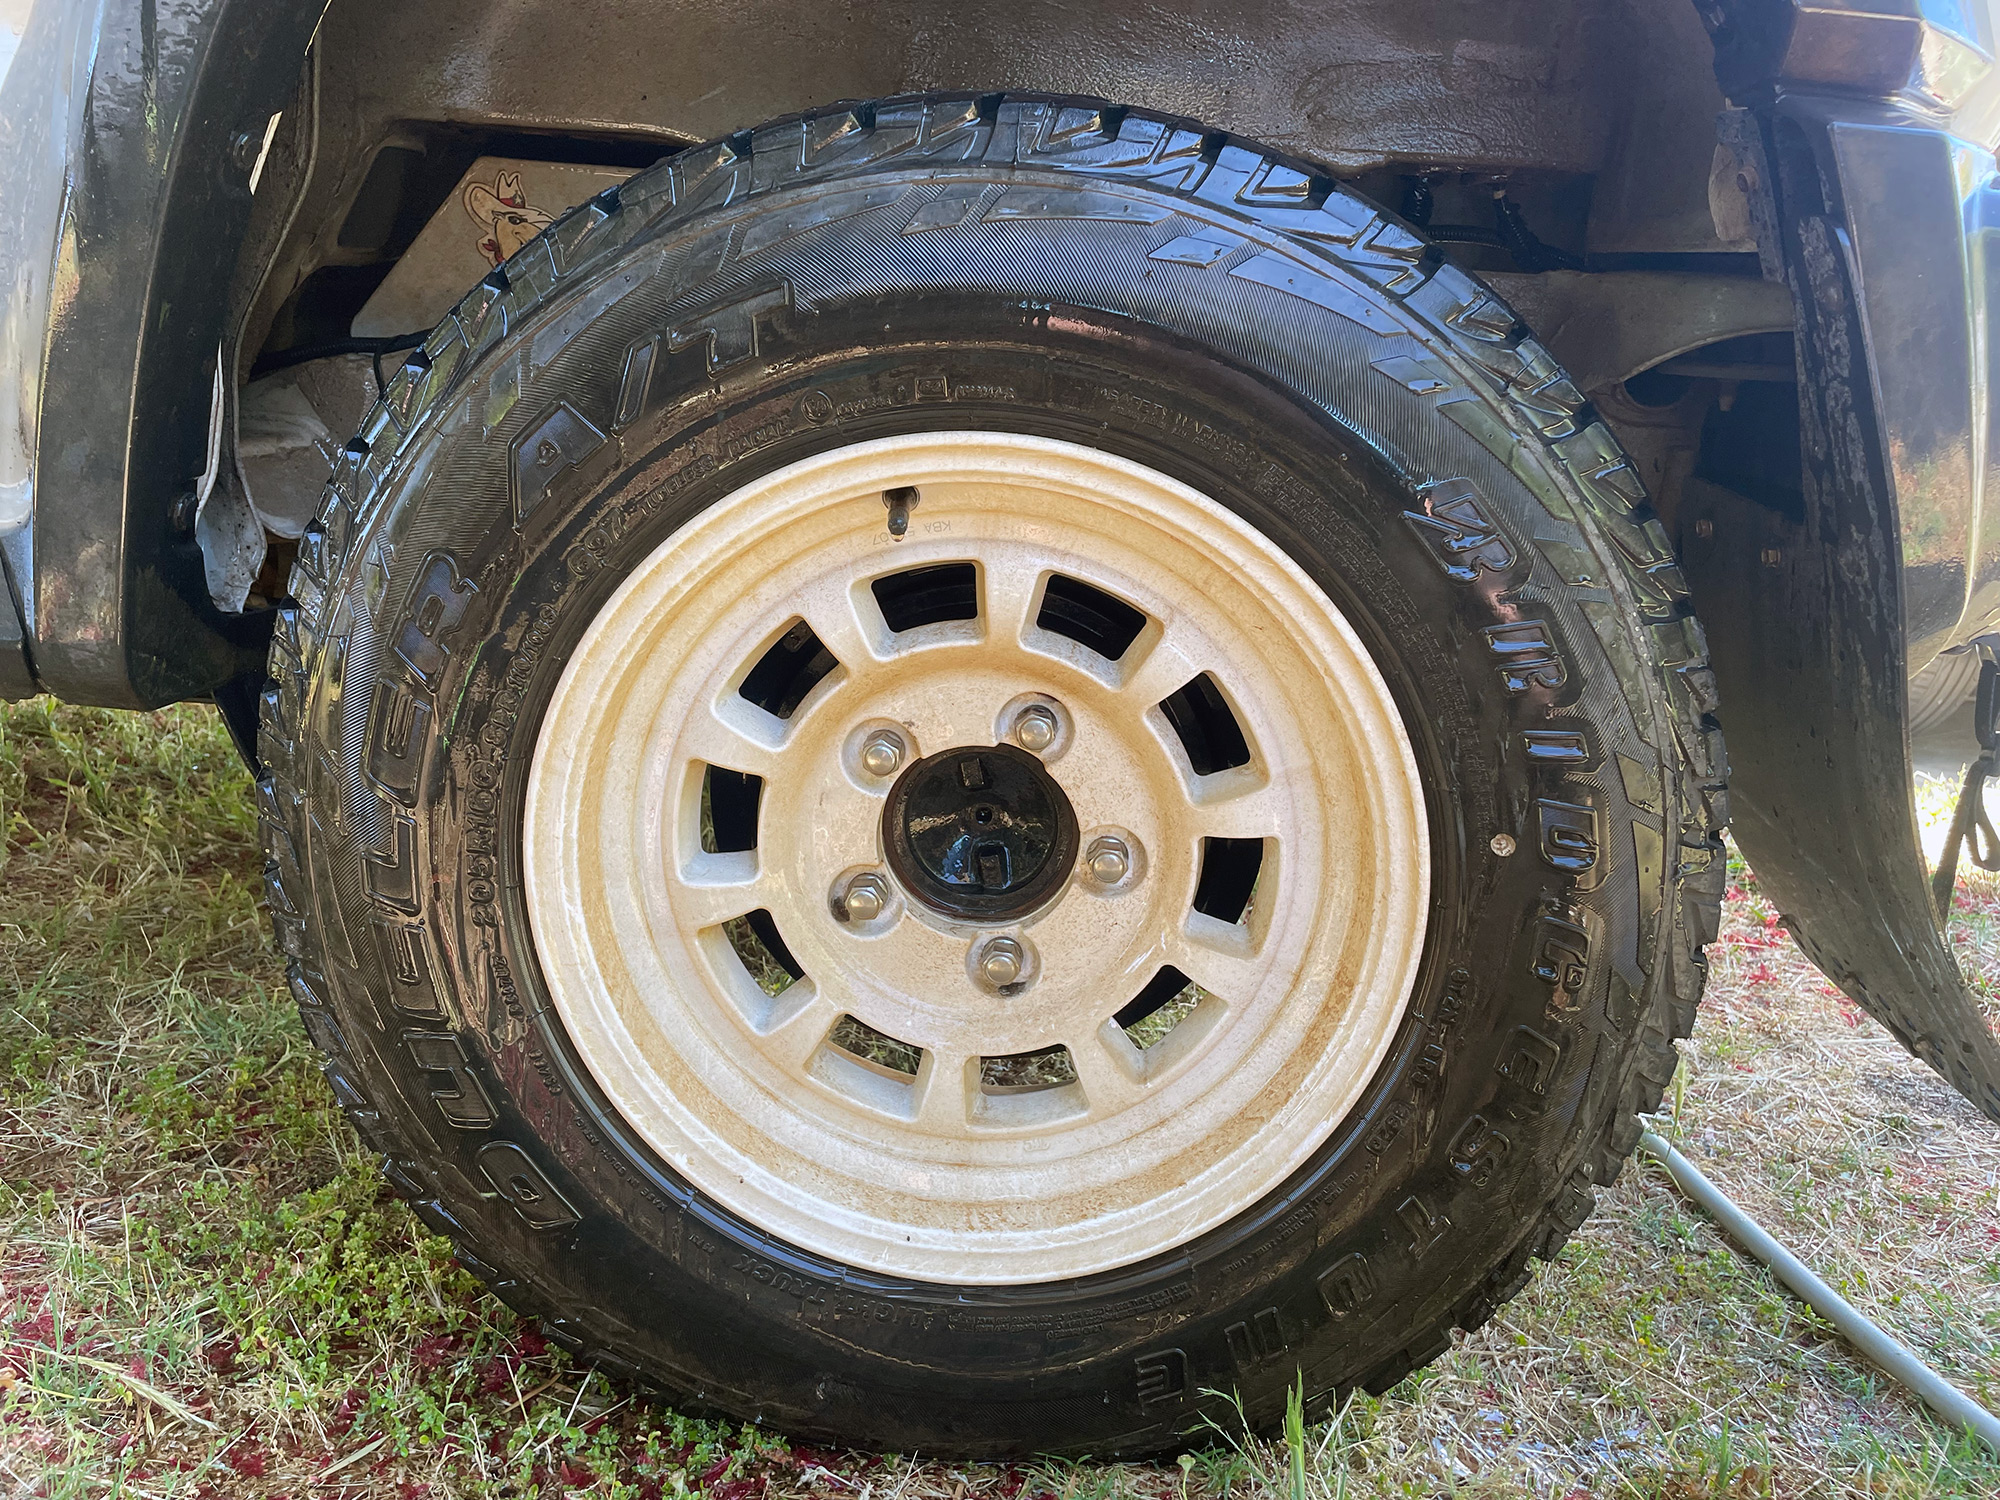
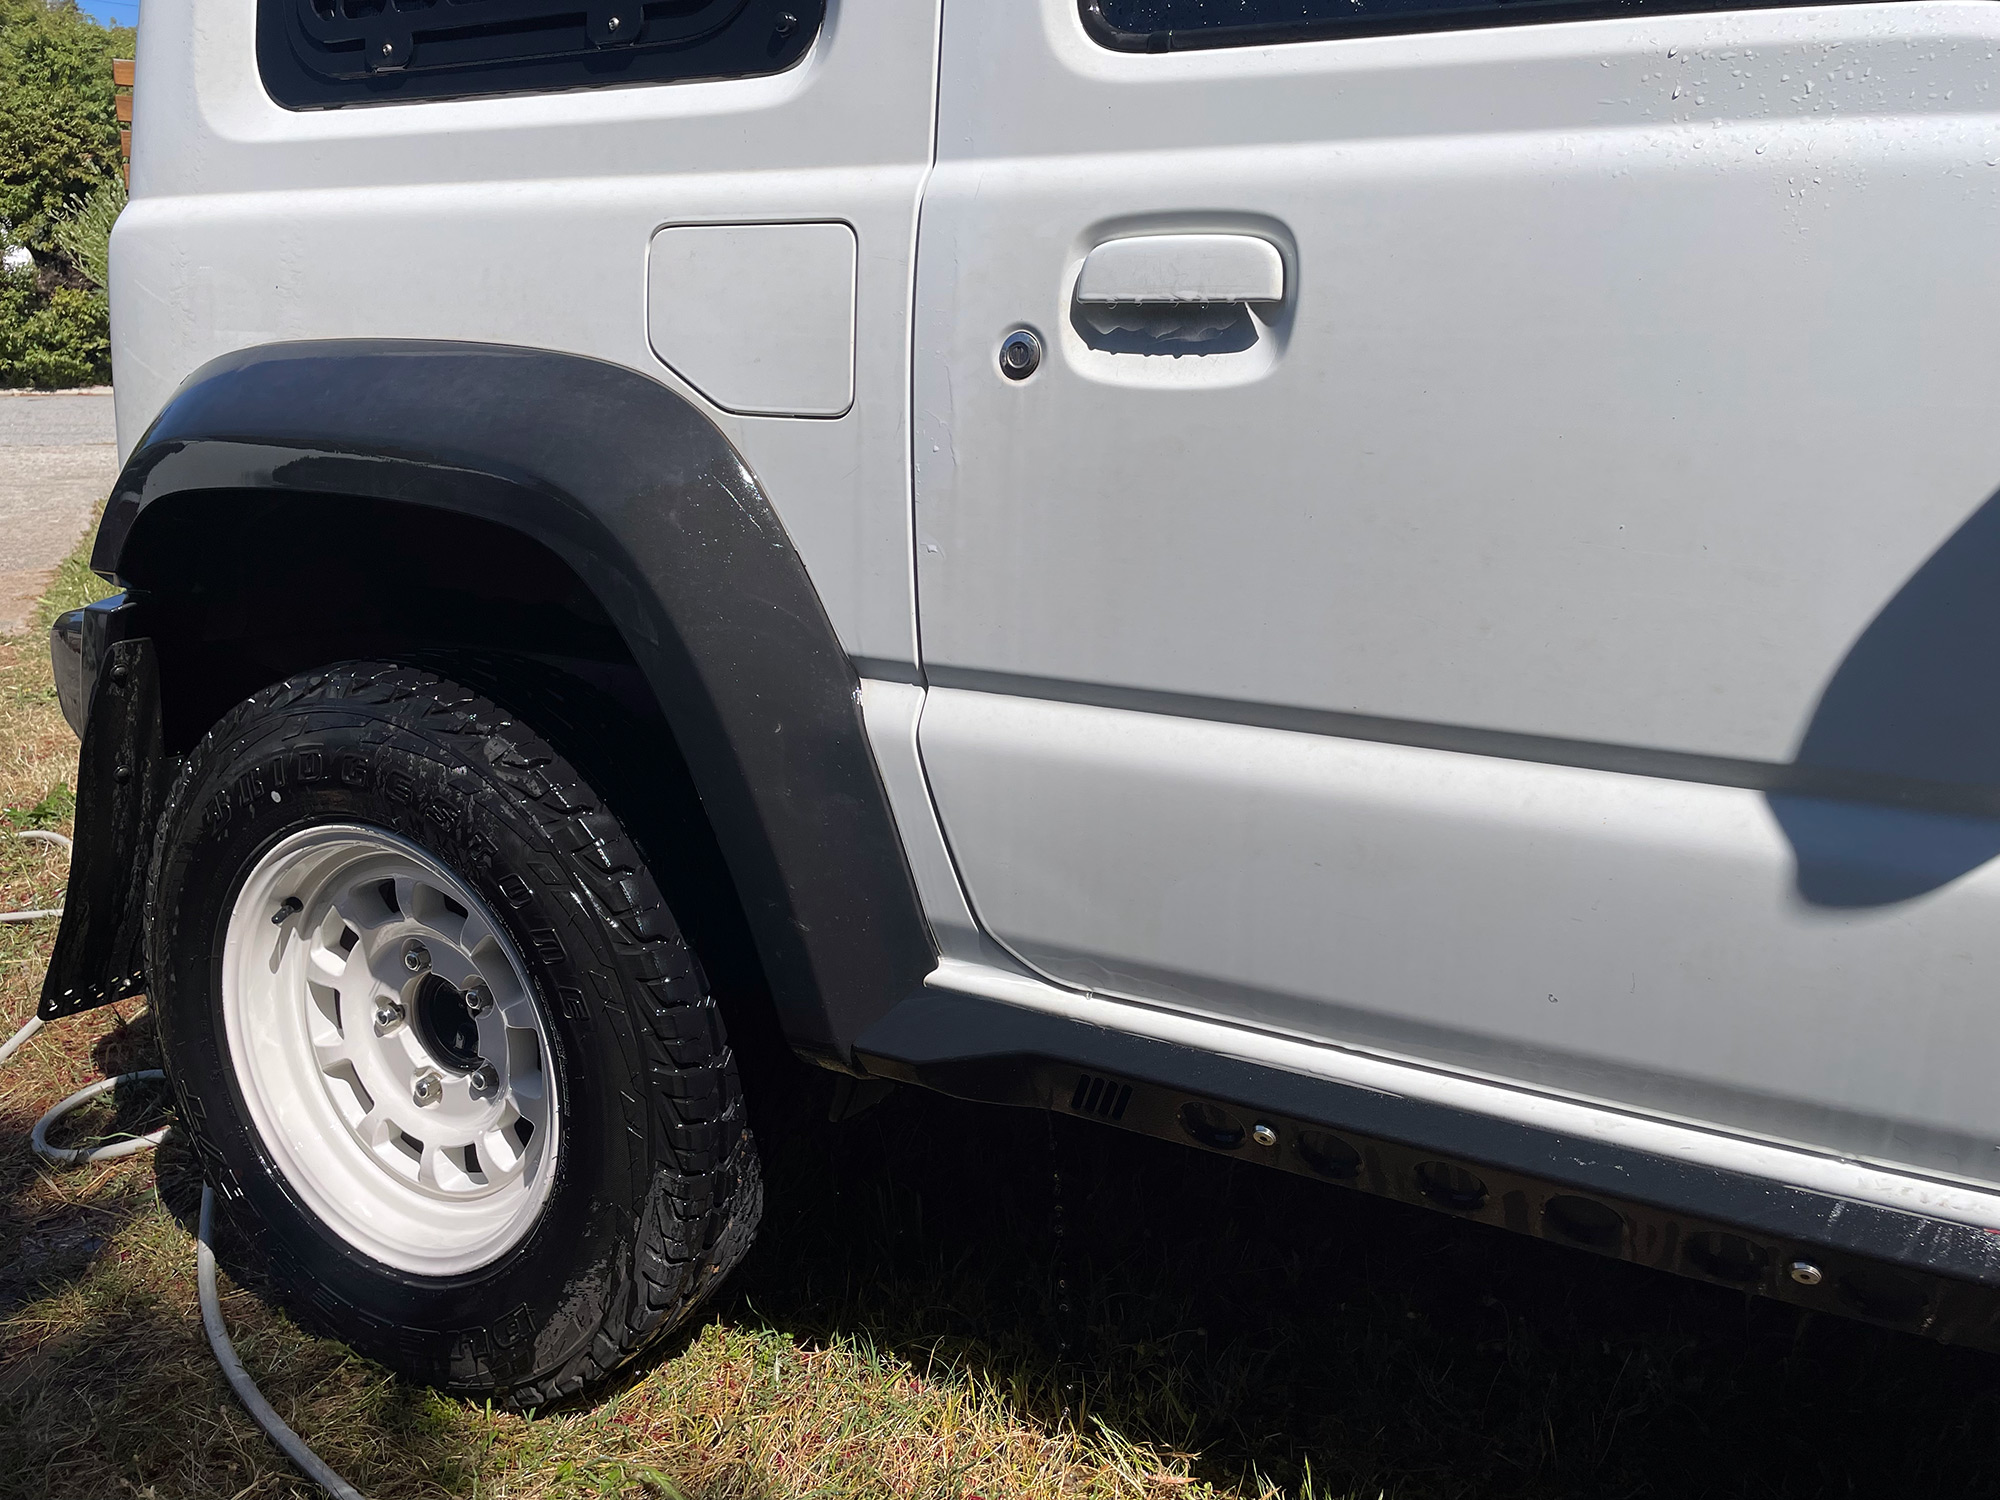
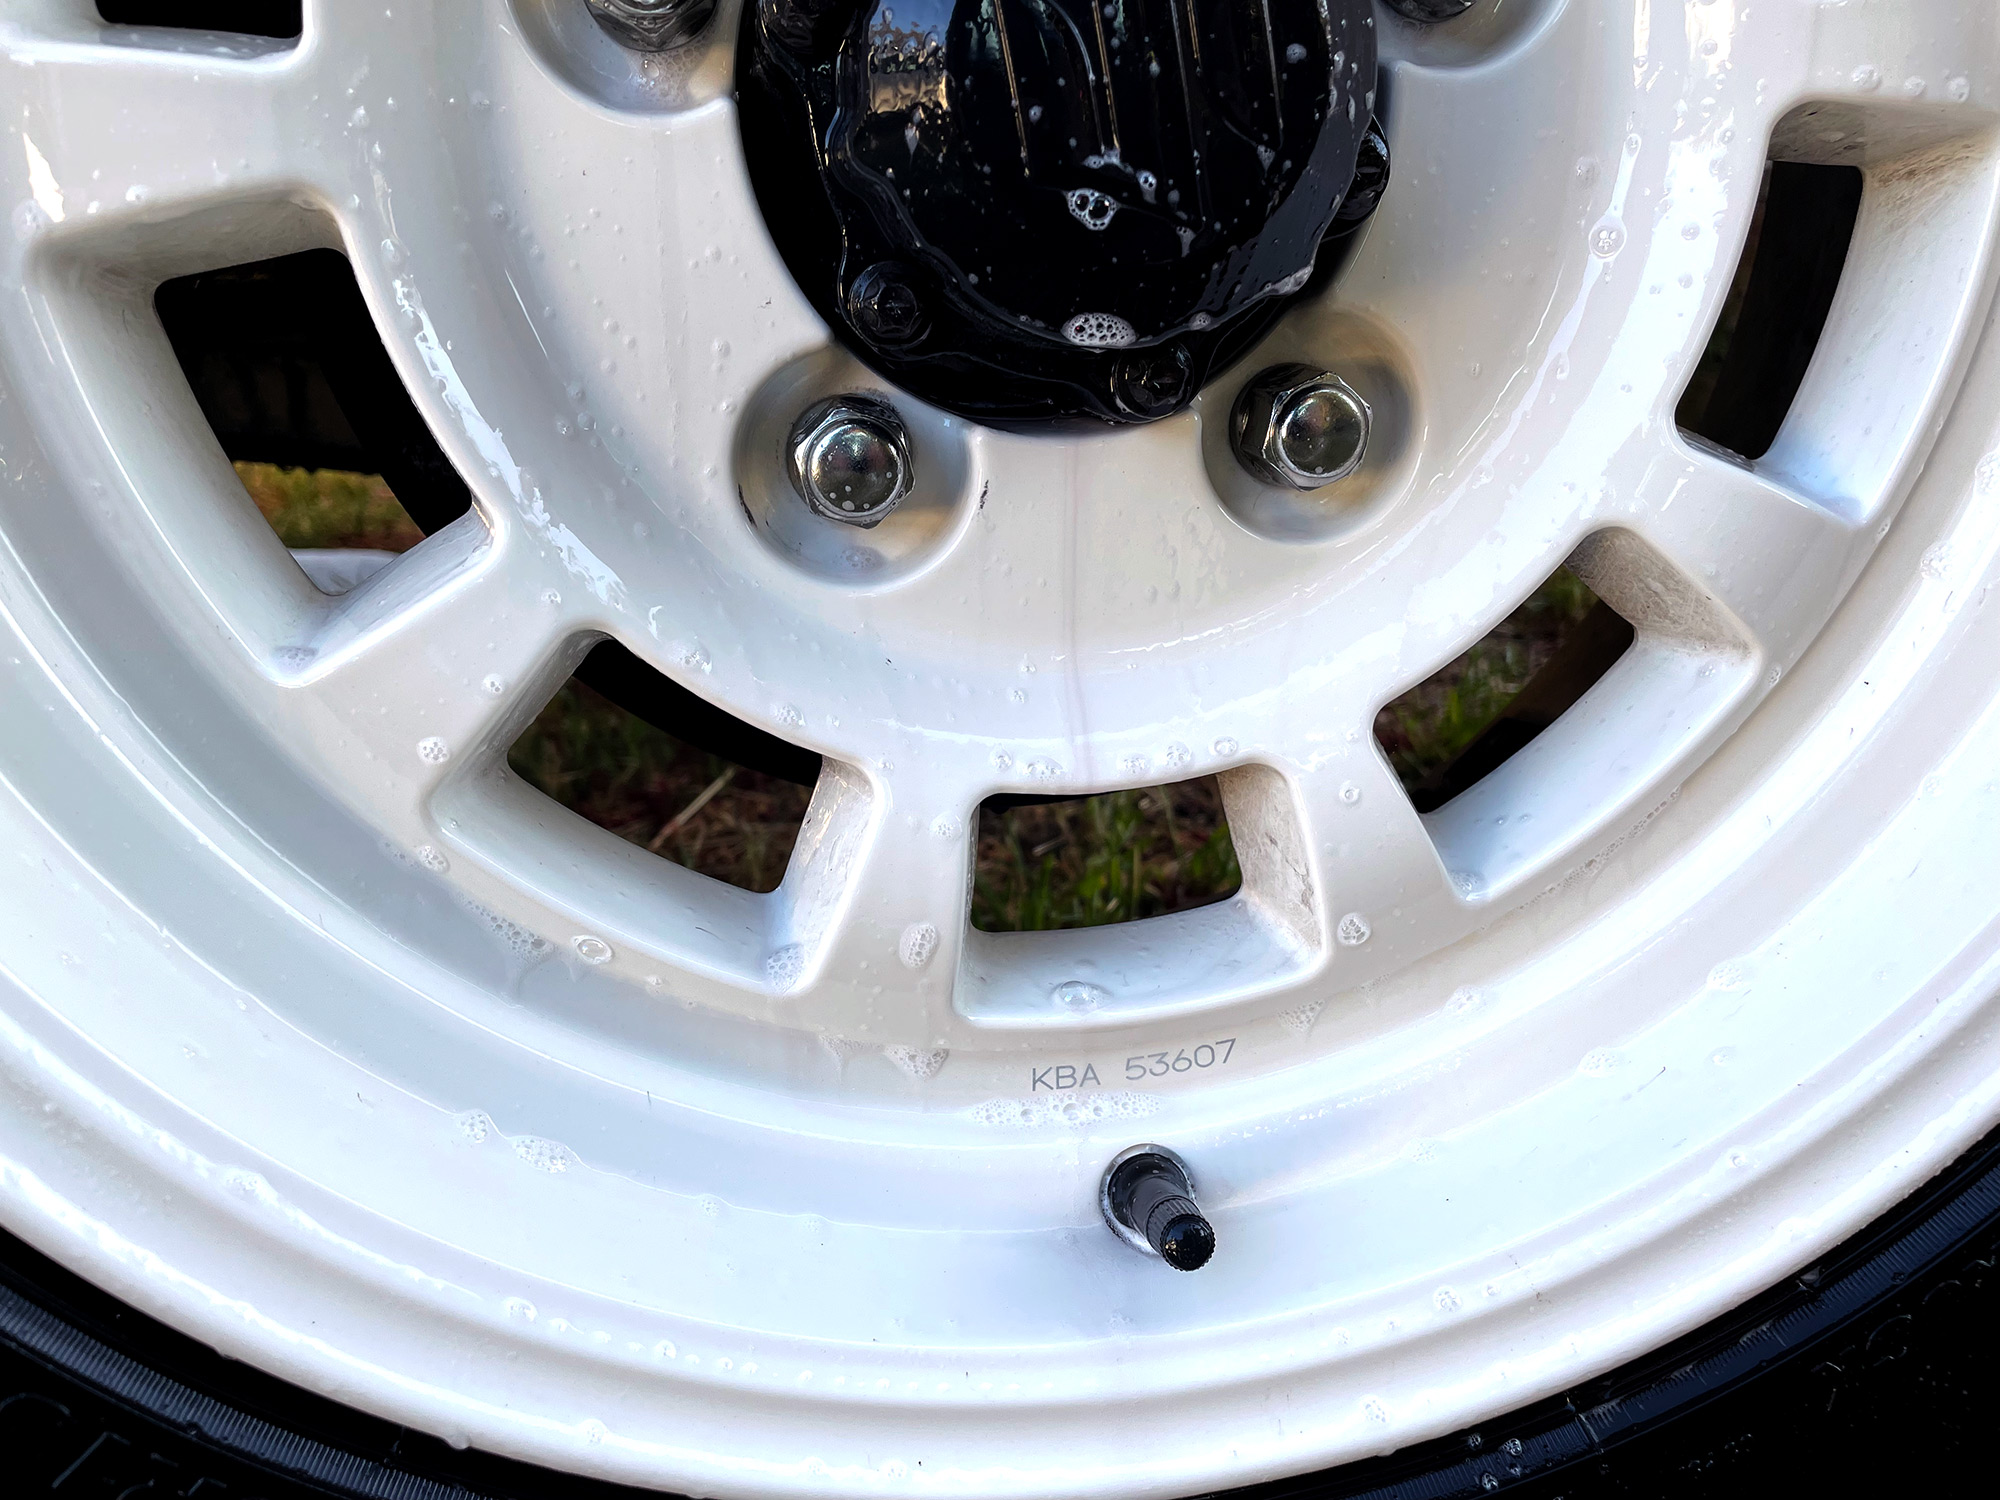
Start with a dirty wheel.
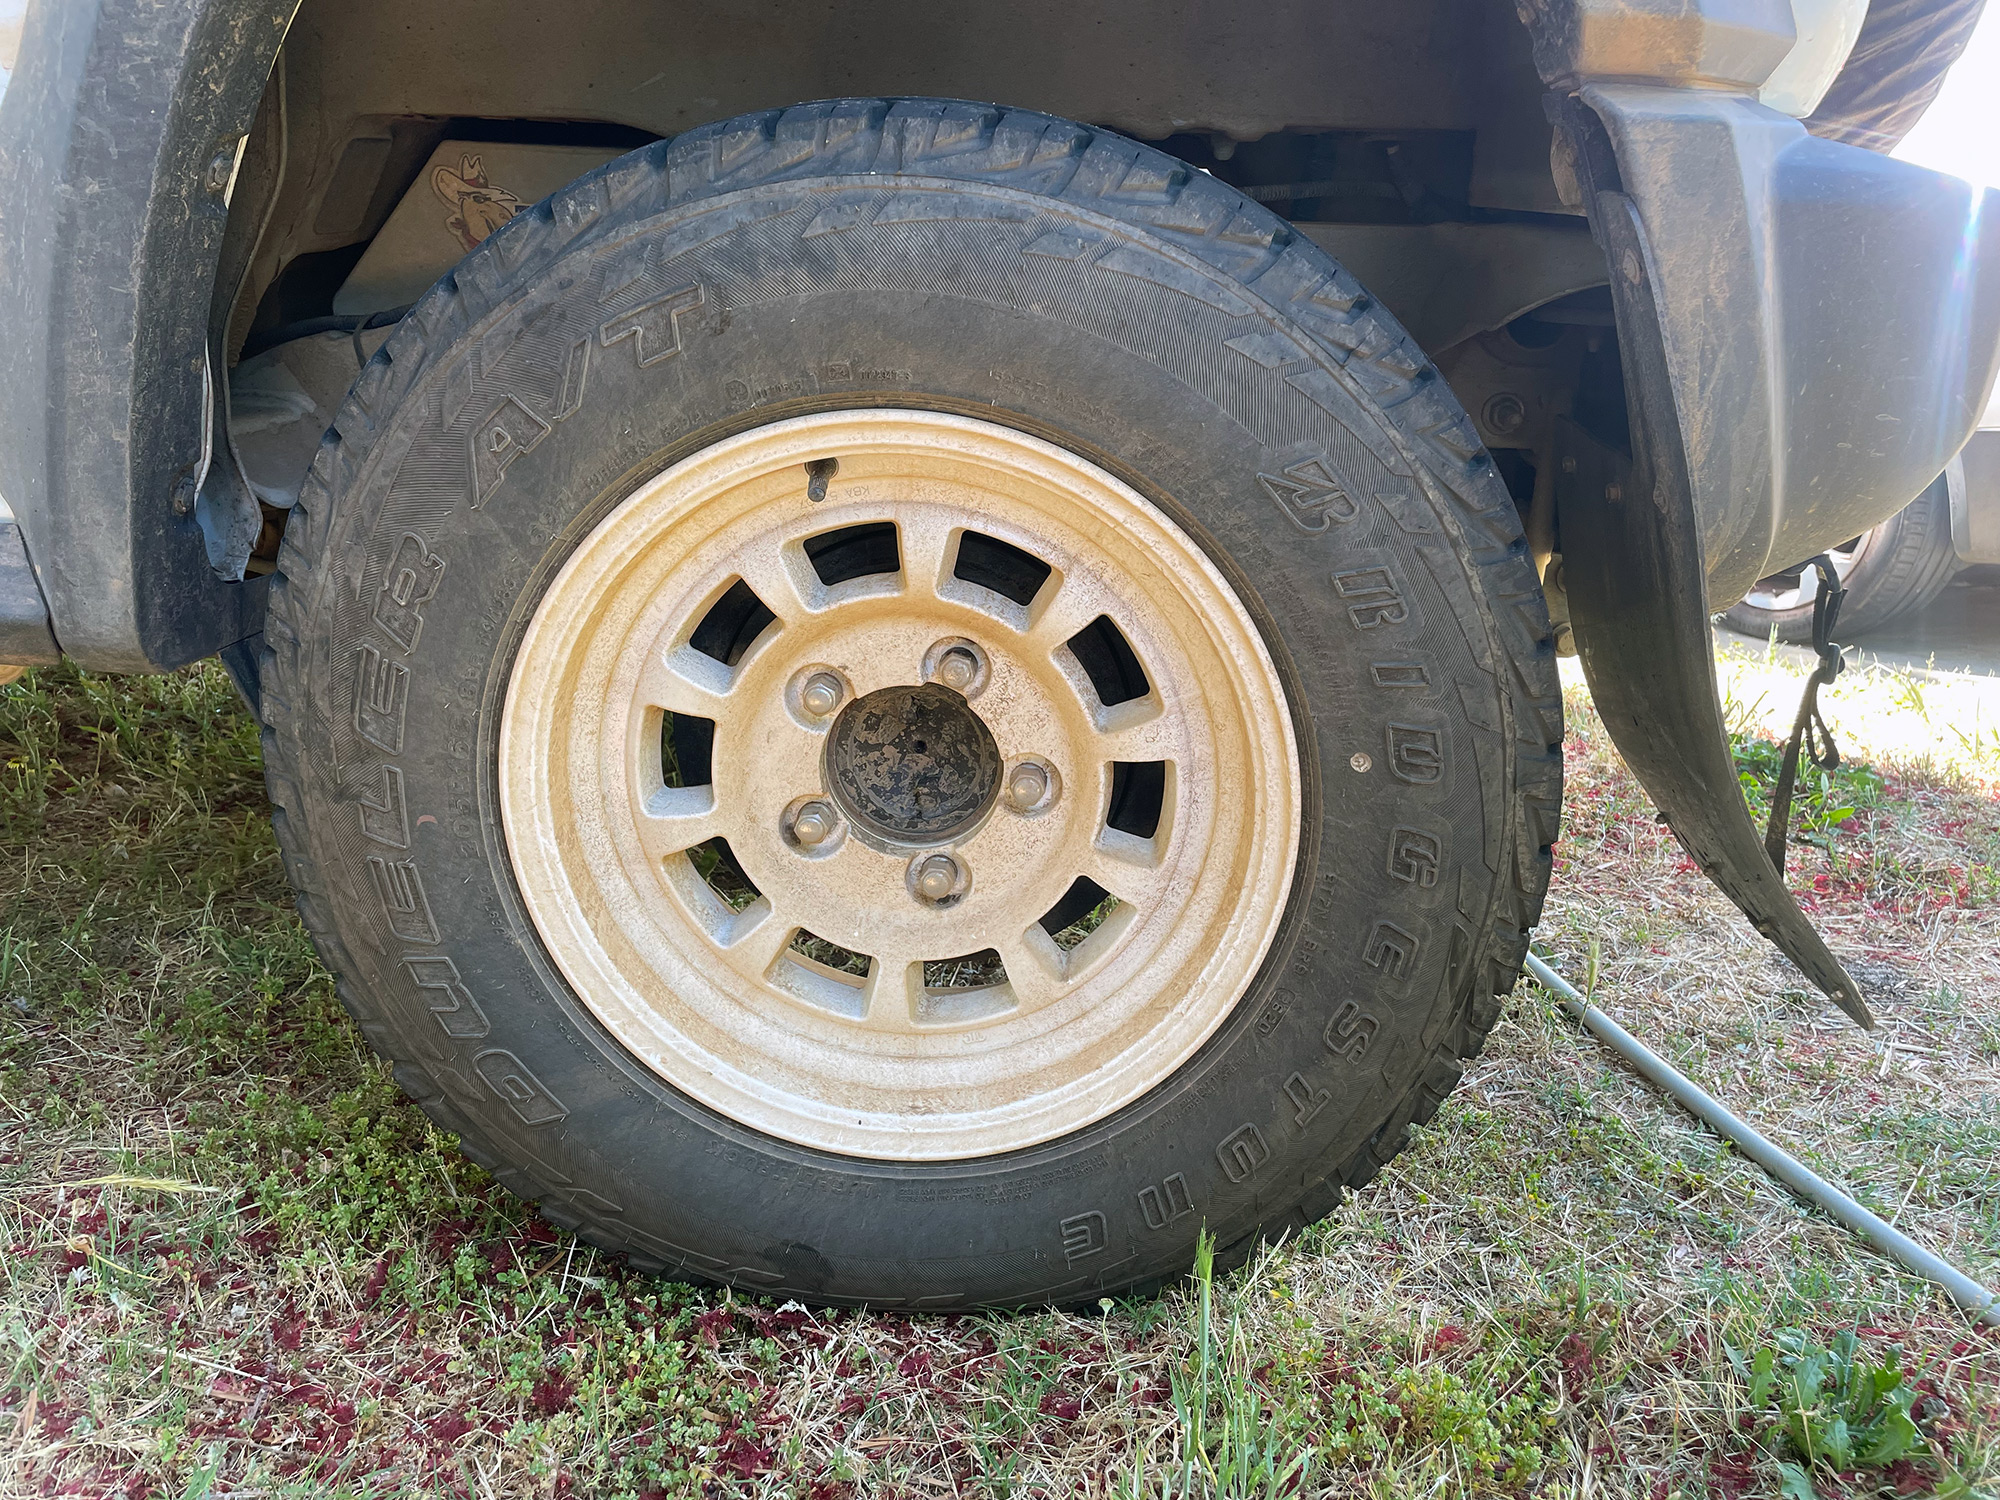
Rinse it with some clean water.
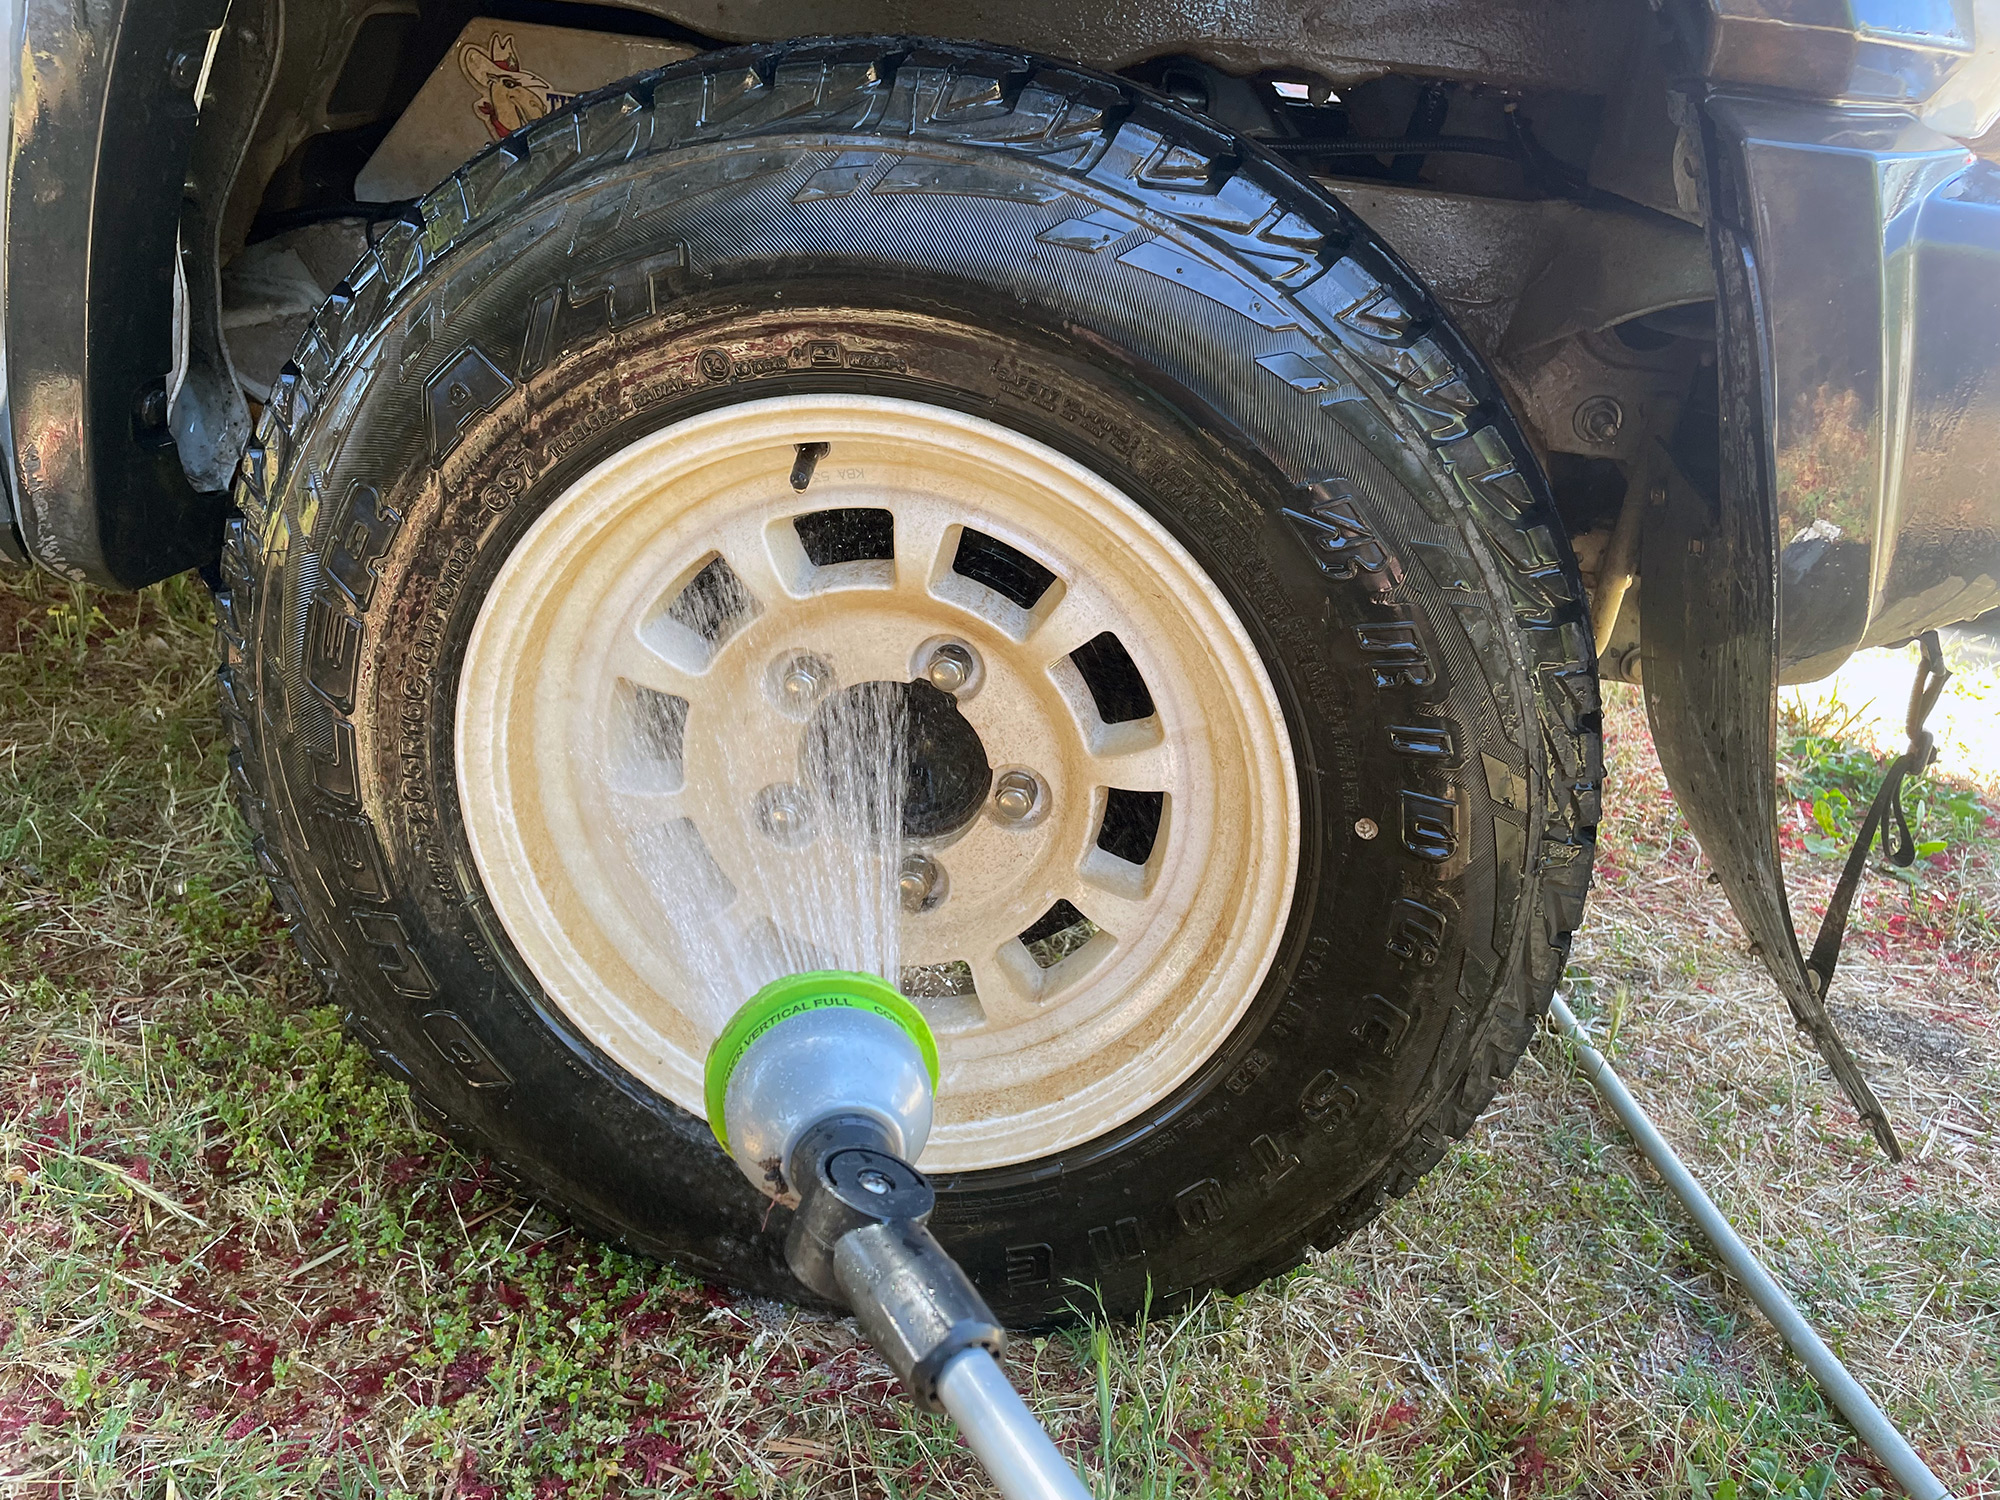
If you do this just with a normal garden hose it won’t shift much ingrained dirt but every little bit helps. Here you can see a little bit of dirt has been removed but very little.
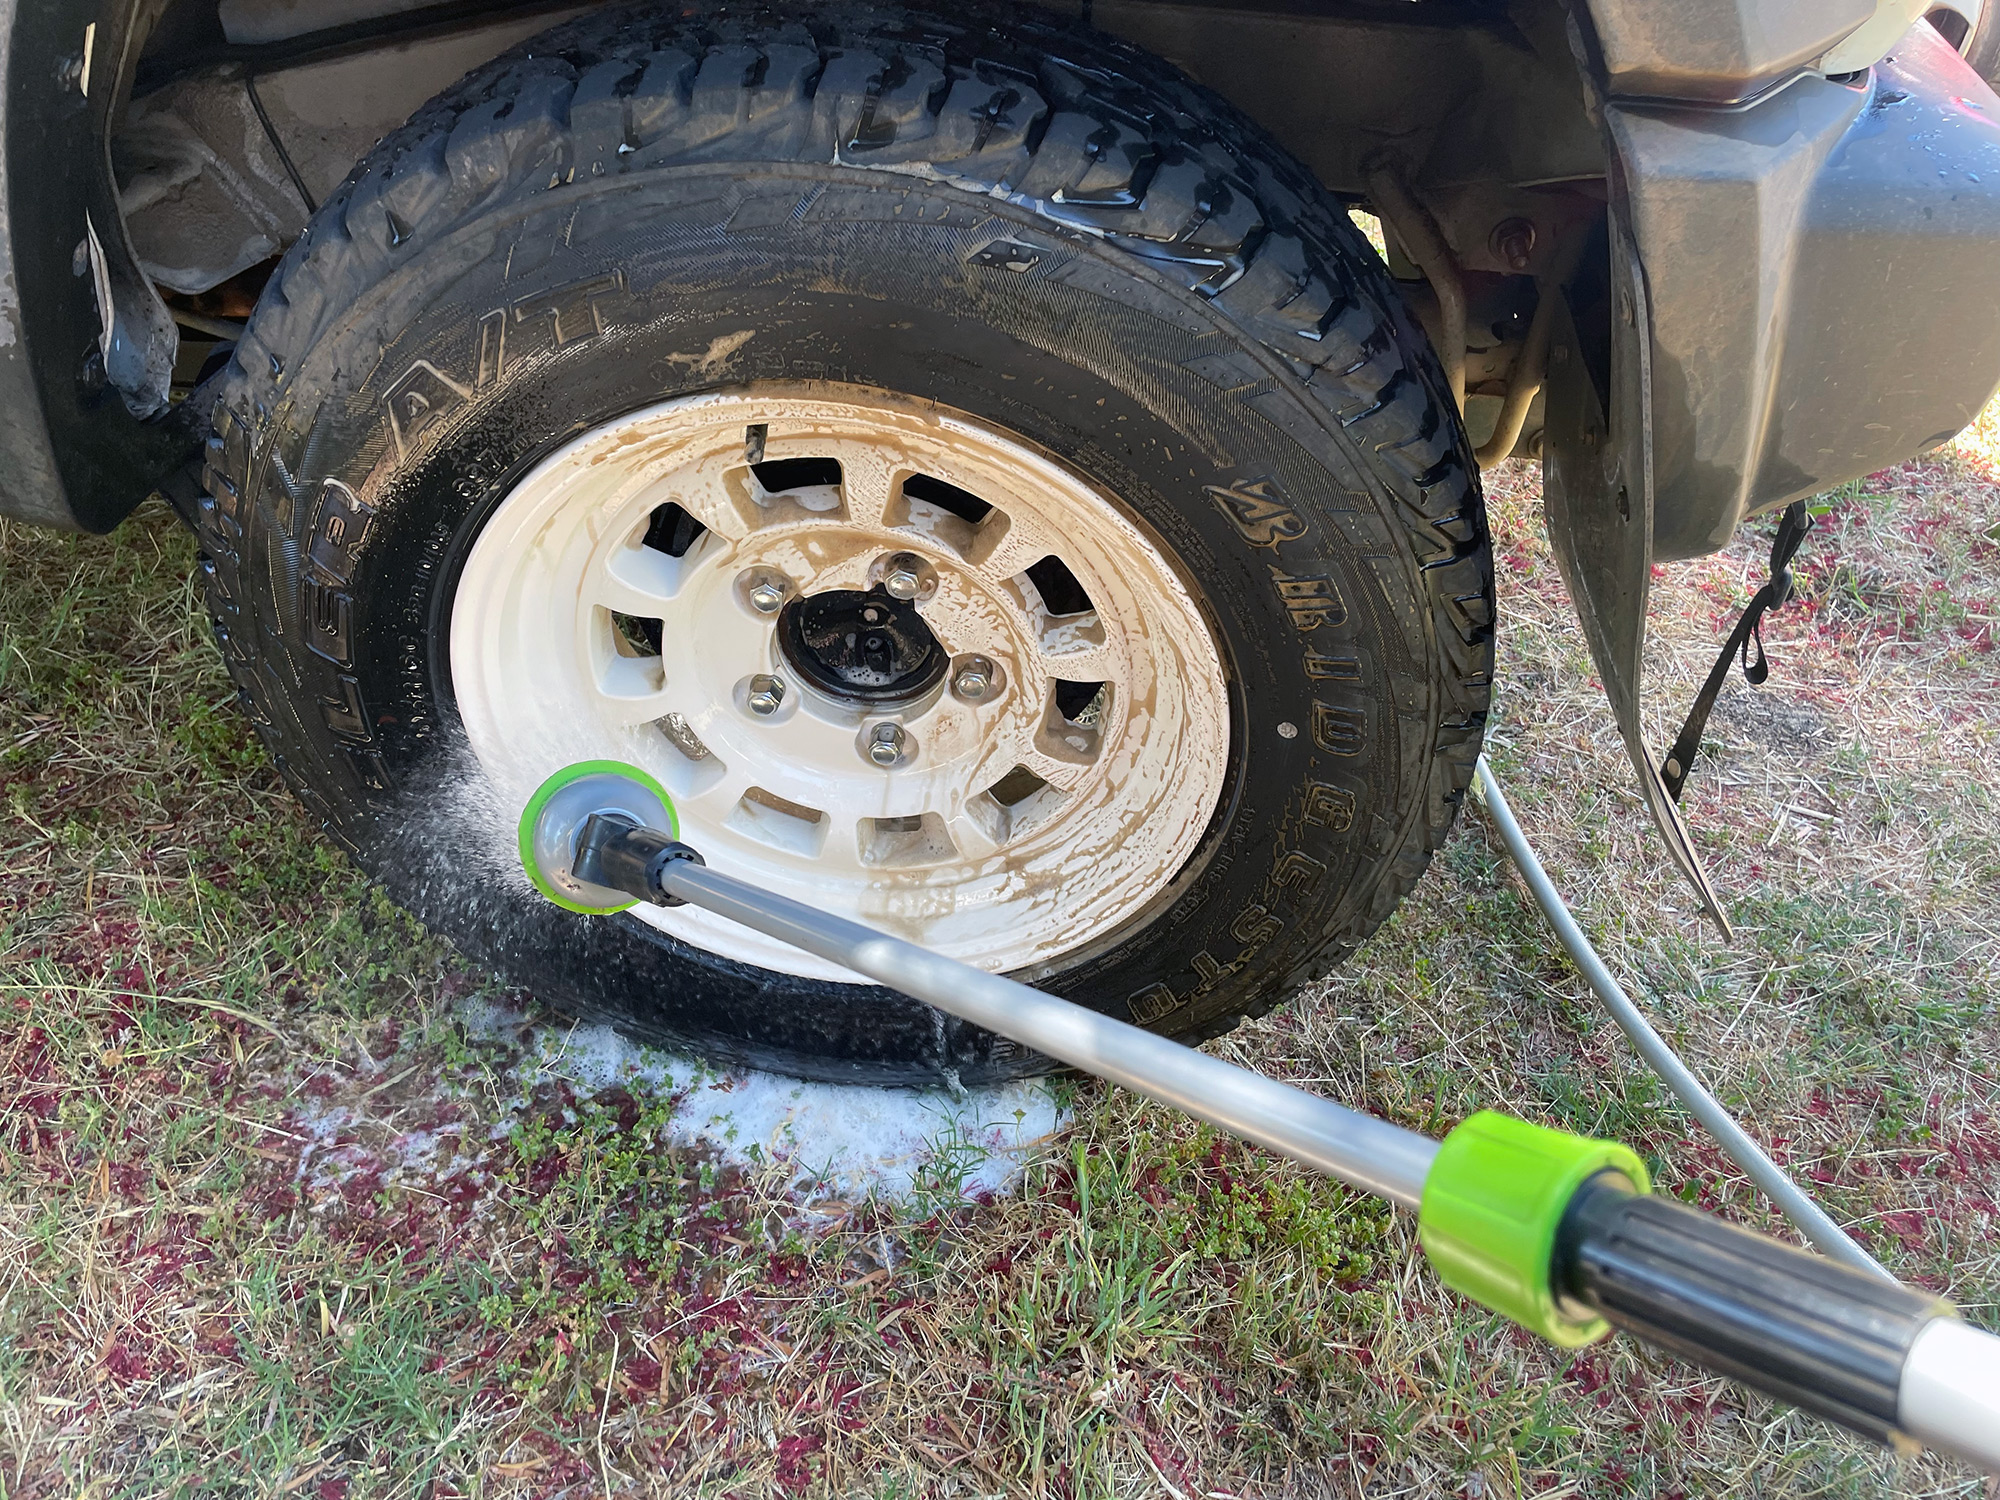
Now spray it with your wheel cleaner.

Most wheel cleaners need to be left to soak for a minute or two. Best to do this in the shade so they don’t dry on the wheel but they do stay runny and start to pull off the dirt and brake dust etc.
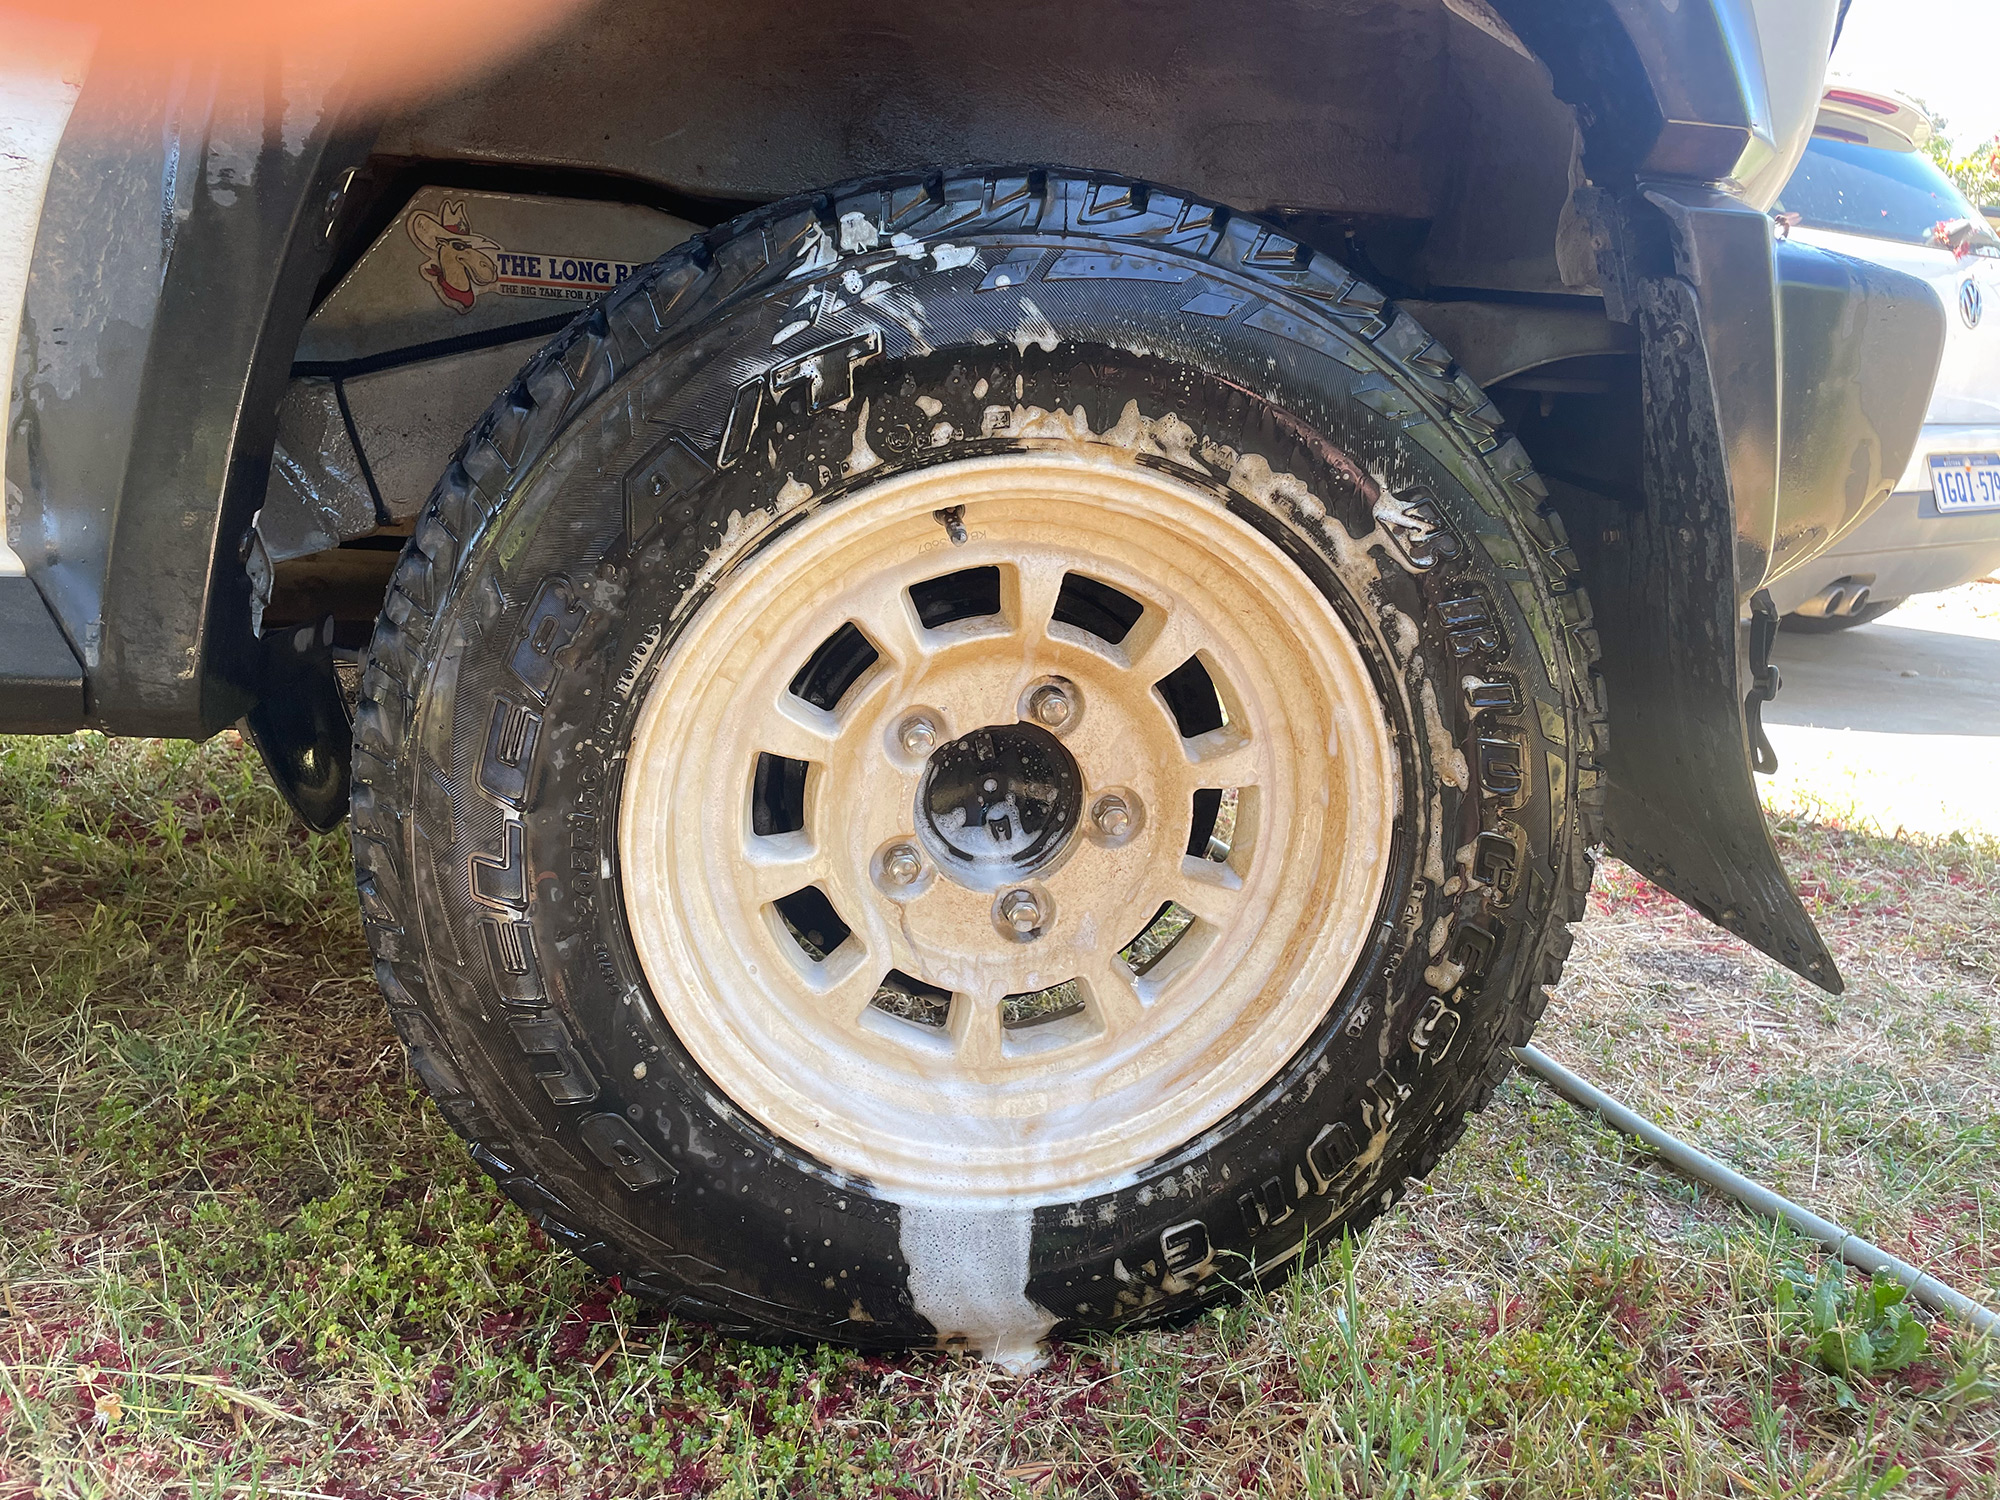
A good cleaner will promote a fair amount of runoff.
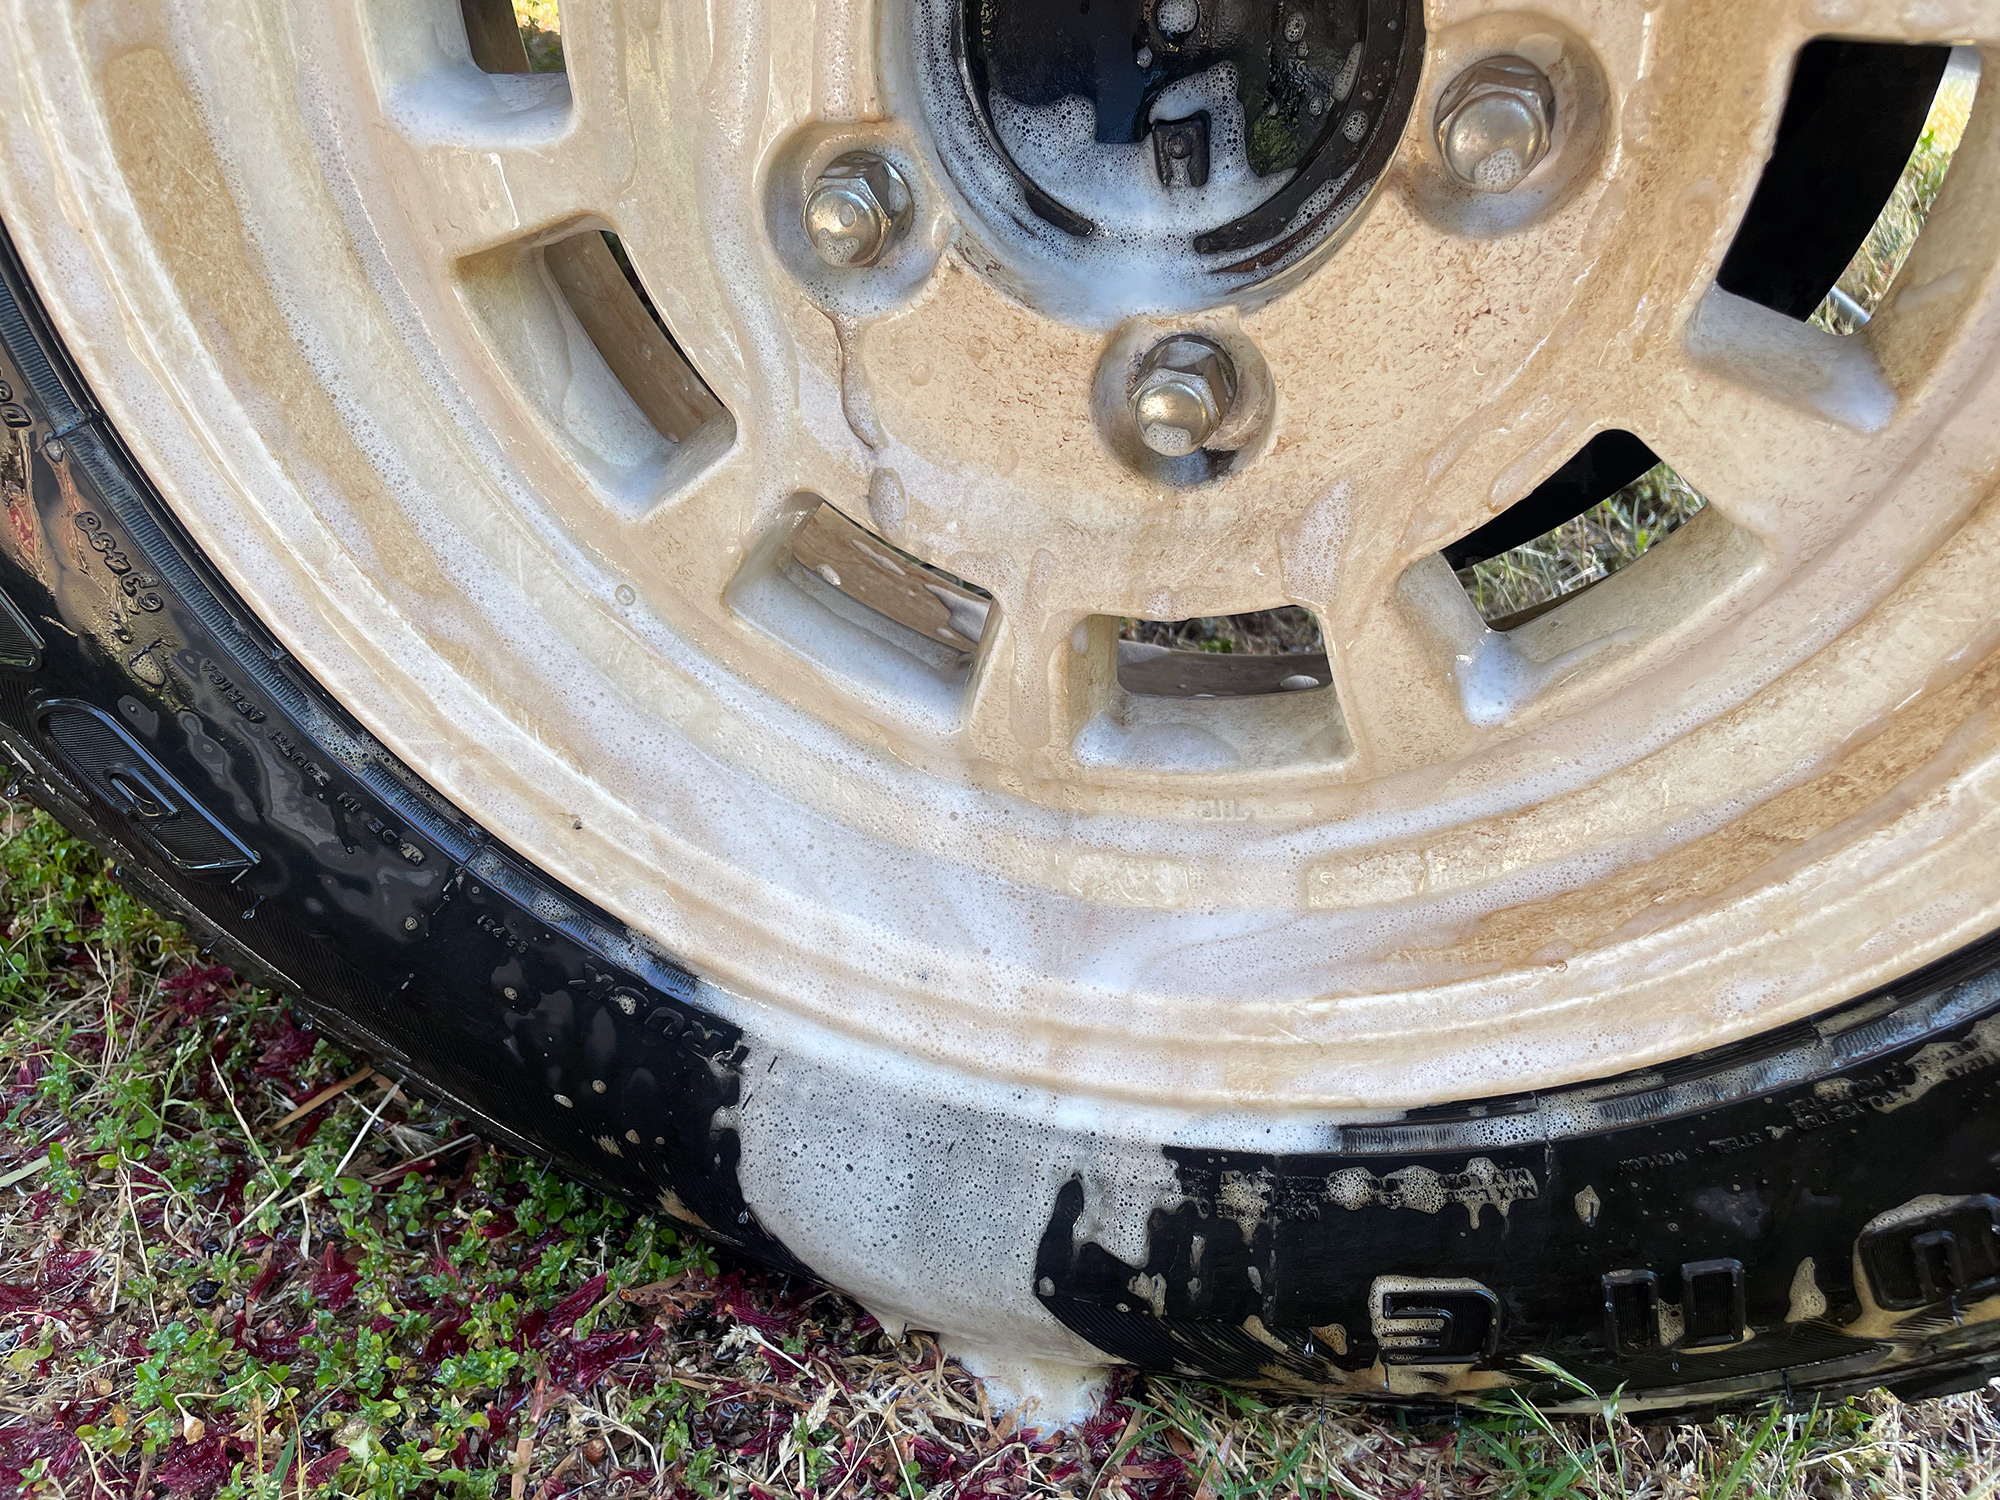
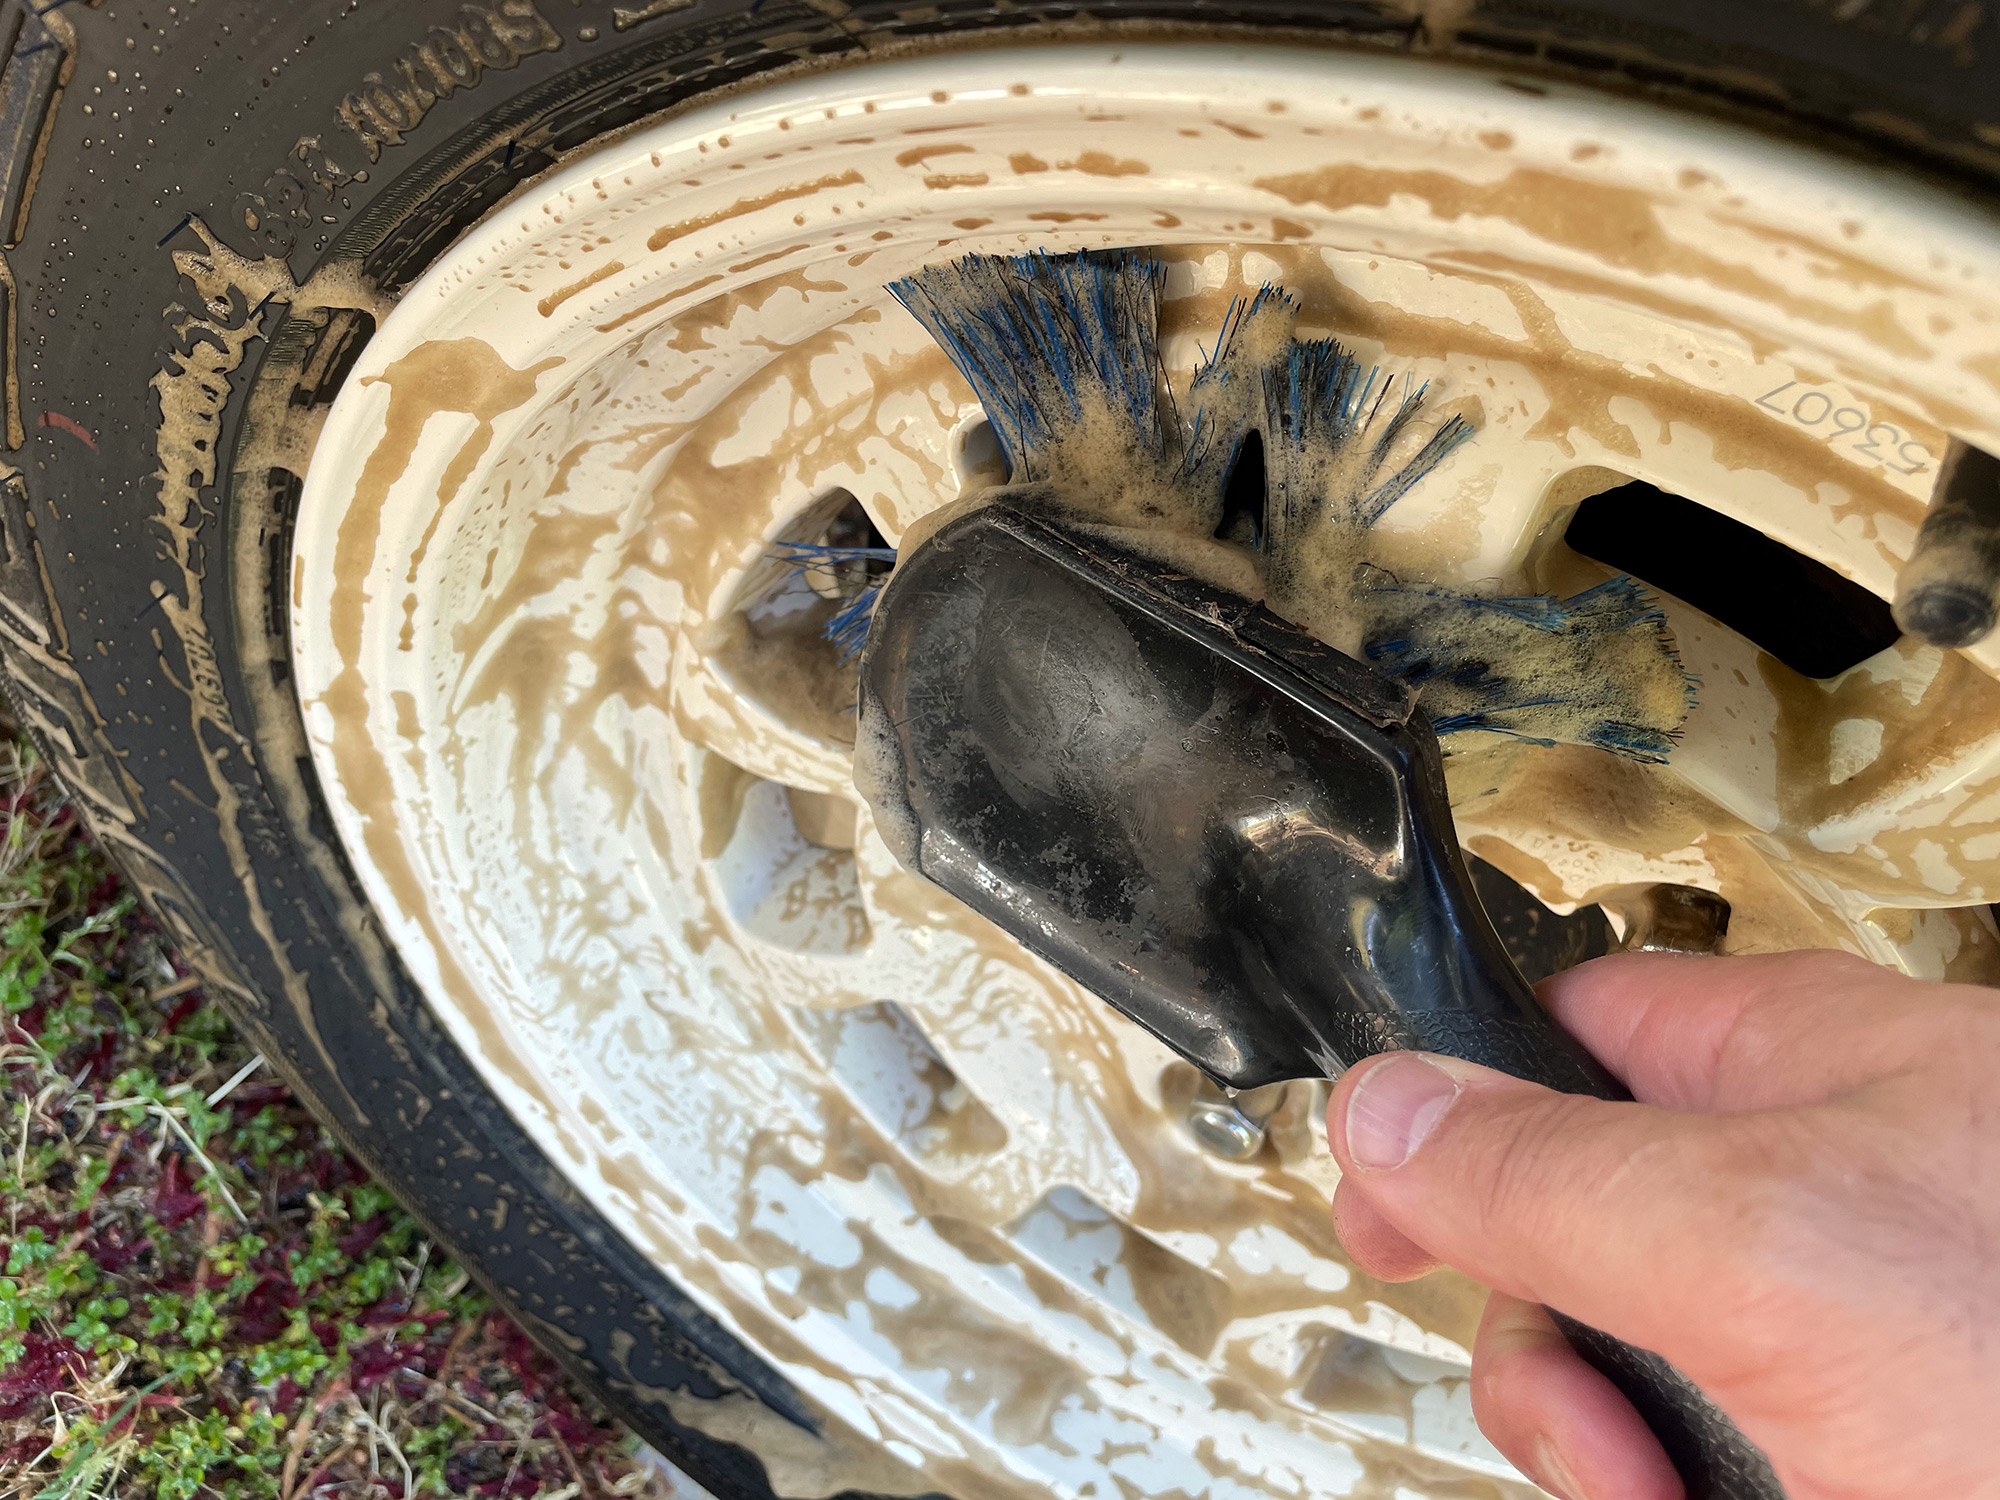
Now it’s time to scrub a dub dub. Good cleaners won’t need aggressive scrubbing, just some agitation to lift the last of the dirt.
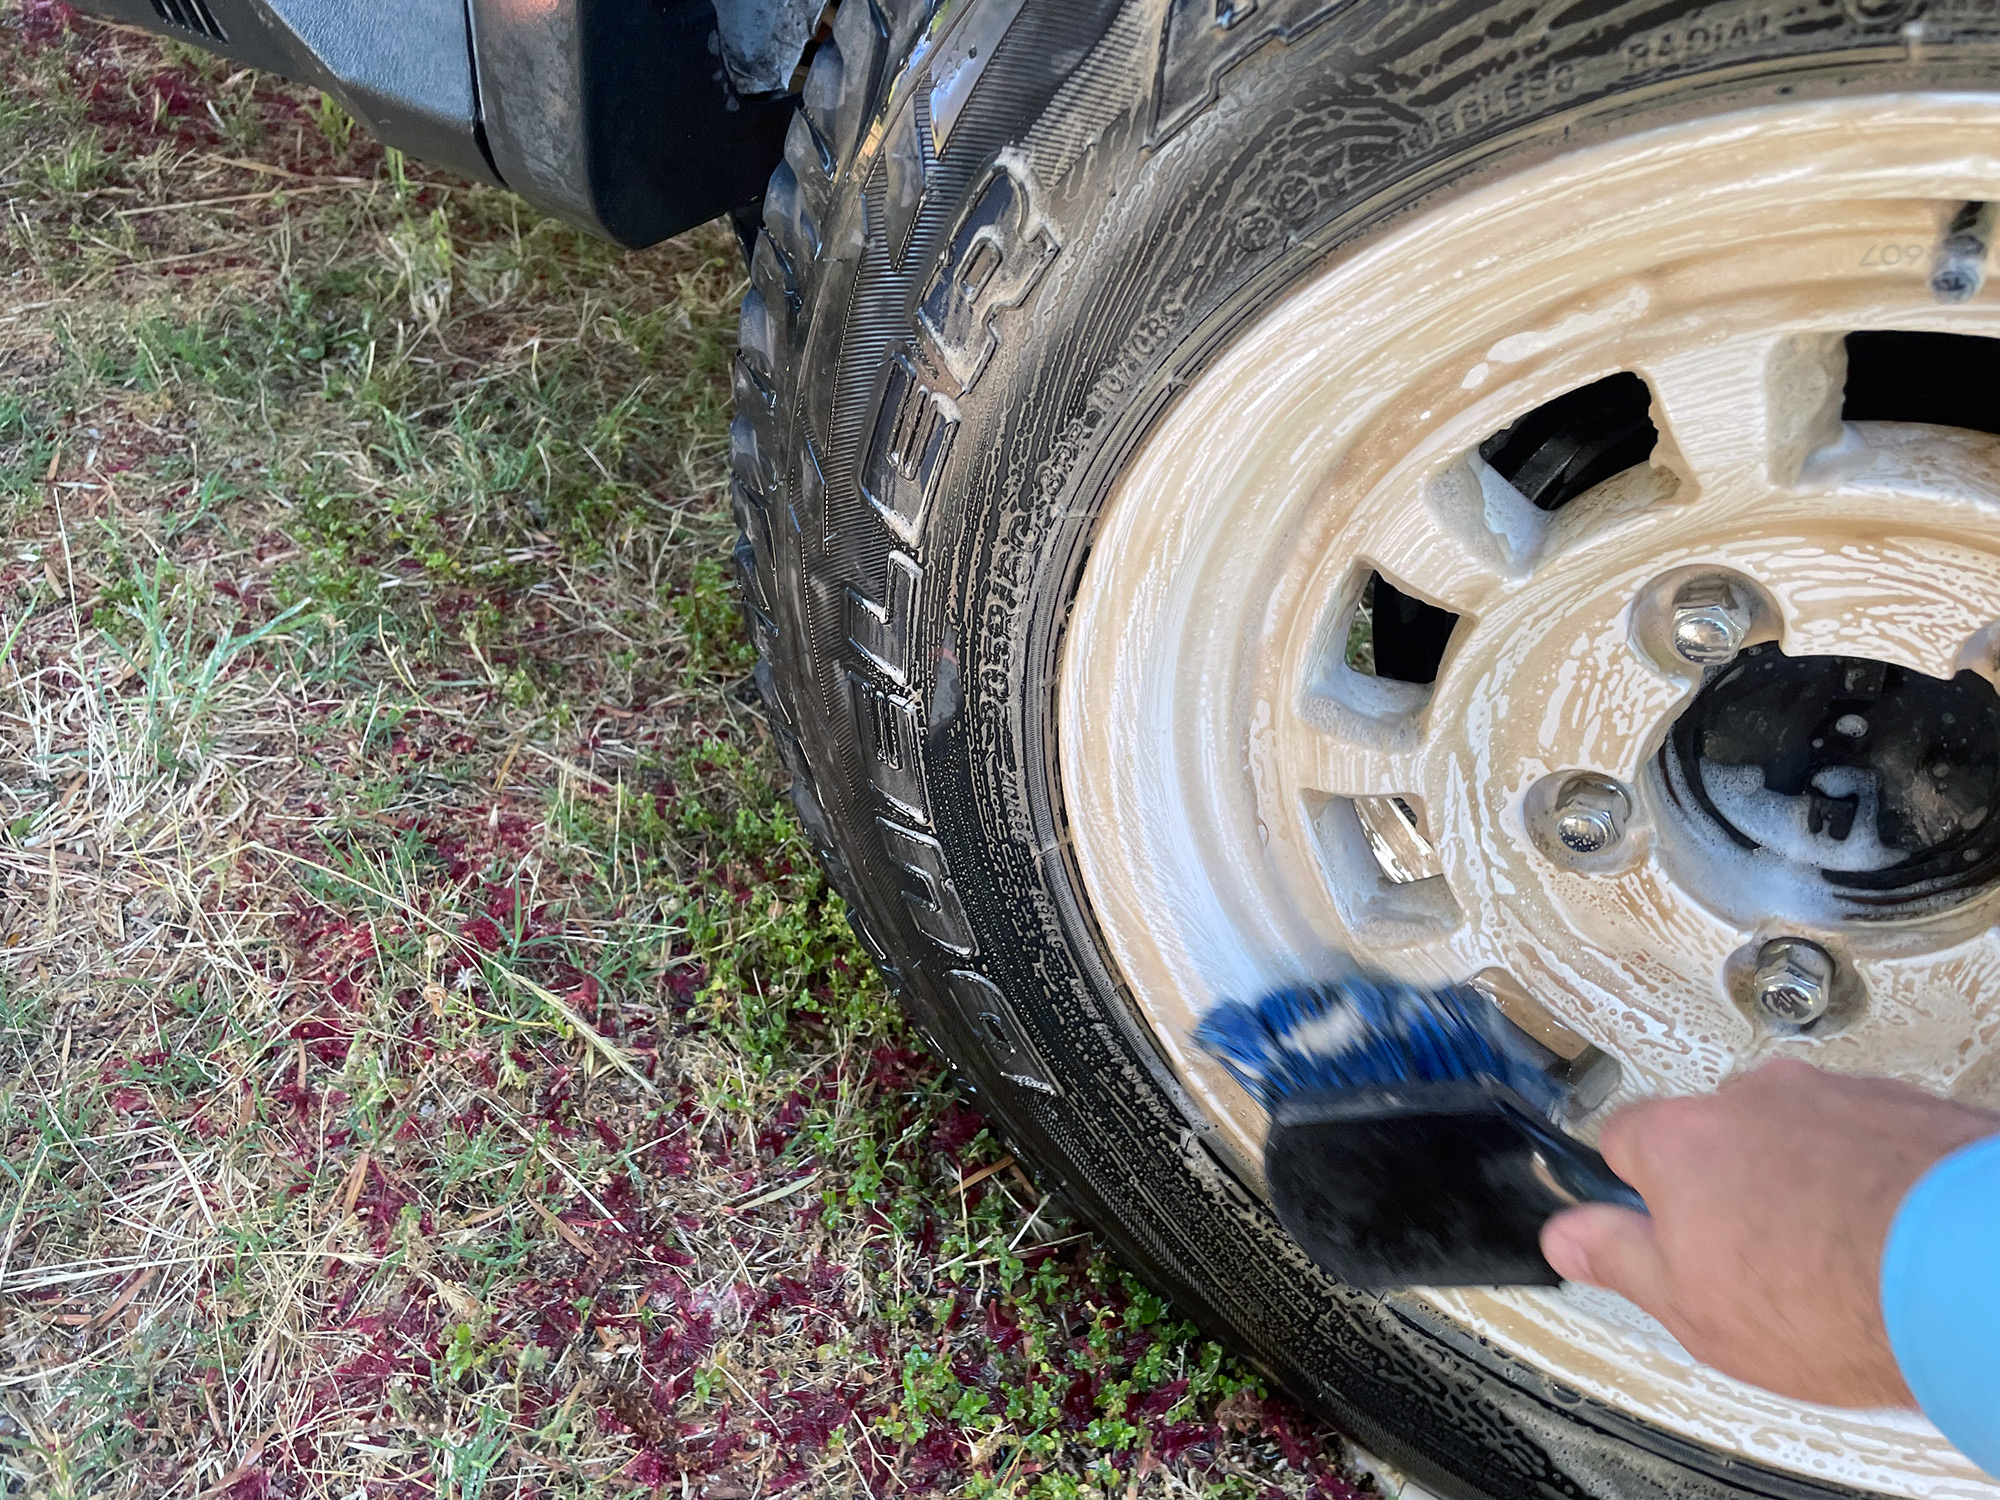
Make sure you scrub things including the tyre sidewall. It’s also important to get in and scrub in amongst all the spokes; your specific wheel will dictate what kind of wheel brush(es) you’ll want to use for this.
At that point you’re ready to rinse the cleaner off.
With that your wheel is done and clean. Stand back and admire it for a second, then move on and do the other wheels.
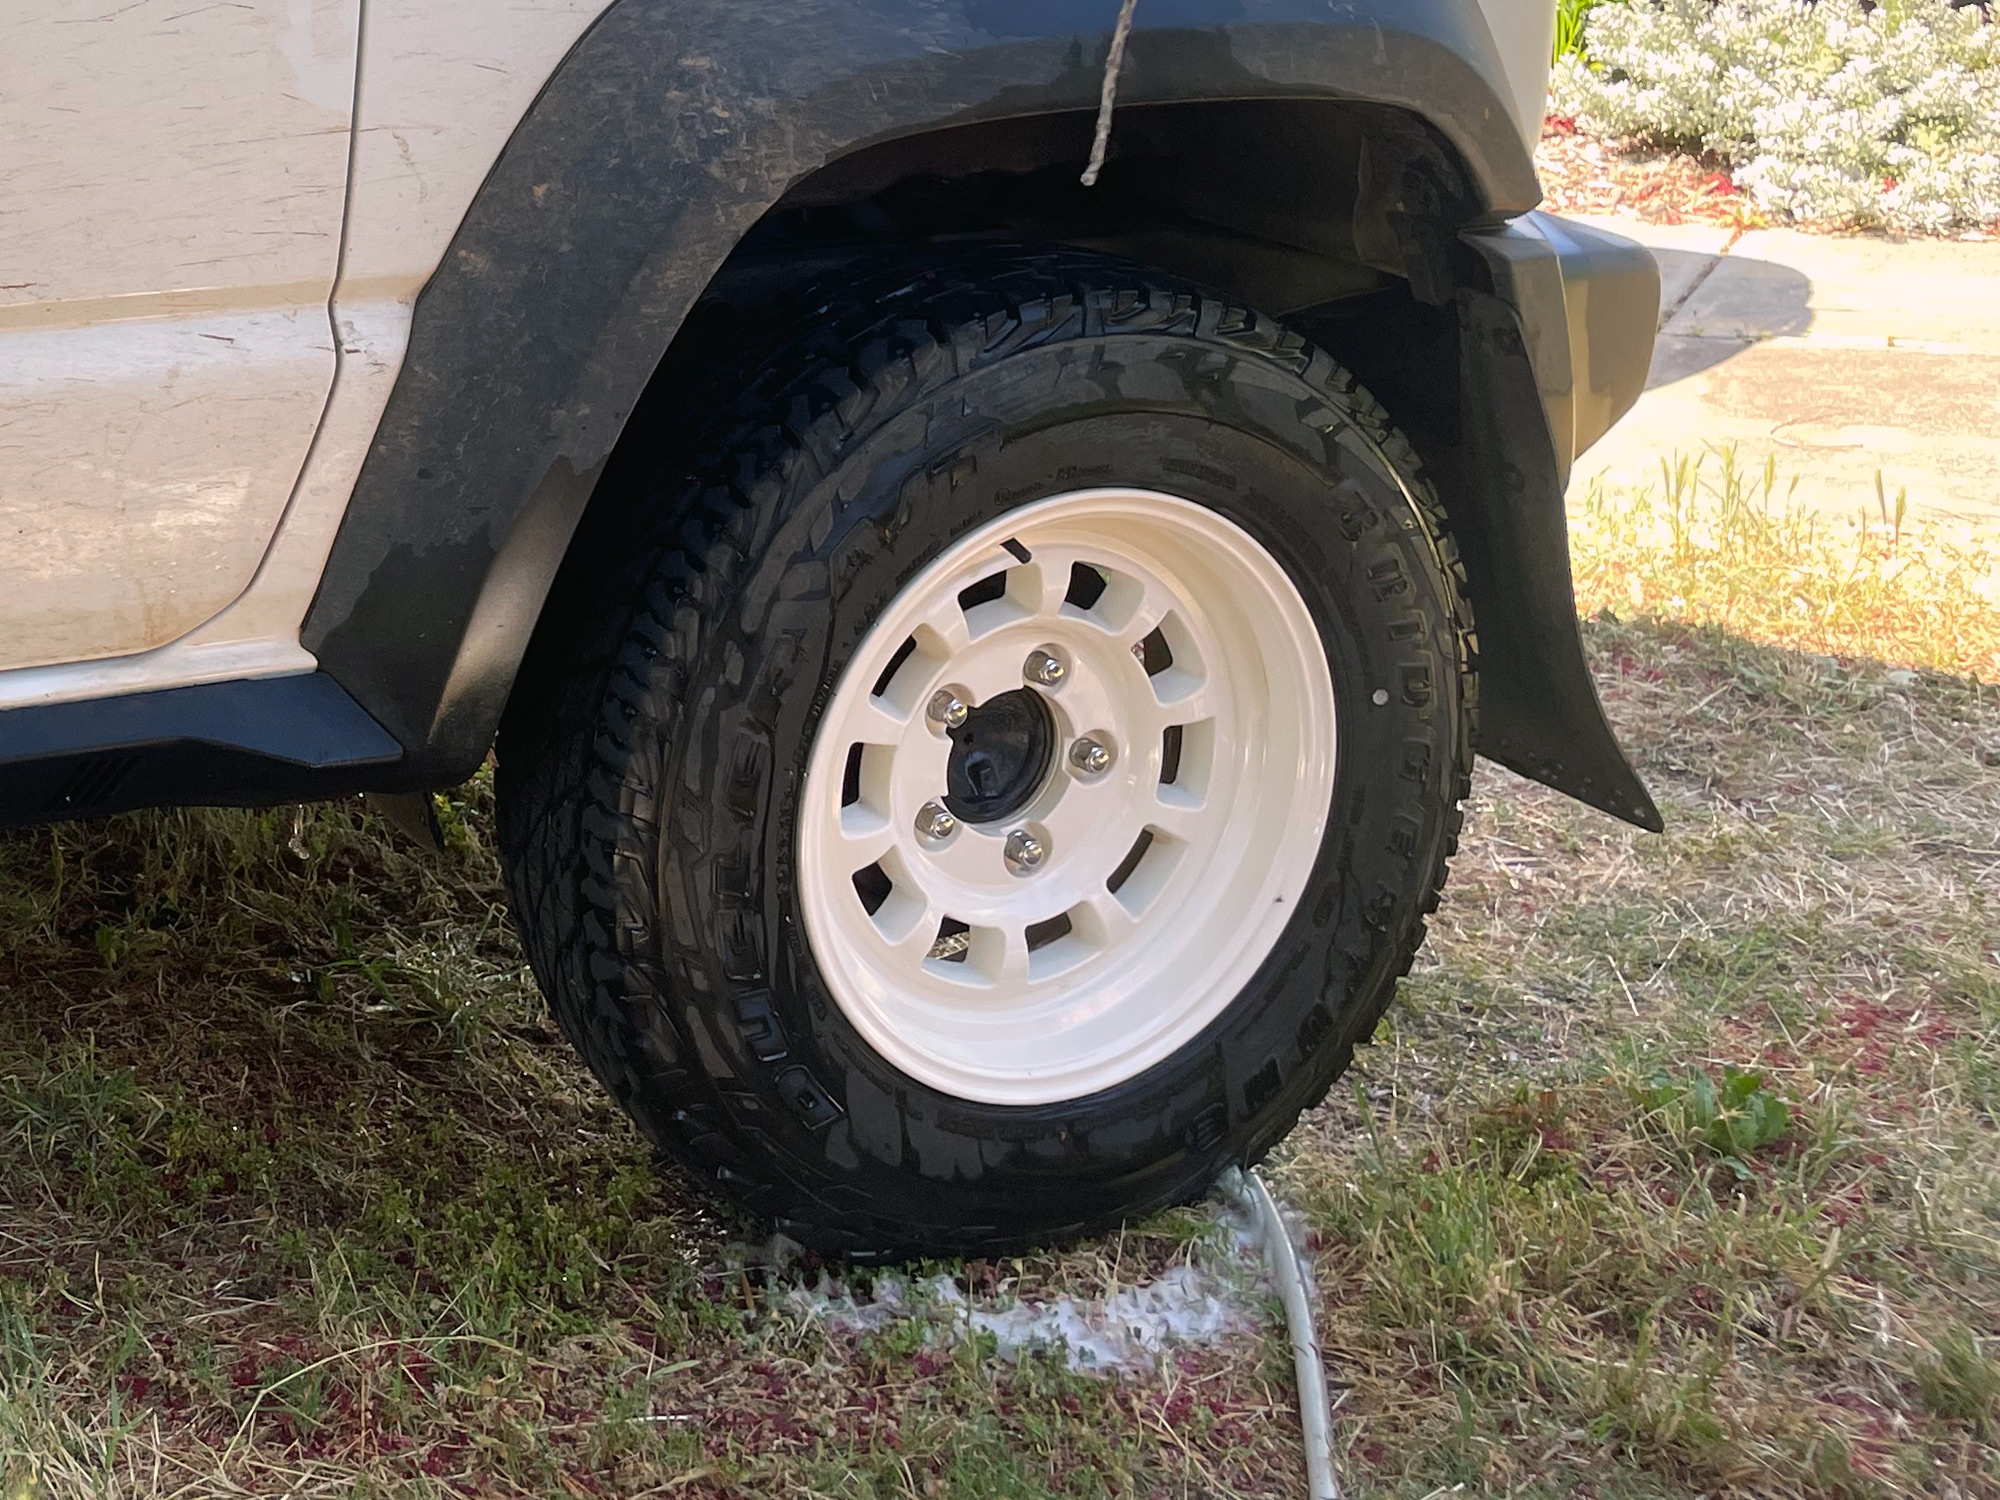
It’s worth getting the wheels and tyres clean first; you’ll have to rinse them off later when dirt from the body cleaning gets onto them but that’s better than wheel grime ending up on your clean bodywork. The wheels being clean really lifts the car – and with a good cleaner it really is only a minute or two to do each wheel and elevates it up so much.
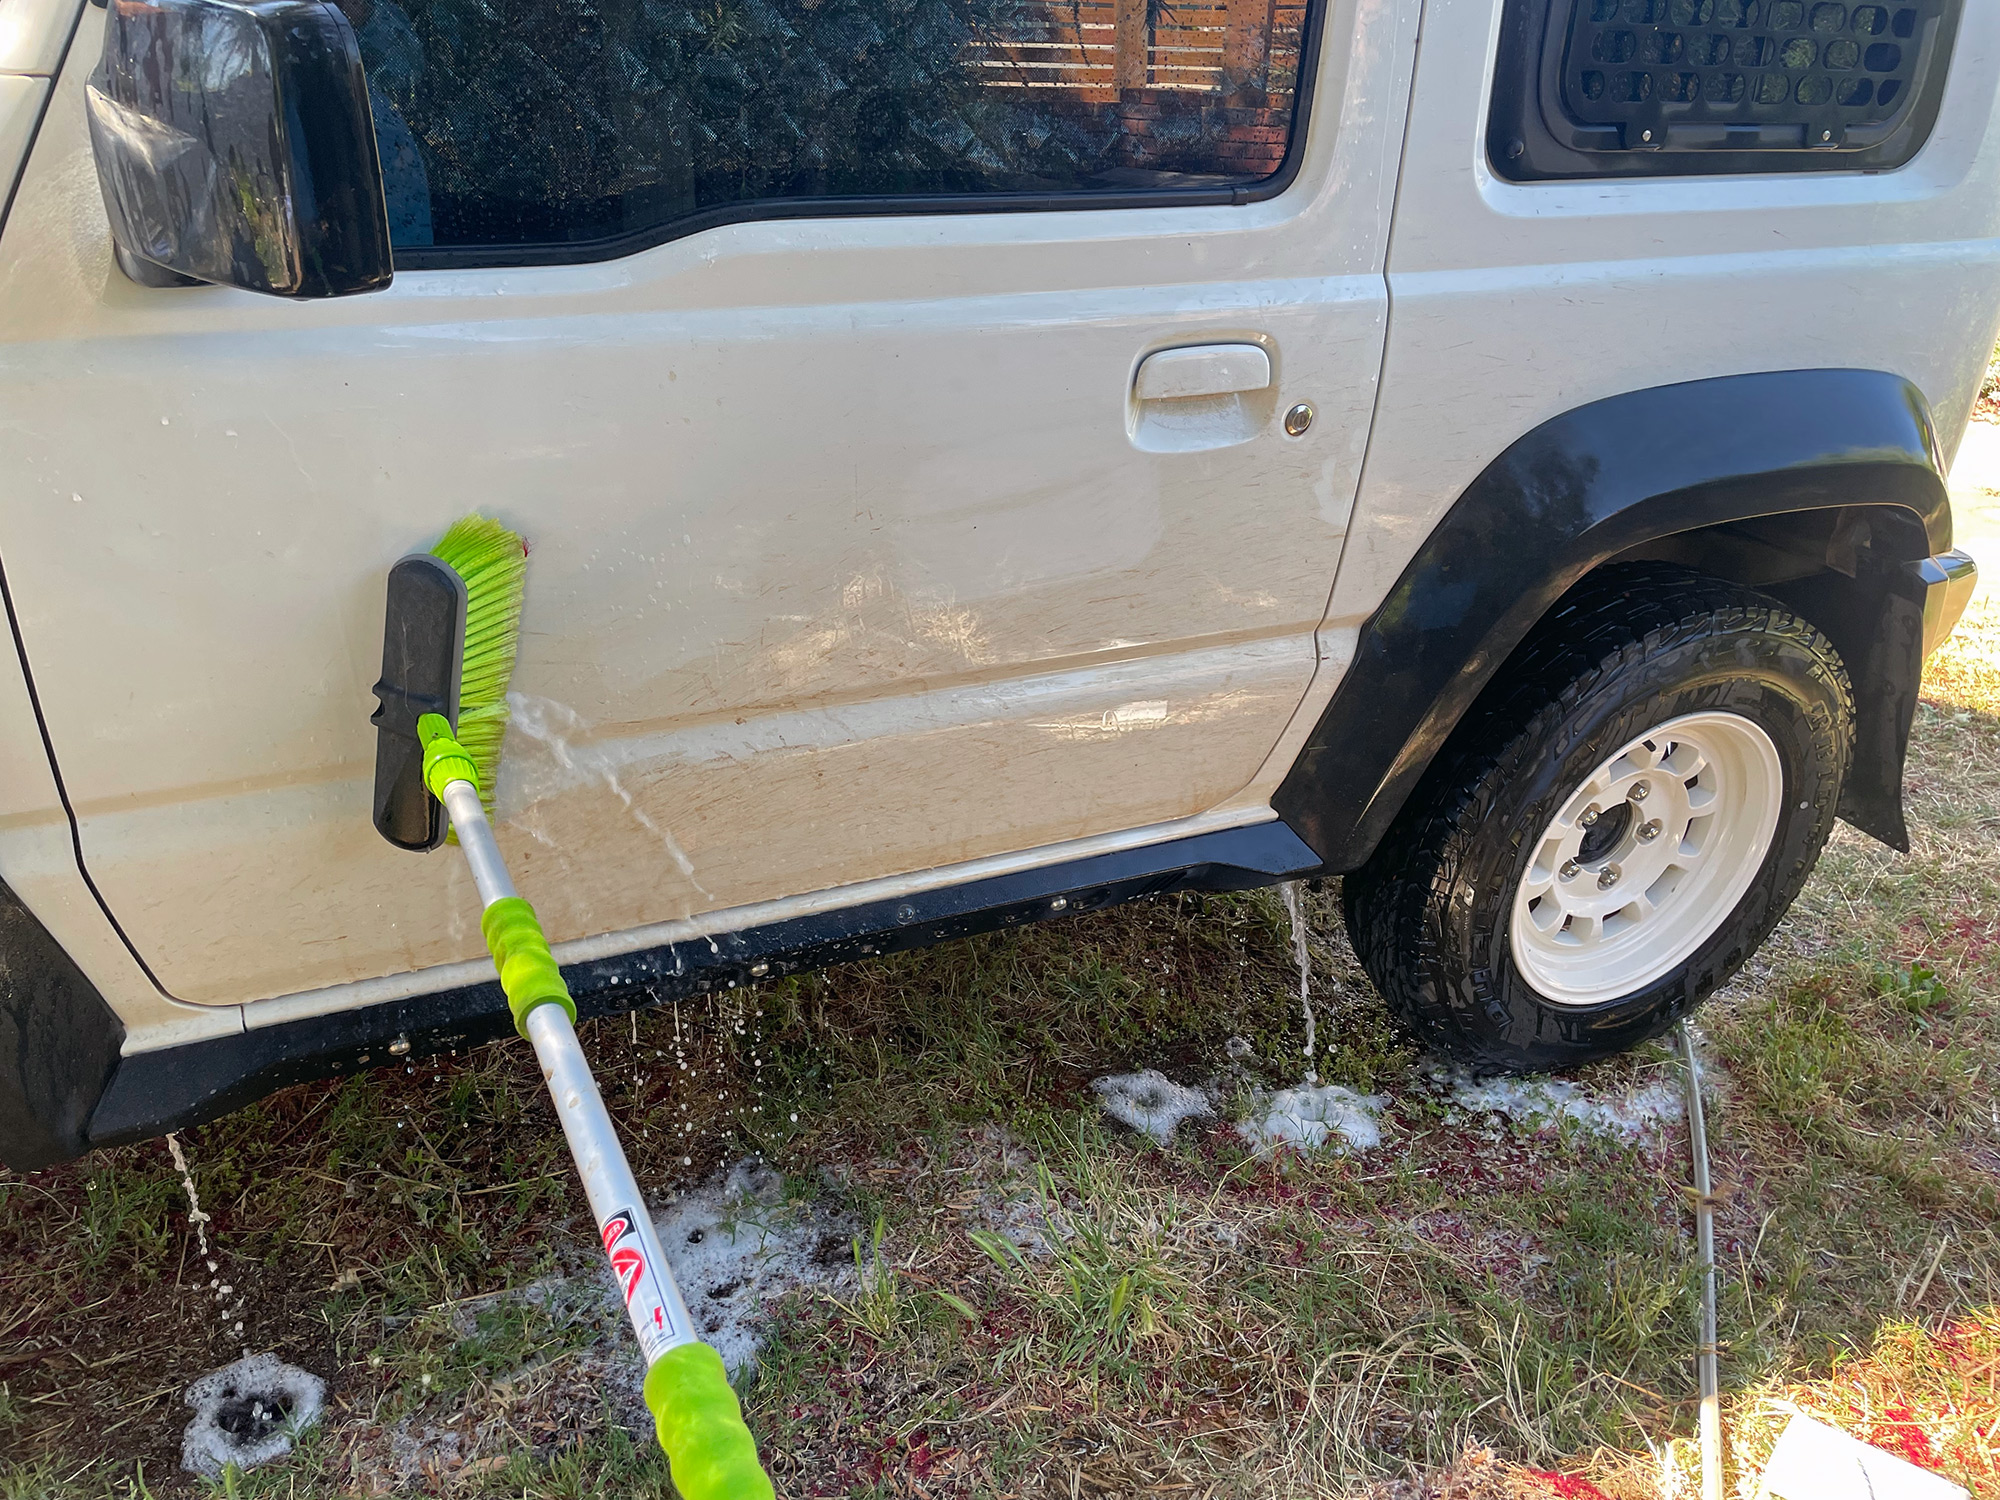
Foam broom wash
This is really where the magic happens. The broom actually takes a bit of car wash shampoo in a little bottle on the handle. Mix it up about 50:50, turn the water on and also the valve to the shampoo bottle. This will push foam out of the soft broom head. You can scrub with this and you’ll have a direct wash nice and easily.
Although I’m showing doing it here with the body first, I always start at the top of the car and do the roof first. If you have a roof platform it can be tricky to get underneath, but the telescopic handle on the broom can help here.
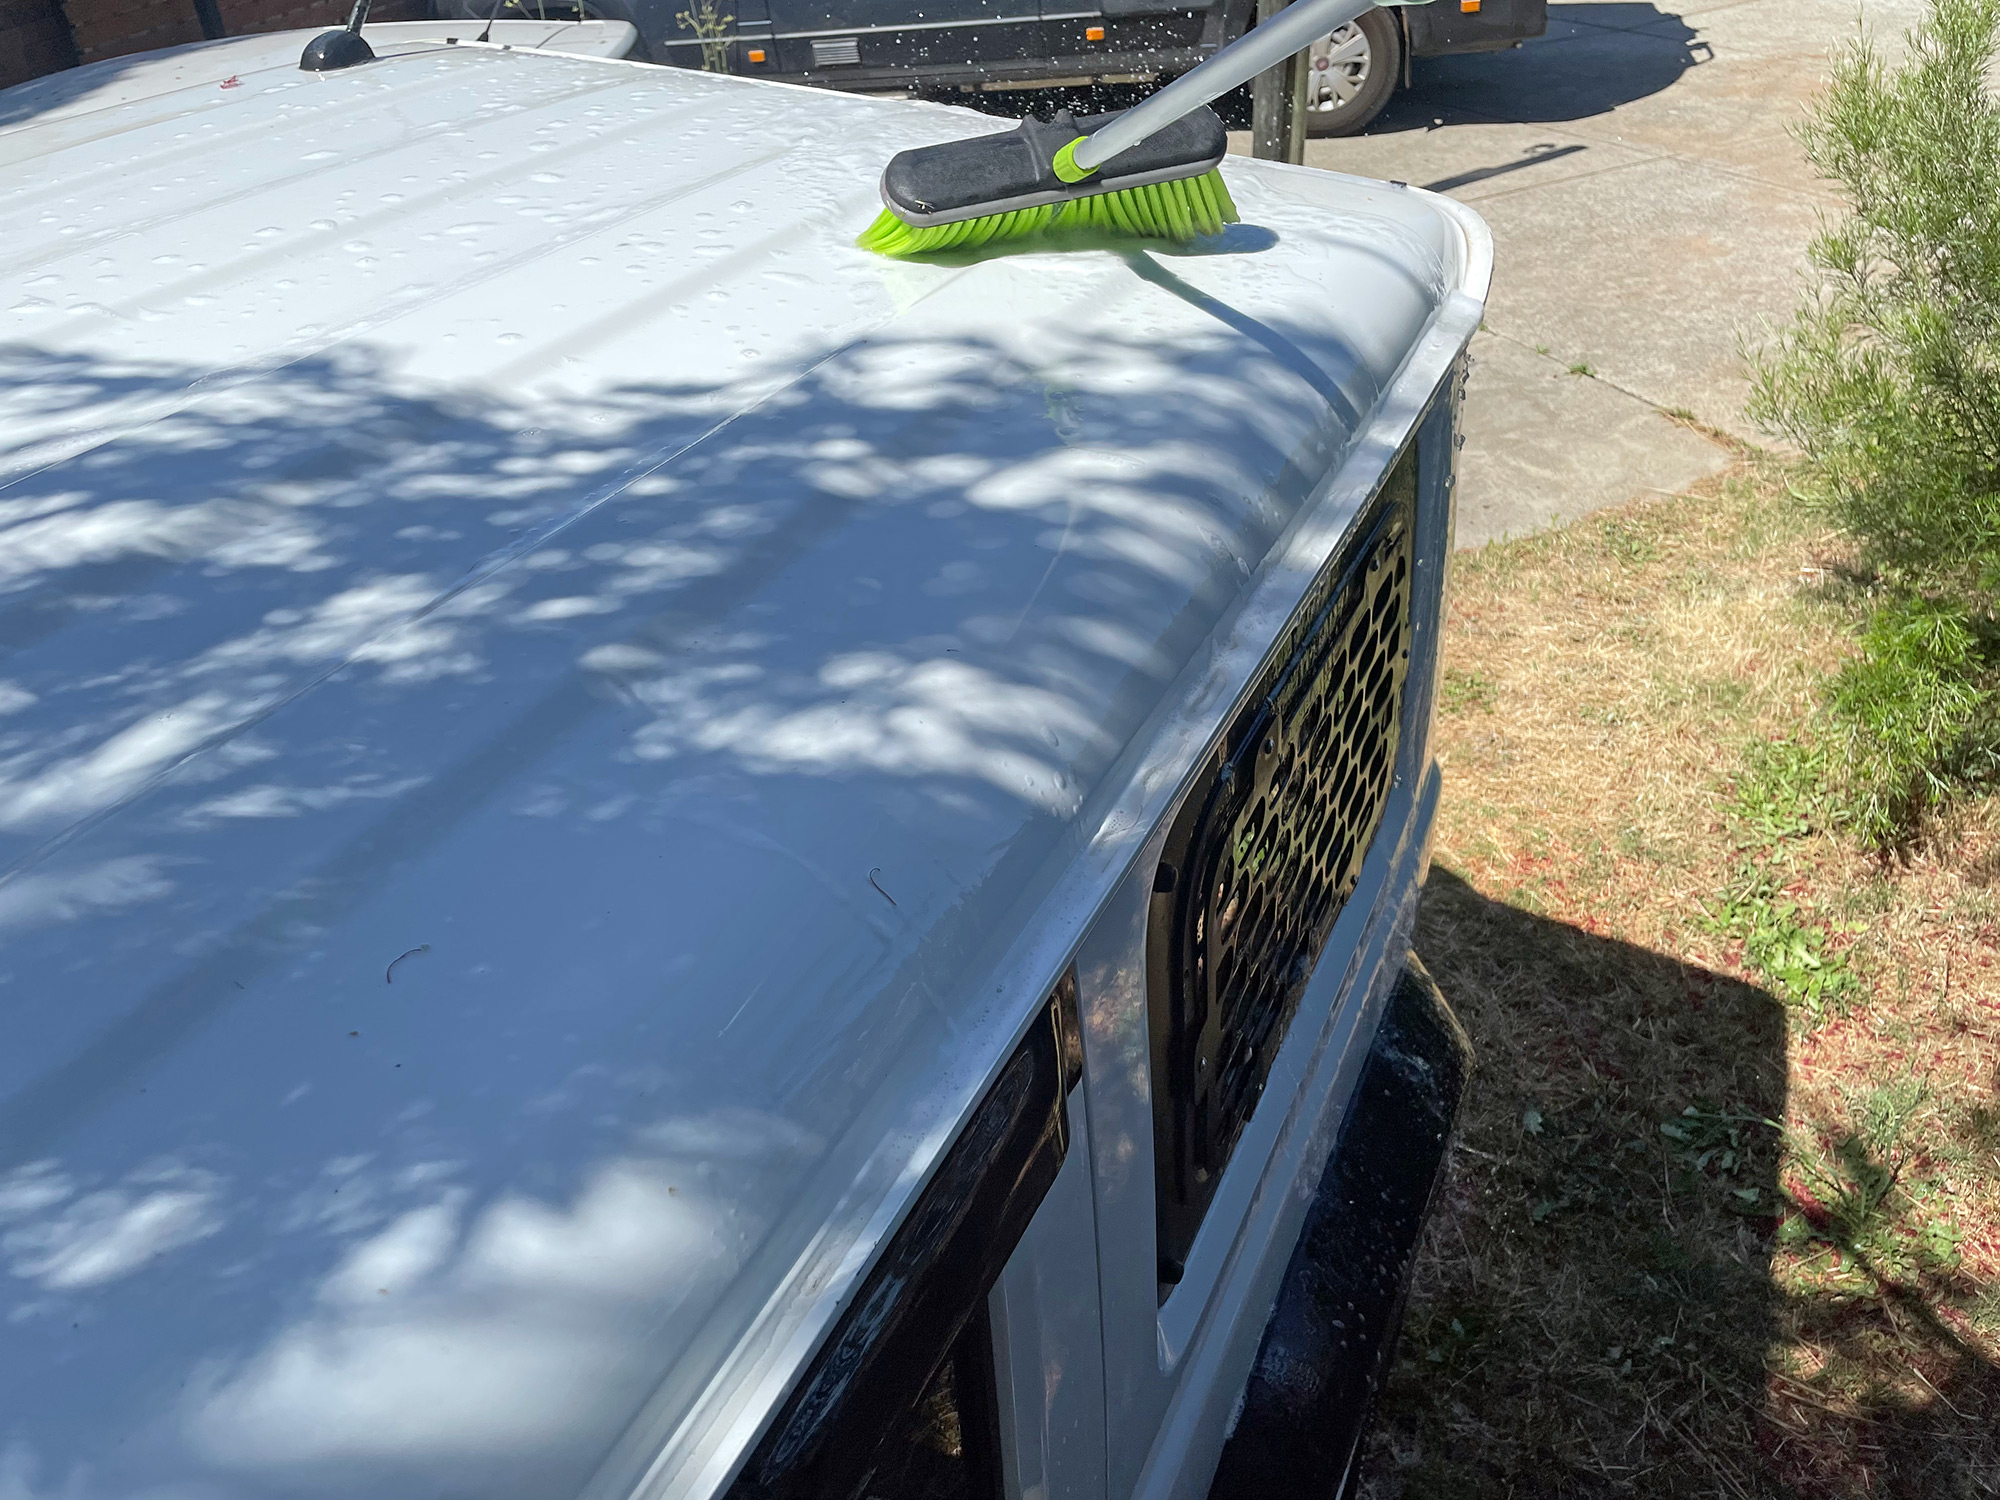
The broom does a really great job of moving the dirt off the bodywork, and gives it a soaking set of thick shampoo which helps to shift the last of the dirt, too.
Now you just have to rinse it off and that part of the car is clean.
Generally I work in a few segments: roof first, then windscreen, then bonnet, then each side of the car, then the back of the car. It really depends on how you like to work as to how you order it; generally don’t try to wash the entire car and then rinse it off as you don’t want to leave the shampoo drying onto the paintwork.
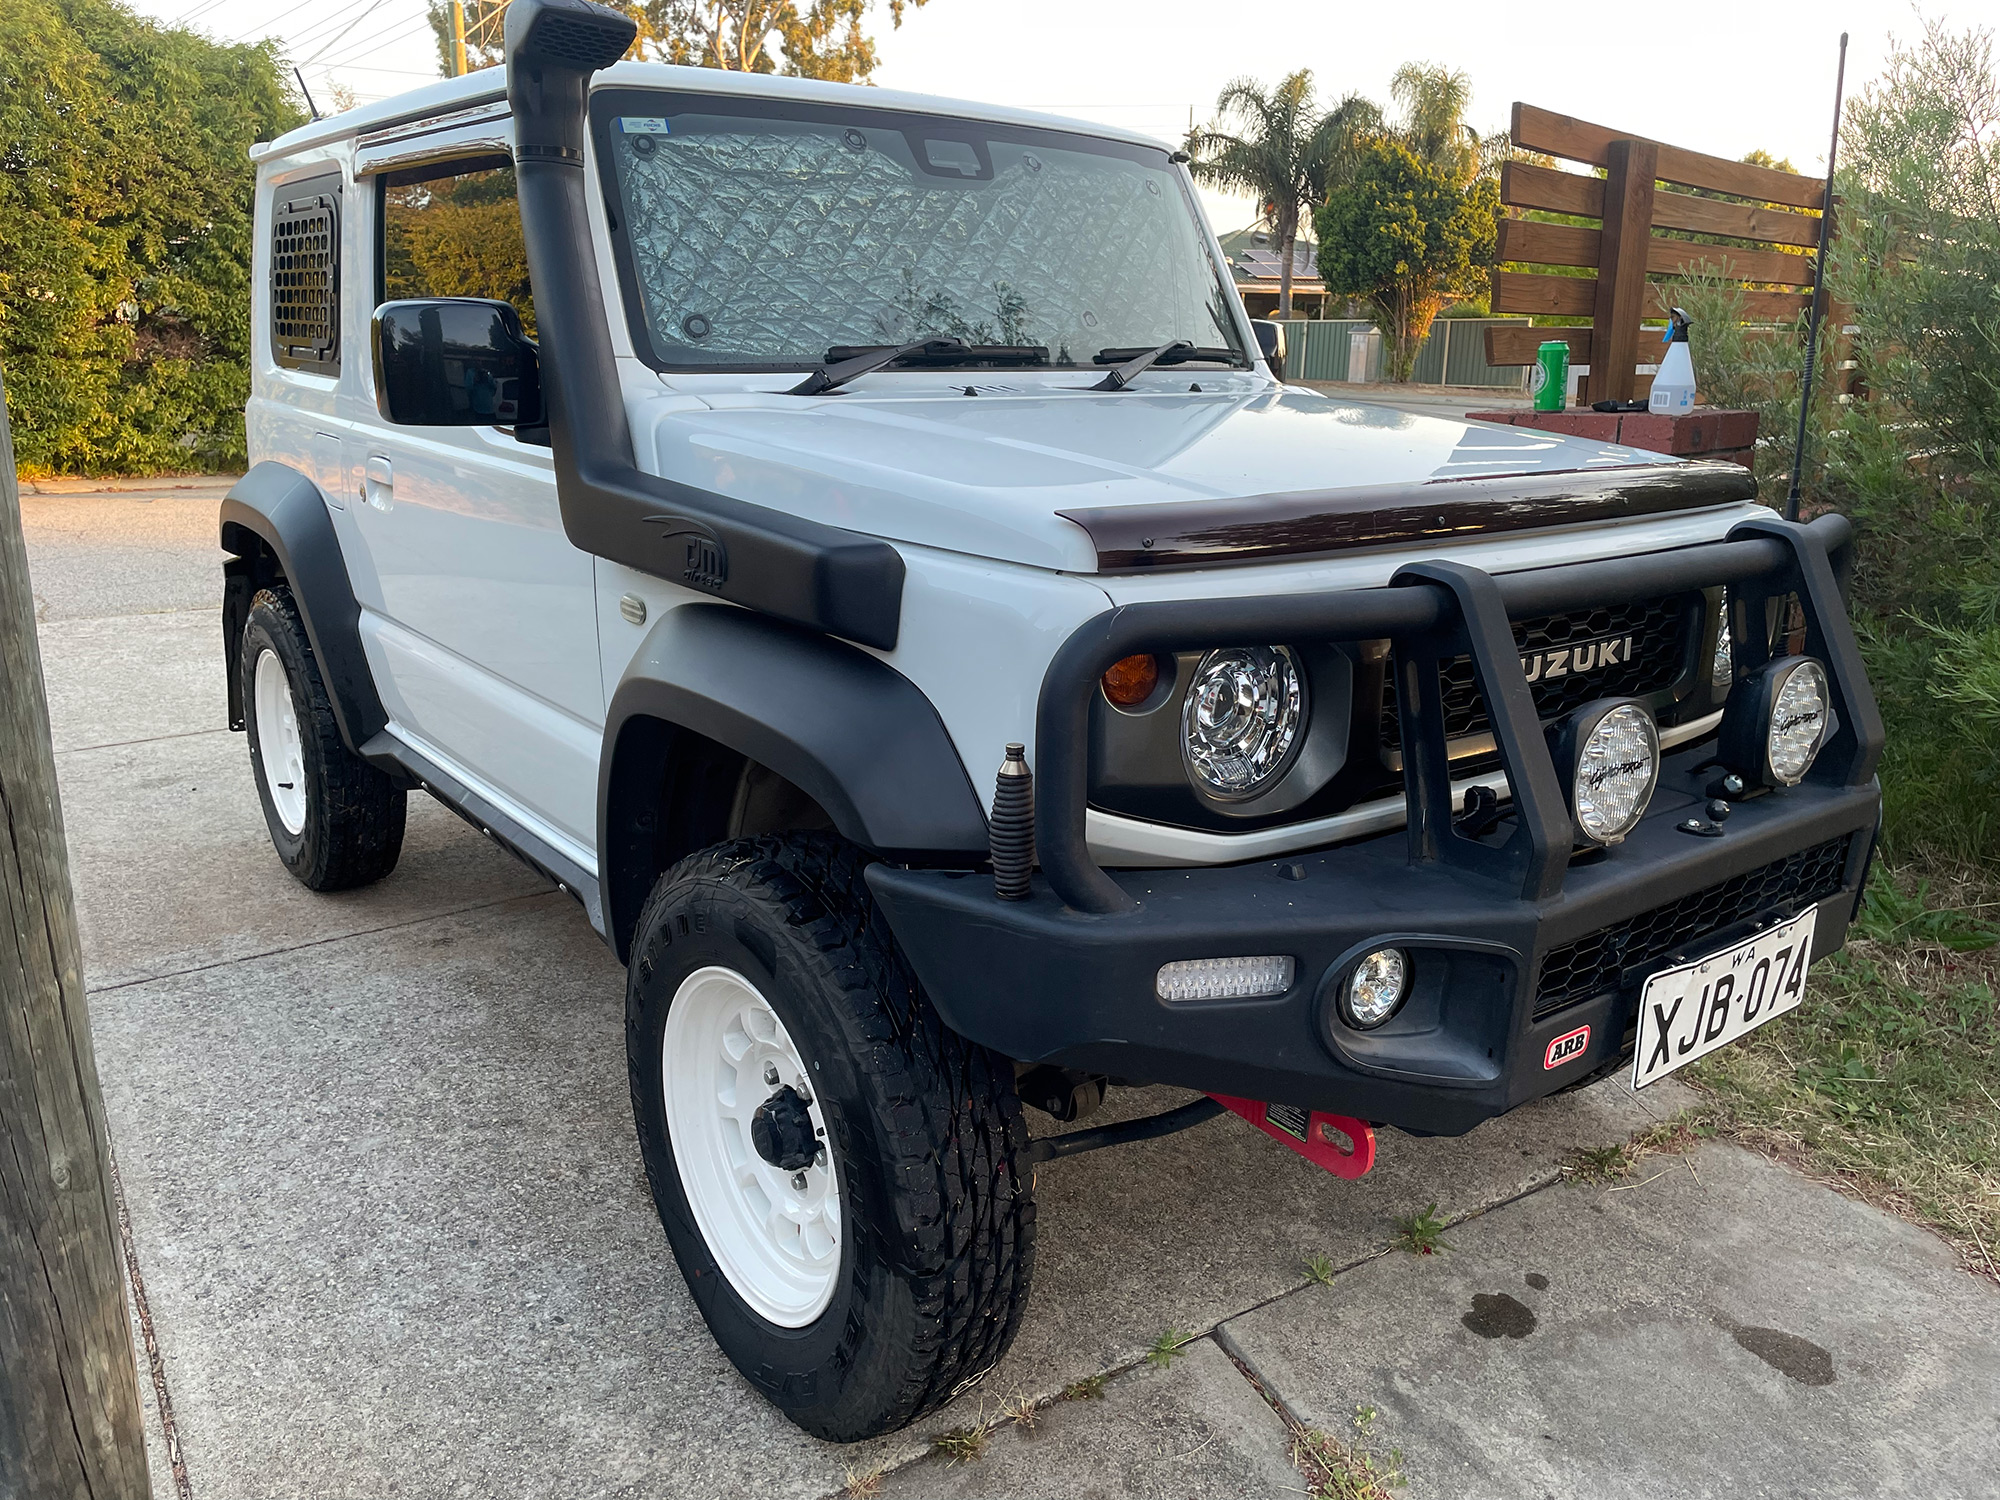
Even for a super simple wash, it actually looks really good.
I can do this whole thing (including the wheel cleaning) in about 15-20 minutes and the car looks fantastic for relatively simple and fast cleaning. This is how I wash my car 99.999% of the time, too, it’s not like it’s mostly kept waxed and polished and subjected to full detailing spec cleaning every few weeks.
Dry and post treatment
Literally not much I can say here: generally don’t clean the car in the full sun, but after it’s washed you can consider moving it to the sun to dry it faster.
Perfectionist
For this, you’ll need the following:
- Pressure washer with adjustable pressure and snow foam lances, and/or a garden hose appropriate snow foam gun
- Brushes and cleaning pads
- Soft washing pad
- Wheel brush
- Soft paint brush
- Detailing brushes
- Detailing products
- Snow foam shampoo
- Wheel cleaning detergent
- Car washing shampoo
- Fallout remover
- Clay bar and lubricant
- Cutting and finishing polish
- Wax or ceramic coat
- Plastic/rubber cleaner/protectant
- Tyre dressing compound
- Other supplies
- Drying towels
- Microfibre towels
- Polishing pads
- Multiple buckets for shampoo and rinsing water
Contactless pre wash
This is something where a pressure washer comes into its own. Start with just a basic rinse off with the pressure washer. You can see how how much a pressure washer will start to shift on the bodywork.
Be a bit careful here though: the Jimny paint is quite thin and a pressure washer will easily pick up paint on the edges of stone chips or similar. If you have any stone chips then be extra cautious as you rinse things off with a pressure washer.
Once you’ve rinsed off the whole car, but with it wet, you are ready for snow foam.
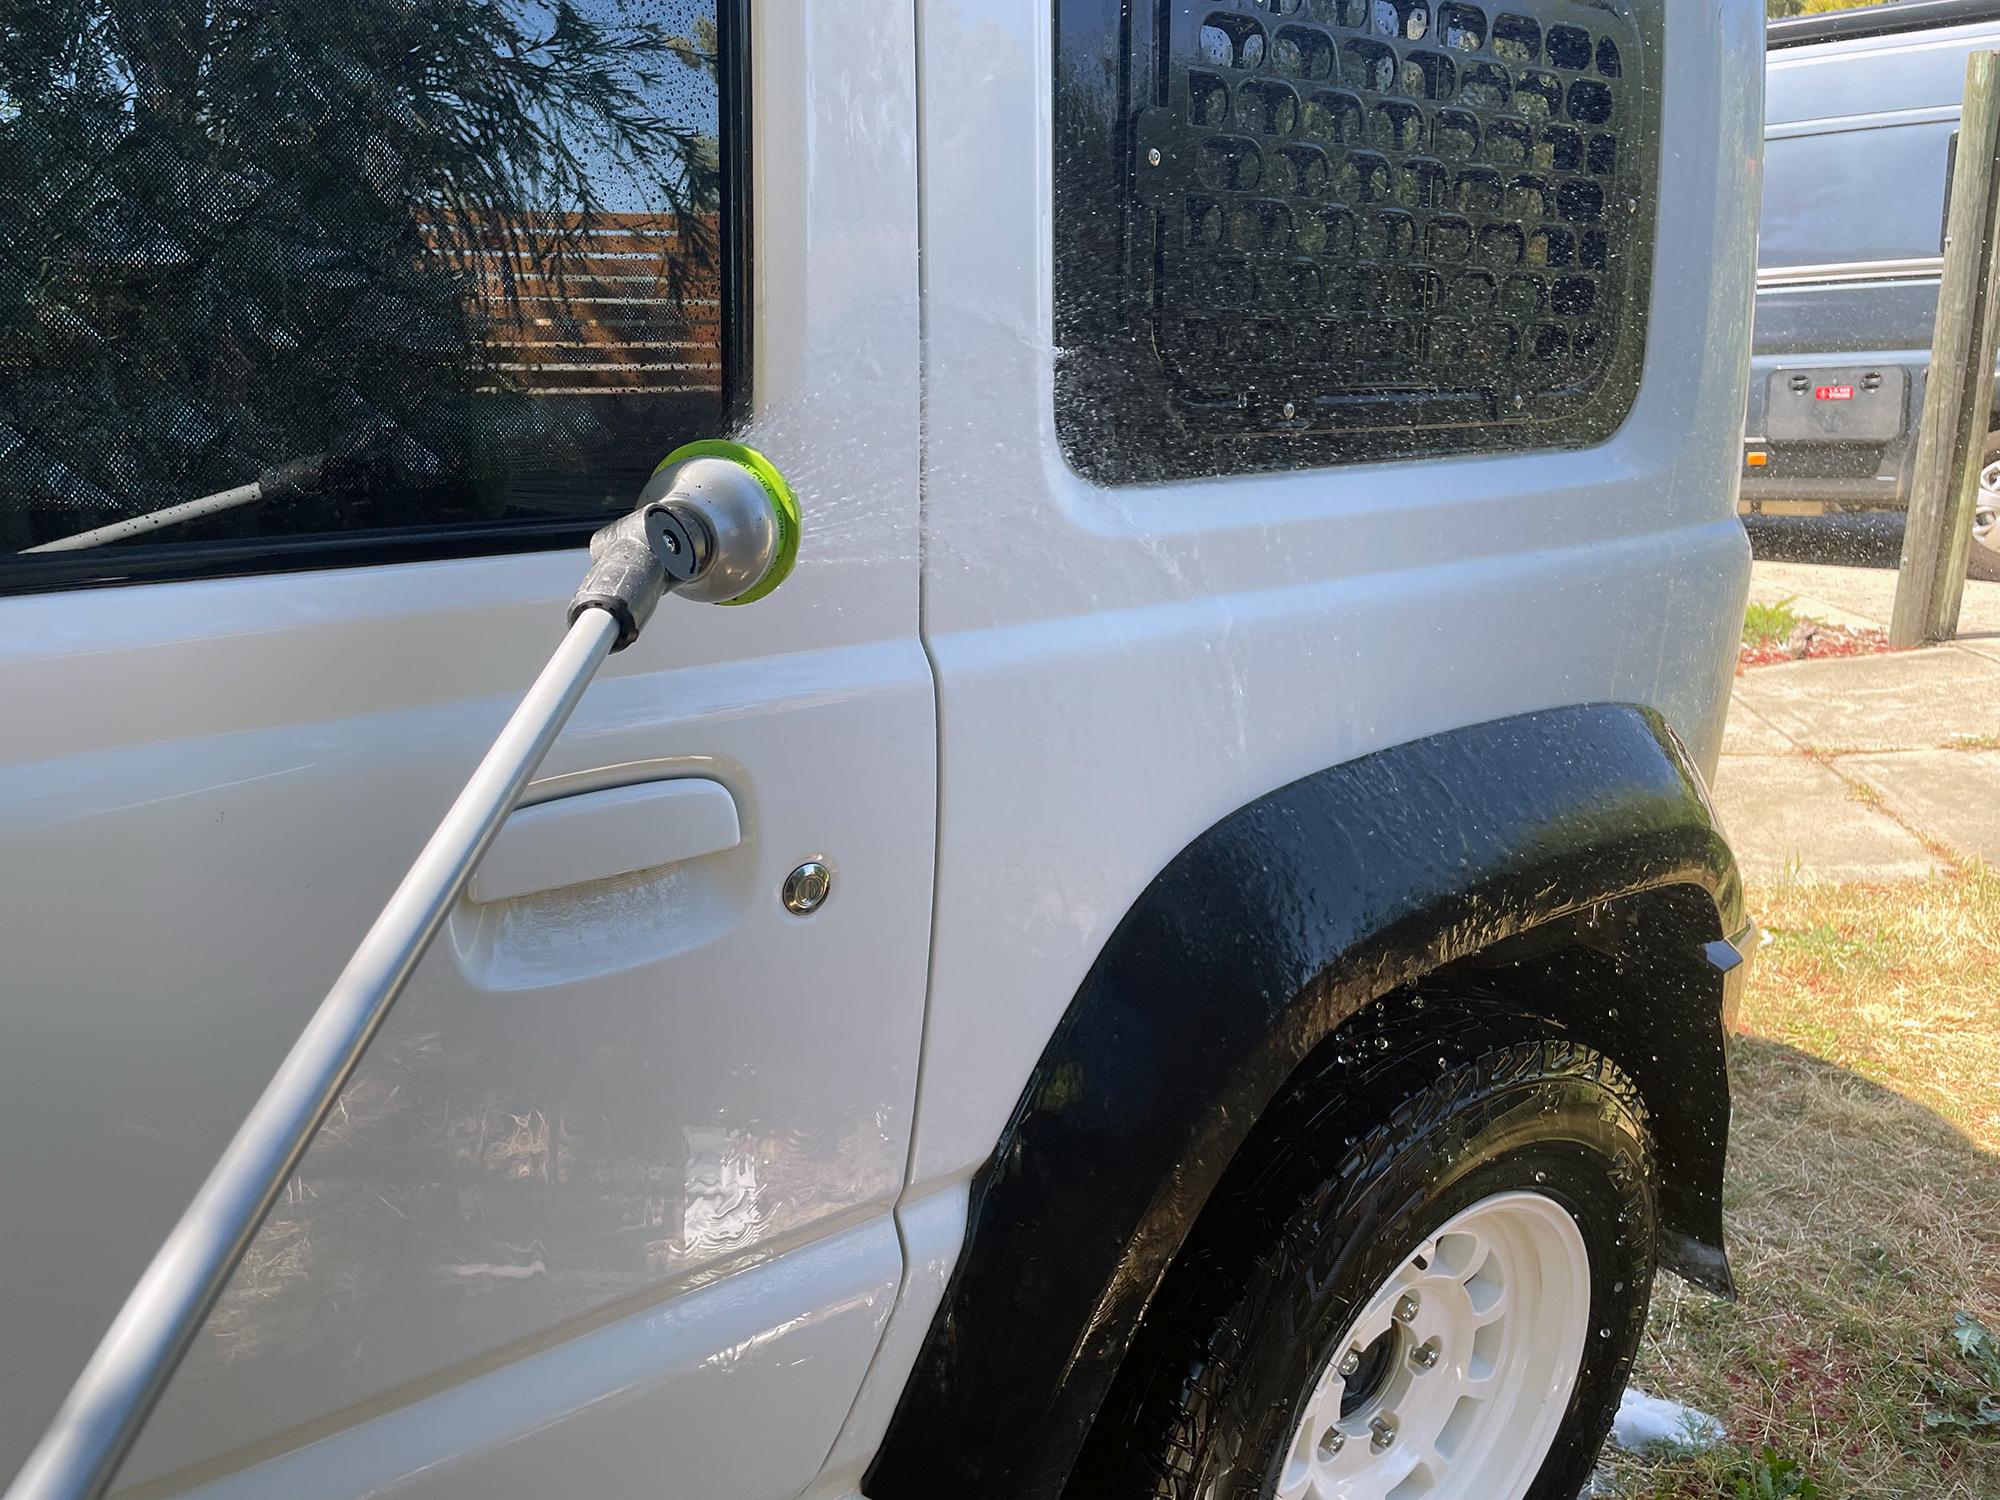
Use a snow foam lance on your pressure washer or garden hose and spray the entire car with thick sudsy foam.
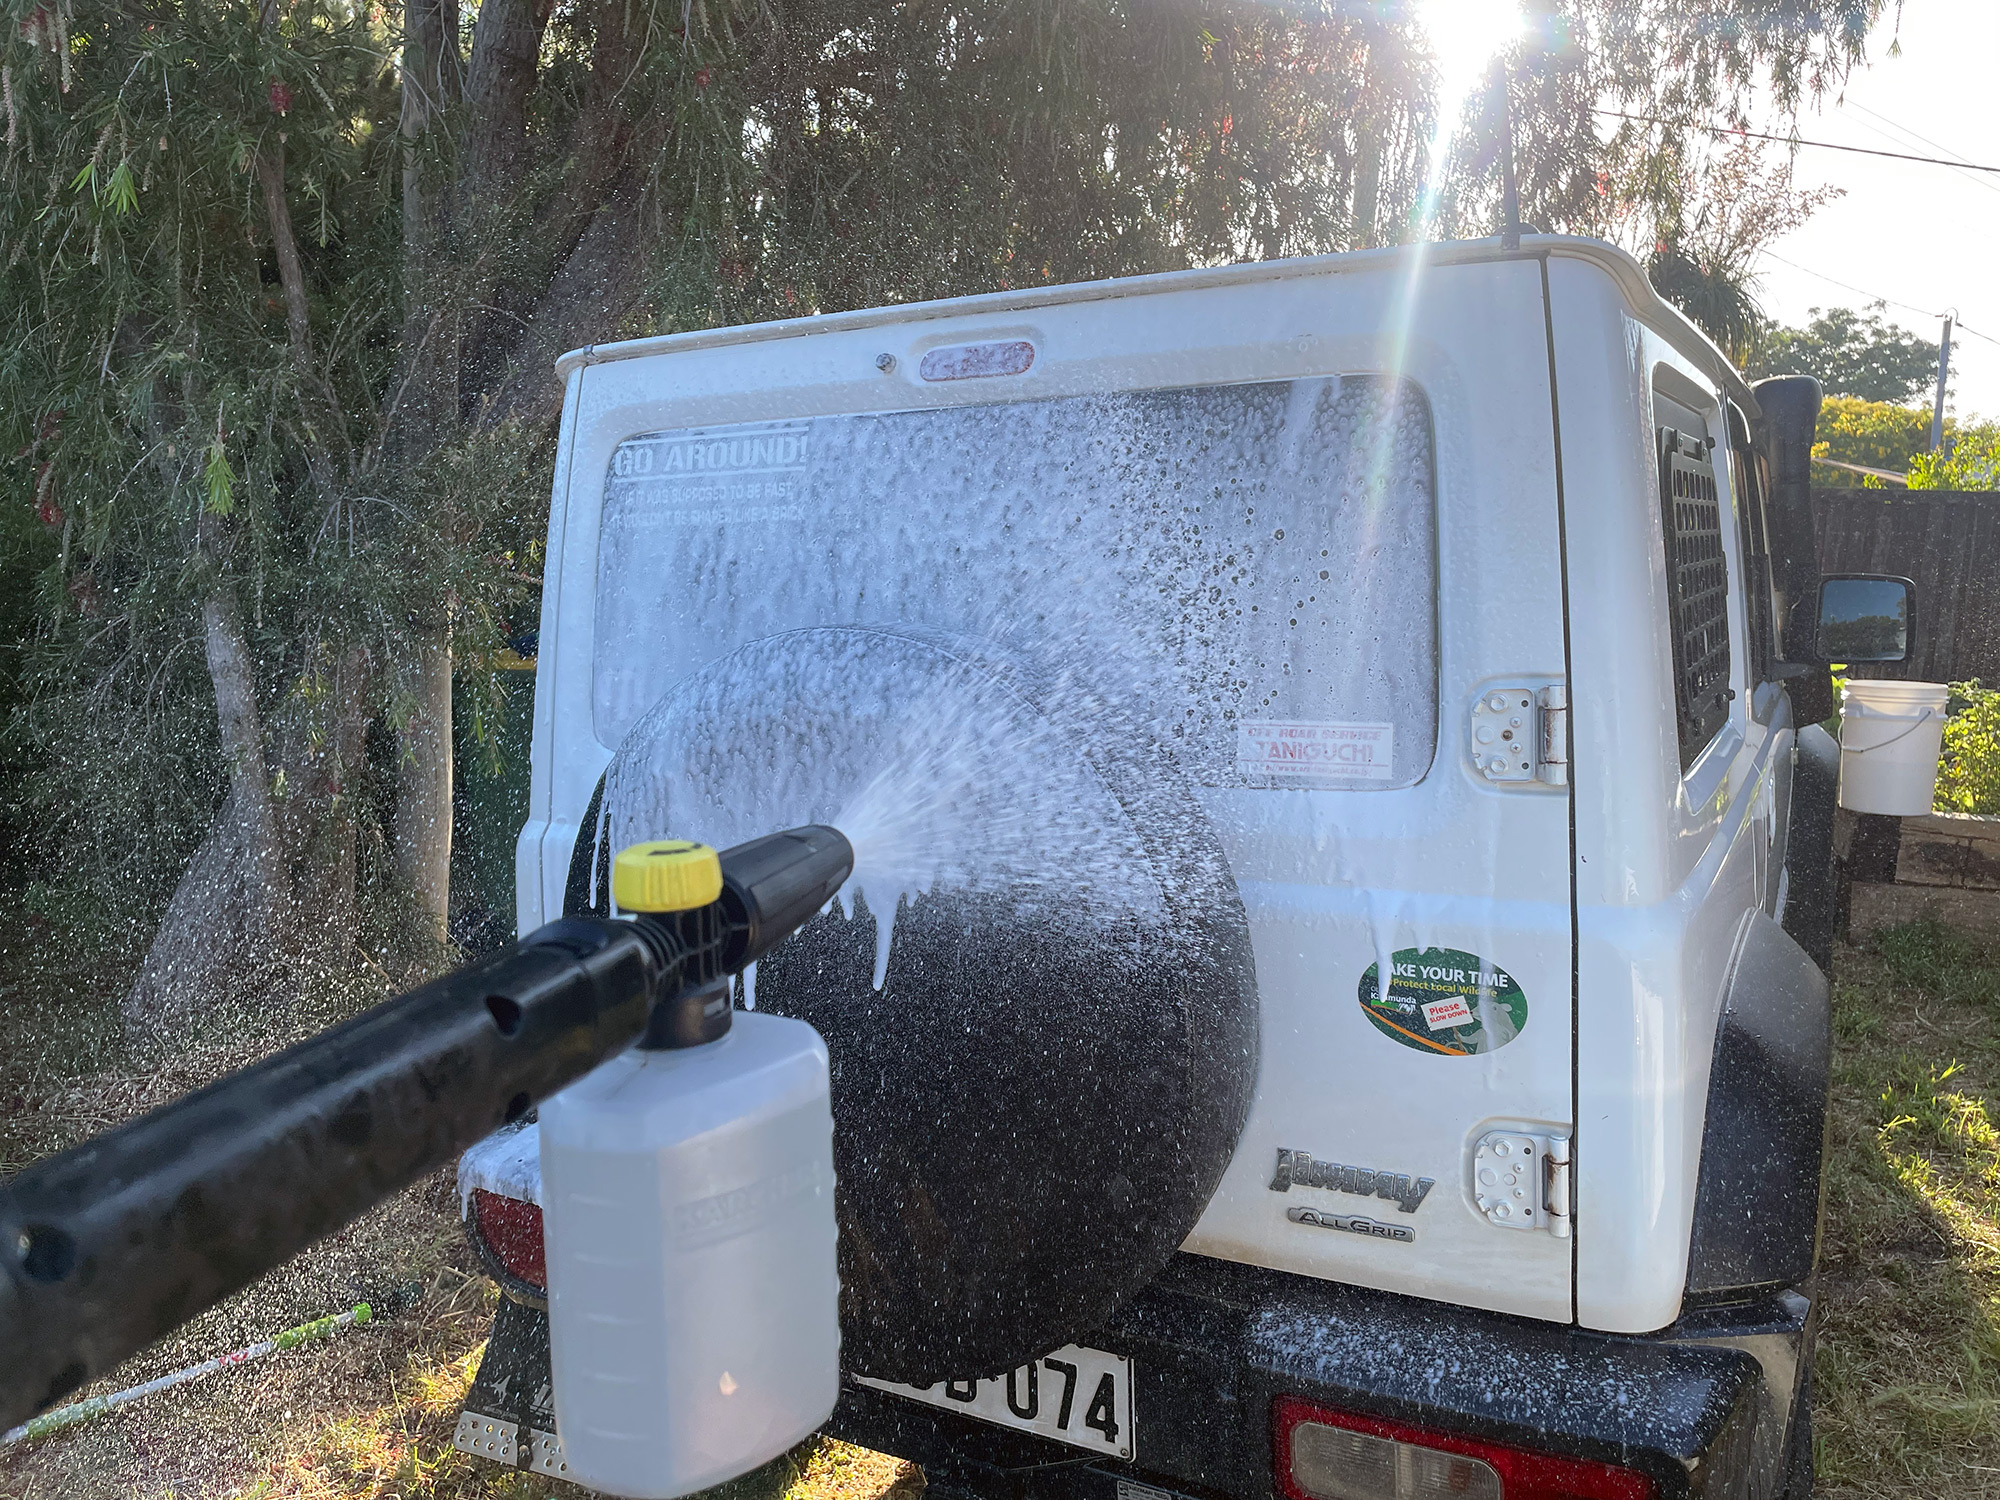
Leave the snow foam on for a few minutes.
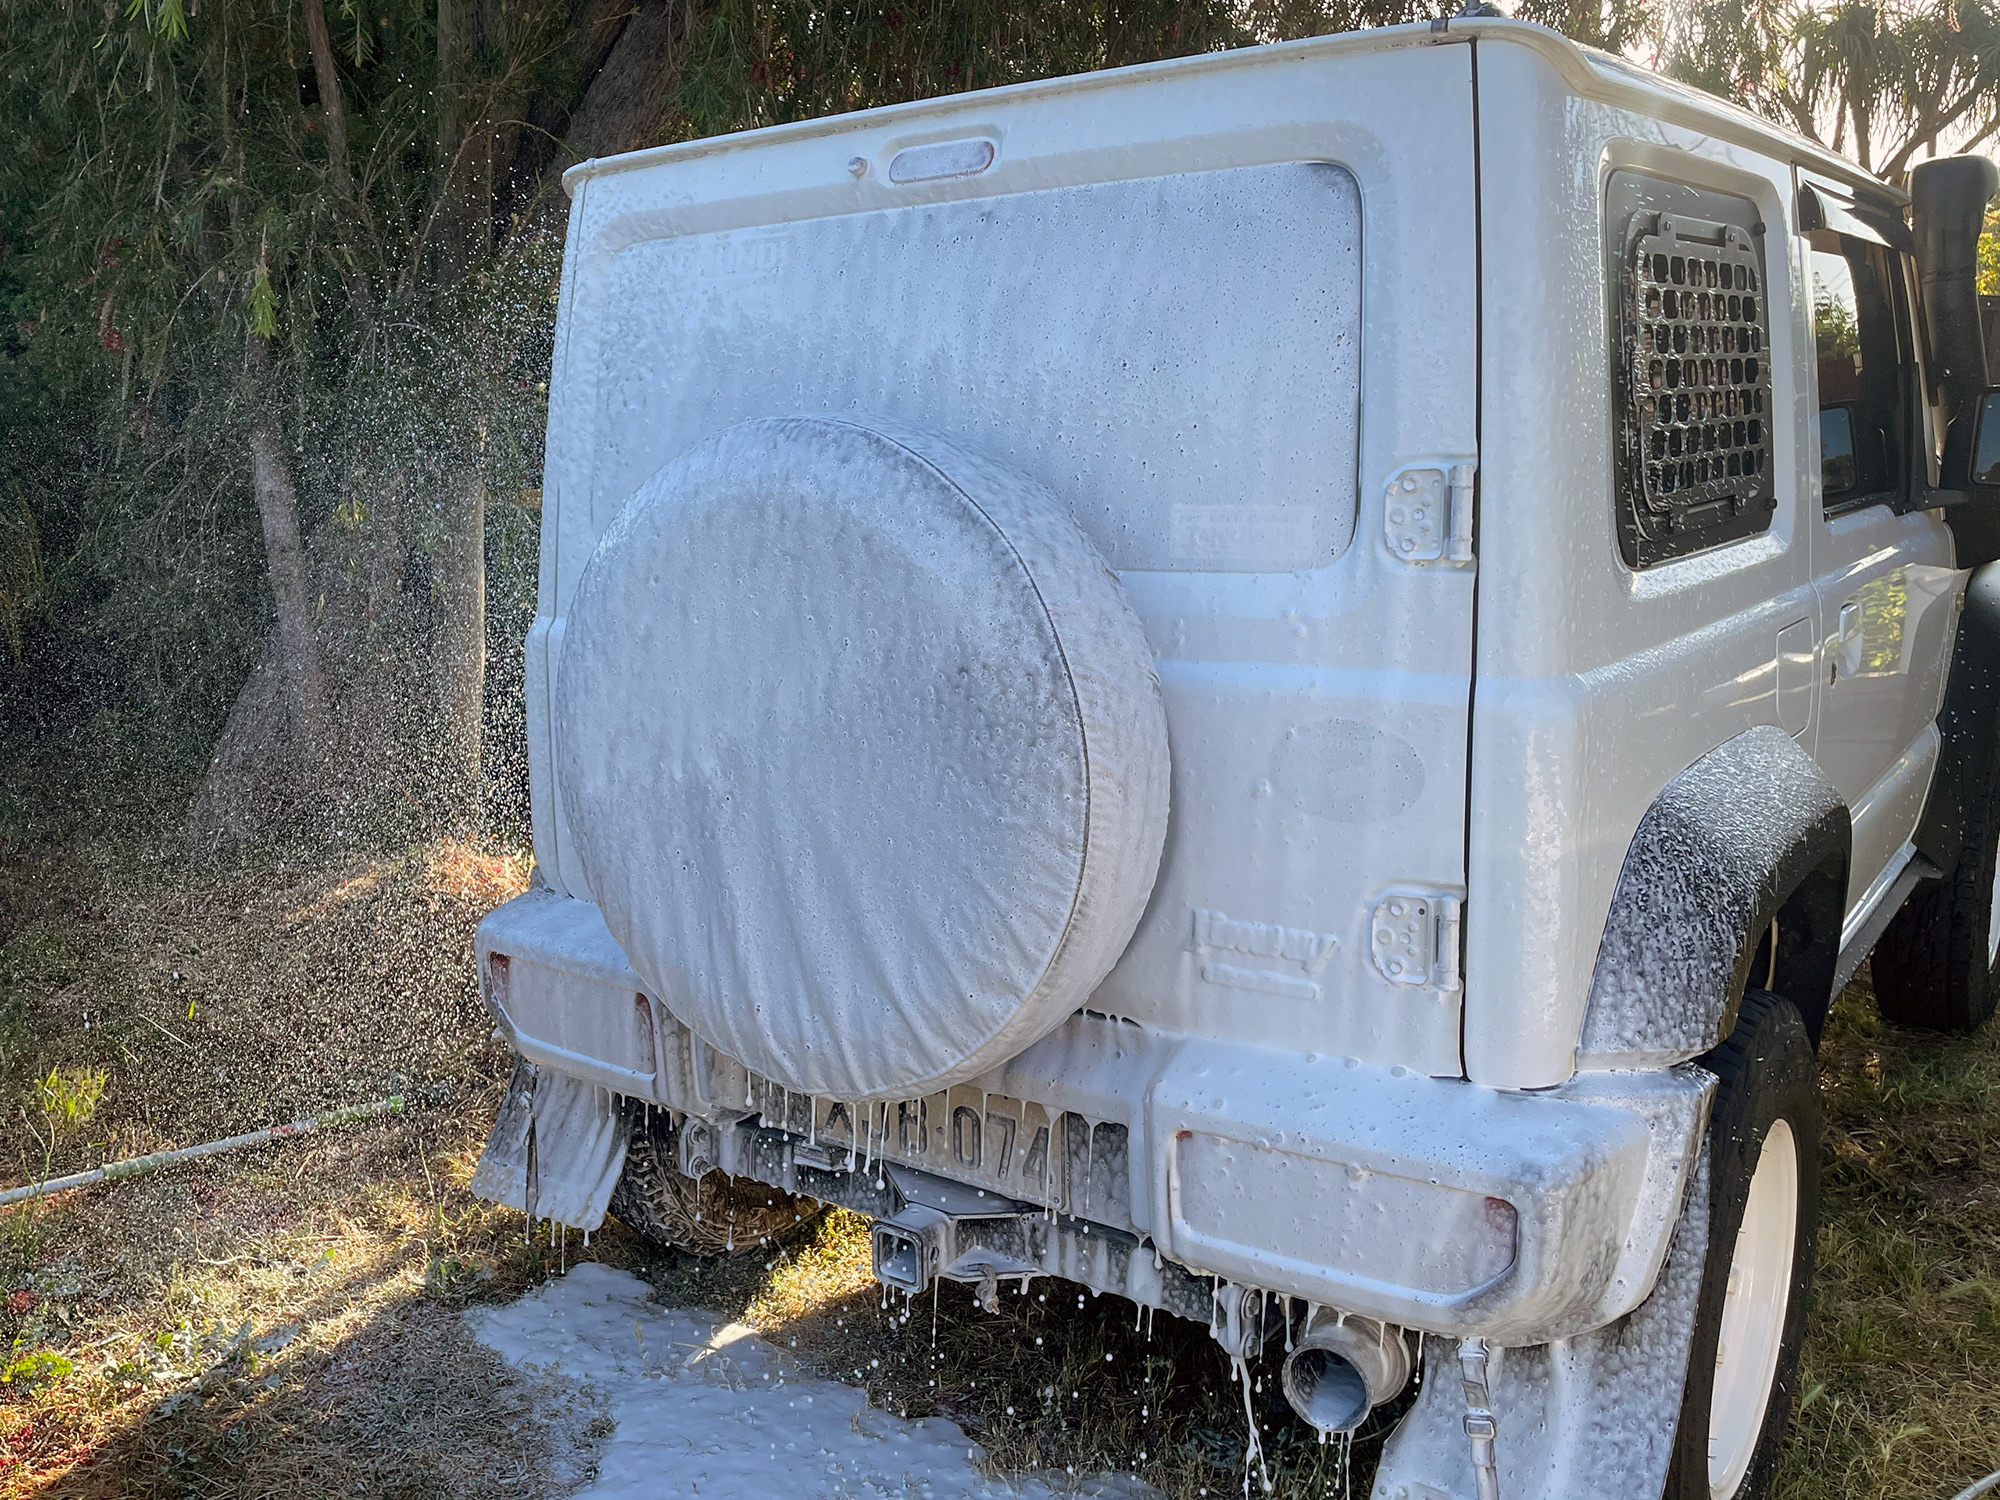
Once that’s resided on the body for a while and dripped off the worst of the dirt, rinse the car off starting at the bottom initially and working upwards vertically, then a final rinse from the top down to the bottom.
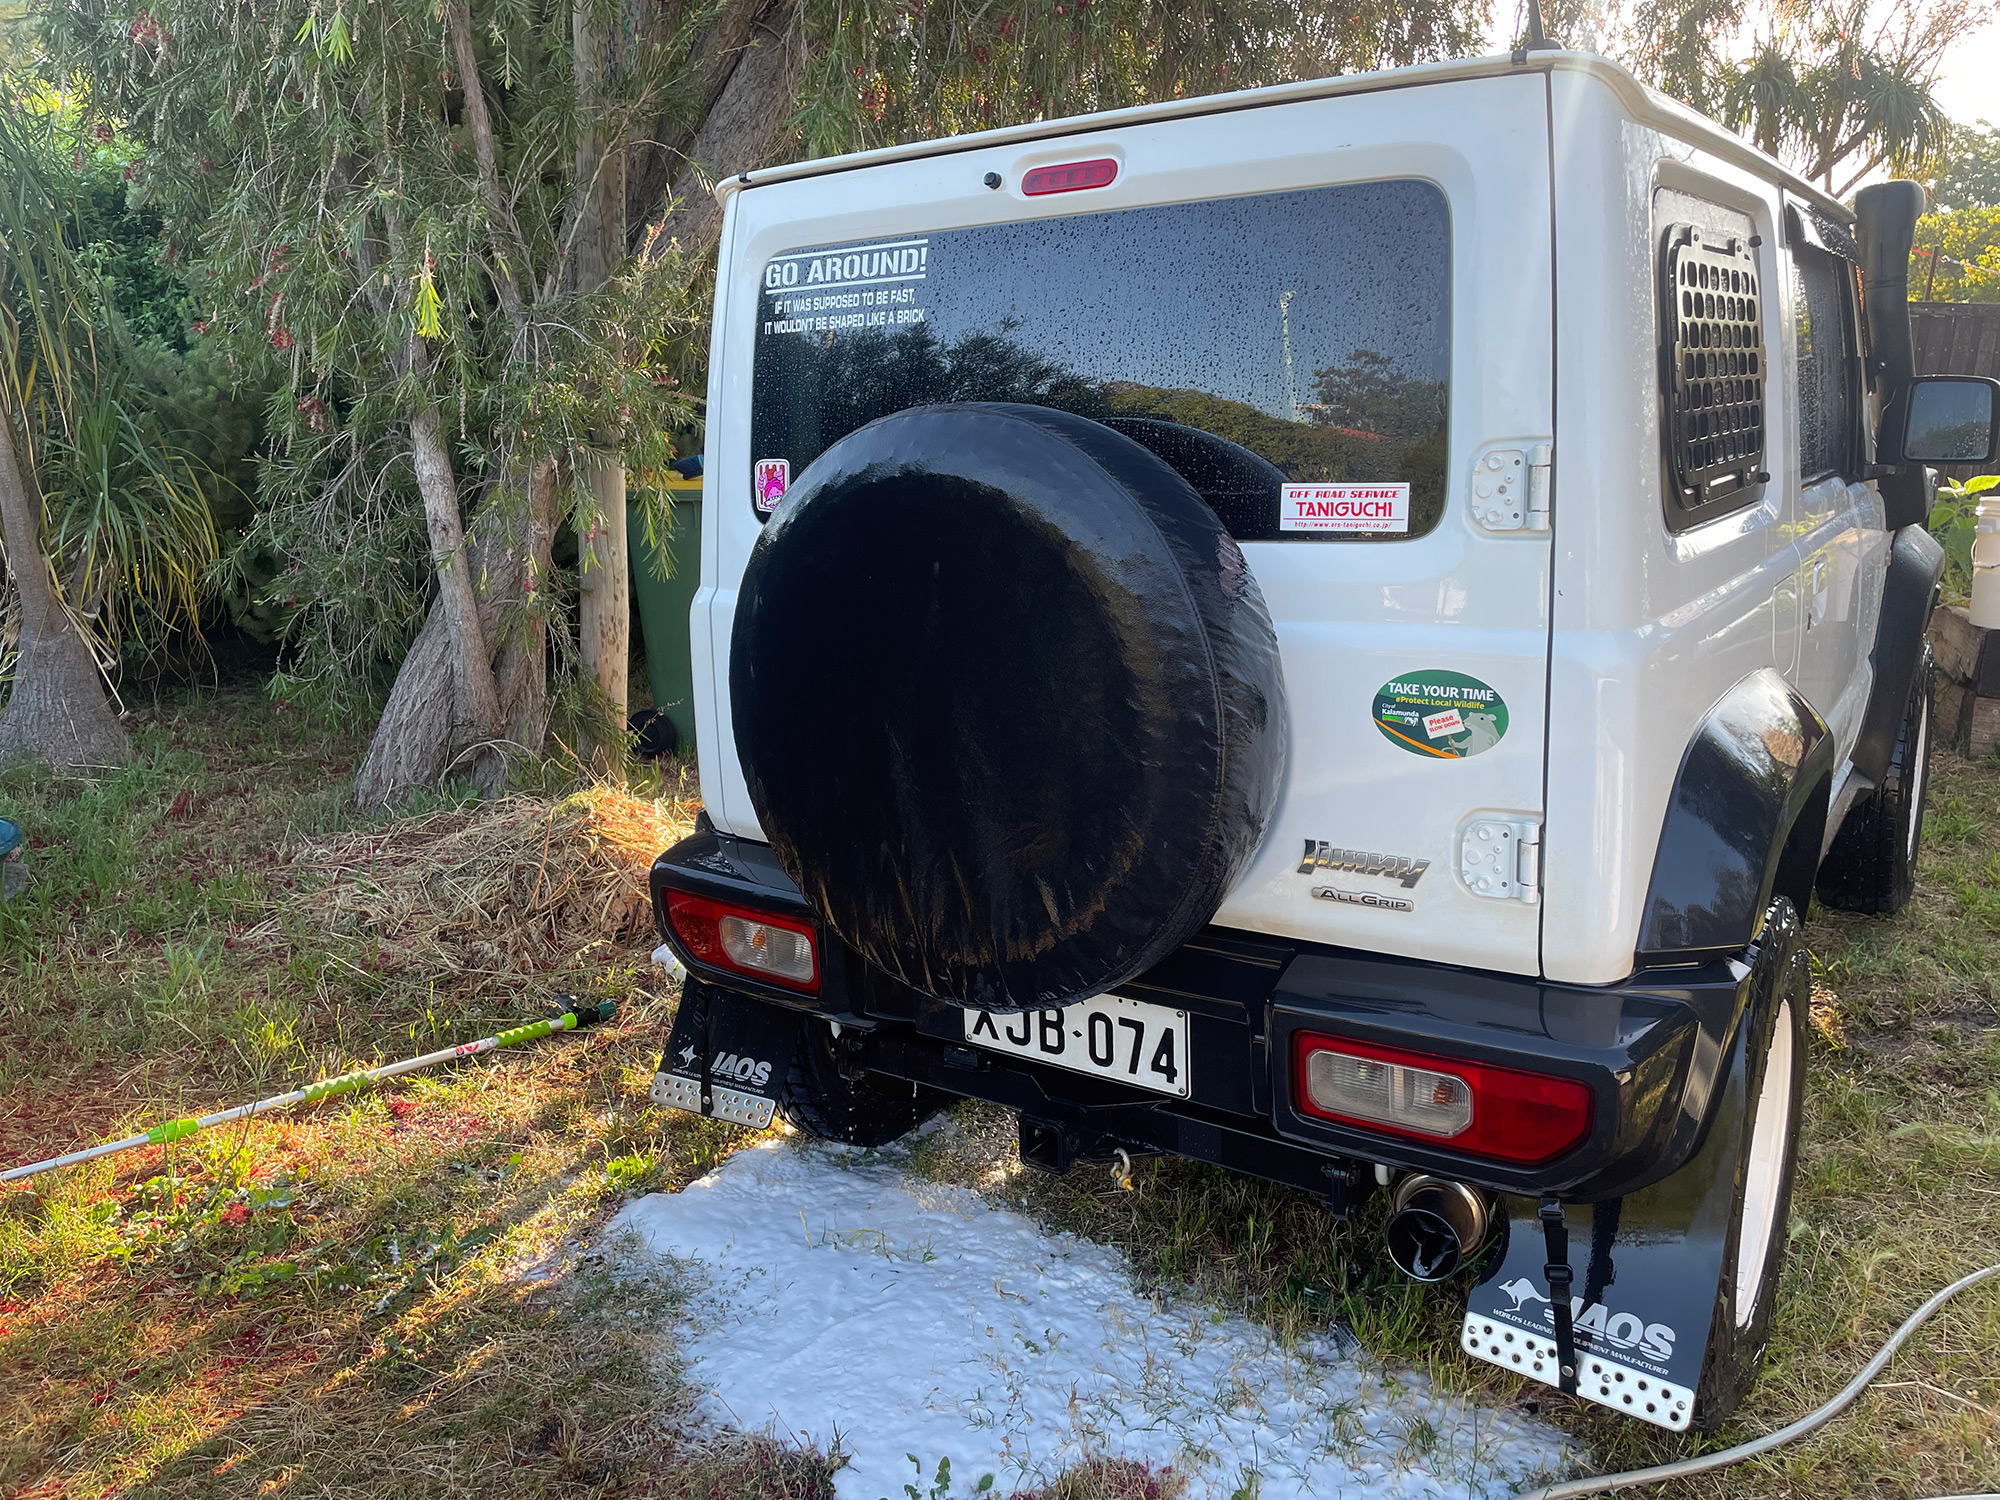
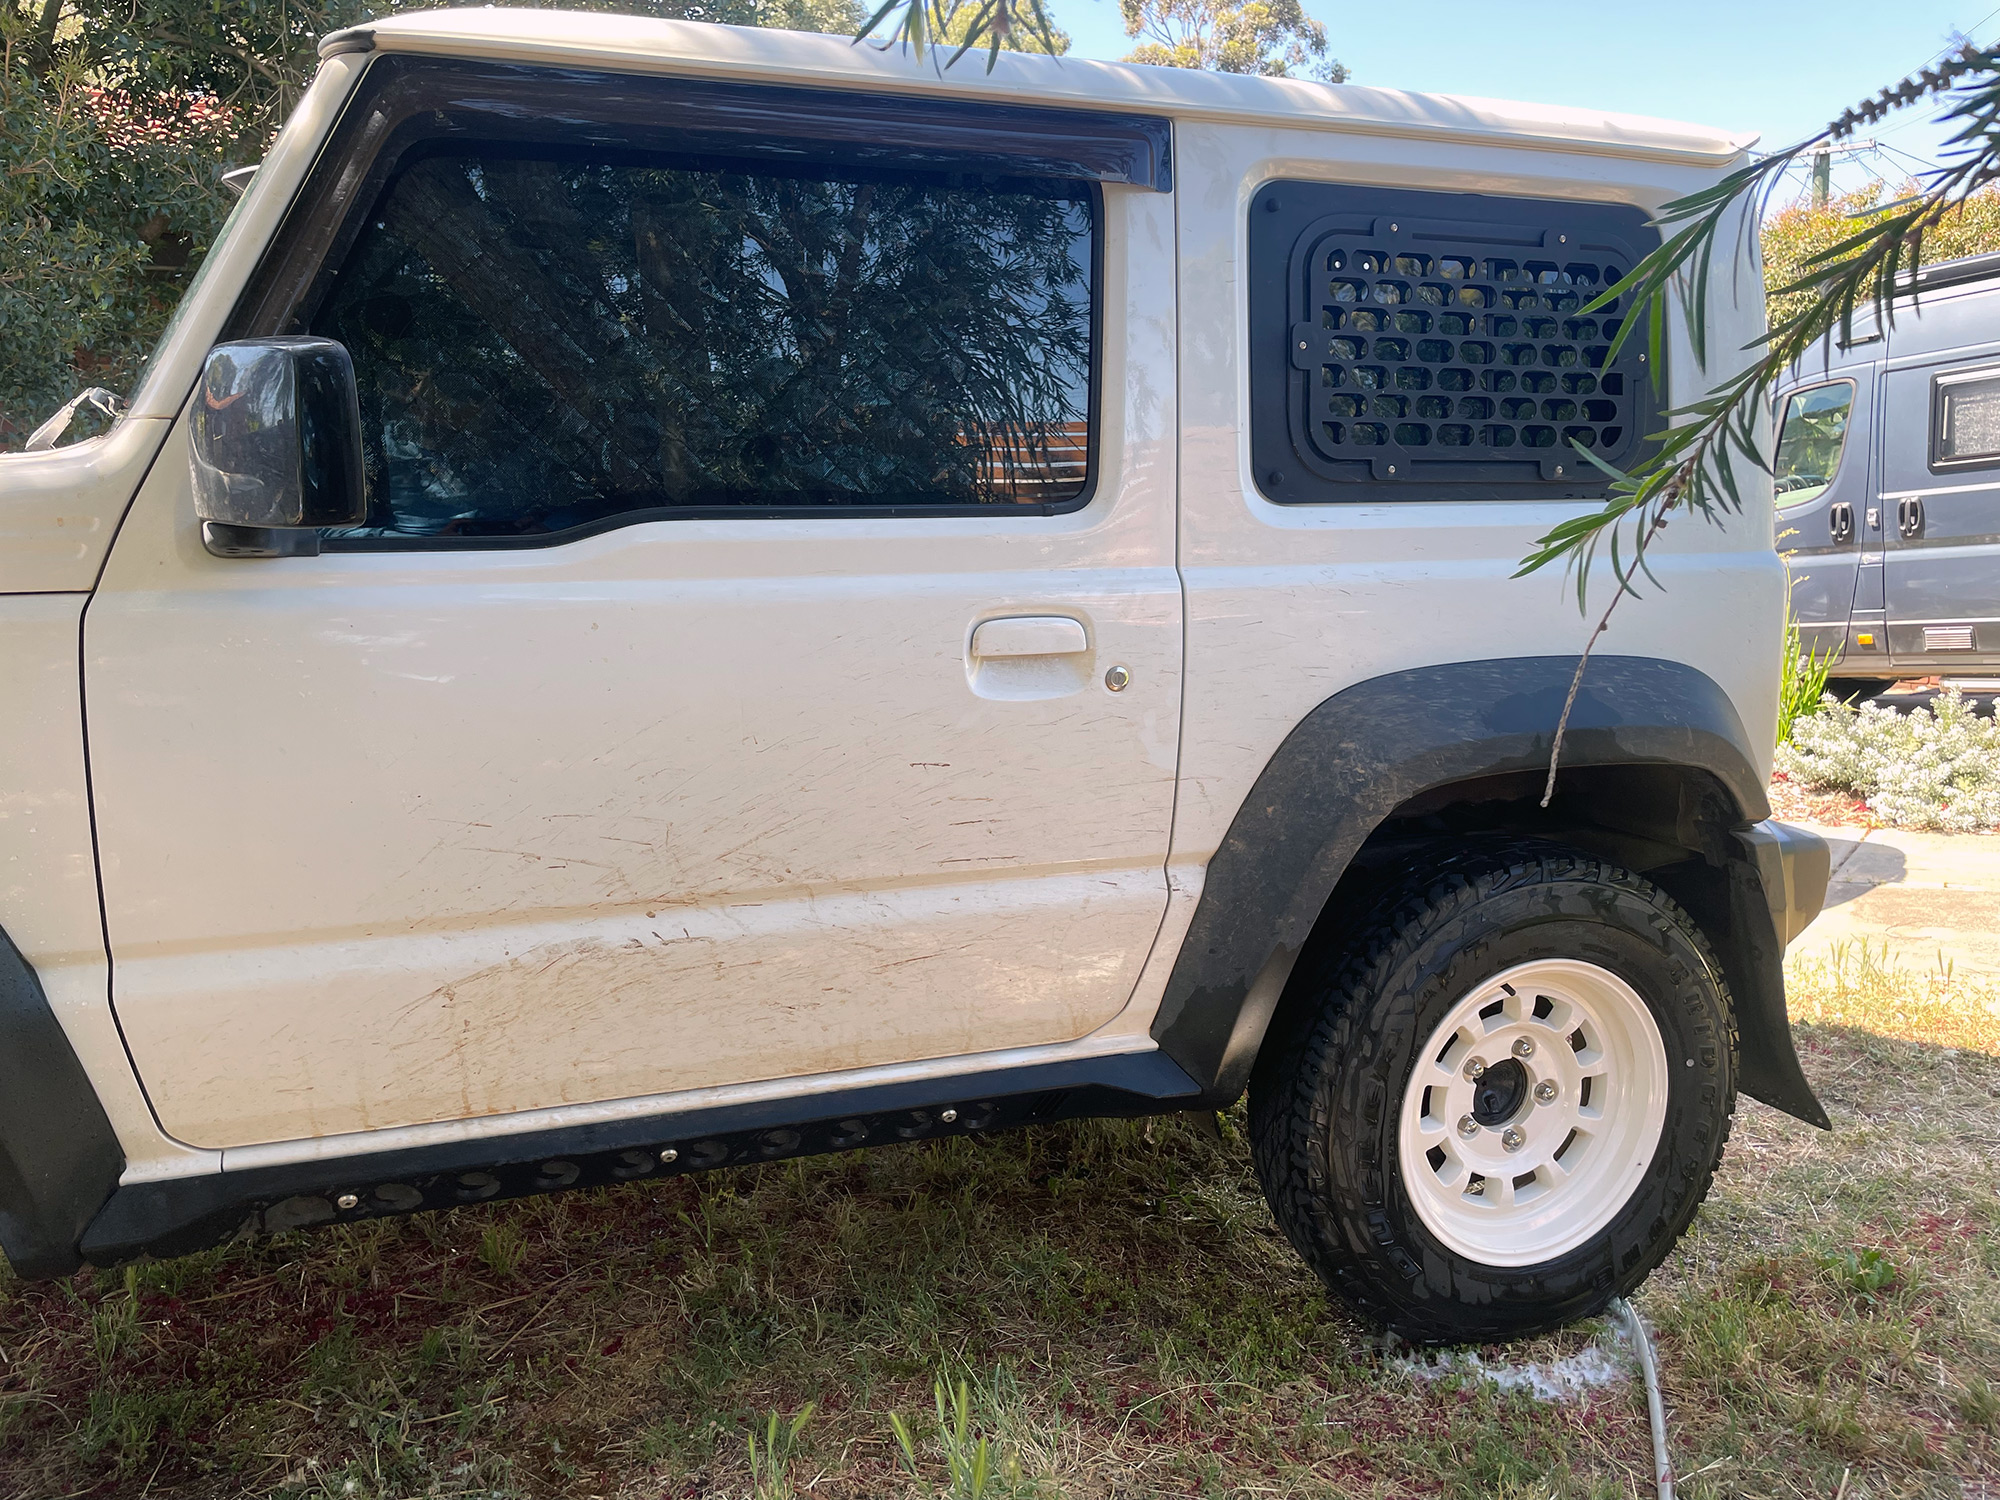
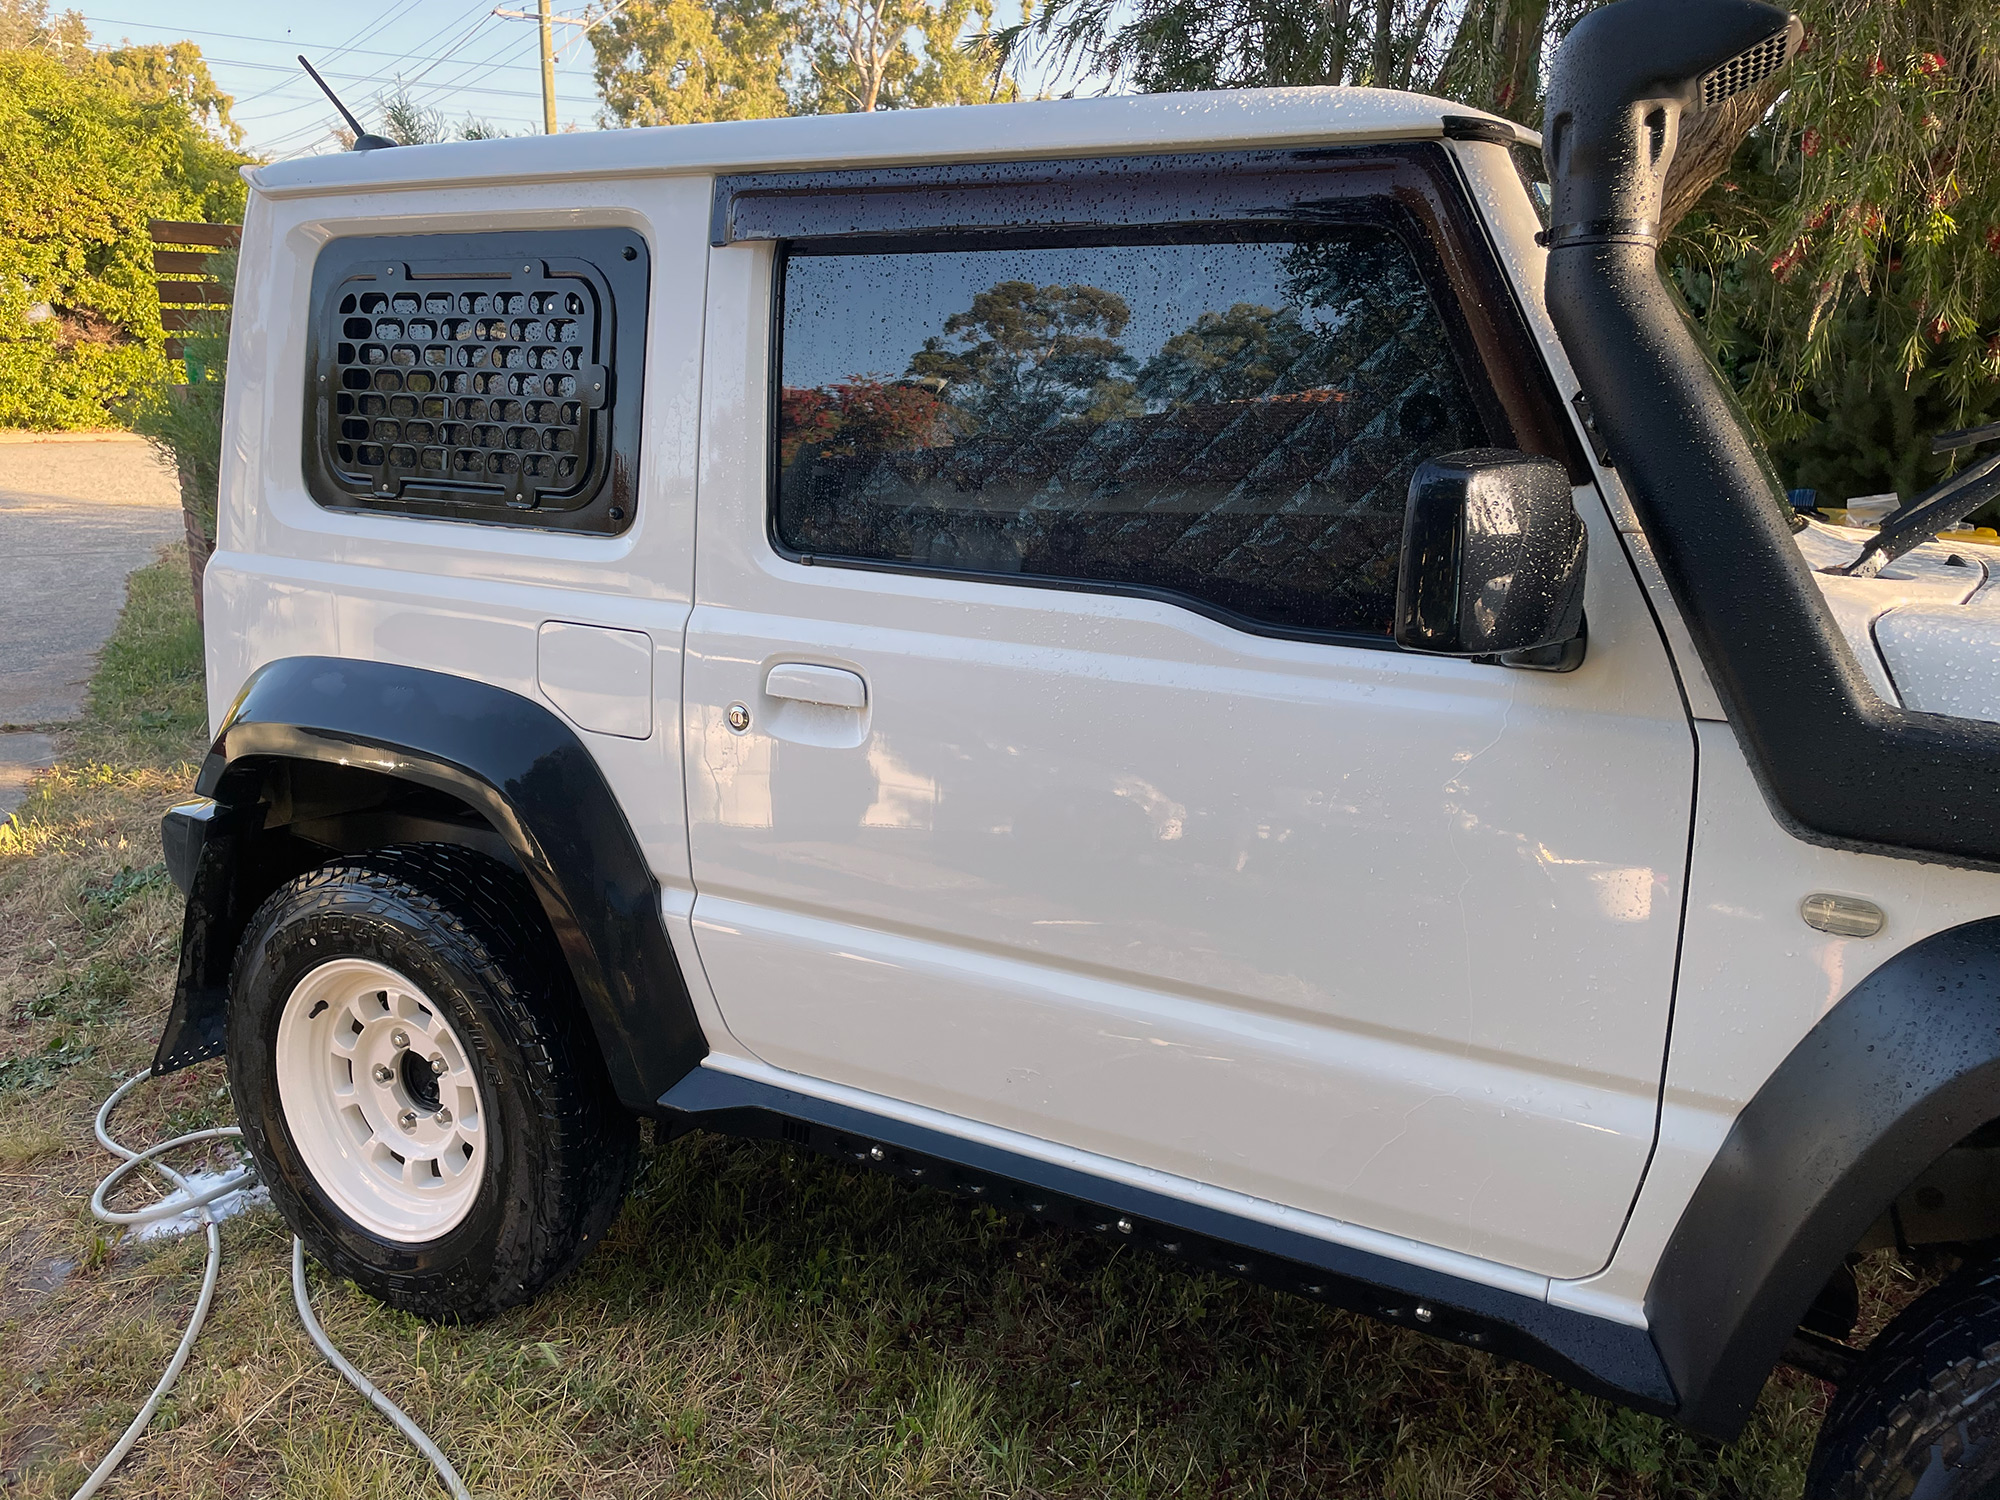
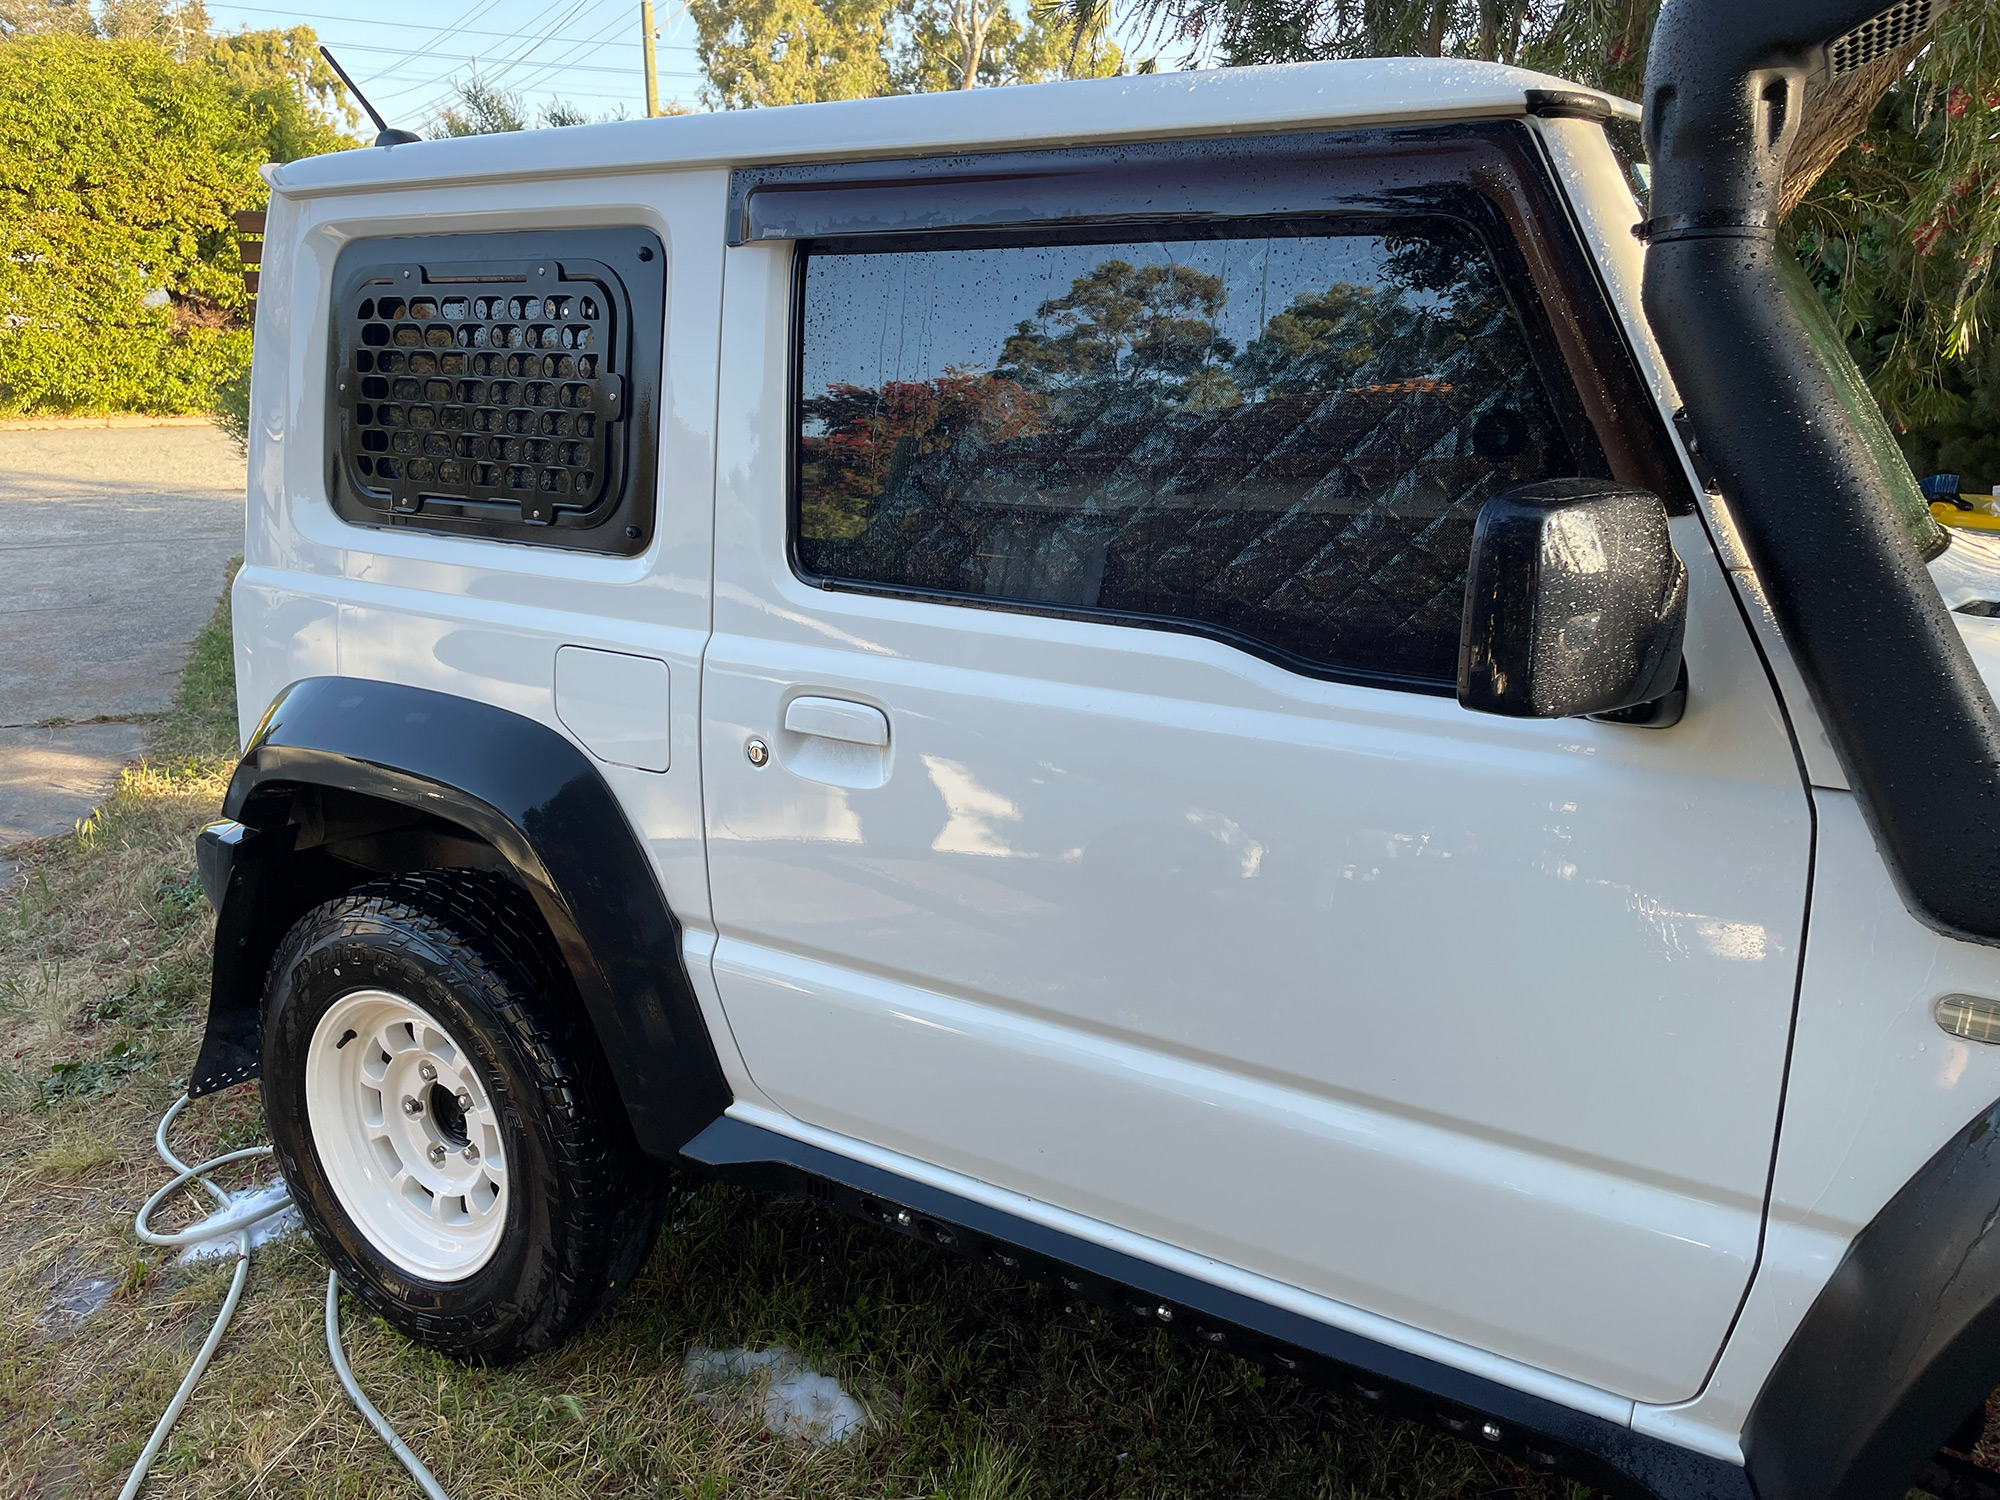
Here’s a shot of one of the sides, just after snow foaming and rinsing off.
Yep, even just a snow foam and a decent pressure washer can shift a huge amount of dirt off the car. This is what I’d count as the 2nd pragmatic way, though the residence time of the snow foam means it takes longer than me doing the more pragmatic wash I talk about above.
Wheel clean
There’s actually very little difference here to doing the wheel clean in the pragmatic way – basically cause wheels are slightly slow to clean. If you’ve got a pressure washer, just rinse them off with that first and you’ll have shifted a bit more dirt. Be careful around exposed brakes if you’re getting up close – you can end up spraying water past things like the caliper slide seals if you’re unlucky with angles.

In some ways using a pressure washer alone is more pragmatic on wheels but it is extra stuff to buy/own hence I’ve included it down here.
Two bucket cleaning
This is how you minimise paint imperfections added by the cleaning process. If you’ve got the car mostly clean using snowfoam and contactless cleaning then you’ll find this part really easy.
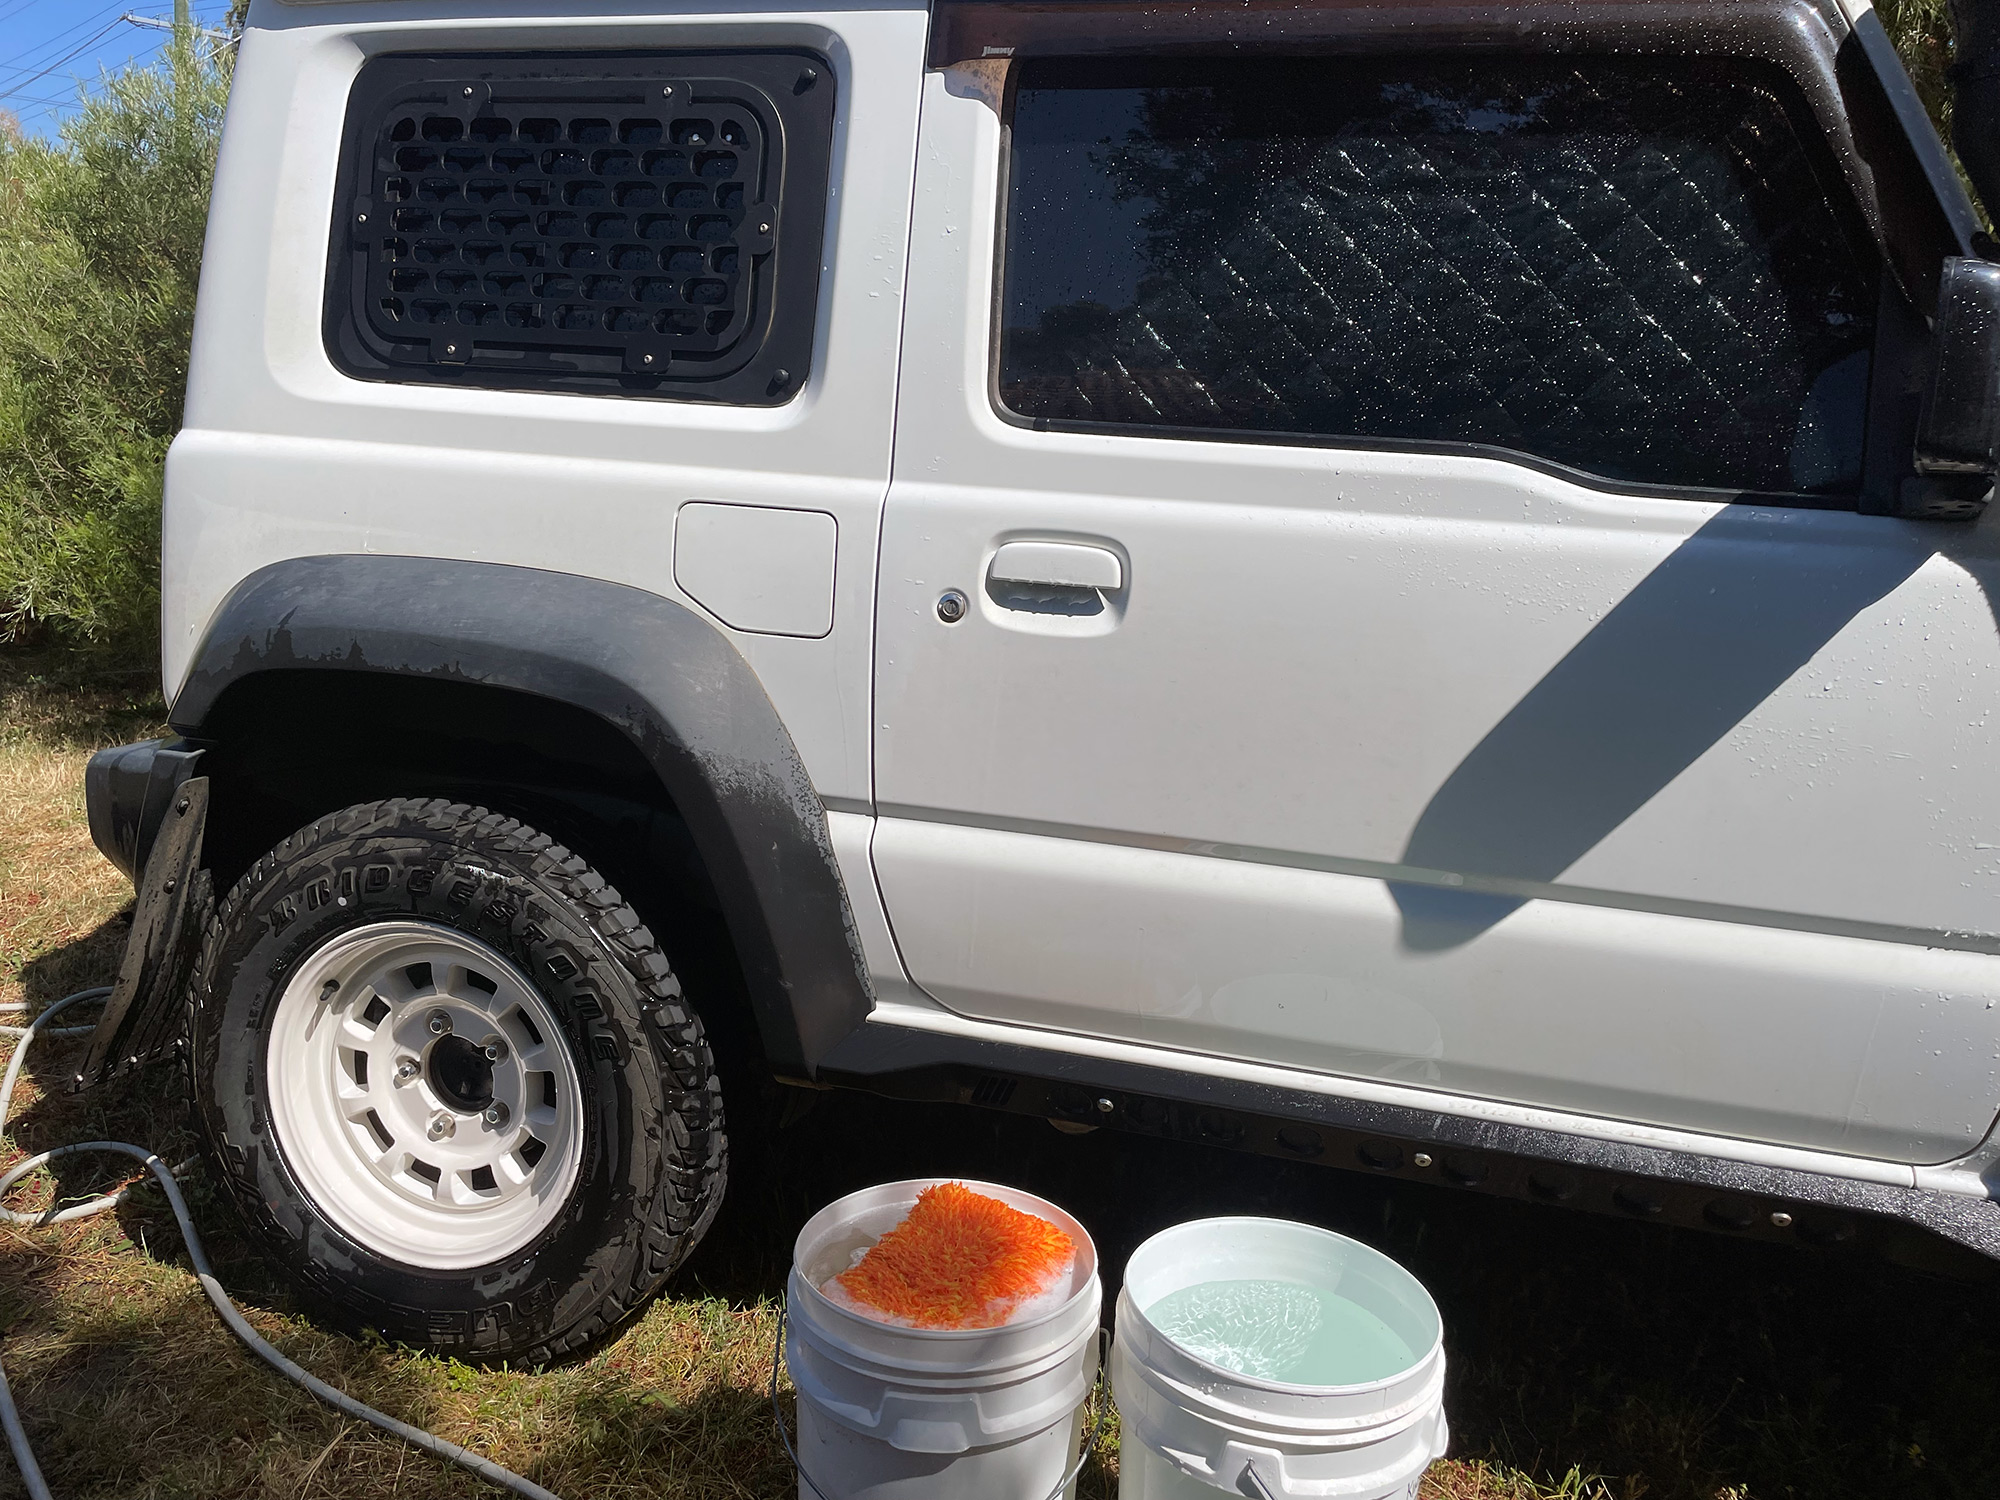
The secret is in the name: have two buckets; one has shampoo and water, and the other is clean water for rinsing. You start by having your cleaning sponge or microfibre thing or body brush in the bucket with the shampoo in it.
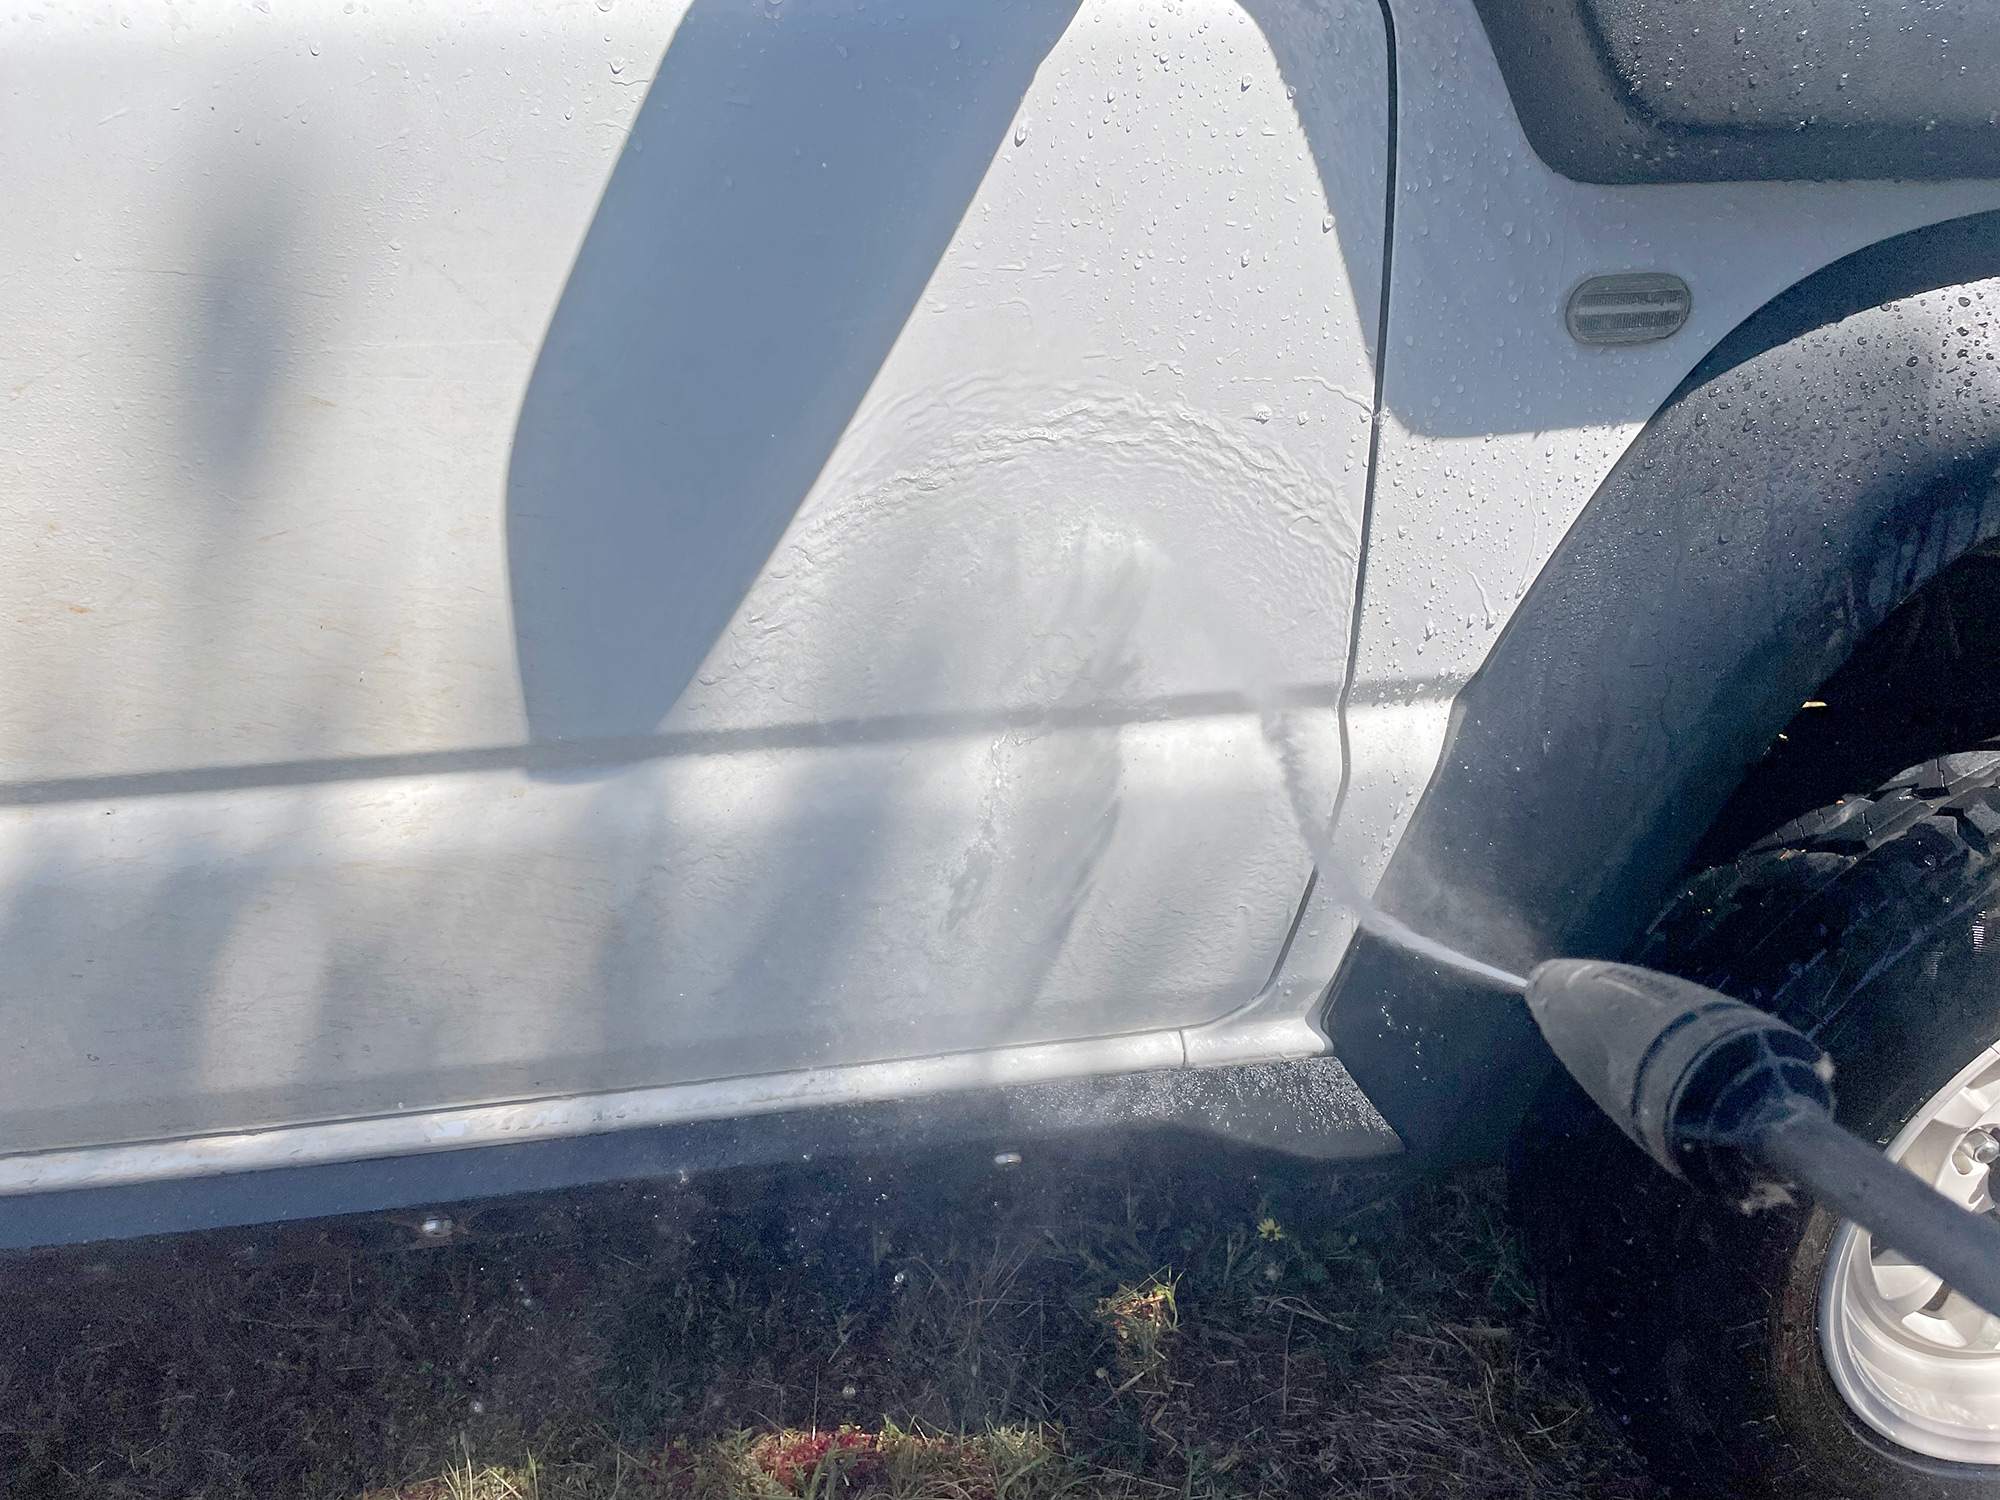
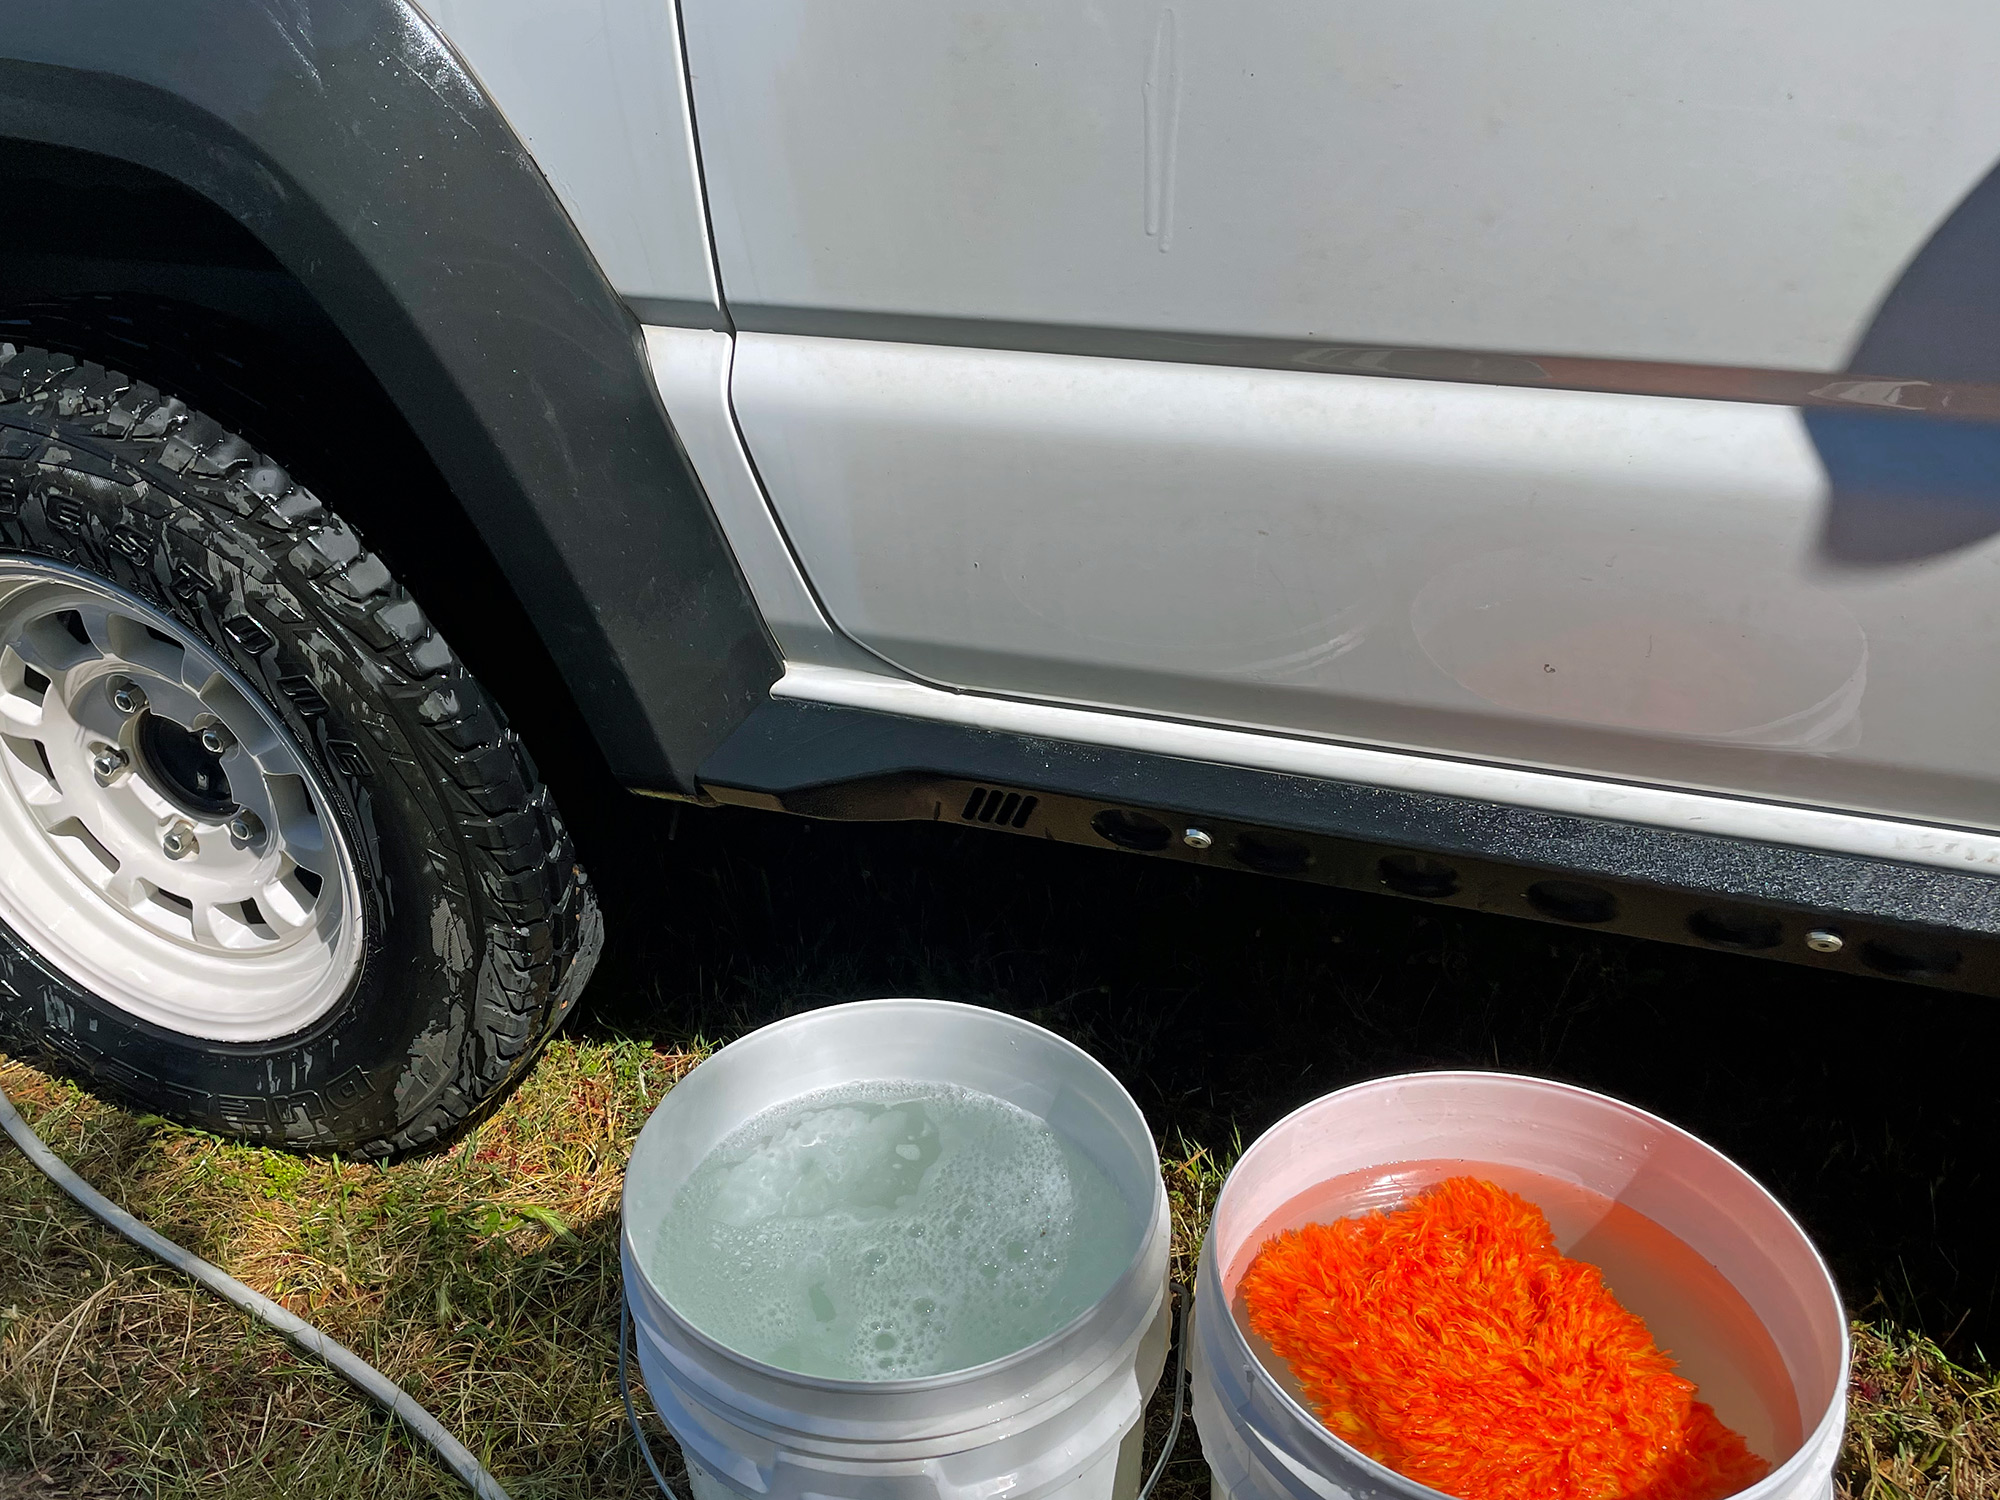
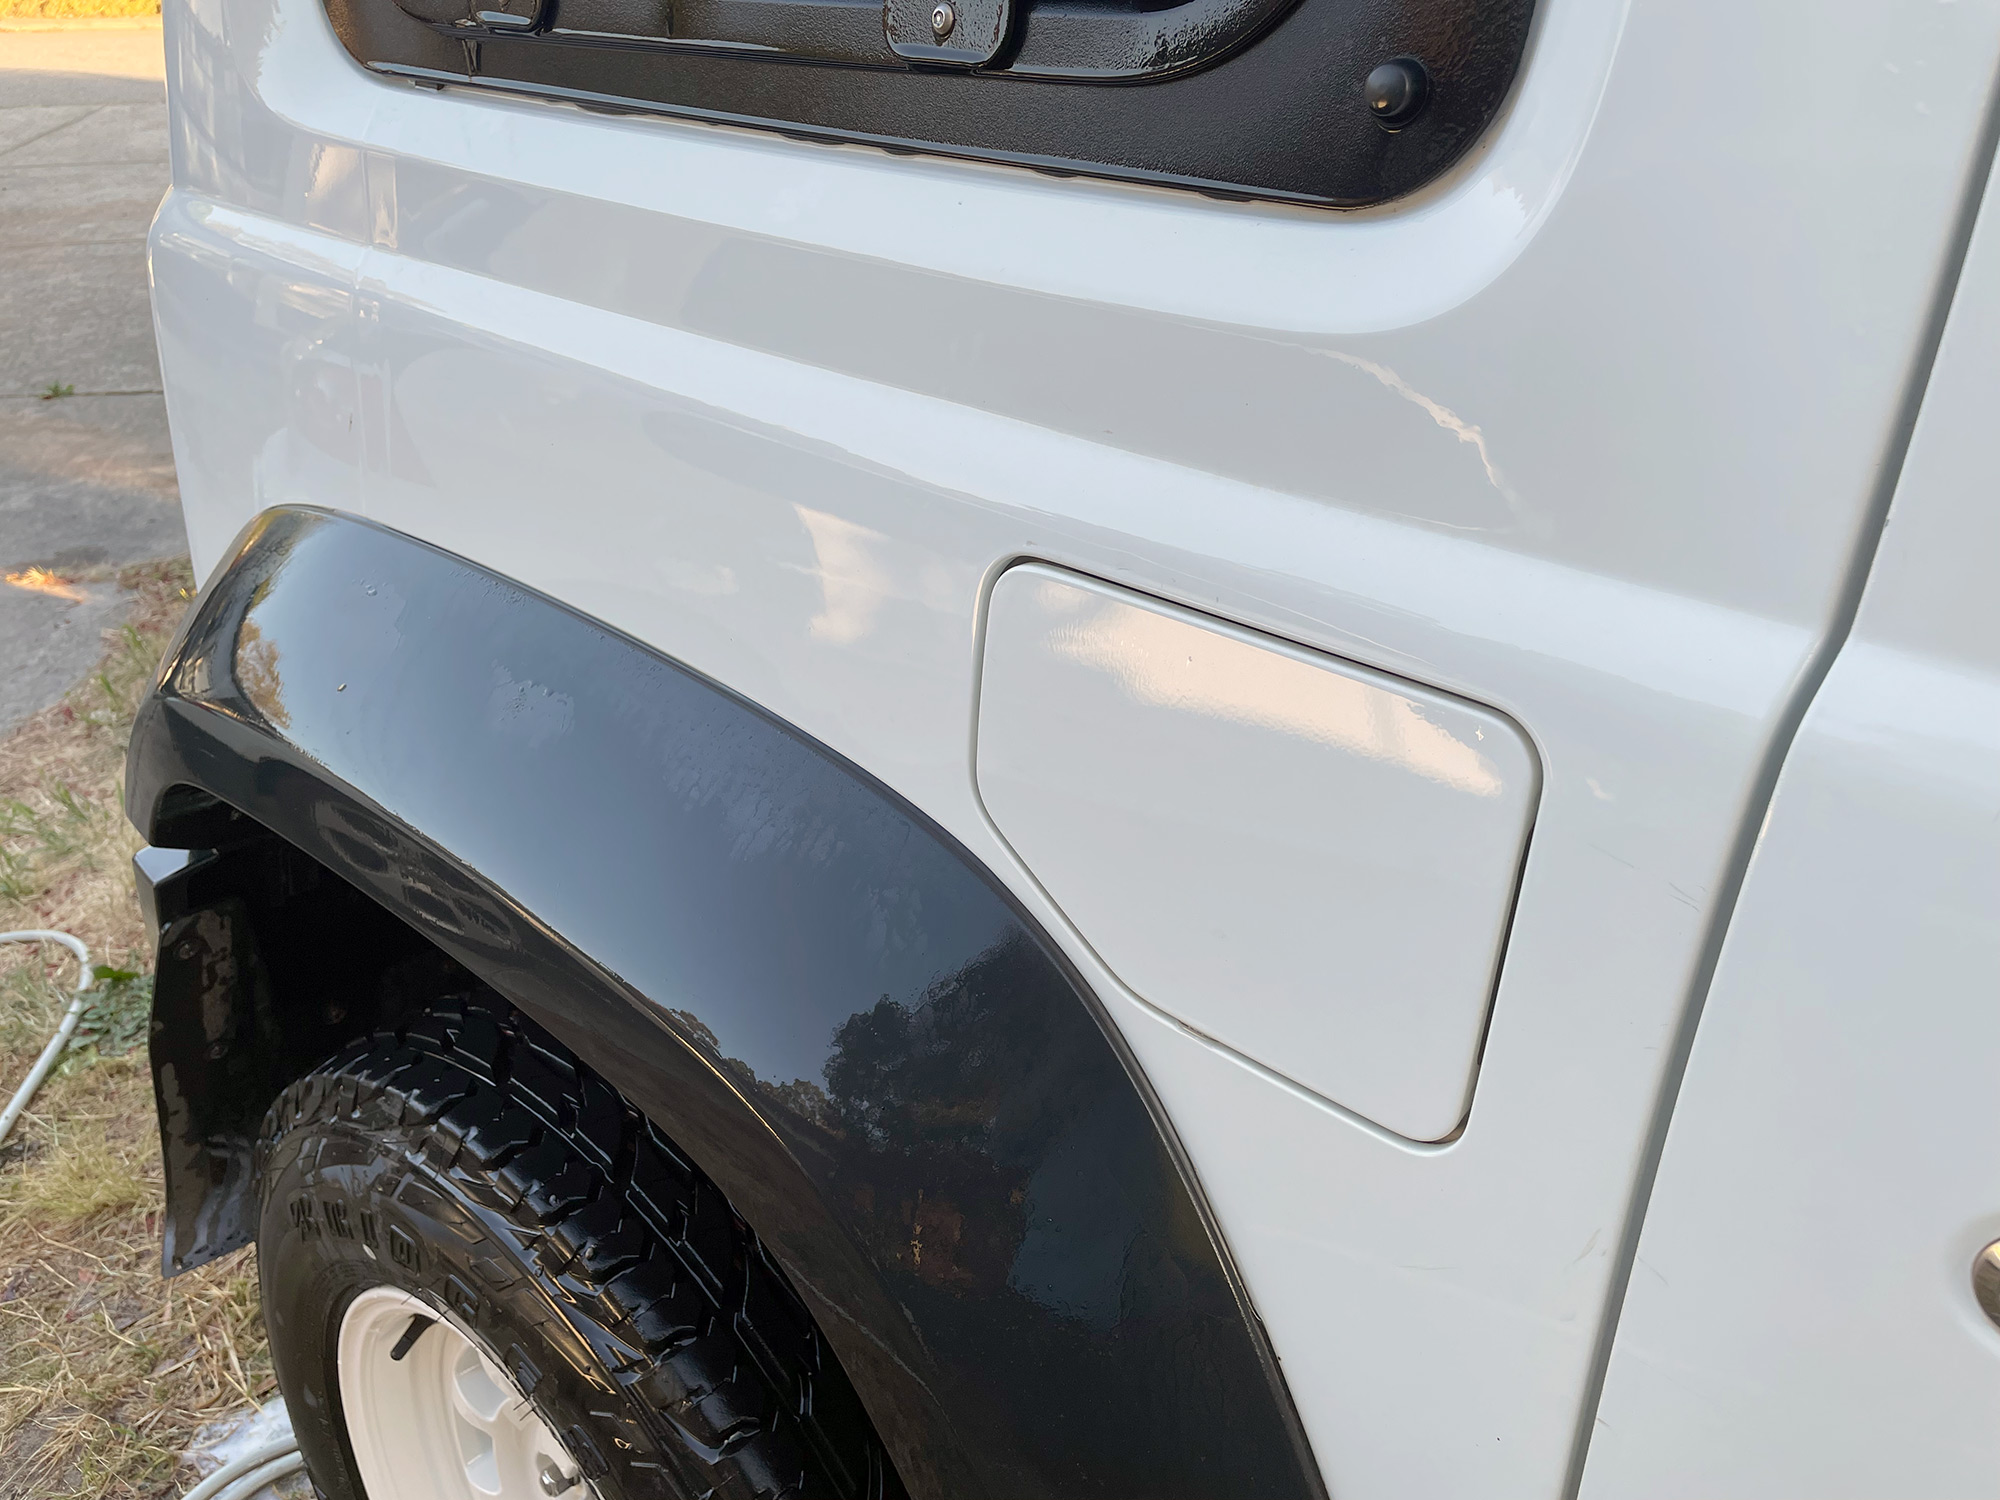
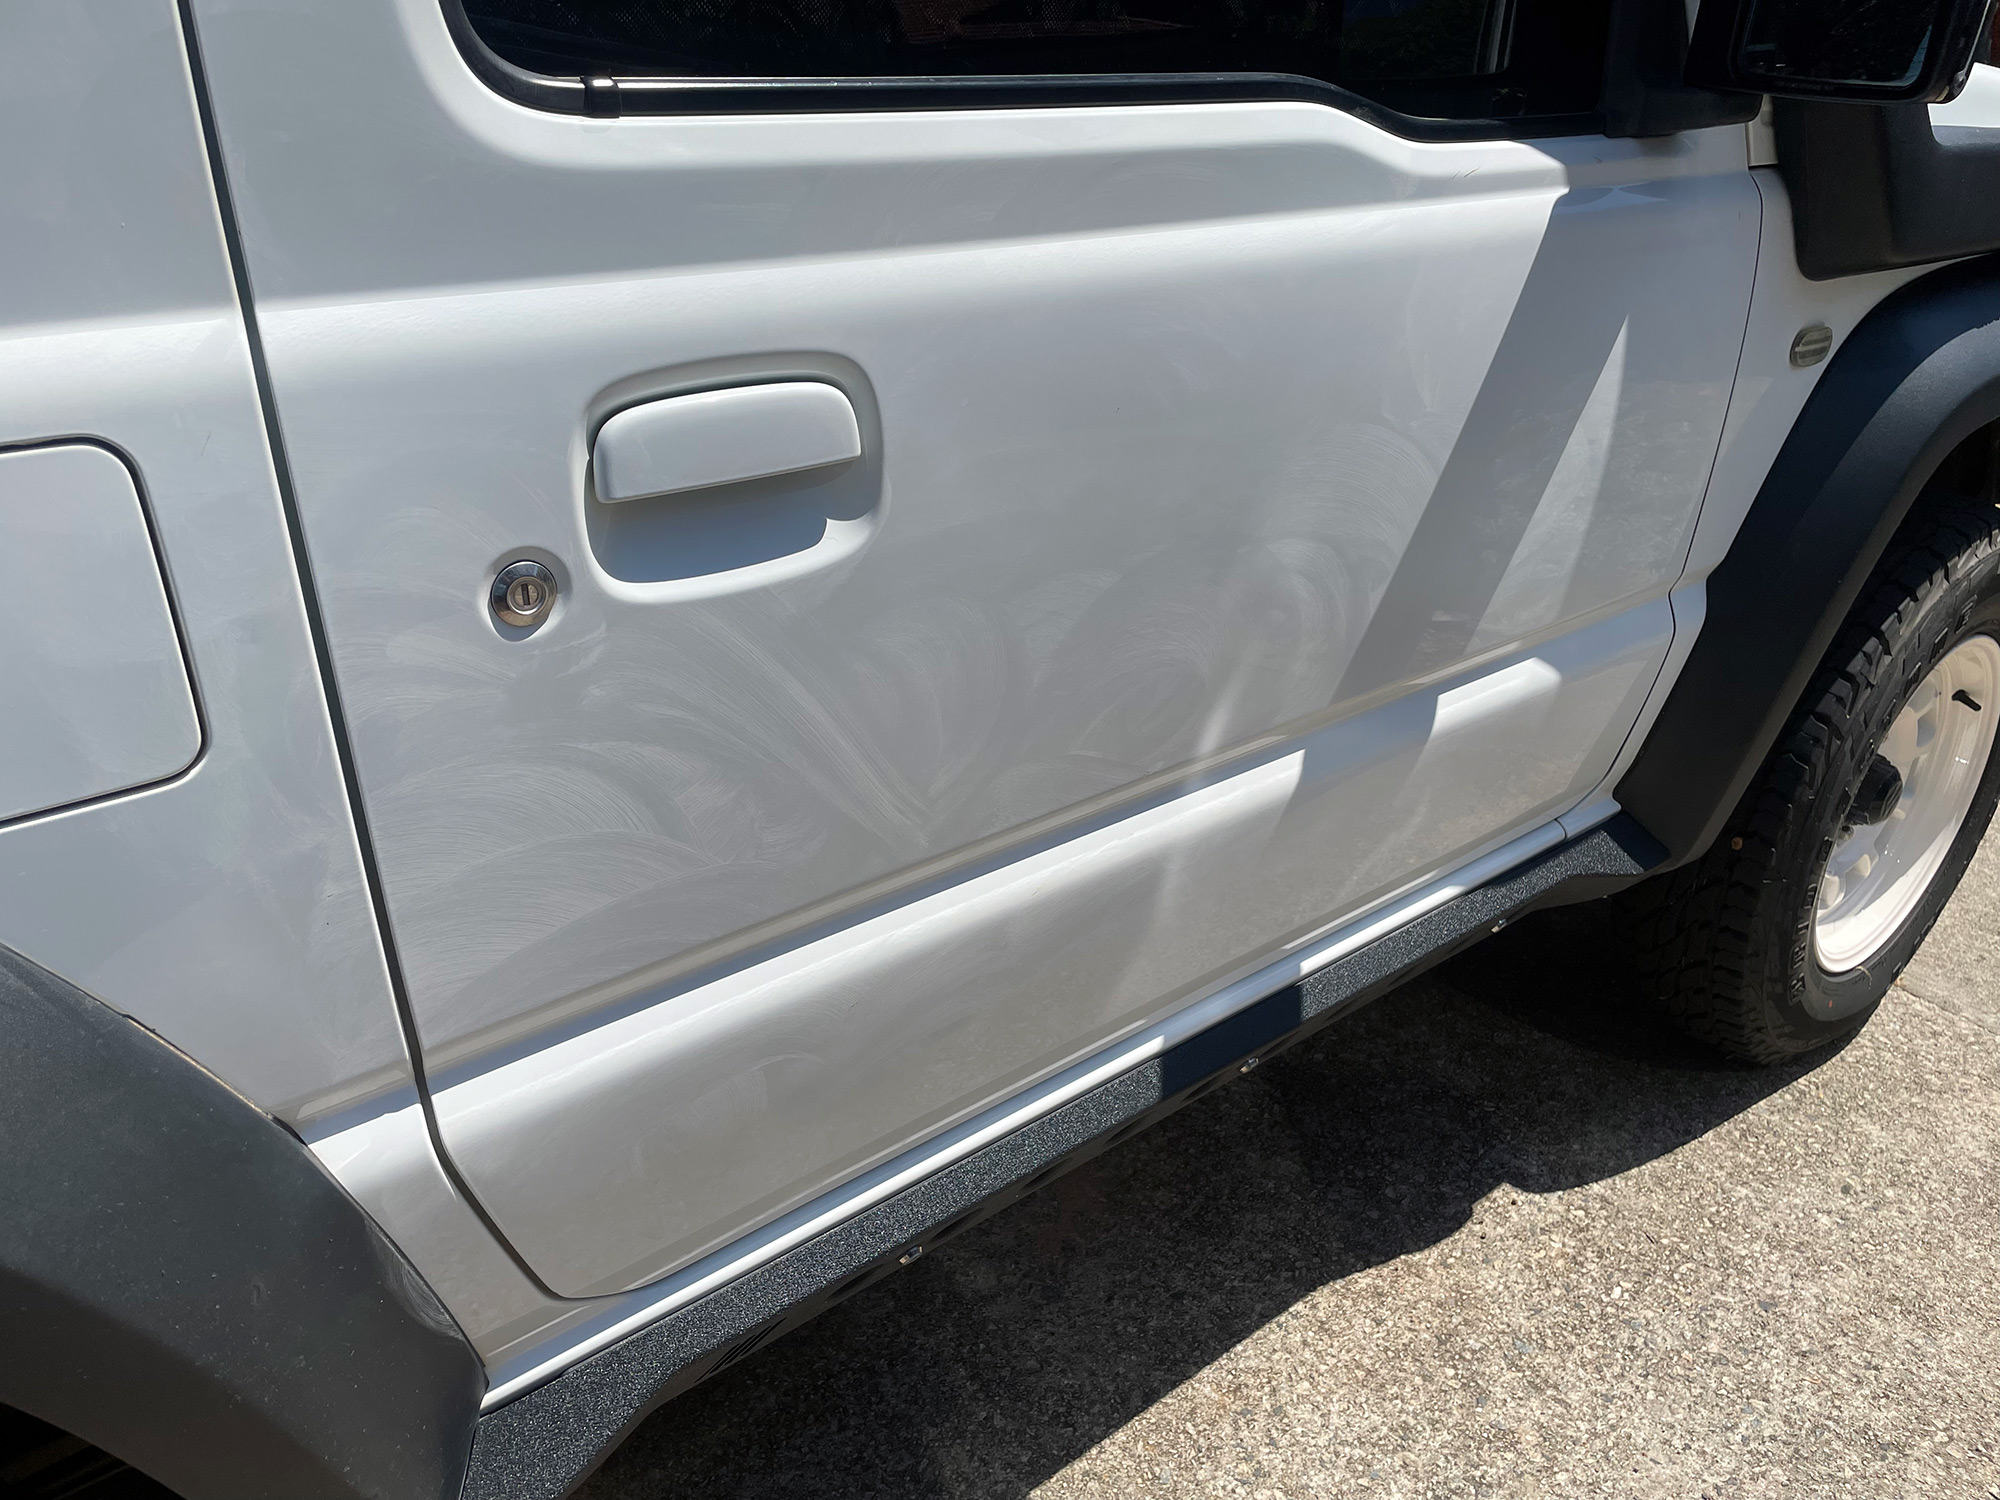
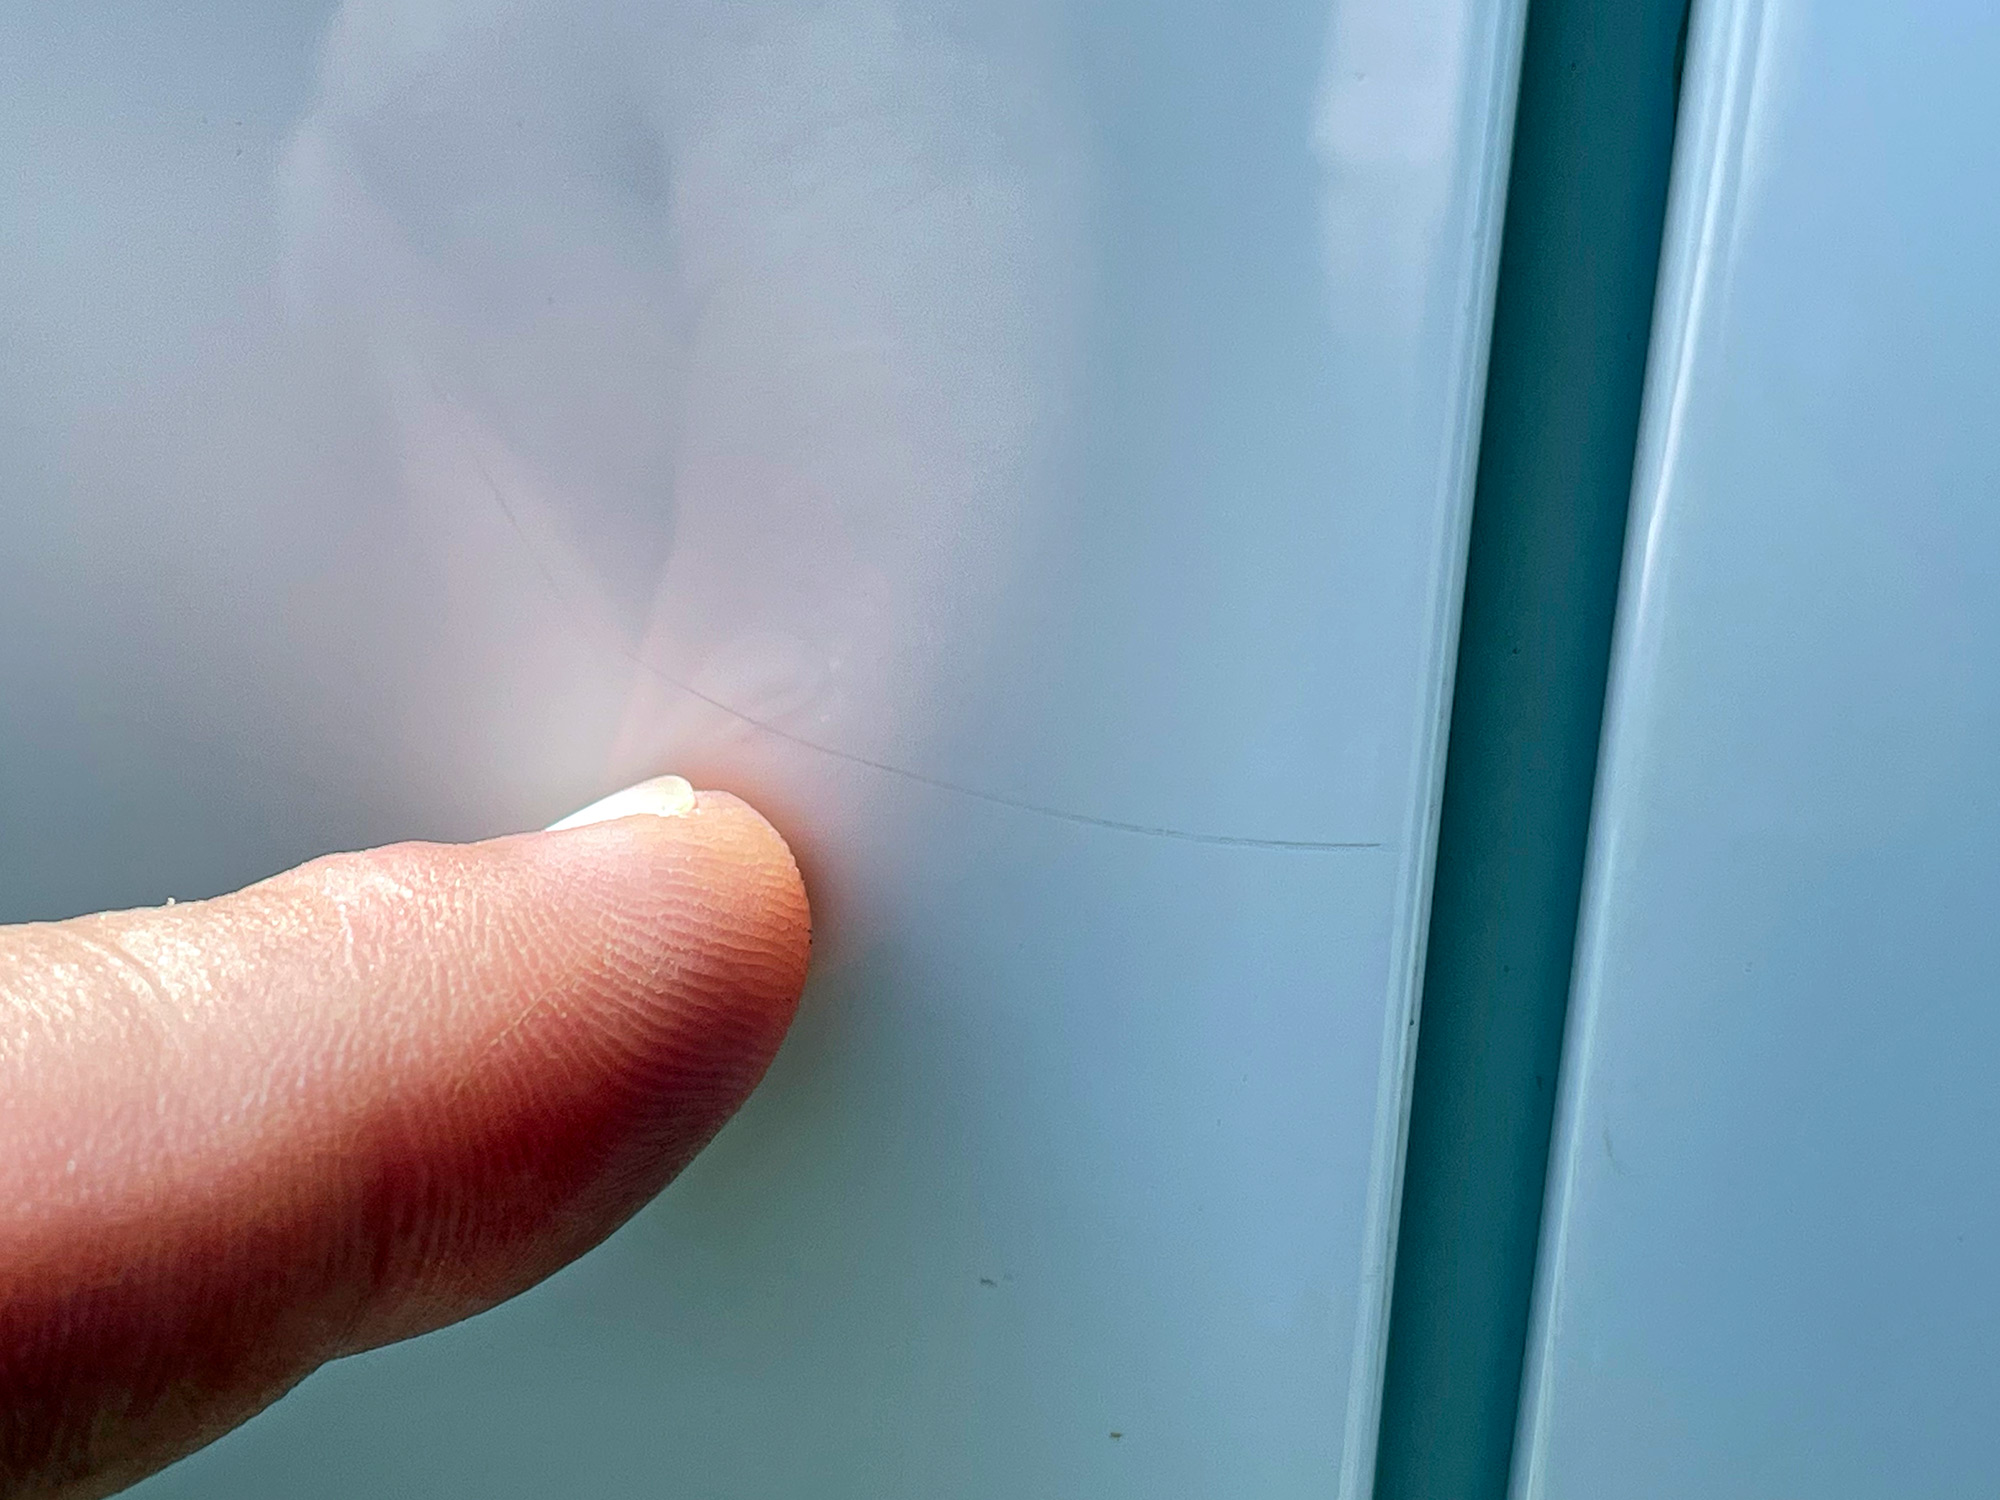
Then give a small part of the body a clean, and rinse off the sponge in the other bucket i.e. the one with plain water in it. Here you can see I’ve washed a segment of the body (the bit ‘behind’ the vertical dirty line just onto the door) and put the washing sponge I’m using into the rinsing water.
This ensures that no dirt goes into the water with the shampoo in it, and dirt trapped in the washing implement will end up not being dragged back across the paint. This is how you limit the imperfections in the paint using this washing method. Note that it does take a lot longer, and, you need to keep track of which is the ‘clean’ shampoo bucket and which is the rinsing bucket. Over time you end up with suds in the rinsing bucket so you really need to mark the bucket for rinsing. This way you don’t mix them up and end up with dirty water back onto the paintwork!
This is how dirty the water in the rinse bucket will end up even after a relatively clean car being washed.
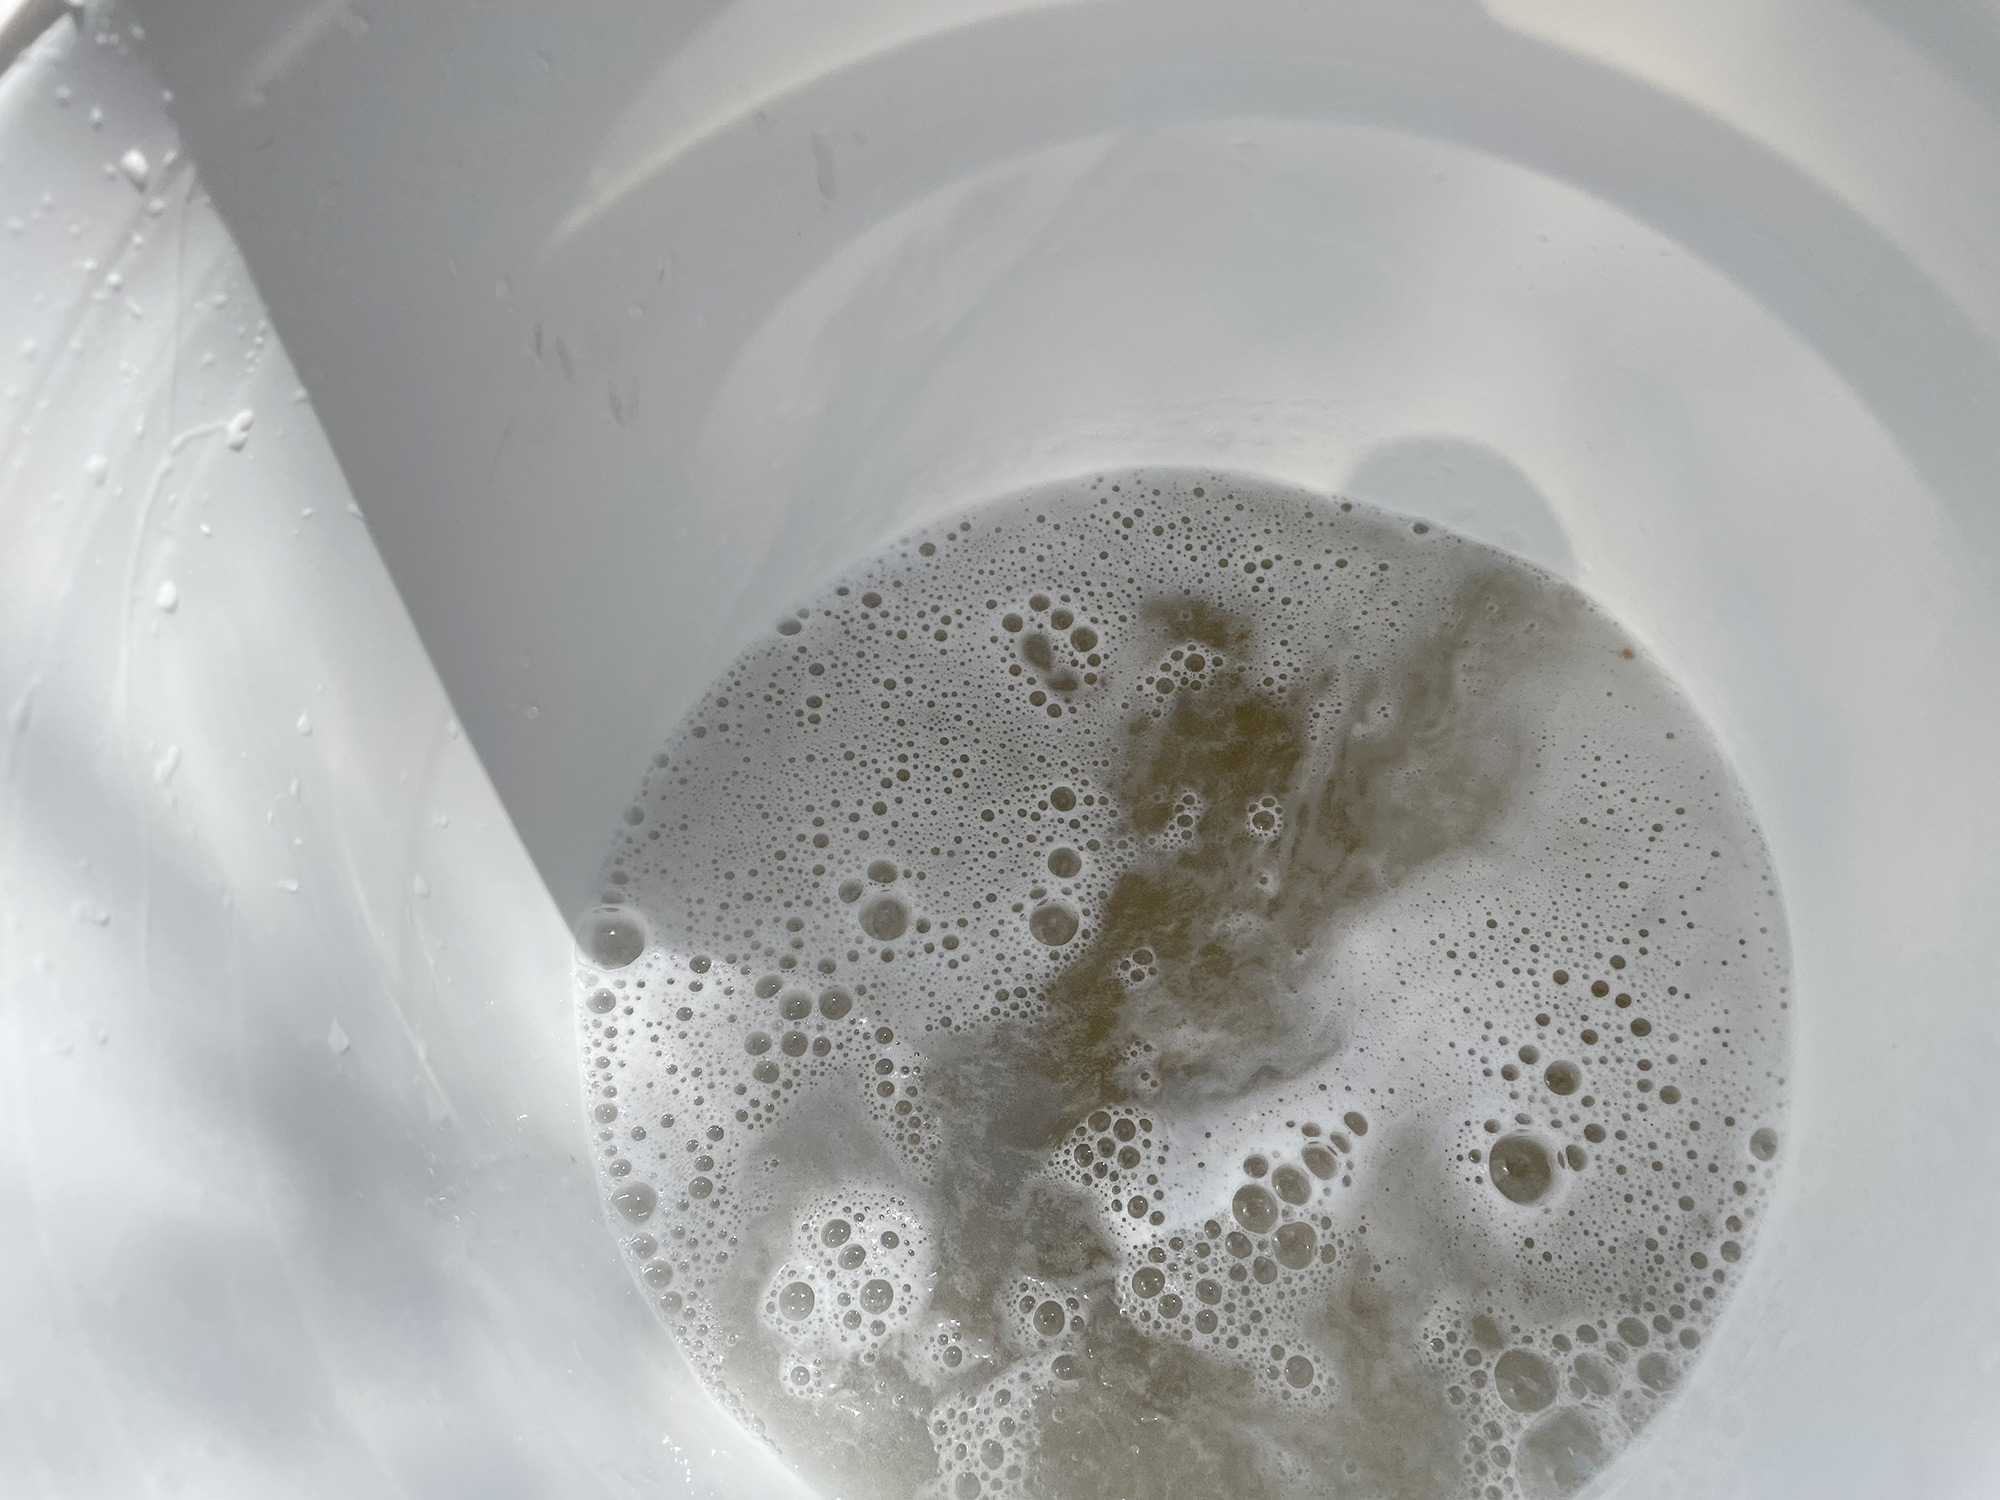
If you’ve gone through a lot of mud or similar, consider changing the rinse water multiple times during the washing process as it can end up filthy very, very quickly and thus less effective at rinsing the washing implements you’re using.
Drying the car when needed
After things like washing the paint, you’ll want to dry the car before you let the water dry on the paint. This is especially important if you live in a place with hard water as you’ll end up with water spots on the paint. These water spots end up dulling the paint and limit your ability to polish up a nice shine, so it’s worth knowing how to carefully dry the car.
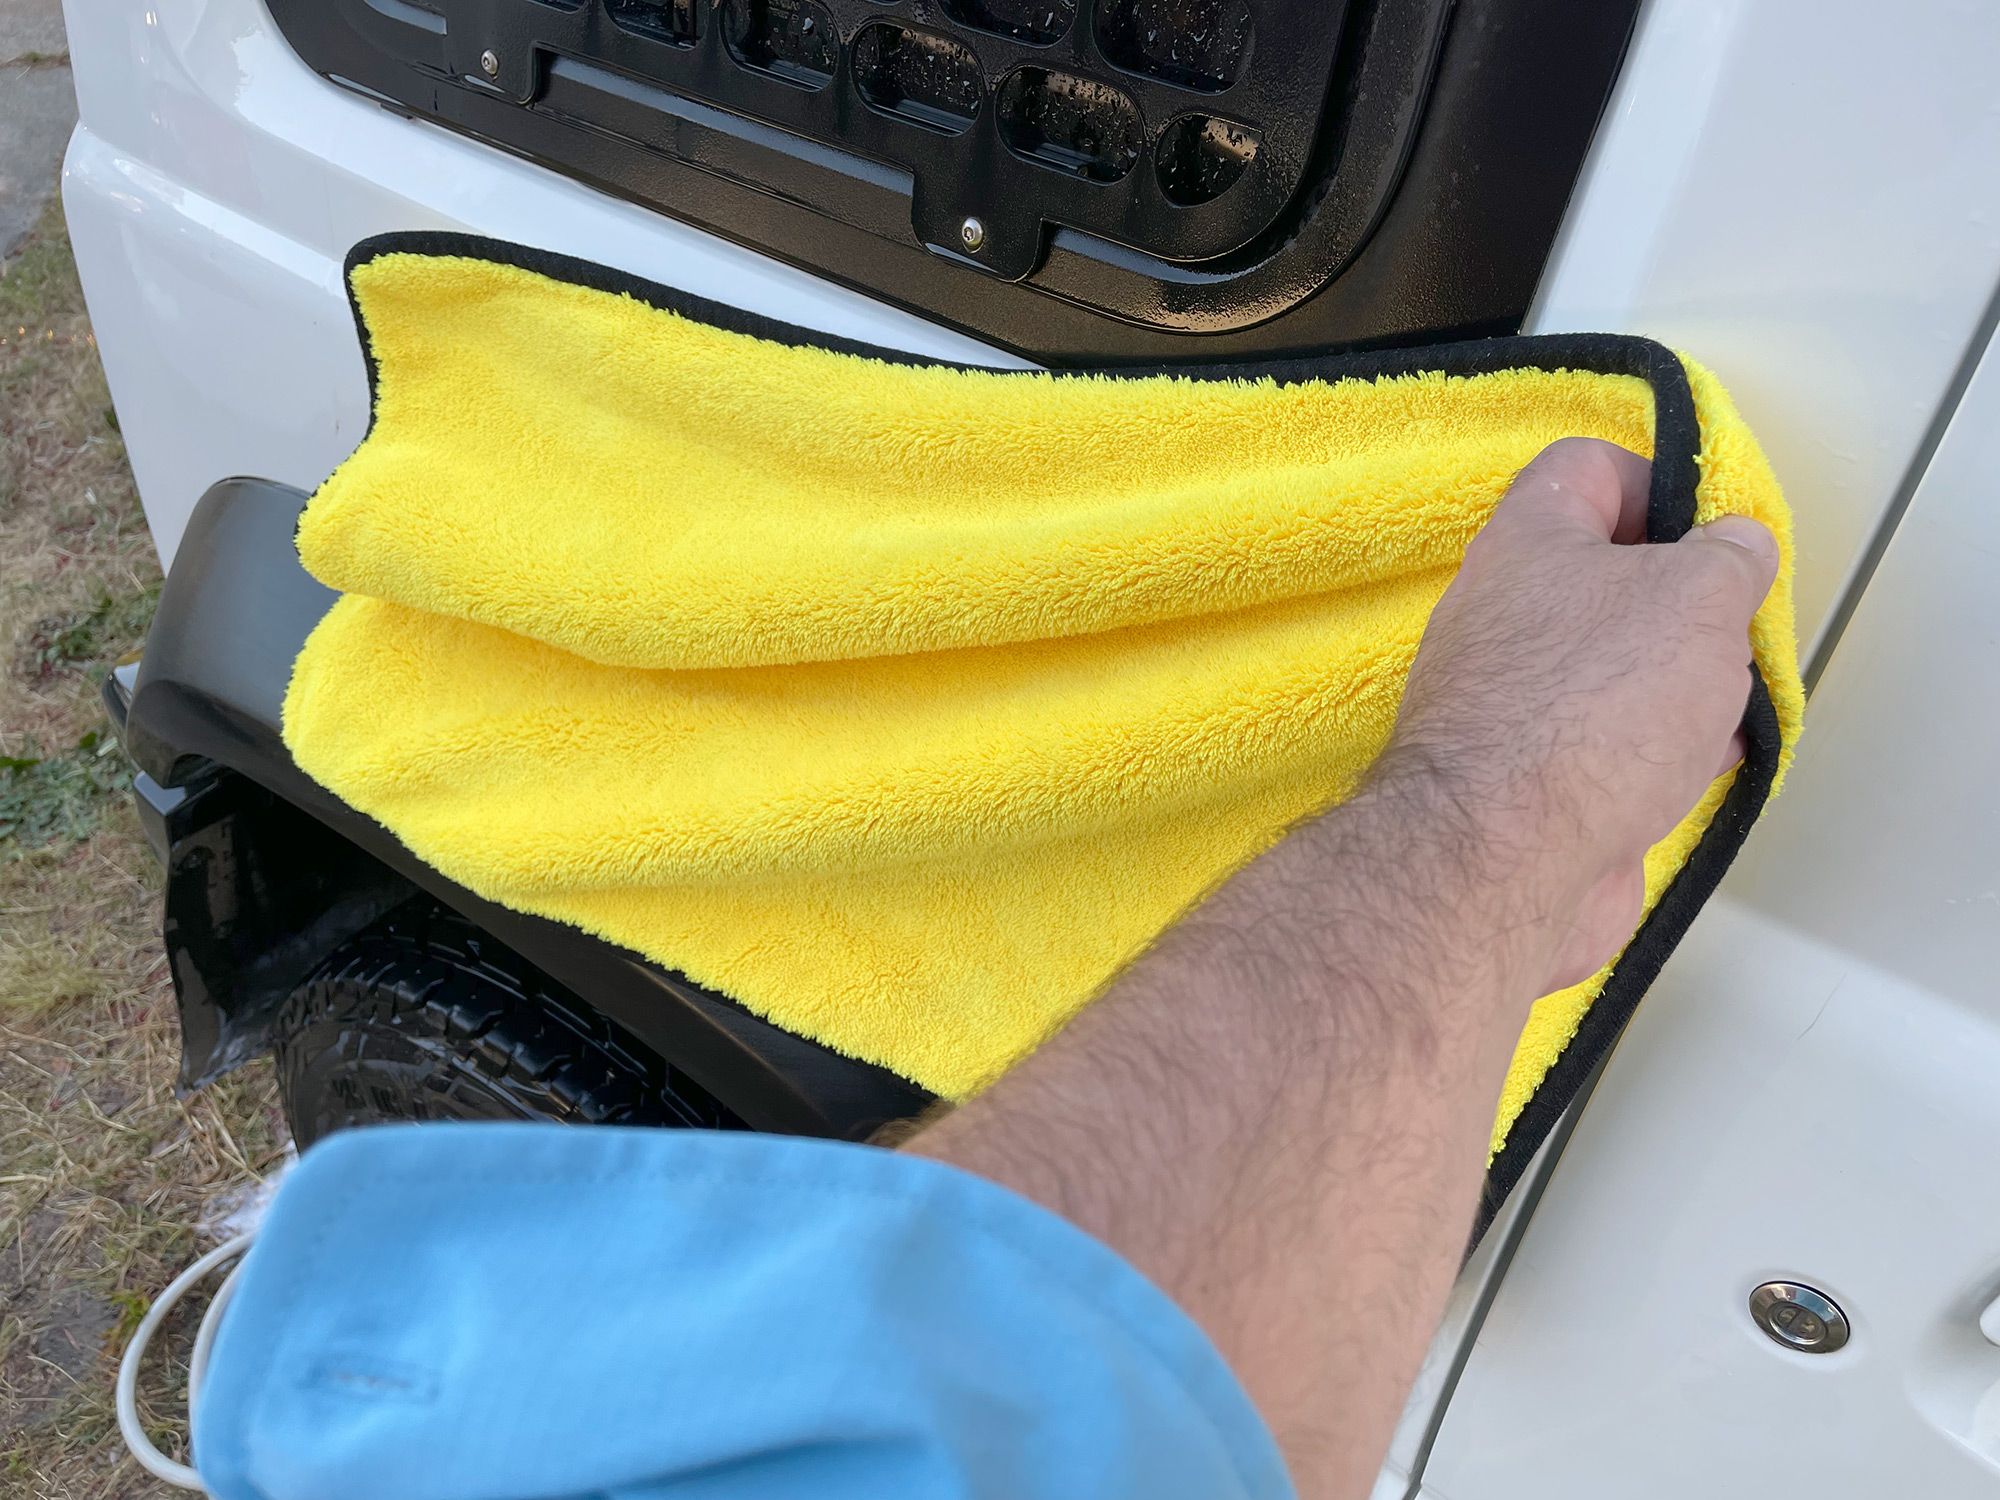
You start with a wet panel, like this bit of the back of the car.
Drape a thick microfibre towel on the panel and you just sort of lightly drag it to let it glide across slightly and pick up the water. It’s that easy!
Fallout remover
This is the sort of thing that really elevates a 4wd’s paint. Fallout remover basically chemically reacts iron containing particles in the clearcoat and removes them. It doesn’t involve further contact to the paint and it really makes the paint shine. Really deep red dirt staining usually needs different chemicals, but for a lot of people you can make a huge difference using a fallout remover before further working on paint blemishes.
Different brands call this sort of thing different names, but you’re looking for something designed to react iron and ‘road fallout’ and/or brake dust in a non-contact way.
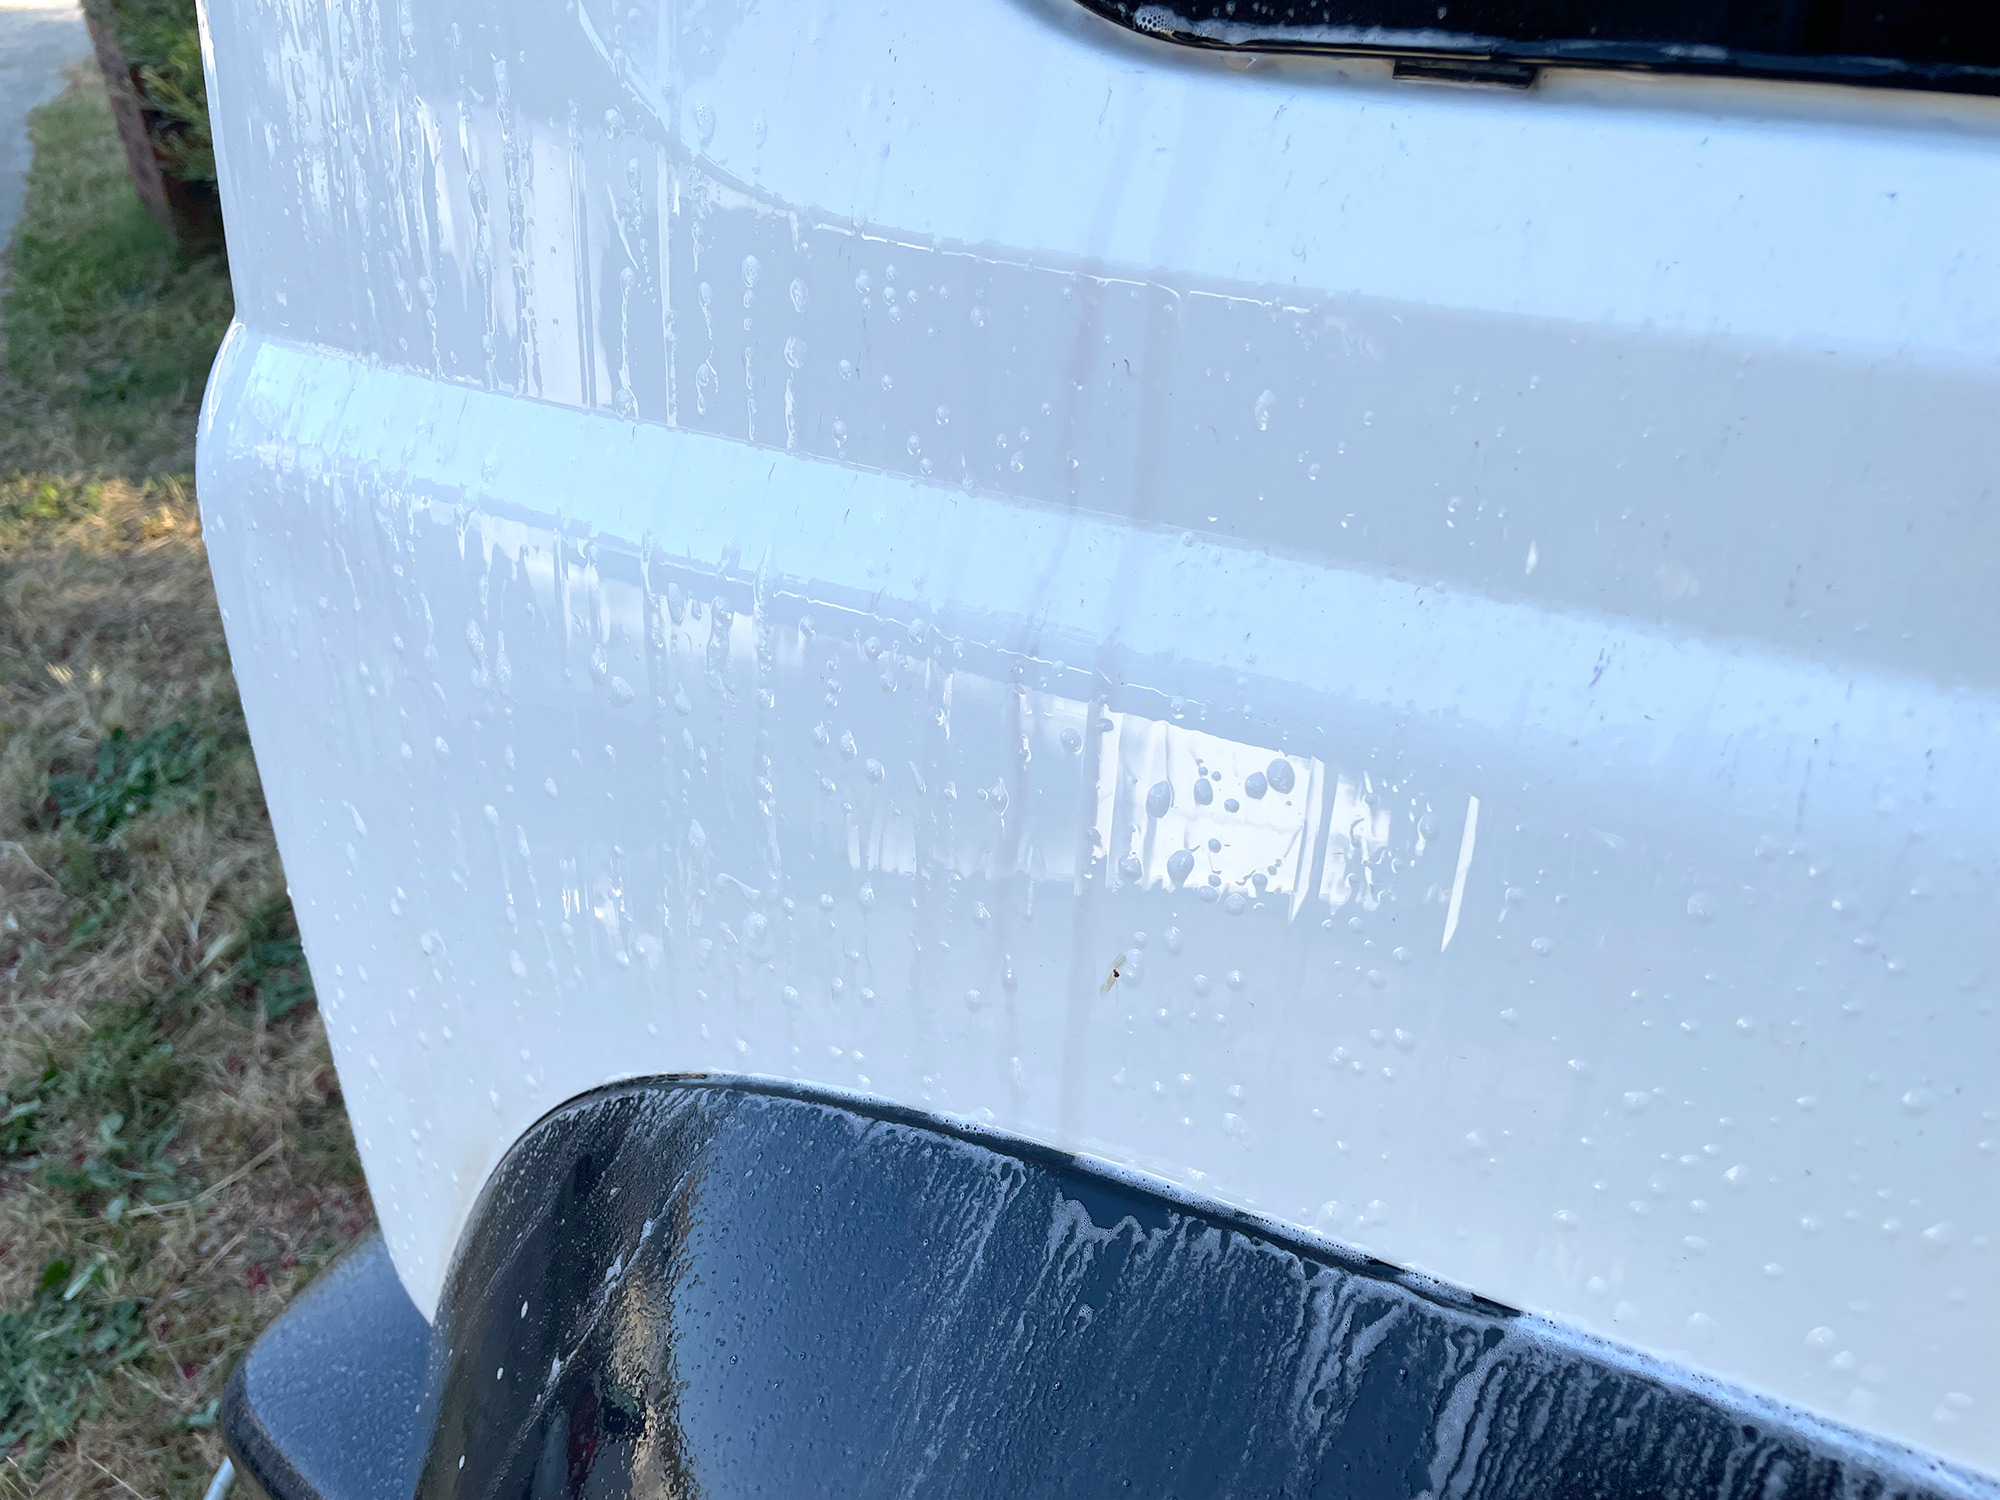
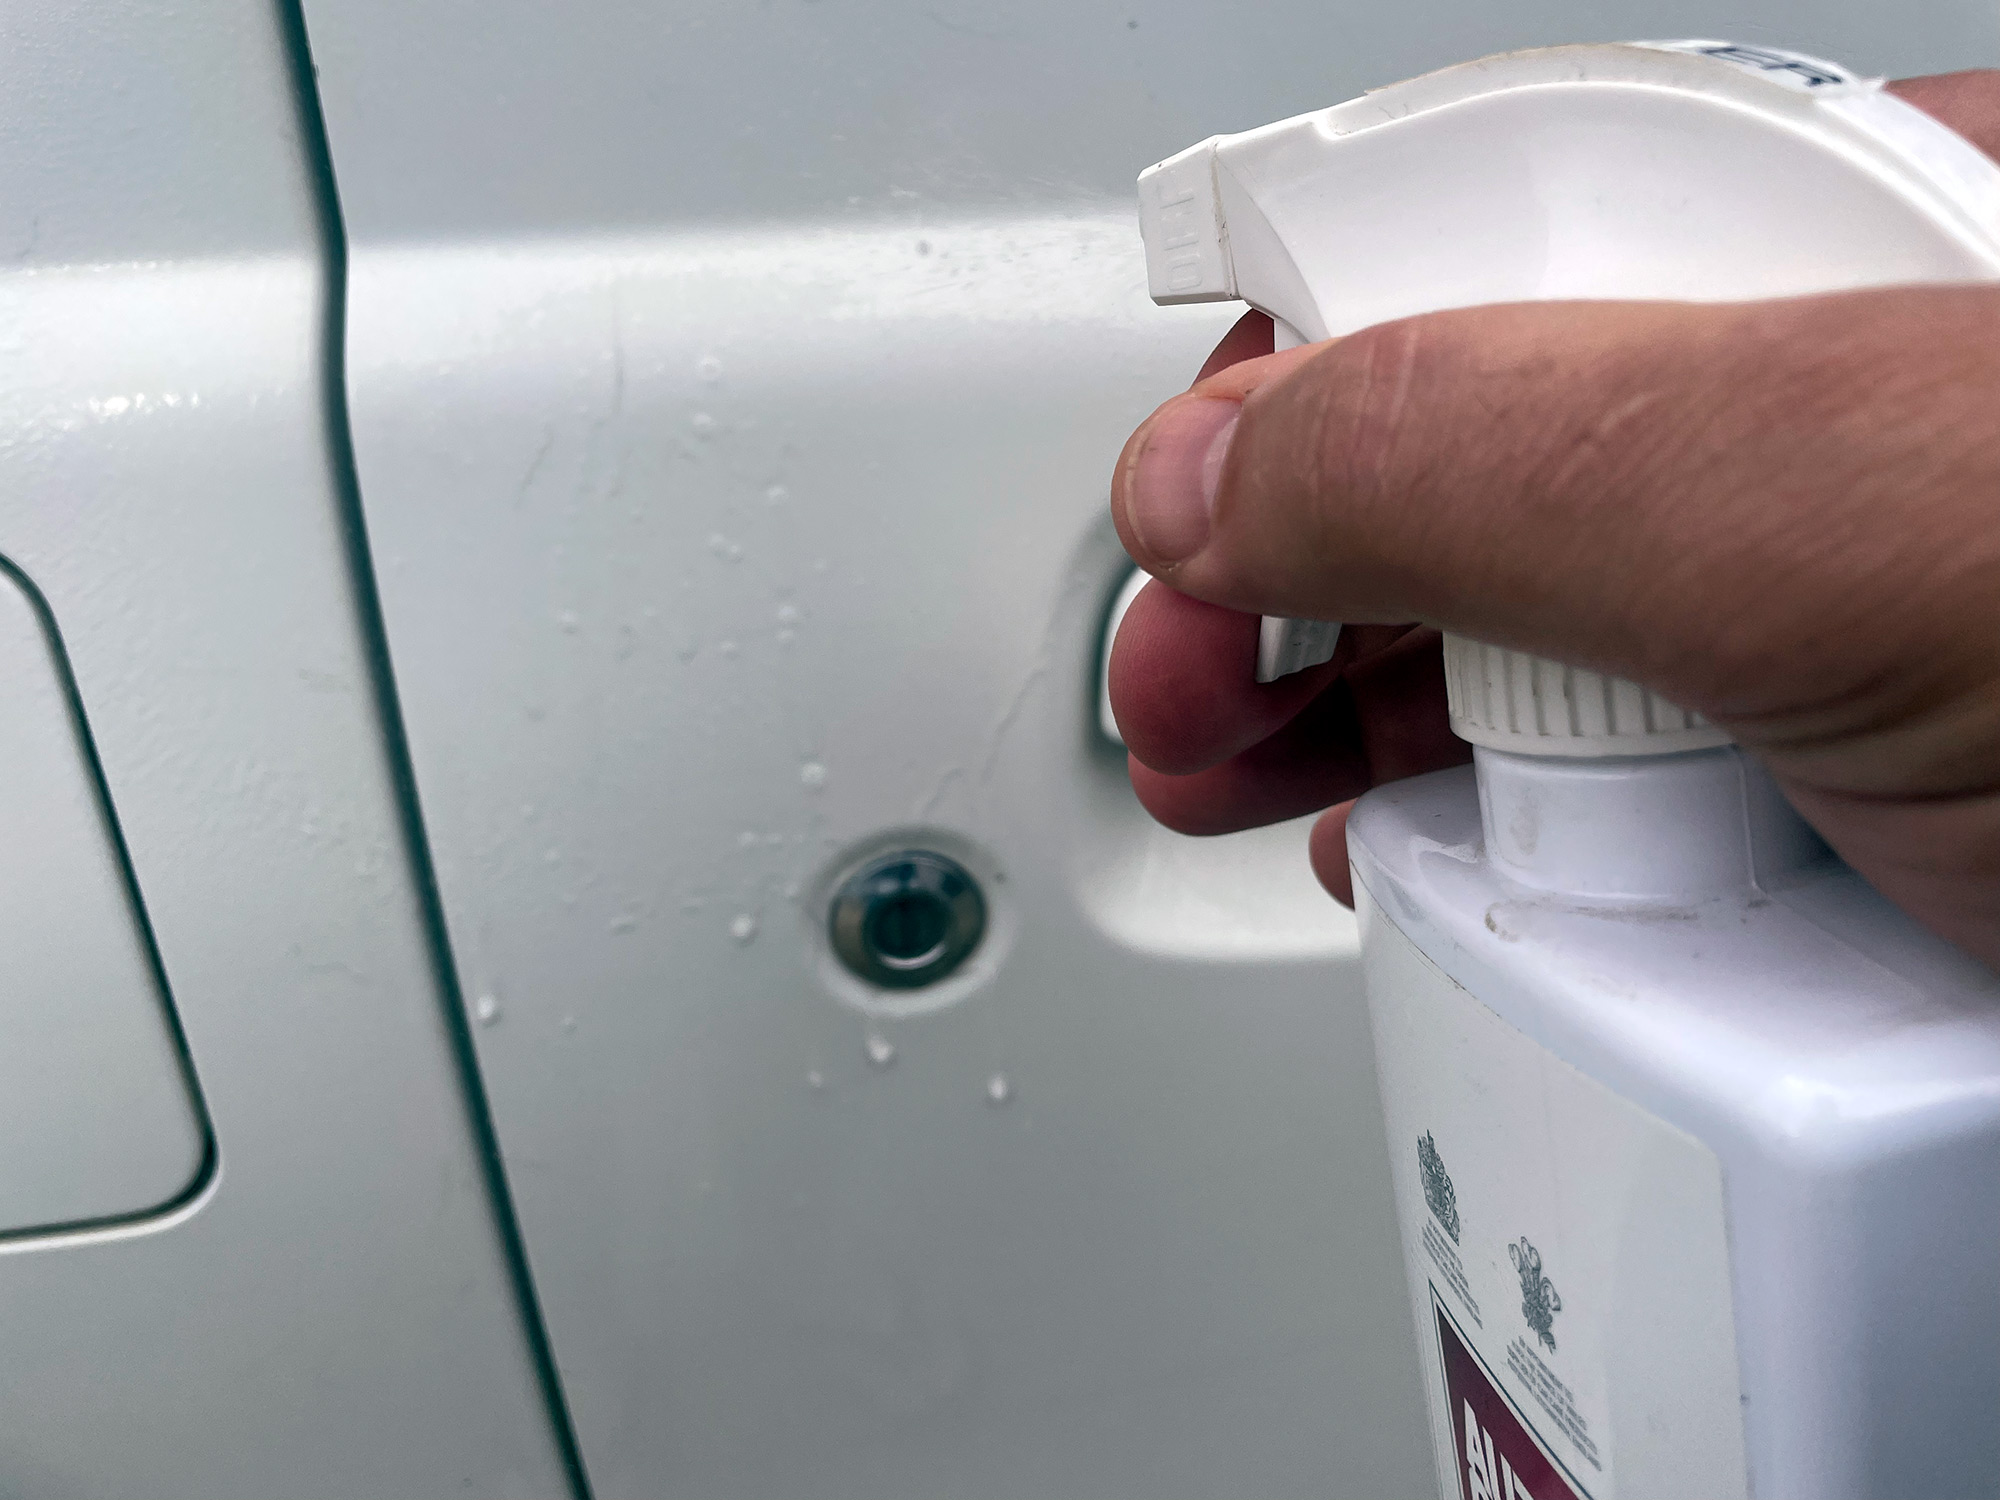
Usually they require the panel to be rinsed off and wet before spraying them on, so start with wetting down a panel.
Spray it on and basically leave it a few minutes. You’ll see it start to react with the iron compounds and draw them down. In the case of the autoglym one I use, they end up this light purple colour that you can see running down the panel.
It ends up looking pretty cool.
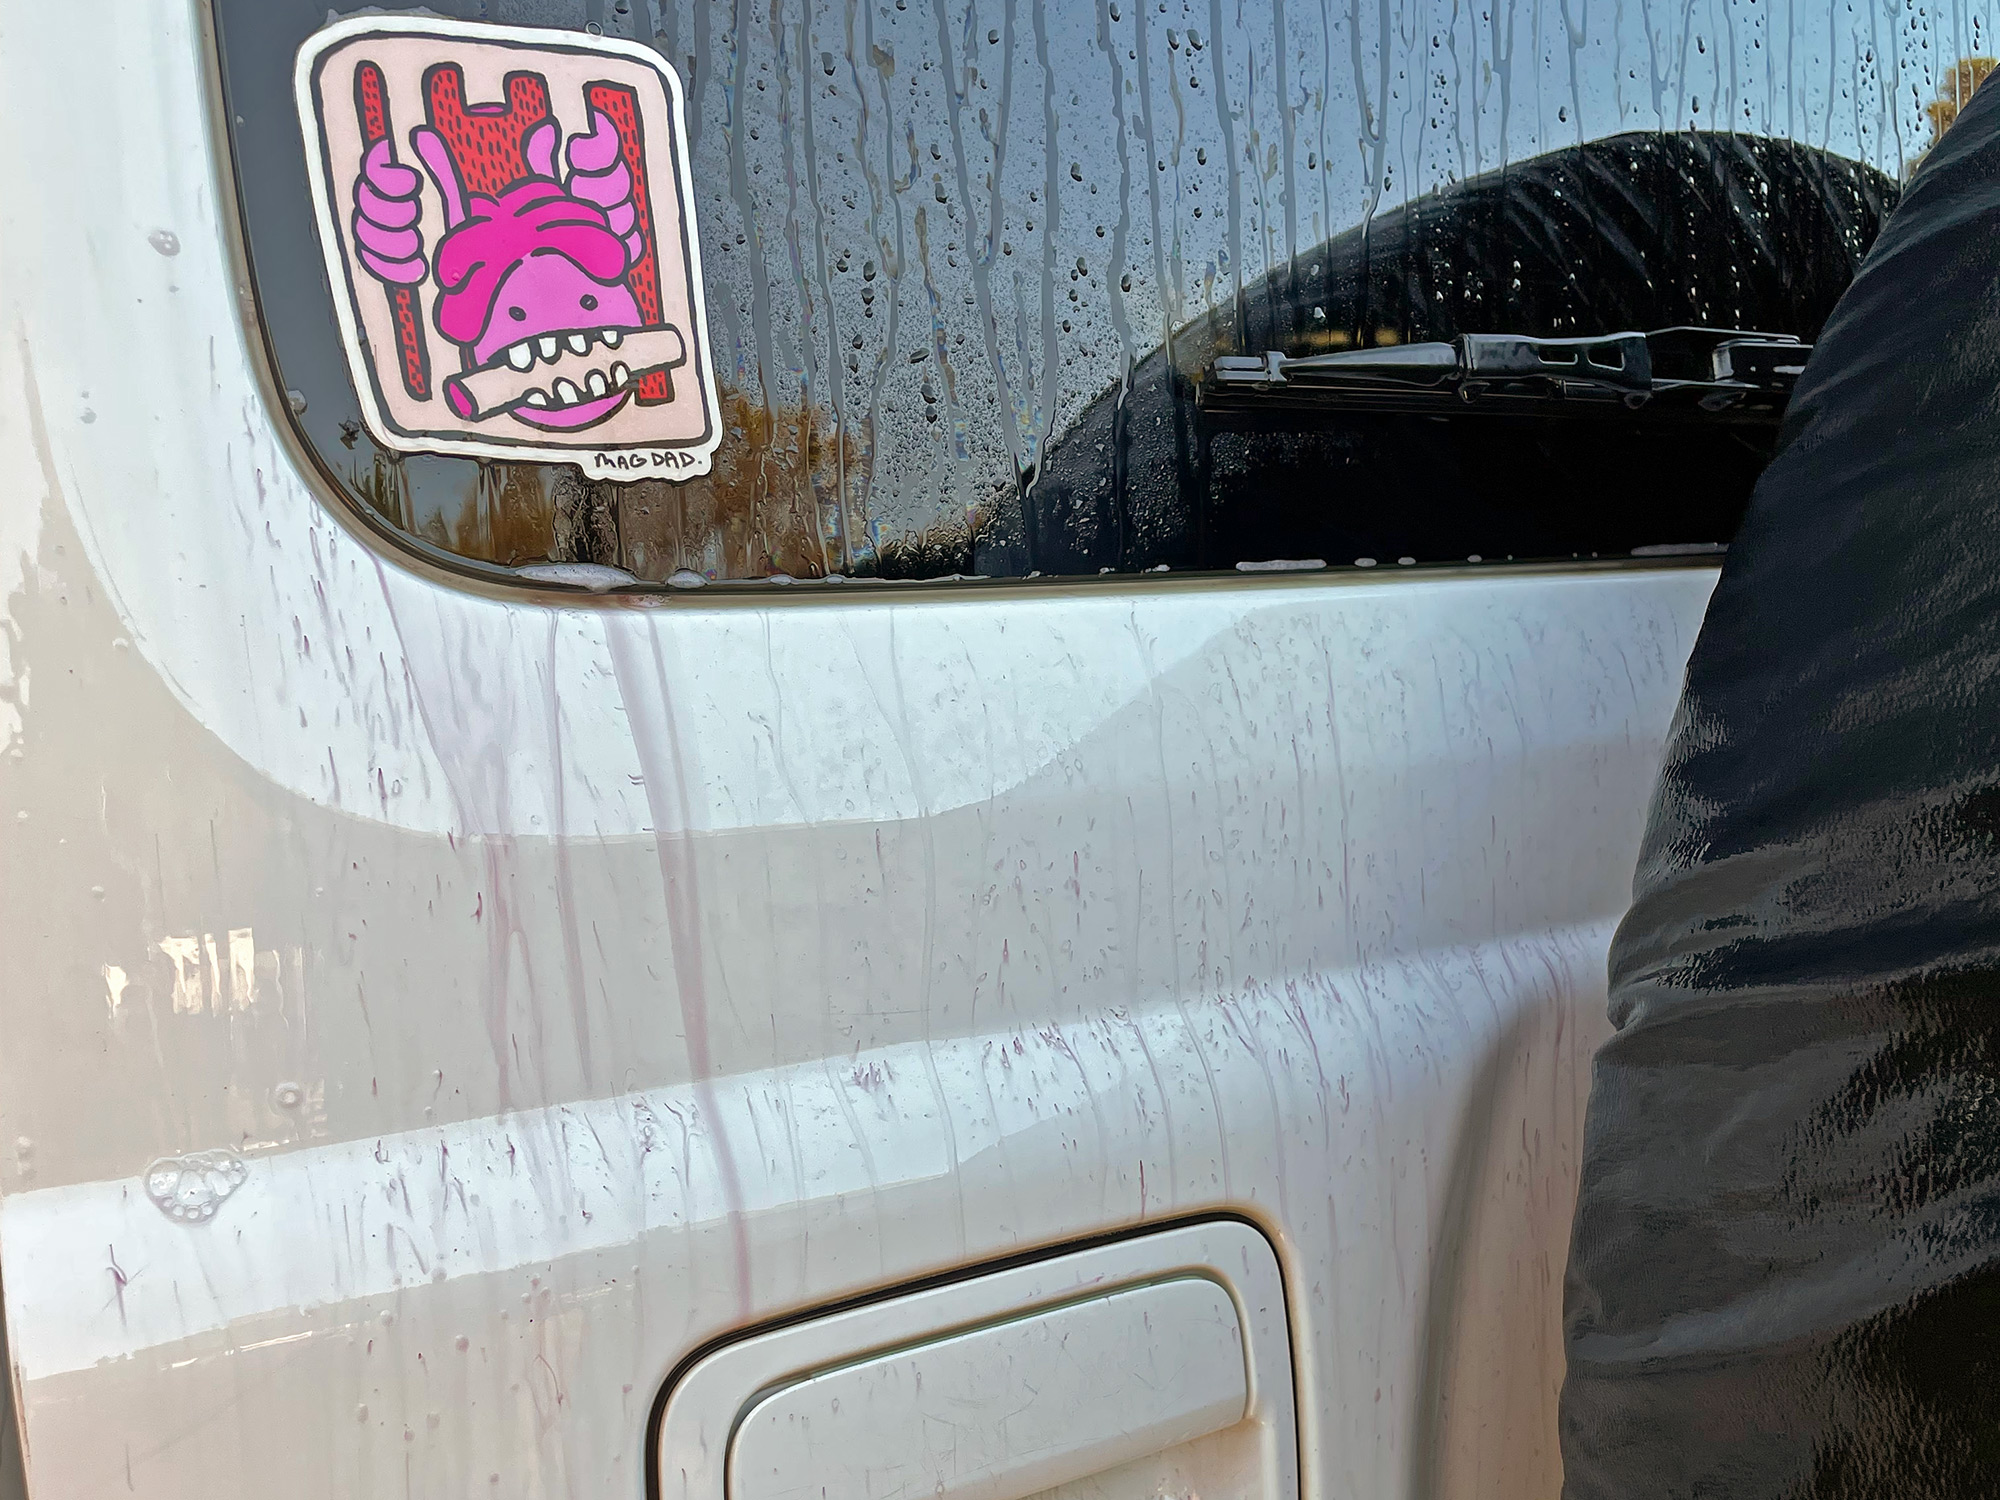
Often you’ll just see little streaks where it’s reacting tiny little bits of contamination out of the paint.
Some brands do get you to agitate them against the paintwork but I’ve generally found that hasn’t been necessary. A quick low pressure rinse off and the paint is incredibly clear.
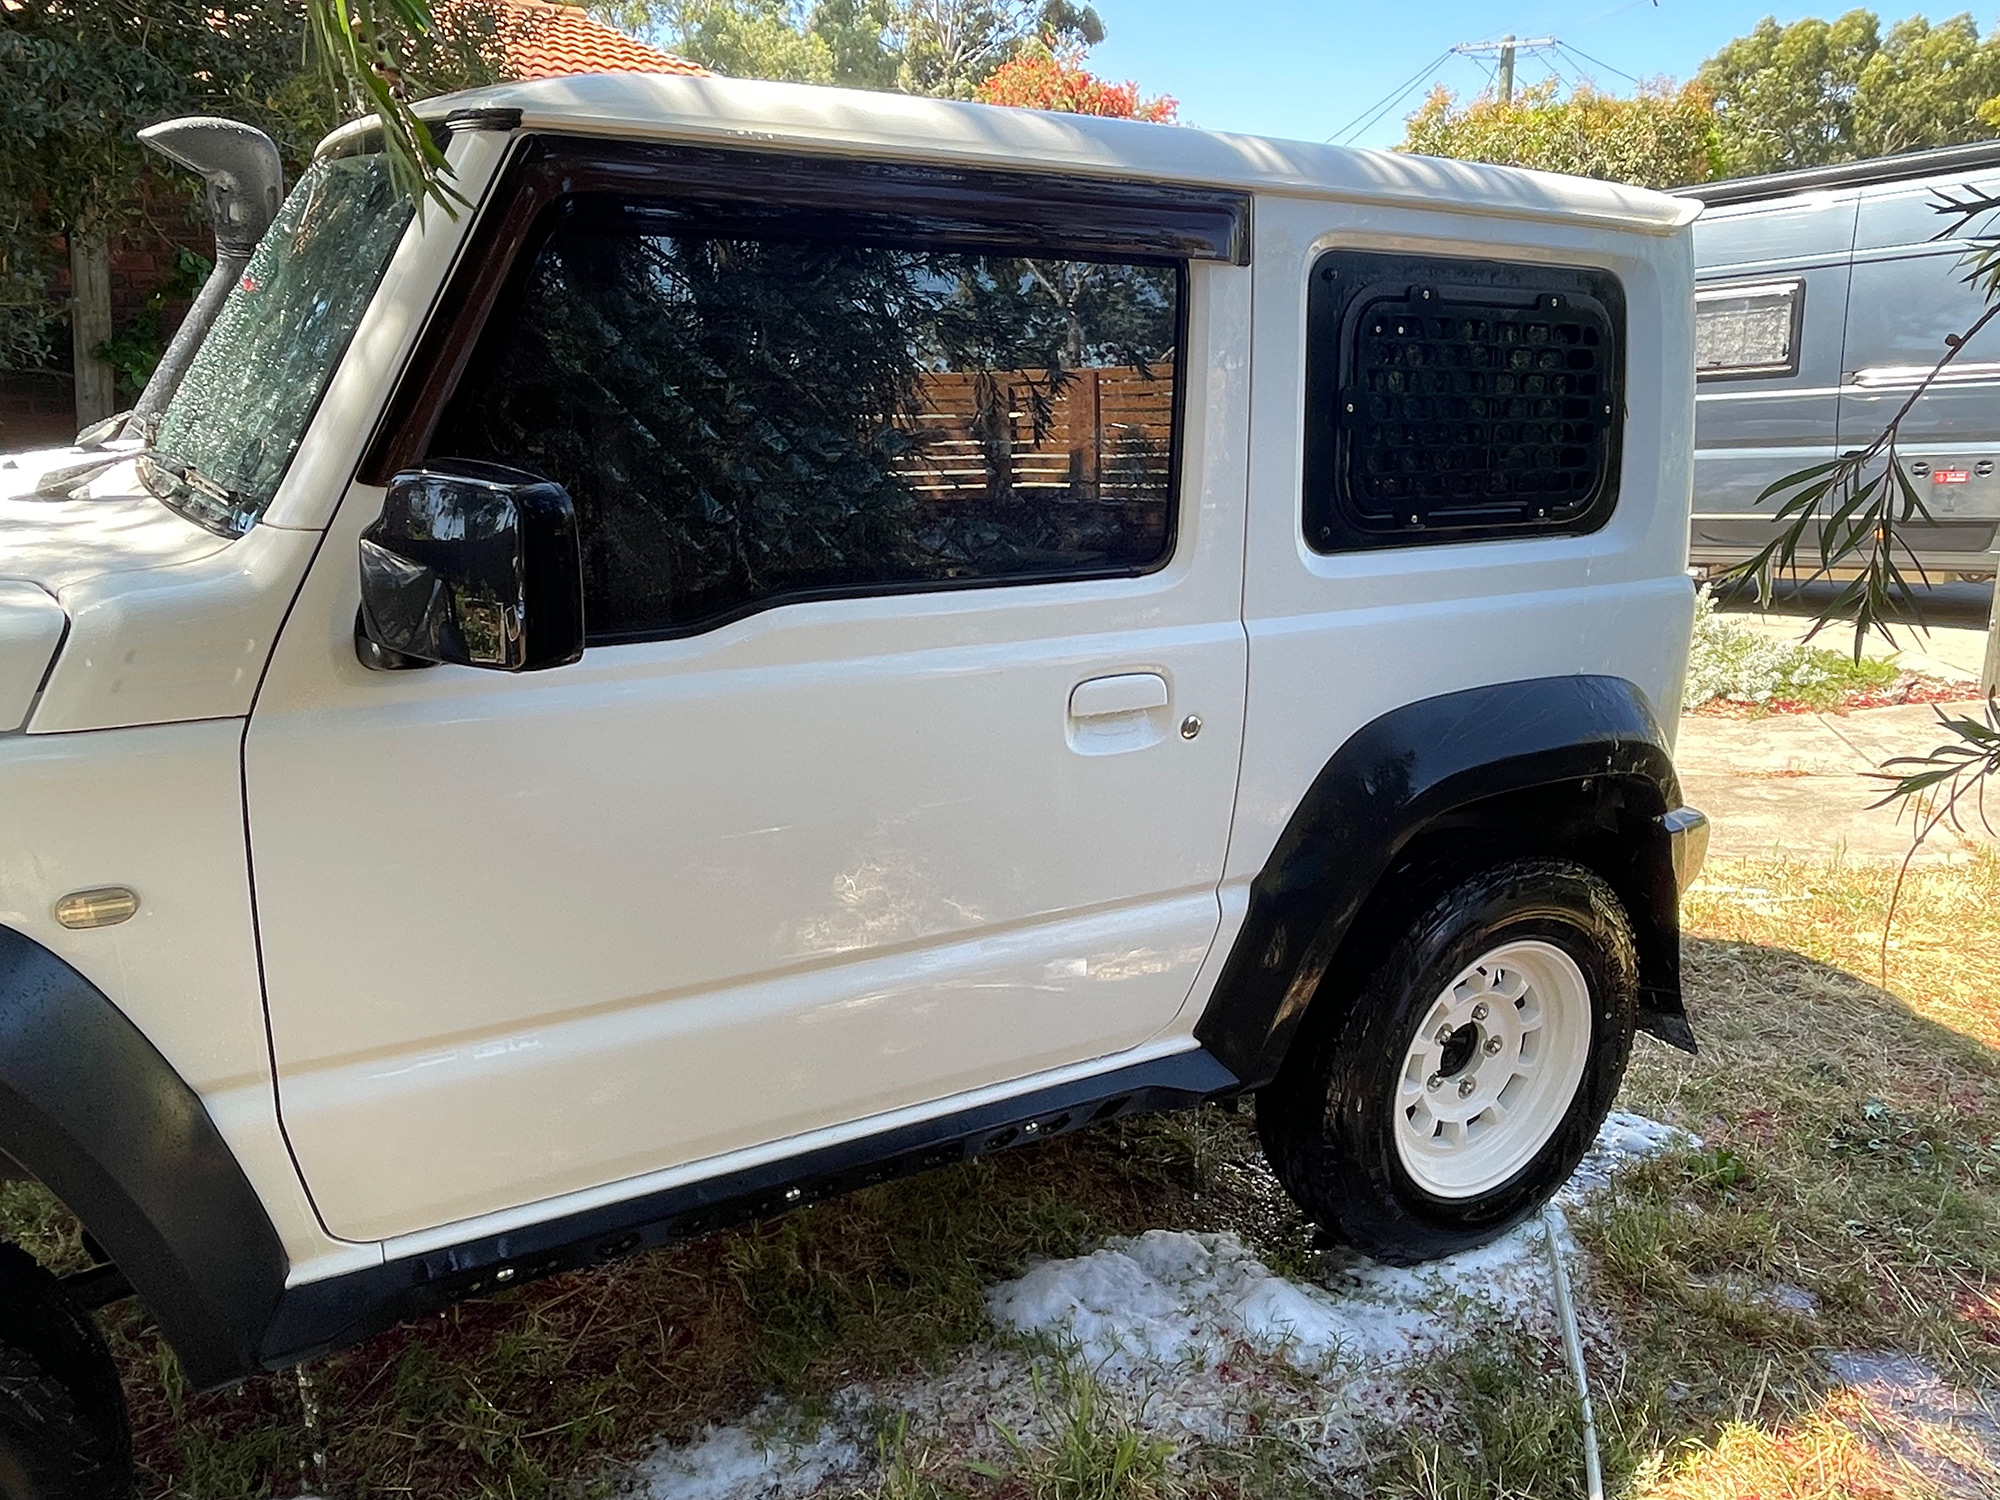
It really makes the panel look so much cleaner, even after a thorough wash.
Another place fallout remover excels is in finishing off wheels. You don’t want to leave it on alloy wheels that long, though painted alloy wheels should be ok for limited contact.
Bear in mind we haven’t even finished cleaning yet, let alone polished and yet the car ends up looking amazing just through the application of a few carefully chosen products in a sensible order.
This is before we tackle the next stages of paint decontamiation and correction and it’s already looking fantastic.
Claying the paint
This is one of those things that just takes time, kinda feels weird to be doing the first time you do it, and really helps the car sparkle and shine once you’re done. The ultimate aim of this is to use something to lift anything lightly bonded to the clearcoat up and off the paintwork, helping to bring out the best shine.
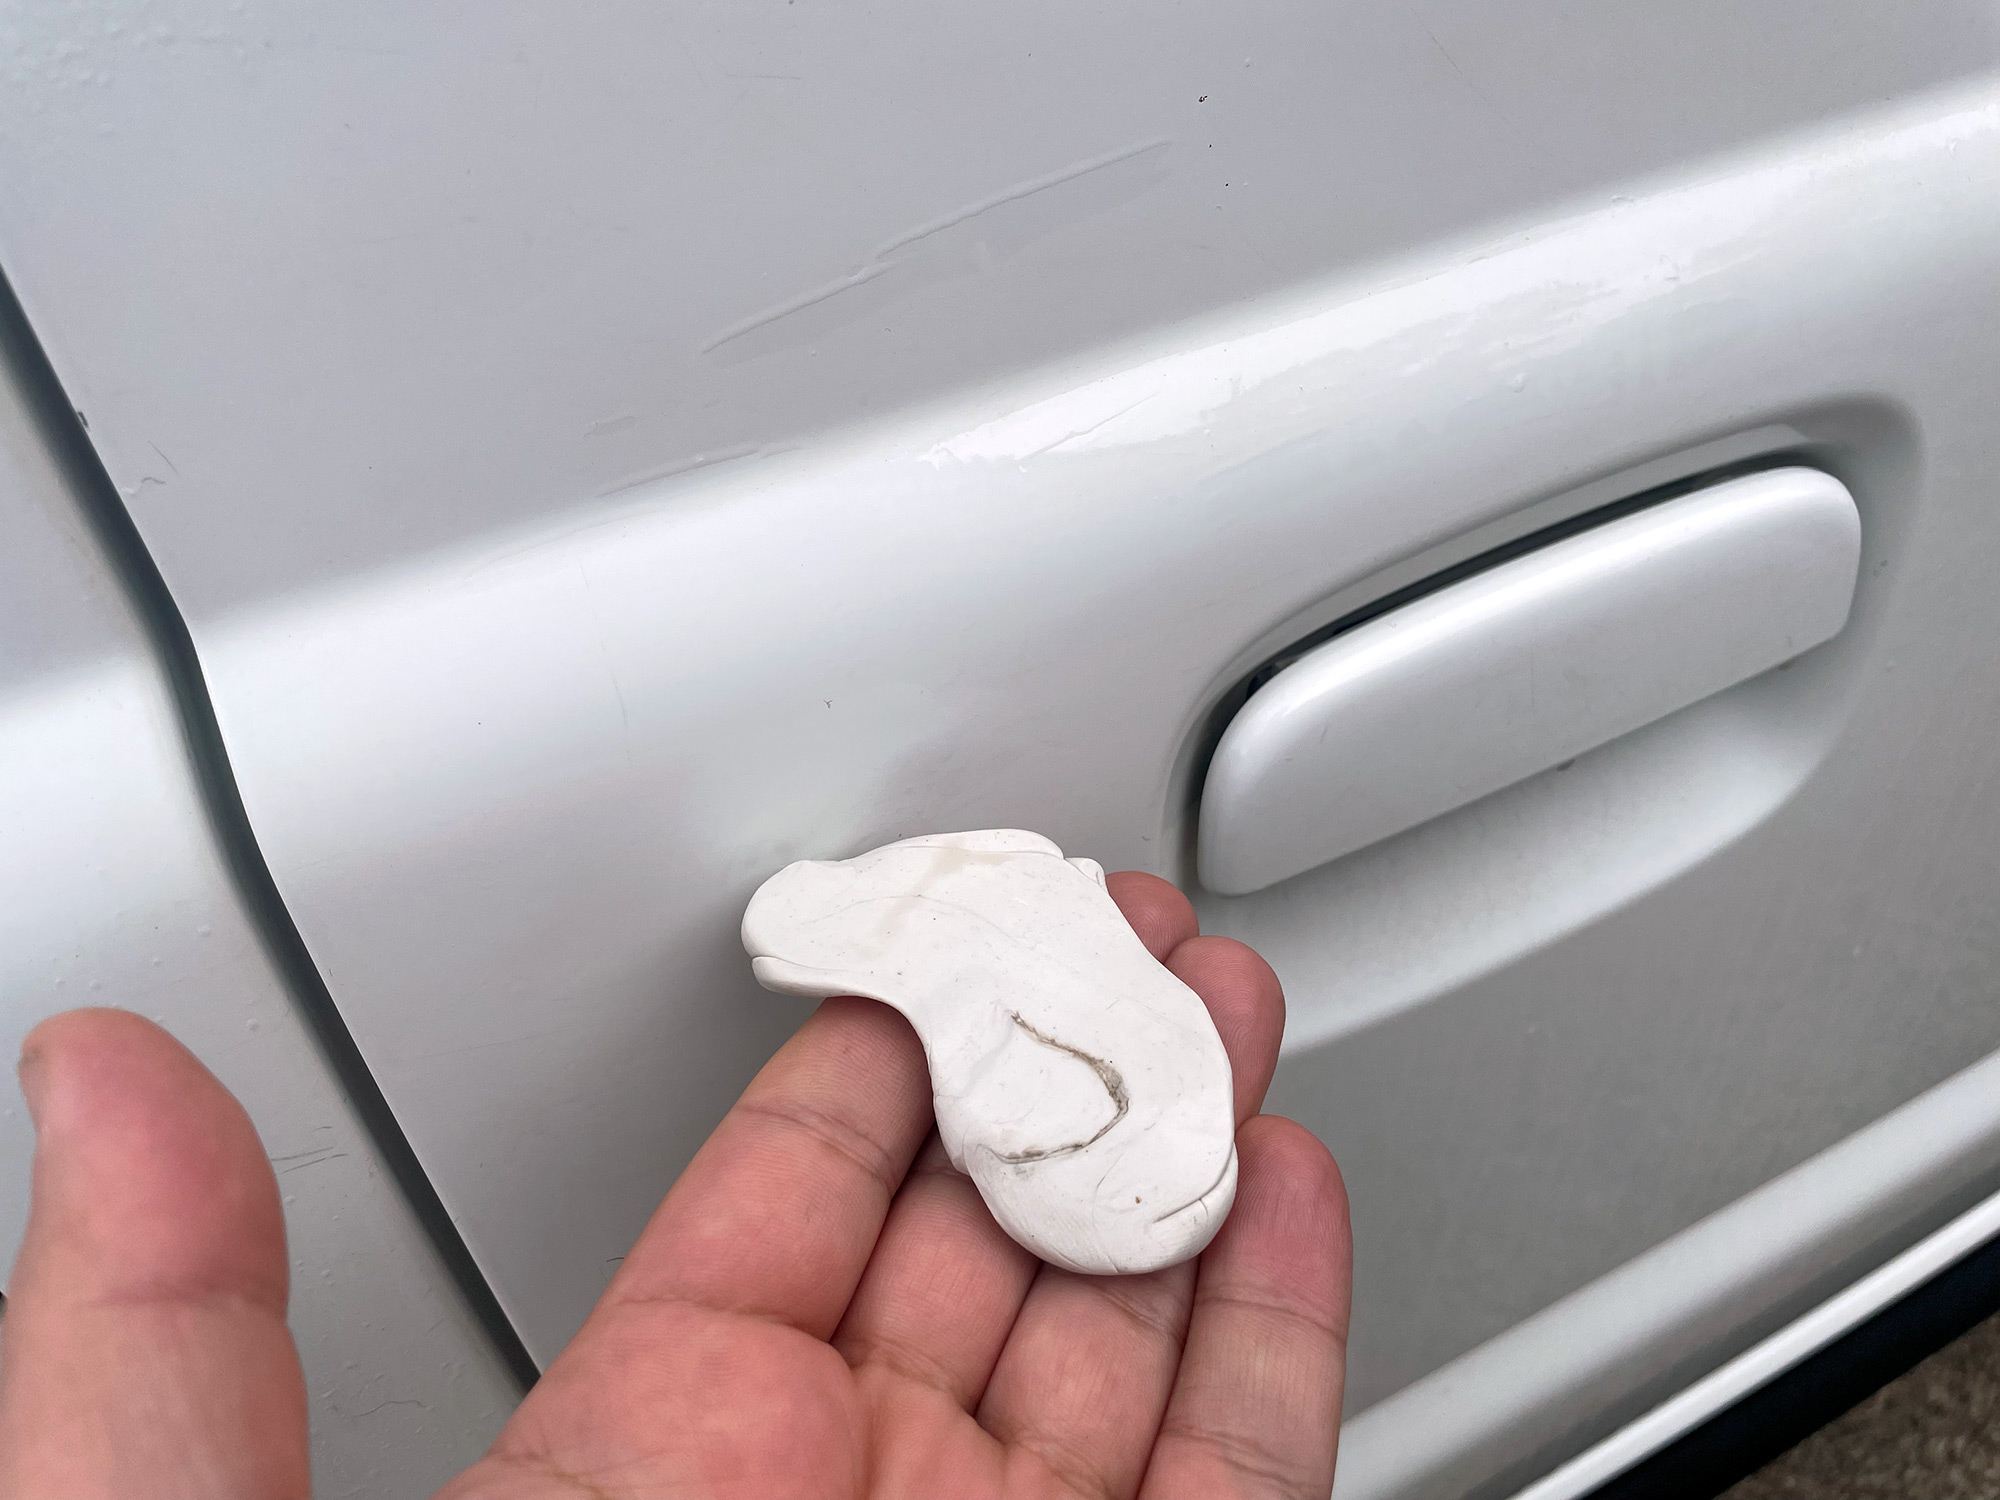
What I use is a synthetic claybar.
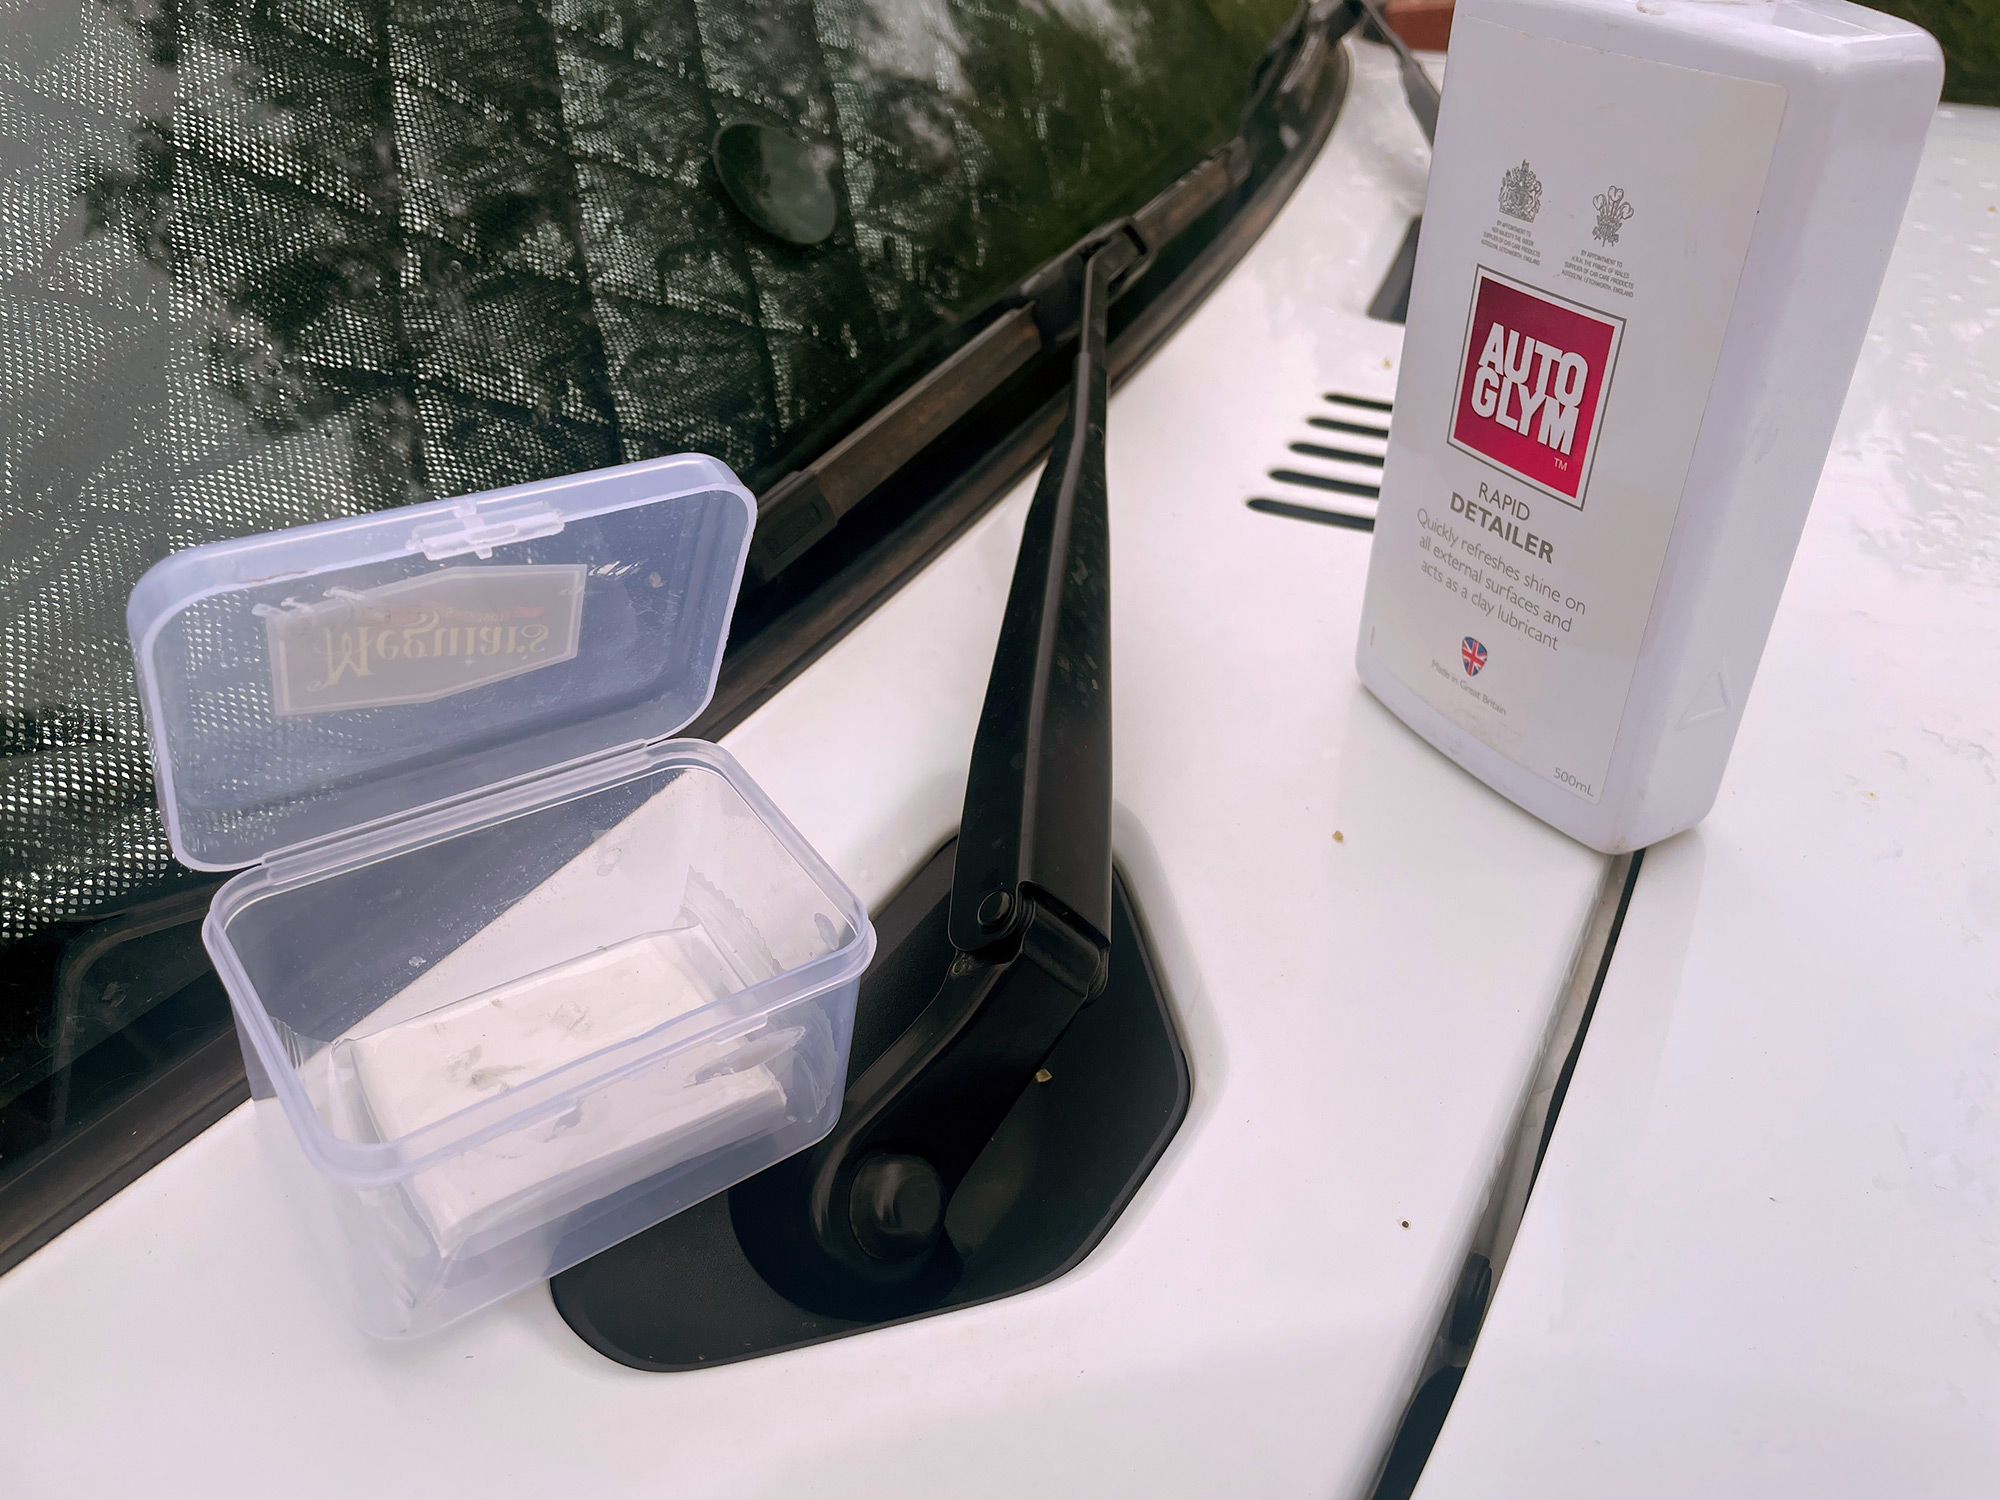
You use this by kneading it into a ball and then flattening it, and dragging it across the paint with the paint lubricated. Most claybars recommend using an ‘instant detailer’ product to lubricate, although I have found pretty good success just using plain water, too. The lubrication is vitally important.
Here’s a spot I’ll focus on before I do anything to it.
As you can see, there’s a few little marks in the paint and stuff. The claybar will get some of these and the polishing later on will fix the rest of it, pretty much.
First off is applying the lubricant for the claybar. Just spray it onto a small section of the panel you’re going to do; you don’t want to tackle huge areas with a process like this.
You then take your claybar and you rub it back and forth on the clearcoat, lubricated by the lubrication product or just plain water, until the paint sounds and feels smooth.

Periodically you want to check the underneath of the claybar. Once it gets dirty you want to knead it around and then press it flat again and keep going. You don’t want a heap of dirt stuck underneath as you can mark the paintwork with the contamination being dragged across the paint. This adds to your work polishing later on, so it’s good to minimise work for future you.
Once I’m done with a section I rinse the paintwork off with some clean water. This helps me see how things are going.
In the above picture you can actually already see the more ‘white’ paint where I’ve clayed it. You can also see that the marks have already been markedly reduced.
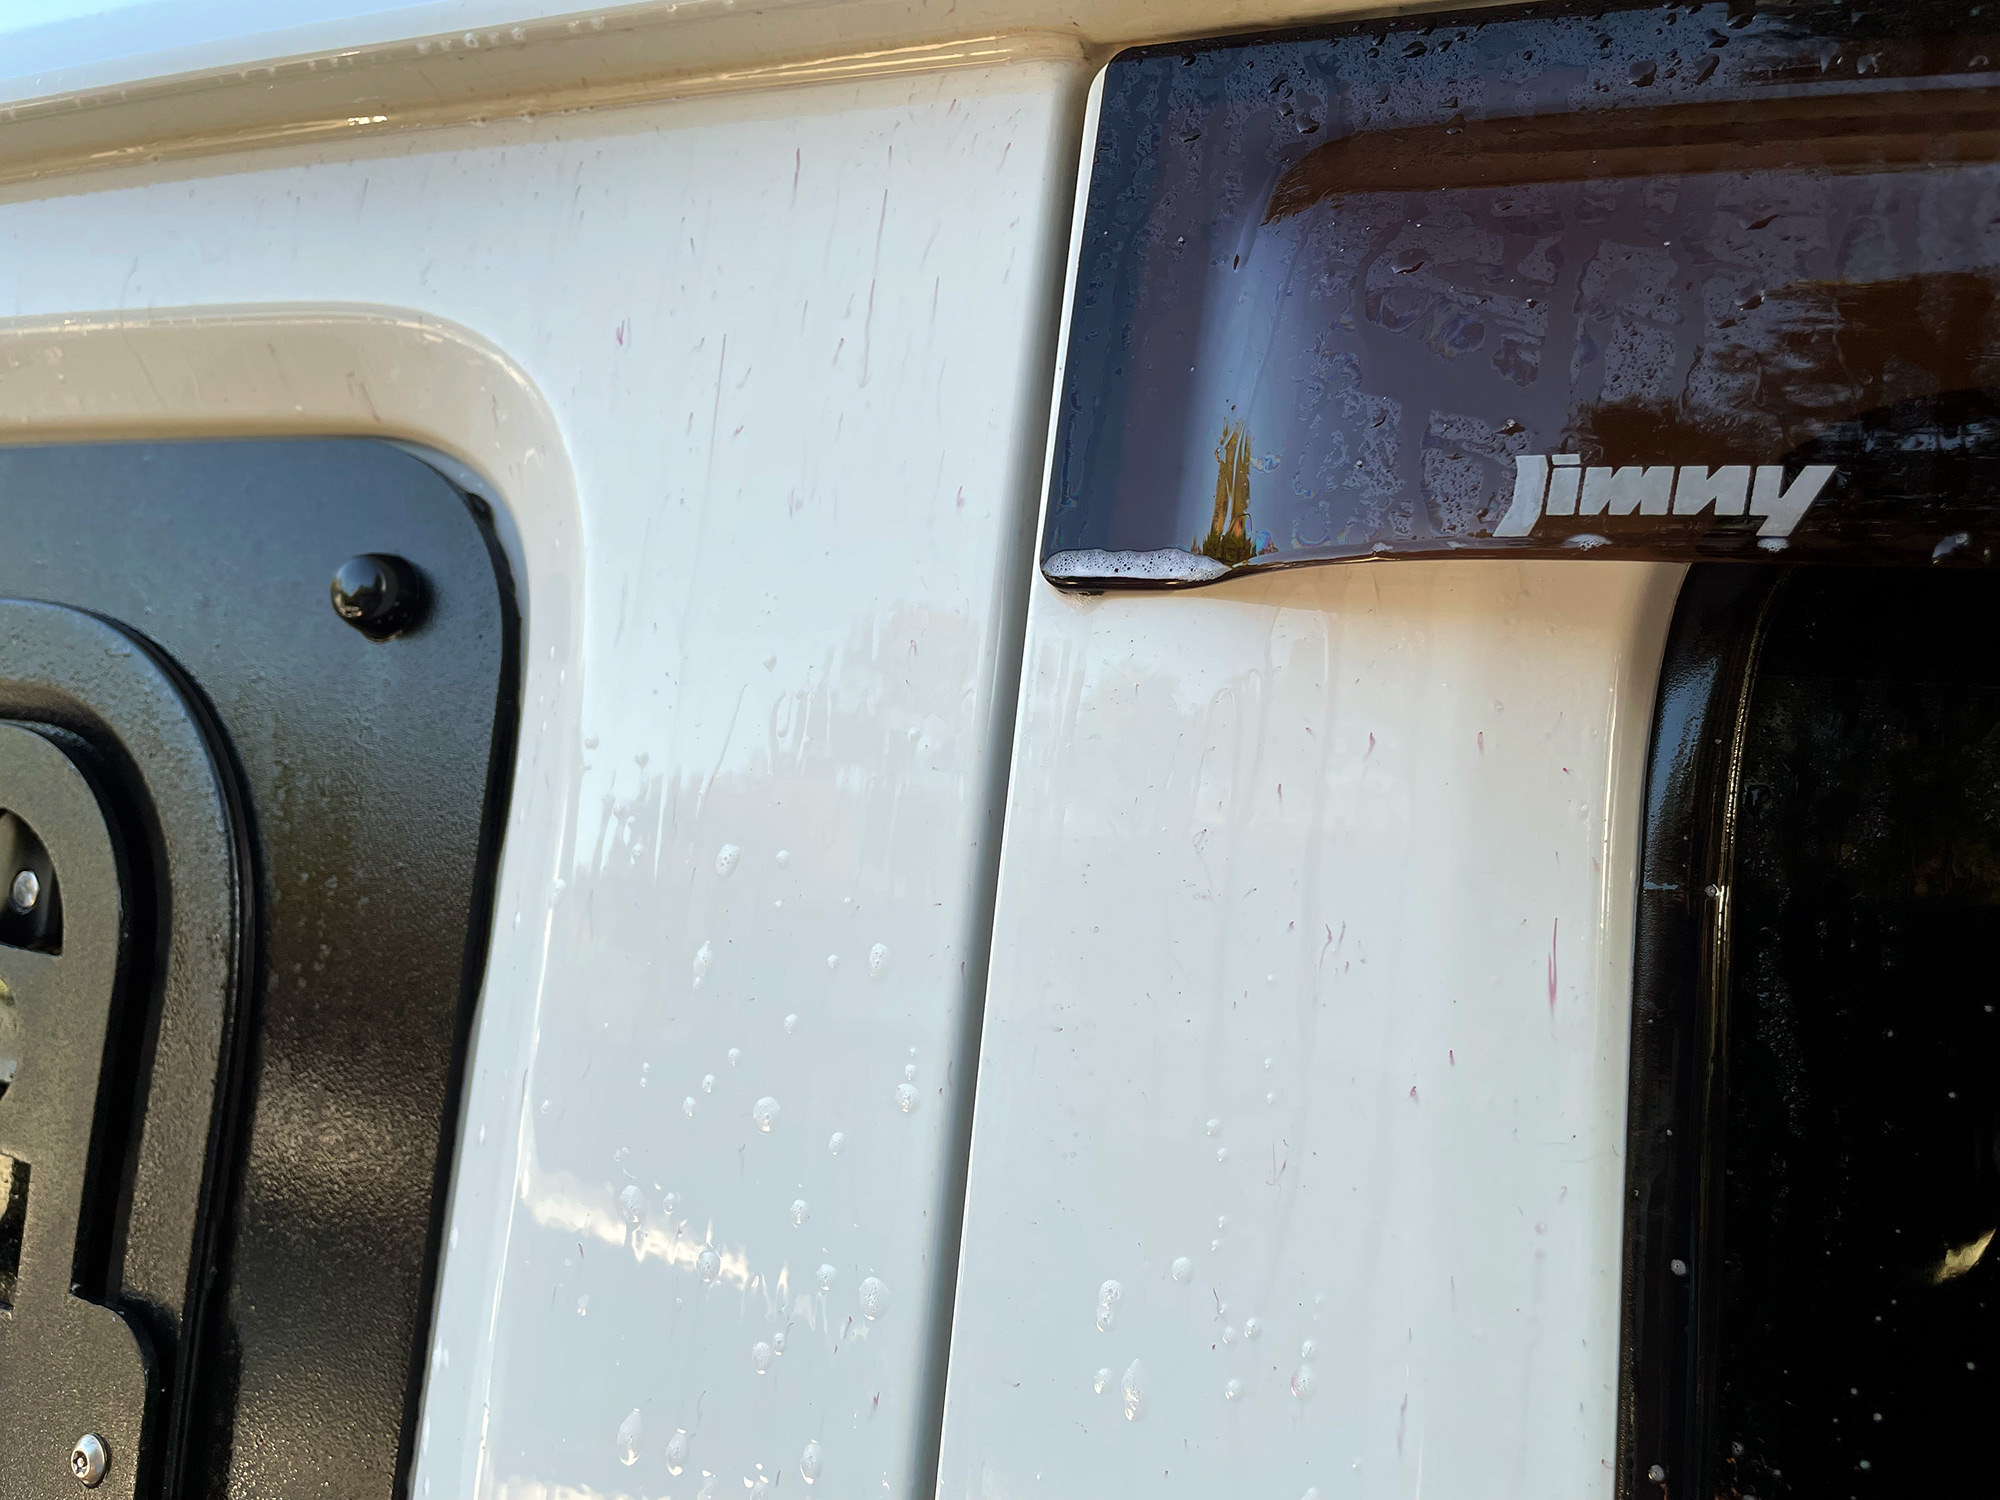
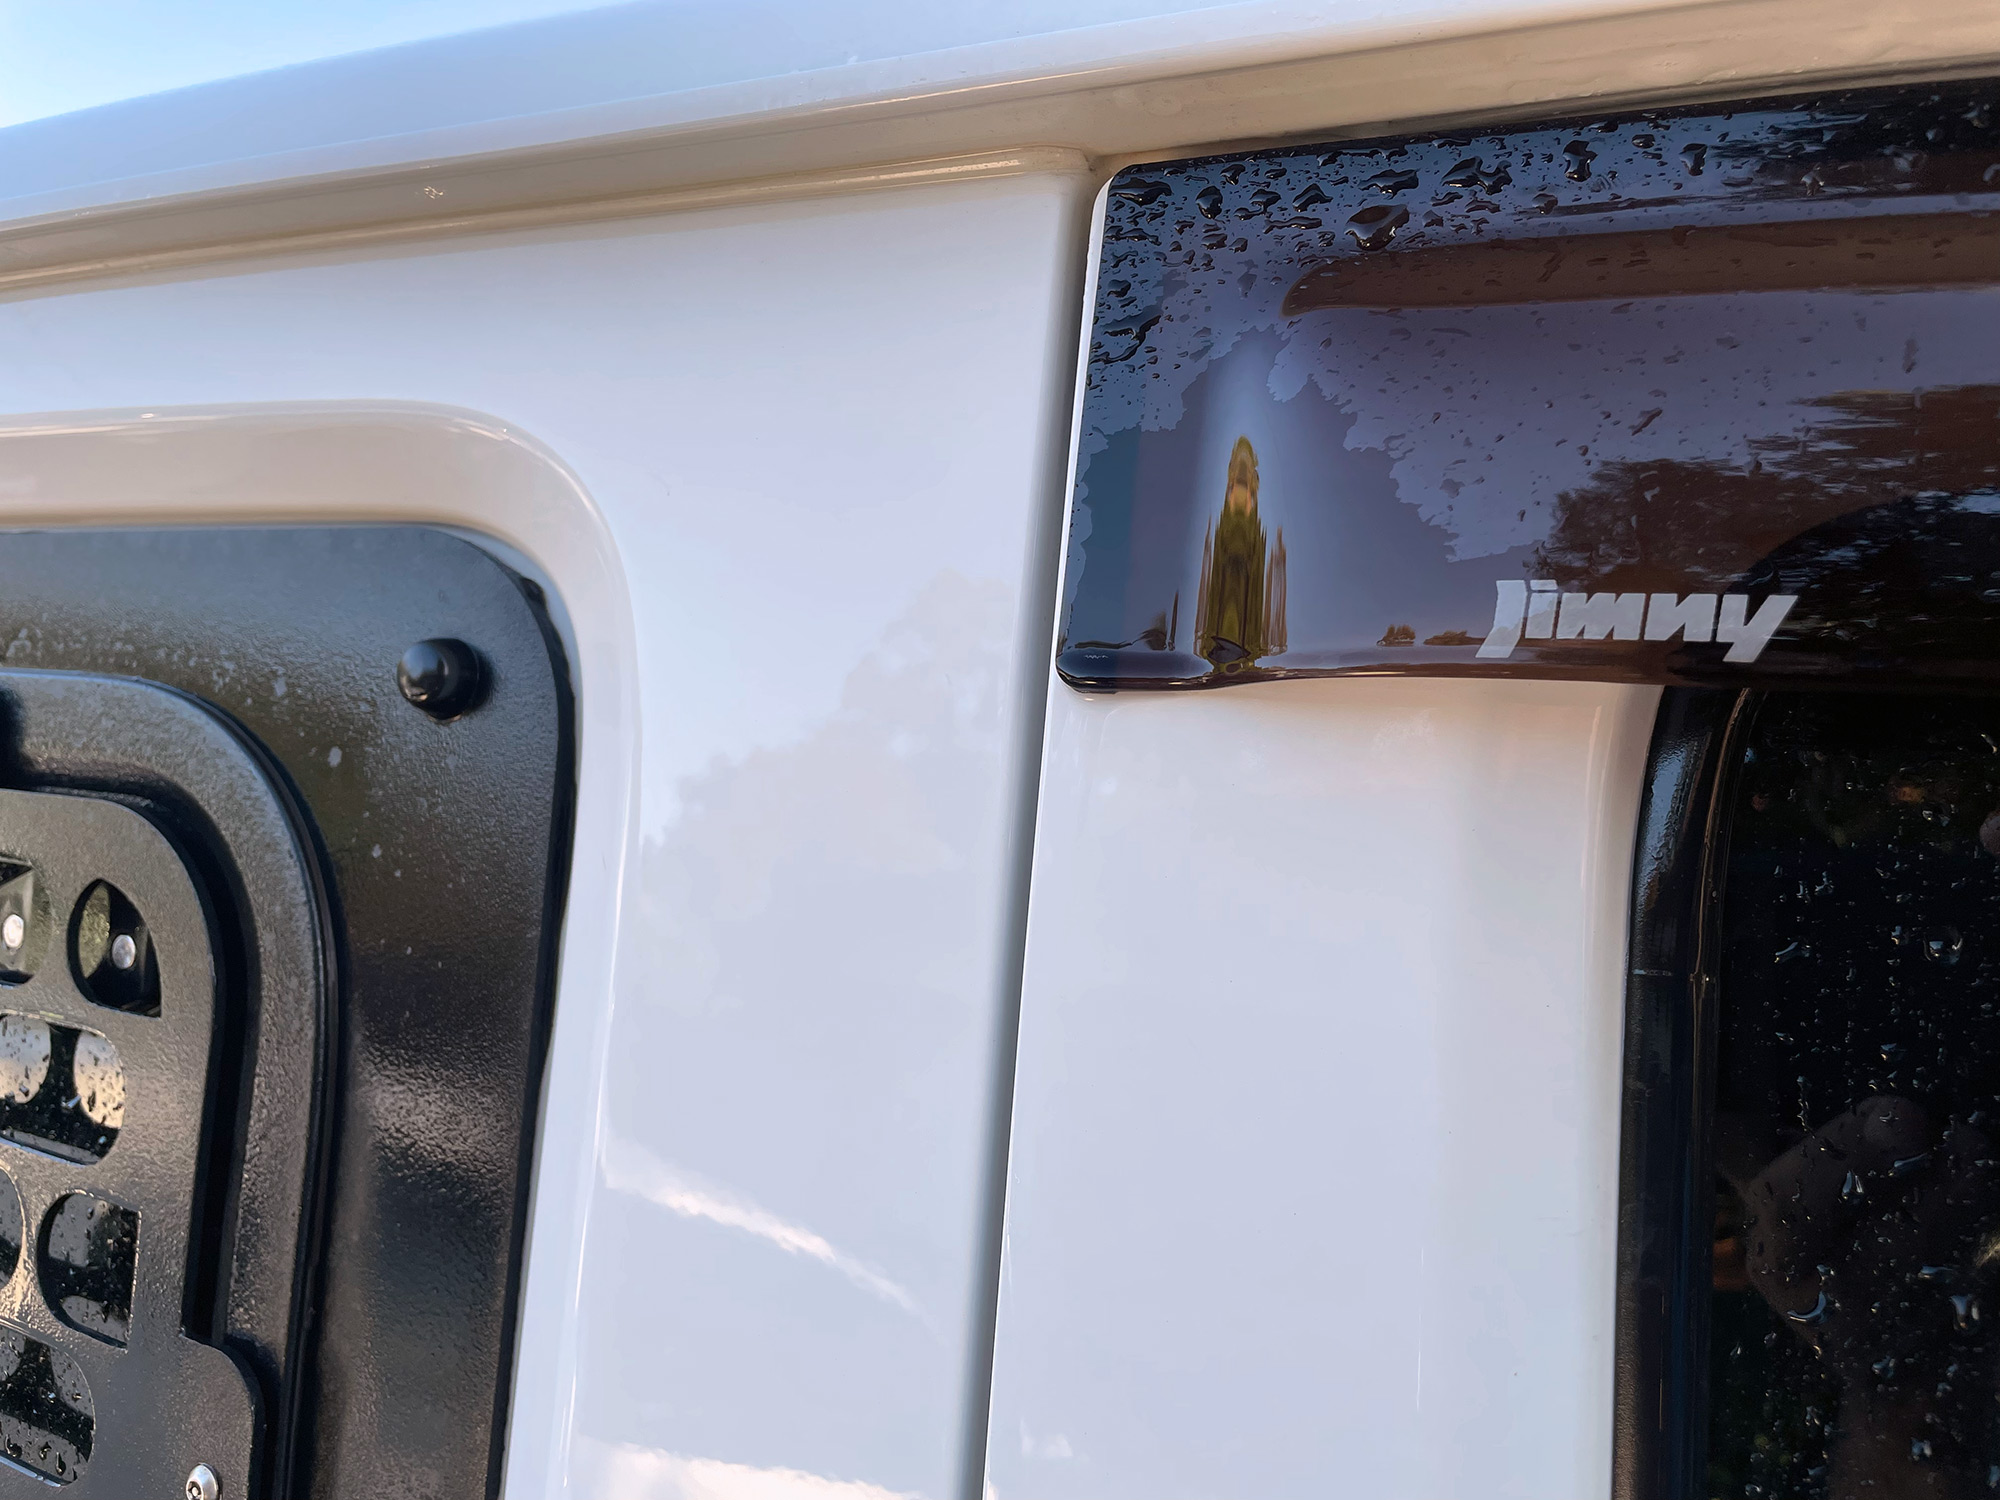
An area where claybars excel is things like removing residue from where stickers have been on the paintwork.

After claying this area you can see how the removal of the residue and also the little bit of dirt stuck into the clearcoat makes it much harder to see where the sticker was.
While it does take a lot of time, claying a car really helps get the paintwork as good as possible. You will leave minor marks in the paintwork from the action of claying, however, which is why you want to get it as clean as possible before this point. You will also still have marks in the paint like little scratches to correct, which you will sort now with polishing the car.
Polishing to remove imperfections
Potentially, polishing is done in multiple stages. This is a bit like sanding something with sandpaper – you start coarse and work towards smoother and smoother grades. The more aggressive cutting polishes help you get out relatively deep scratches into the paint (although not if the paint is fully scraped away), but they will leave marks in the clearcoat that you remove with more fine polishing and finish polishing compounds.
The principle is the same, but it is potentially something where you will do multiple passes to get the paintwork perfect.
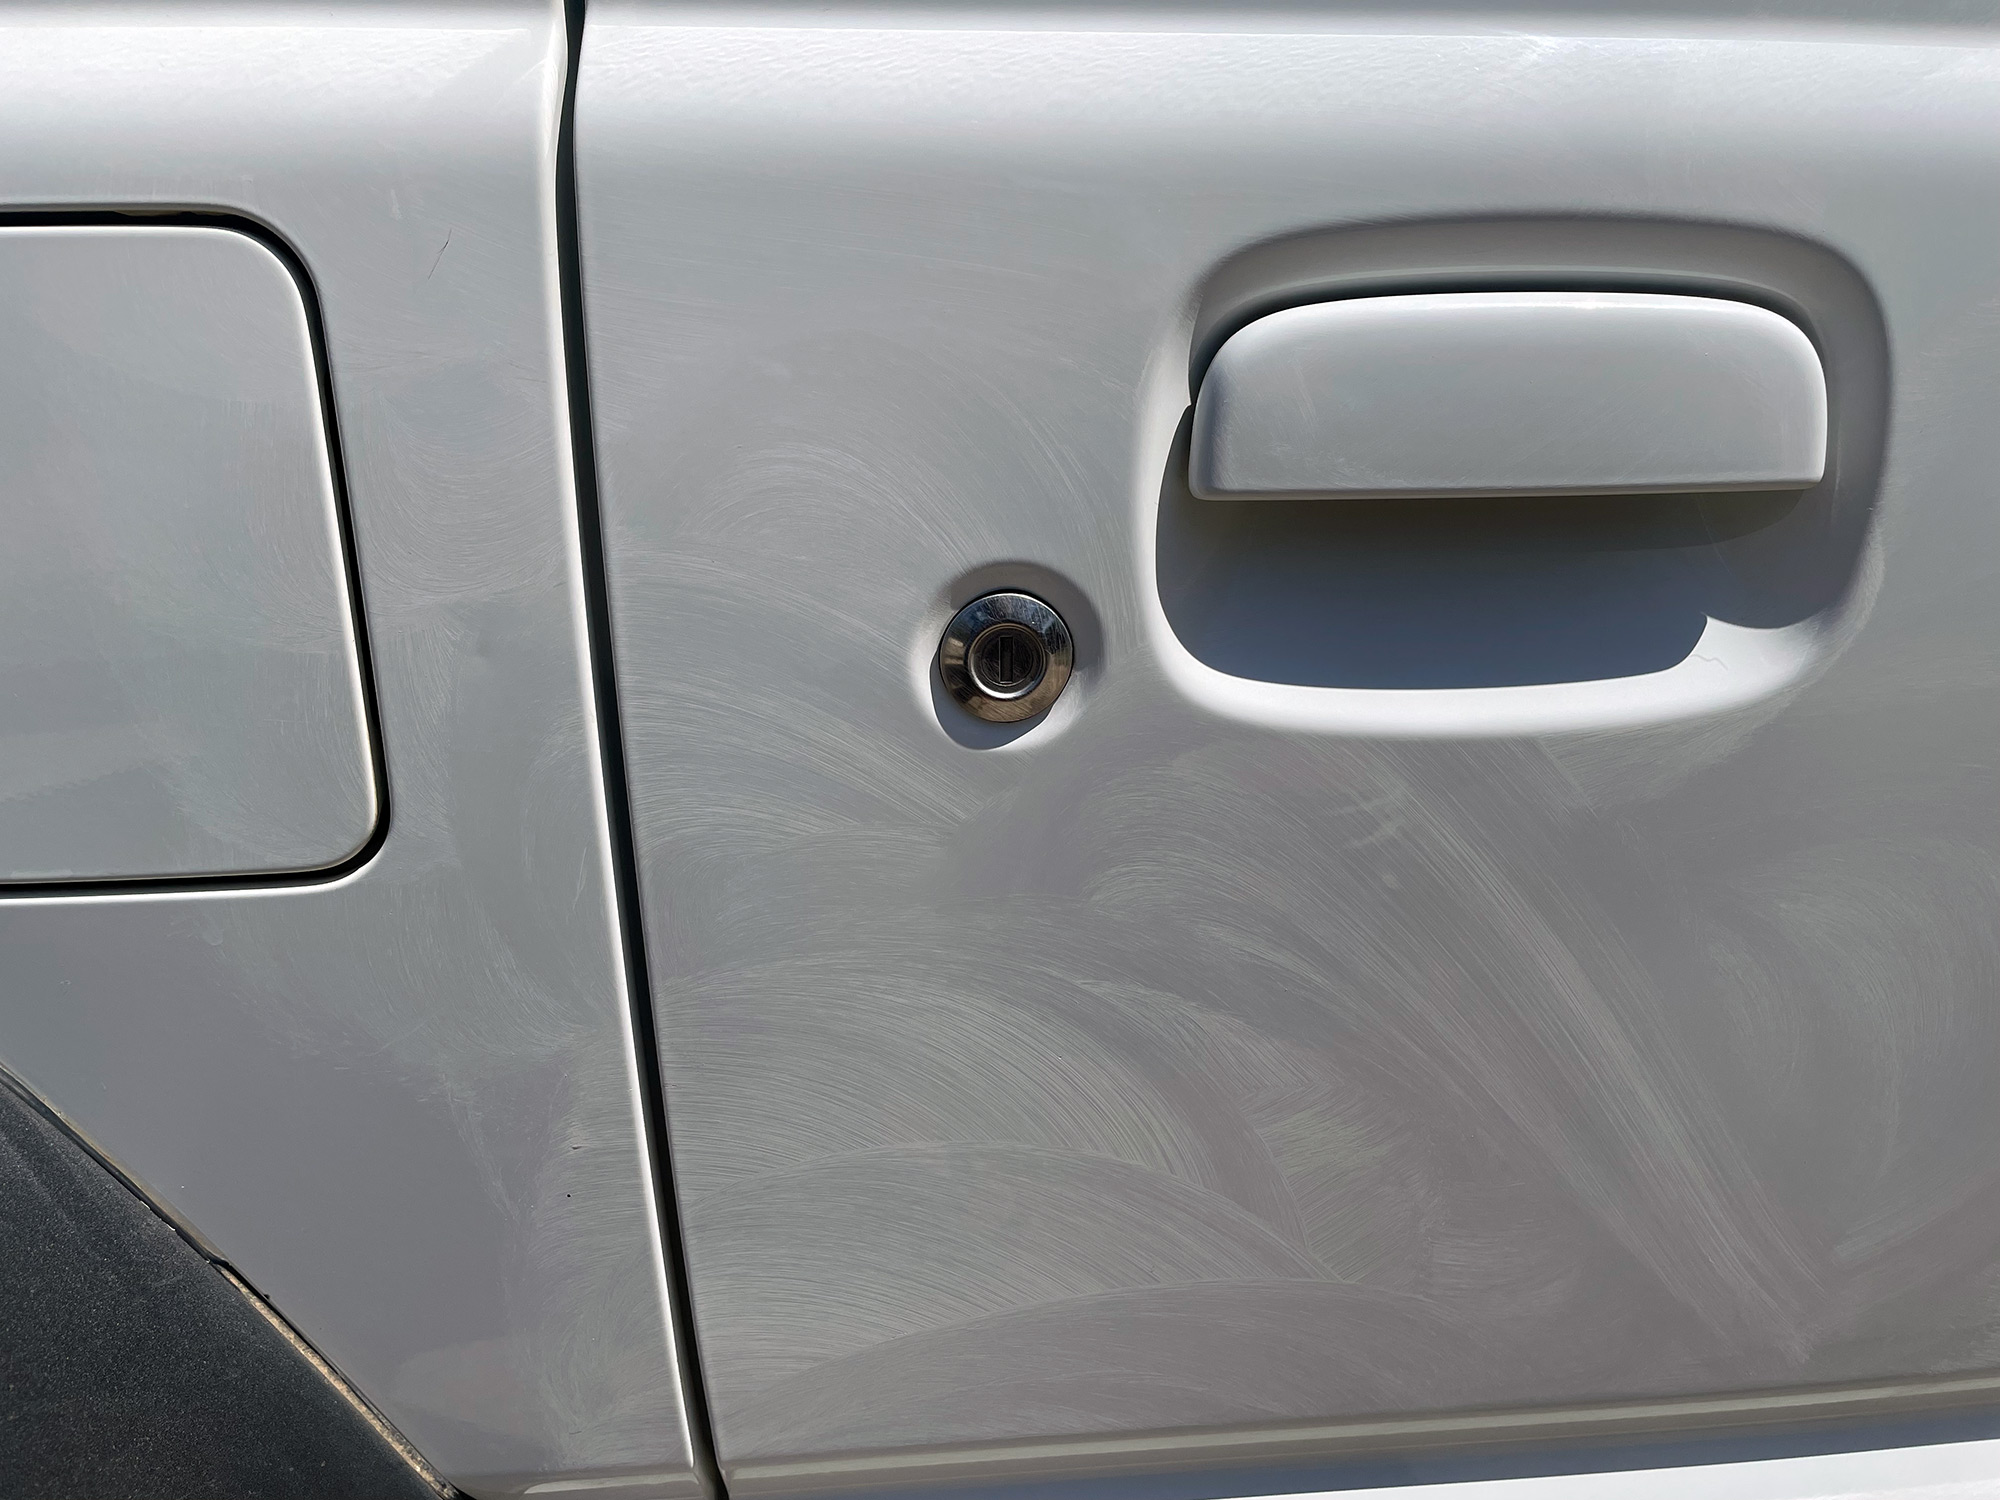
You can use a polisher to do this work, but it can be easy to cause harm especially if you use an aggressive cutting polish and cutting pad and a fixed rotary polisher. A lot of the time I just polish by hand, which is what I illustrate here. Surprisingly enough despite the little bits of scrapes from 4wding and stuff, I was able to get away with just doing a hand finish polish to bring back the ultimate shine to the paintwork and also get rid of marks like underneath and on the door handles.
Applying polish is as simple as buffing it on with an applicator foam pad.
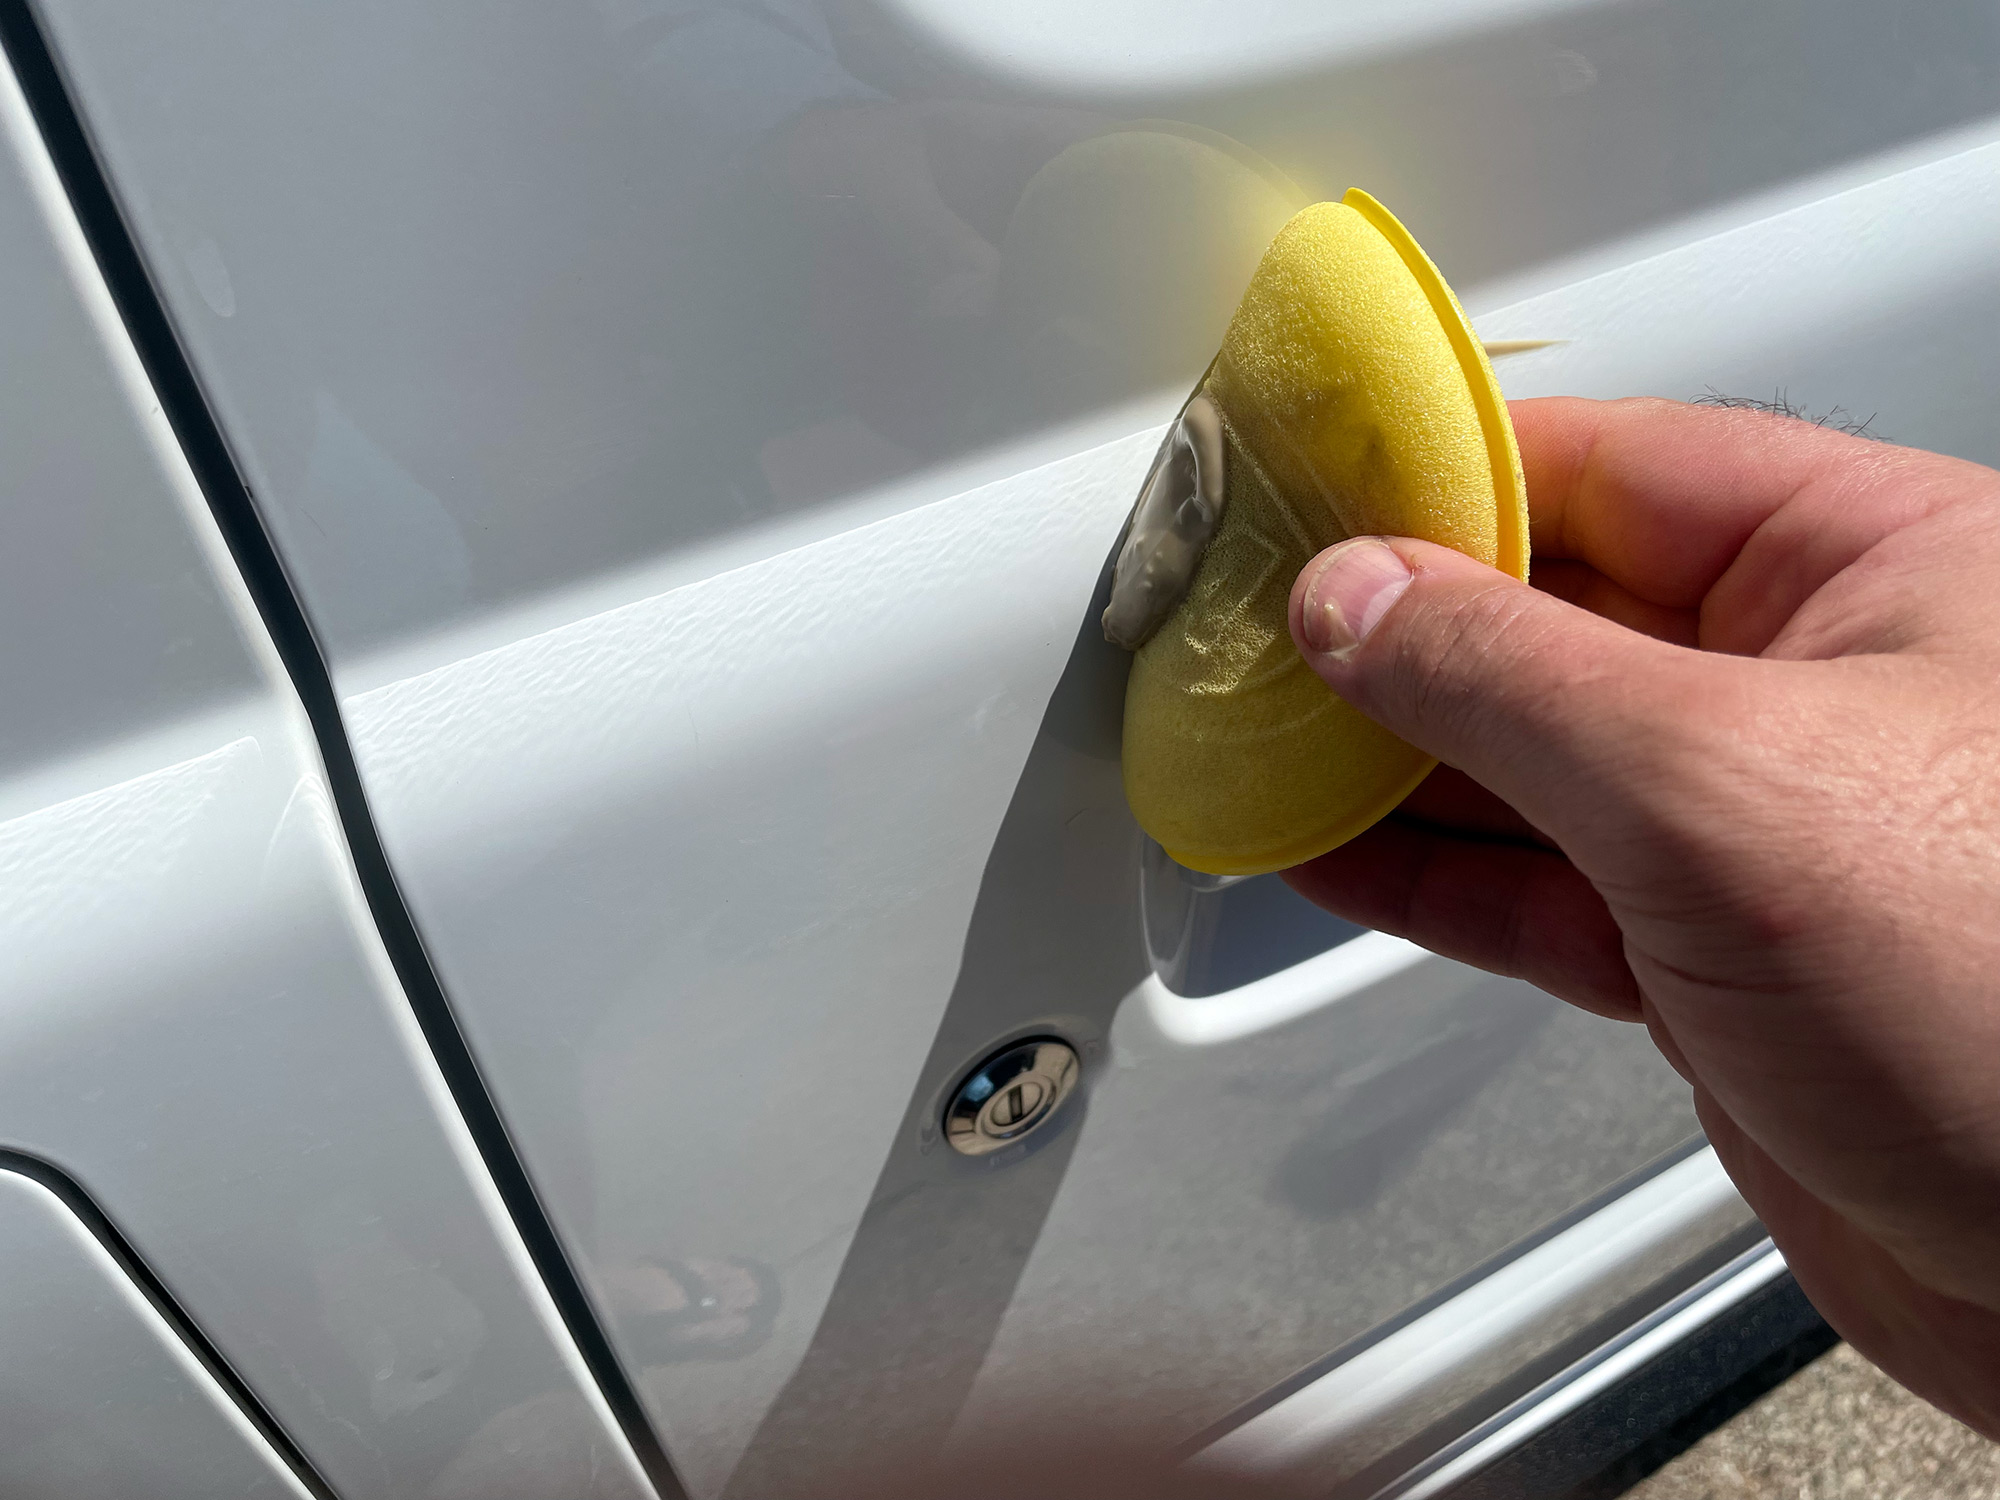
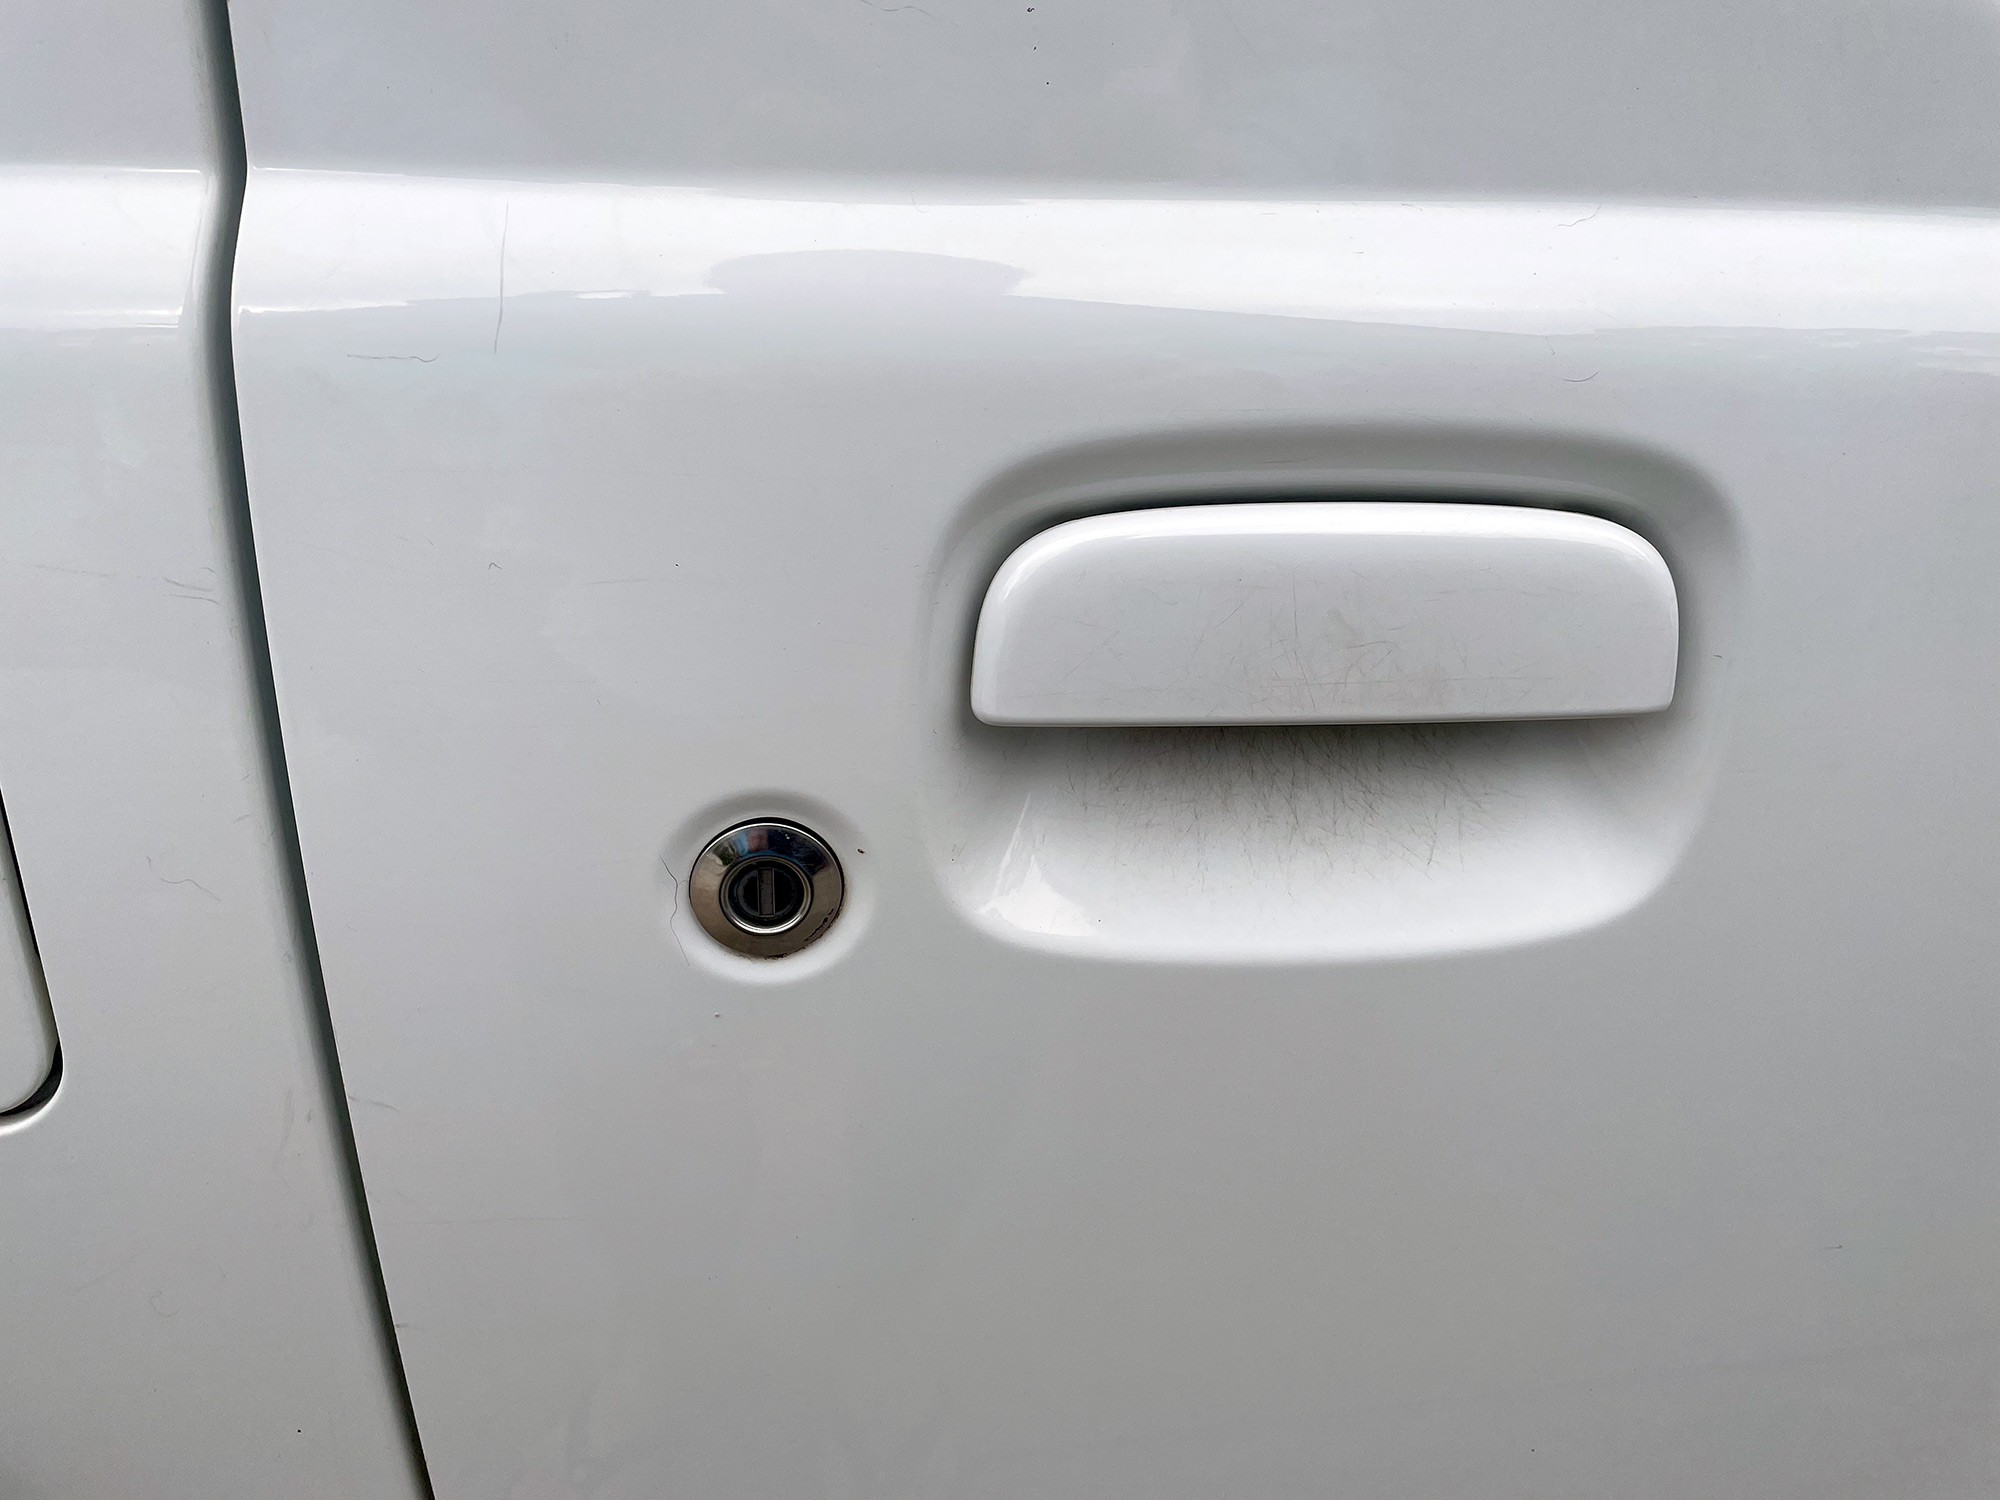
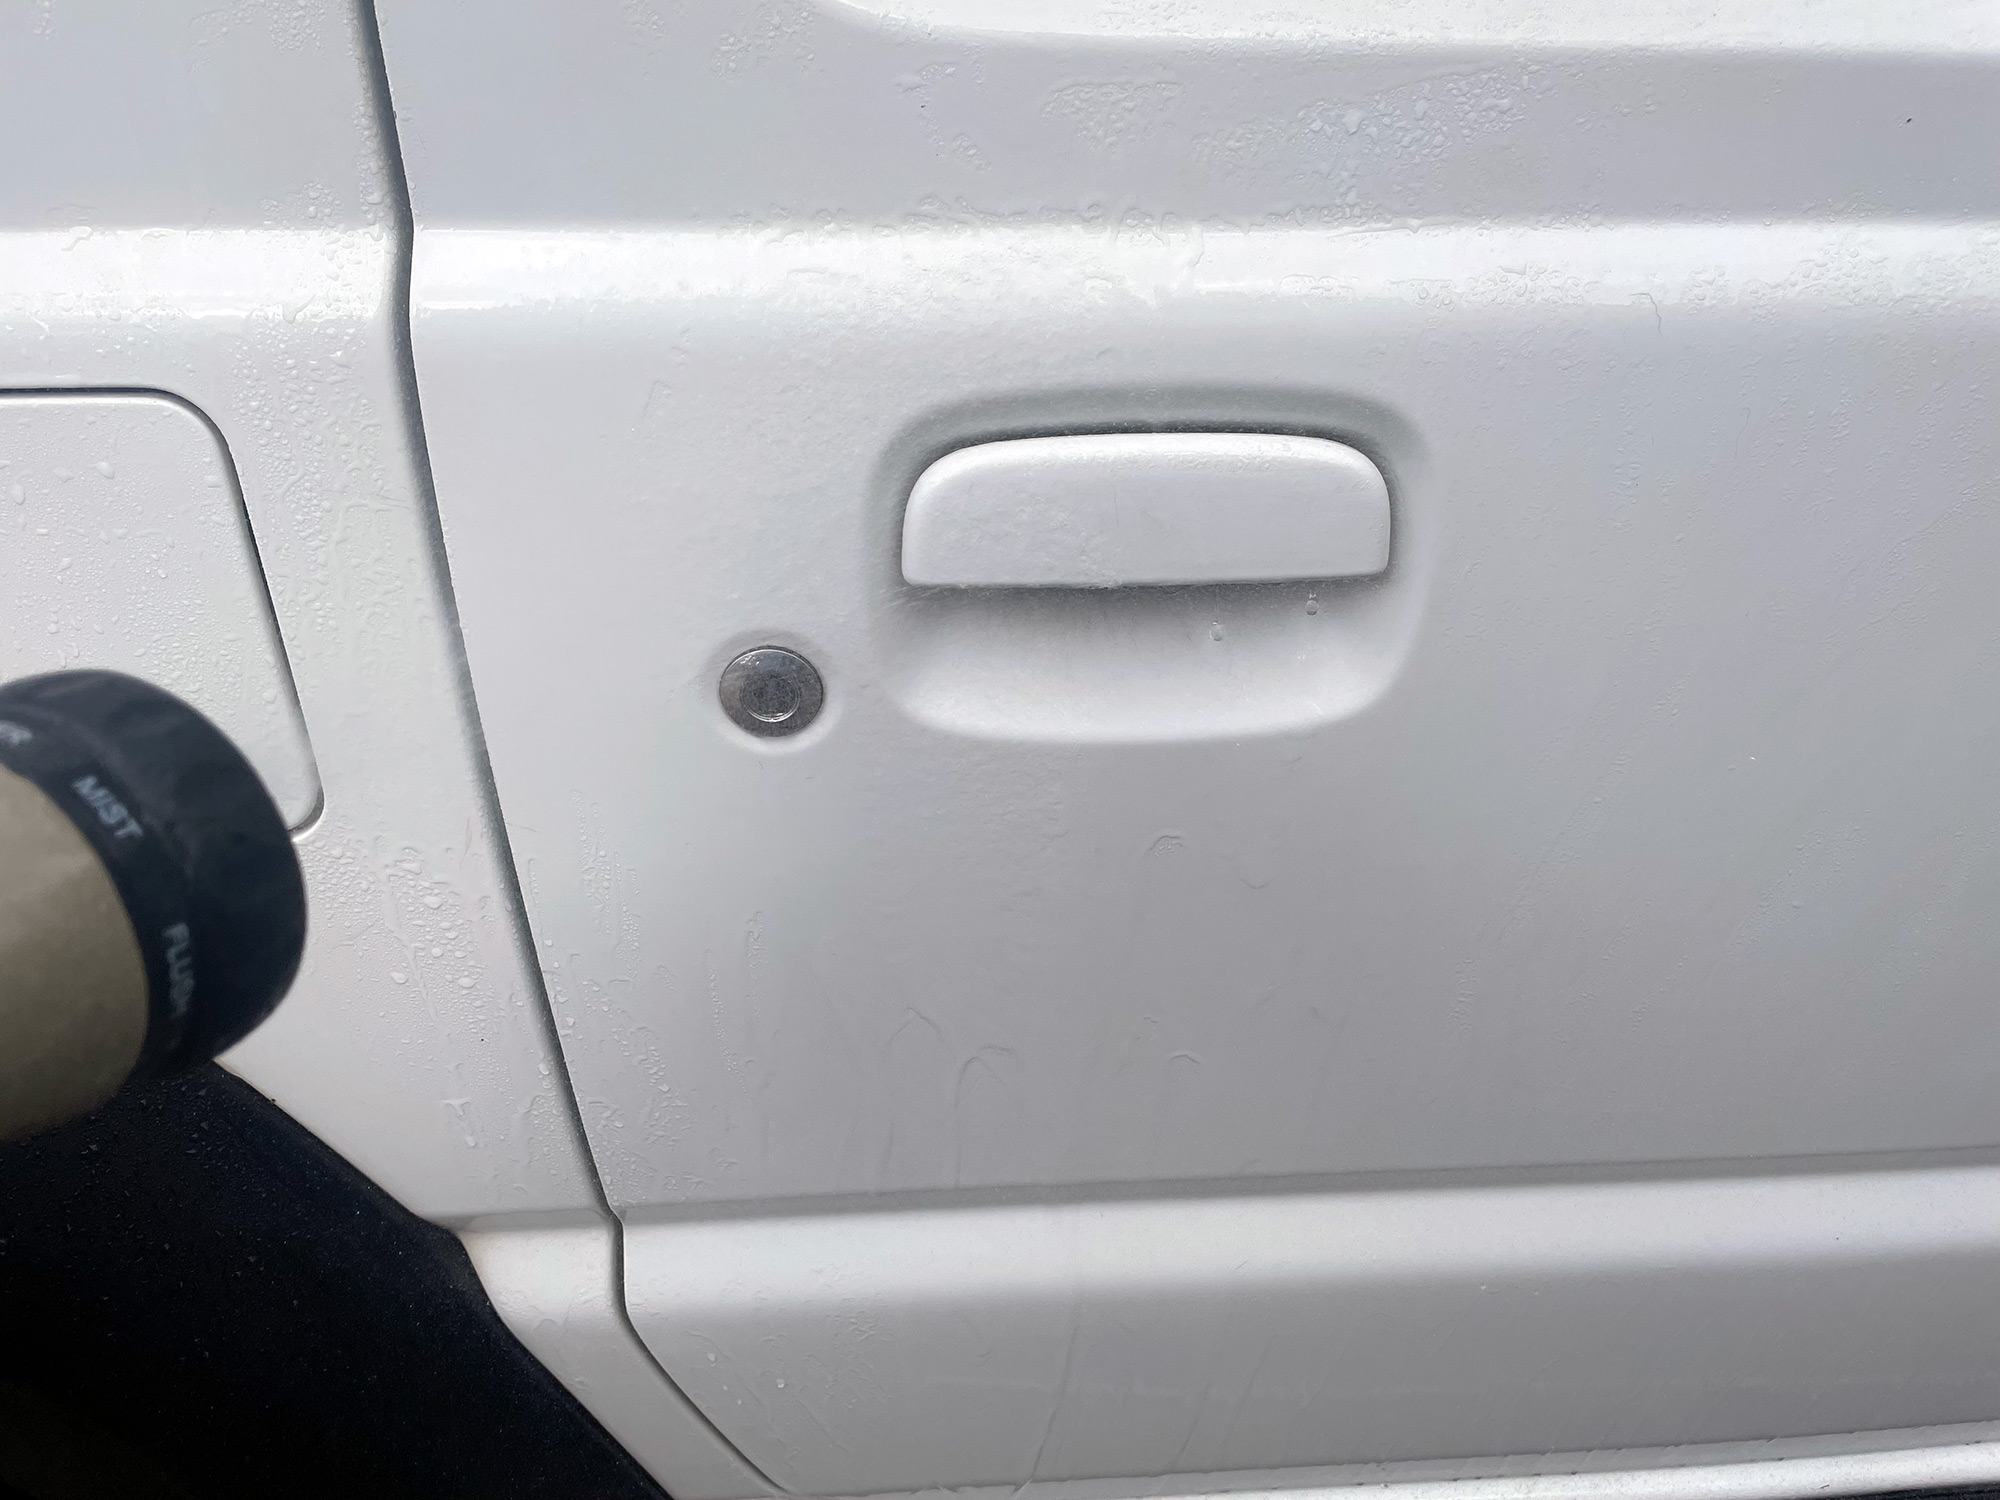
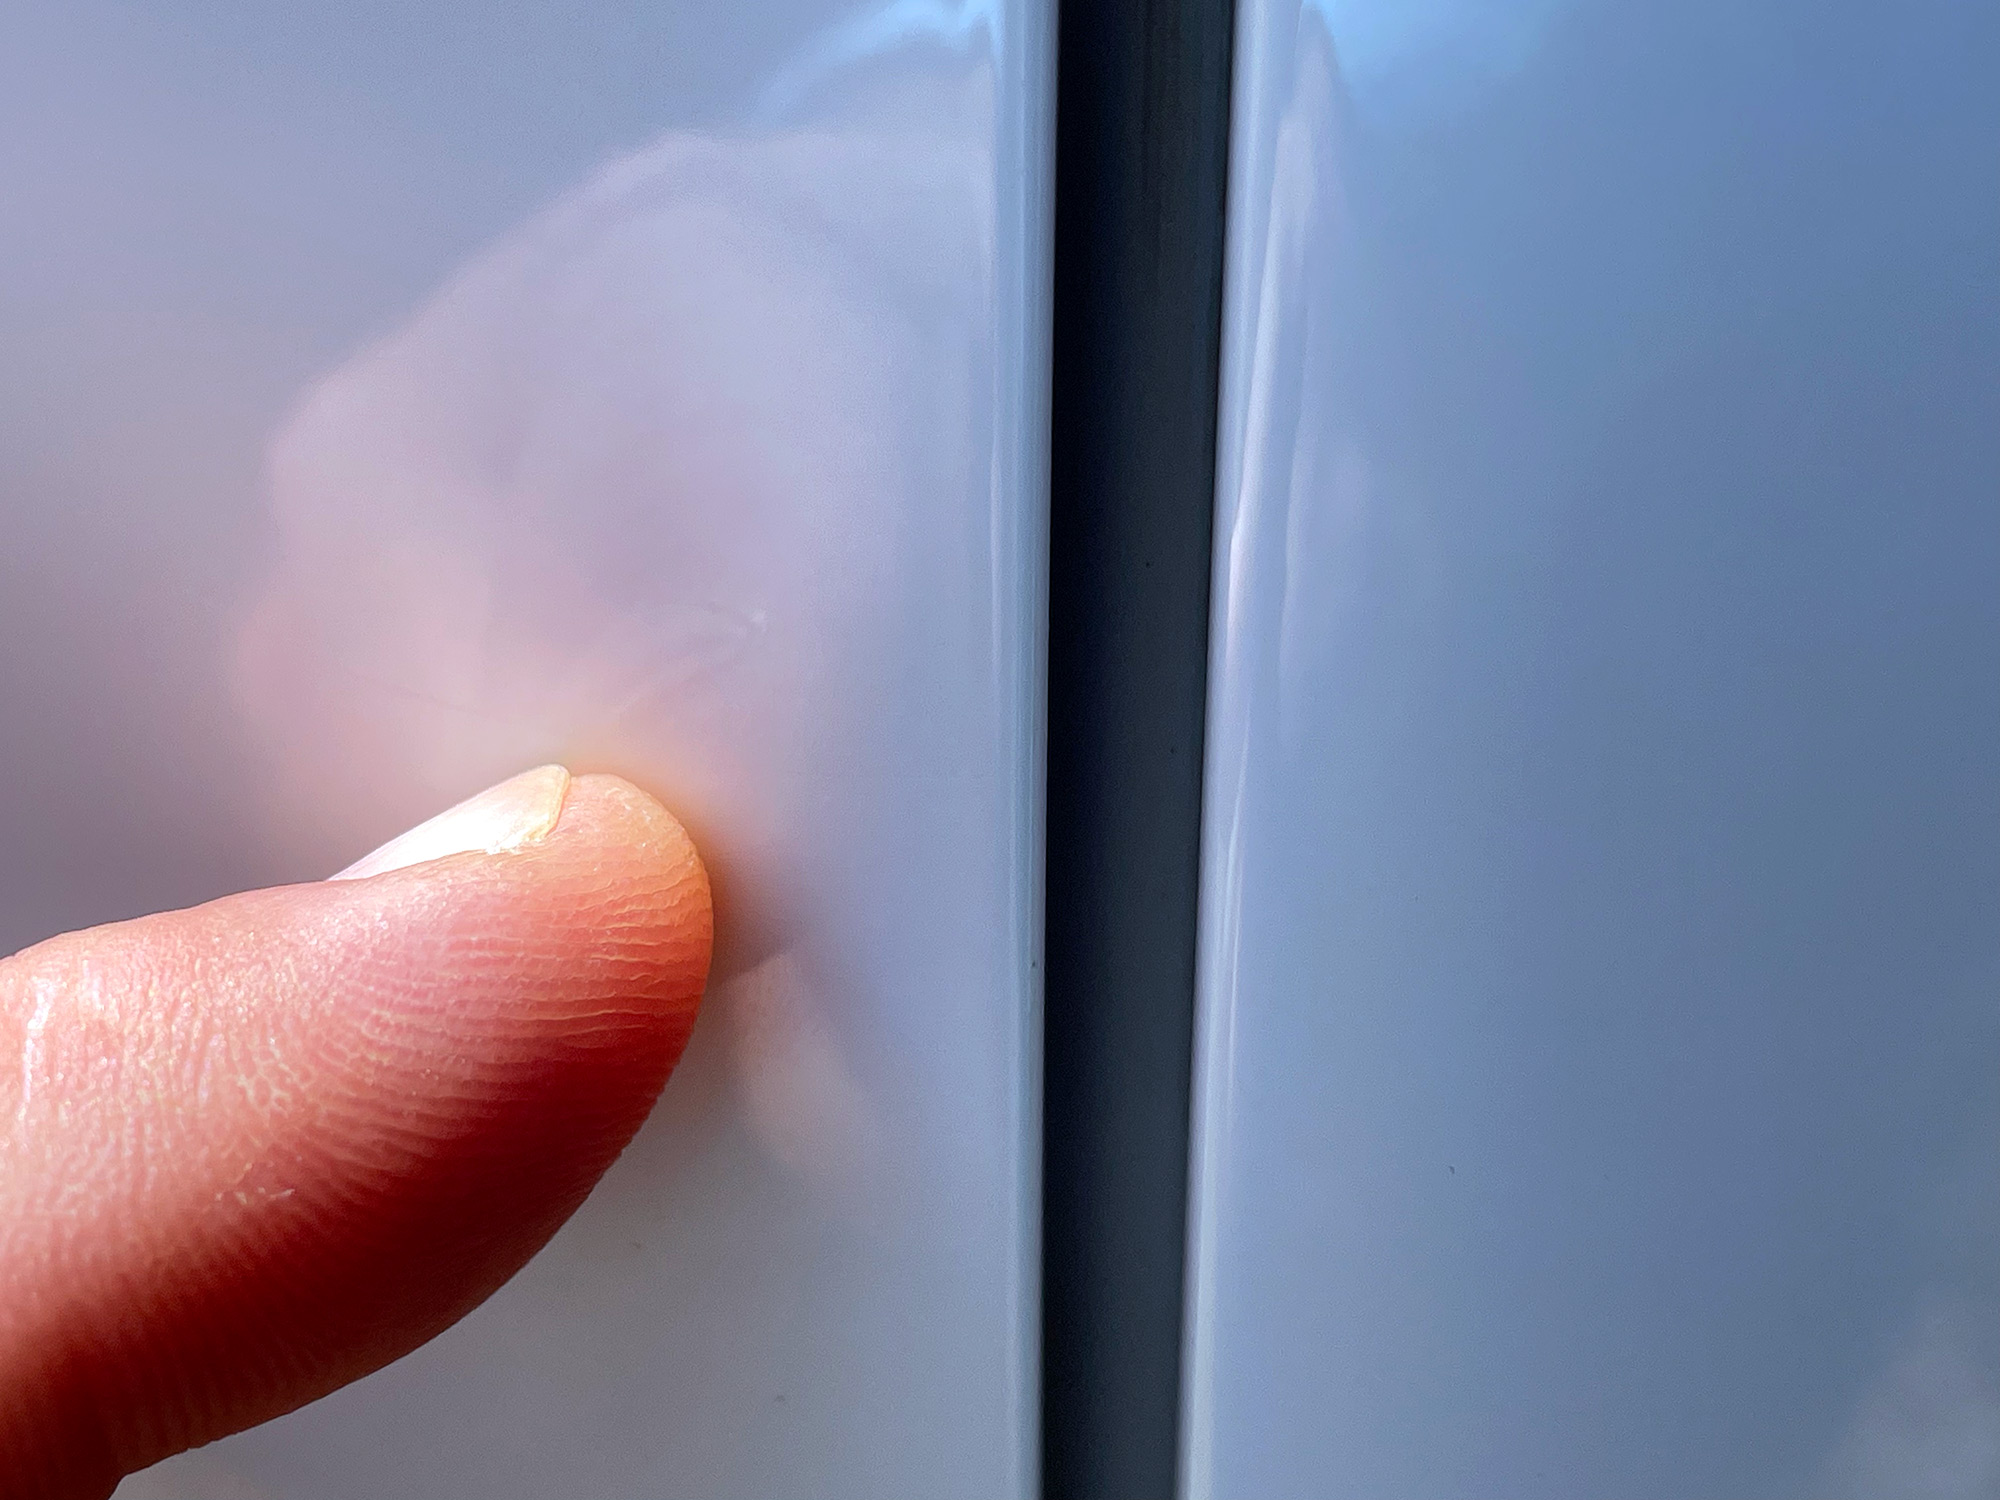
We’ll zoom into that door handle here as it’s a good illustration of how polishing removes marks.
While these are just marks from fingernails lightly scraping dirt against the paint, it does look pretty ugly. I tend to work on a larger section of panel with polish than I do with the claybar, though the amount of area you do should be dictated by how quickly the polish is drying on the panel. Here I’ve polished the large mostly raised segment of the door between the lip just beneath the window and the line about 3/4 of the way down the door.
Once you have buffed the polish onto the panel and its dried a bit to a light dusty coating, you’re ready to buff it off. Here’s a better shot of the polish looking a bit dusty and ready to be buffed off.
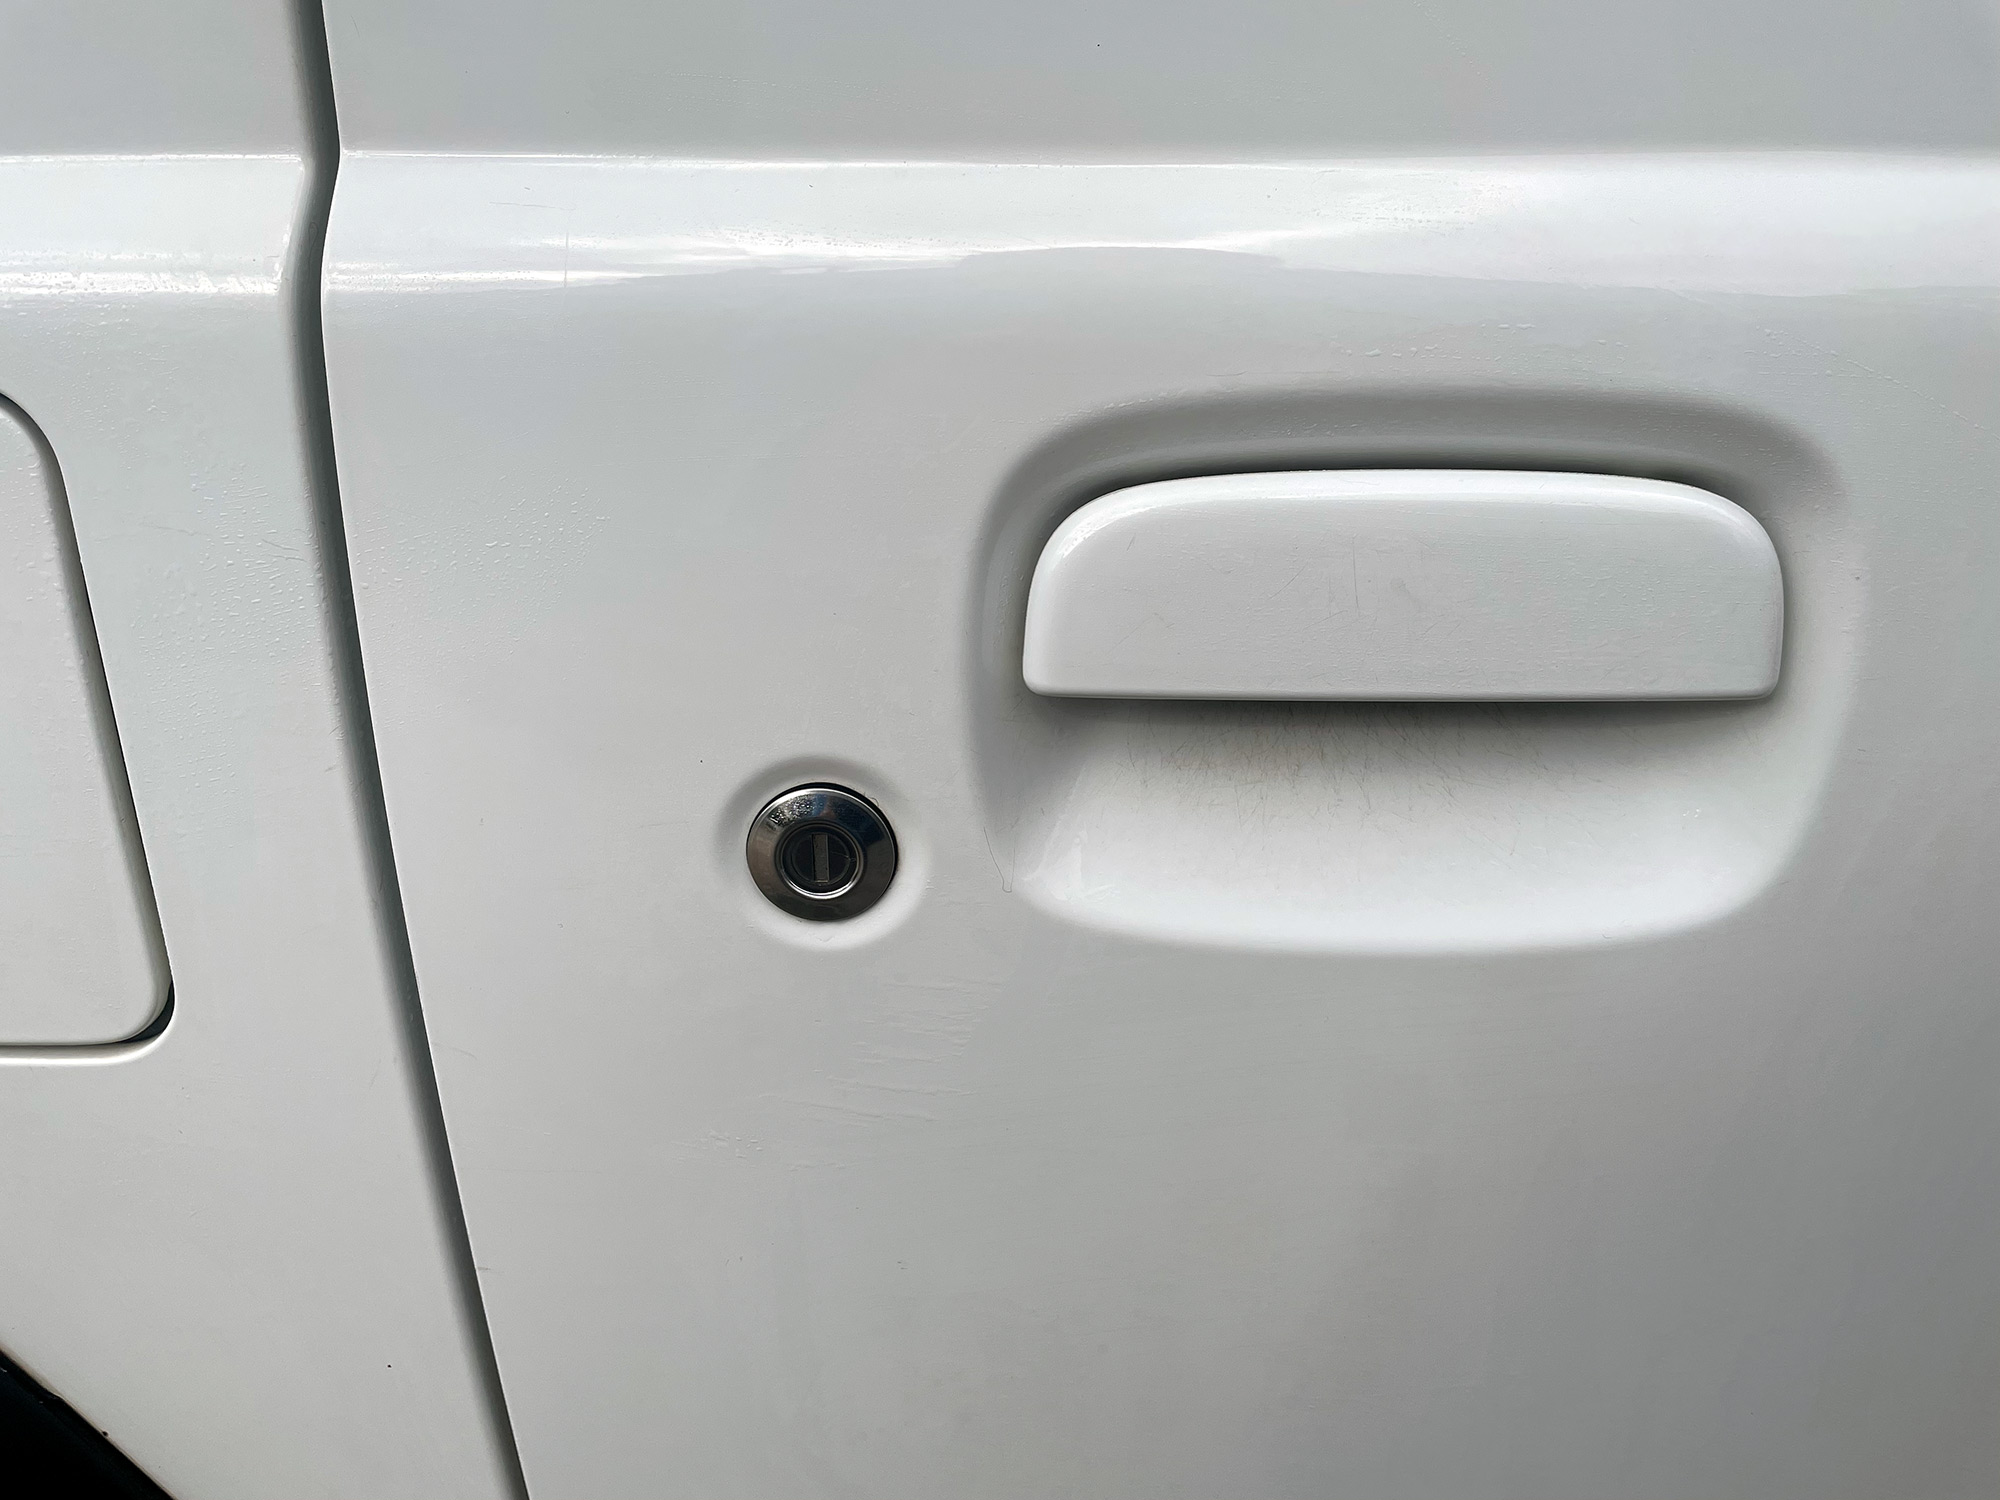
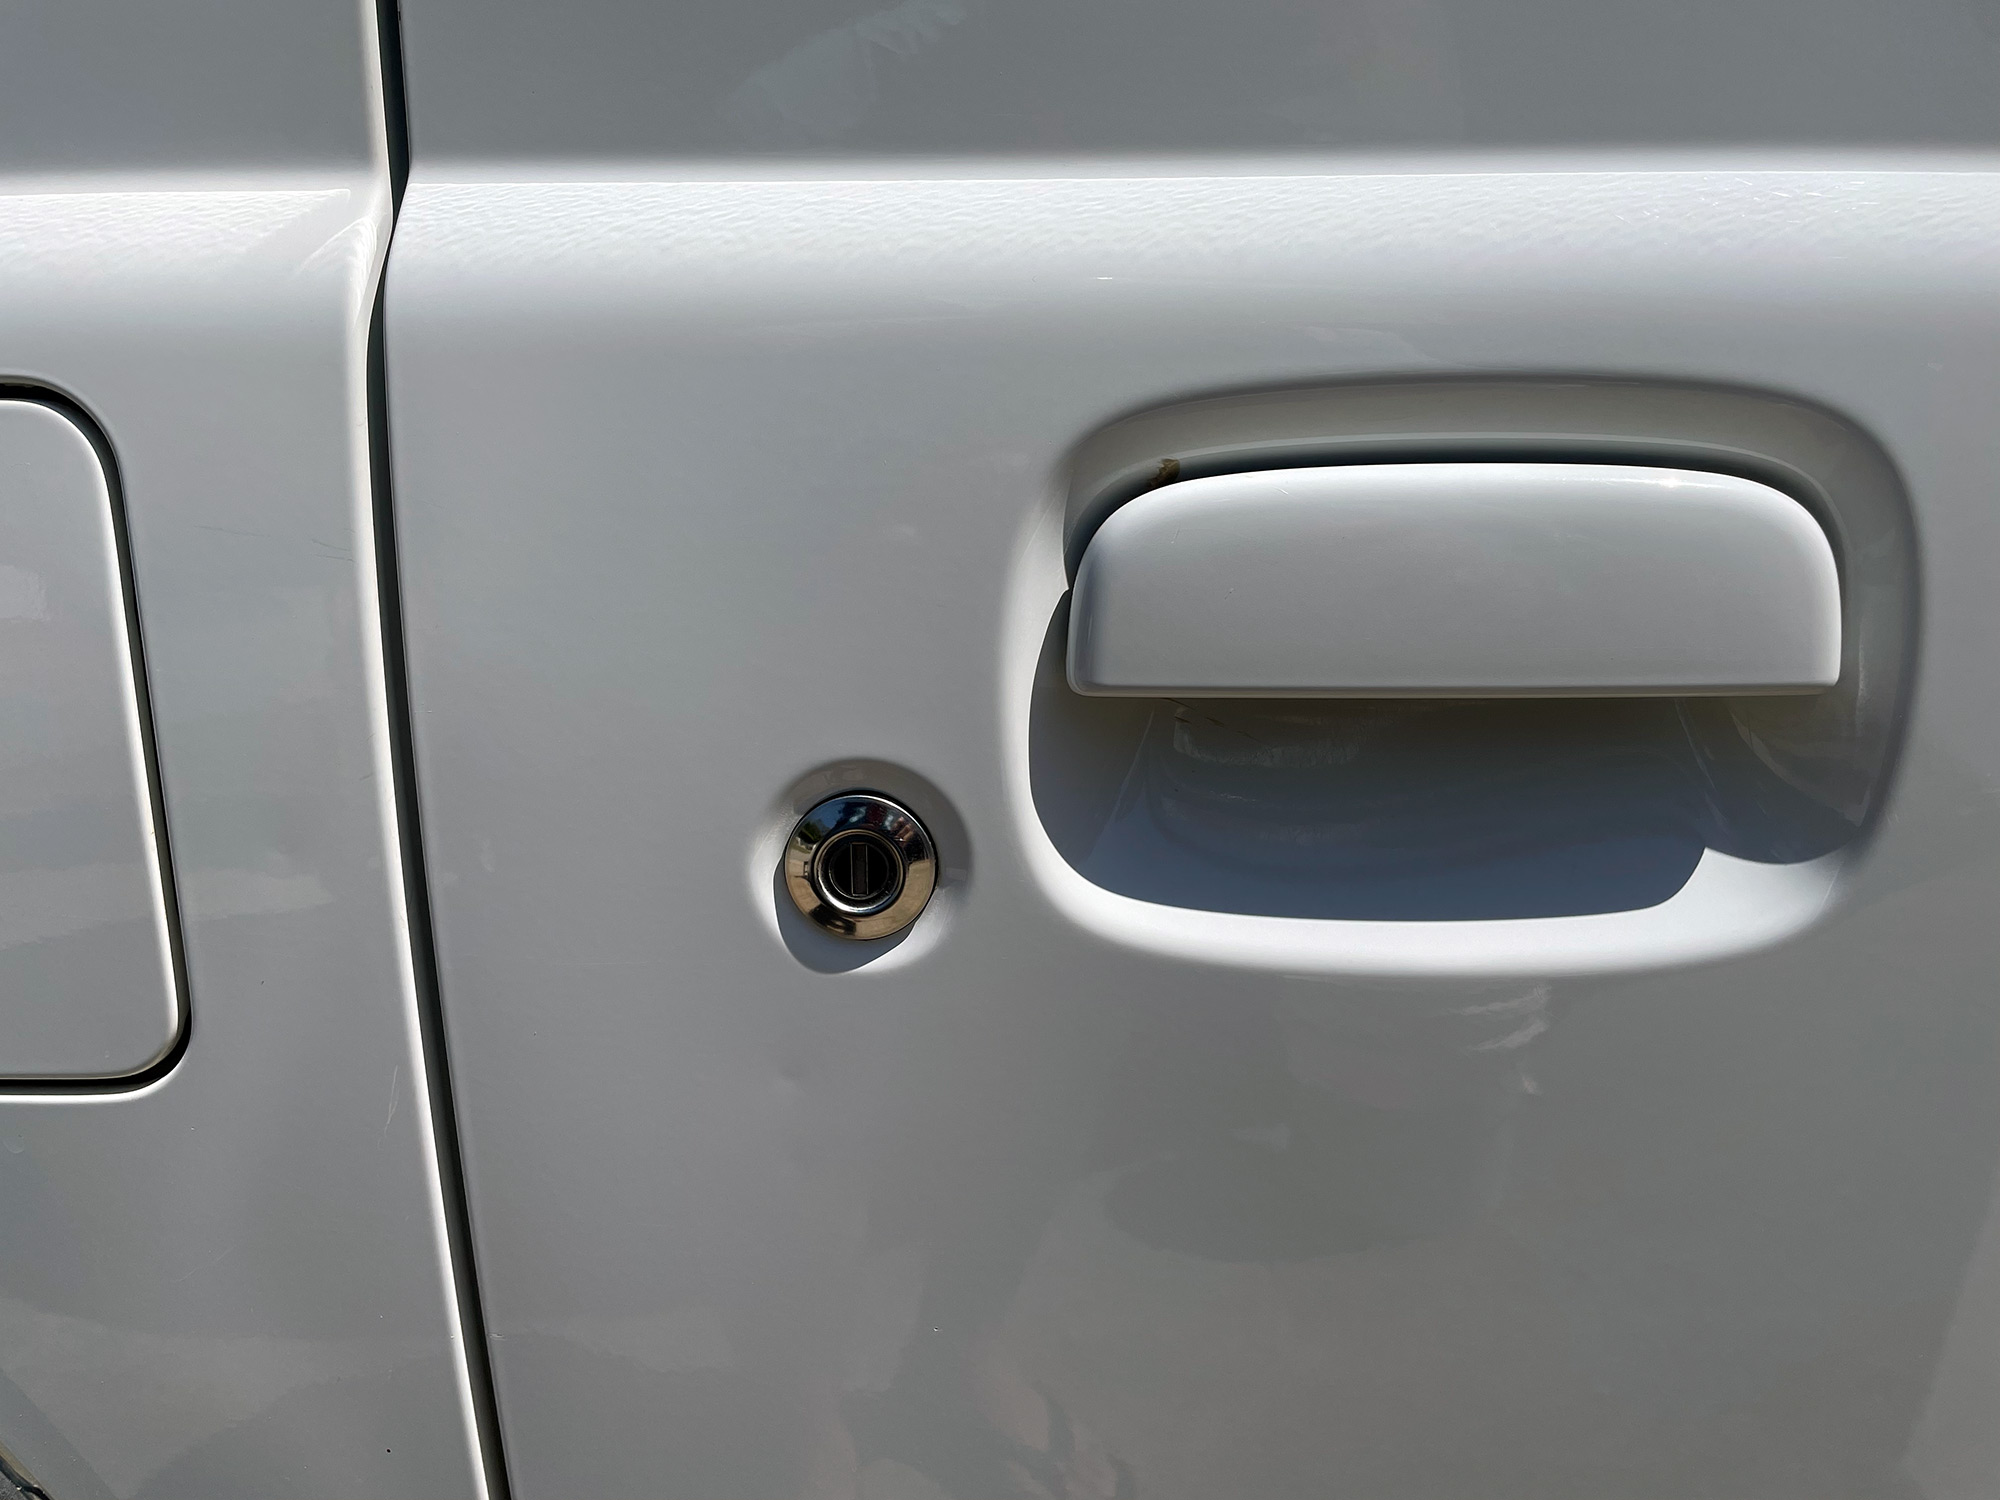
After buffing it off you should have much clearer paintwork.
There’s a couple of bits of polish residue left underneath and around the handle there which is annoying but we’ll address that in a second.
The polish all done makes the panel amazingly reflective and just looks so much better. Here’s an easier comparison of before we used the claybar and the polish and after we have done both.
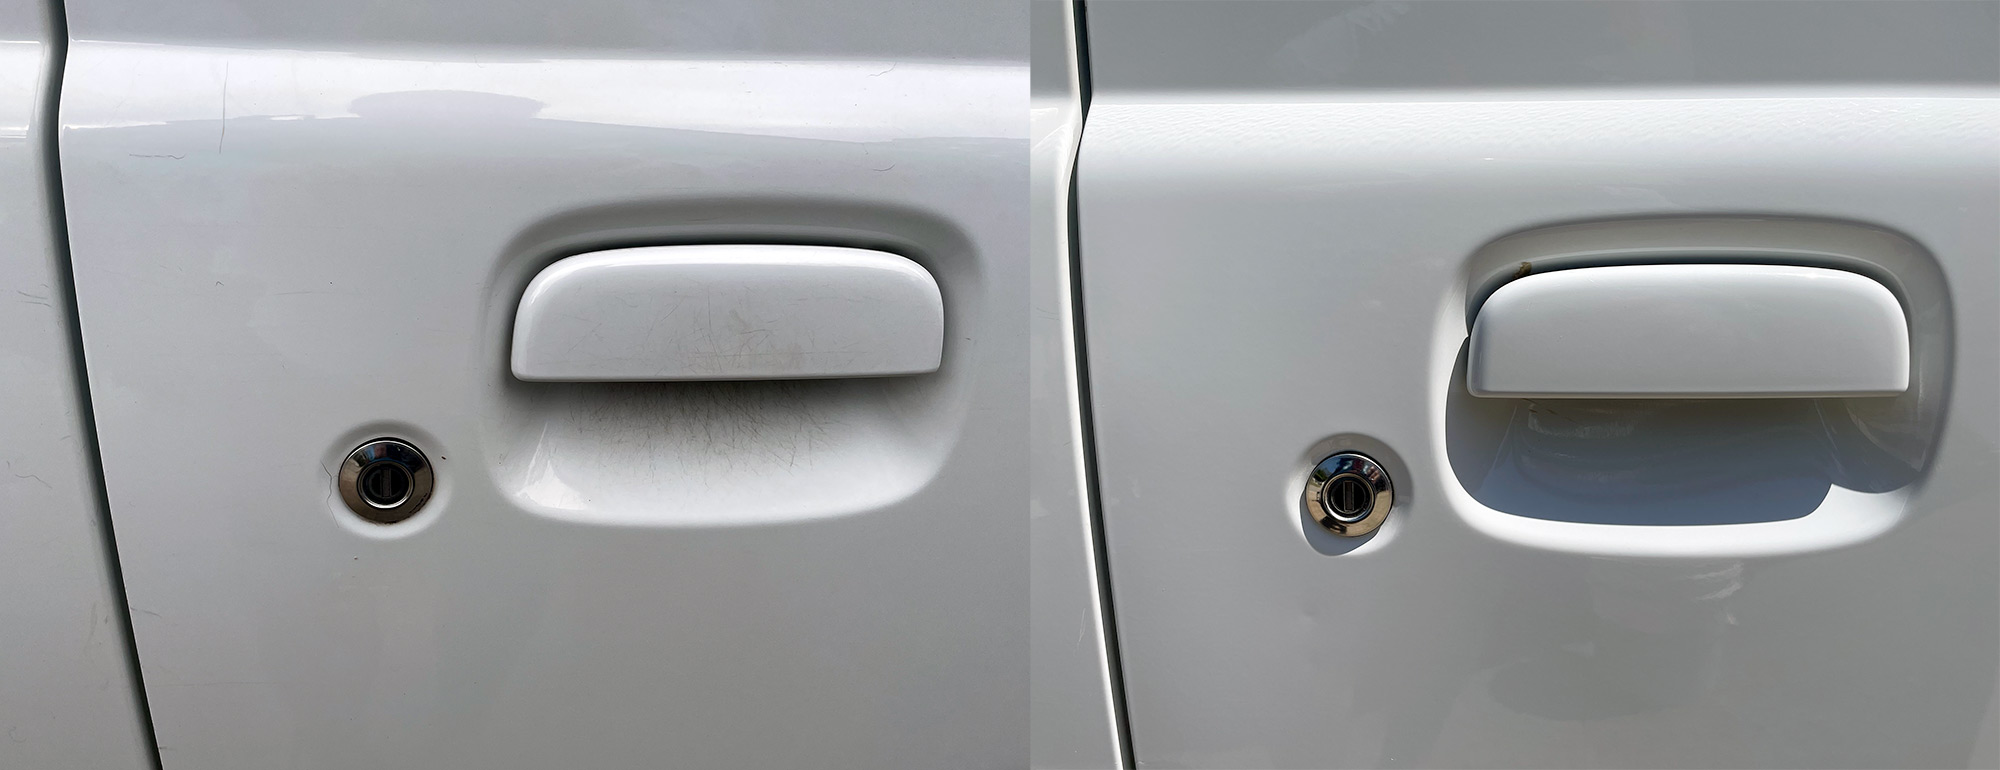
The slight difference in reflection in the upper part of the door line is due to the angle I took the photo at.
Another good illustration of why you polish is how well you can polish out minor little scratches. No idea how I got this one on another door but it is there.
After polishing it’s all gone and the paintwork looks basically brand new.
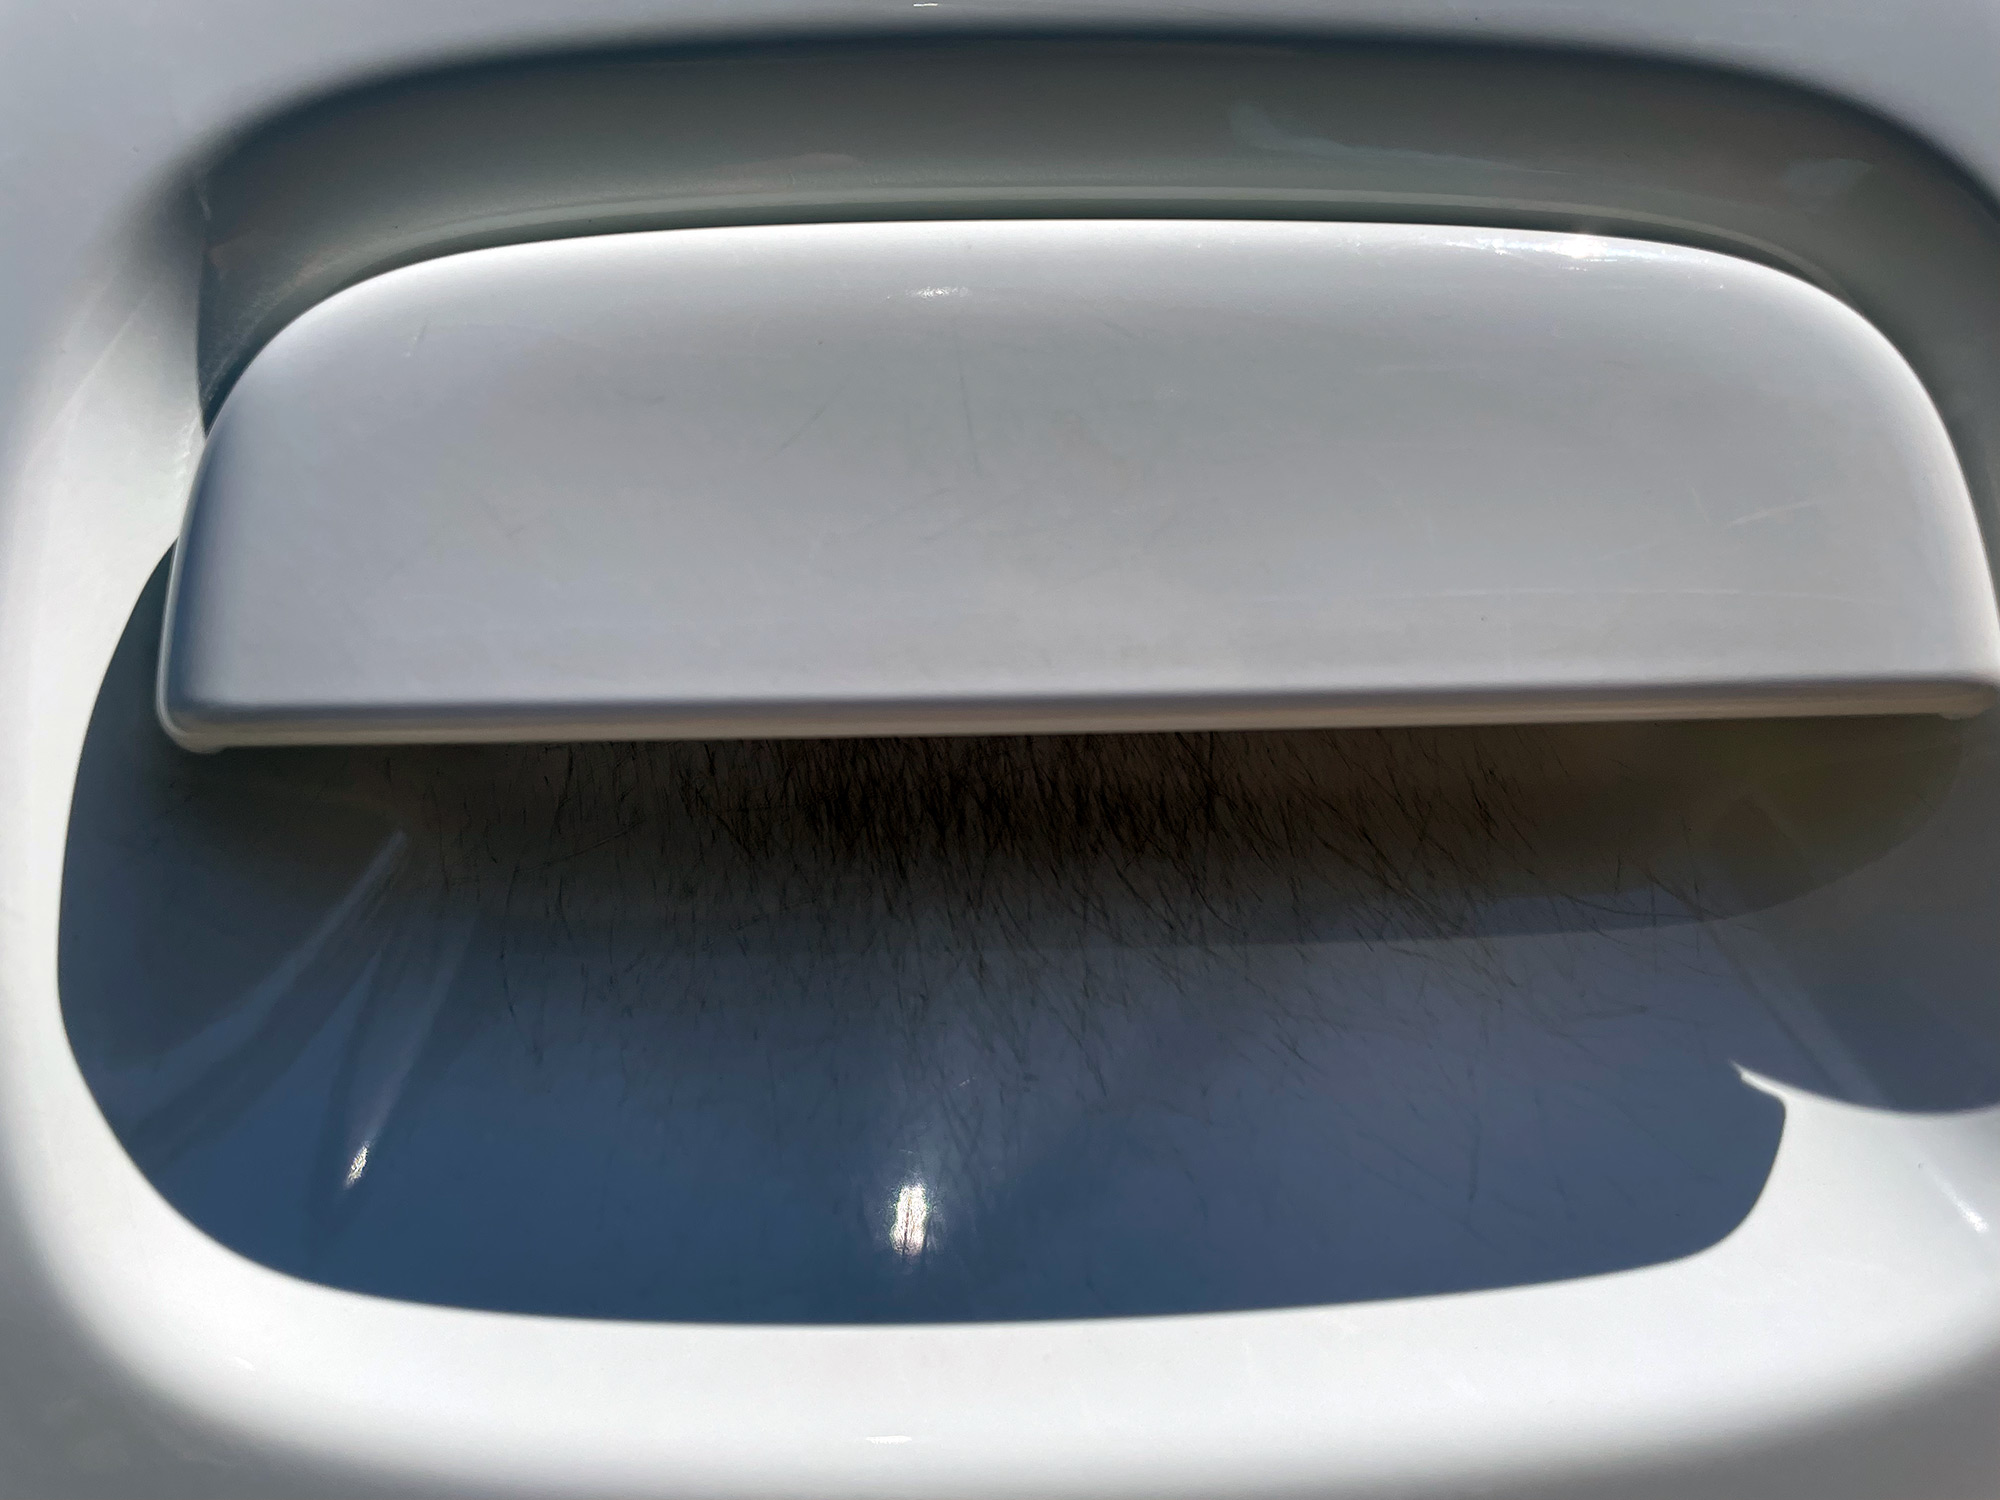
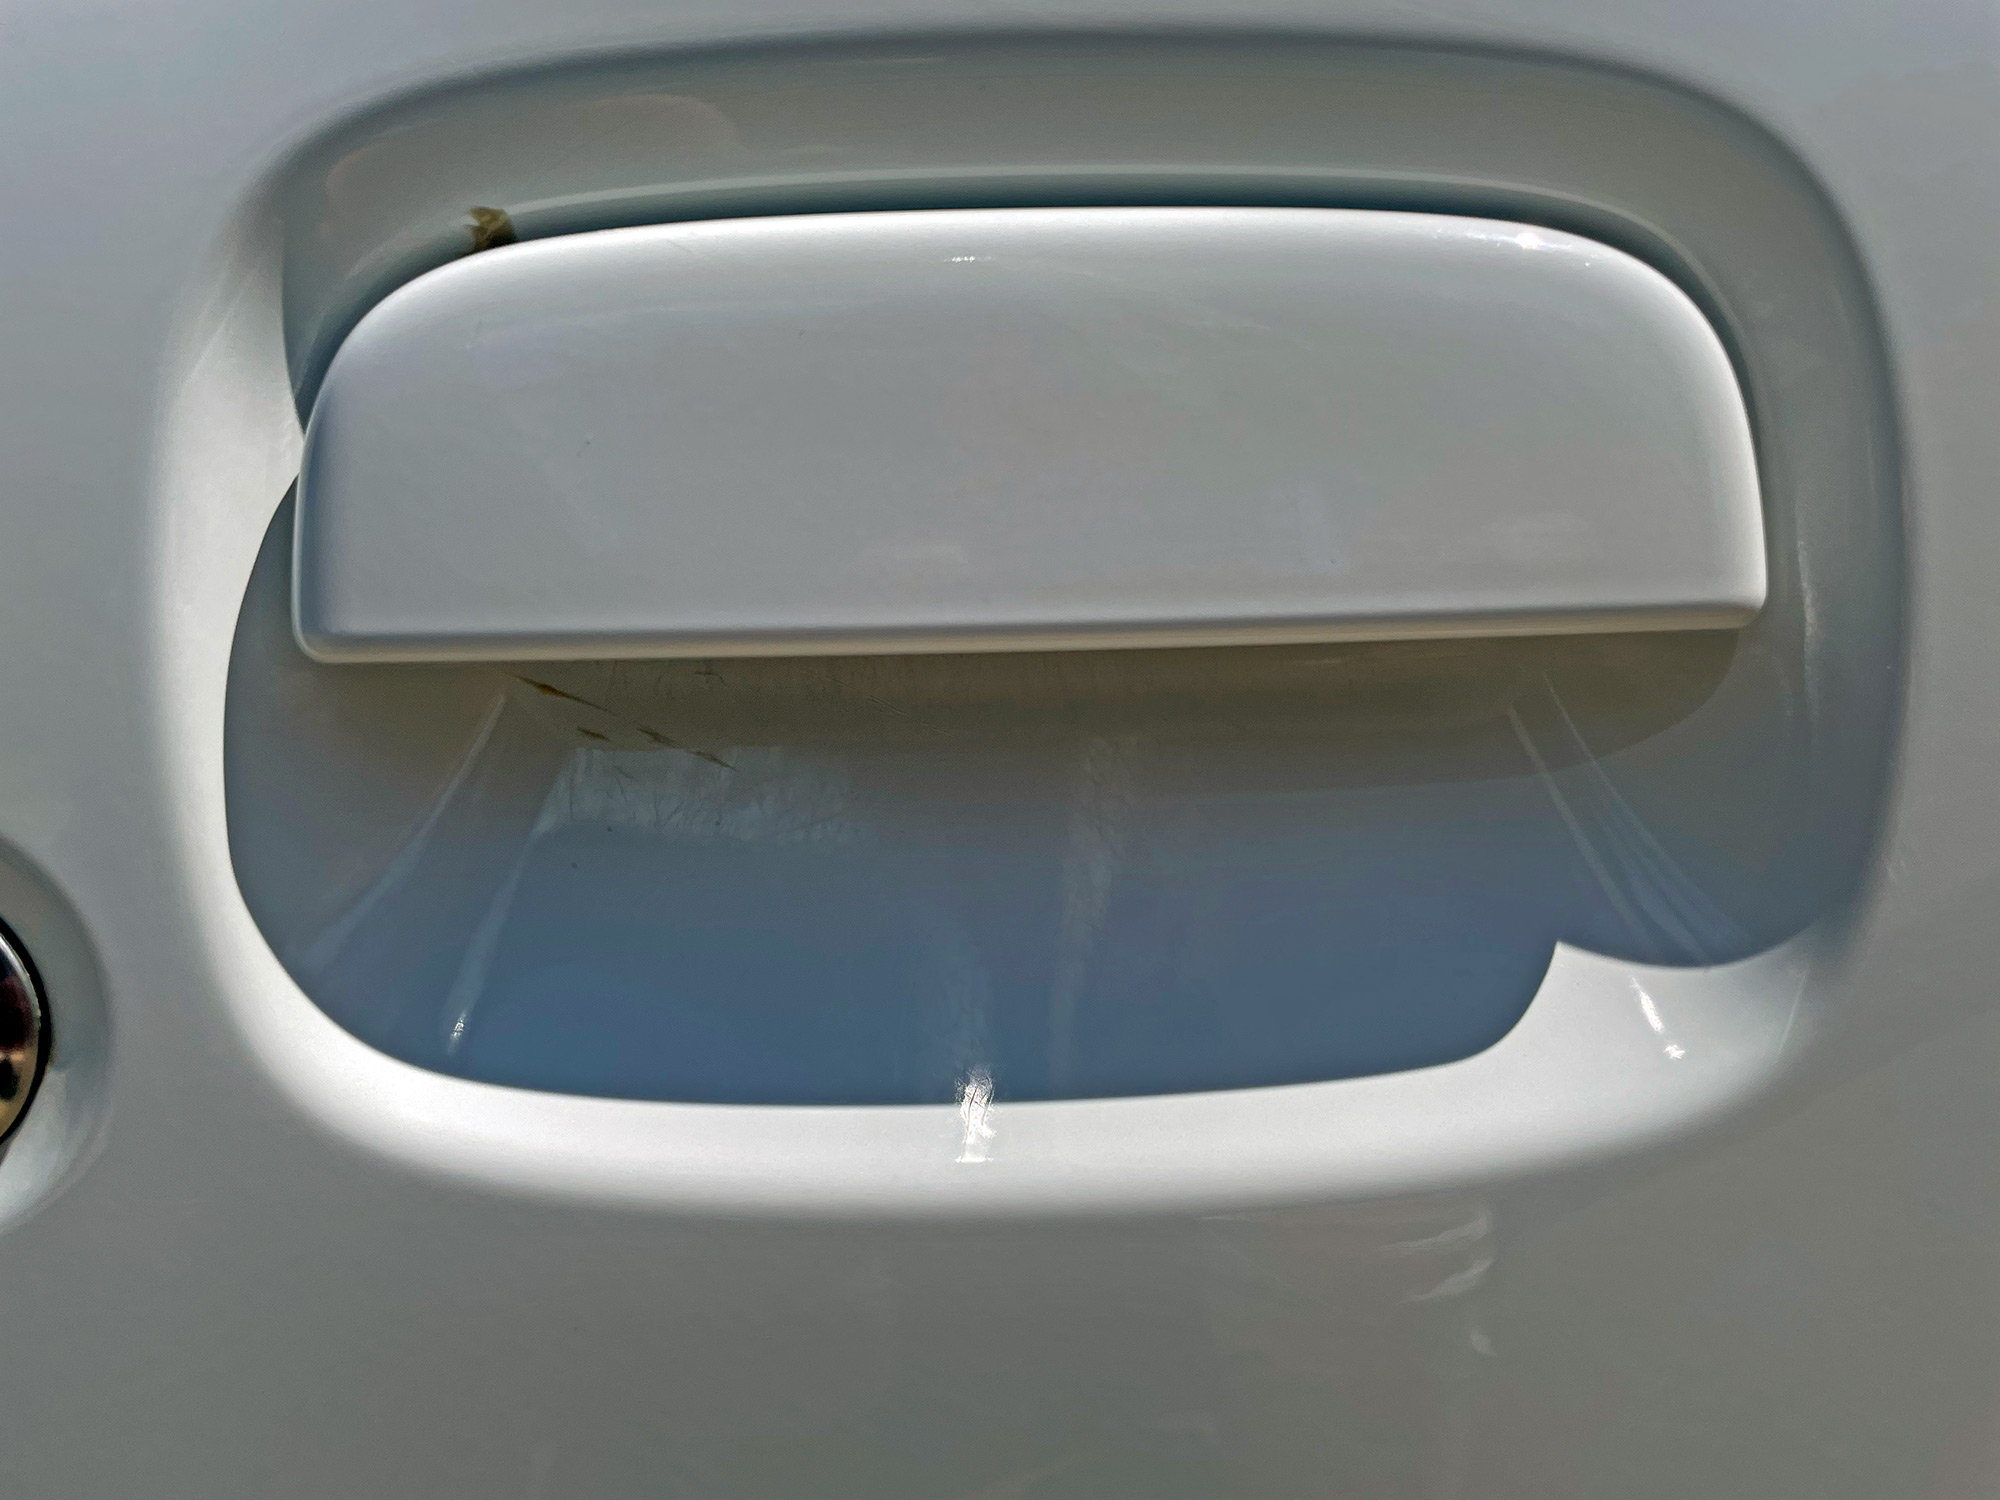
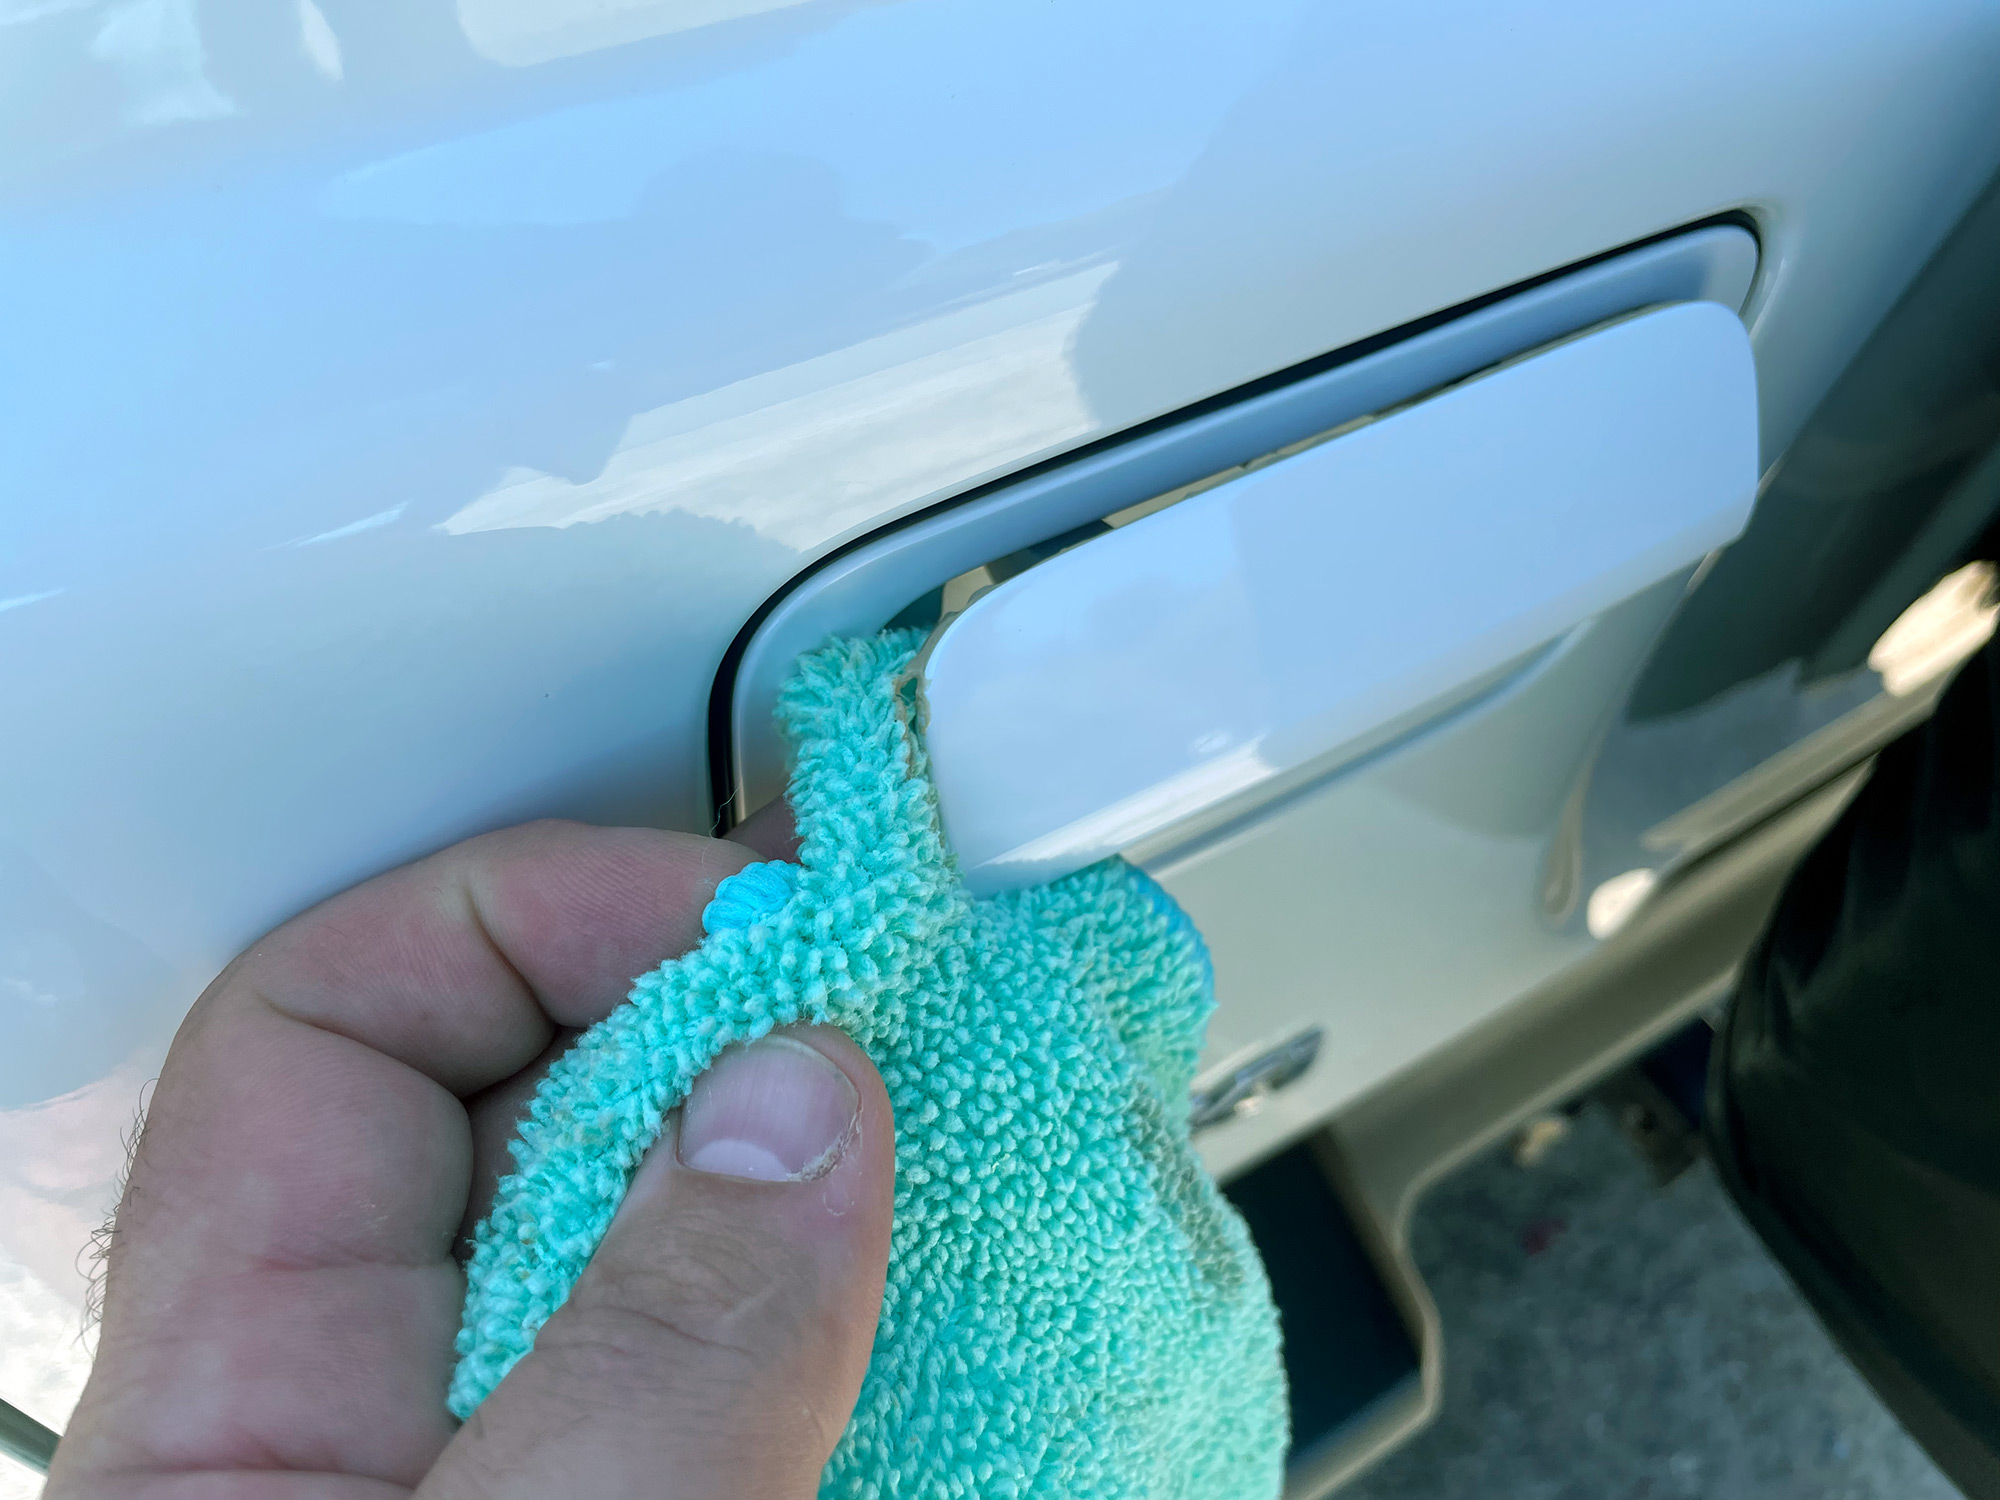
One thing to bear in mind with polishing is you will end up with polishing residue in nooks and crannies. Getting rid of it is important to making the car look its best. An example of this can be seen here on another door handle.
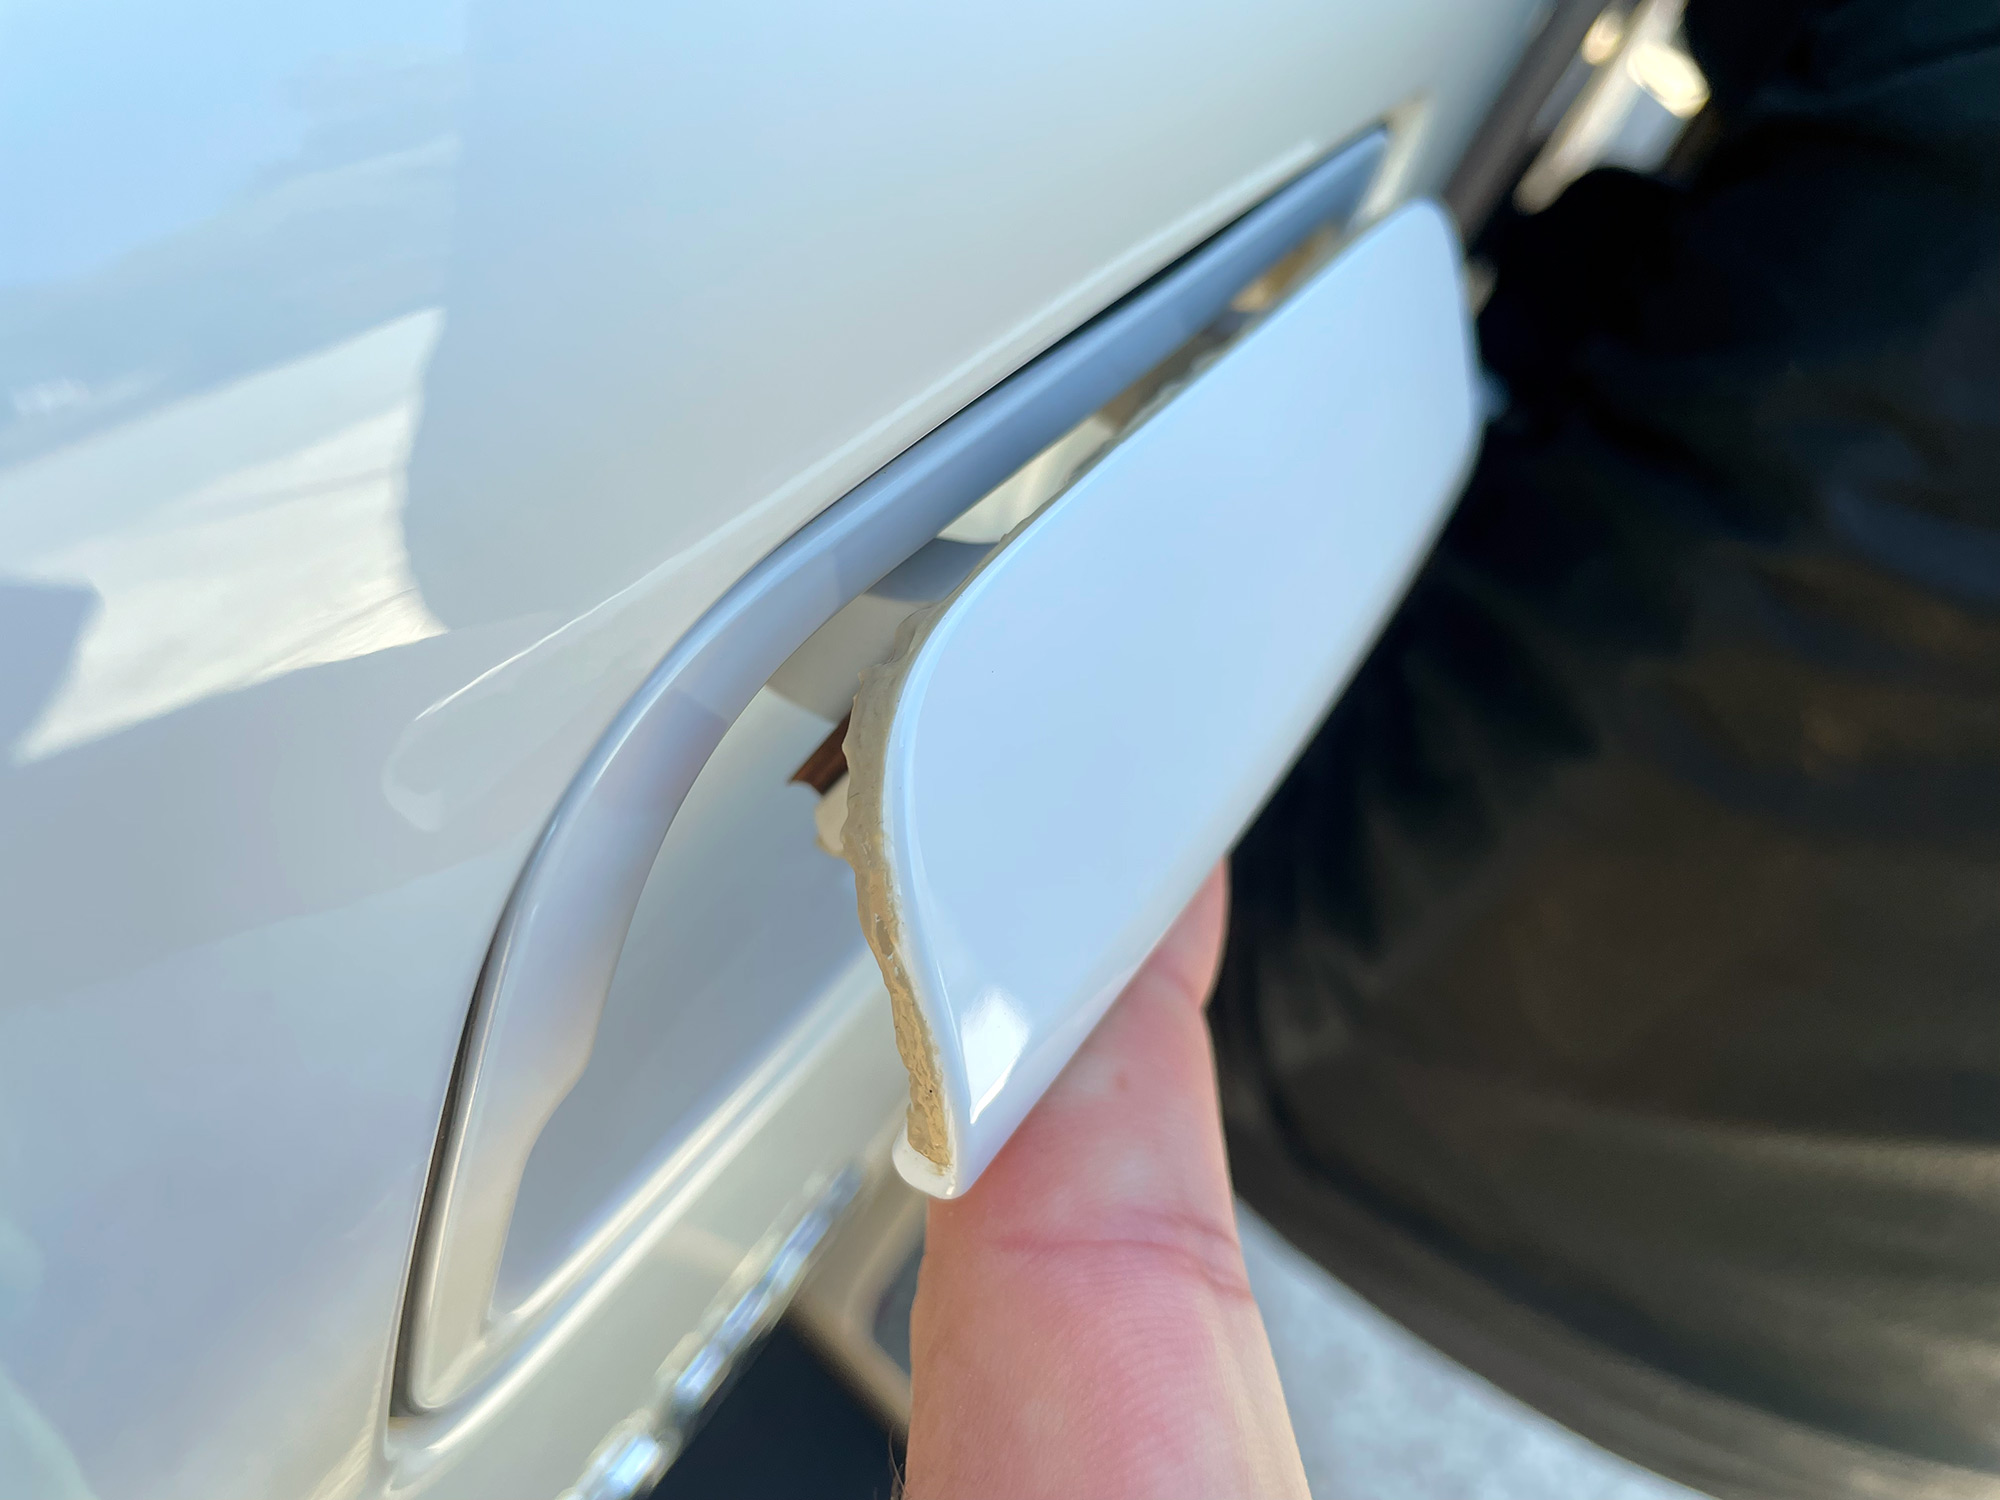
This residue is easy to remove with a microfibre towel, you just need to find a way to poke it into the gap or lift a handle up and then use the towel to remove the residue.
If you have been using a coarse cutting polish, here is where you’d loop back to the beginning with a smoother polish to do another polish and potentially another. Exactly how far you go with this depends on the condition of your paint.
Once you’re done polishing though you’re down to the final stage of protecting the paint somehow and/or keeping the finish you’ve just put on the car for as long as possible so you don’t have to repeat all of those tedious steps every couple of months.
Paint protection: waxing or ceramic coating
I don’t generally self apply a ceramic coating so I won’t actually cover it here, but if you get to this point then this is where you’d do it. After doing all this work you might see why detailers charge a reasonable amount of money to do so…
Cermaic coatings do work, especially the good ones, but they only ever make the car look as good as the prep work you’ve put into the paintwork before applying them. They also do not last forever. They do make the regular maintenance washes easy but you do have to reapply them every 12-18 months.
I generally wax 4wds. A good wax will help water bead and dirt not stick to the car and it’s a lot cheaper than most ceramic coatings. It won’t last as long though, so you do need to be prepared to reapply it after a while. I often find I can get a few applications in with only minimal washing and polishing before needing to really go to down on the car, though.
You apply a wax in a very similar way to the polish. If it’s a liquid wax then it goes on an applicator pad, gets buffed onto the panel, left to dry, and then buffed off. Paste waxes are potentially applied directly to the panel and then buffed off.
One thing to note is that polishes and waxes have a wonderful way of finding themselves onto black plastics like bumpers and similar and they can really ruin the look of the plastic work. The final stage after cleaning everything is to go back, clean those plastics and then treat them with something to make them look fantastic again.