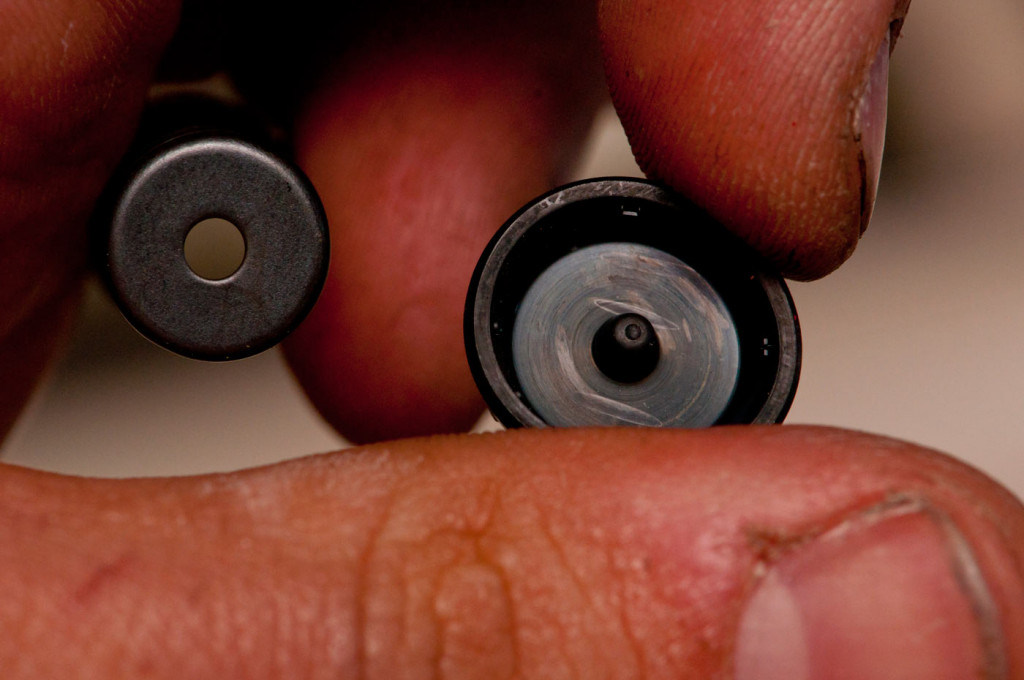
Rebuilding a front brake master cylinder
Rebuilding a front brake master cylinder isn’t necessarily the hardest thing in the world, but like doing brake calipers you need attention to detail and a couple of simple tools.
This rebuild illustrates doing it on a fairly standard Nissin 5/8″ (15.875 mm or really 16 mm) master cylinder which are fitted to a heap of Suzukis with twin 4-piston caliper front brakes (and even some sliding caliper twin piston brakes like the SV650s).
This is an axial master cylinder, but no huge complication other than access for radial master cylinders.
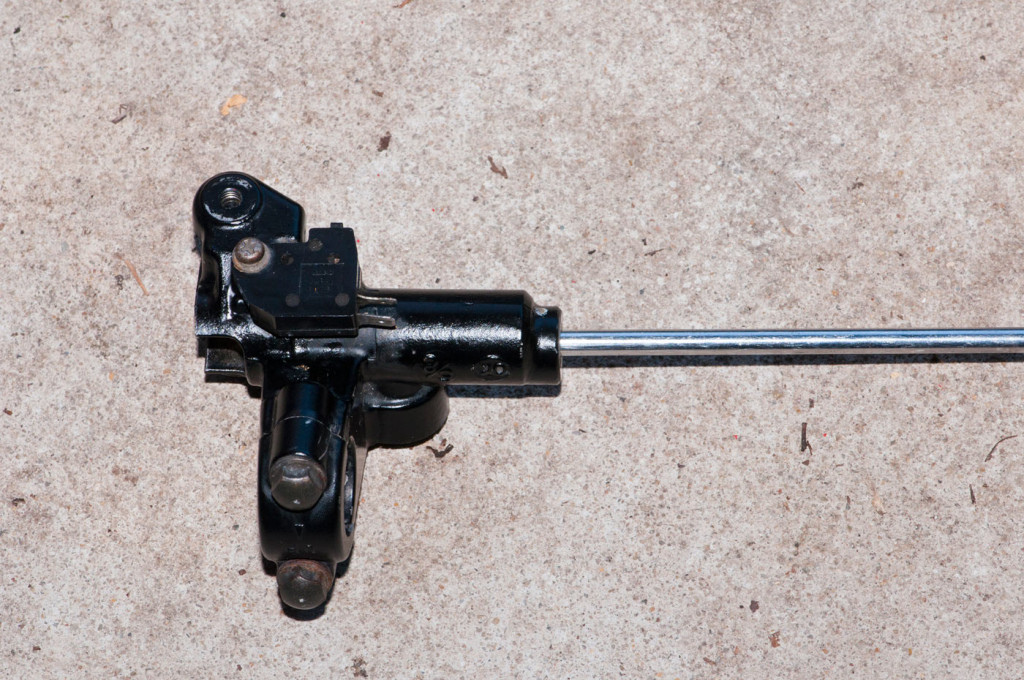
Let’s get straight to it. No wide shots, master cylinder is already off bike and the brake lever is off too.
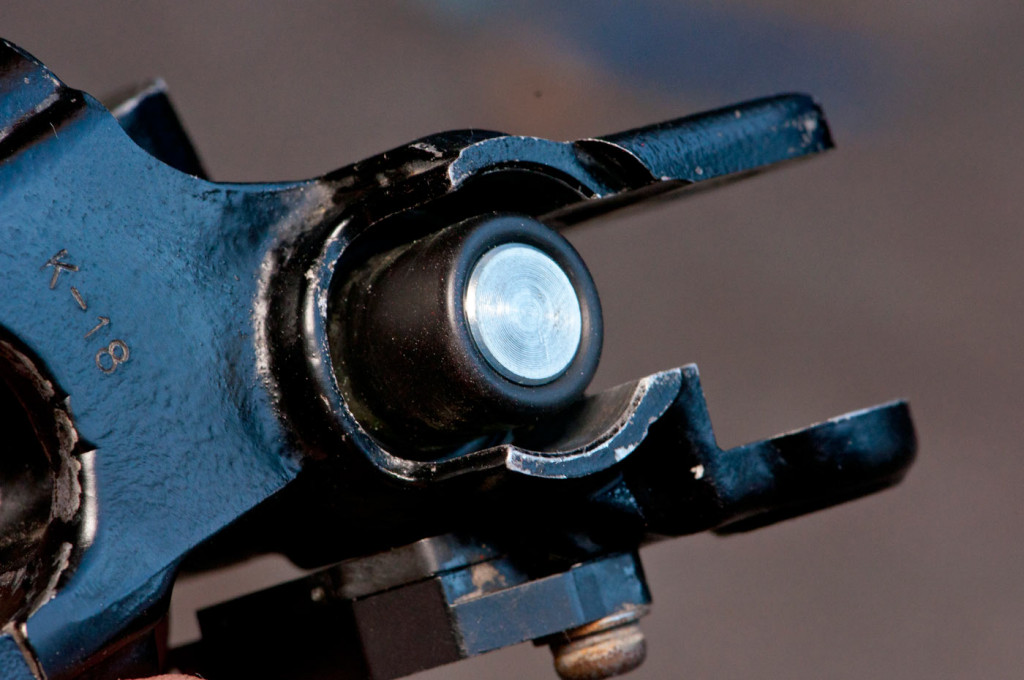
There should be a dust seal here but it’s all fallen apart. Oh well, no drama. Normally they just prise up with a small screwdriver or similar. This exposes the circlip that you need to undo.
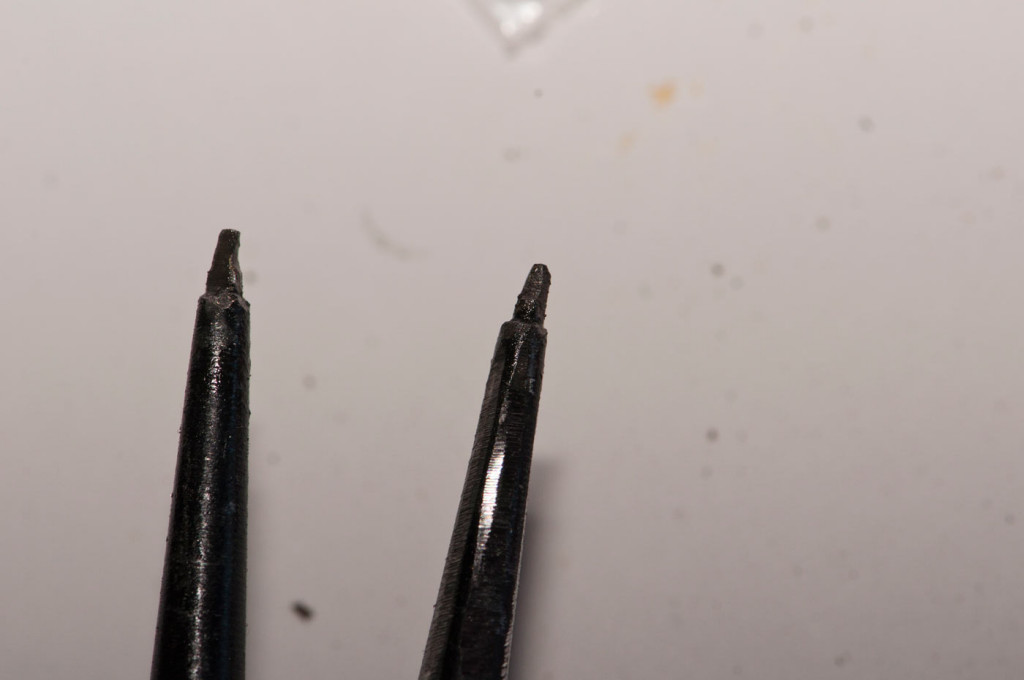
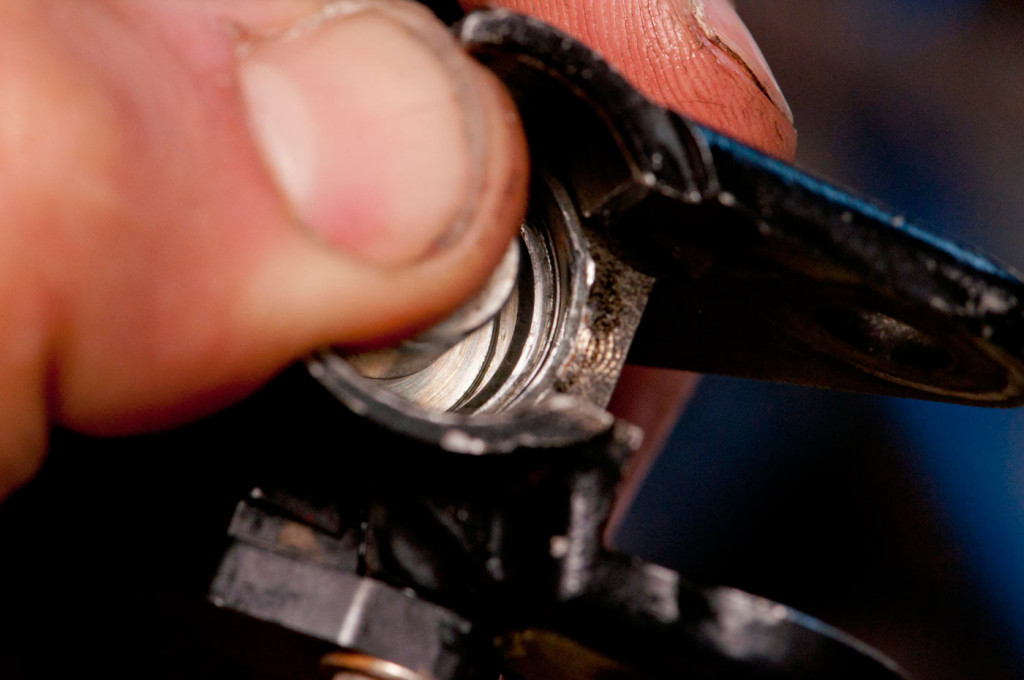
Getting in there requires fairly thin circlip pliers. This is something to bear in mind – often times, the cheap or standard ones won’t get in there. Don’t go pulling your brakes all apart until you verify you’ve got the right sized tool! Hard to see in this picture but I ground my circlip pliers down so they fit in nicely.
Lightly press down on the piston and then use the circlip pliers to undo the circlip. Pressing down helps relieve some of the pressure from the return spring which acts to force the piston against the circlip. Circlip done and the piston basically comes out.
Now we can see down the bore and see the plunger. This has to come out too.
Getting the plunger out is just a case of pushing from the back side. Long screwdrivers are good for this, but be careful not to scratch or damage the bore of the master cylinder.
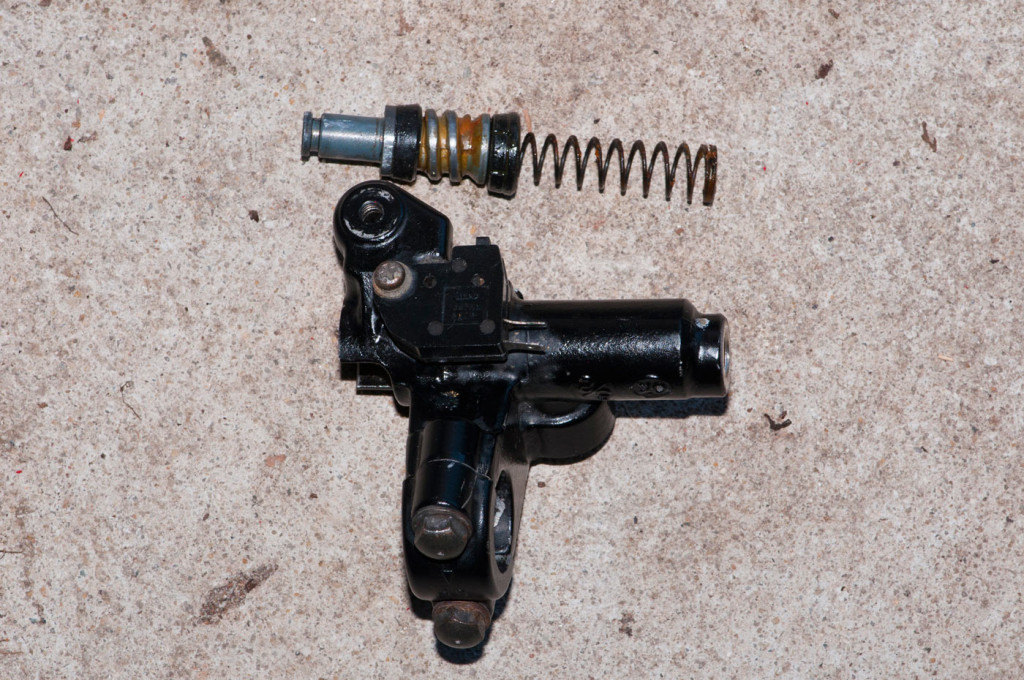
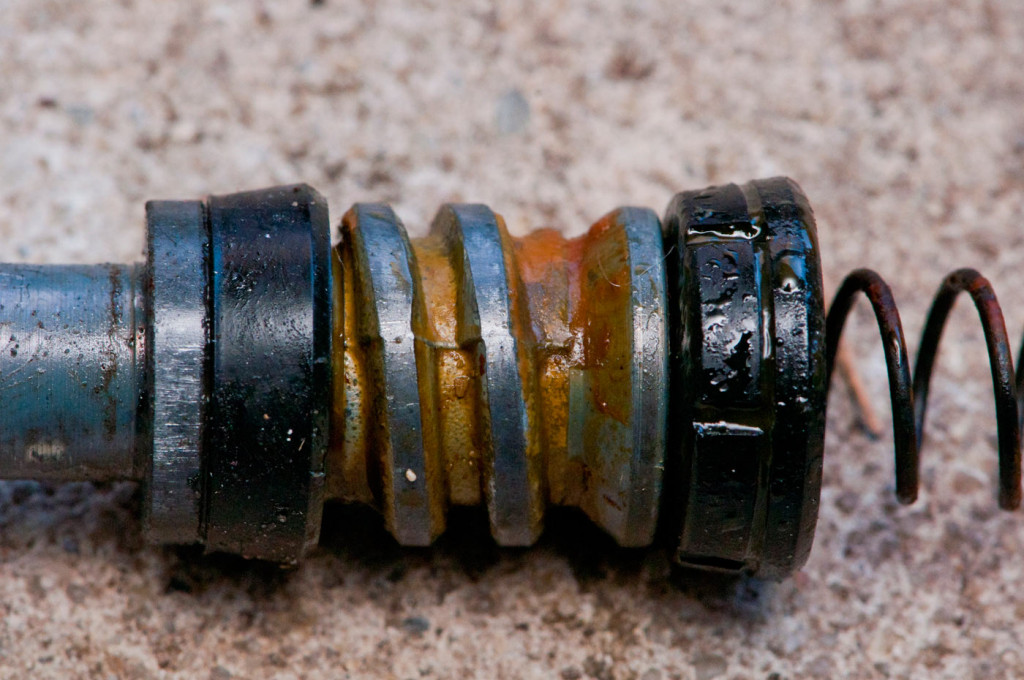
Bam, it all pops out. I like to lay everything out so I can see the order it all goes back into the master cylinder.
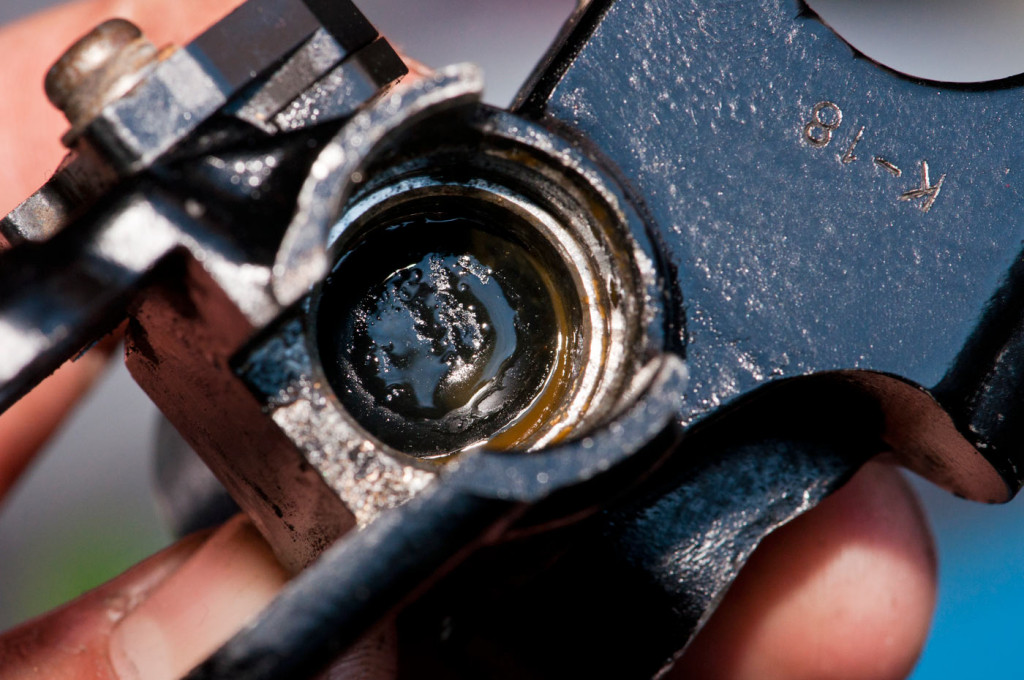
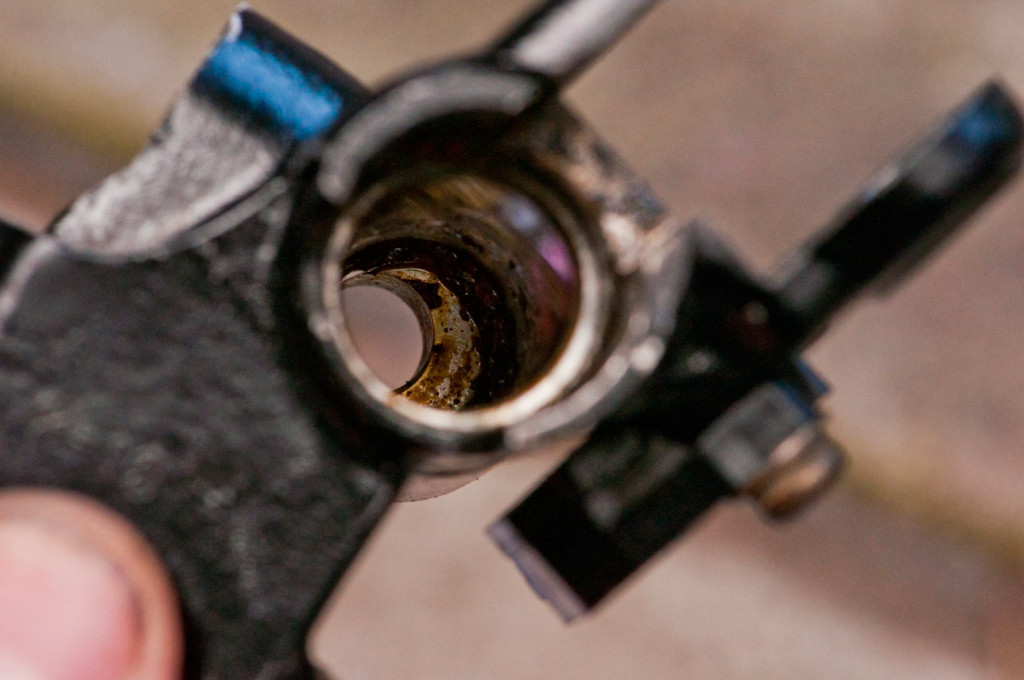
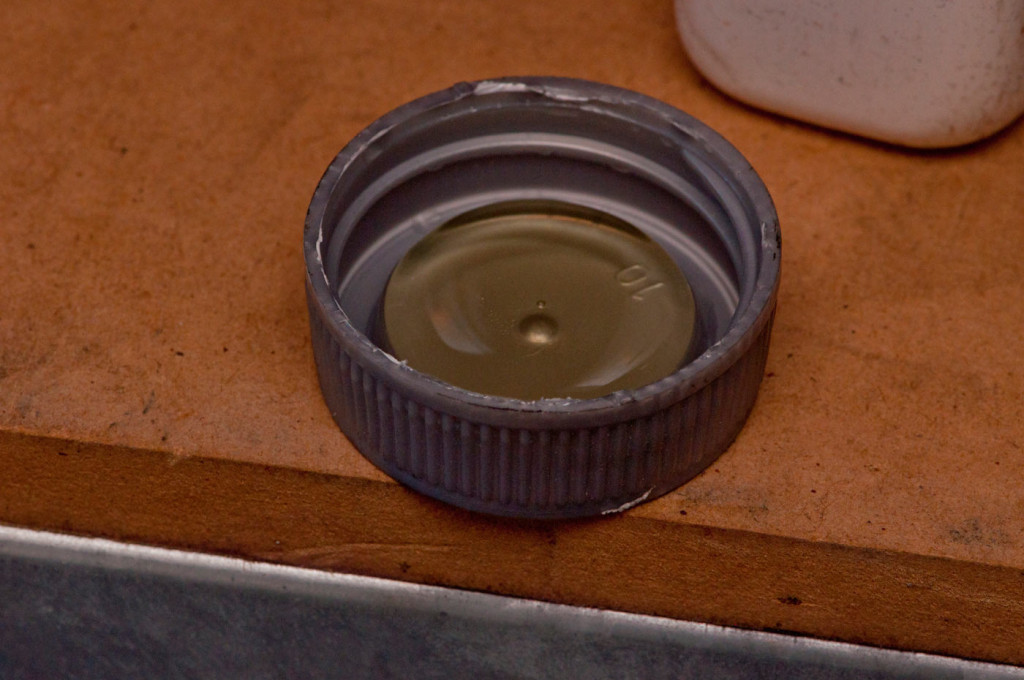
This next picture is a great advertisement for changing your brake fluid regularly. Look at the filthy, filthy jelly! Flush out that brake fluid every couple of years and you’re sorted.
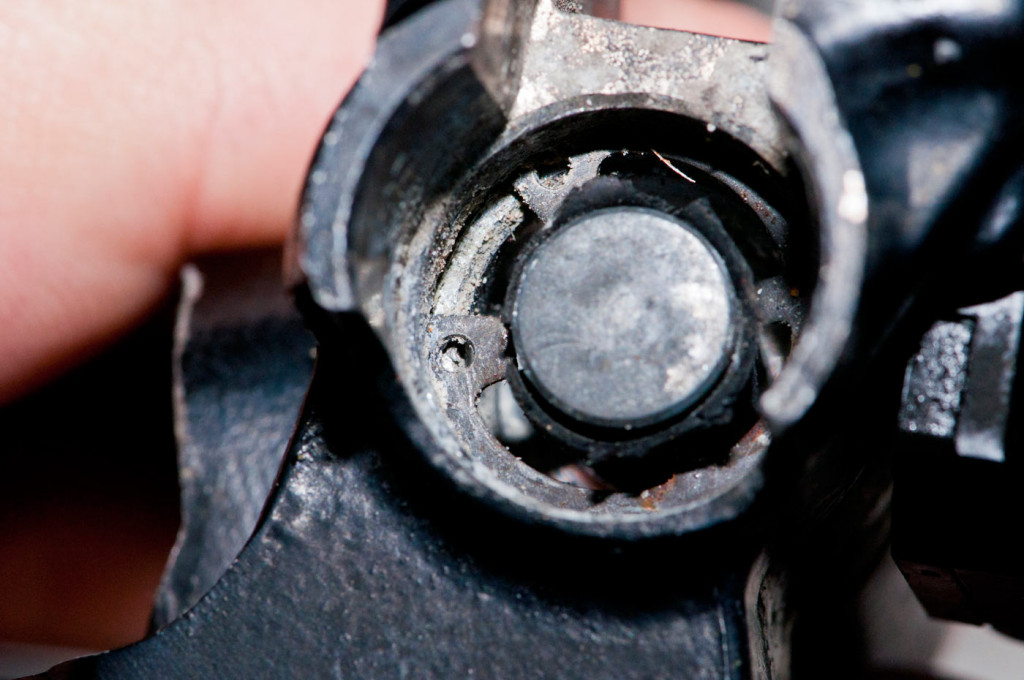
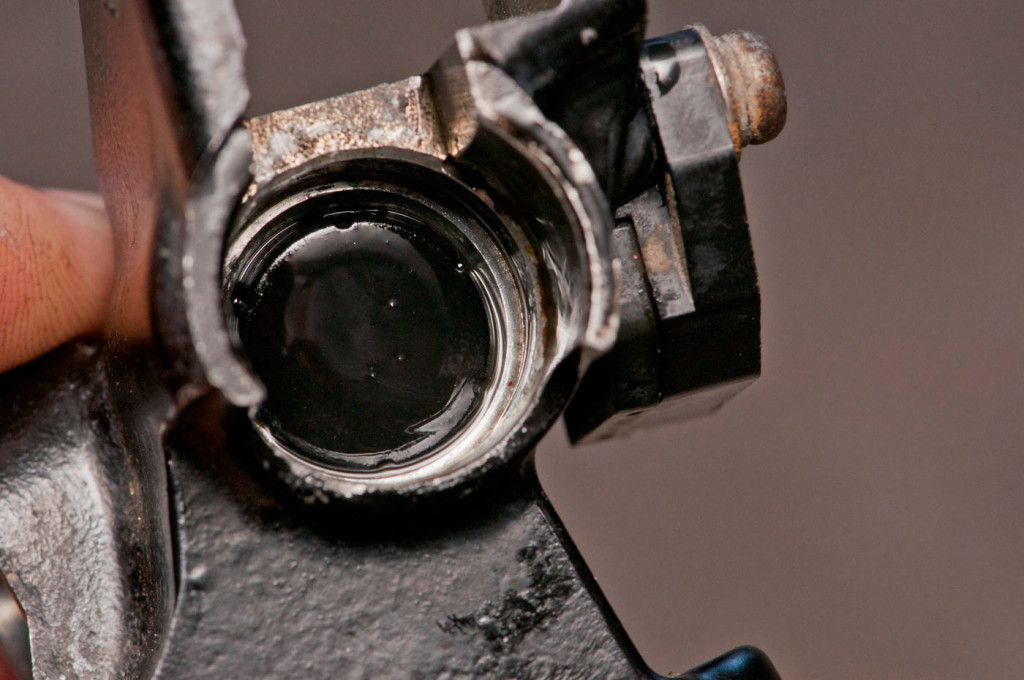
The inside is equally filthy:
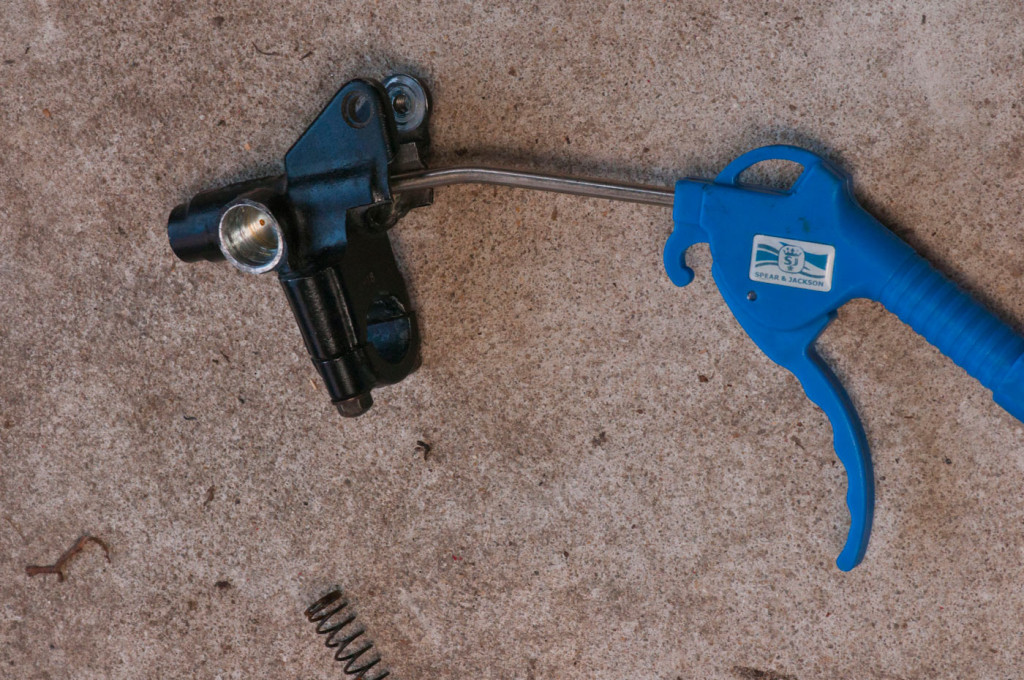
I like to make sure I thoroughly clean it all. I use a shaved down toothbrush to get inside, and plenty of brake cleaner followed up by some water and detergent. Works great. After that, compressed air and an air duster to dry it off.
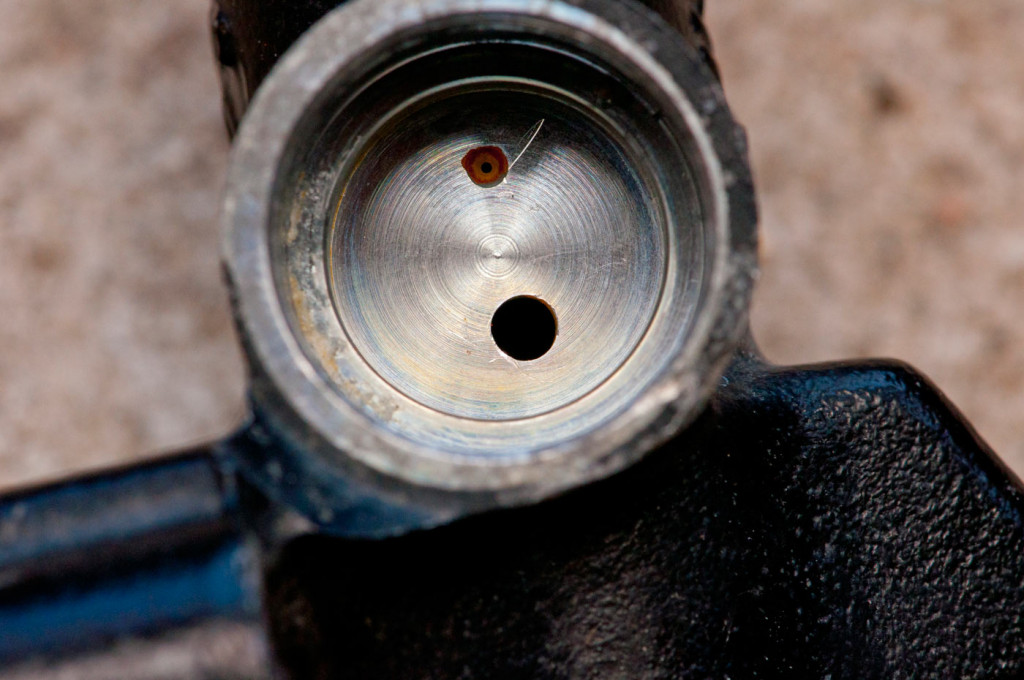
This next shot shows the area under the input pipe to the master cylinder. On these Suzuki master cylinders, a little rubber hat can be lifted up over the input pipe, exposing a circlip. Undo that, and you can pull out the input pipe and clean the fluid intake and also the much smaller return hole.
Fluid return hole is the smaller of the two holes in that pic. Make sure it isn’t blocked, it can cause calipers to seize on if it’s blocked. Scratch mark is cause I wasn’t careful enough undoing something, whoops. It still sealed but make sure you do as I say and don’t scratch things, rather than doing what I do.
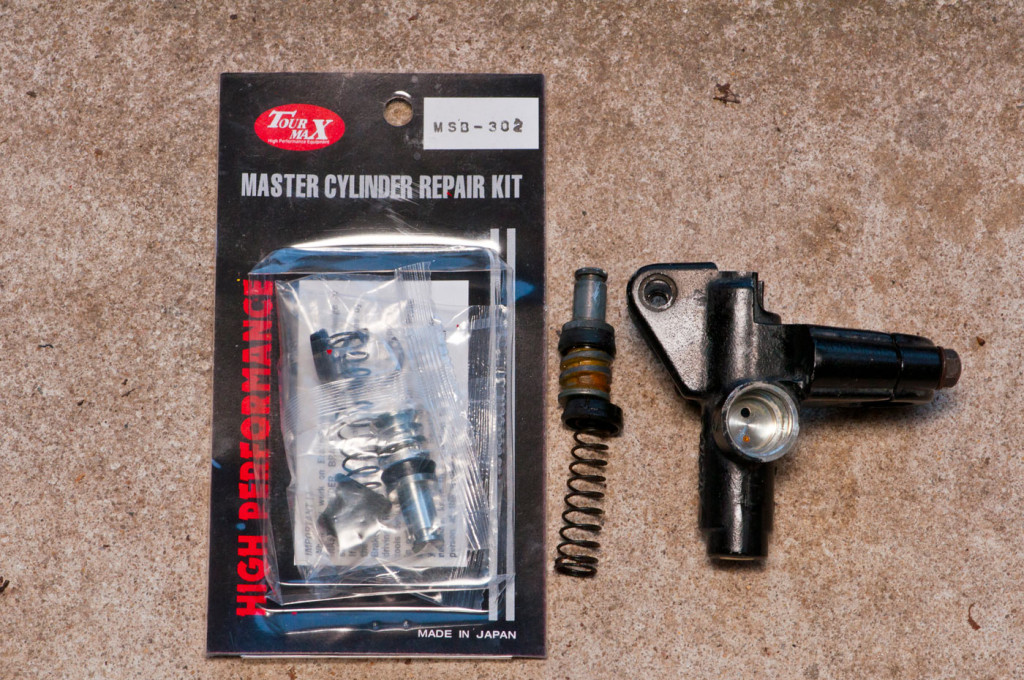
Rebuild kit is pretty simple. Suzuki will sell these but they cost a bomb and I’ve never had trouble with some of the more reputable sellers online with these kits. Tourmax make a lot of rebuild kits for master cylinders and also fuel taps.
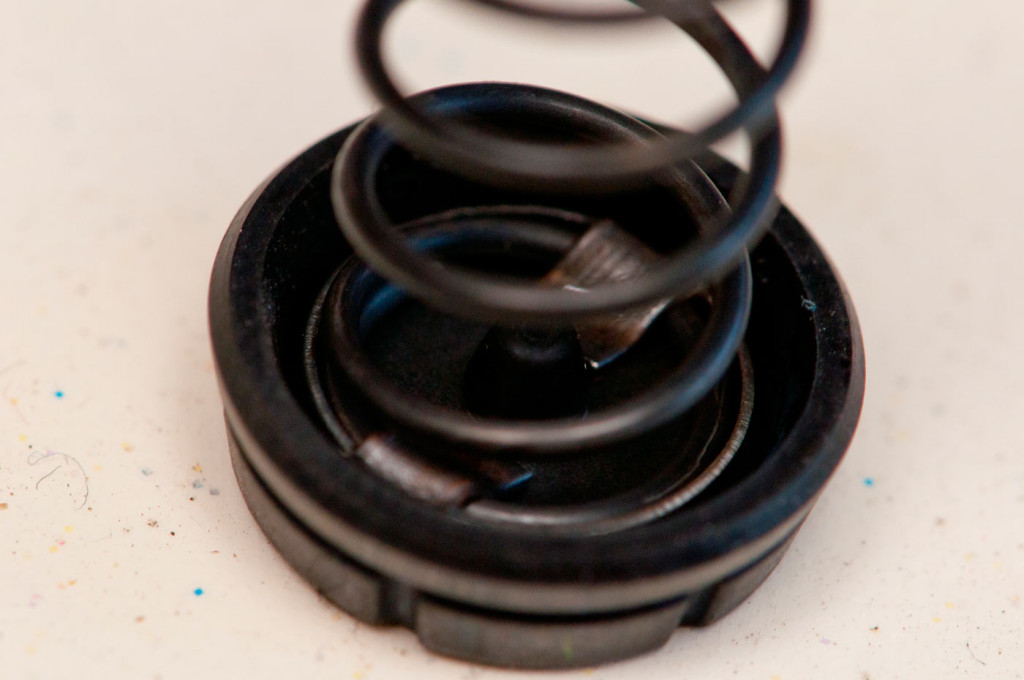
Some assembly is required. You have to put the 2nd seal on the return spring. There’s a little nipple that goes into a hole at the end of the spring.
Just like doing the calipers, lubricate everything using some brake fluid for reinstallation.
Push the plunger seal and return spring into the master cylinder first…
followed then by the piston, which you’ll have to hold against the return spring…
… reinstall the circlip (hard to photograph, I ran out of hands) and then the dust seal. Job done!
Too easy!

