
Changing side indicators to LEDs
This one is a super simple change, but I’ve seen enough people asking about it that it was worth documenting.
Unlike changing front or rear indicators, these shouldn’t require a load resistor to stop fast flashing. It’s basically a pop in/pop out change as the wiring connector should be built into the side indicators you buy.
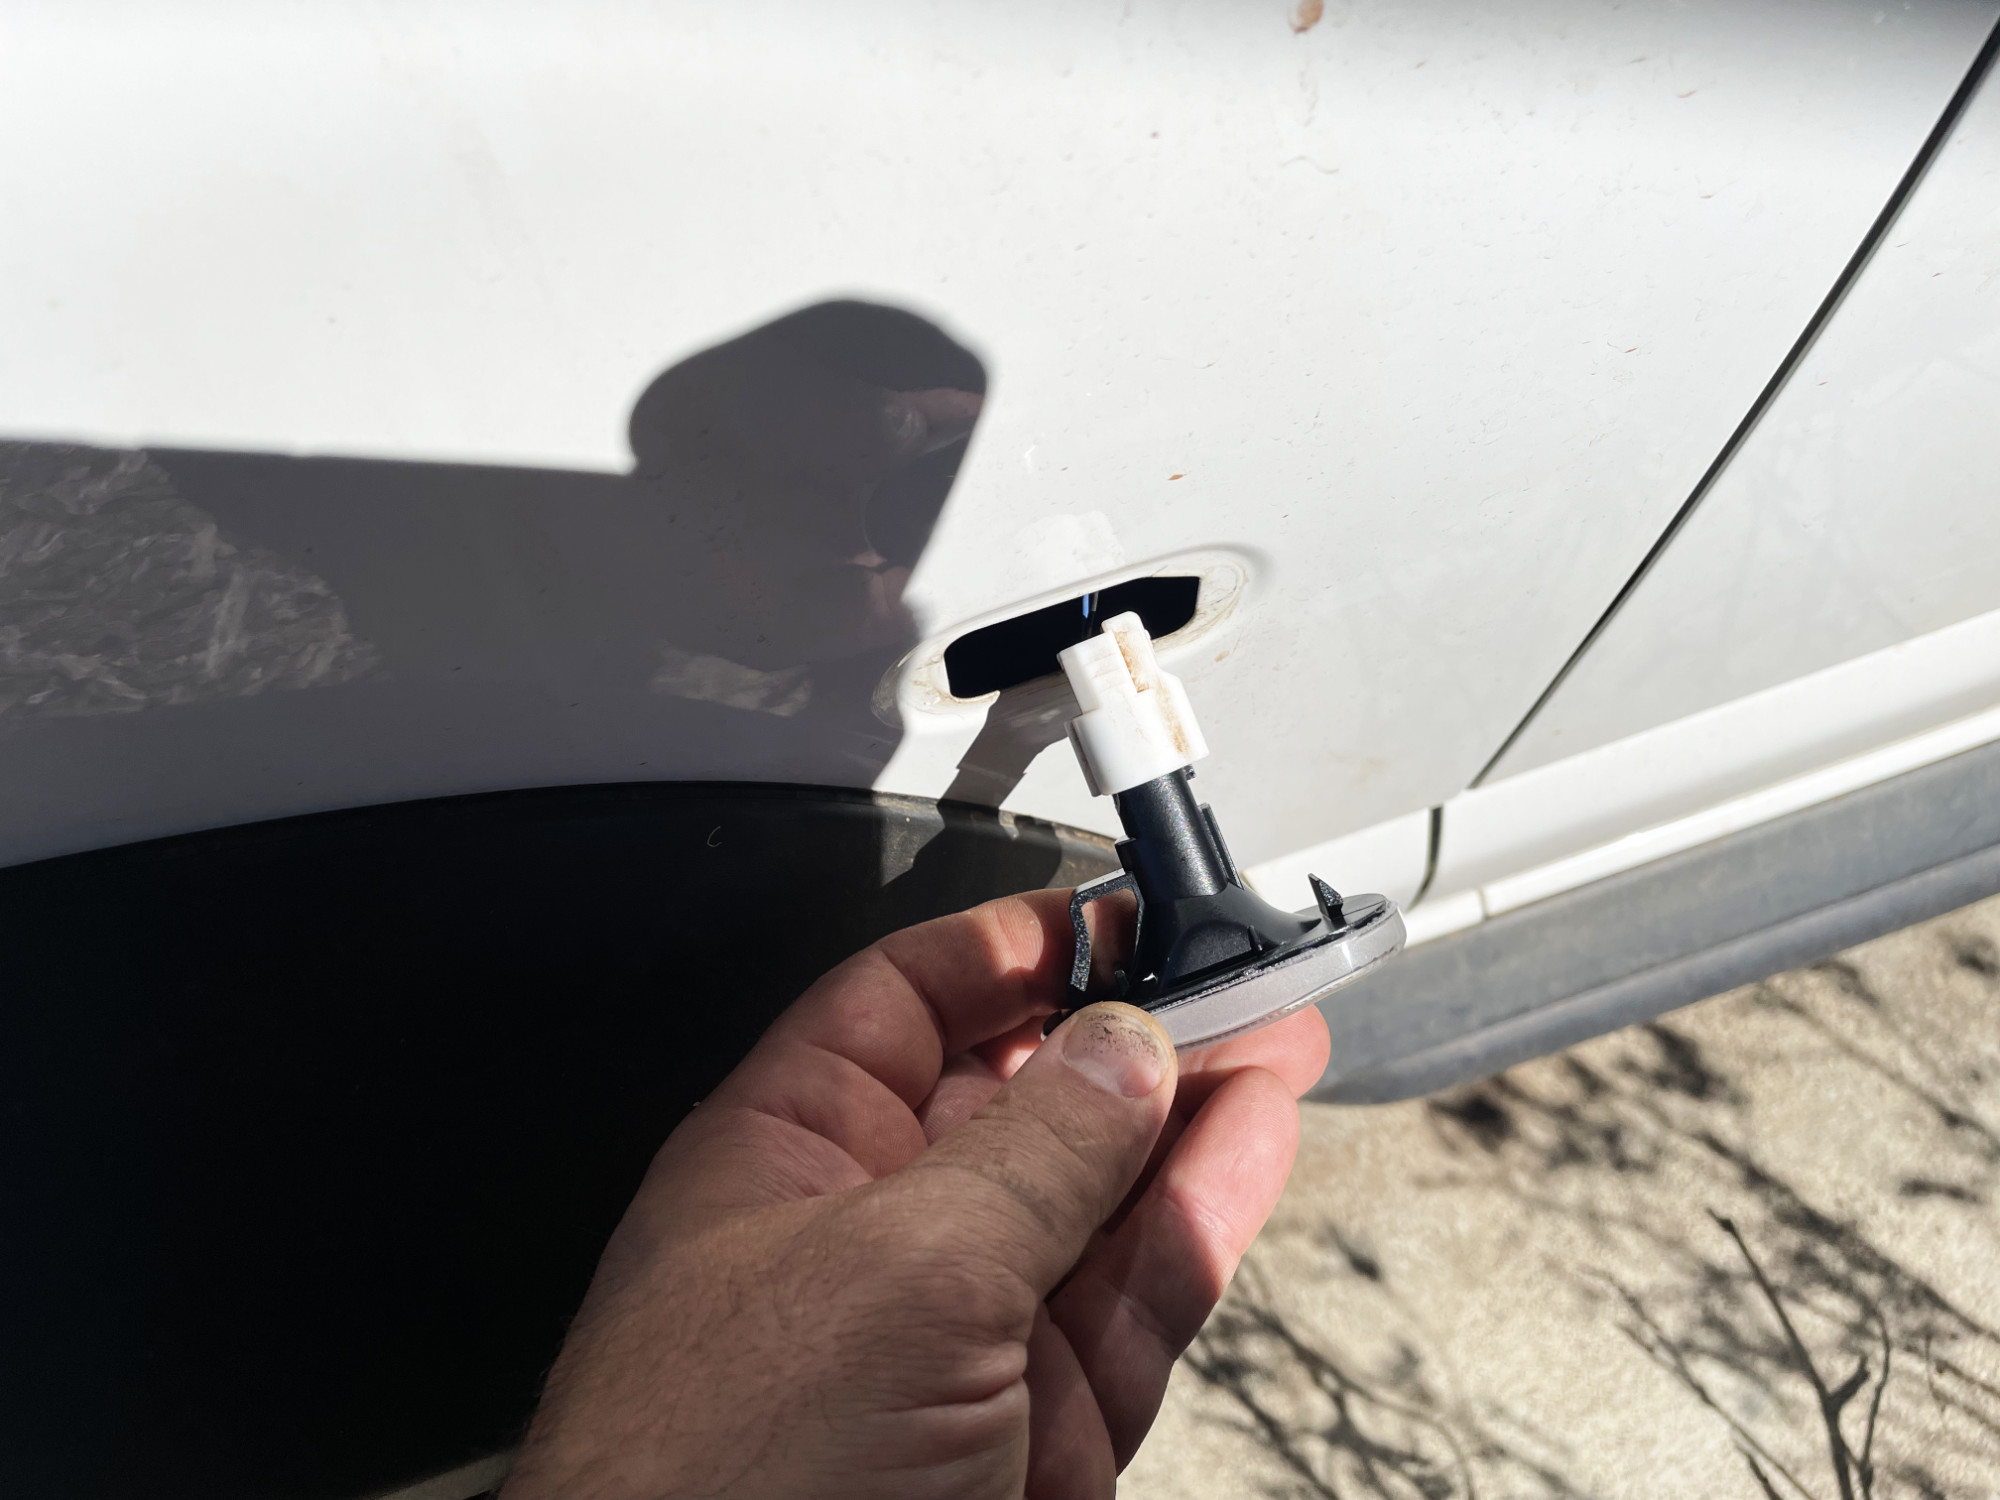
Using a trim removal tool (to avoid scratching paint) you lever the old one out; not a heap of force required for this.

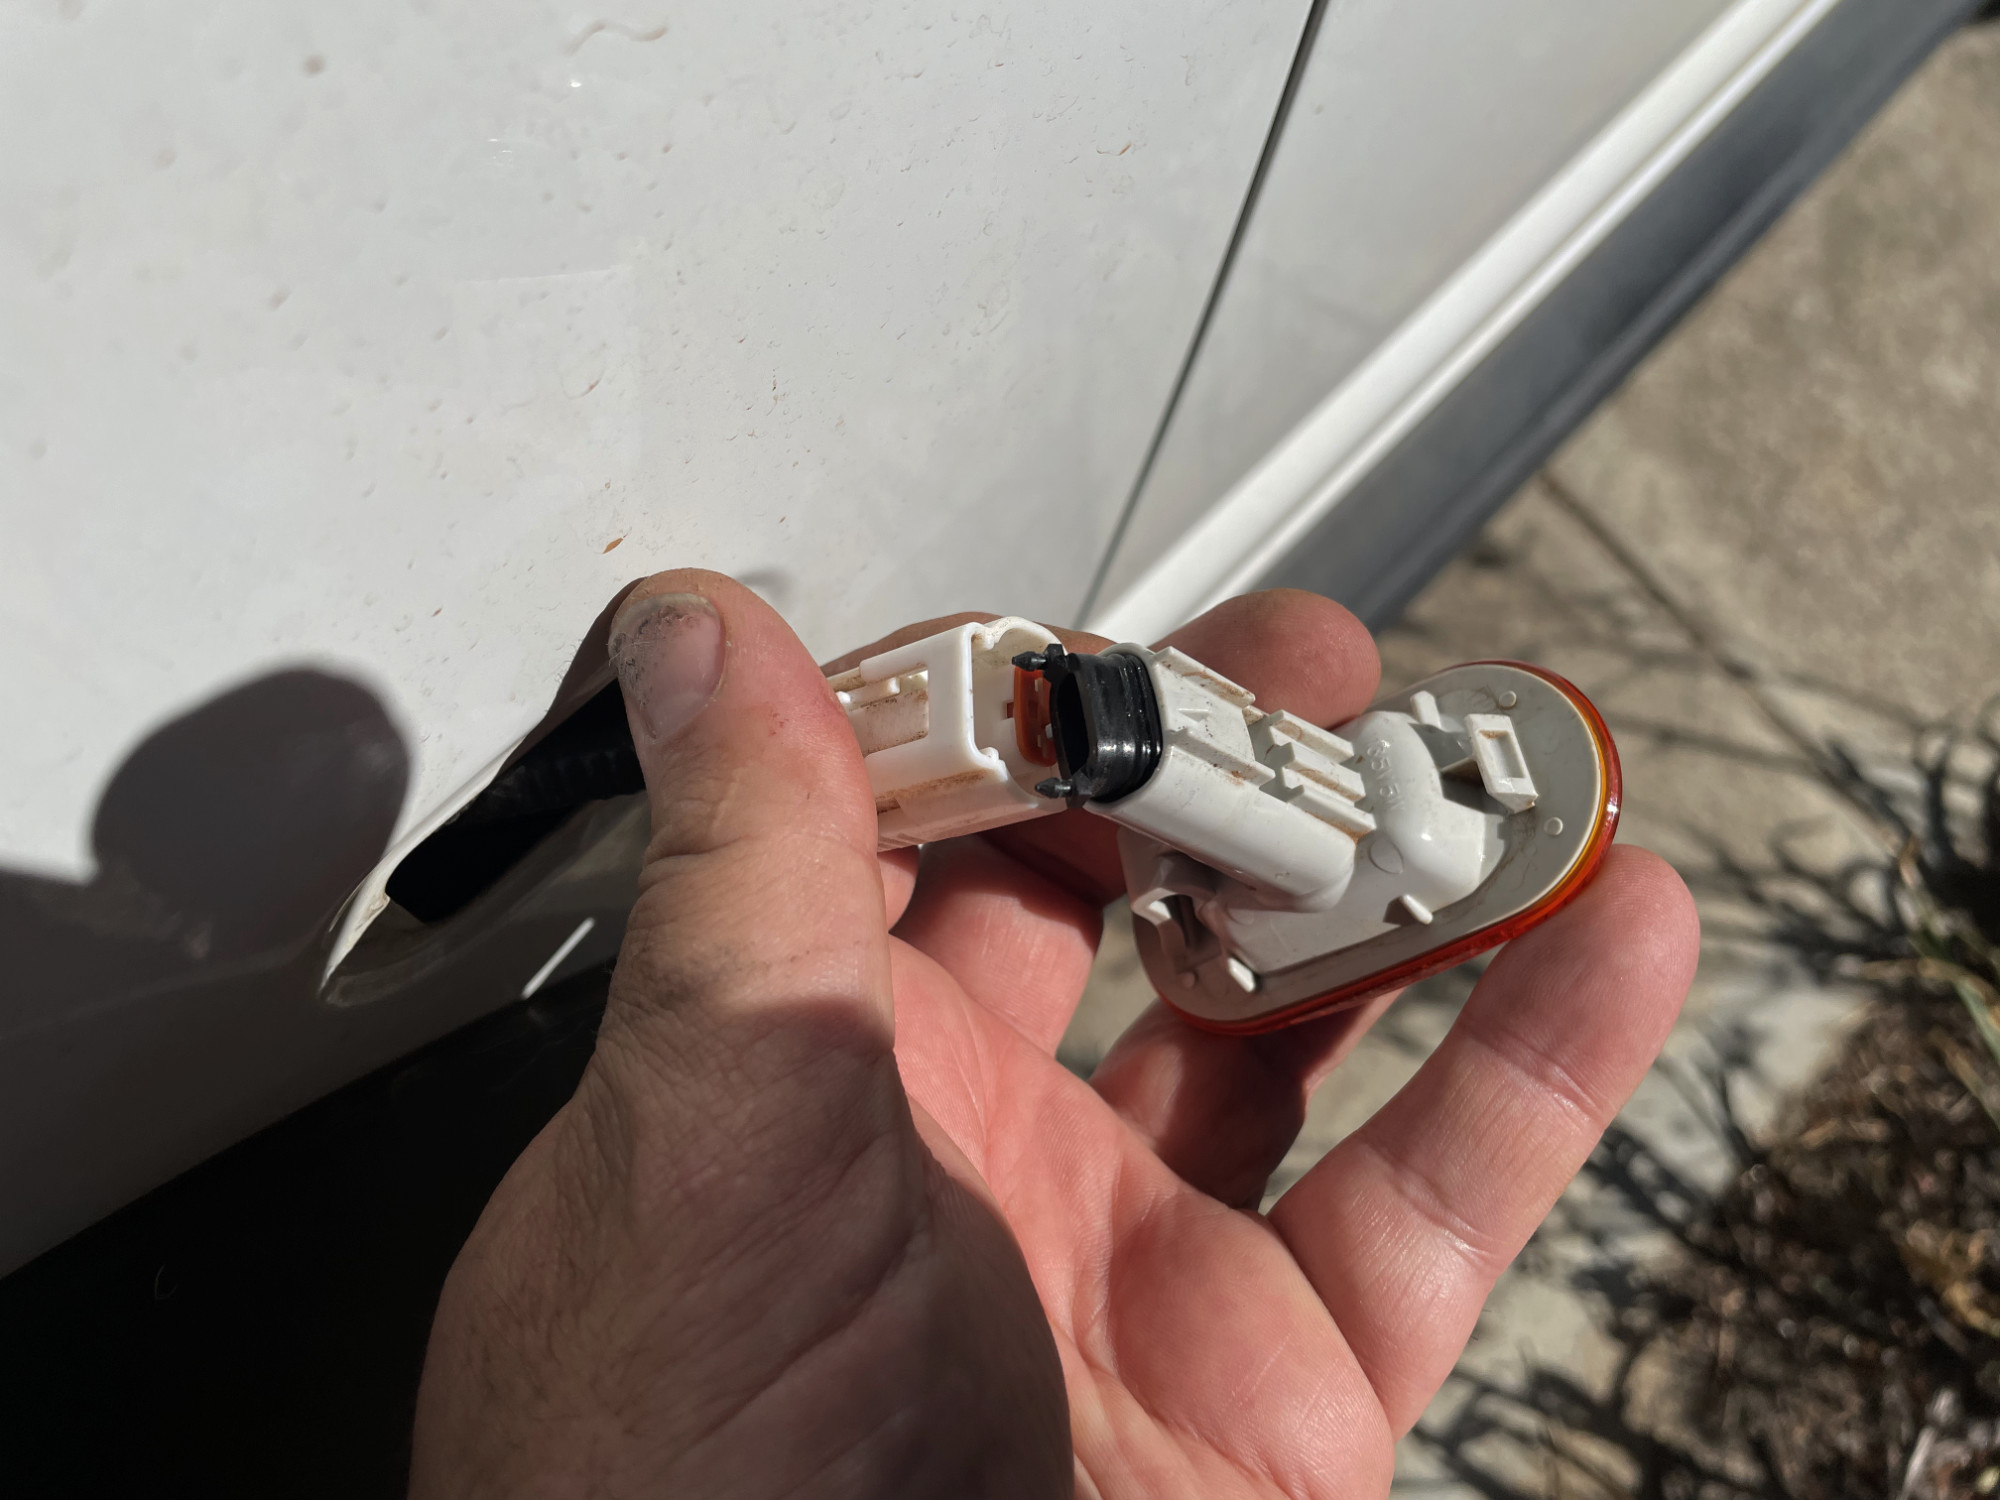
You press the tab on the back of the connector while also pulling back on the connector. Sometimes these can be a bit stuck with mud and dust and the easiest way to get it to release is push the connector onto the indicator more and then press the tab, then pull it backwards. If you pull backwards first you are adding load to the connector that makes it harder to press.

There is a little additional weather seal as part of this style of connector, and sometimes it becomes disengaged from the connector on the wiring loom as you pull it out. Remove it off the stock indicator and push it back into the connector on the car’s wiring.
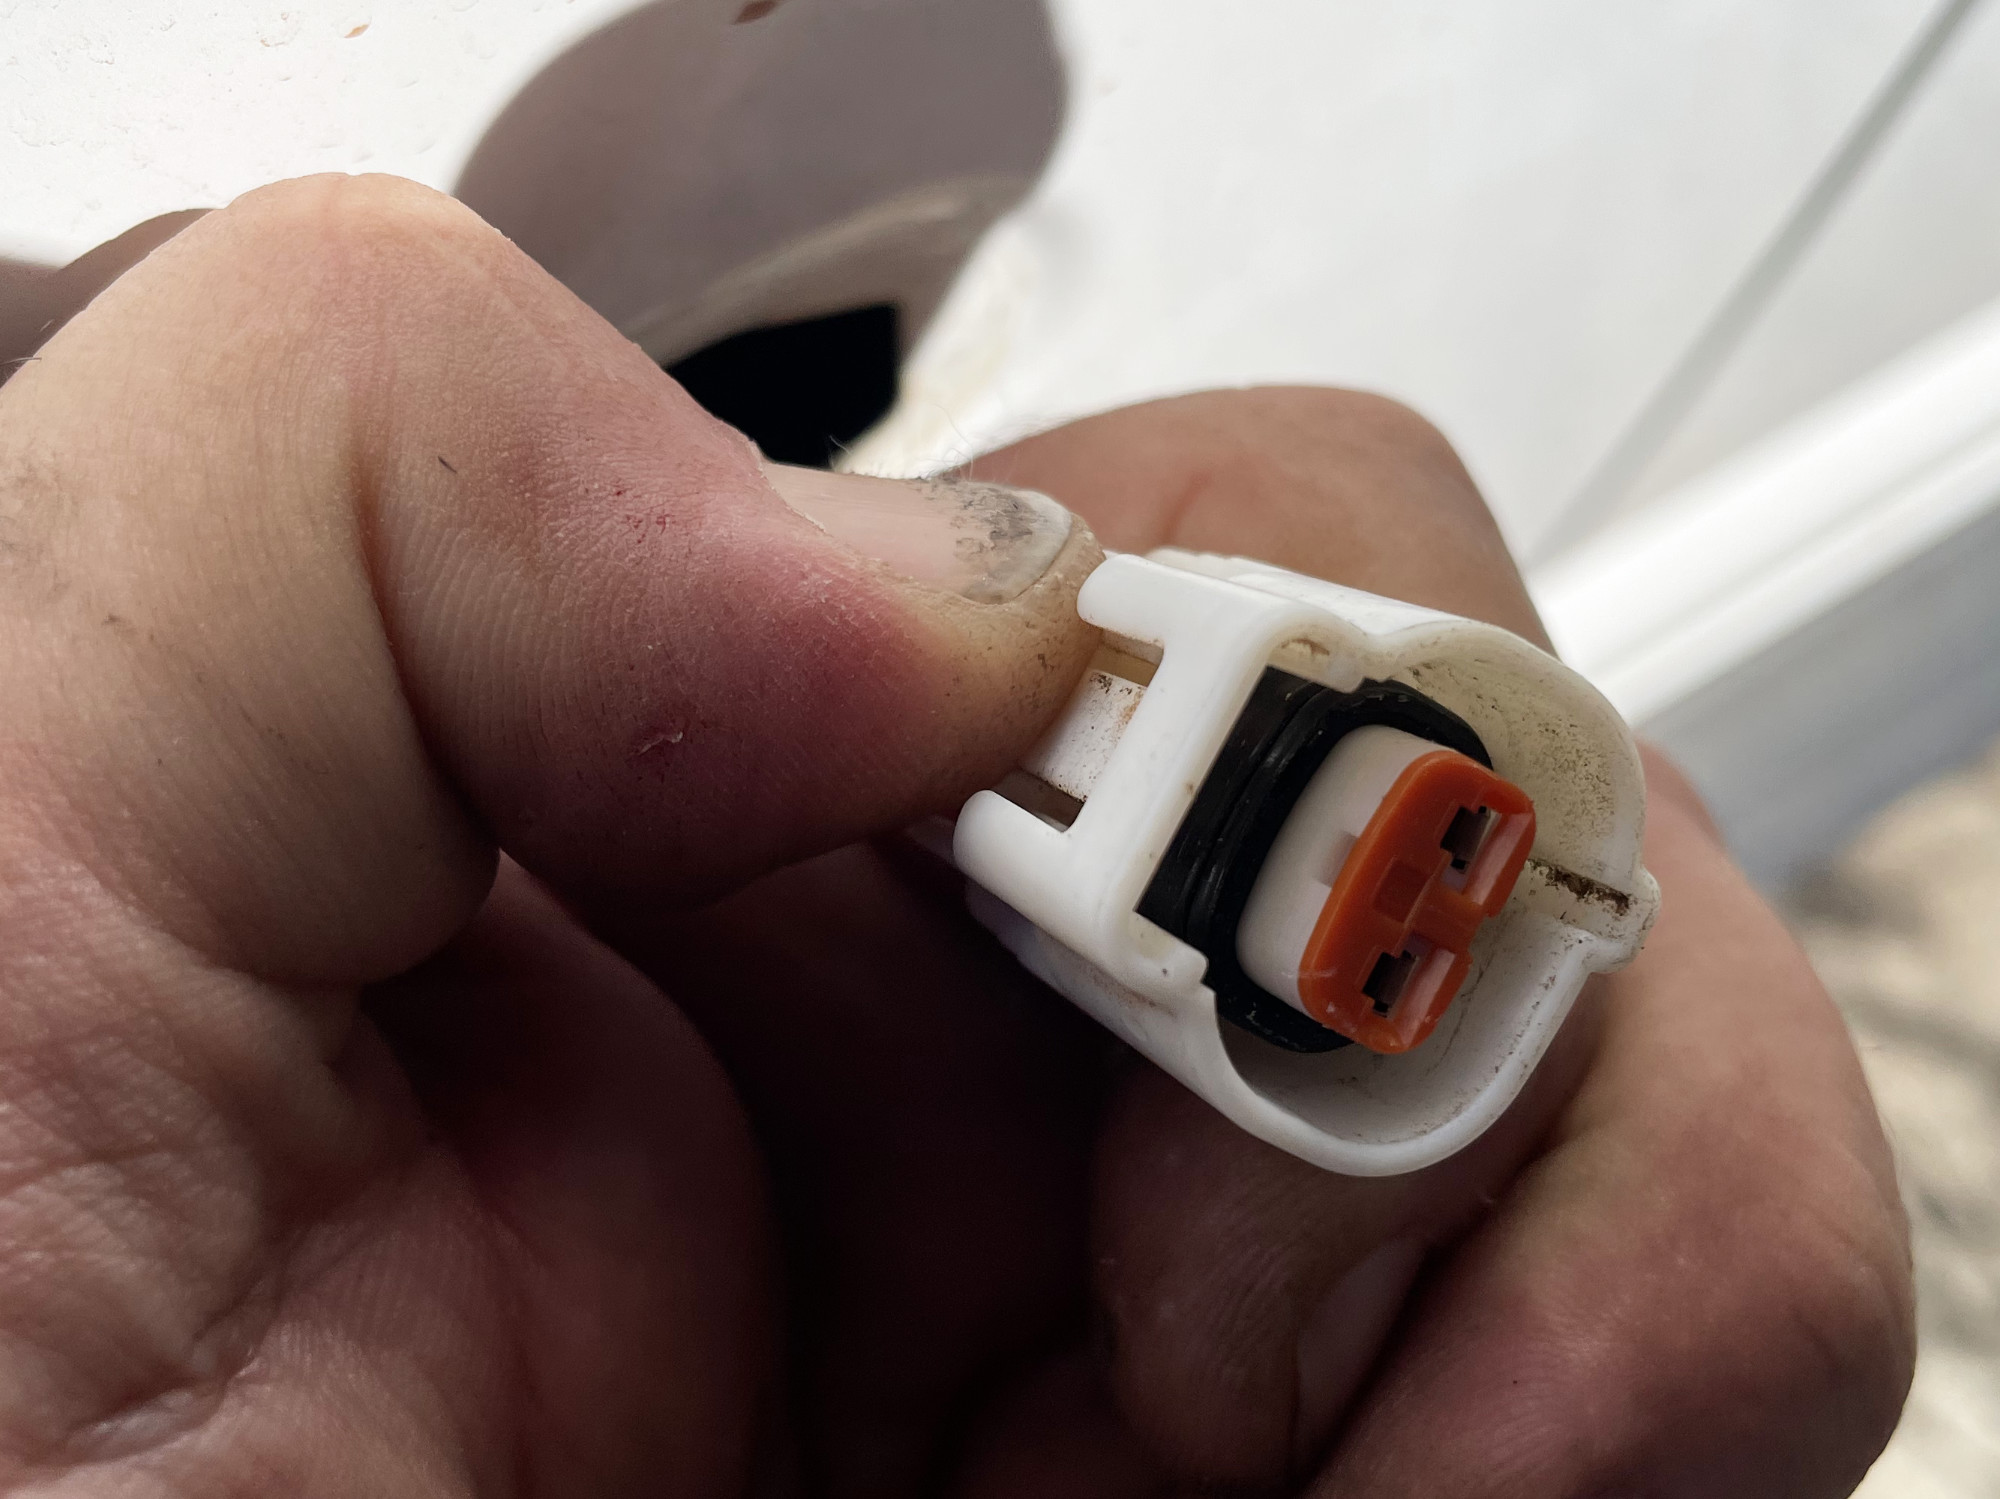
Once you push it back on then it should look like this inside the car’s connector.
Put the connector onto your new indicator and test that it works.
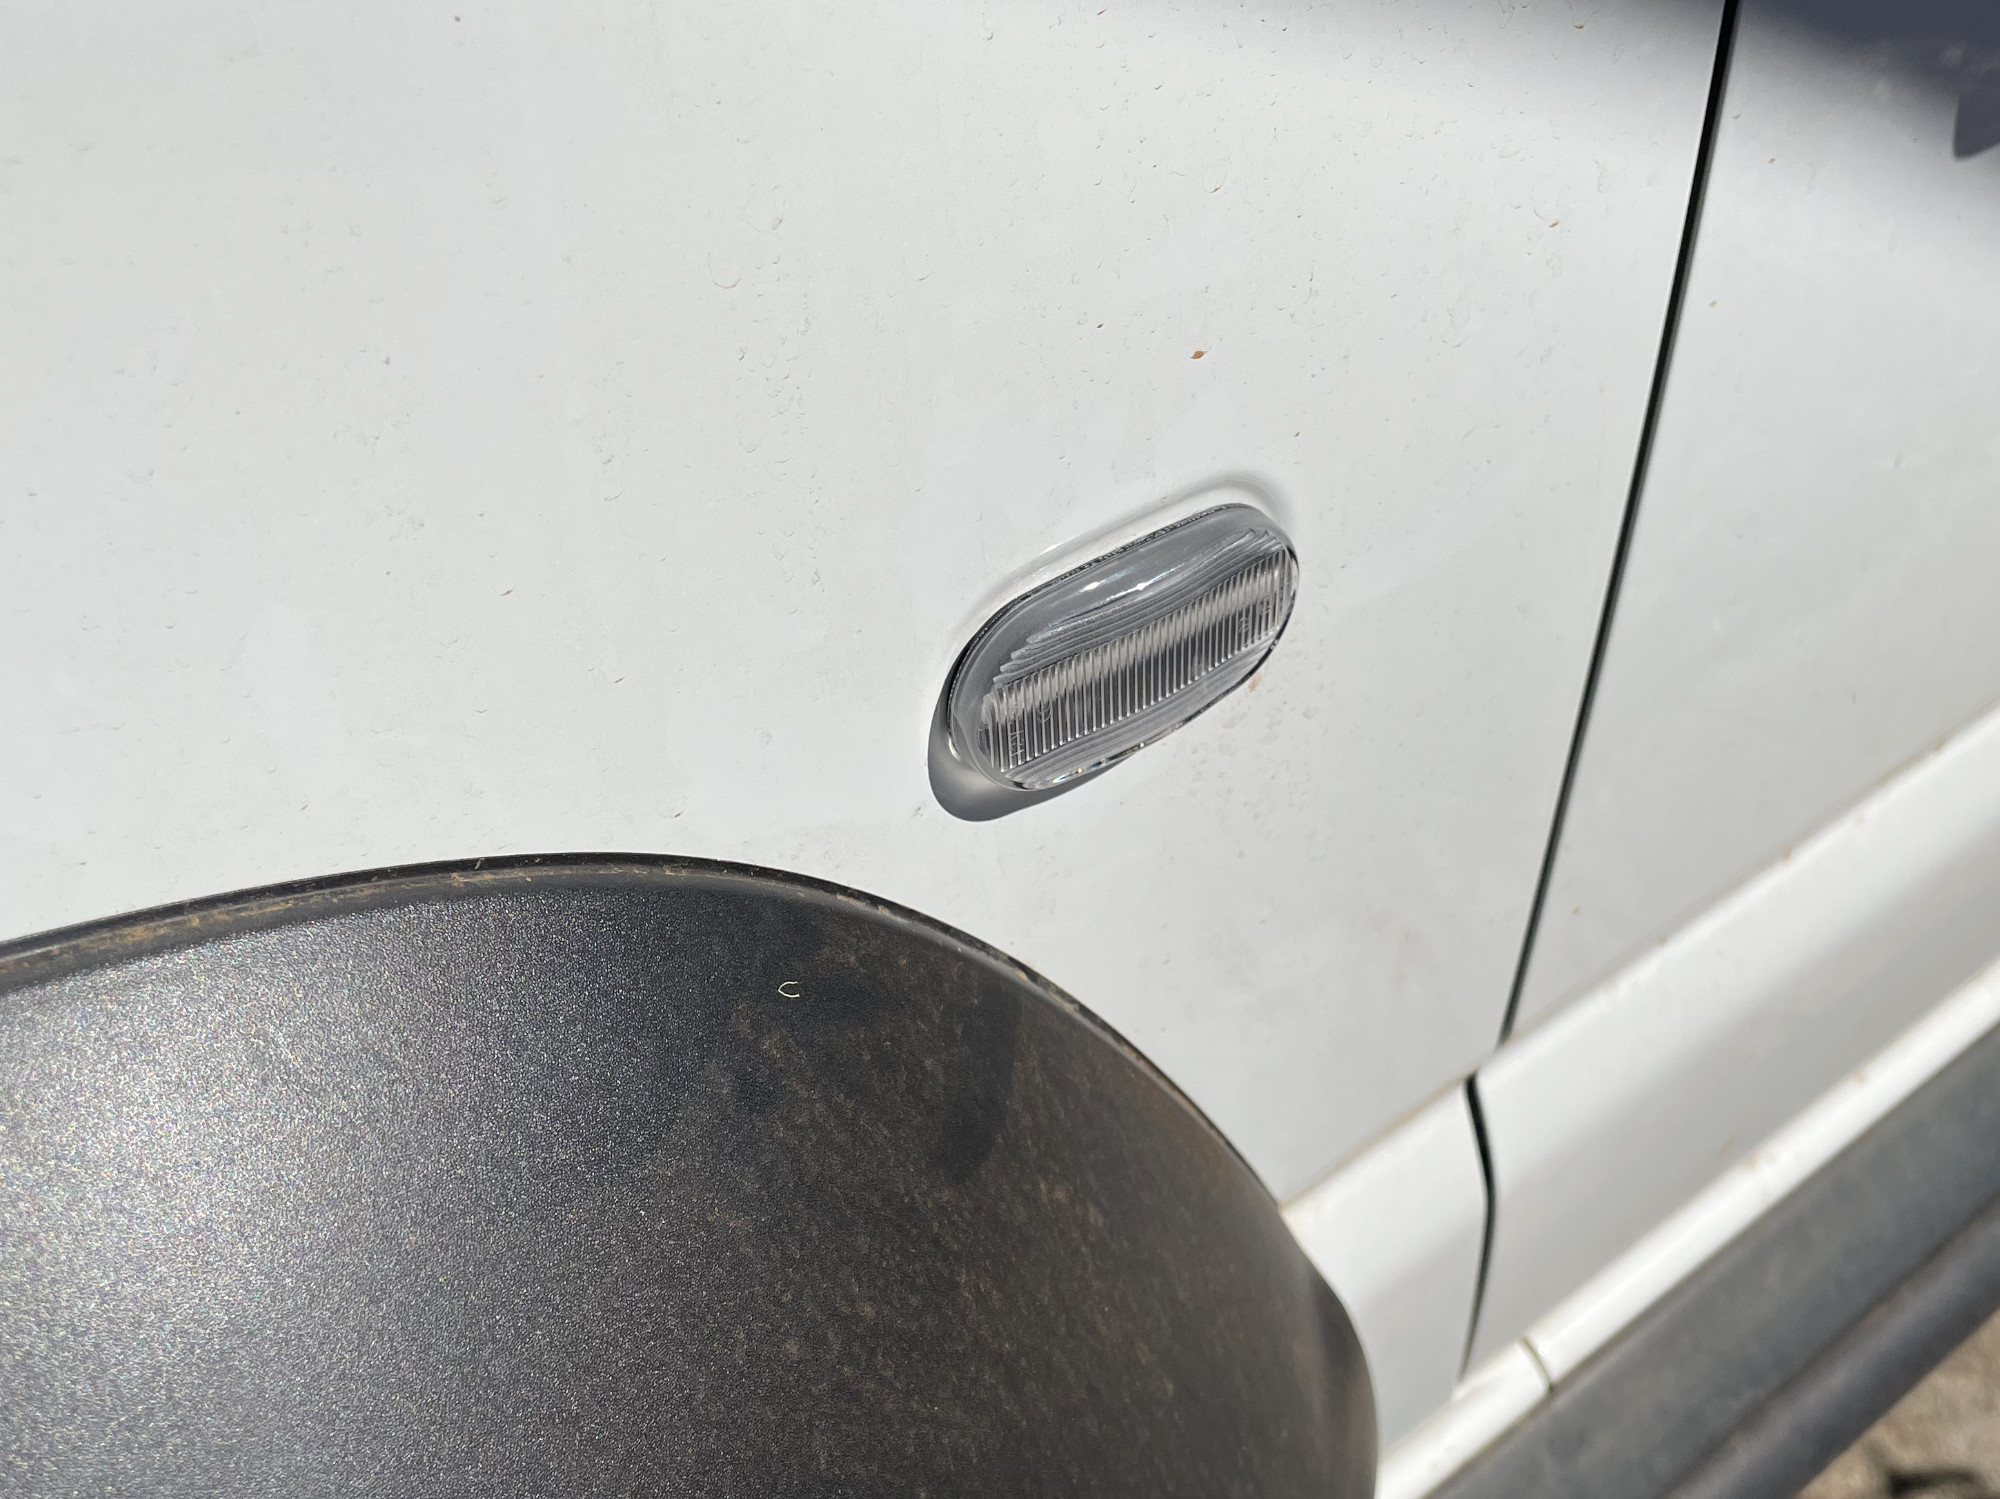
Once you’ve verified it is working then just press the indicator into the guard. It shouldn’t take a heap of force, especially if you put in one end’s tabs first and then just clip the other end in.
~ FIN ~
(Well, after you do the other side too I guess, but you can rock the mismatching ones if you want).