Jimny onboard diagnostics: OBD2 gauges, szviewer and the like
This is my growing spot for info on Jimny diagnostics using the OBD2 system. This section is dedicated to generic OBD2 scantools, specialised software like szviewer and also onboard gauges that are driven off the OBD2 port. I’m not someone that likes permanently mounted gauges that draw on the diagnostics port but enough people ask that it’s useful for documenting.
Diagnostic codes for the gen4 Jimnys became a significantly large database and so live on their own.
Sections
Diagnostic port wiring/protocol details
szviewer: the onboard diagnostics swiss army knife for Suzukis
Generic OBD2 gauges and/or scantools
Diagnostic port wiring/protocol details
This is mostly to capture information sporadically available. Suzuki themselves say it adheres to SAE J1962 for pinout and adheres to ISO 15675-4 for the comms.
Part of the weirdness here is the pin #s on the factory wiring do not correlate correctly with the pinouts required for the port for international standards, but, given that my car definitely shows it matches international standards and works with various OBD2 readers I have corrected the wiring to match.

Note no pins for J1850 connections or K-line it seems. I will check this against my car at some point but it correlates with only supporting ISO 15675-4. The wiring colours I have added are as per the Jimny wiring colours, with white CAN low and blue CAN high from the central gateway. Both ECU and car ground are black but do come from different parts of the wiring, and battery +ve is grey and is supplied from the dome light (of all places).
szviewer: the onboard diagnostics swiss army knife for Suzukis
Big plug here for the great free software szviewer. This runs on everything but iOS devices and it gives you access to a bunch of proprietary comms. I’m a big fan of it, and encourage you to give it a try. It does require an ELM327 compatible OBD2 adapter, however, quite a lot seem to work. I use a bluetooth one and run it on my laptop. It likely looks a bit different on a phone but without an android device I can’t illustrate it.
Connecting is pretty easy, just need to select your appropriate device.
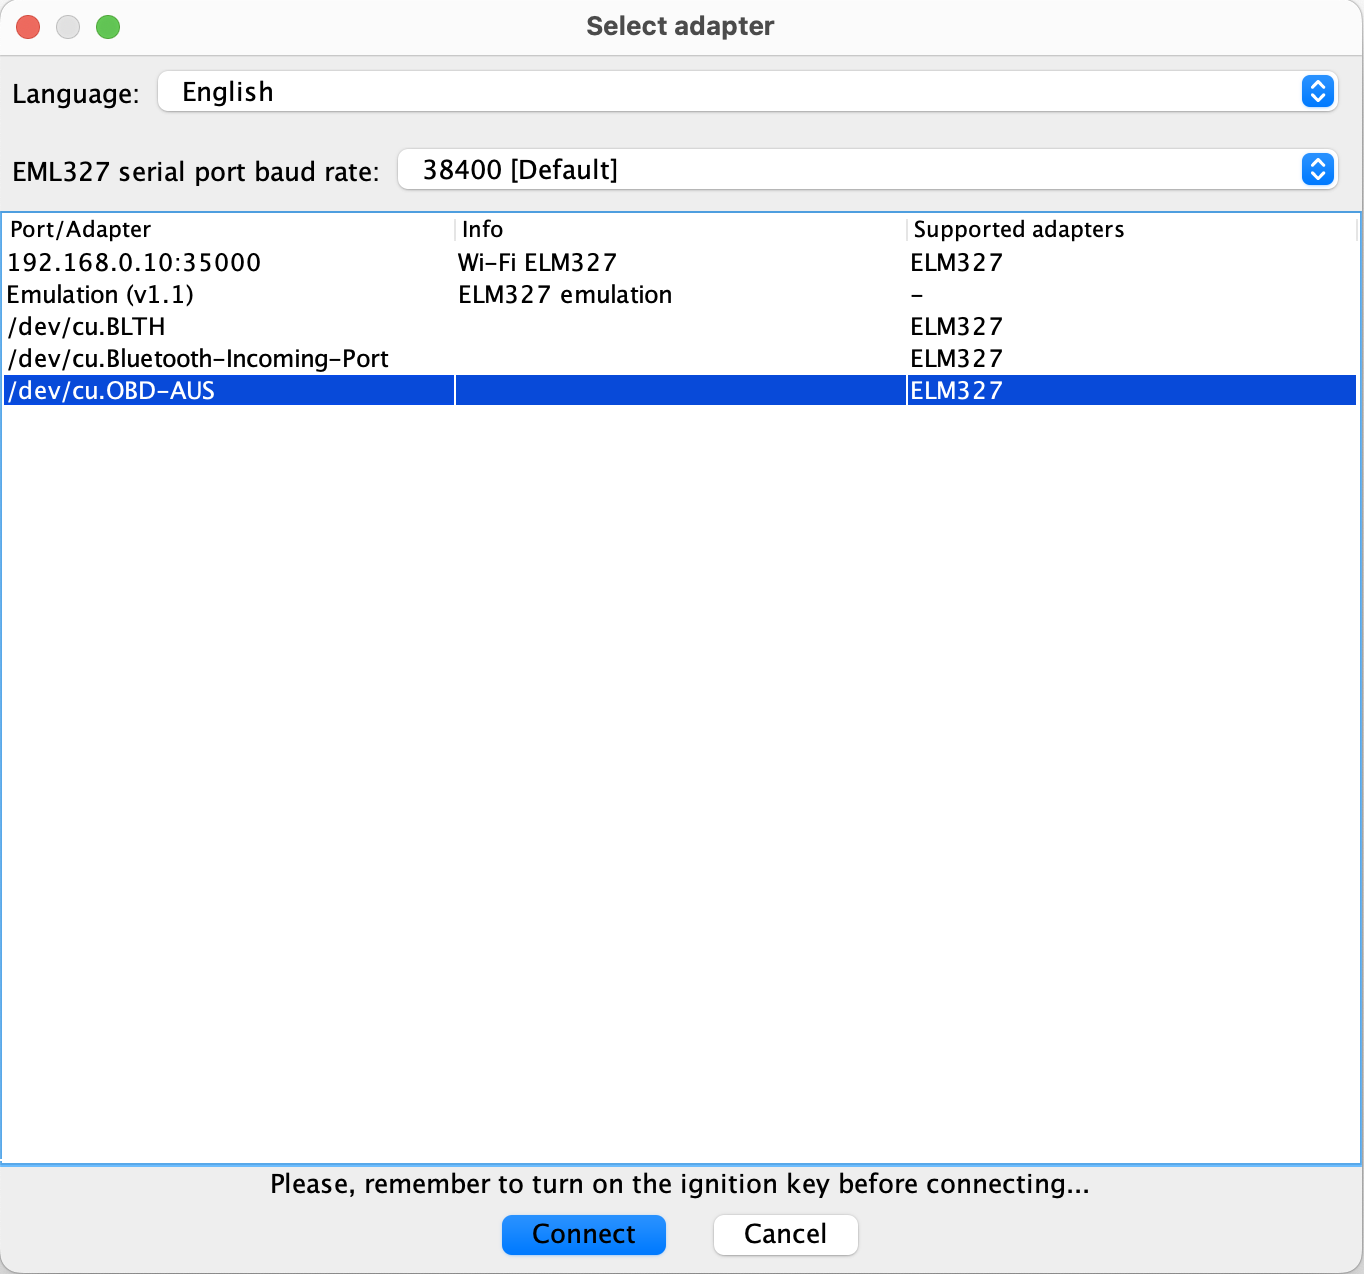
Definitely have the ignition on before connecting as the dialog says. With that szviewer will commence scanning for appropriate modules via the CAN. Here’s an example of ones found with my car.
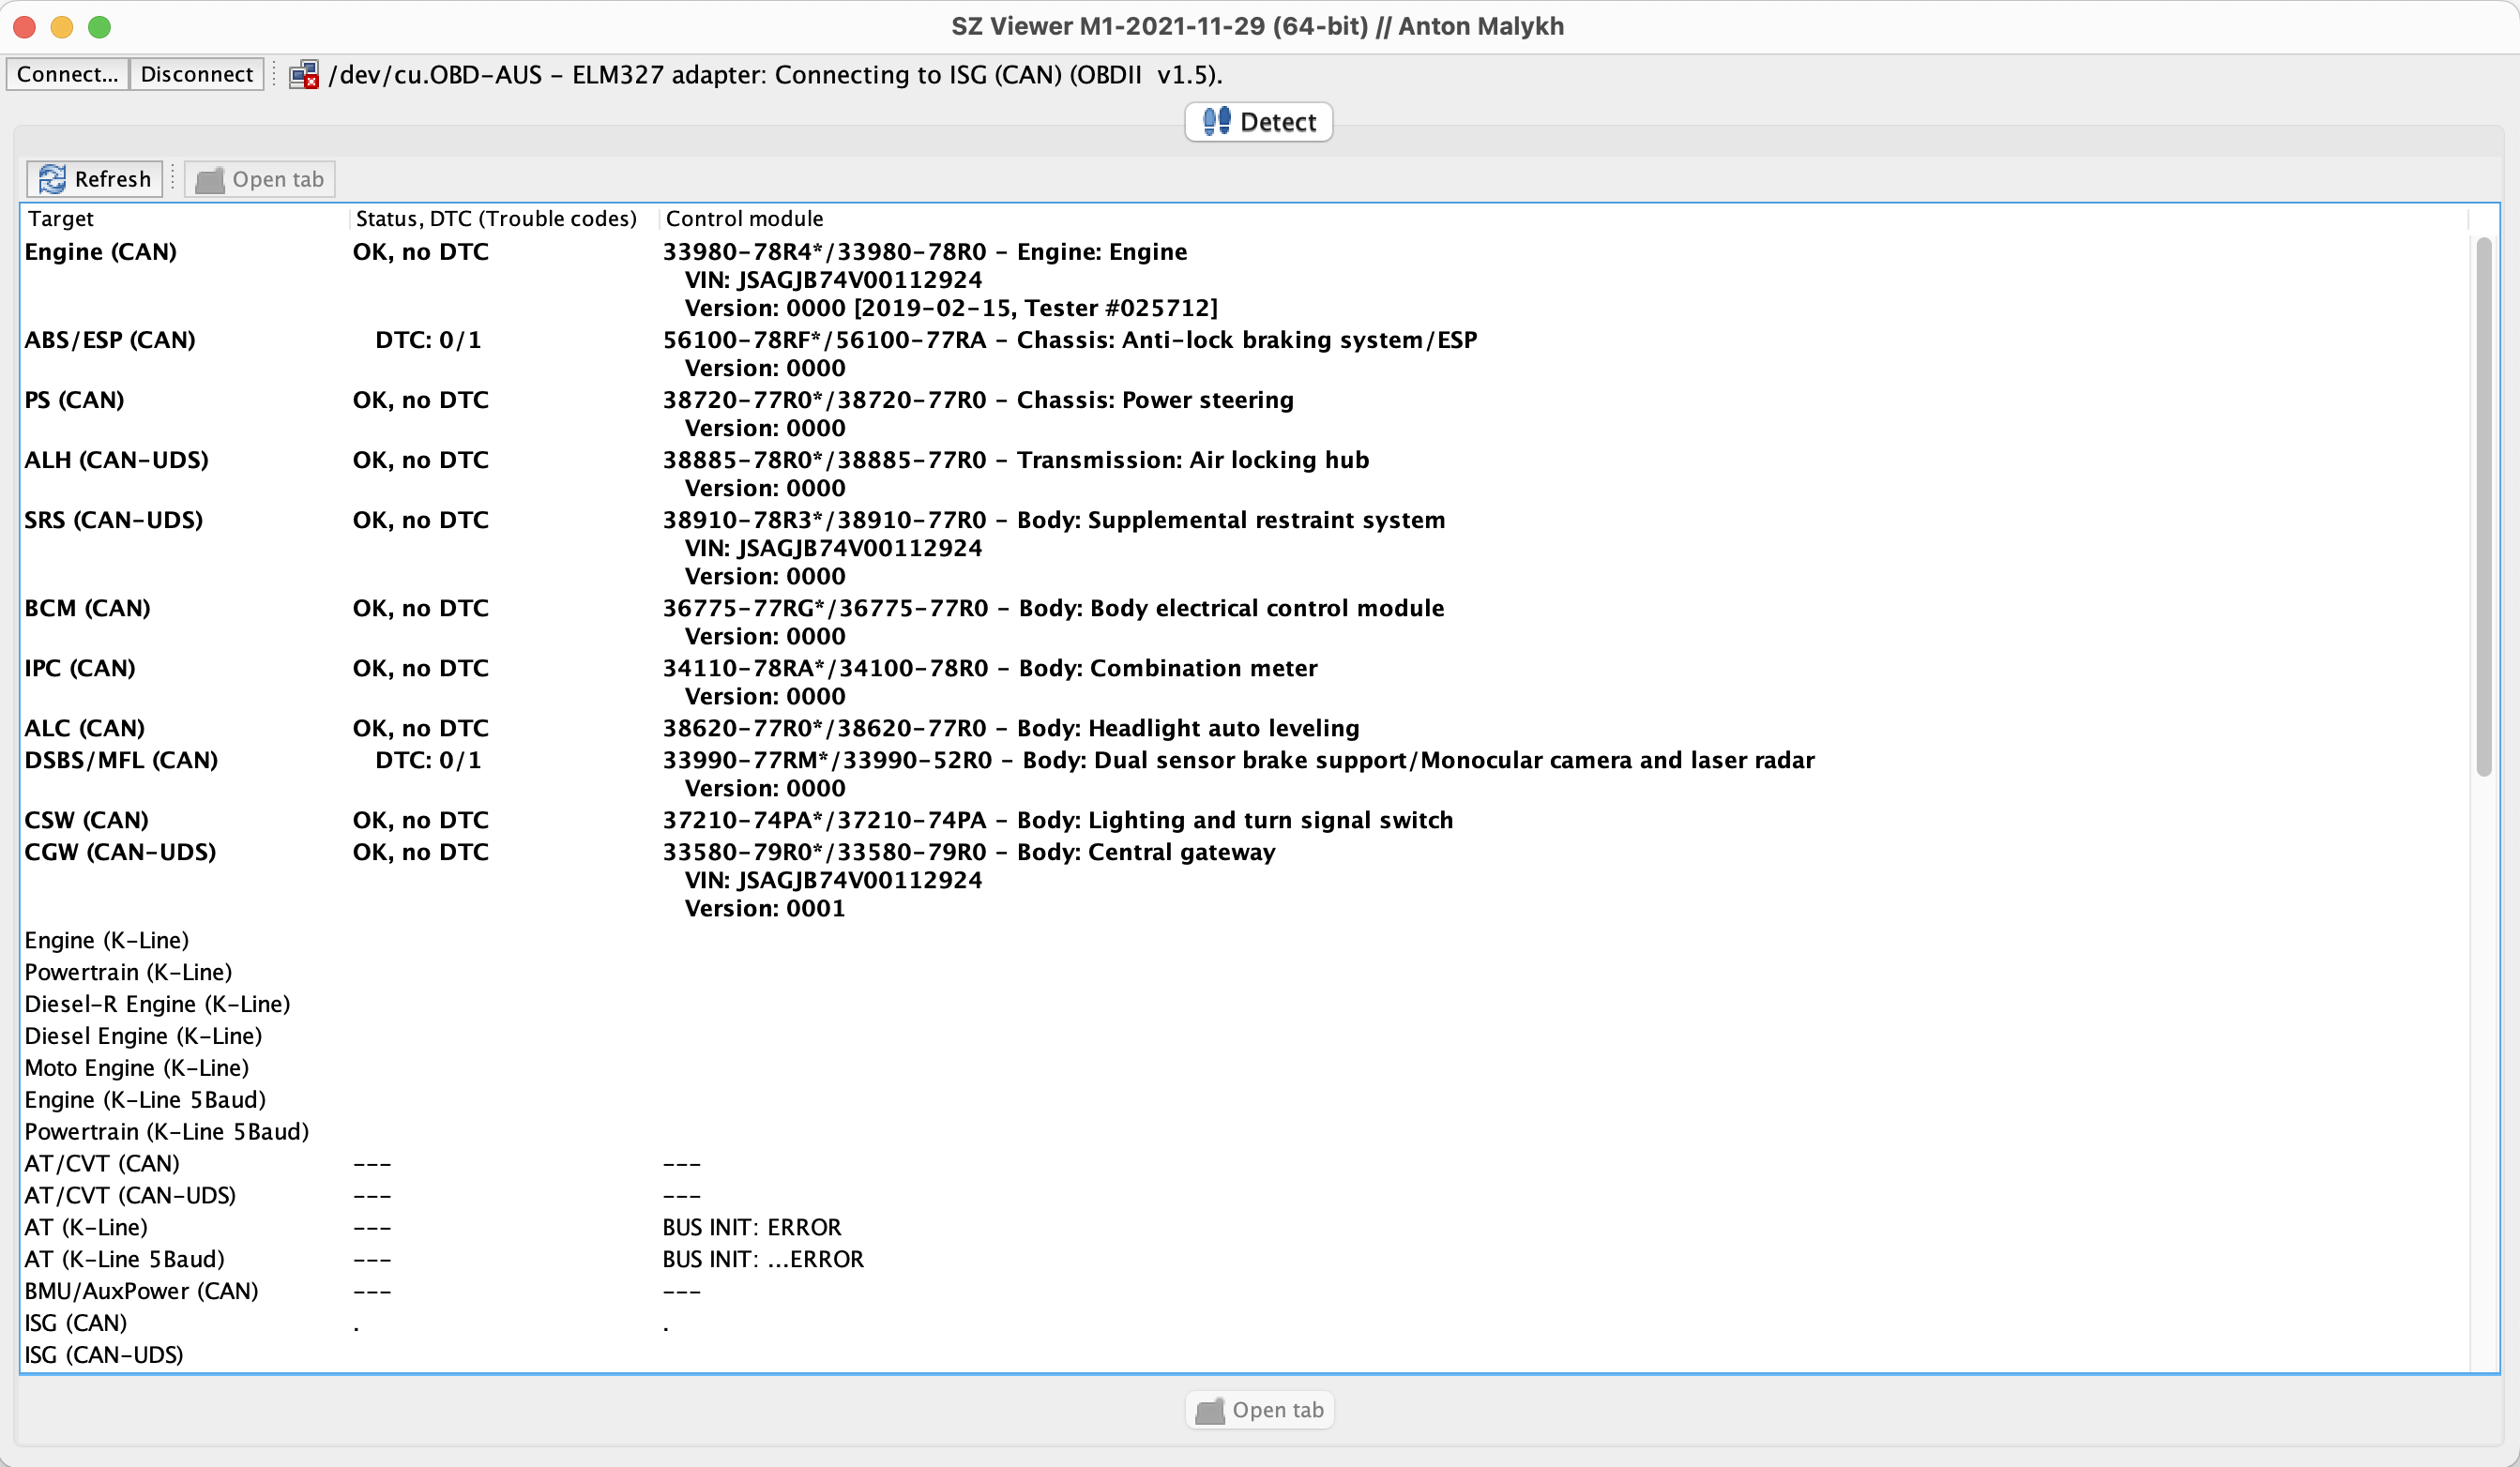
As a quick start guide, where it says something like DTC: 0/1 then it means that module has a stored but currently inactive error code. It will provide DTC Found! and tell you the numbers involved for those modules. Note here I have a couple of old codes – these are from a bit of moisture in the tail light connector which meant the car thought I was going into reverse when I stepped on the brakes, erroring the ABS and the autonomous braking system.
Examples of scanning things
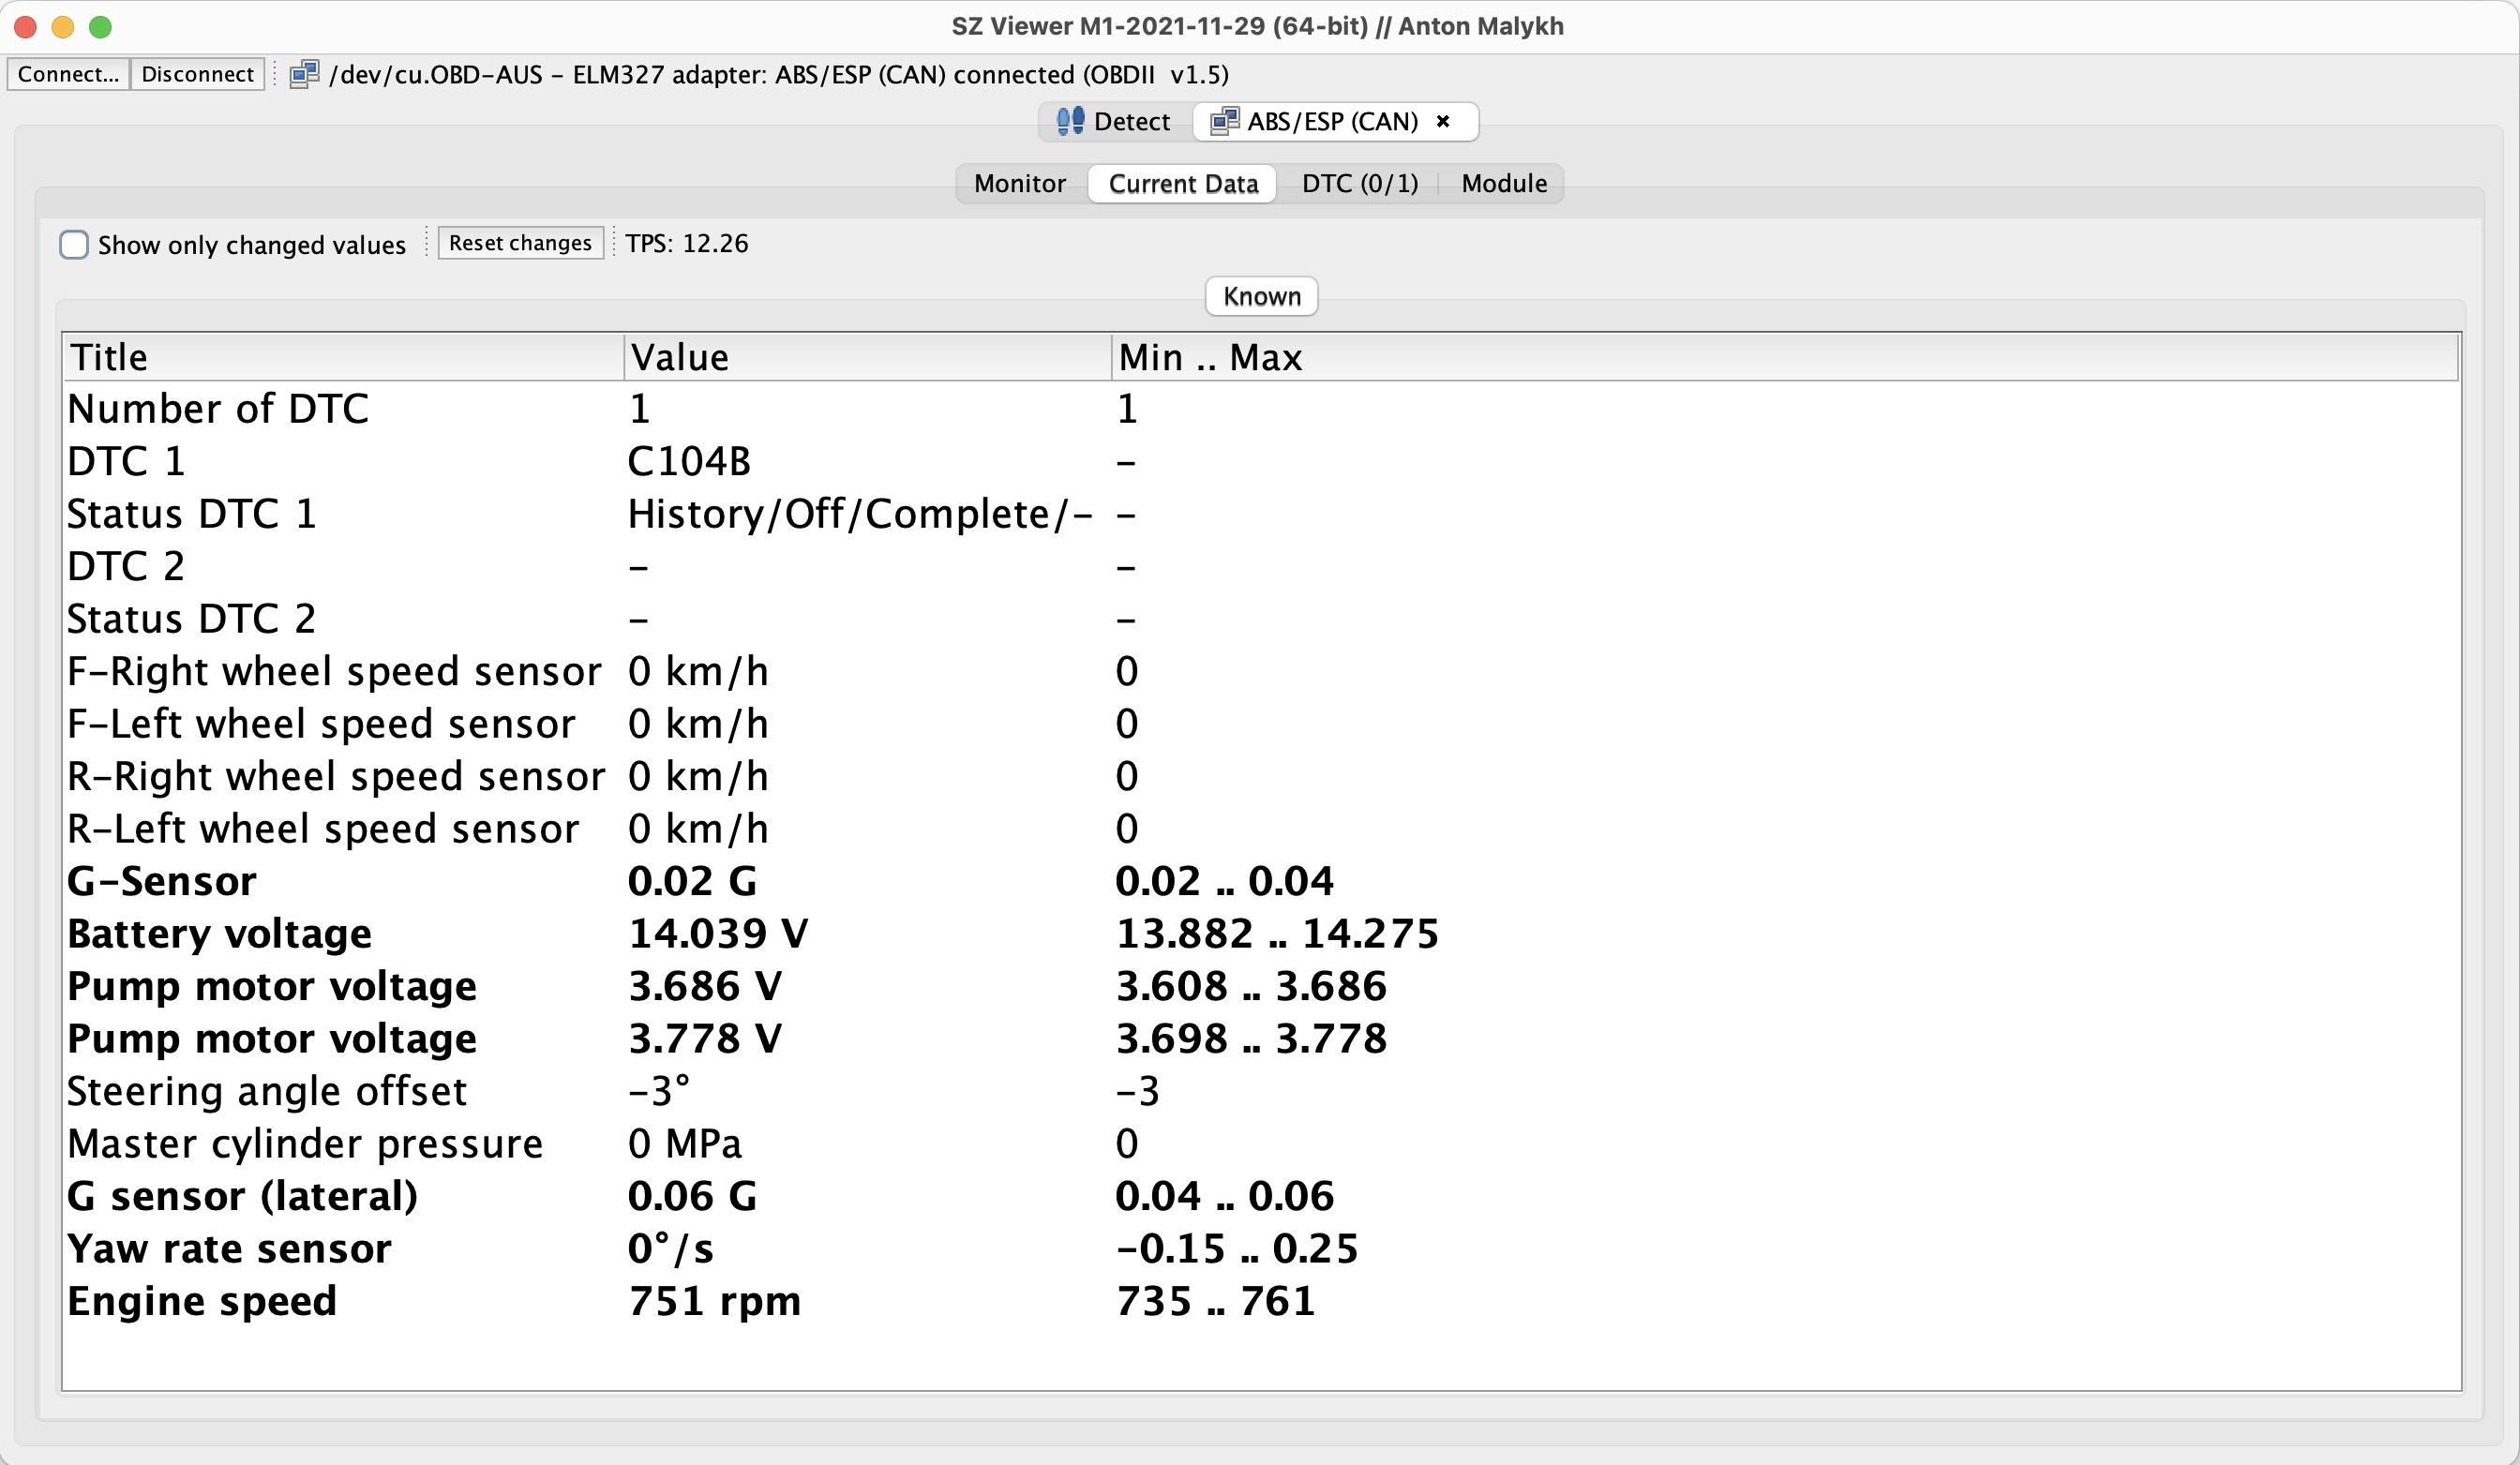
You obviously select the module relevant for what you’re looking at – either in terms of live data or to scan. Here’s what comes up for the ABS module and shows you what a pending code looks like.
You can also get a number of pieces of live data from various modules, e.g. this is what comes up for the ECU and gives you a bunch of data for what the ECU is currently seeing about the engine but also about the car in general.
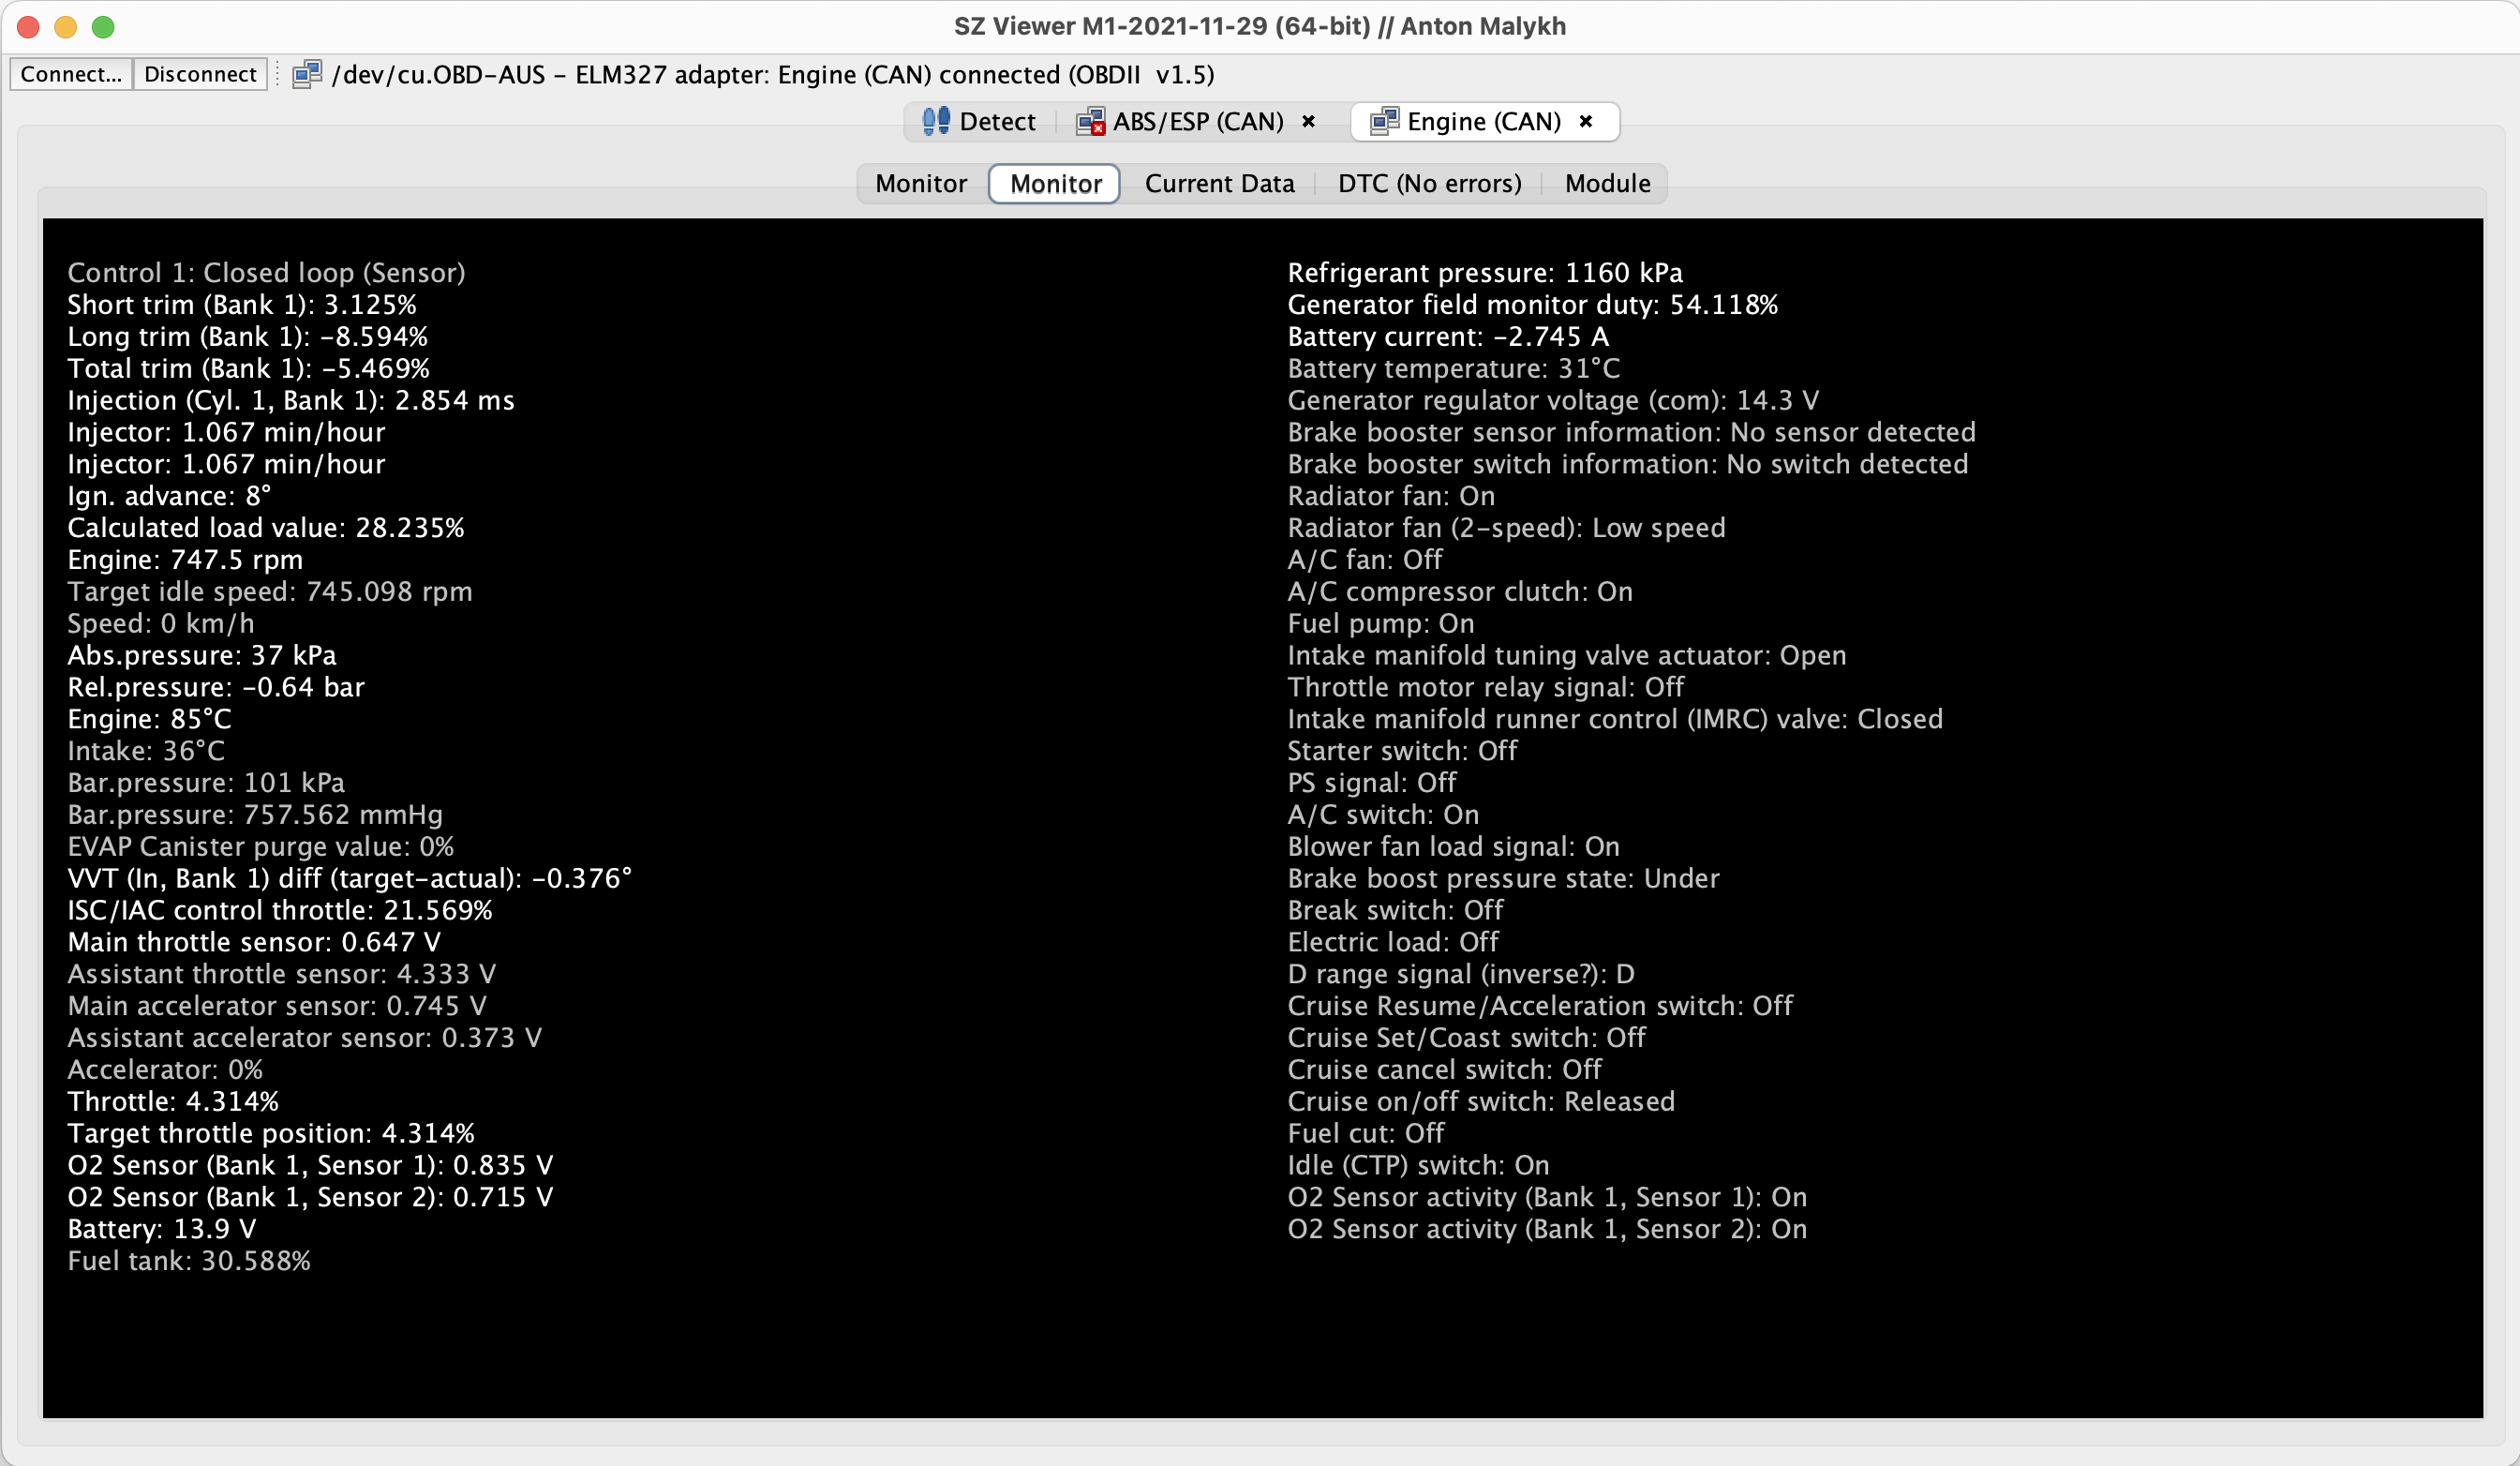
Bold are items currently changing or recently changed. Very useful to see what’s happening as you do various things.
Not much else to report here, but I’ll document going through and scanning various modules if I ever get error codes such that I need to diagnose them.
Generic OBD2 gauges and/or scantools
I’ve seen a few different ones demonstrated in Australia at least. I can’t speak for OBD2 compatability in other markets; it does appear to be different.
To test this, I’ve grabbed an Autool x60 scangauge. A couple of things to note: when I plugged it into the OBD2 before starting the car, the gauge refused to connect to the car. It just sat with a looping progress bar saying J1850 connecting. This included when starting the car. Unplugging it, having the car running and then plugging it in and it displayed a message that it was connecting via a different protocol and it worked perfectly.
Installing the Autool x60
Nothing particular difficult, but the flat cable tucks nicely behind some trim so I thought I’d illustrate that Haven’t yet come up with a good install on the dash though.
Start by popping off the footwell interior trim which will expose a screw to undo.
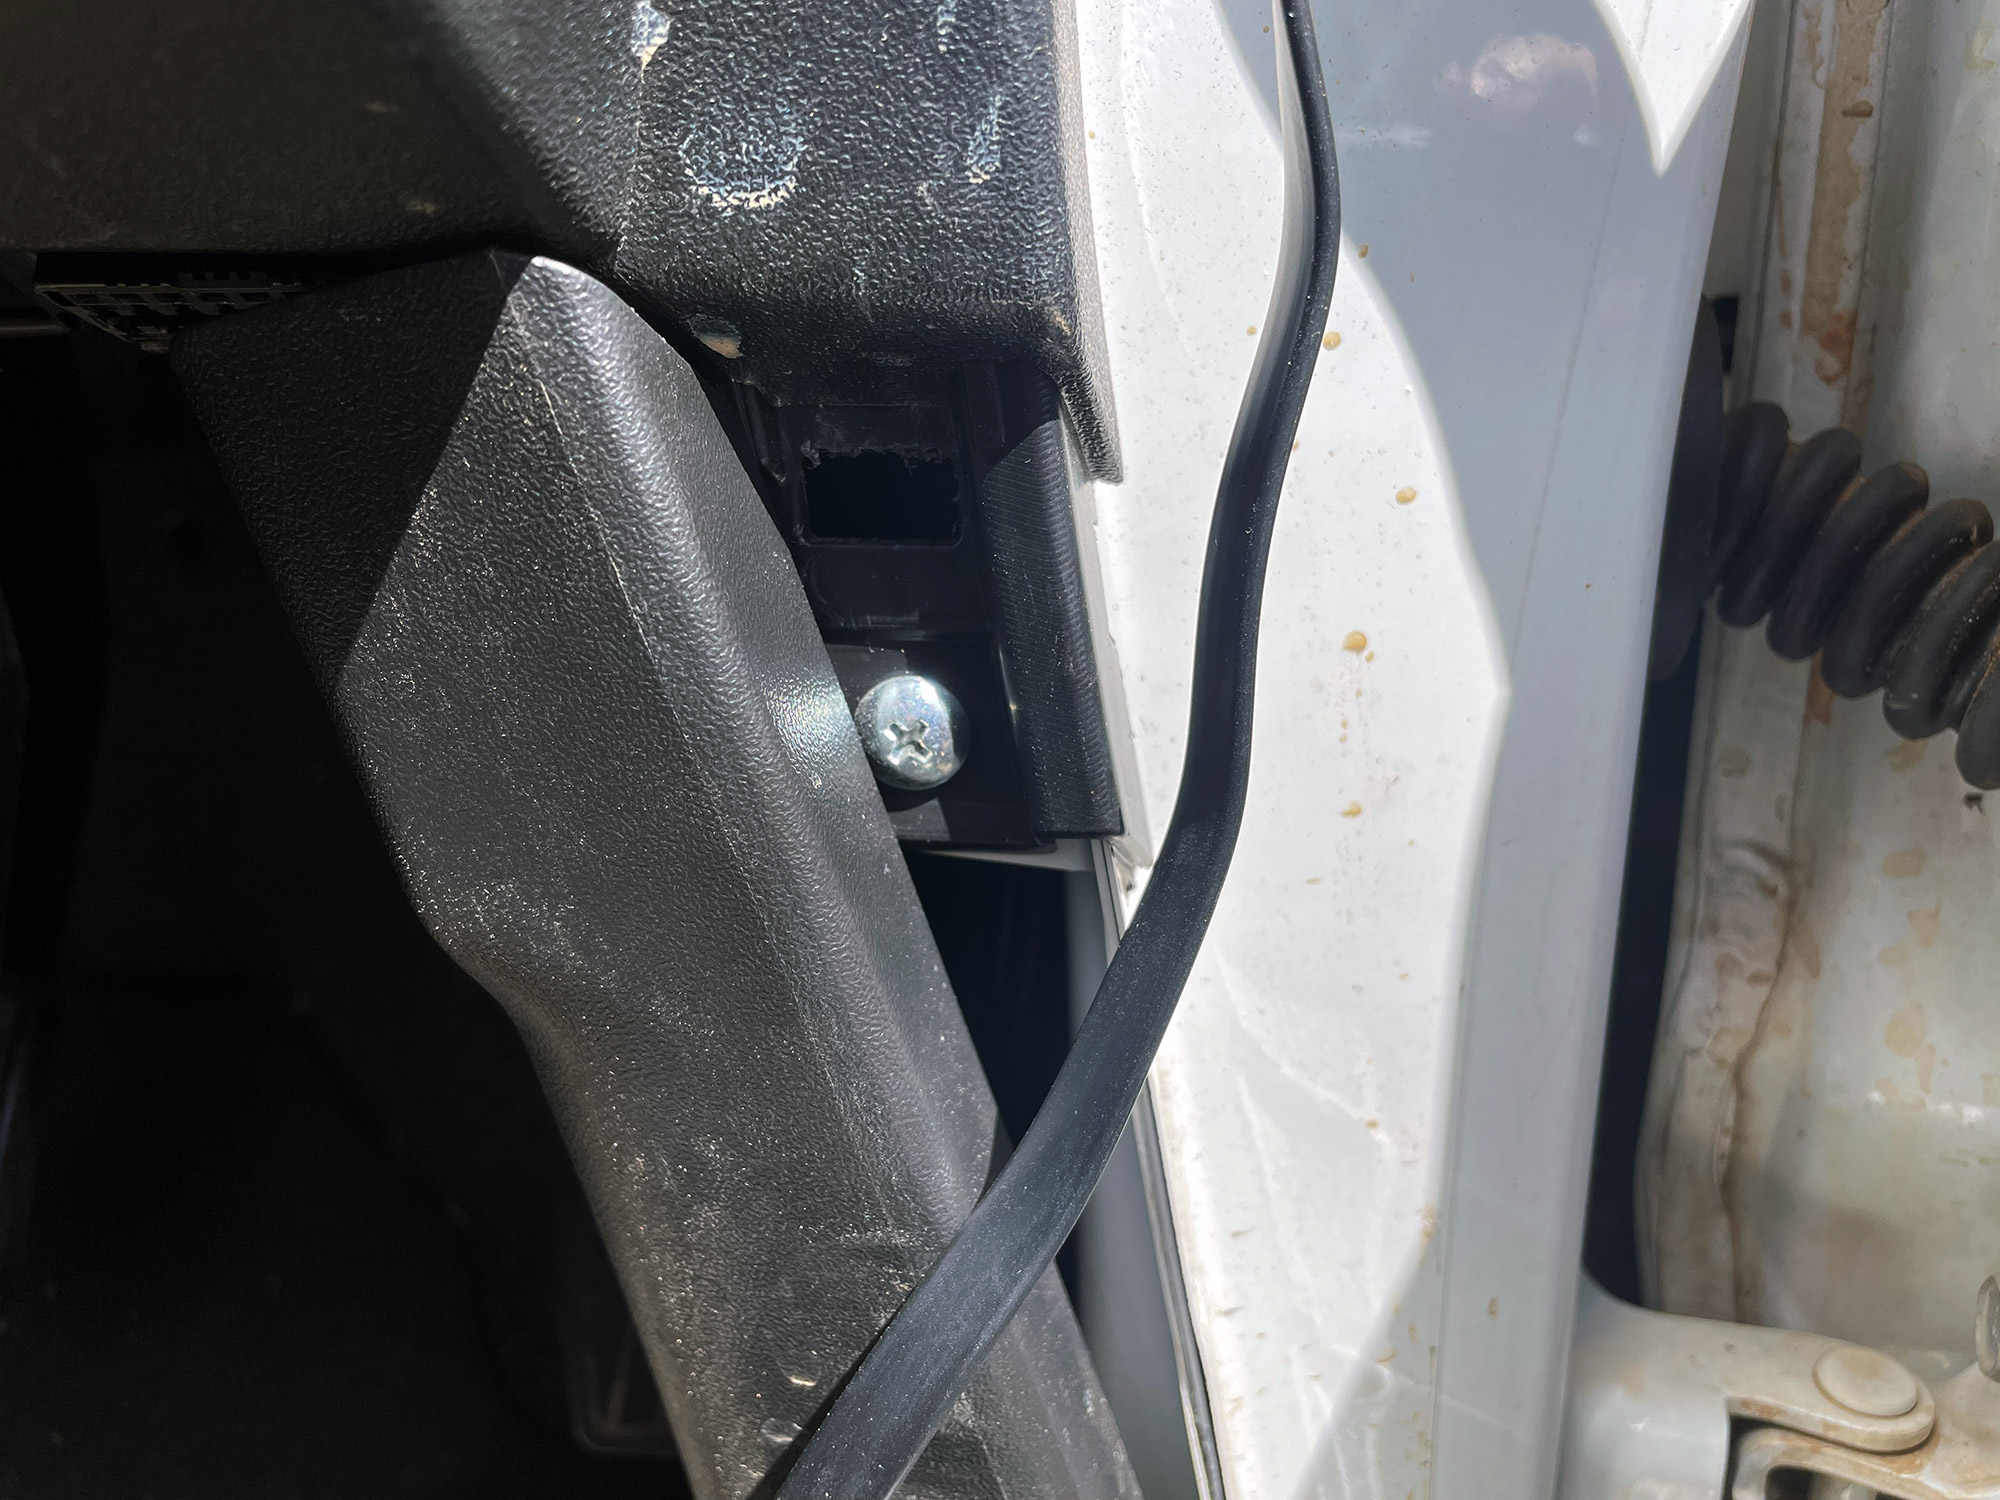
Poke the wire up above this screw, and then push it around the trim that attaches to the body pinchweld seam. Here it is poked up at the top part and then I worked it in around the seam.
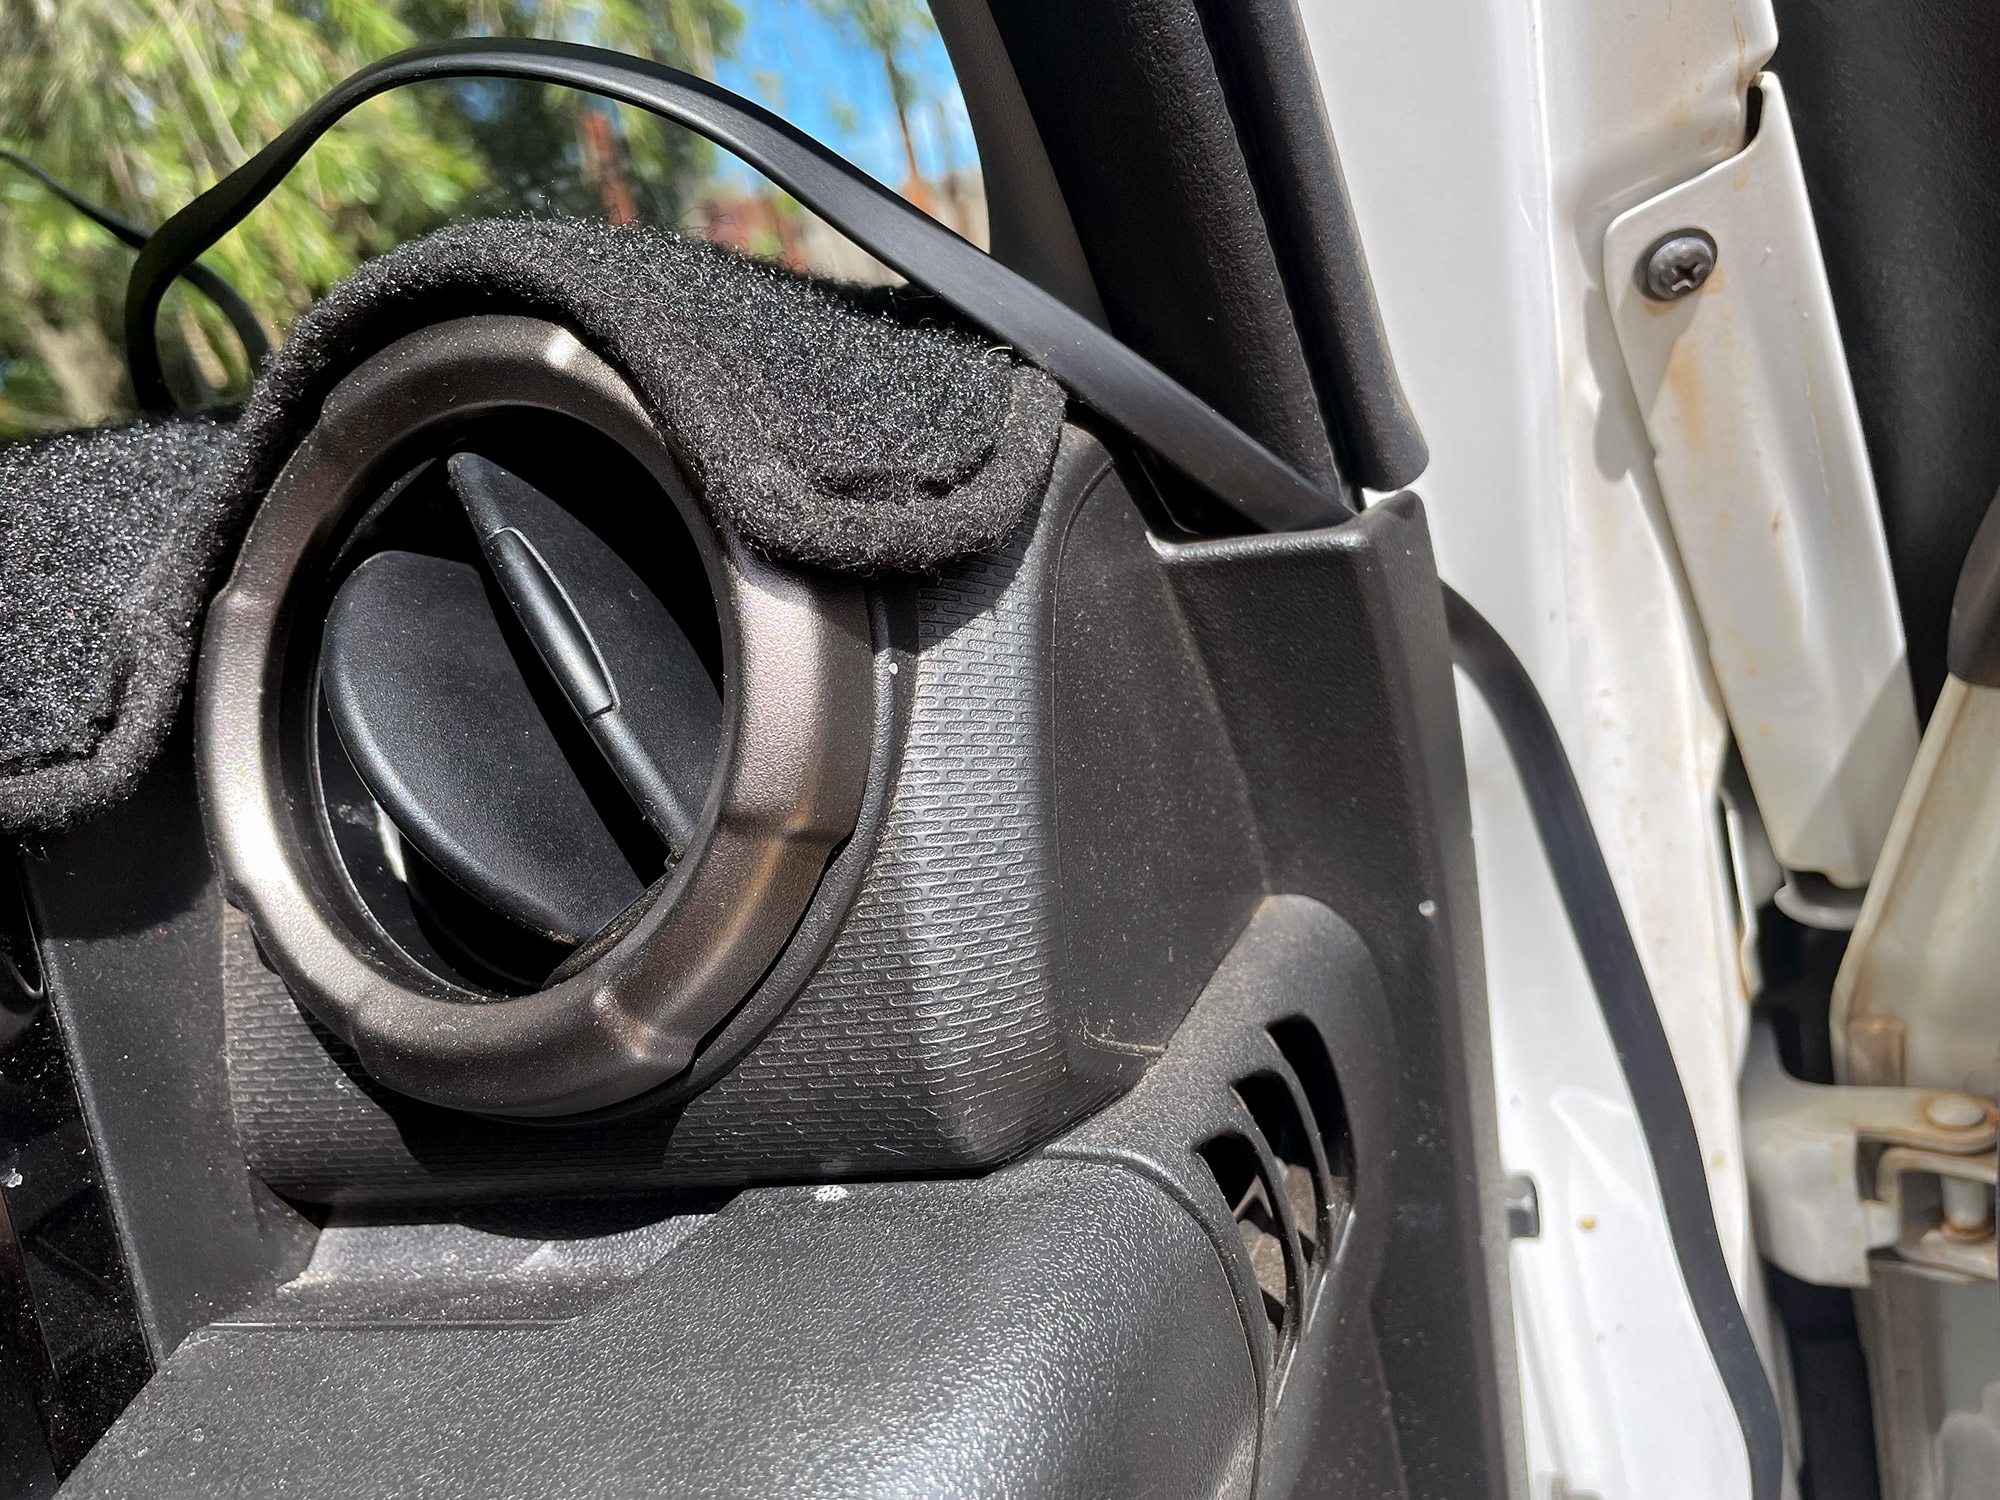
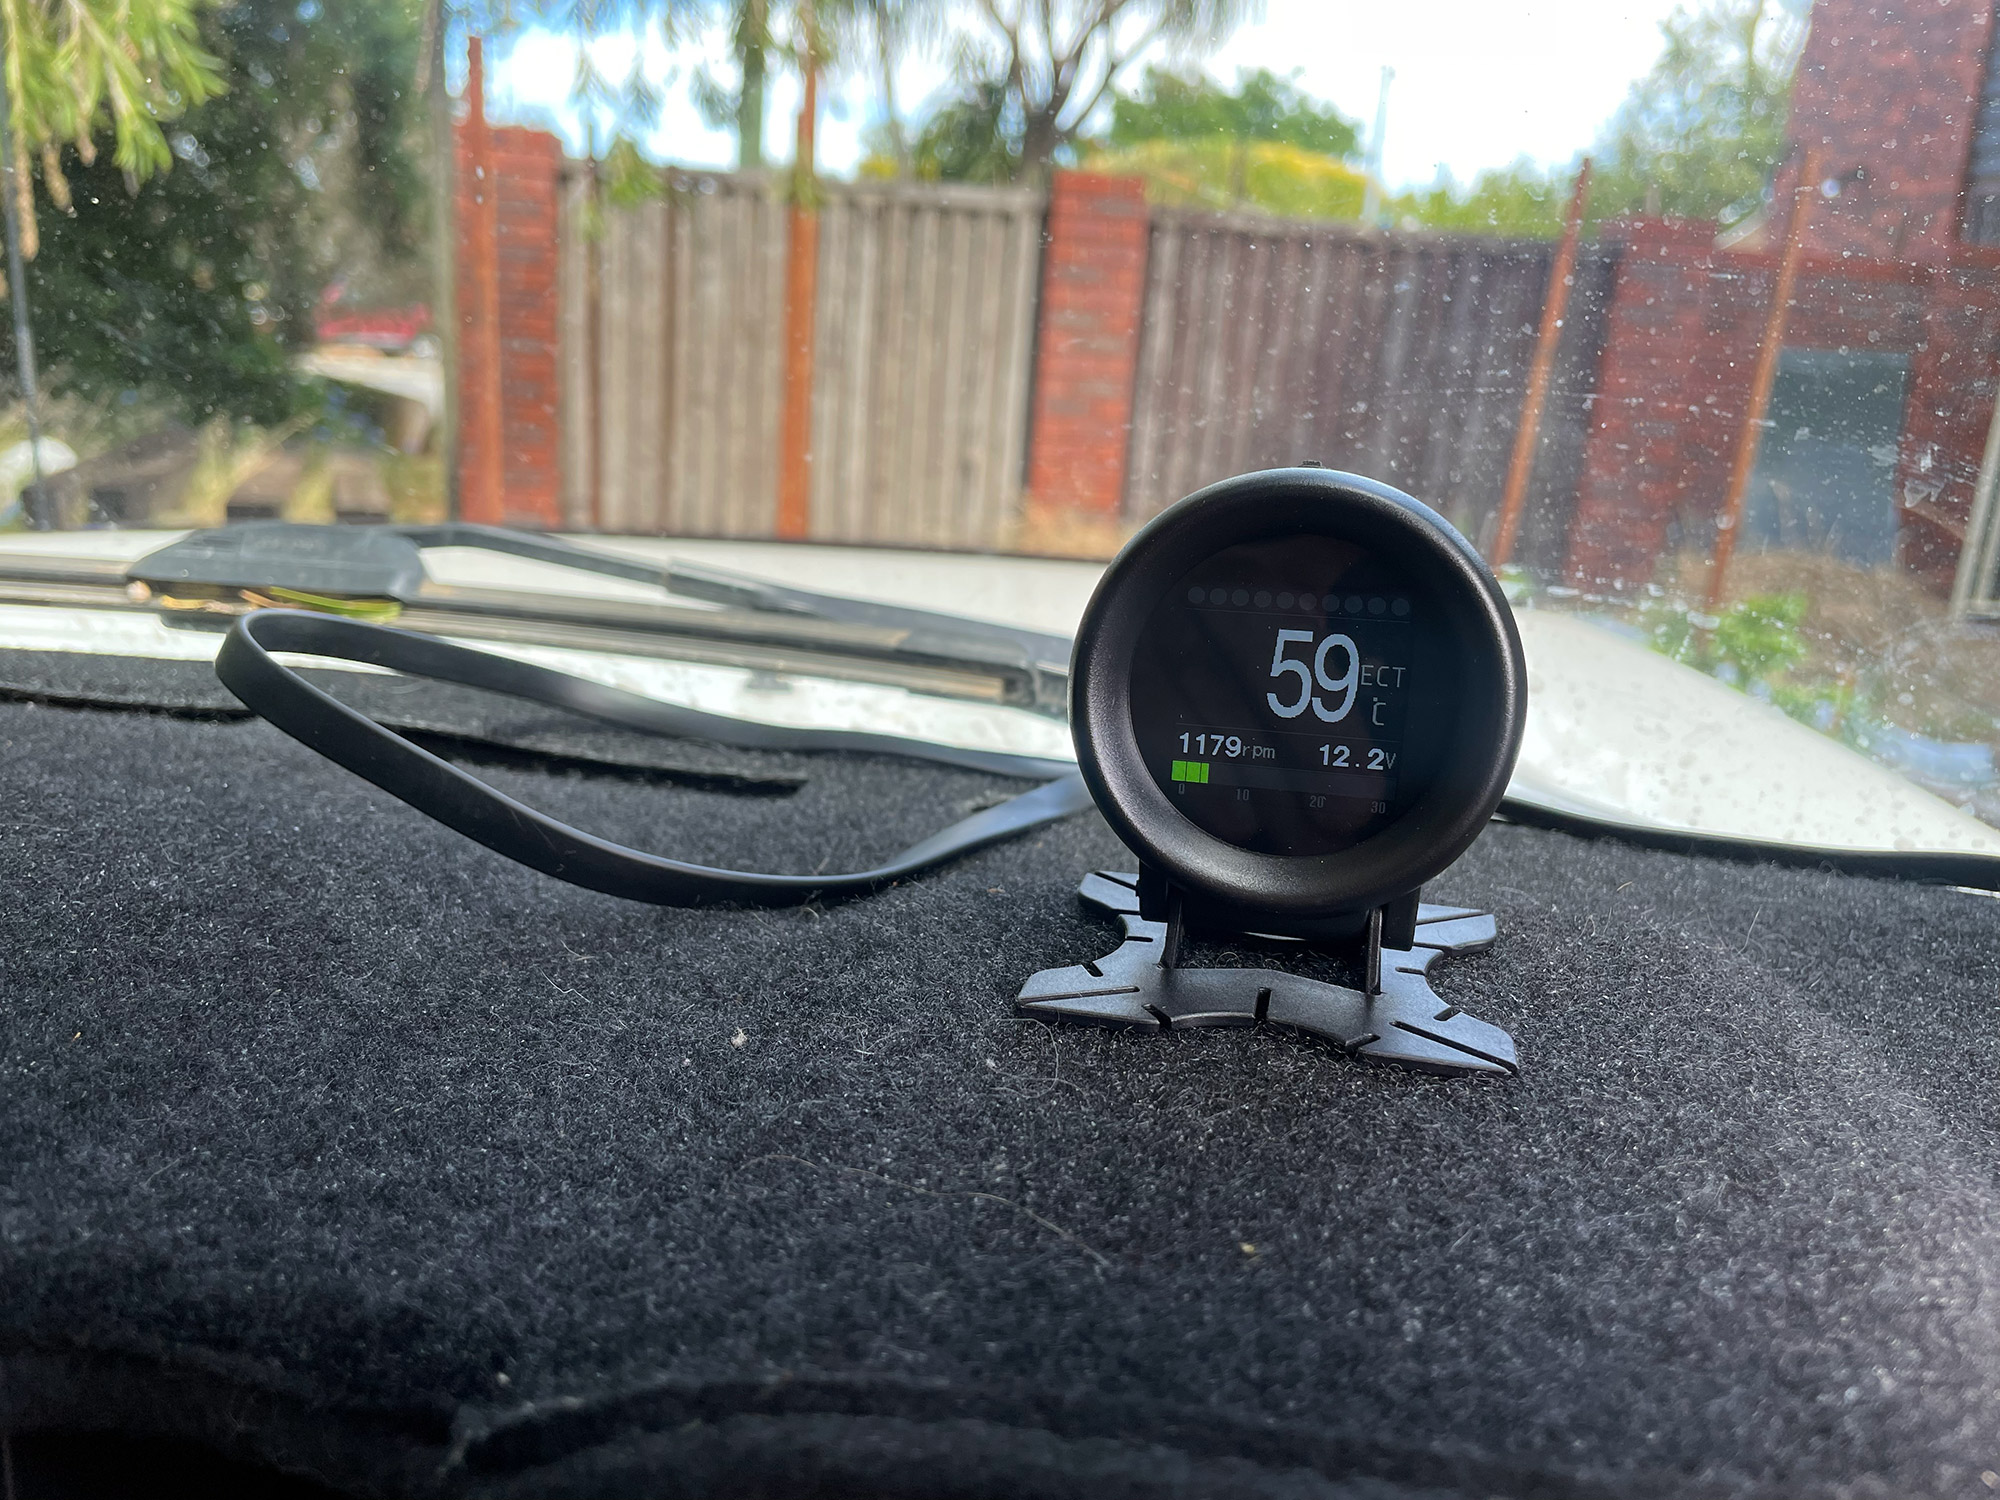
I’ll probably just velcro it to the dash mat to hold it down but still need to sort this part out. It definitely does work and communicates with the ECU, though.
