
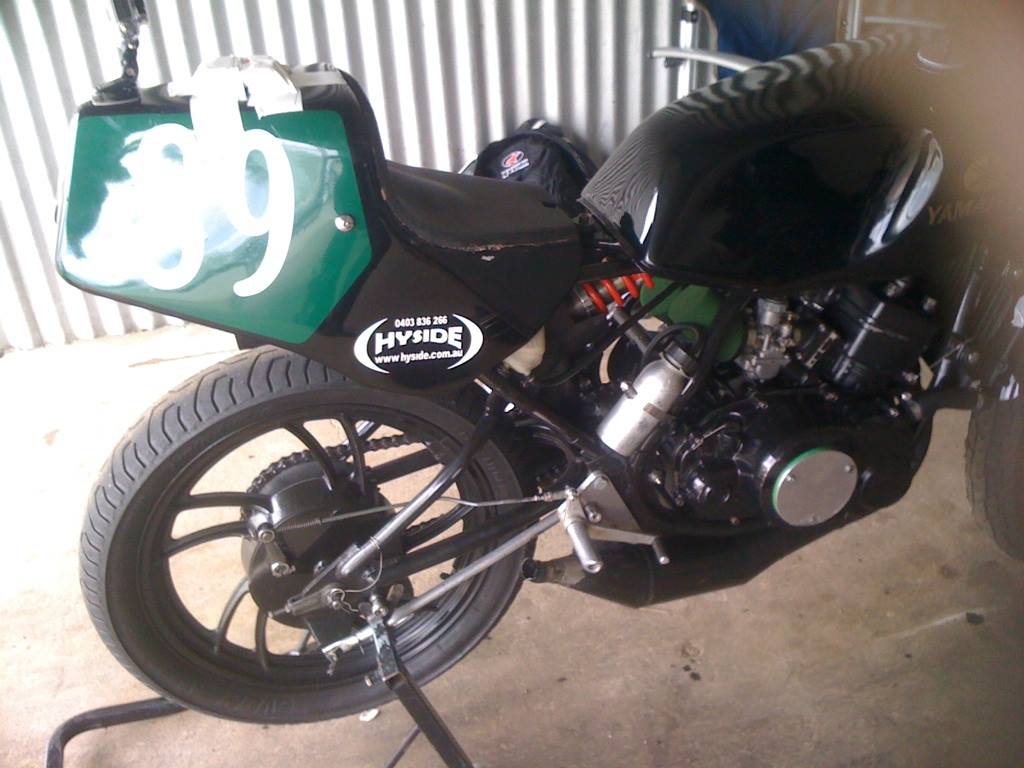
1981 Yamaha RD250LC Period 5
(Chops)
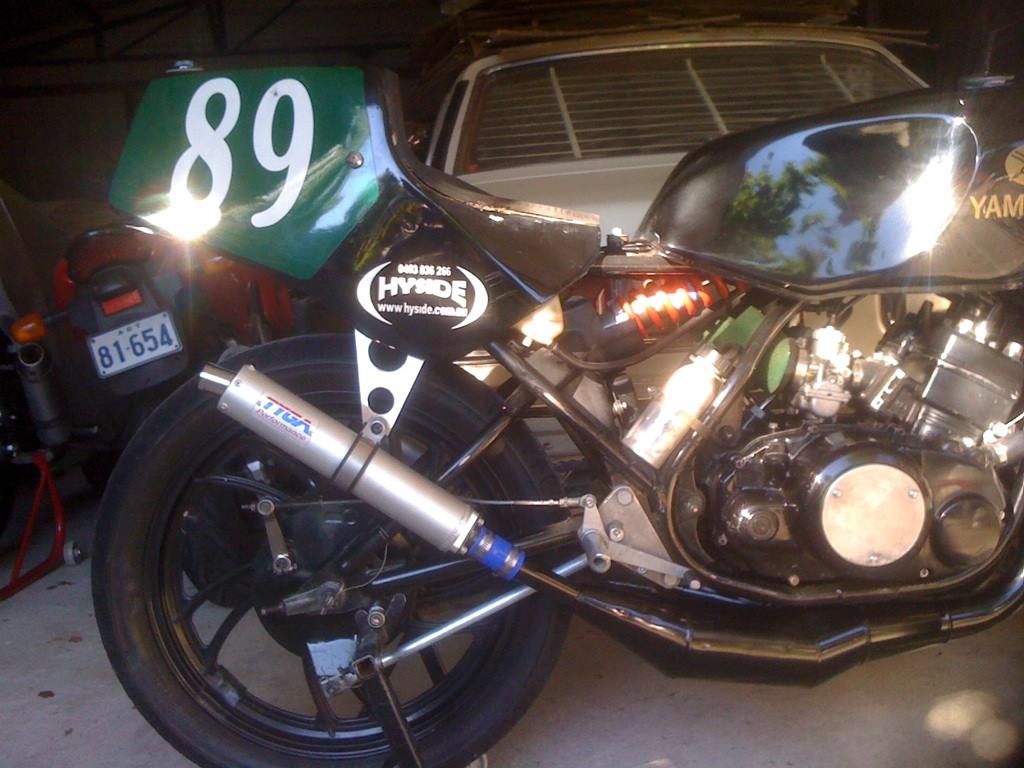
Here’s a bit of stuff on my 1981 RD250LC. It’s well known to the TGR family, as Mick owned it before me but sold it to fund his ZX-6R adventure. Before that, Billy Newton had the bike, so it has a good pedigree.
The bike
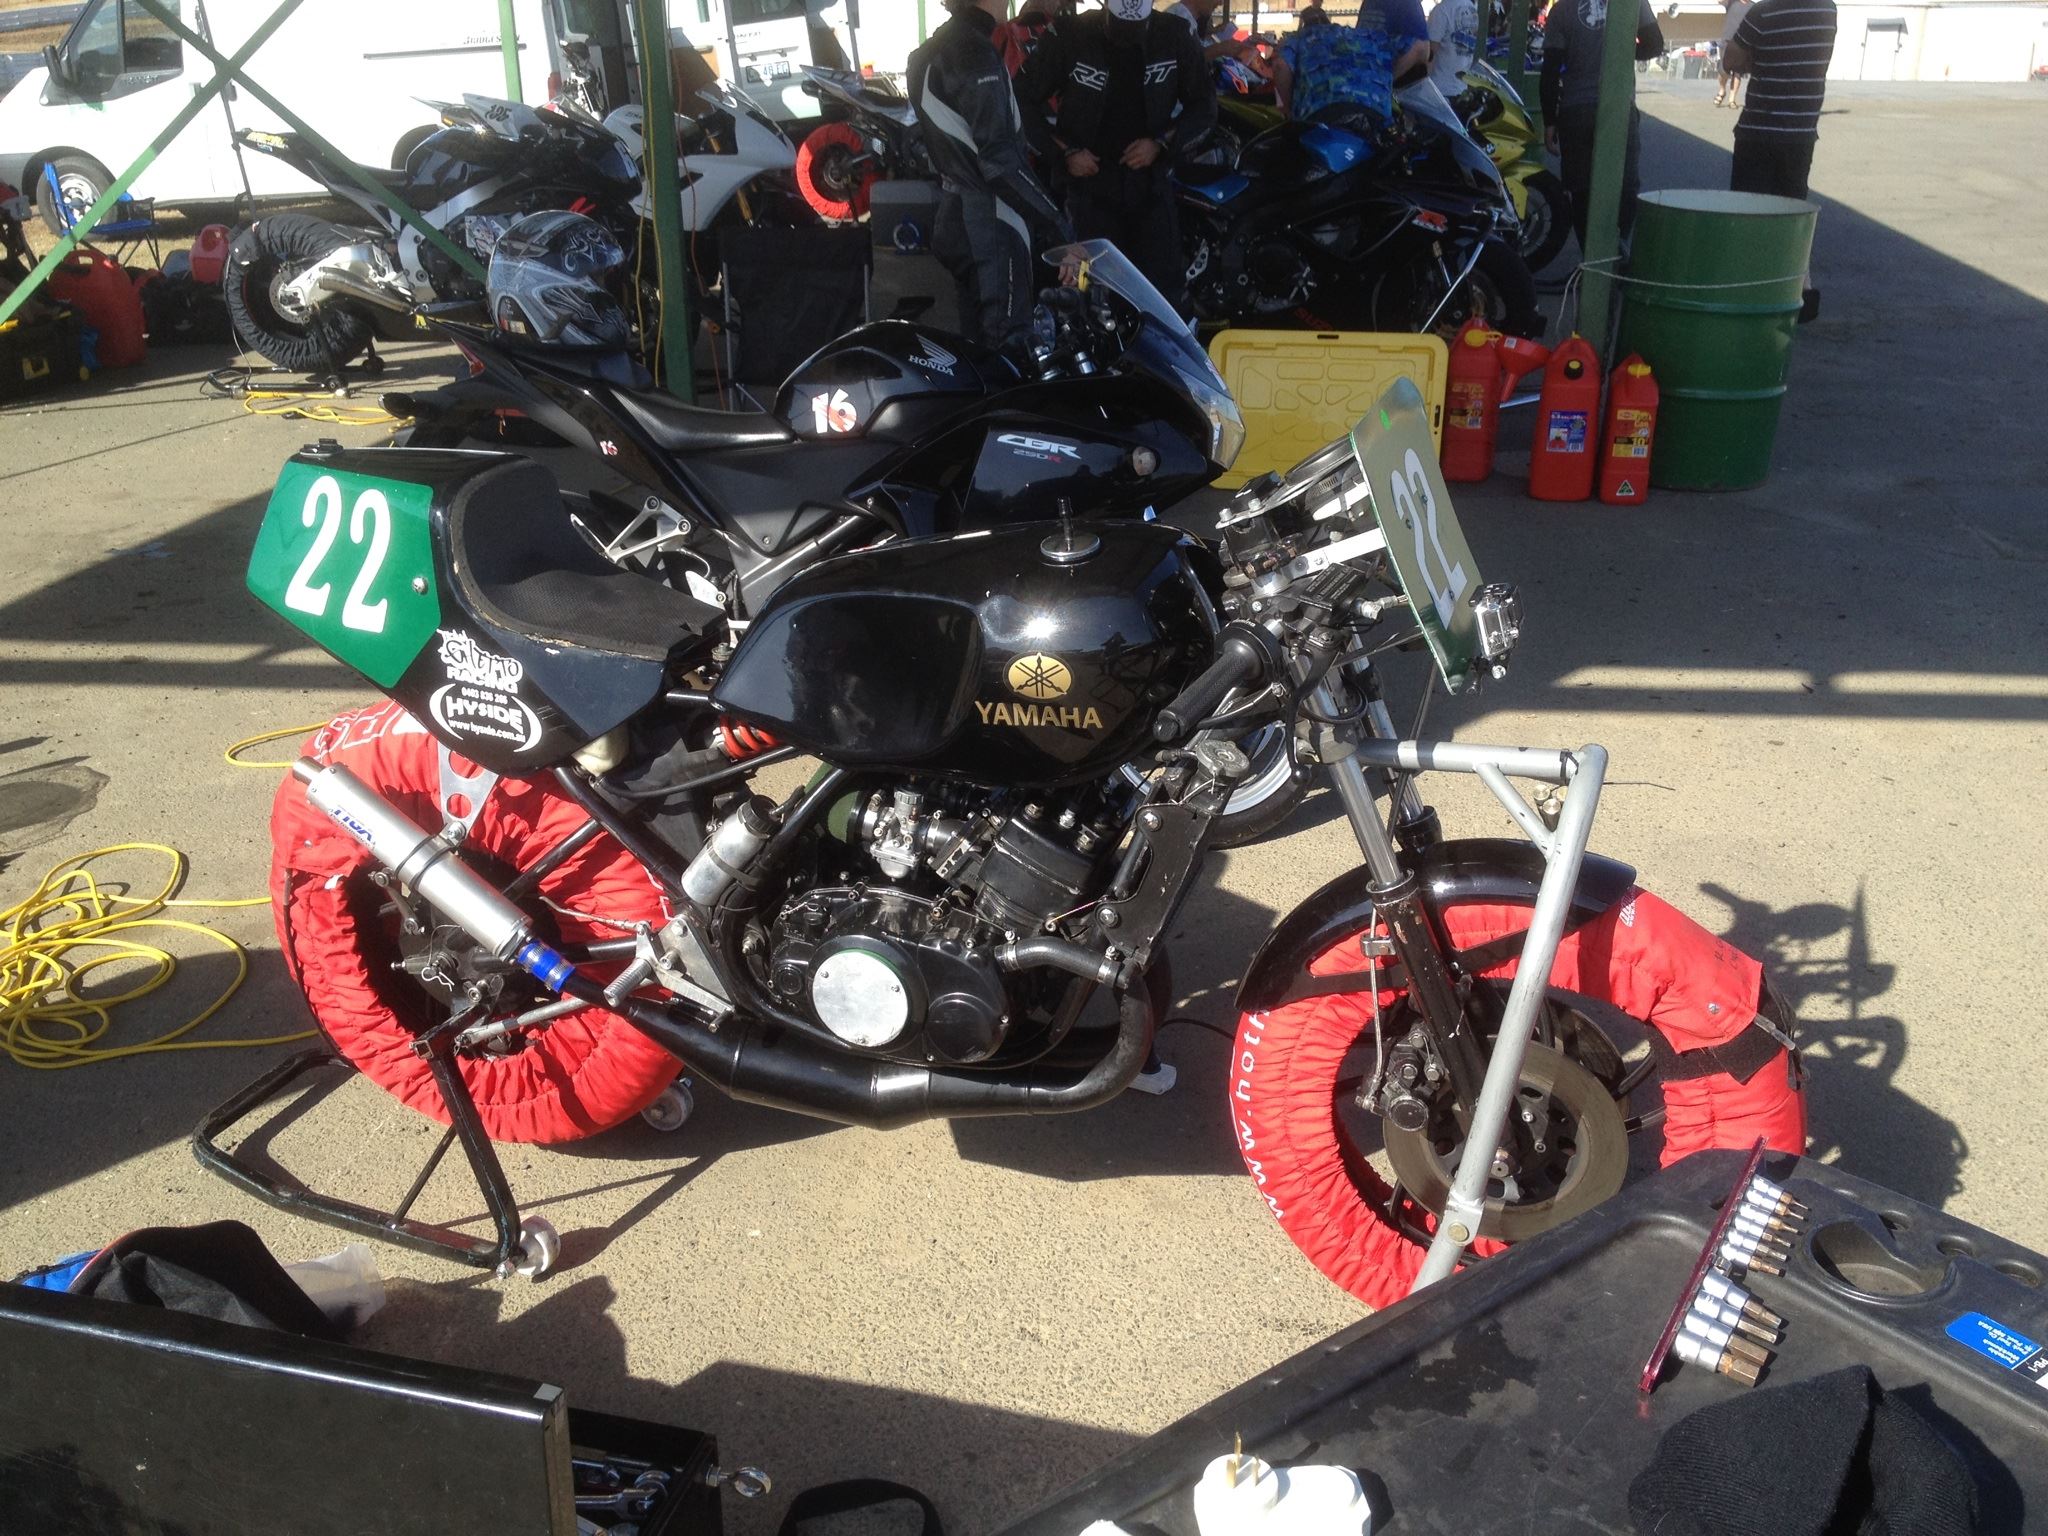
Pretty standard mods for a racing RD250LC that you’d expect:
– Woodcraft clipons
– Custom rearset plates, alloy brake torque arm and levers
– Different tail (TZ250 from the era?)
– RG250 chambers, adapted to fit RD250 headers
– Wössner forged pistons, running single ring only
– Ported and matched transfer ports to cases
– Lapped and skimmed head for tight squish
– Standard cooling system with removed thermostat for extra flow
– Twin disc front end
– Hagon rear shock, different oil and springs in front forks
– 26mm (standard) carburettors. Could go bigger but they aren’t a limiting factory
– Battery removed, but running standard flywheel/generator/ignitor setup
That’s really all they need to make them race-winning bikes. And, under Mick’s guidance, this bike won a few things.

(Not that I have any pressure to live up to this ;)).
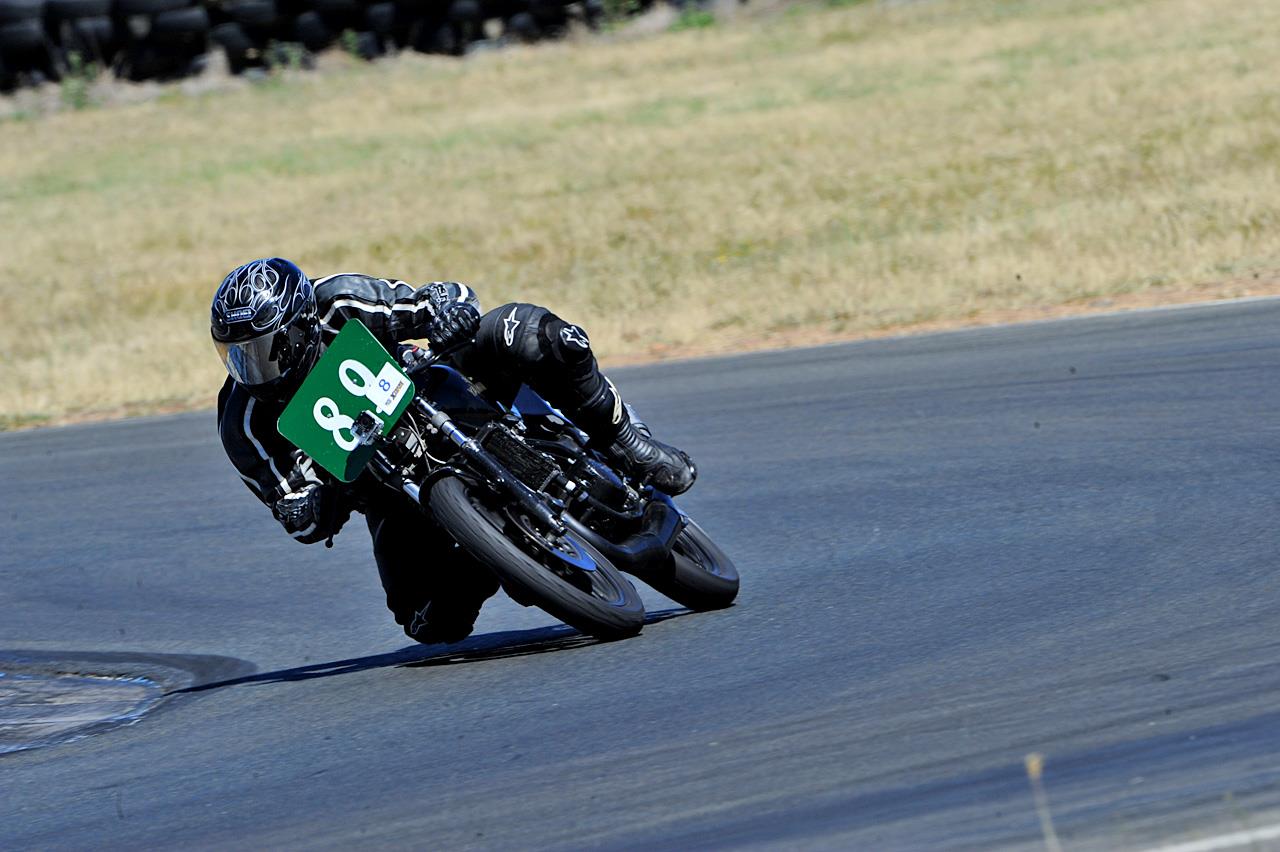
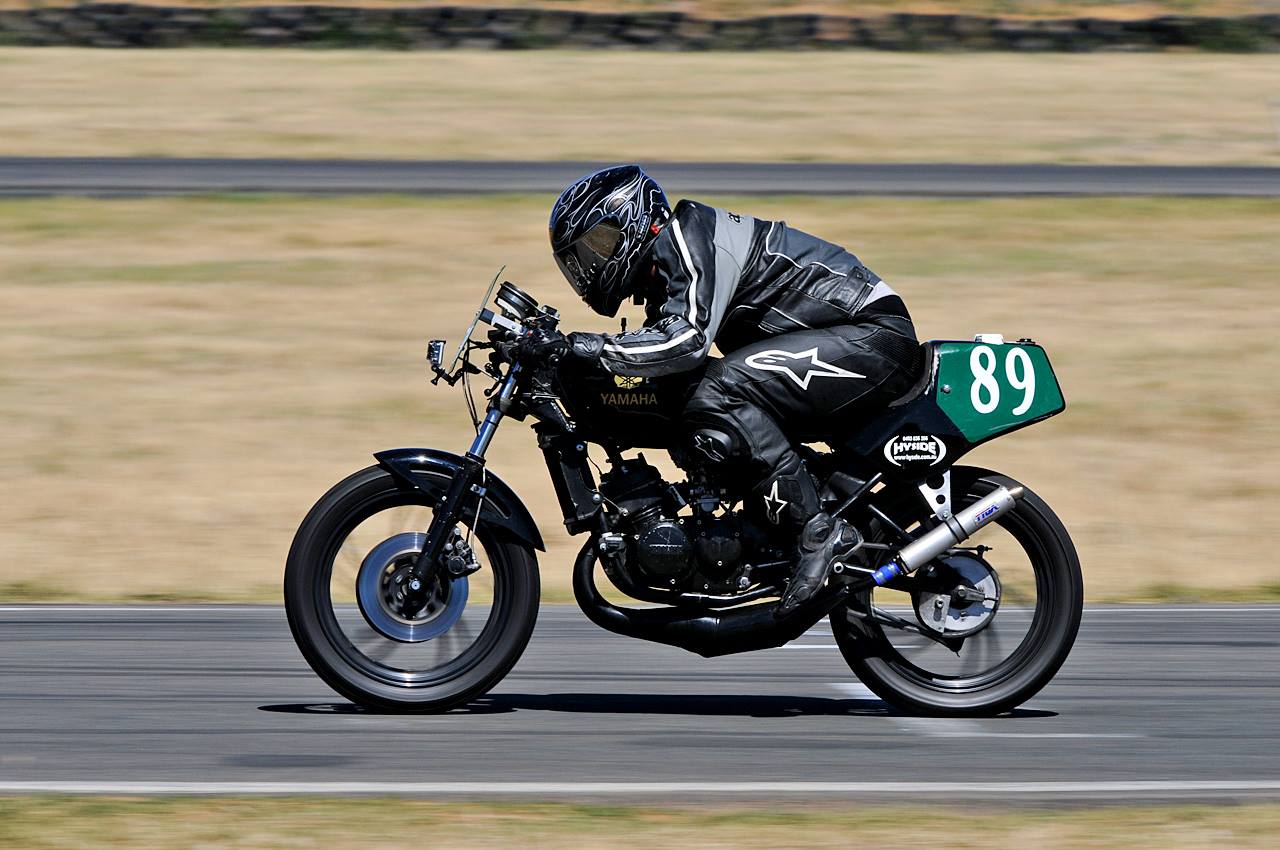
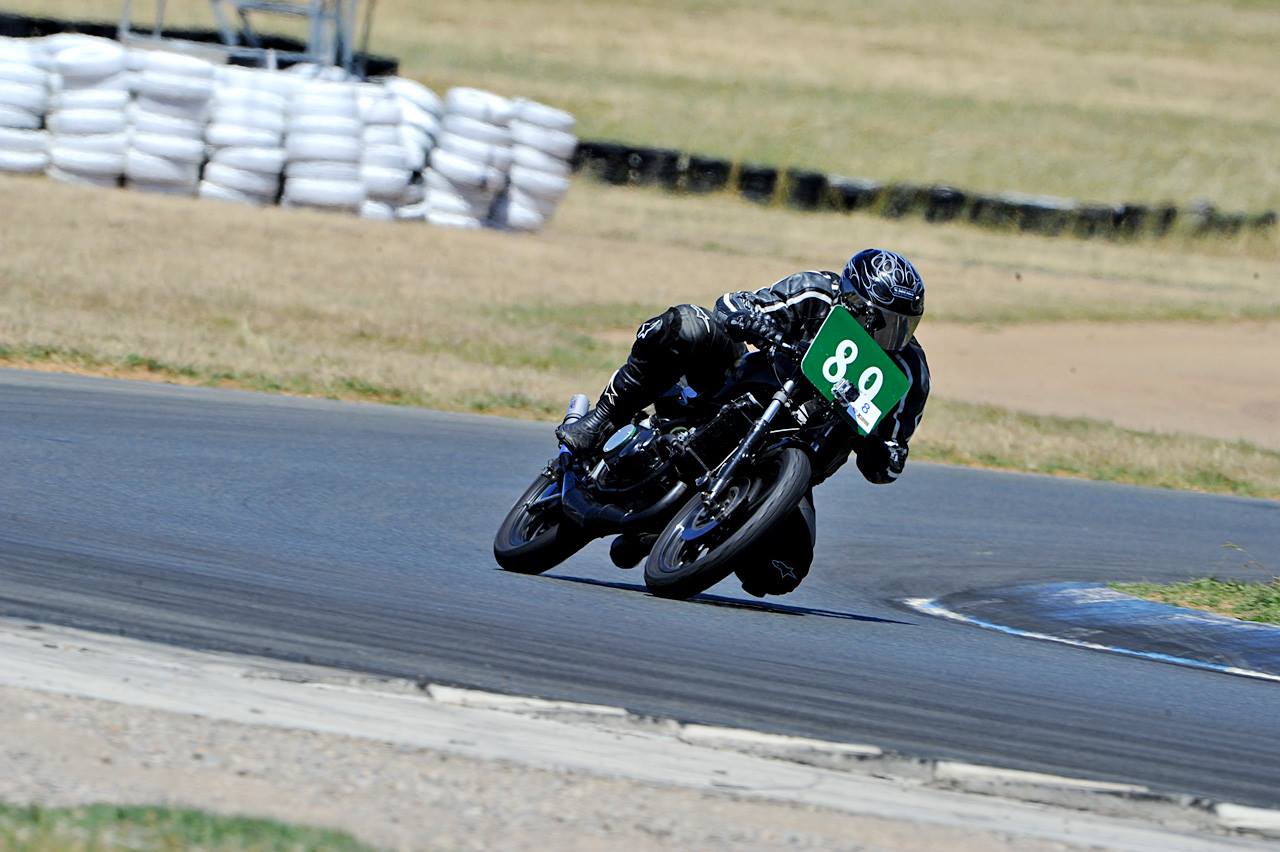
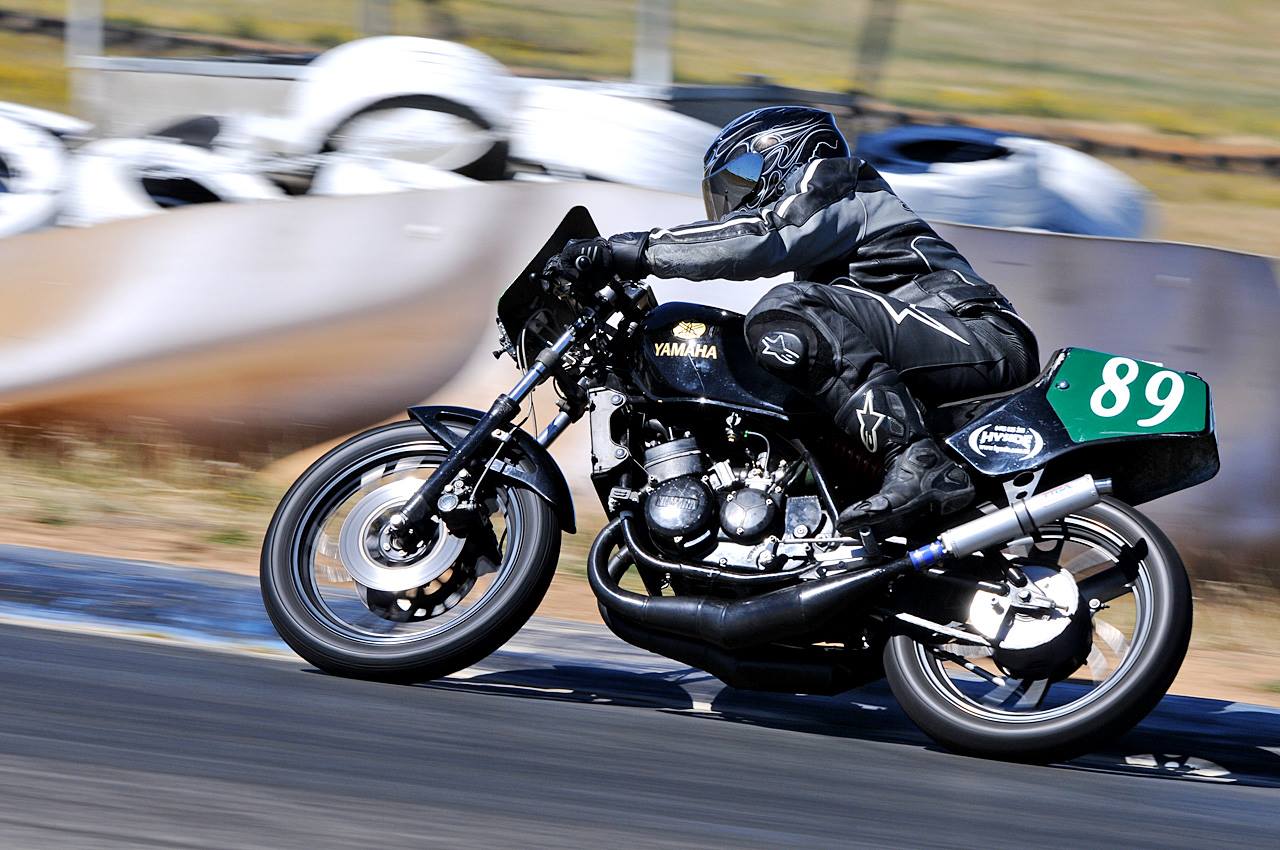
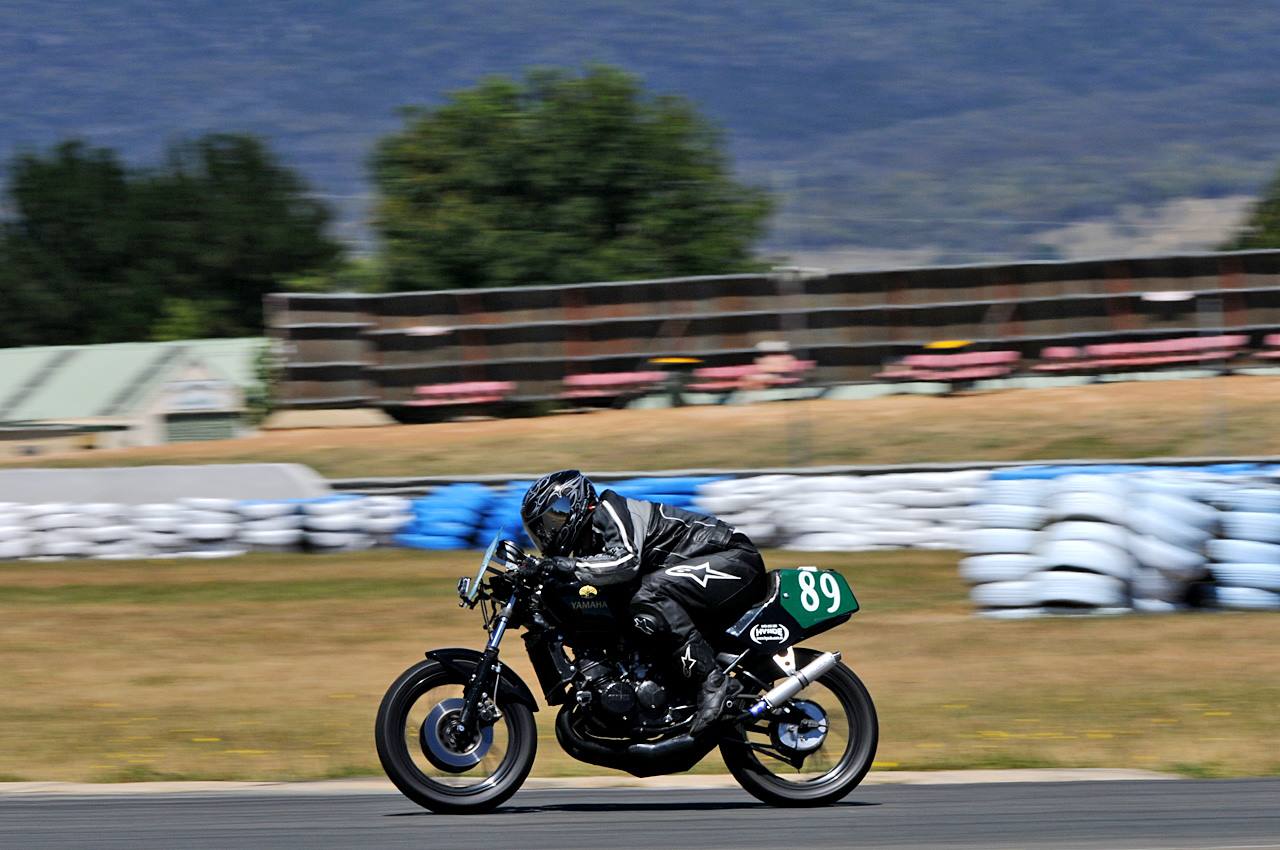
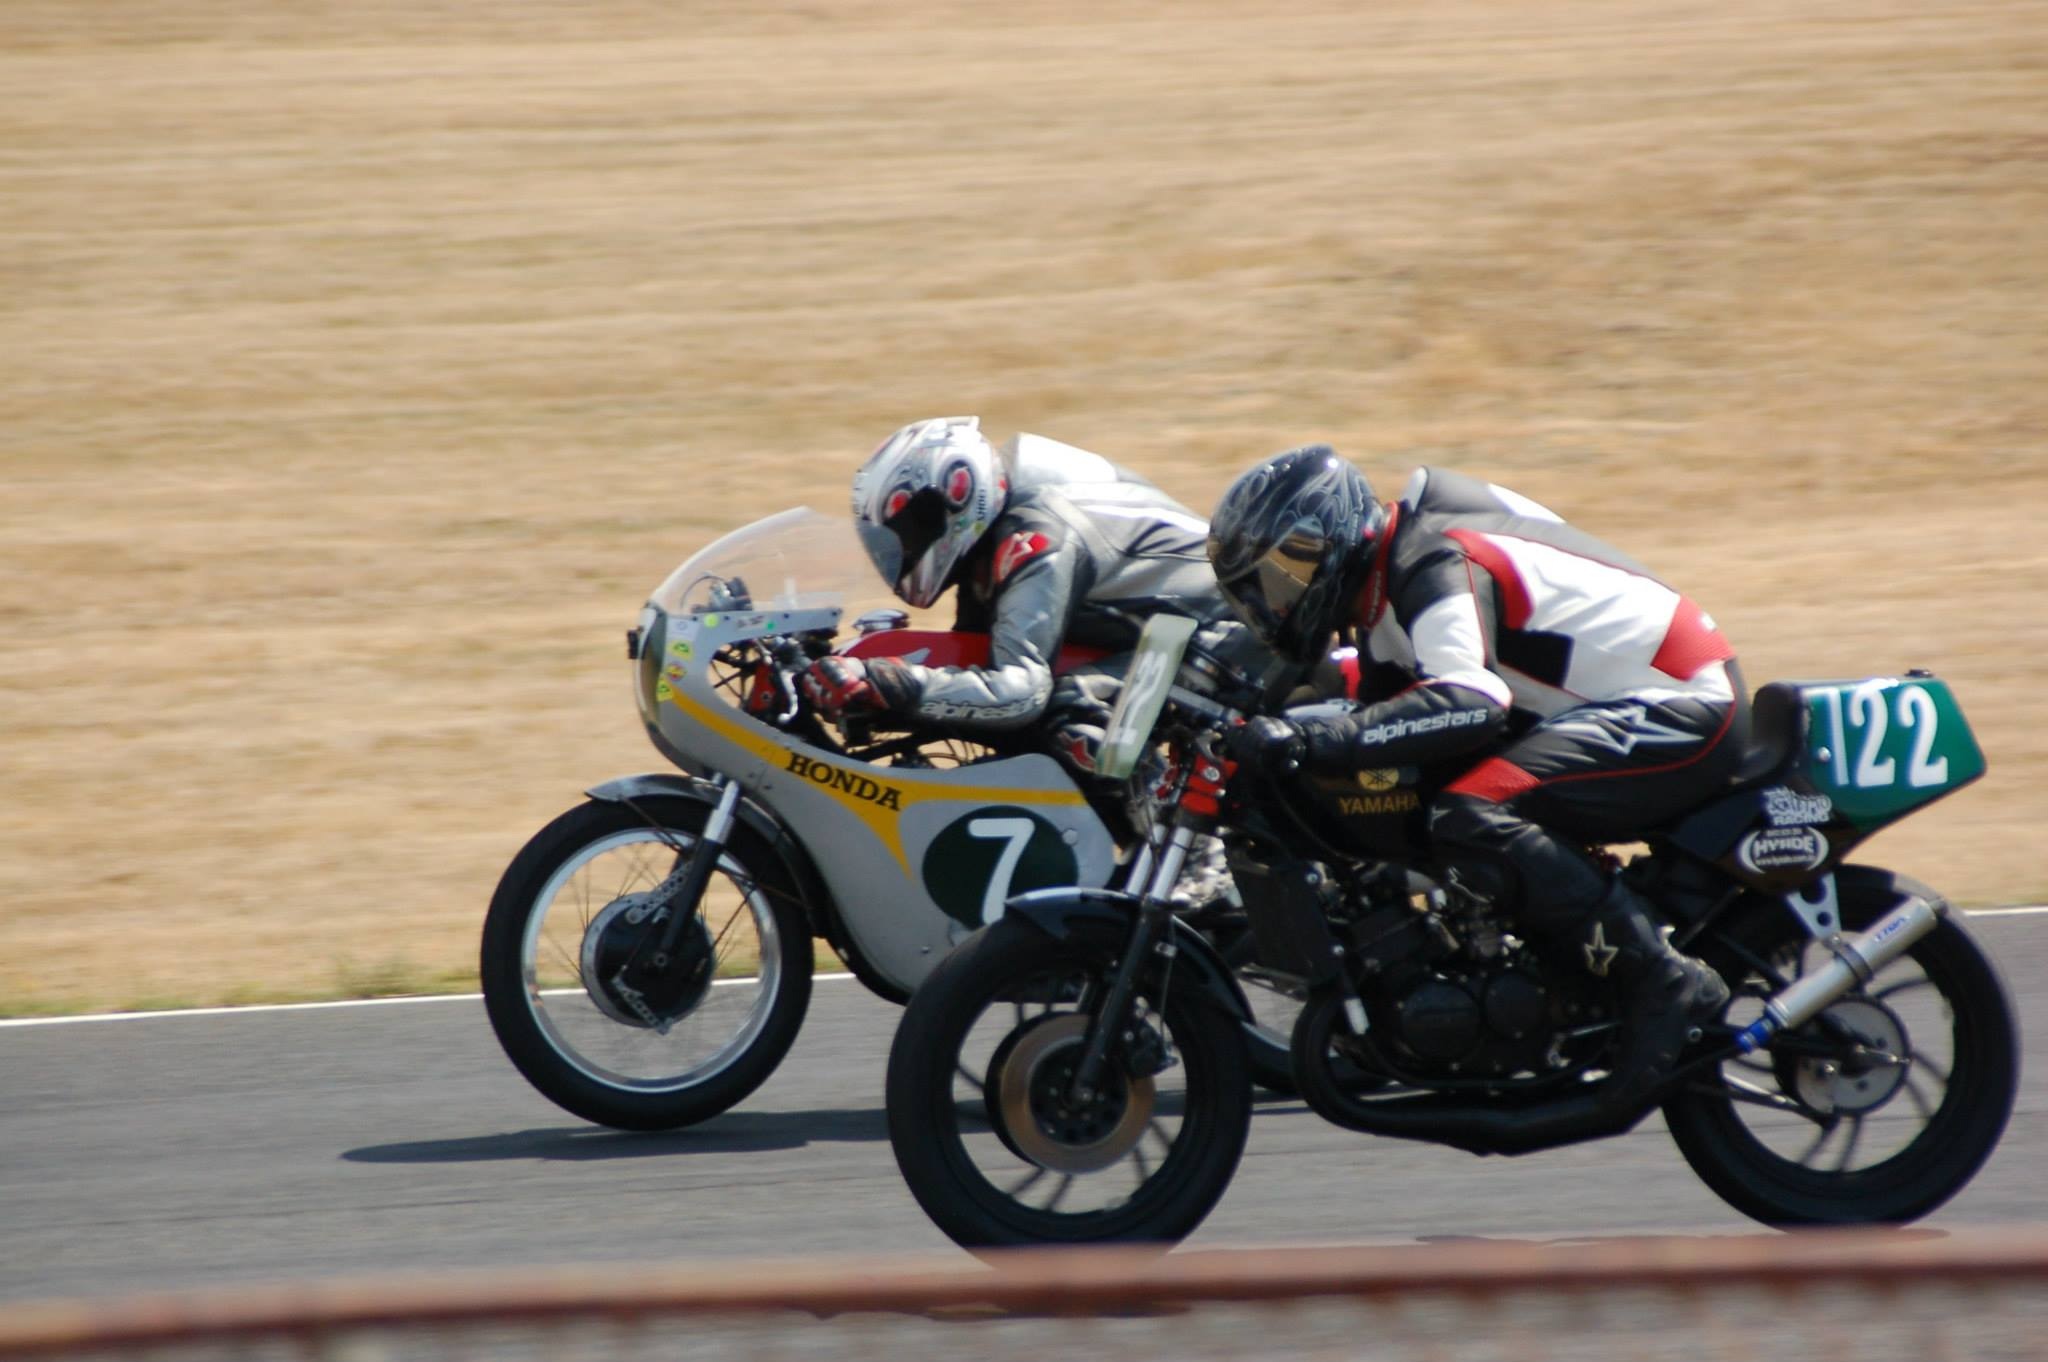
… the bike in action!
Here’s some selected shots of me throwing the bike around at trackdays, and at its race debut in Tasmania.

Work I’ve had to do to it
This section is pretty full so I can look like I’ve done heaps, but in reality I’ve done very little to it since buying it from Mick. Mostly cleaned up a couple of slightly rougher edges he was happy to work around, and I decided (since it was a new toy) I could splurge the time and money needed to smooth them out.
Adding stickers to make it mine
Stickers are proven instant hp gains, so I had to do this.

TGR logo is the most essential.
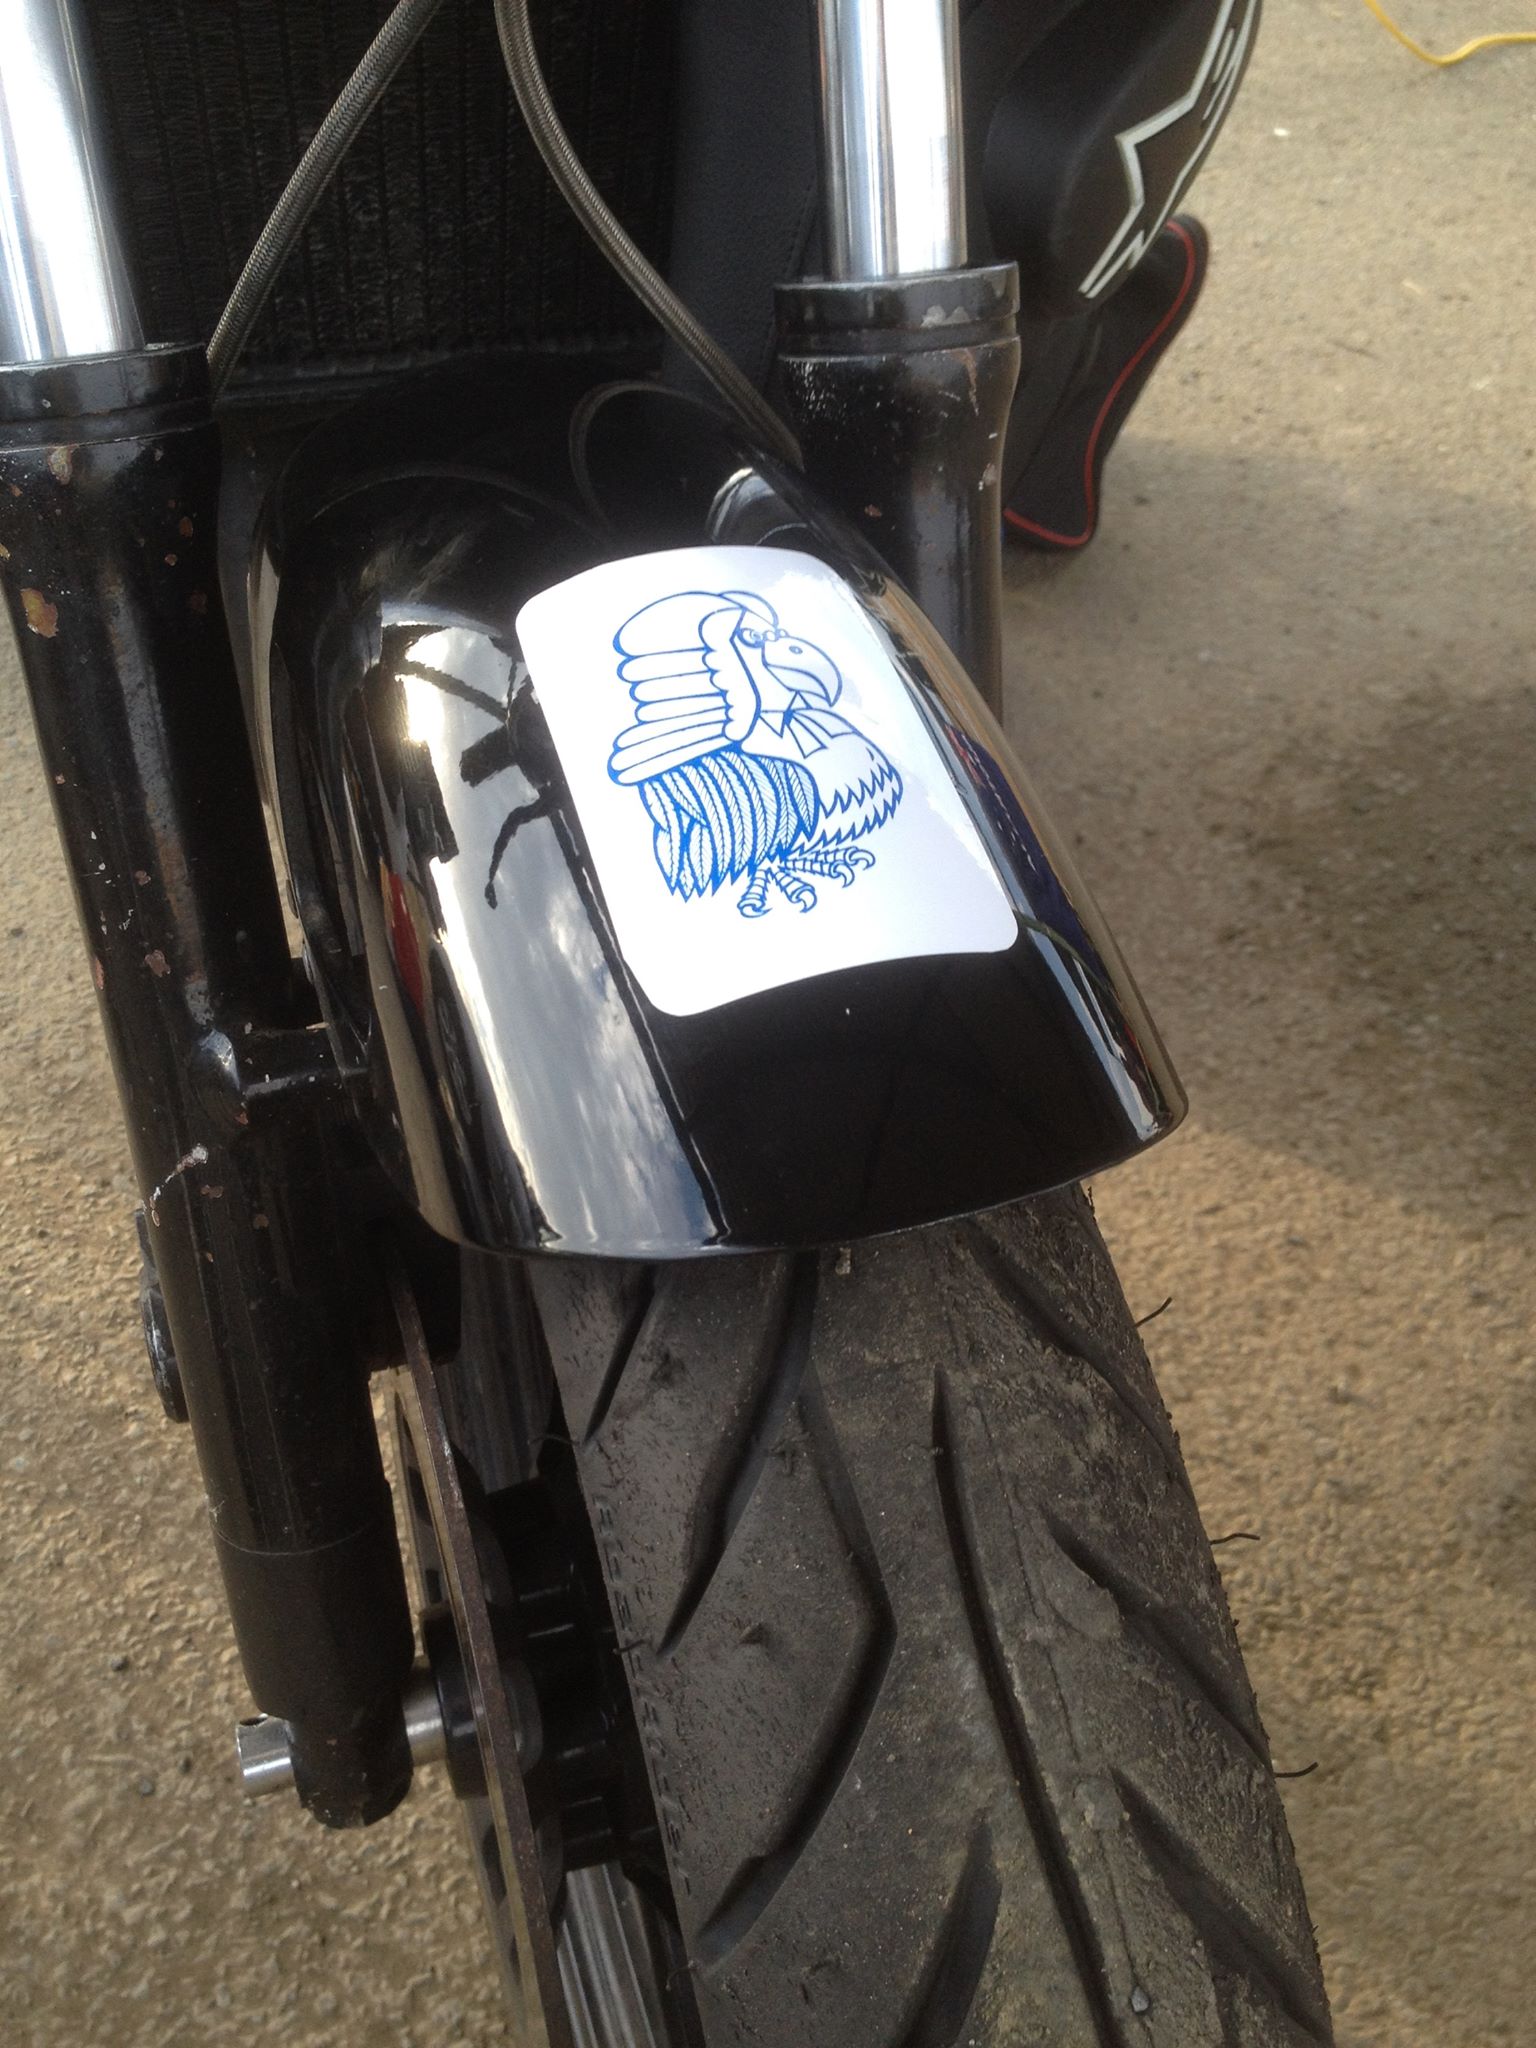
The Legal Eagle is my dad’s logo, and only fitting since he sponsored me some stuff to help me race down in Tassie at Baskerville :).
Removing self-ejecting mufflers
The modified RG250 chambers are awesome, and produce a lovely powerband from about 7500 rpm till climbing to peak power at nearly 11,000 rpm. They are a bit of a challenge to fit nicely to the bike, and one issue Mick always had was the mufflers tended to fatigue the stingers and try to fall off. On my first trackday outing, I threw the muffler at some poor bloke on a CBR600 I just overtook. I can only imagine his annoyance, first at being passed by an old 2 stroke, then at having to doge its muffler. Insult added to injury.
The issue is one of a lack of support at the back, to help the muffler out. The chambers were also solid mounted both at the motor and the footpegs, which added to the vibrations. Just one of those things, it needed a re-engineer to make it better and it lasted Mick ages in the old configuration. New bike = more time to play. Out to Charlie’s to do a bunch of welding. First job was to make up some bracket mounts off the subframe (I’m probably the first person to add weight to a race bike, haha), then we re-profiled the stingers using some Cr-Mo tube stolen from a discarded pushbike (it had the right ID of 25mm, and was nice and thin walled), and then whipped up some nifty alloy exhaust hangers out of some nice 4 mm plate Al. Finally, we tested it with some scavenged black silicone tubing stolen from something else, but I went with high-temp silicone bought from a FullyHektikSik supplier for cars to make soft connections to the mufflers. Coupled with RGV250 exhaust hanger grommits, a lot less vibrations are transmitted to the pegs and also the mufflers. Win all around really!
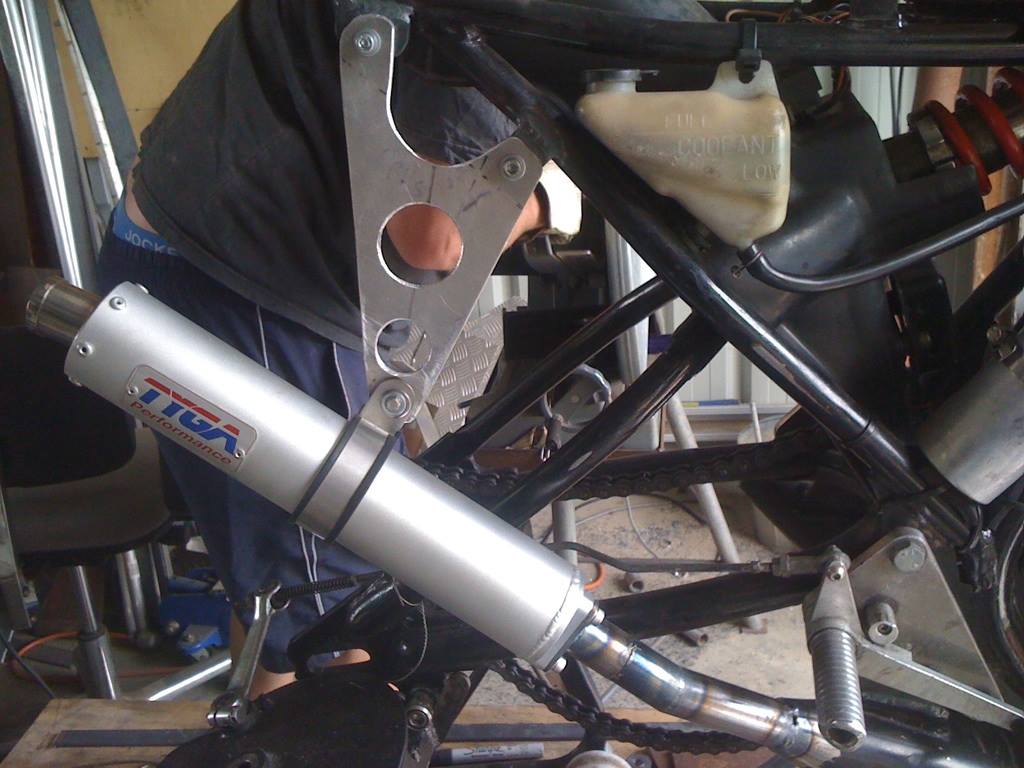
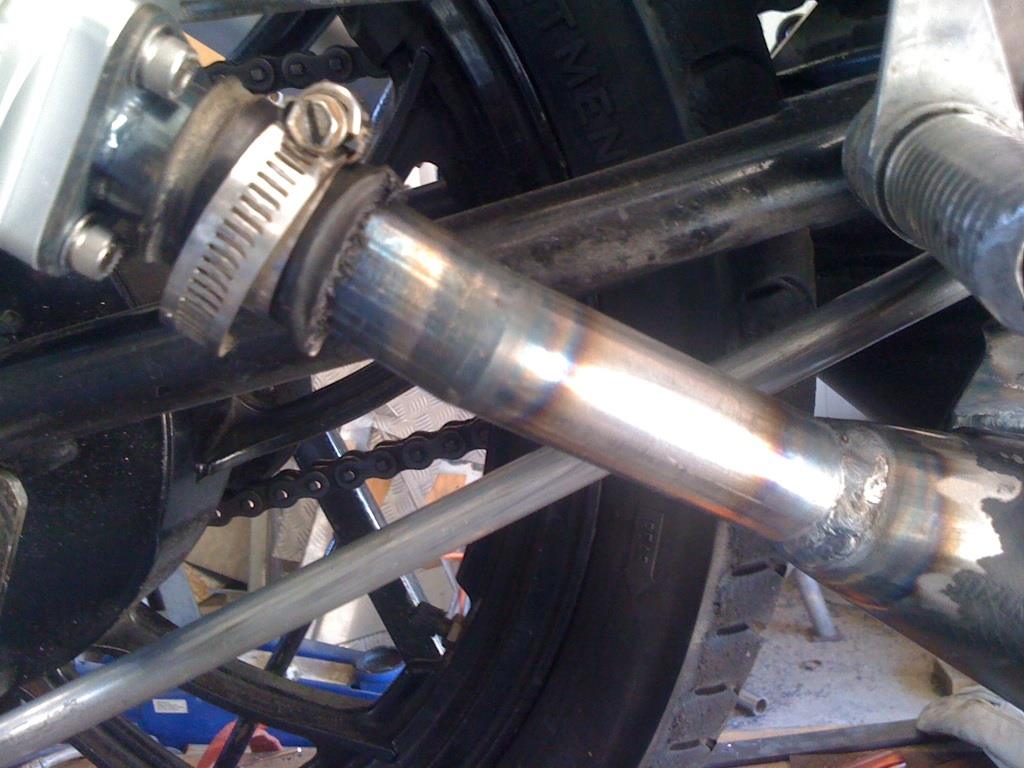
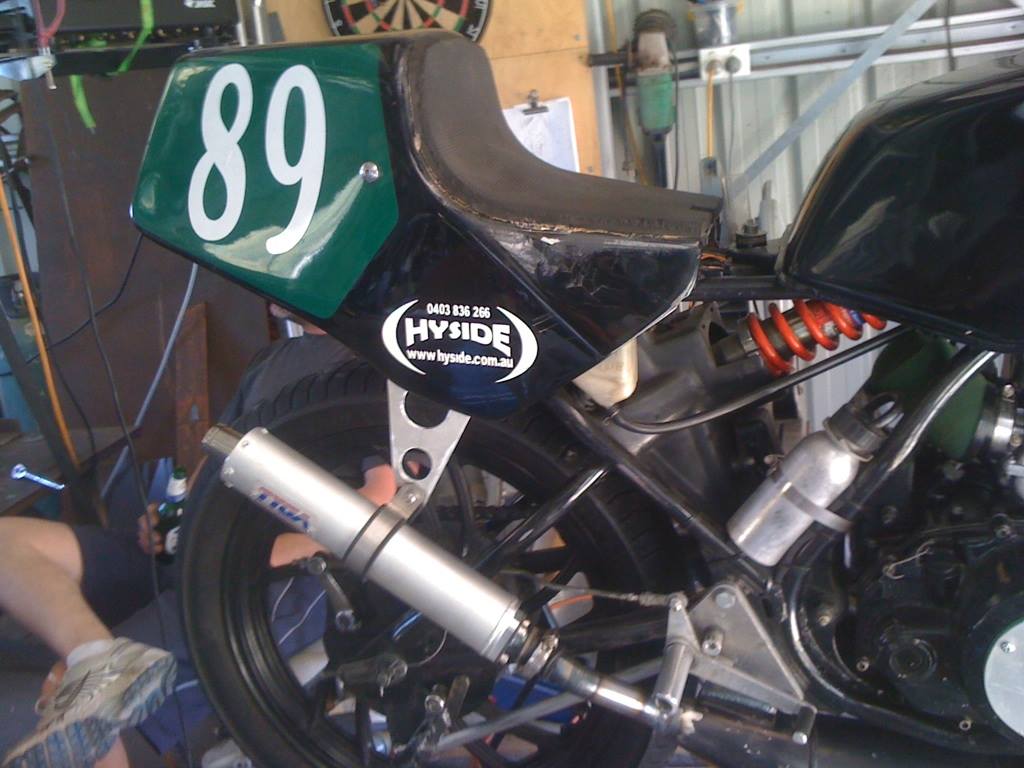
So far so good, they haven’t tried to eject themselves. The newer Tyga mufflers I put on are also pretty cool… I never found the muffler I threw at the bloke at Wakefield!
Fitting newer and betterererererer tyres
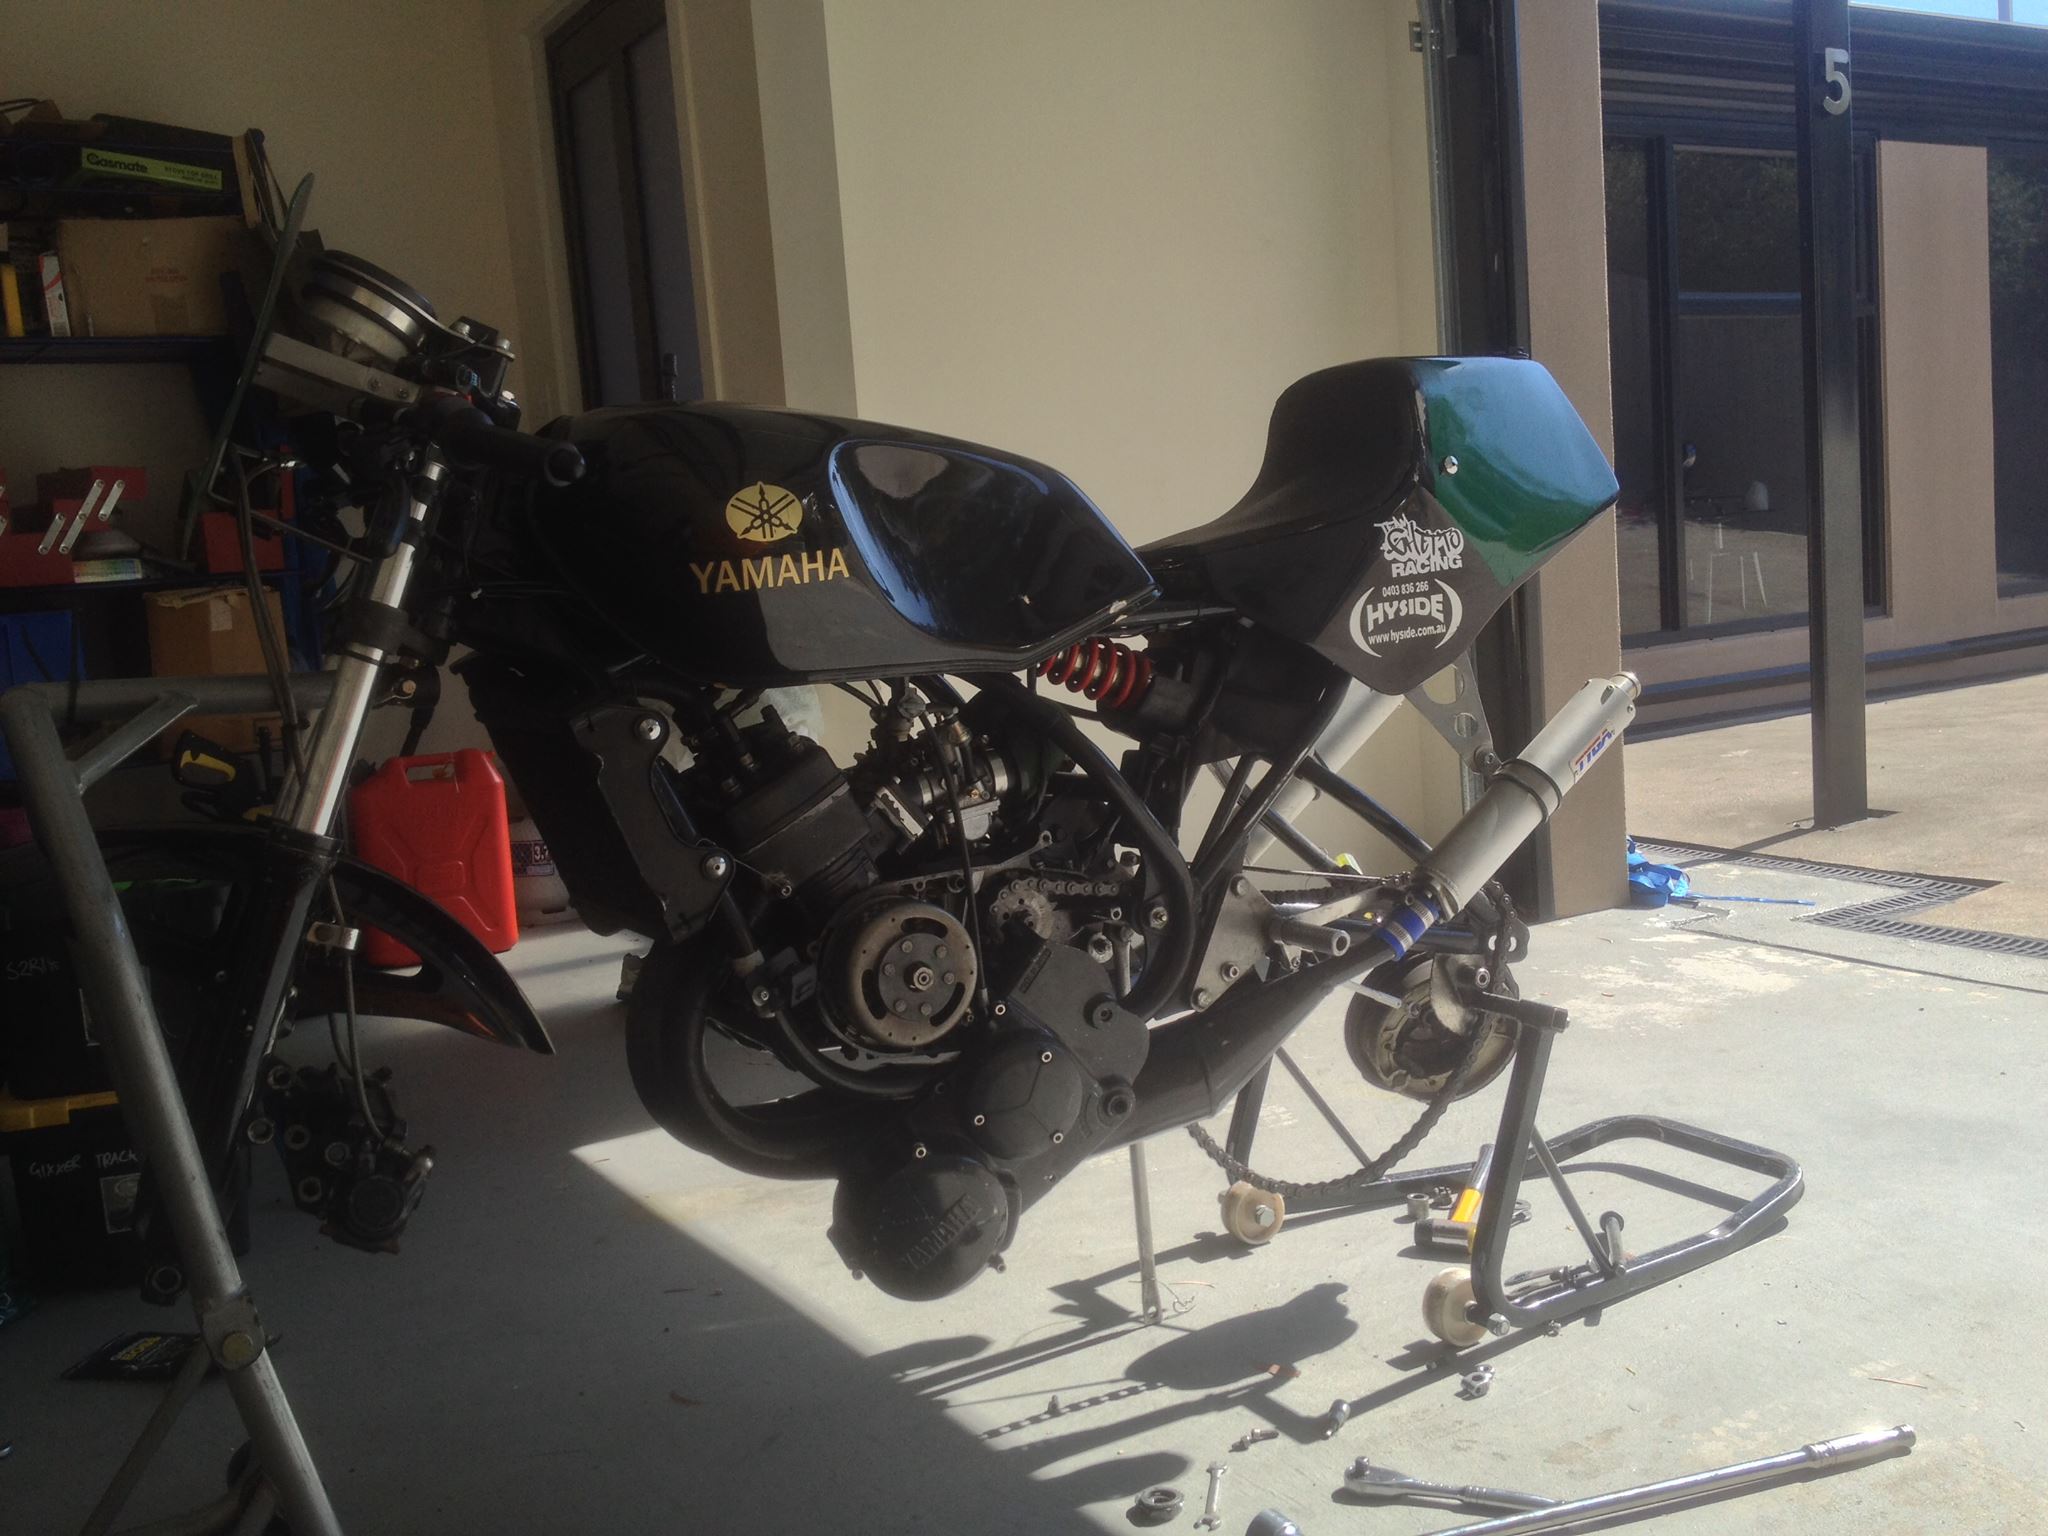
When I bought the bike, the front was circa 2010 and the rear a touch later. The front was pretty close to being done and was the older style, flat tread block Avon AM20 race tyre in 90/90-18. Avon released their AM26 ‘RoadRider’ the other year and it has a nicer tread pattern, plus is available in both road and race compounds (naturally, I bought race…). I was able to grab one of them, and the AM22 to suit the back, from the US and get them shipped down to Tassie for me to fit prior to its first race. Initial impressions are good, it tends to move around less on the tread blocks at the front now. No pics of the actual tyres yet but I’ll do some one day, promise. Here’s the bike being stripped down for all the essential maintenance and fitting the new tyres… about an hour after I arrived into Hobart!
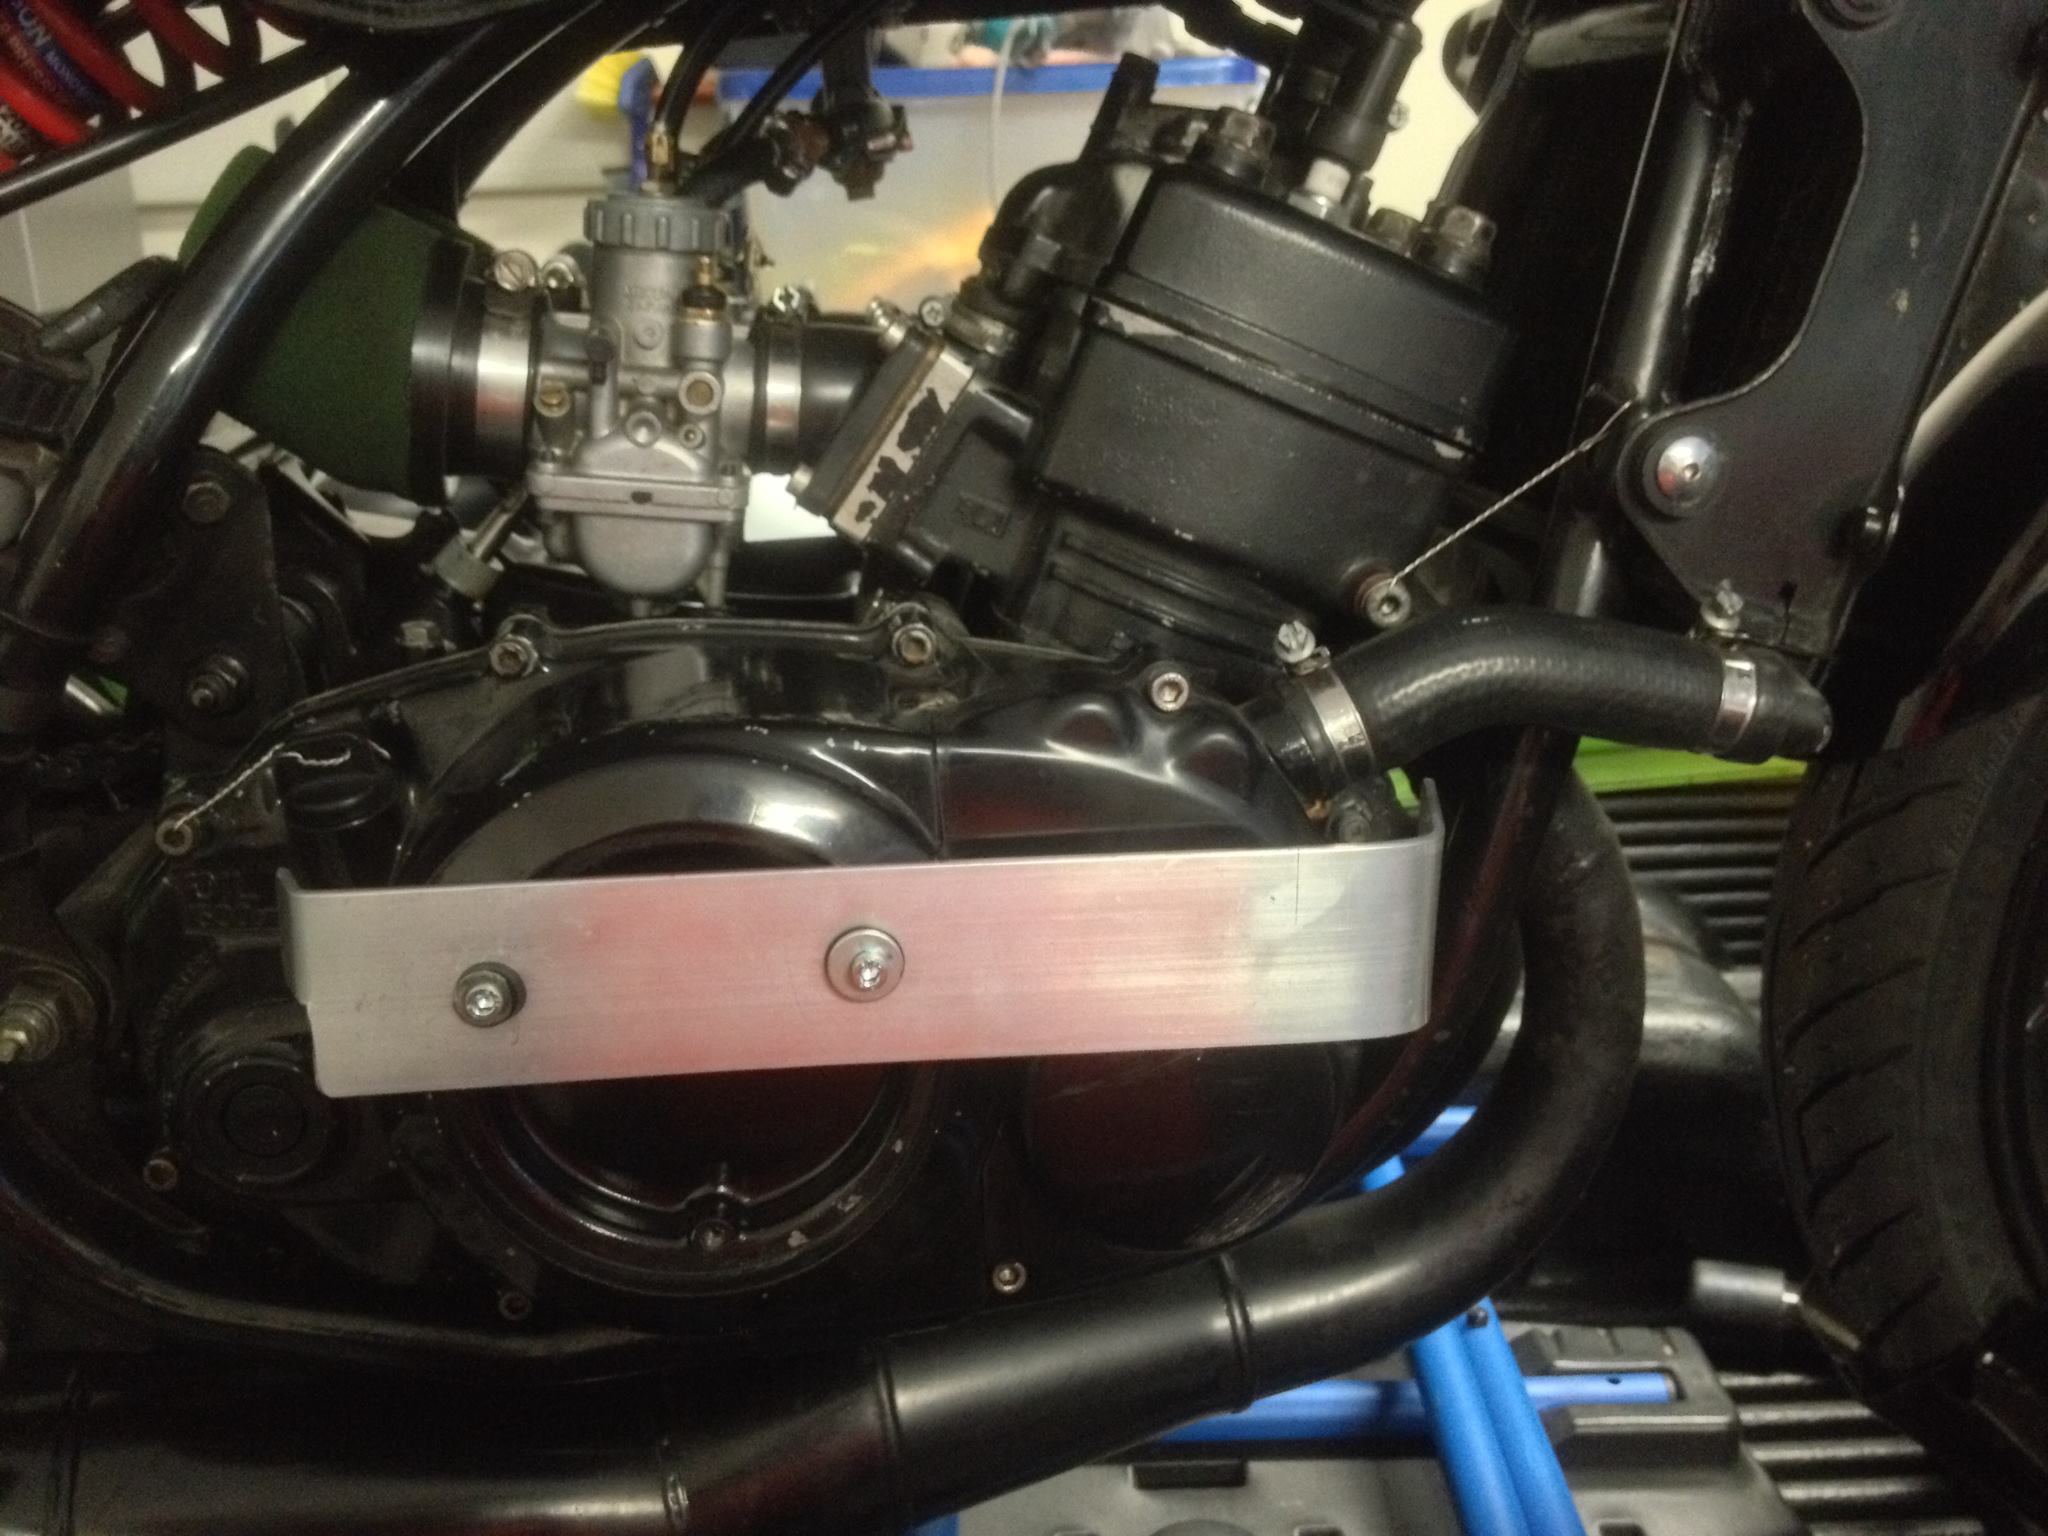
Aux clutch cover (temporary, for now)
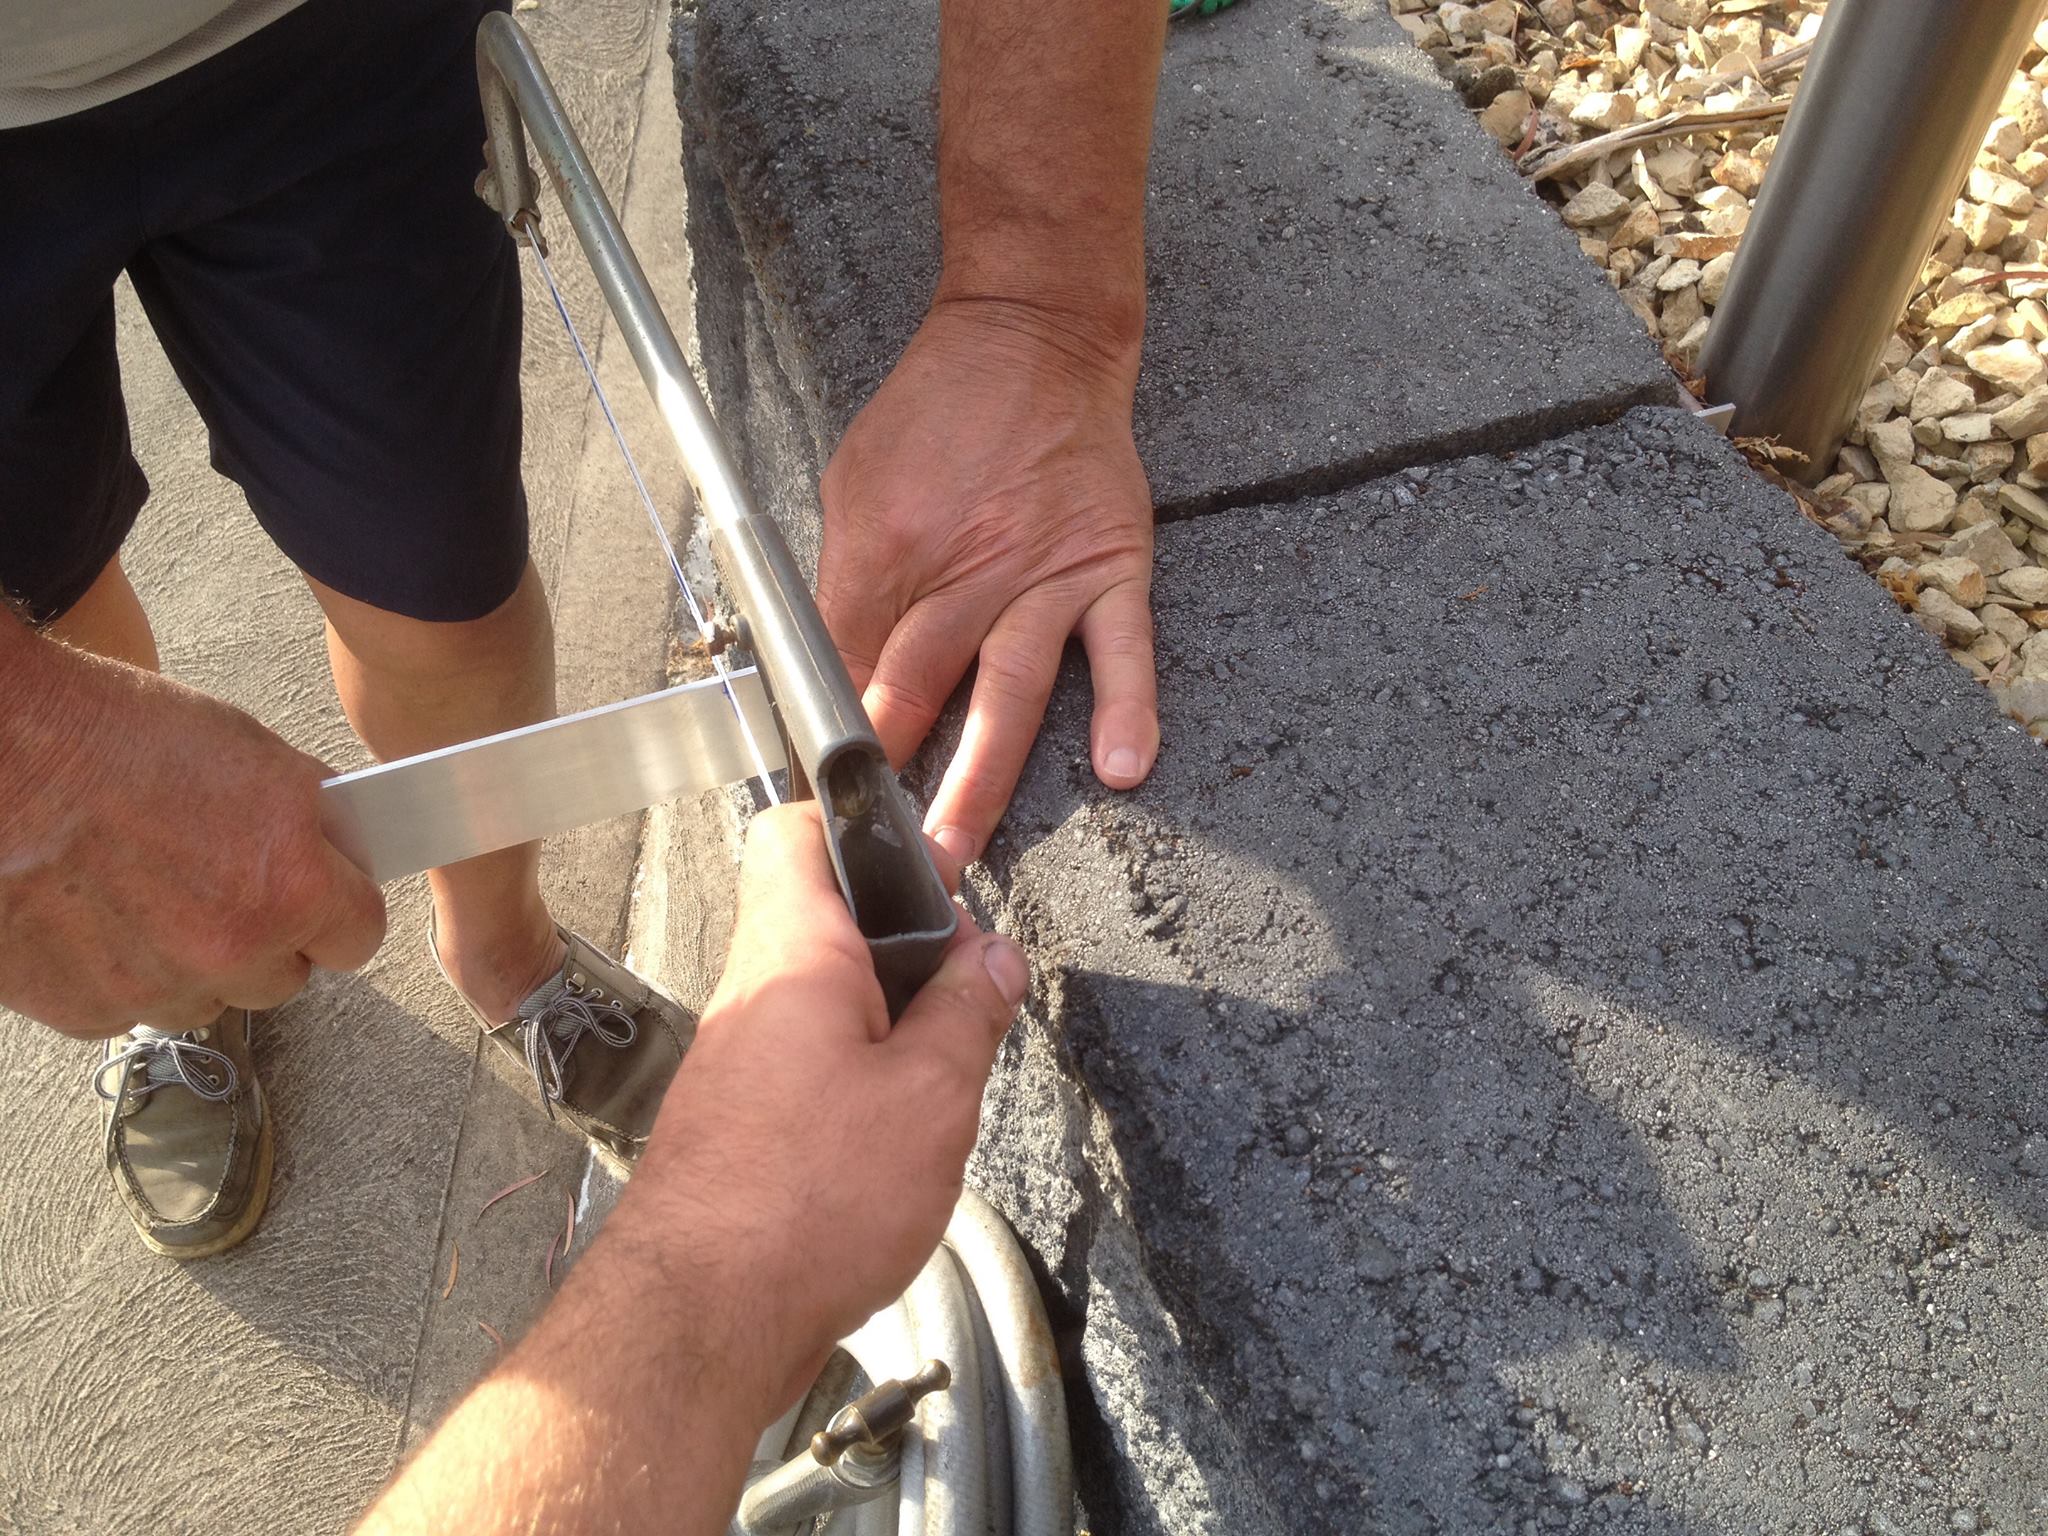
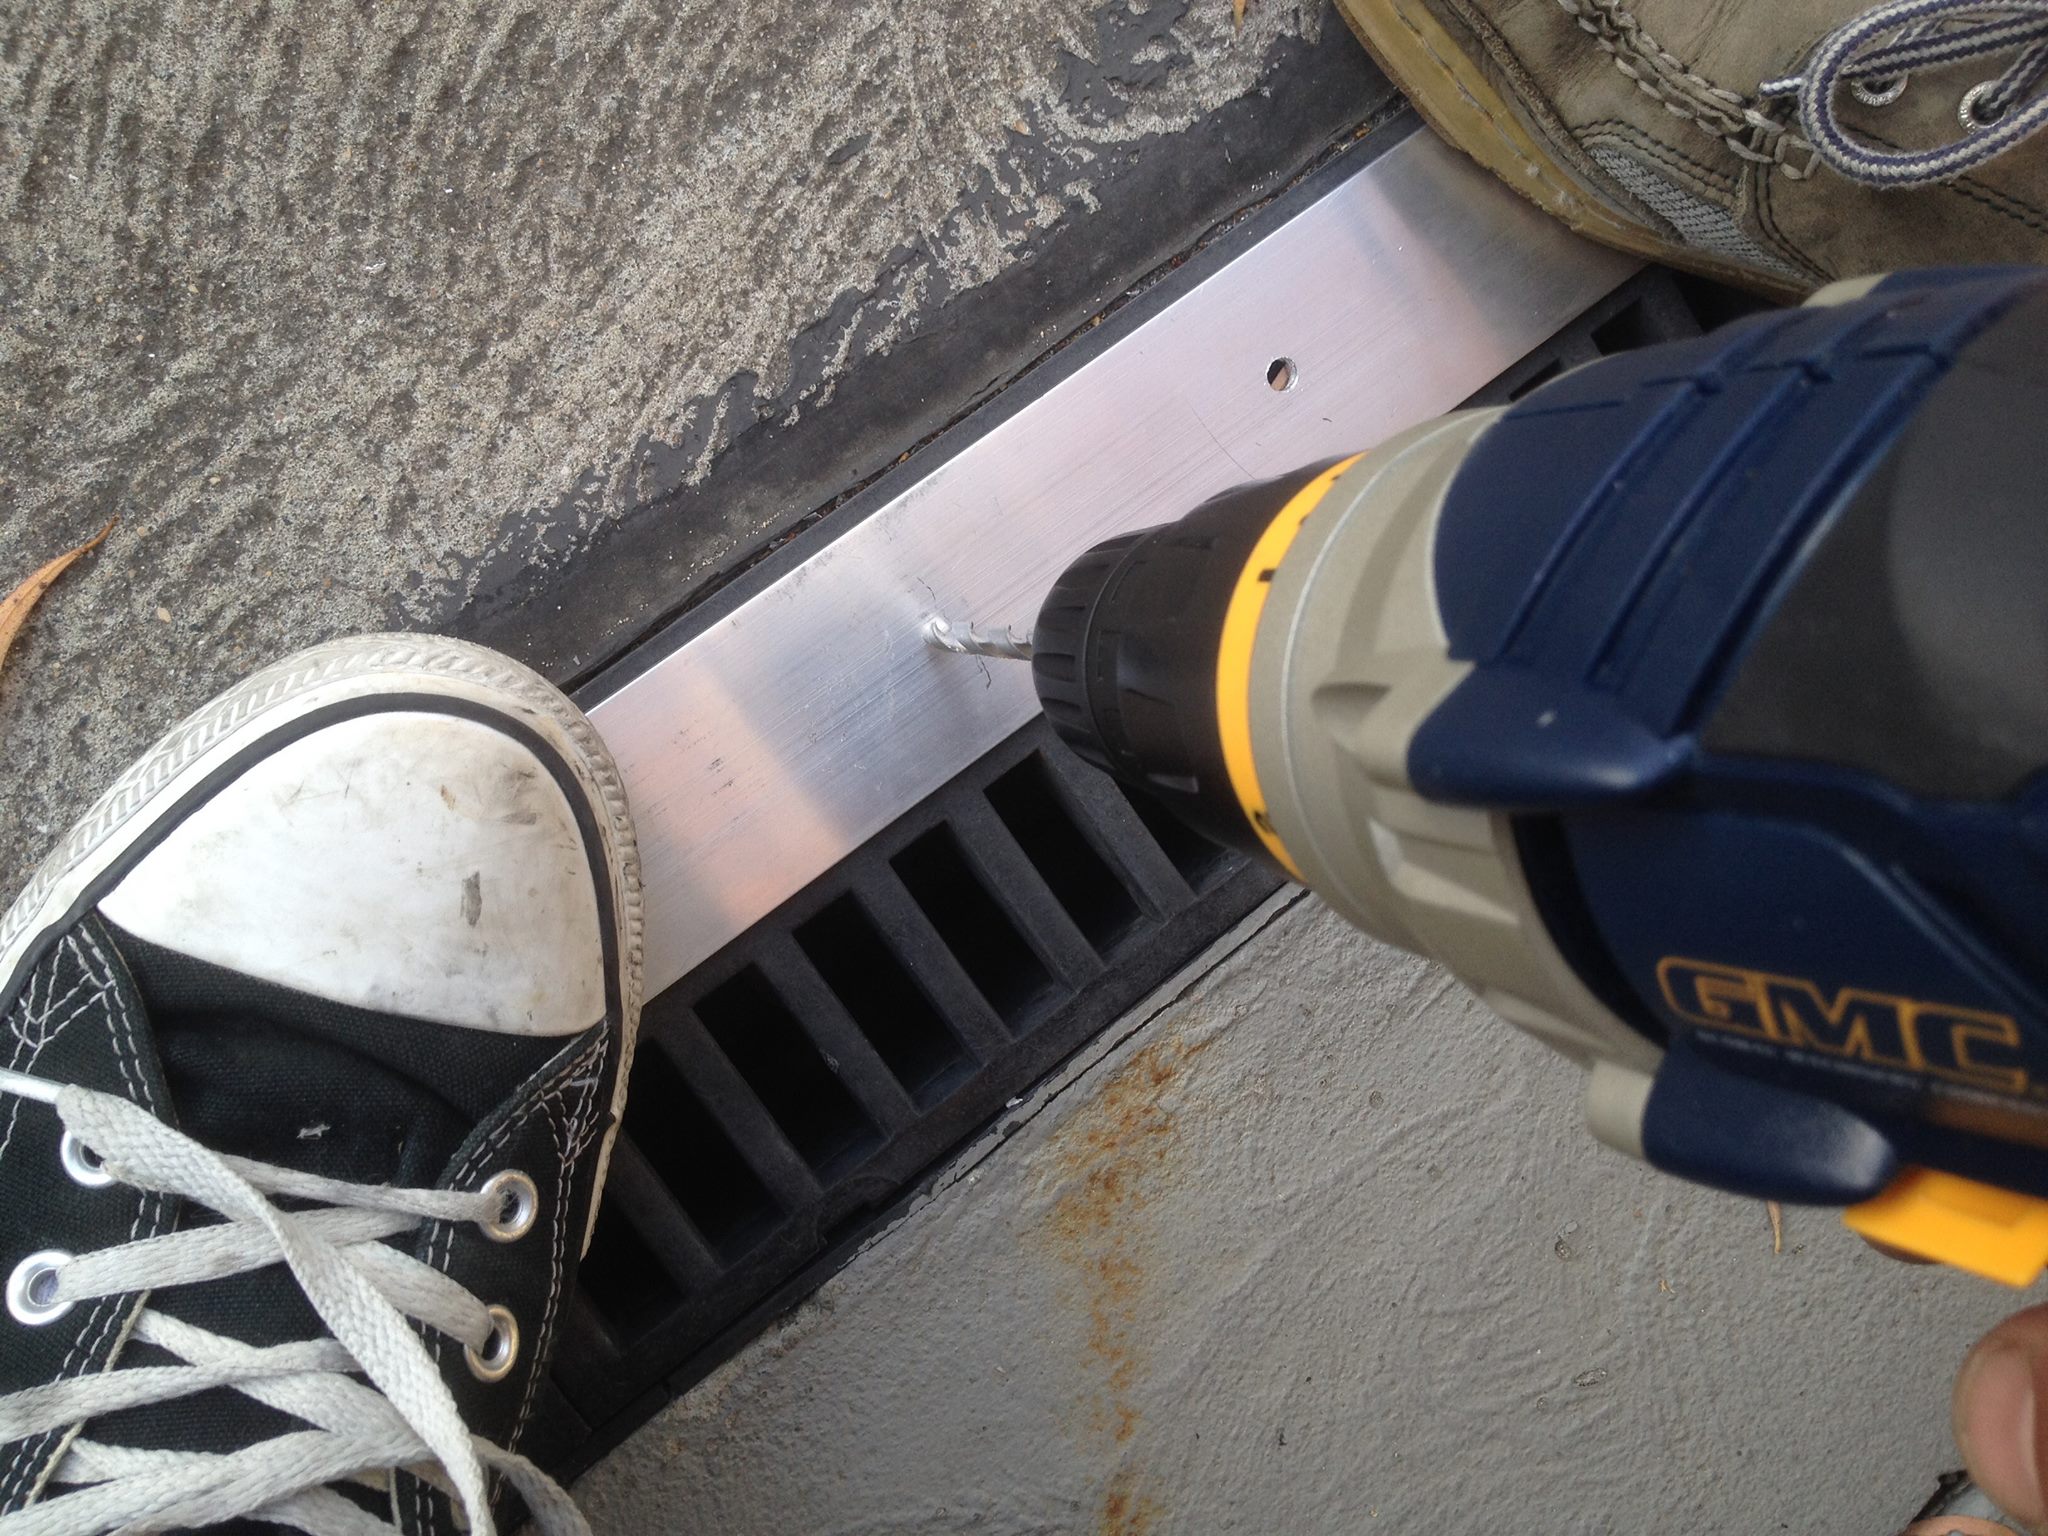
This is more of an annoying thing than something I wanted to chage, but it will let me make the bike a bit more mine. At Baskerville at a track day, the aux clutch cover that was on the bike fell off (and I couldn’t find it). It was a nice disc of thick alloy, with a plastic spacer behind and looked great. Despite being loctited in, the 3 screws vibrated themselves out and I was left with no clutch cover for racing the next day. I sent my Dad to Bunnings for supplies and we TGR’d up a solution suitable to get me racing. Once I get home, I’ll make a CF-Kevlar clutch cover like I’ve done for other bikes. This is only possible because this is 2 stroke: otherwise, carbon or carbon-kevlar is banned in Period 5. Yay for 2 strokes!
In the meantime, here’s the building of a temporary clutch cover to get me racing. Ingredients? Hacksaw, file, a pocketknife in lieu of a scribe, a drill, and some M5 bolts.
Float valves and floats
No pics for this, but when I bought the bike it had started to wear the float valves extensively and would leak out of the overflows when at idle (at speed, the vibrations of the motor stopped it leaking so much). I first bought a set of supposed RD250LC float valves from the UK but they turned out to be wrong. I also noticed there was a tiny hole in one of the floats, causing it to stay down and hold the float valve open. Using some skill and cunning… also known as a Mikuni parts diagram… I ordered a set of 4 floats and 2 float valves from the US. Easy job to fit and worked a treat.
Clutch
I’m going to have to rebuild the clutch: at full noise in 6th at Wakefield it’ll slip, and I noticed sometimes at Baskerville up the hill it’ll slip. The go is apparently air cooled metals with LC frictions, and using half standard and half heavy duty springs. I may go the whole hog and just go heavy duty springs, cause I like a firm clutch (riding a Ducati does that). I’ll obviously take a bunch of pics when I get around to doing it!