
Variable speed intermittent wiper stalk

Nothing much to this upgrade, just need a trim removal tool and a flatblade and JIS/Phillips screwdriver… plus the correct stalk.
Australian Jimnys (at least) only come with intermittent wipers on the front without variable speed. I found the default speed either too fast or too slow and almost never right. There’s a couple of routes people go to swap – there is an Australian Swift indicator stalk which does give you the variable speed intermittent but also includes intermittent rear which does not work.
The way that does seem to work and also gives you only switch positions that work on the Jimny is to get Suzuki part number 37310-74P20.
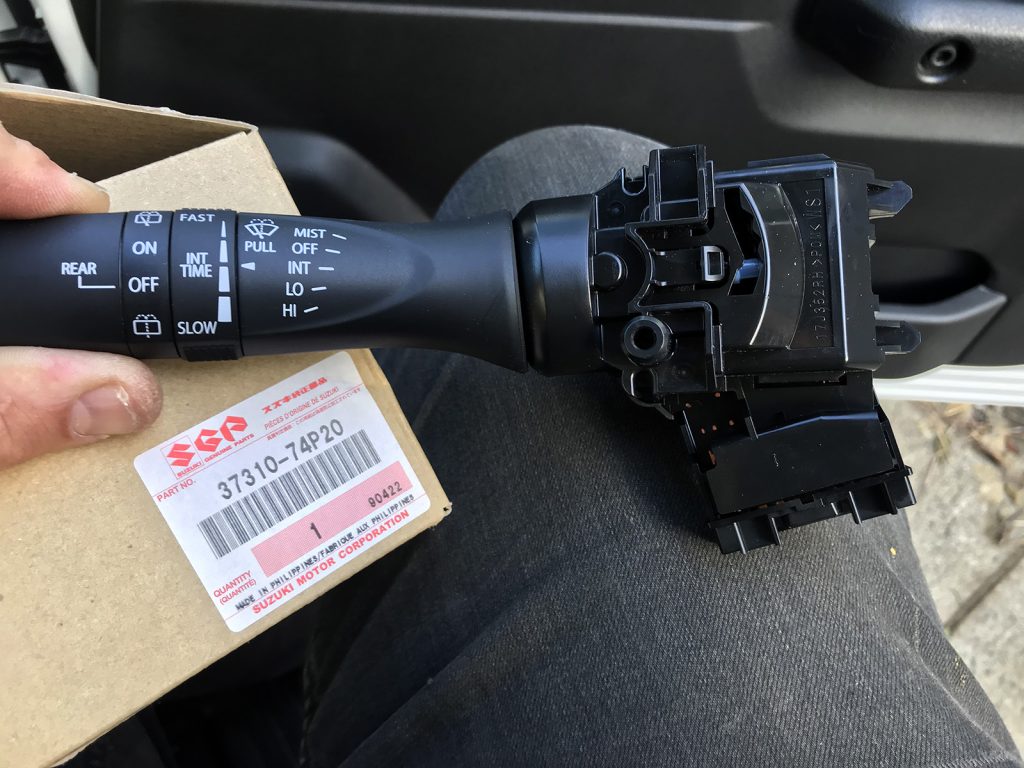
I believe it’s from a HA36S Alto Works but a) I’m not sure and b) it is JDM only so you’re going to be down to looking on ebay, Yahoo Japan or somewhere like Rakuten to get a hold of it. I bought a new one and paid about AU$80 including shipping, but current searching indicates they’re way more expensive than that.
The install is dead simple though and I think it is worth it.
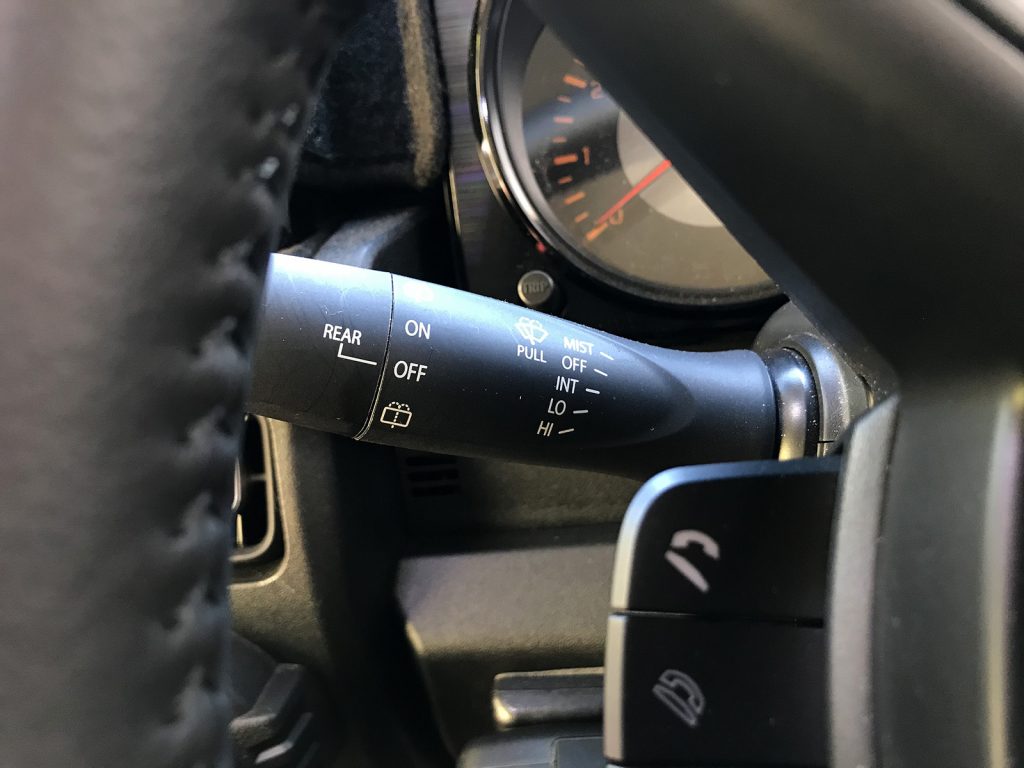
First, admire your old stalk because soon it will be in your ‘OEM Jimny bits’ pile never to be seen of again.
Using a trim removal tool, separate the upper and lower half of the column covers. You don’t actually need to fully remove the bottom cover but need to get it far enough out of the way and open so you can get to the stalk clip and wiring clip.
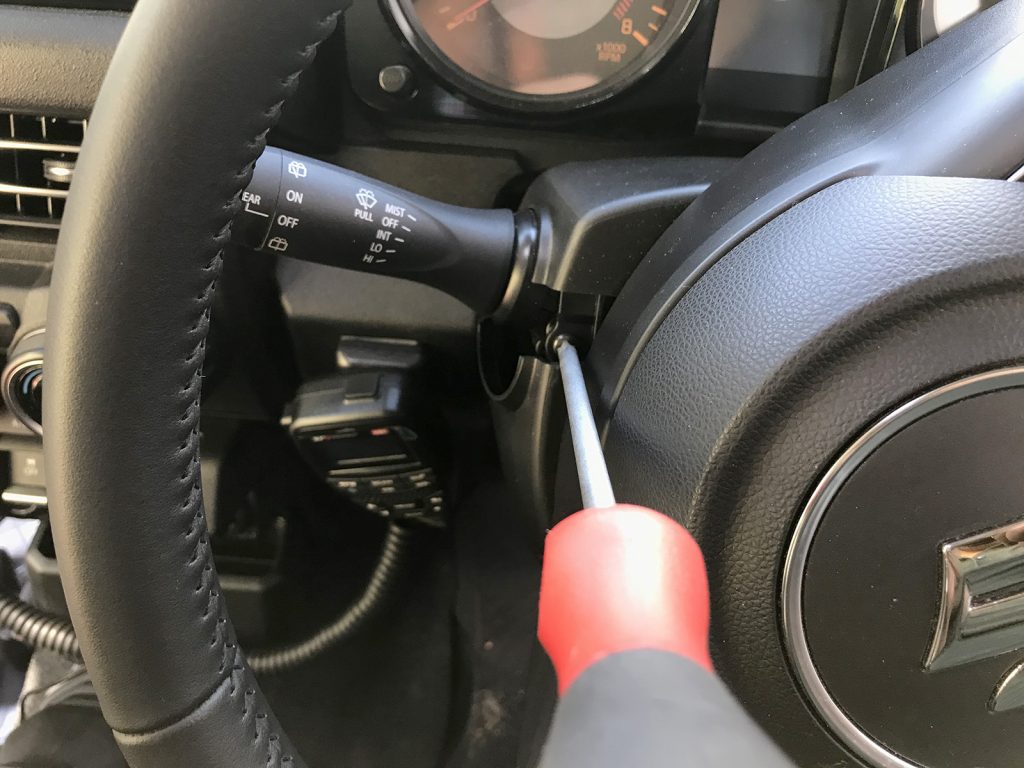
I forgot to take a photo of the screw on the right but there is one screw per stalk which holds the upper cover onto the stalks. Turn the wheel to the right about 90º, undo that screw, then turn it to the left and undo the screw on the wiper stalk.
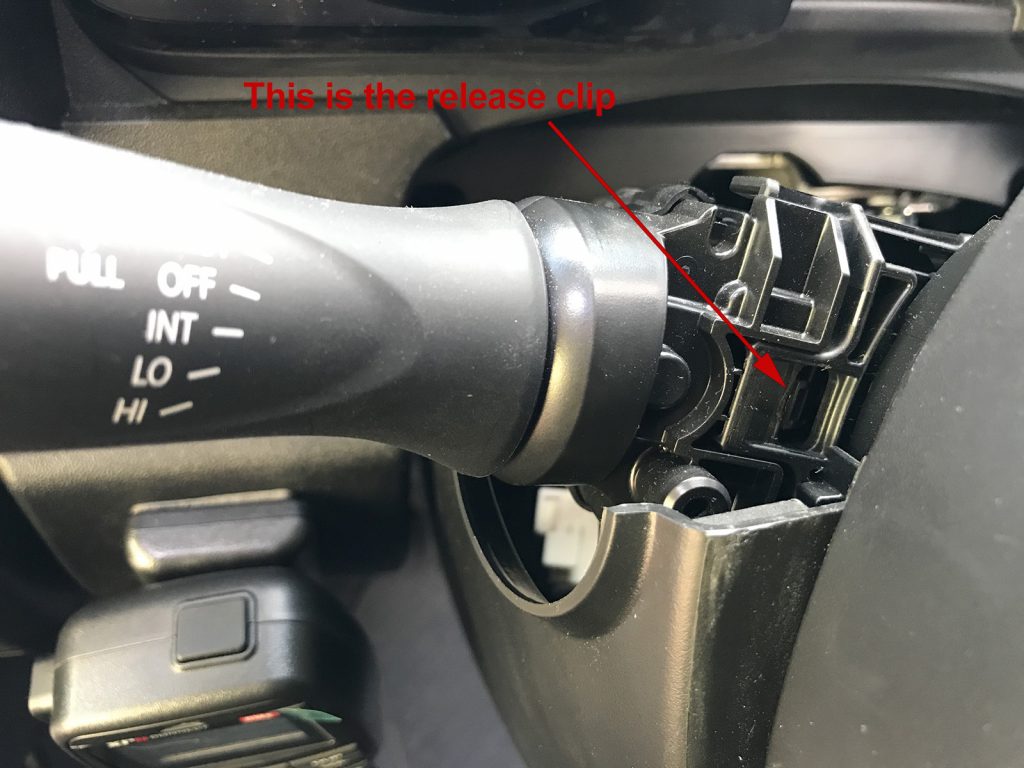
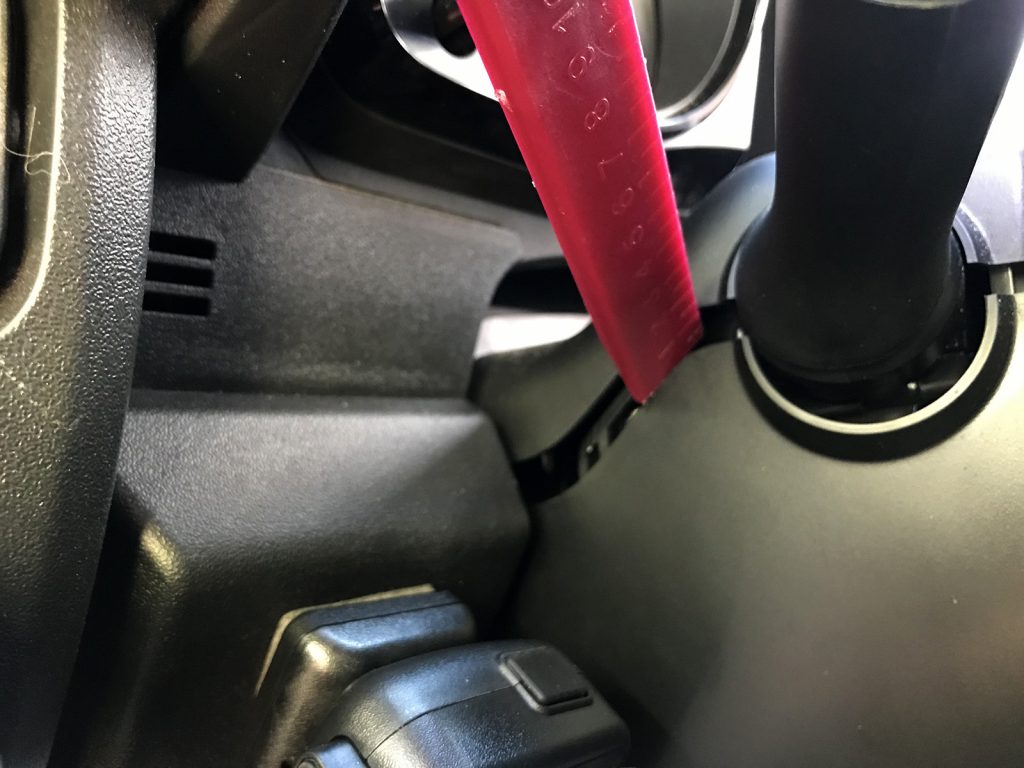
The release clip is a little hard to see and push but I used a flat bladed screwdriver and pushed it in. It’s indiciated by the red arrow in the photo above, and when you push it in then also pull the stalk to the left and it slides off the locating pegs.
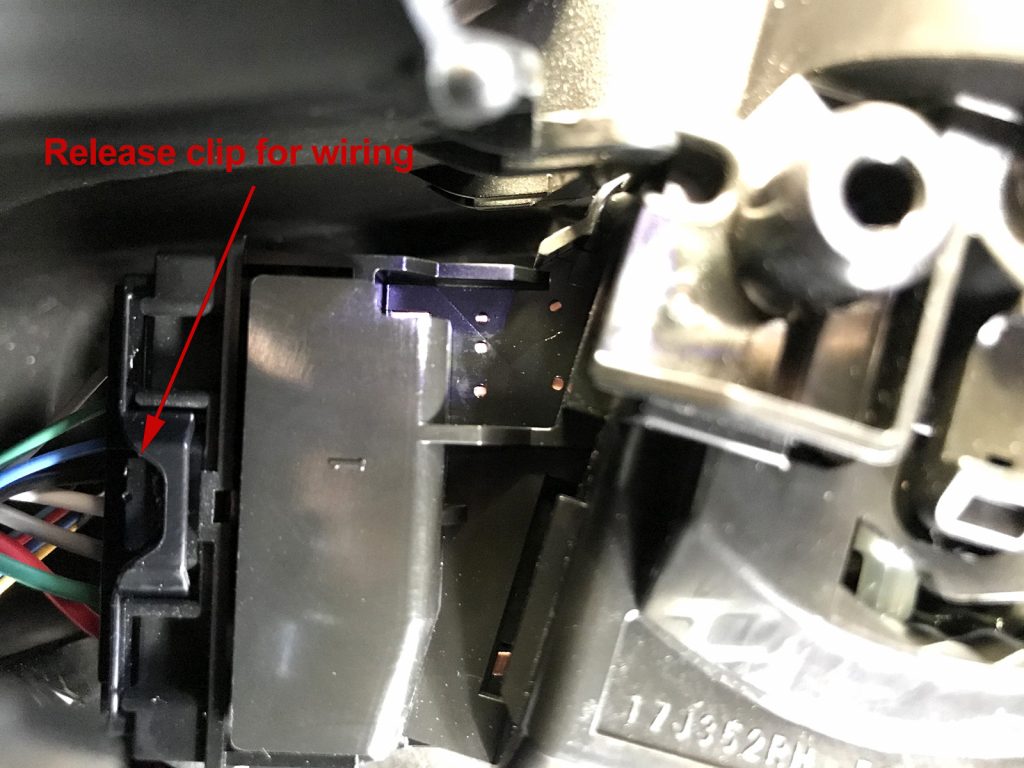
With the switch away from the clockspring holder, now you can release the wiring. There’s another push tab at the back of the wiring connector that you push in and then pull the connector down away from the stalk.
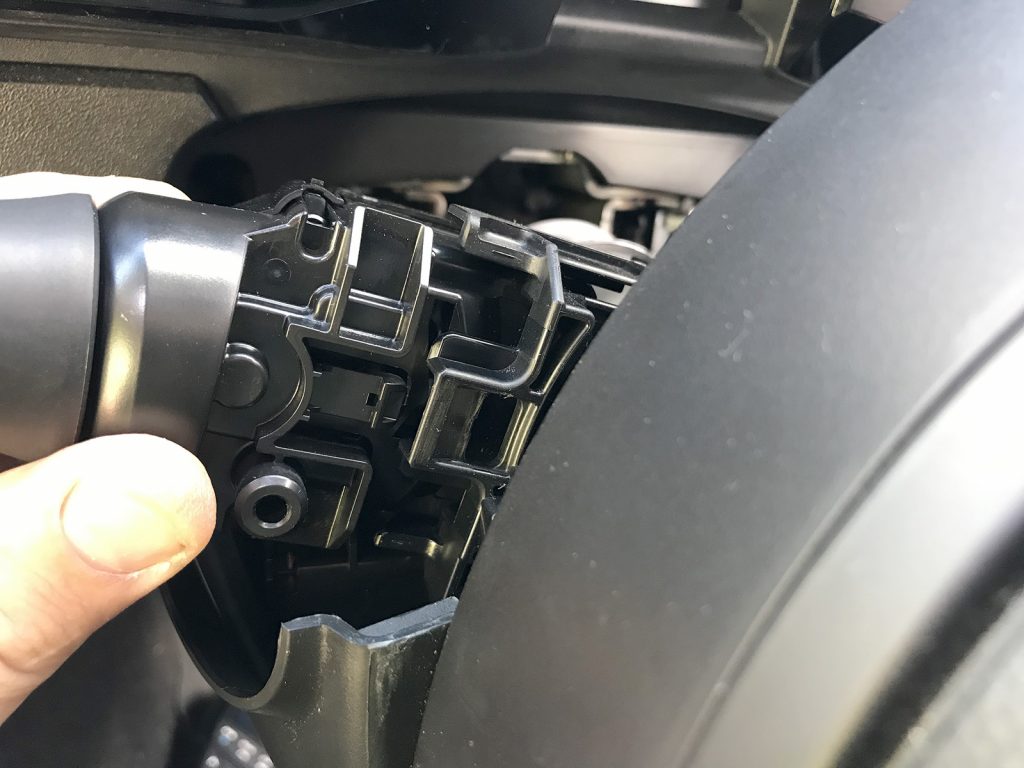
Refitting is easy – refit the wiring and then slide it onto the stalk holder.
Do up the two screws that hold the upper cover in place in the same way as removing (i.e. turn steering wheel left or right halfway to provide screwdriver access) and then clip the upper and lower covers back together.
With all back together, give it a quick test to make sure all of the modes work and you’re all set.