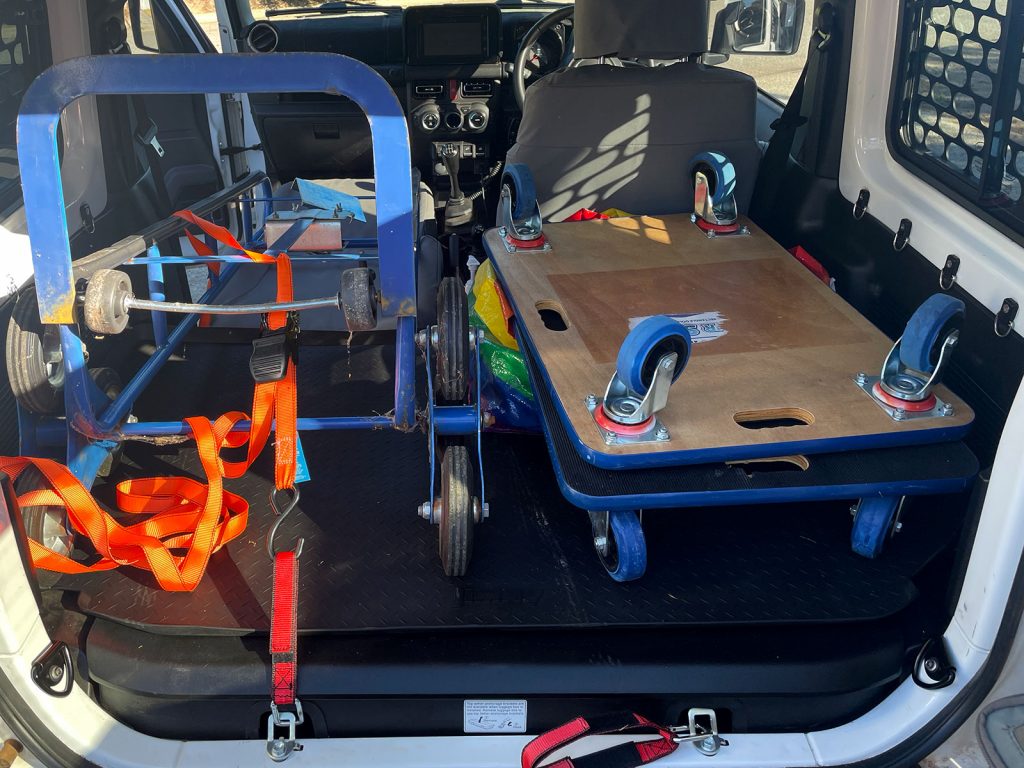
Some luggage tiedowns for the back
One of the main selling points for the new Jimny was the design of it for ‘professional users’ which includes the provision of multiple M6 threads in the back of the car for tiedown points.
Although there are factory tiedown points listed in the UK catalogue (9915F-78R00-000) they are expensive (~AU$250!) and are also hard to find.
These factory tiedown points also only cover the four main tiedown points (at the opening, and down beneath the base of the rear seat in the rear passengers footwells) and not the 5 M6 points beneath each rear window.
I’ve explored some options so I thought I’d go through the pros and cons for each so people can make up their own minds.
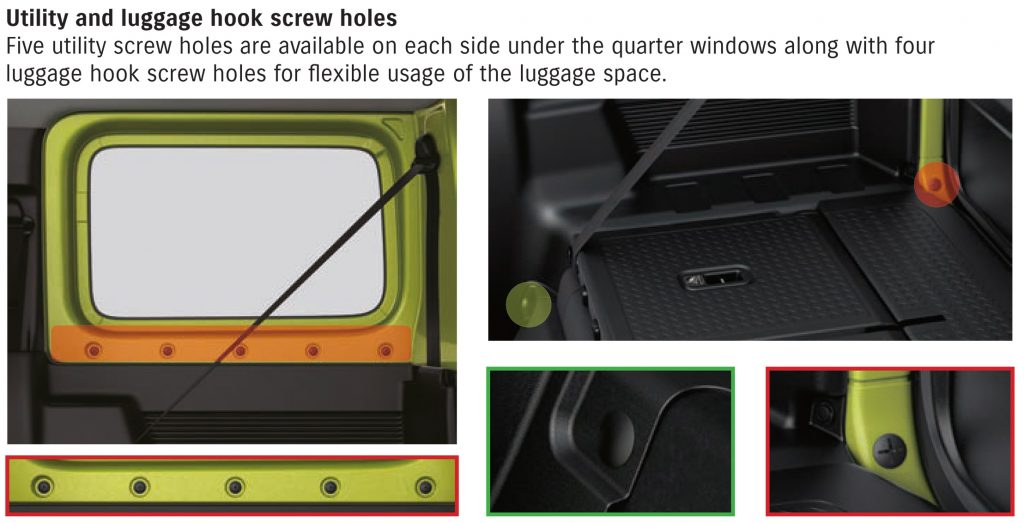
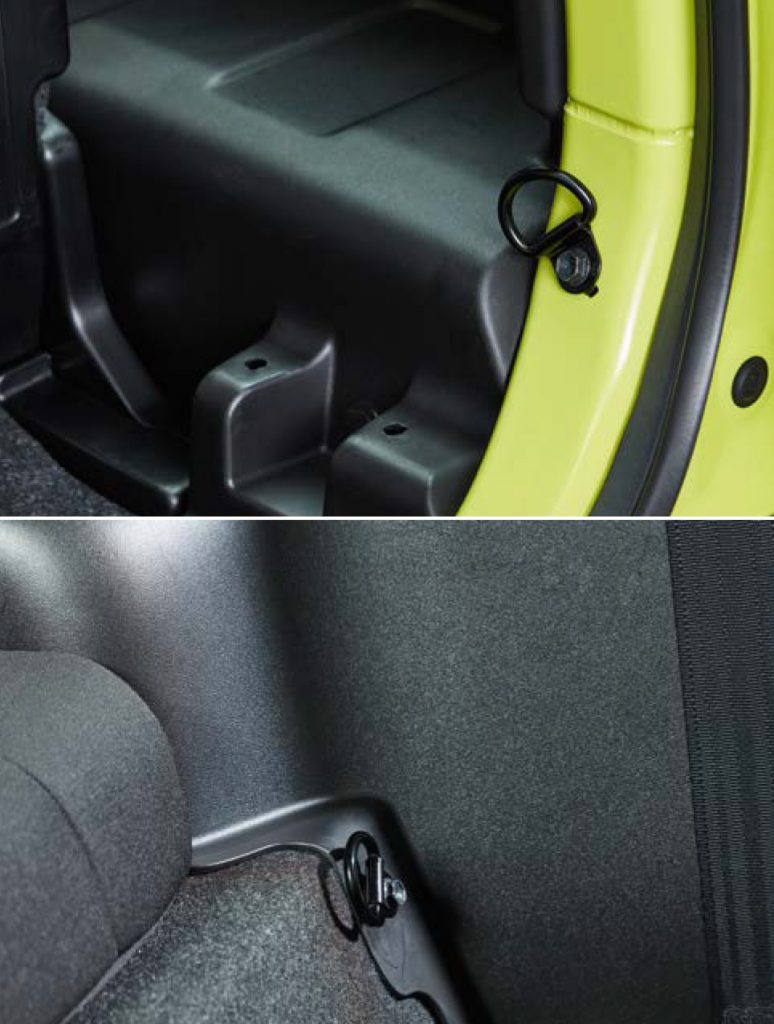
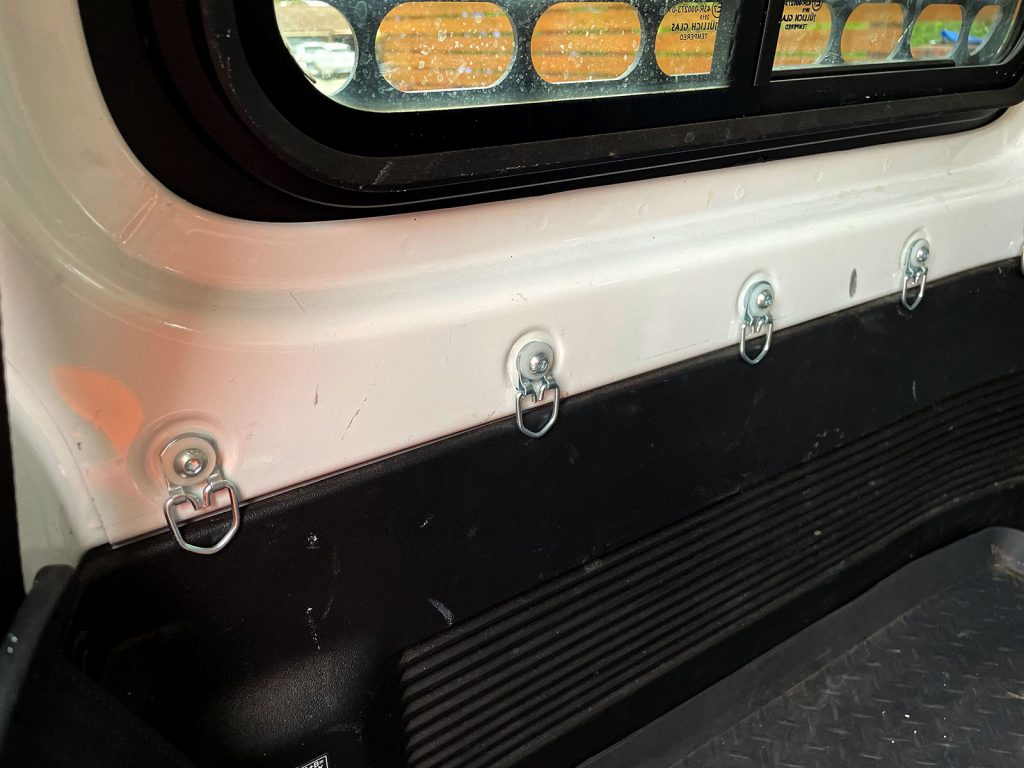
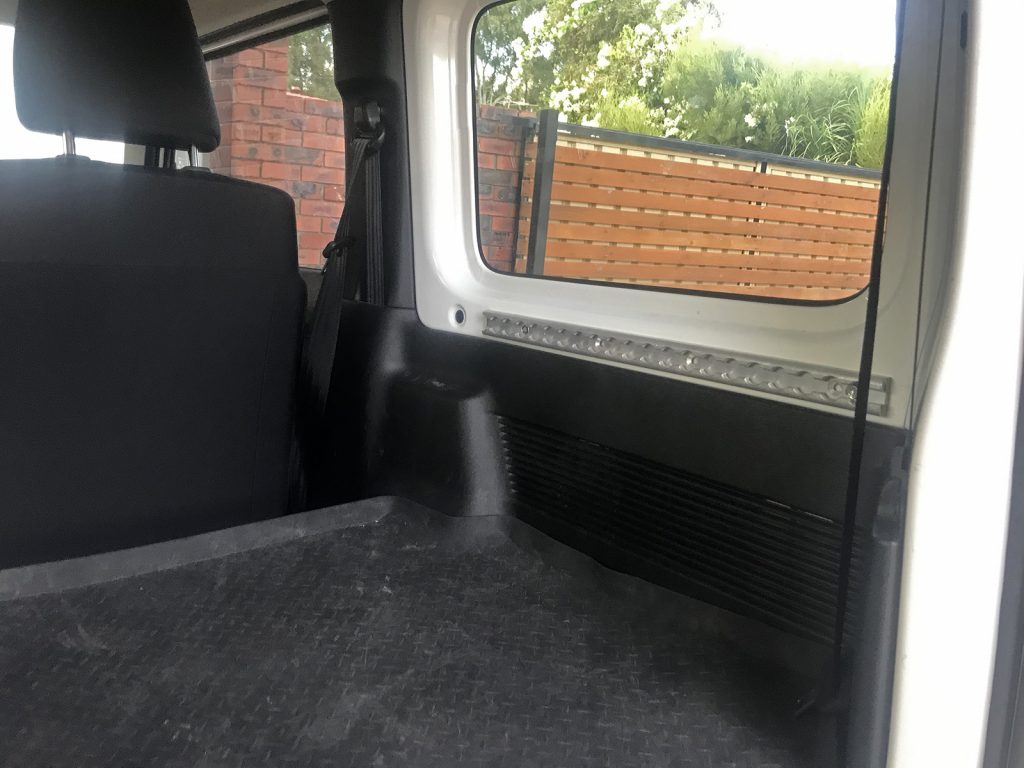
Note the Suzuki images show you where the various points are. The ones in the back are easy to see and covered with a plastic blanking plug which has a little fake screwhead on it. They unscrew, or you can lever them out with a trim removal tool.
The lower points just in front of the base of the rear seat is a little harder to find and it is a blanking plug that you have to lever out with a trim removal tool to expose the thread underneath.
Options
Solid M6 eyelets
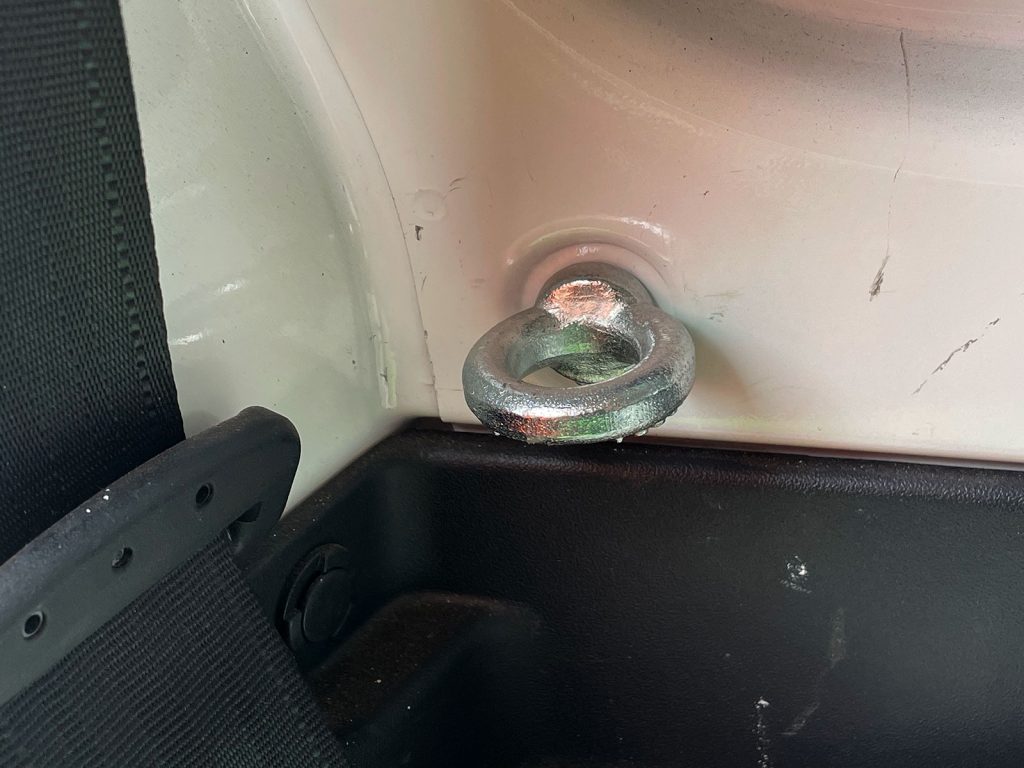
Pros: Strength, relatively easy to find in hardware stores, pretty cheap
Cons: Not low profile so might interfere with your load space in tight circumstances
These are an excellent option for the budget conscious Jimny owner or someone who just wants points now. The only drawback really is they don’t fold away so they take up a bit more room and poke into your load space.
There’s a couple of options available, but the simplest would be the zinc plated M6 eye bolts from Bunnings: https://www.bunnings.com.au/pinnacle-m6-eye-bolt_p0091163.
Lifting rated M6 eyelets
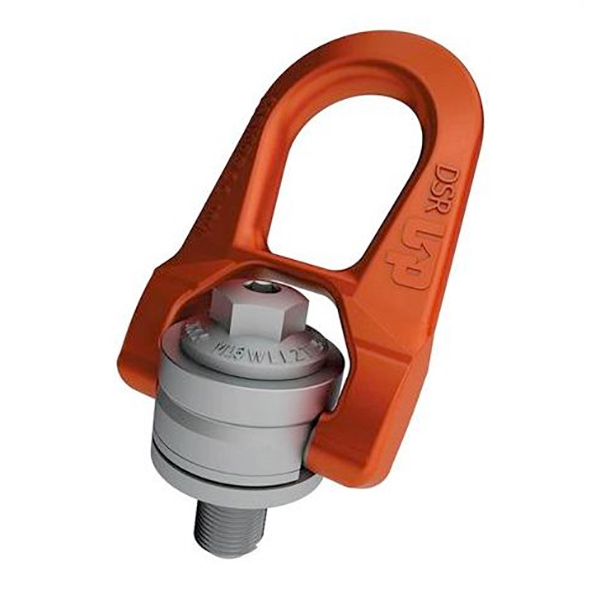
Pros: Extra strength and fully safety rated, lower profile than eyelets
Cons: Eye wateringly expensive ($100 each so $1400 for all 14 potential points), hard to find
These are so hard to come by I don’t have an example installed at all in my car so I’ve just included a generic picture (from https://www.liftinggear-shop.com/swivel-lifting-point-tiltable-dsr-200-kg-m6)
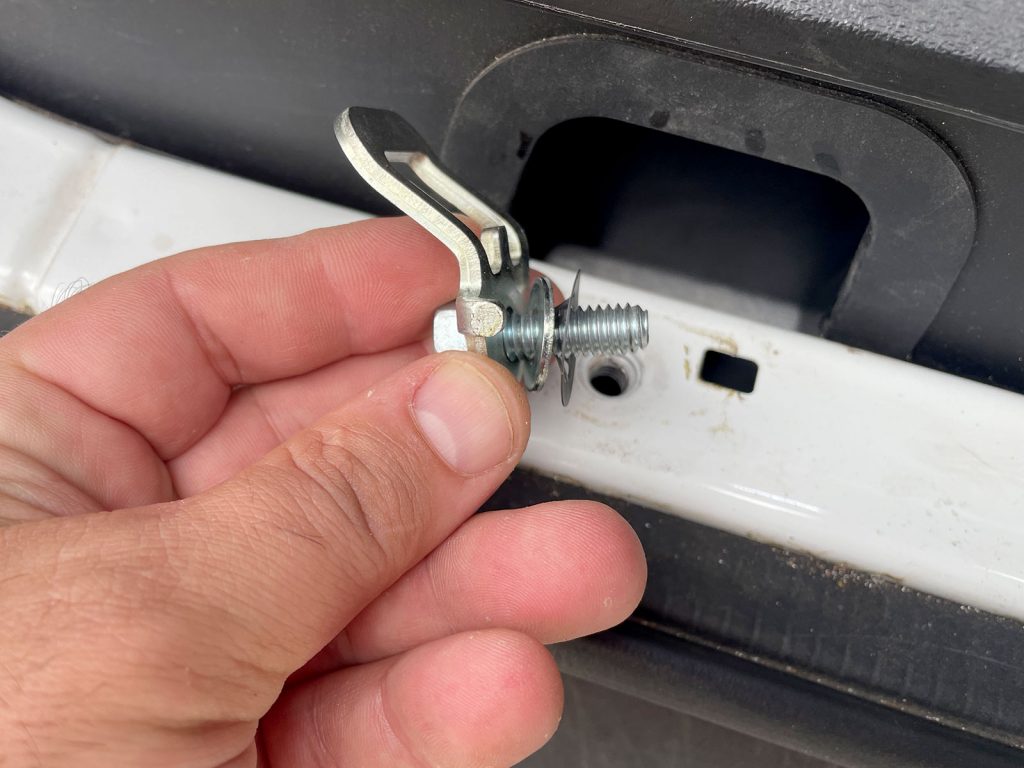
Large metal D-rings
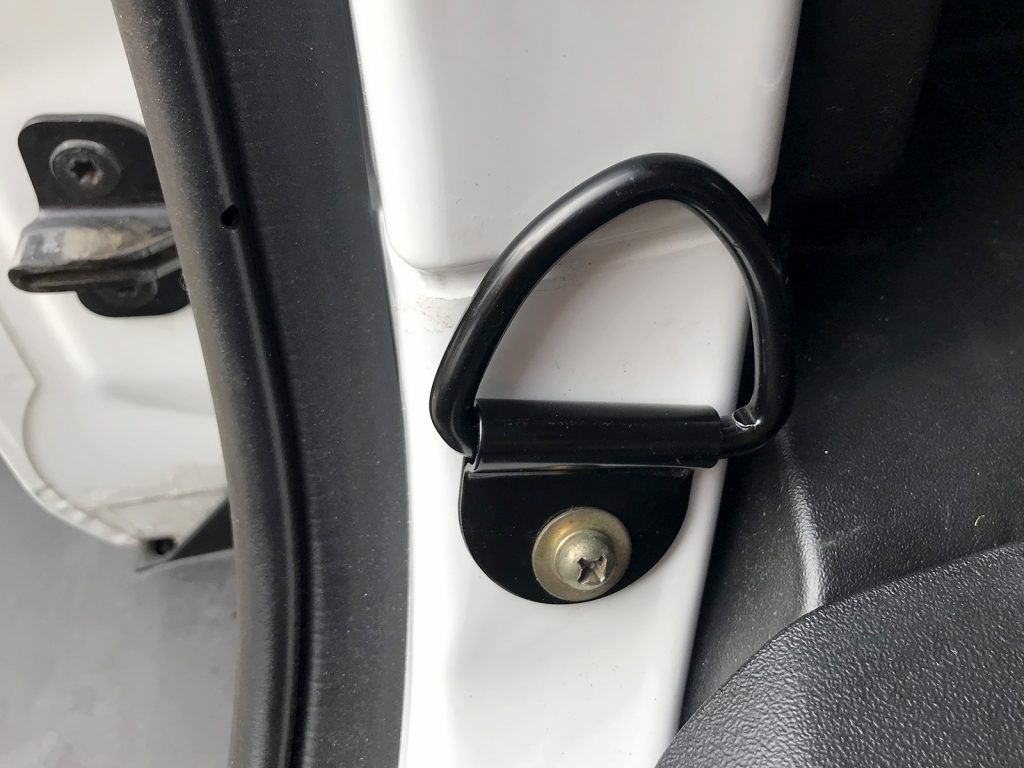
Pros: Strength almost as high as eye bolts, replicates the factory points, low profile
Cons: Harder to find in store, usually sized for M8 or M10 bolts so need larger washers to secure them, more expensive than eye bolts
Although these don’t have the little tab to secure them from rotating like the factory points do, these are the closest option to the factory Suzuki ones. Secure with whatever M6 bolt or screw you have handy but remember to use a washer large enough to match the hole through the eyelet base. They also have a tendency to rattle a bit over bumps if not under load.
I haven’t been able to find these singularly, easiest to buy a bulk packet of say 10 from ebay or aliexpress; just search for “metal d ring”.
Kayak welldeck D-ring tiedown points
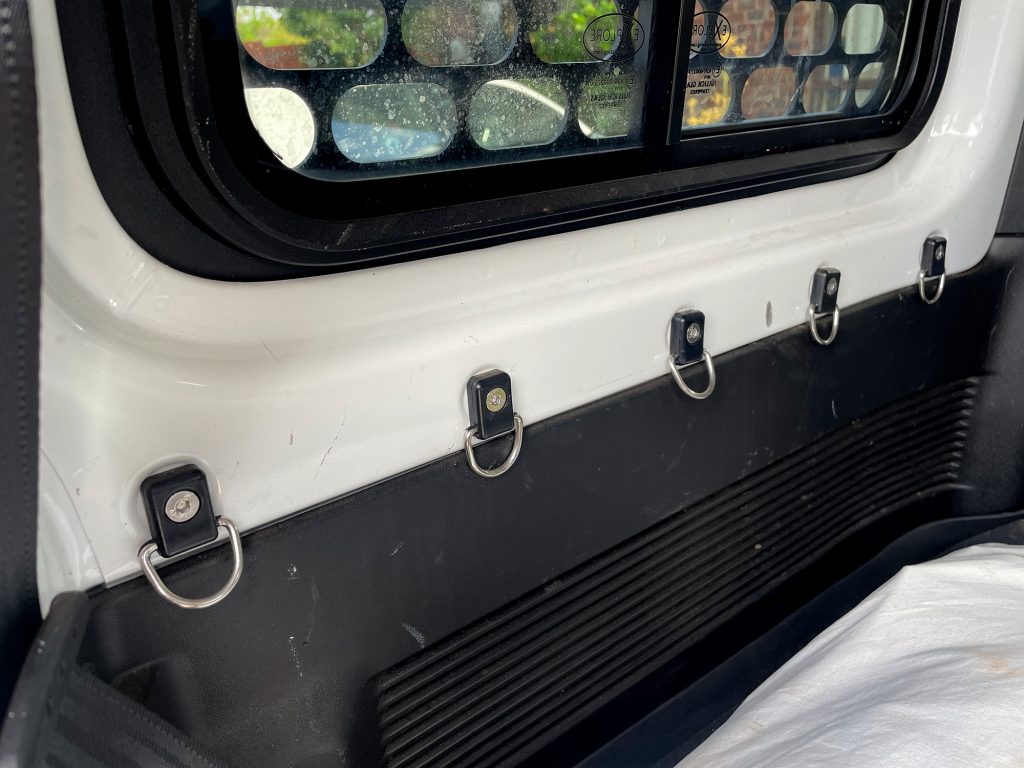
Pros: Lighter than all steel, lower profile, less tendency to rattle, easier to rotate if loads require.
Cons: Not nearly as strong as some of the other options, need to buy bulk packet which works out more expensive (usually) than eyelets
These are one of the simplest ways to get a low profile tiedown point in the car. Another advantage of using these is the plastic allows the eyelet to swivel to a different direction which you might require. The main downside is strength as they are likely to be weaker than other options. If you have a heavy load tied in offroad and either have an accident or a large bump then the tiedown point is going to be the thing that gives way at which point you might as well not have them…
I’m really happy with these, especially under the window and for predominantly onroad use they’re ideal.
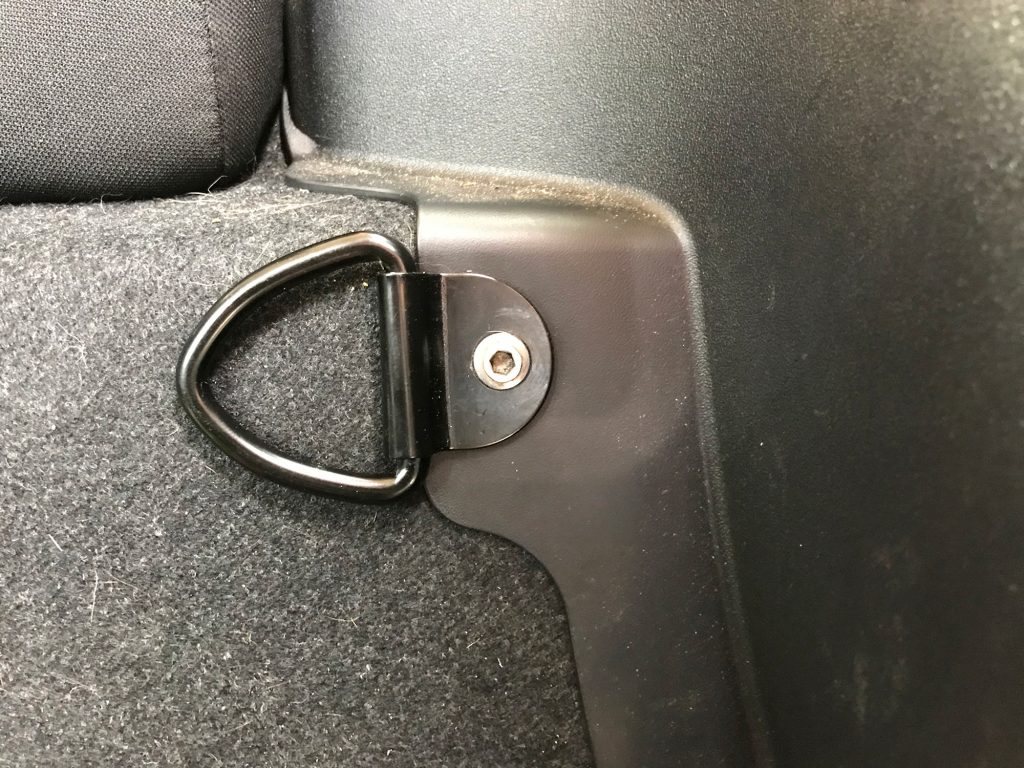
Metal art hanging d-rings
Pros: Probably stronger than plastic based ones, still very low profile
Cons: Need to do some drilling to enlarge holes, won’t fit as easily in the various spots, still low load rating (between 10 and 30 kg depending on where you source them from and their size)
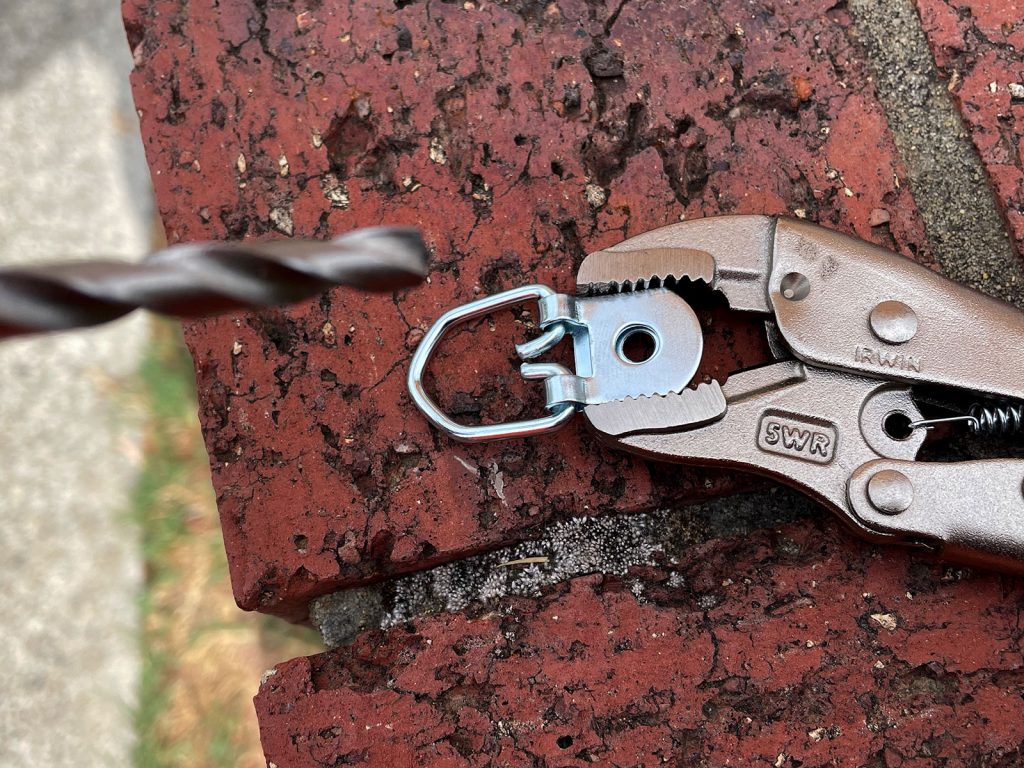
Another option if you’d prefer something all metal. Theoretically these will be stronger than the kayak welldeck options, and most are rated between 10 and 30 kg per hook for hanging artwork.
One gotcha here is most are sized with either a 4 or 5mm hole to better suit the fasteners used to hang large paintings or pictures. You’ll need to drill this out to suit.
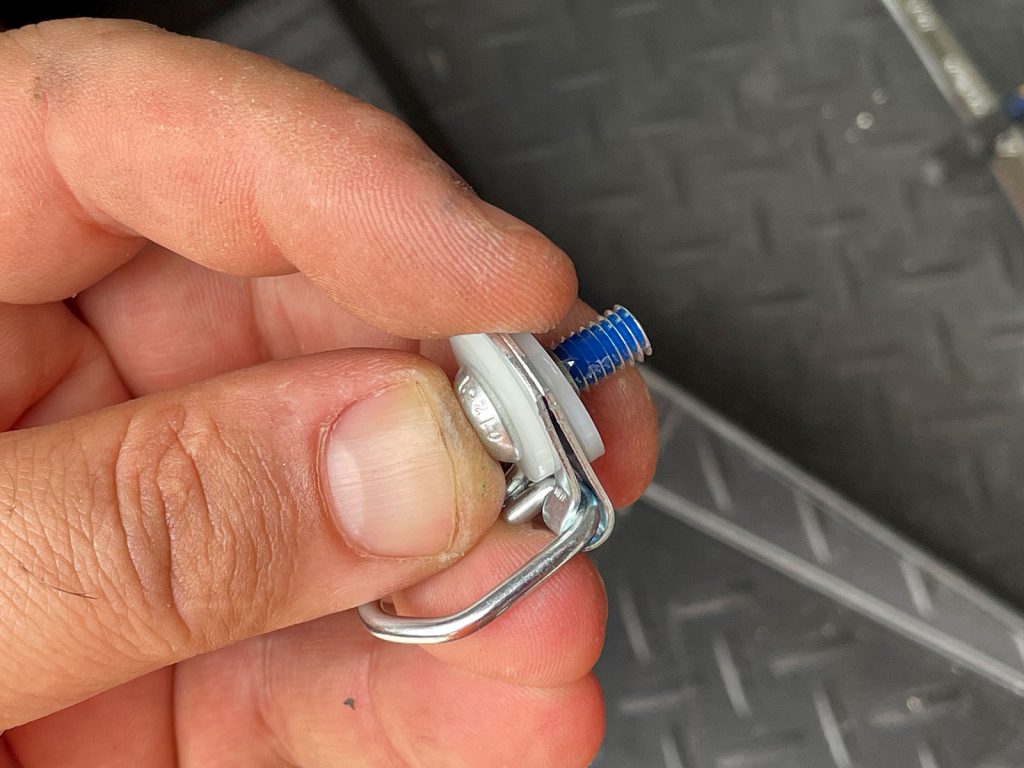
Unlike the kayak options these also don’t lend themselves to rotating without loosening the bolts holding them in. One solution I’ve found for this is to sandwich the hanger between two nylon M6 washers…
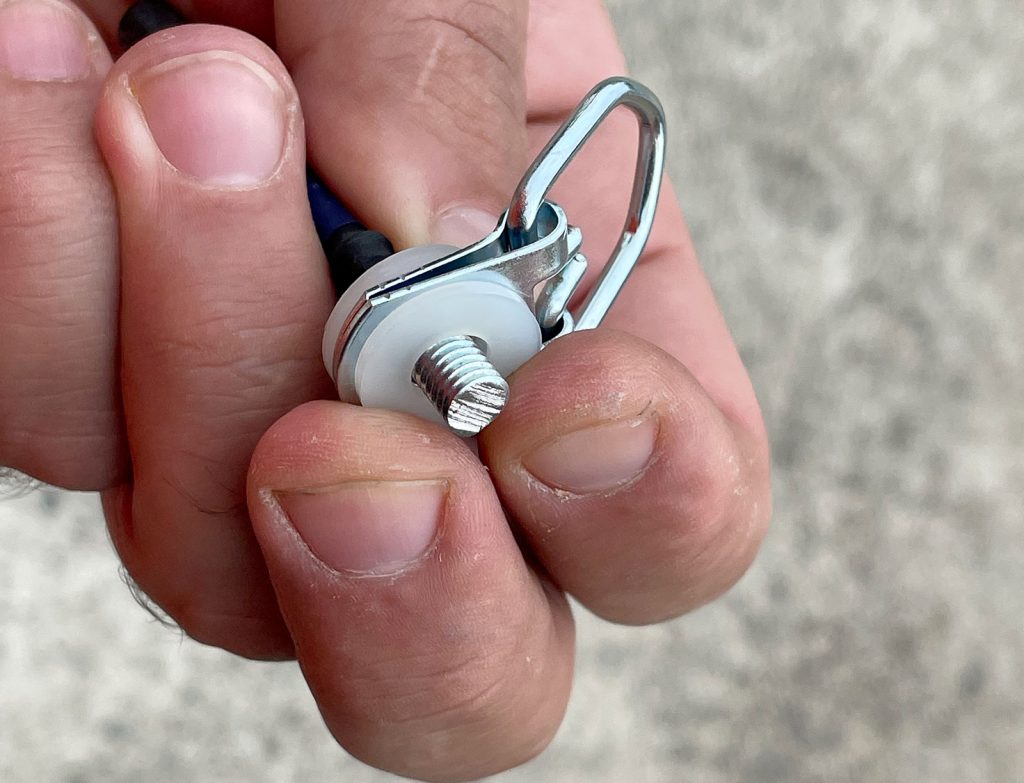
… and then to help make sure the bolt won’t back out if you have to swivel them for a better angle for your load I’d recommend some medium strength (blue) threadlocker.
These end up being super low profile, swivel around, and are stronger than the kayak welldeck options so they’re a win for me. If you are strapping in very heavy items or in severe offroad conditions where you might roll the car I’d probably want something stronger but for a lot of tasks these will be more than sufficient.
Aviation rail tiedown rail
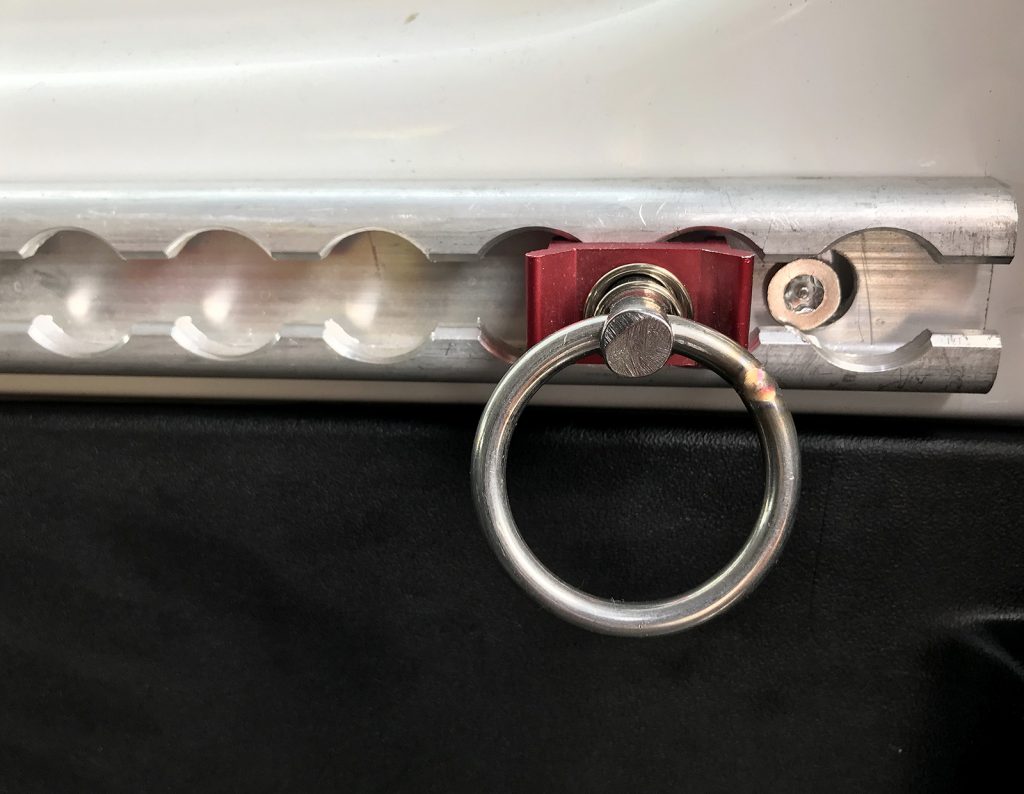
Pros: Very strong, adjustable positioning of tiedown points.
Cons: Pretty expensive, Can’t really use for anything other than the back 4 anchors underneath each window, Rail will need drilling and need to carefully align choice of holes to drill with the anchor points.
I used these for a long time but mostly felt they were overkill for my purposes. They do spread the load out and give you a heap of options, although they stand up as far off the side of the car with the anchor points installed as the eyebolts do so still not low profile.
Note that you do have to think very carefully about the anchor holes. None of the rails I’ve seen seem to line up with their pre-drilled holes, and, you really need the holes for bolting them down to line up with the larger holes in the rail.
Using the child seat anchors
Pros: Gives you another point along the back, hardware to do this easily found at hardware stores, cheap (~AU$4 each for the handy hangers, ~$25 to use tiedown extender straps).
Cons: Only works if you have the child seat anchors in, with a strap tightened from here you might struggle to get your luggage box open.
This is an interesting option I first saw in one of the Australian JB74 groups and it involves using something to give you a better option off the child seat anchors.
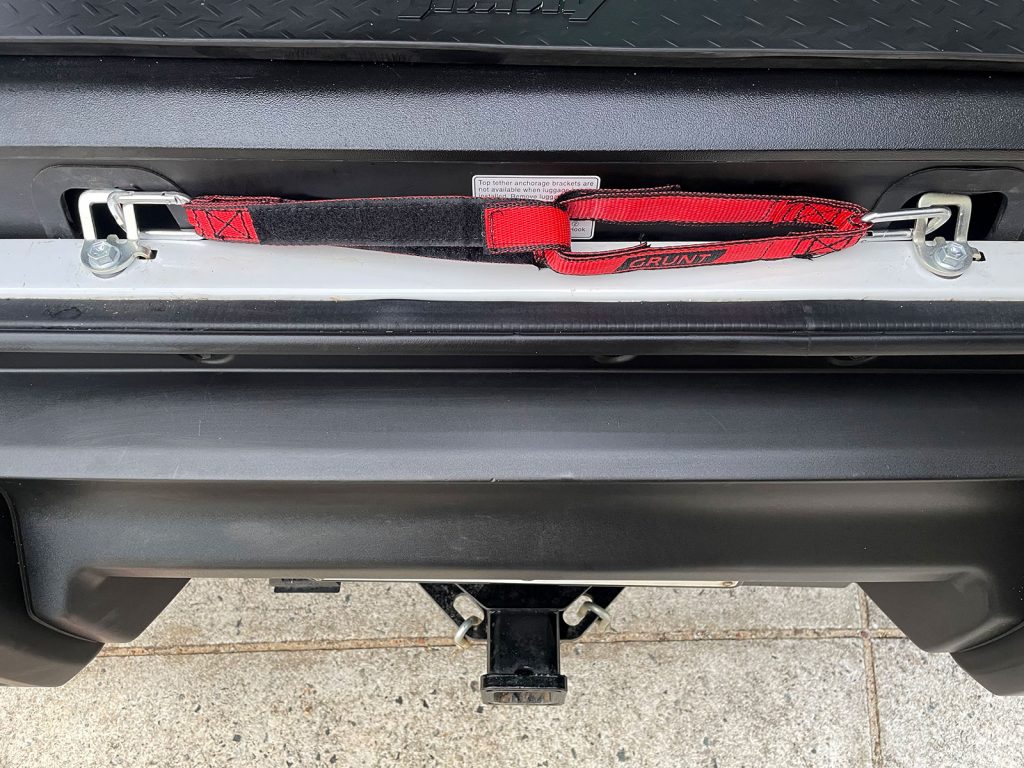
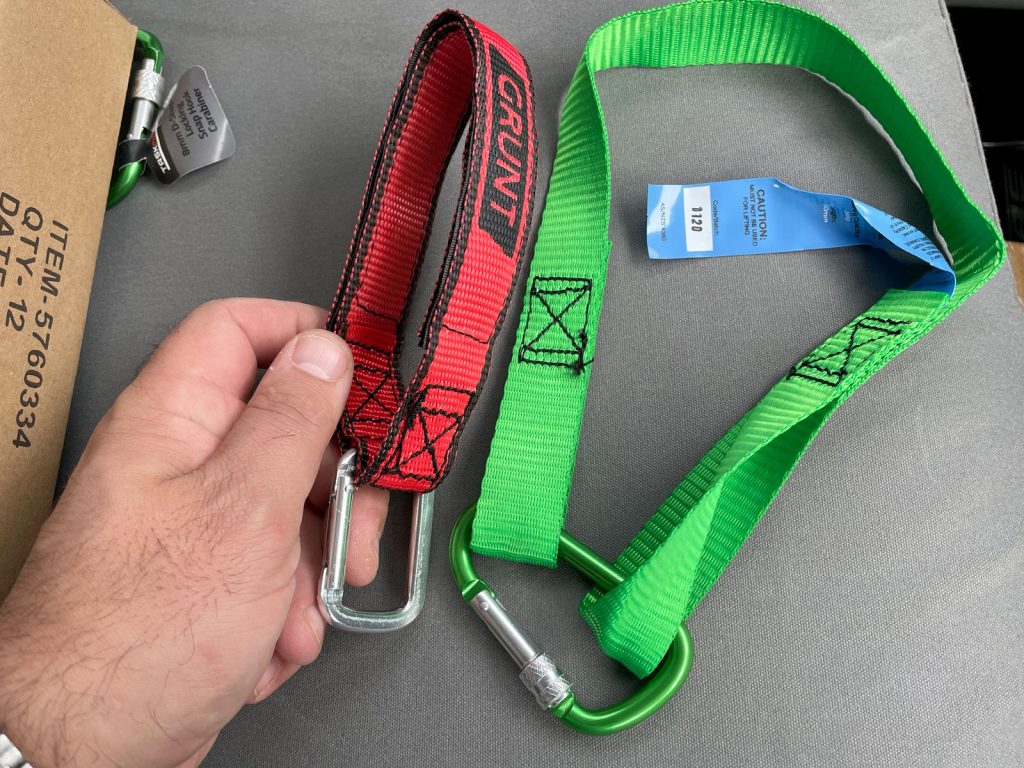
Two main options here: there is a ‘handy hanger’ with carabiner that uses velcro to make it easier to release loads from it, or you could use a tiedown extender strap and attach an appropriate carabiner to make it easier to attach/detach from the child anchors should you need to open the rear luggage box.
If you aren’t aware about the child anchors then they hide under protective covers at the back. I’m not sure if they’re universally installed in all cars elsewhere but they are in Australian cars.
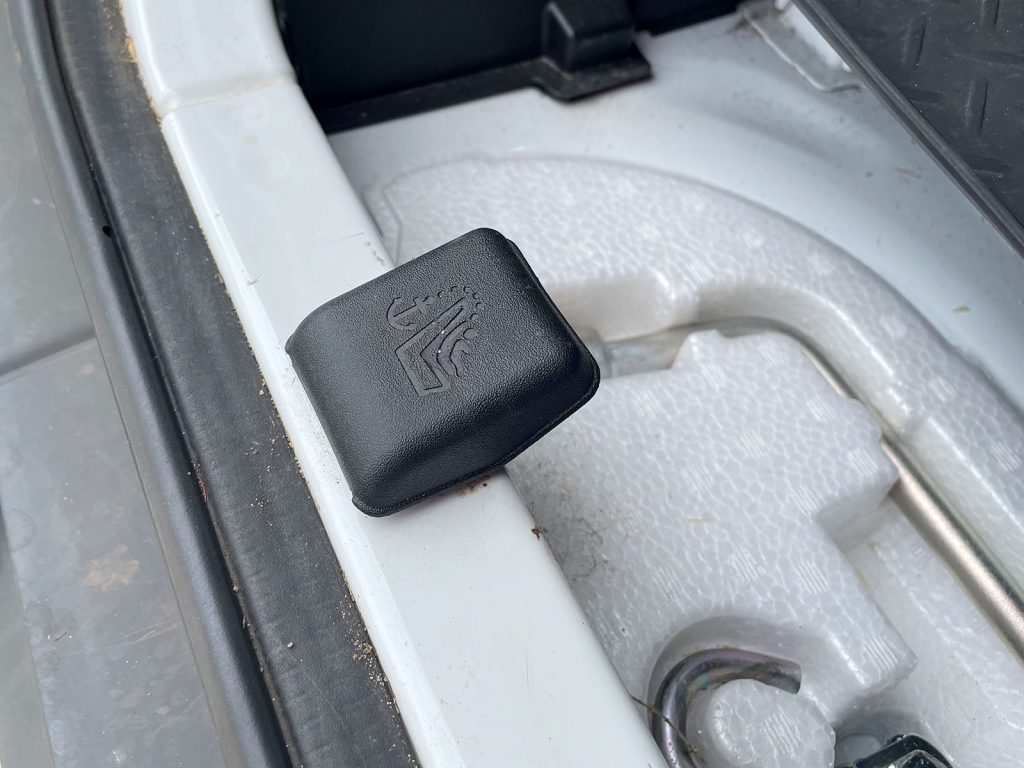
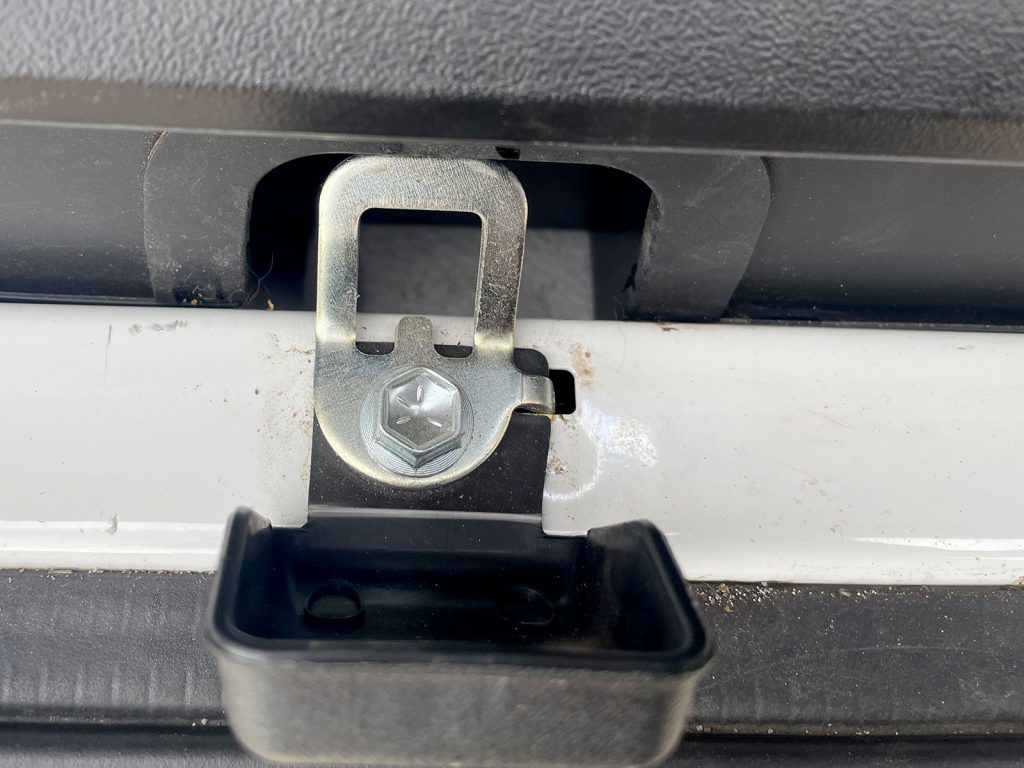
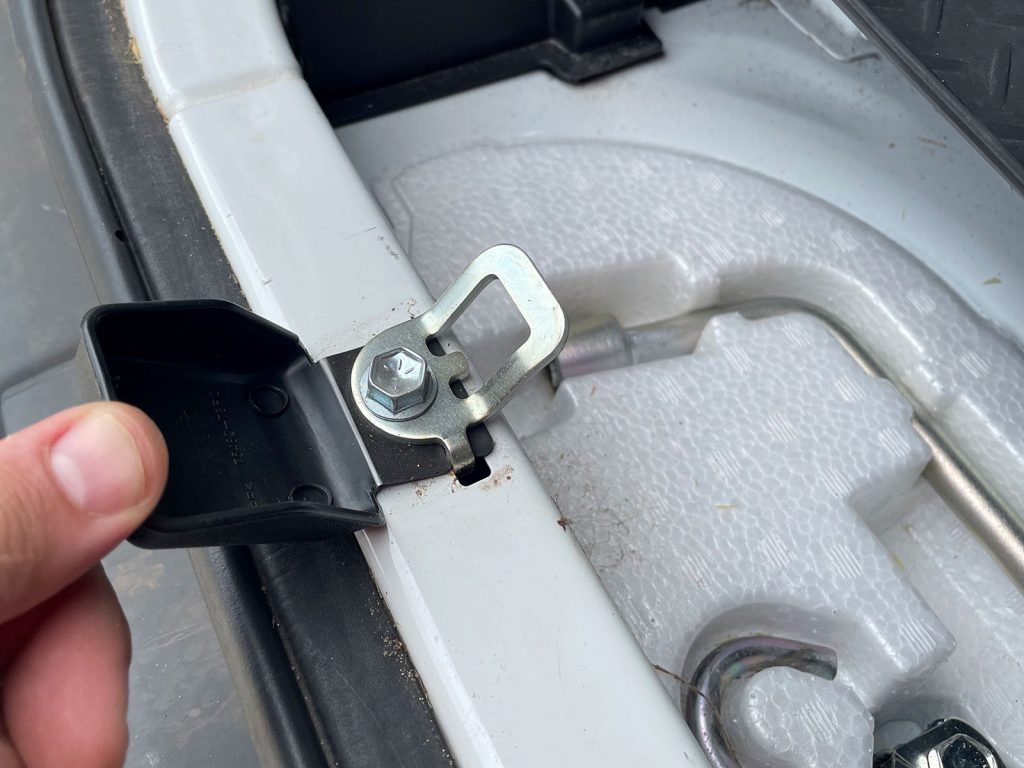
I found it a lot easier to access these with the rear luggage box removed from the car, although once you’ve popped the covers up then the luggage box can go back in.
While I didn’t find having the covers popped up an issue with closing the rear door, it probably is advisable to unbolt the child anchor points and remove the covers from underneath. I guess you could also replace the child anchors themselves with other tiedown points but I didn’t want to inevitably lose them and then have to source more if I was selling the car.
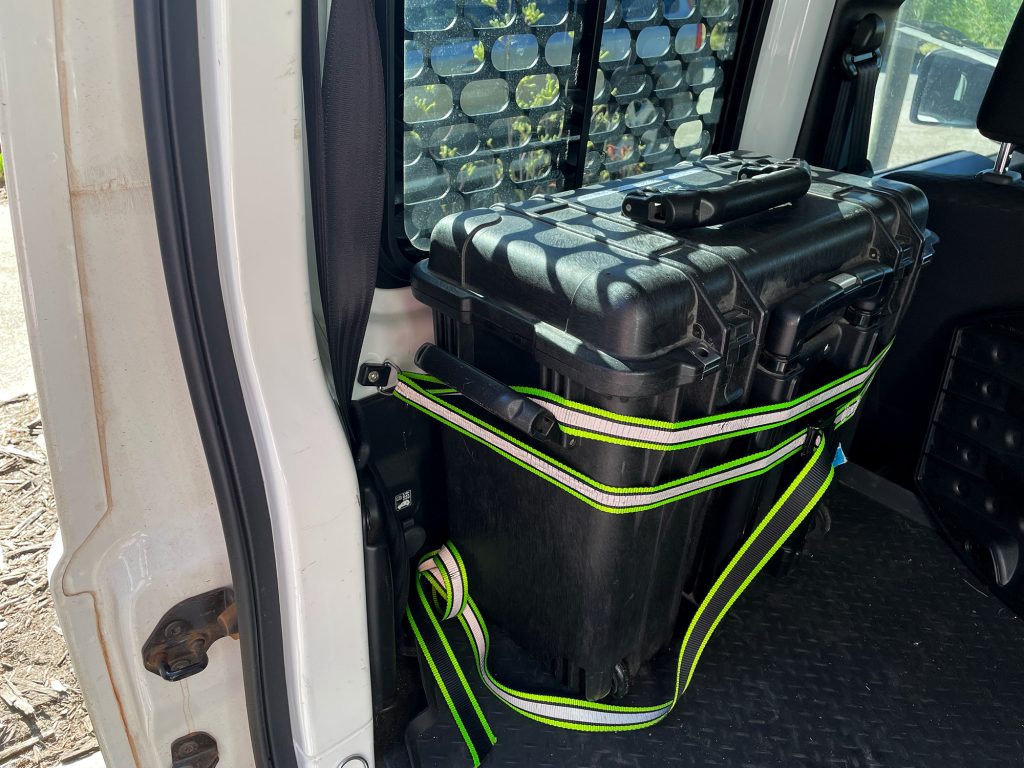
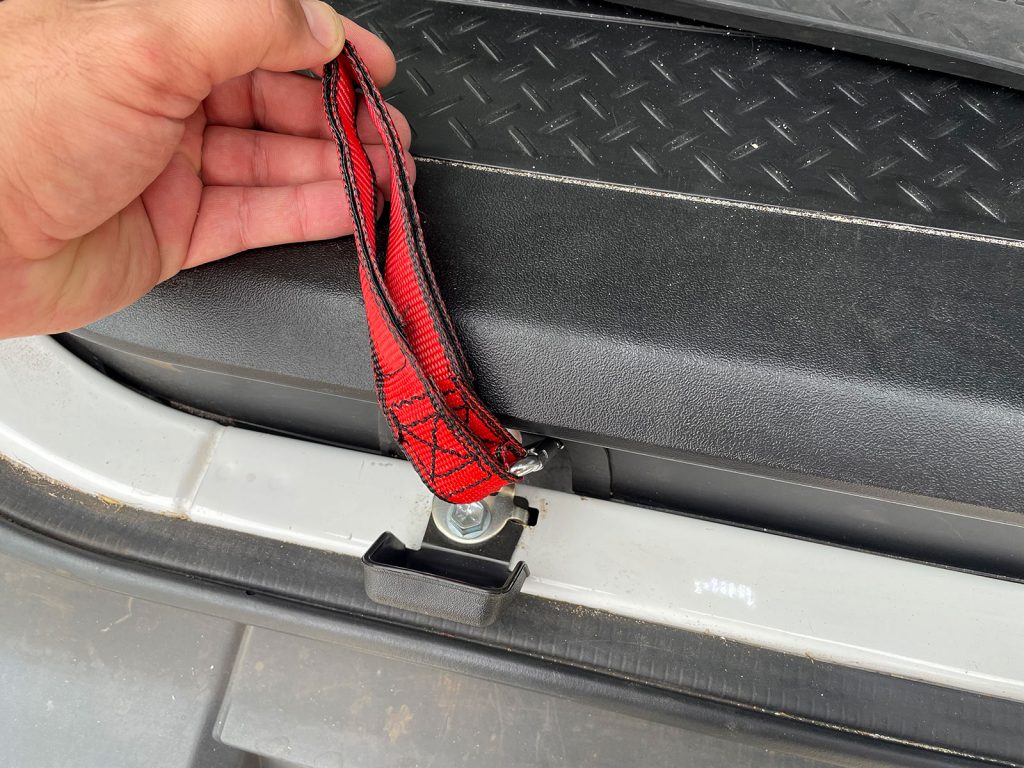
So, the two options. First up is the Grunt handy hanger strap. People will probably freak out over the fact it uses velcro but if you are pulling on the inside of the strap then it’s incredibly secure and strong (and rated to hang 70+ kg). Because velcro has so many hooks into so many loops then it’s quite strong at being pulled like this yet able to be released quickly if you roll one part of the strap back.
The other option I found is to use some tiedown loops/tiedown extenders. These are rated higher, although I think it’s still wise to attach them using a carabiner so it’s easier to release them if you need to get to the luggage box.
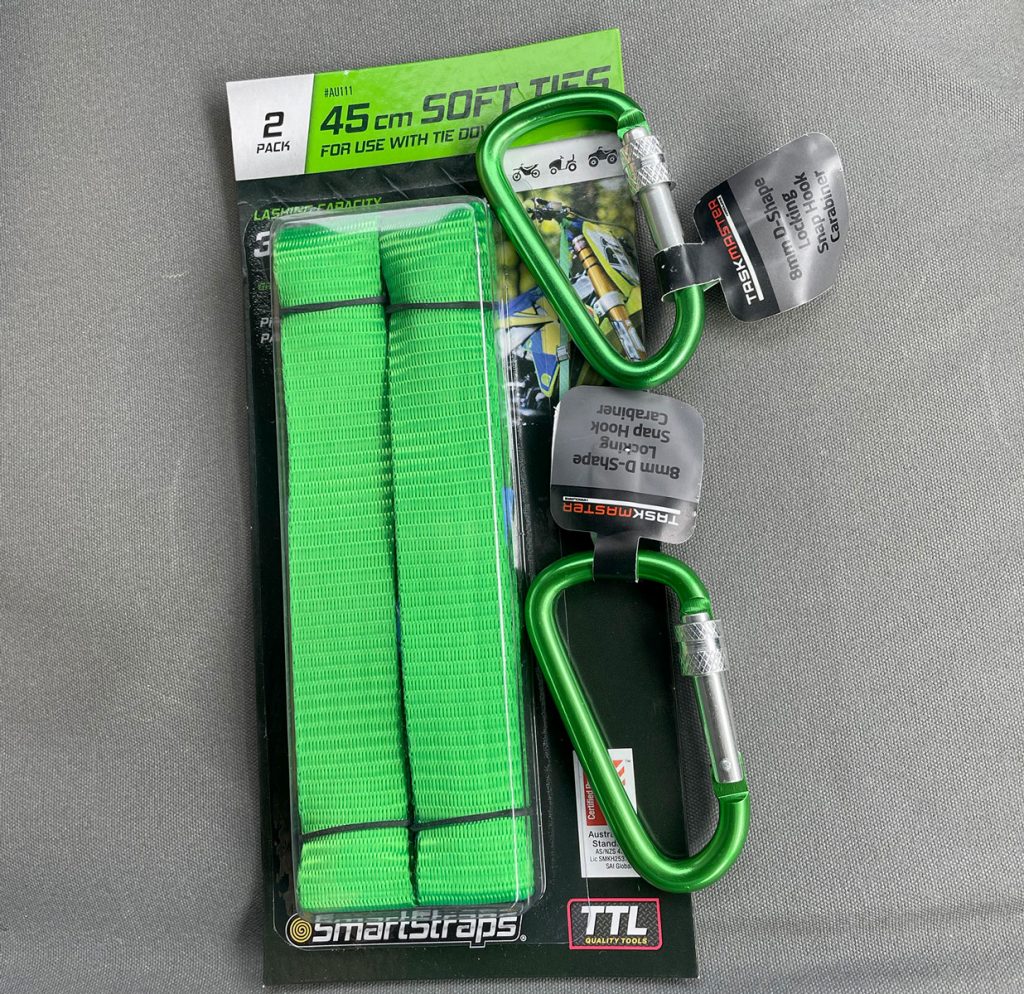
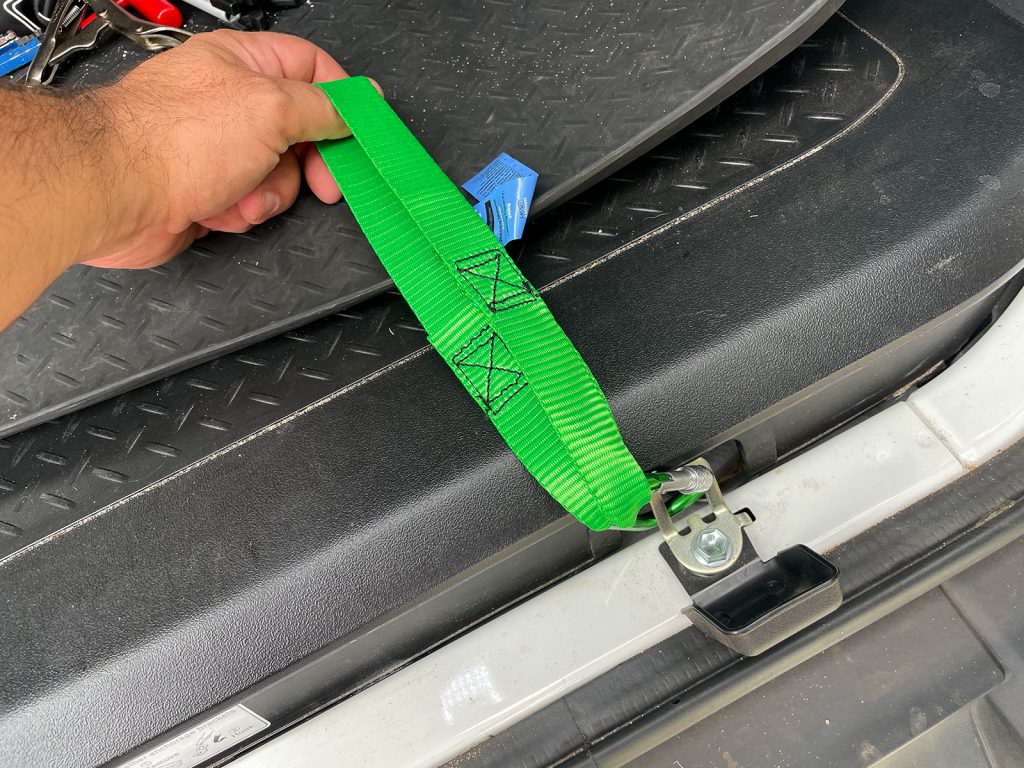
These work well but are longer than the other straps and you need to factor in buying the carabiners too if you want that.
I guess you could also just attach straps directly to the child anchor points but I find the flexibility of these fabric straps great. I’ve settled on preferring the handy hangers as I can (as per the photo at the start of this section) strap them together to keep them neat and tidy but easily accessed if needed.
They work great especially if you need a pull more back and towards the centre of the car.