
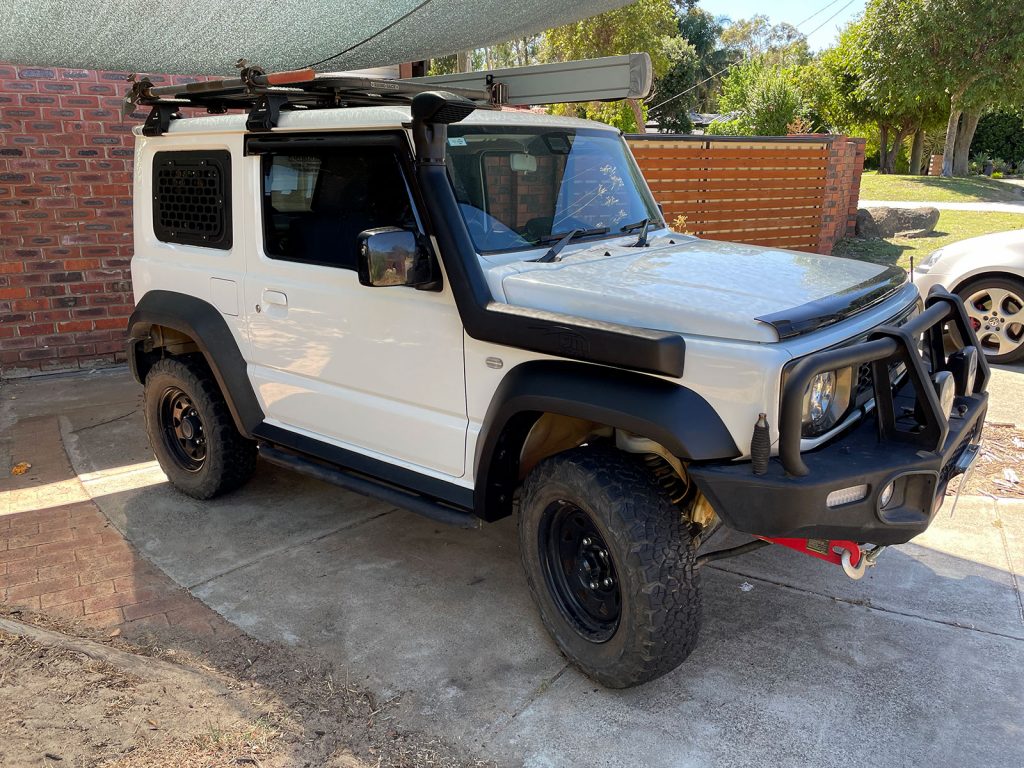
Snorkel install: TJM airtec
With an upcoming trip potentially involving some deeper water excursions it seemed smart to throw a snorkel on.
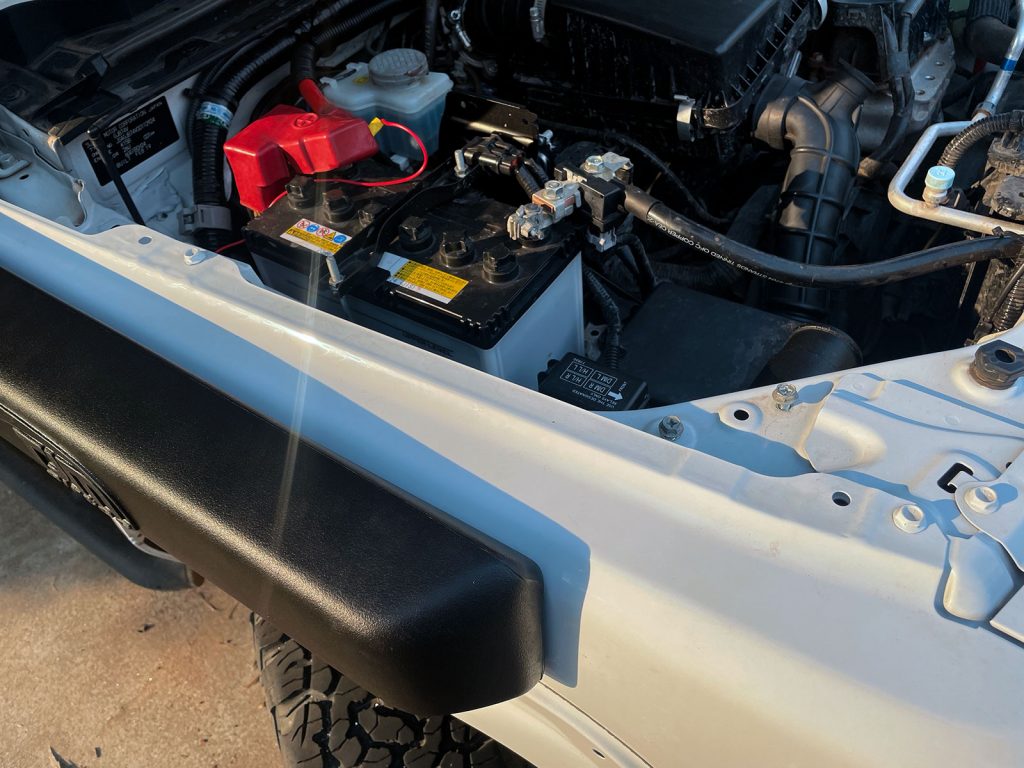
I’m actually quite happy with the finished product. I ummed and ahhed for a while on this but the box shape actually matches the rest of the car really well and doesn’t look too out of place.
Outline
Options for a JB74 snorkel
There’s really 3 main camps here:
1. Traditional ‘Safari’ style snorkels: not actually made by Safari. TJM released one when the JB74 came out, Ironman followed up late in 2021 with a similar one. There’s a couple of other people doing these now too, but these are the ones you often see around.
2. ‘Brazil’ Suzuki snorkel: this sits against the A-pillar and looks pretty neat, but the hose it would breathe through in order to get it past the bonnet hinge and stuff.
3. Stainless/aluminium large pipework: this suits some people’s styles but it is more expensive than a plastic moulded one, and heavier.
Out of the two more mainstream plastic options I couldn’t see a heap to split the difference between the Ironman and the TJM snorkels. They’re similarly priced (I think the TJM is marginally cheaper), installation appeared pretty similar and the shapes are even pretty similar with the TJM a bit boxier. I’m happy with the boxiness of the TJM as it suits the car and also happy to reward the first movers in this space. The final bonus is that TJM had one in stock so I grabbed it the day I called up.
Stuff you should know before installing this snorkel
There’s a couple of things you should know or things you should be prepared for.
Allow for more than 3 hours to do this. You probably can do it in 3 hours if you have done a couple before, and also probably if you’re not working around a looped bullbar, but it definitely is more like a half a day job if you take your time and do it carefully without rushing.
If you have a full looped bullbar on the car you are unlikely to be able to fully remove the grille off the car and thus get full access through the headlight aperture. This makes accessing the front couple of nuts (especially the upper and rearmost fastener) onto the studs on the snorkel body awful.
Things I would recommend you have for the install
If you have a bullbar get a 1/4″ ratchet spanner and some short and long 1/4″ drive screwdriver bits to undo a few fiddly screws so you can get a couple of brackets off and the indicators out of the way so you can move the grille sideways. Not necessary if you don’t have a looped bullbar as you can just yank the grille in about 30 seconds.
Spare plastic trim fixings: inevitably you’ll break one or two getting the inner guard off etc. I always have a generic set of plastic trim clips handy so I can replace them, although it’s good if you can have some OEM ones handy from Suzuki.
13mm ratchet spanner makes doing up most of the bolts a bit easier but the upper rear one can only be accessed via an open-ended spanner. You can get open-ended ratcheting pipe spanners but they are not easy to find and completely useless most of the time.
Drill bit wise you’ll want a step drill capable of doing a 14mm hole, a 67mm hole saw, and a small drill bit (2-3 mm) for the pilot holes. I’d also recommend a small chamfering tool to really clean up the 14mm holes – the steel is thin enough on the front guard that you struggle
You’ll want some way to deburr the holes you drill – diamond round file is a good option or an actual deburring tool would be good here too.
It’s important to use neutral cure silicone for this. This is silicone which does not smell like salt and vinegar chips as it cures. You need this for sealing up the main snorkel body into the intermediate pipe, and also sealing up the two screw plugs into the A pillar. If you can afford it get a clear for the A pillar (or something that sort of matches your car’s colour) and black for the snorkel body.
Additional comments on the TJM instructions
Removing the grille
As mentioned, if you have a bullbar you will not be able to fully pull the grille off. Instead you have to get it a bit out, remove the plastic trim clips and undo a few screws & the indicators off the back of the grille with limited access and then sorta slide it sideways. You may potentially scratch your grille on the back of the bullbar so some masking tape might be useful here.
Removing the grille starts with removing the 4 retainers.
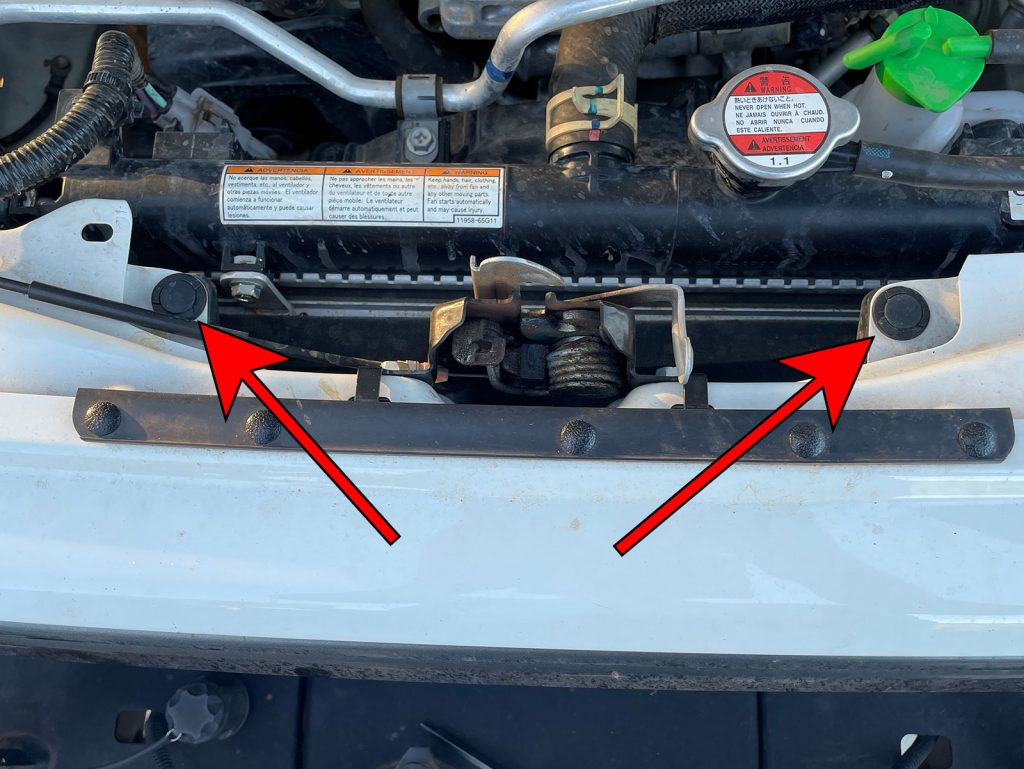
Once those 4 retainers are either removed (the uppers) or rotated so they’re unlocked (the lowers) then the grille pulls forwards to release all of the plastic retaining clips.
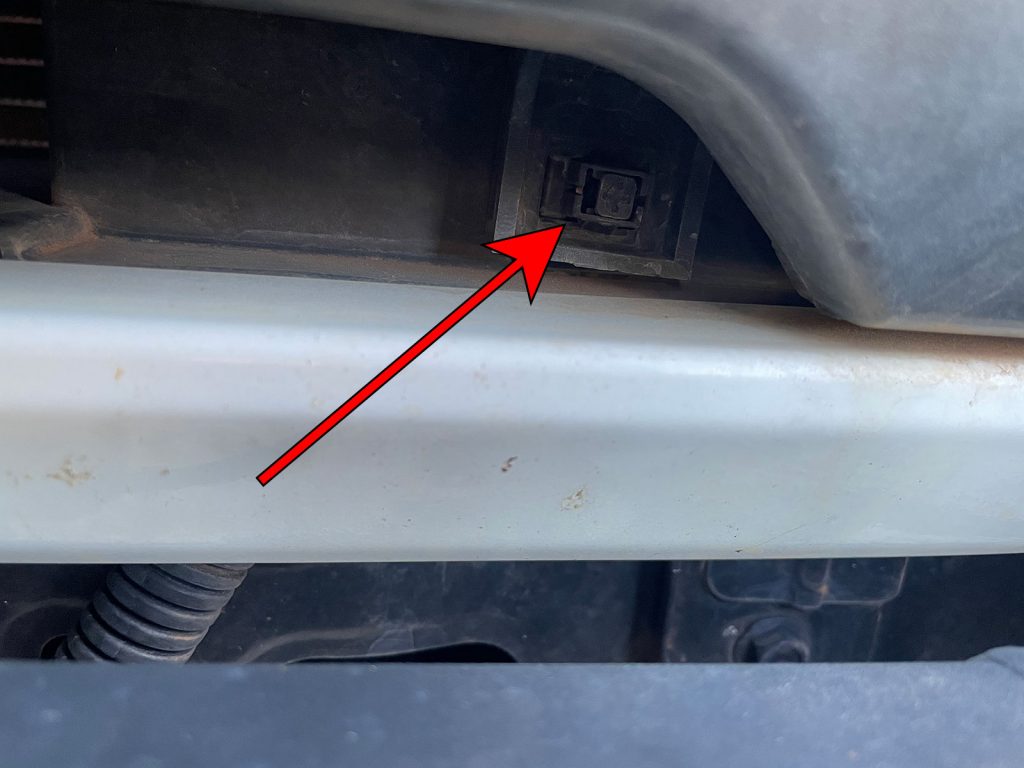
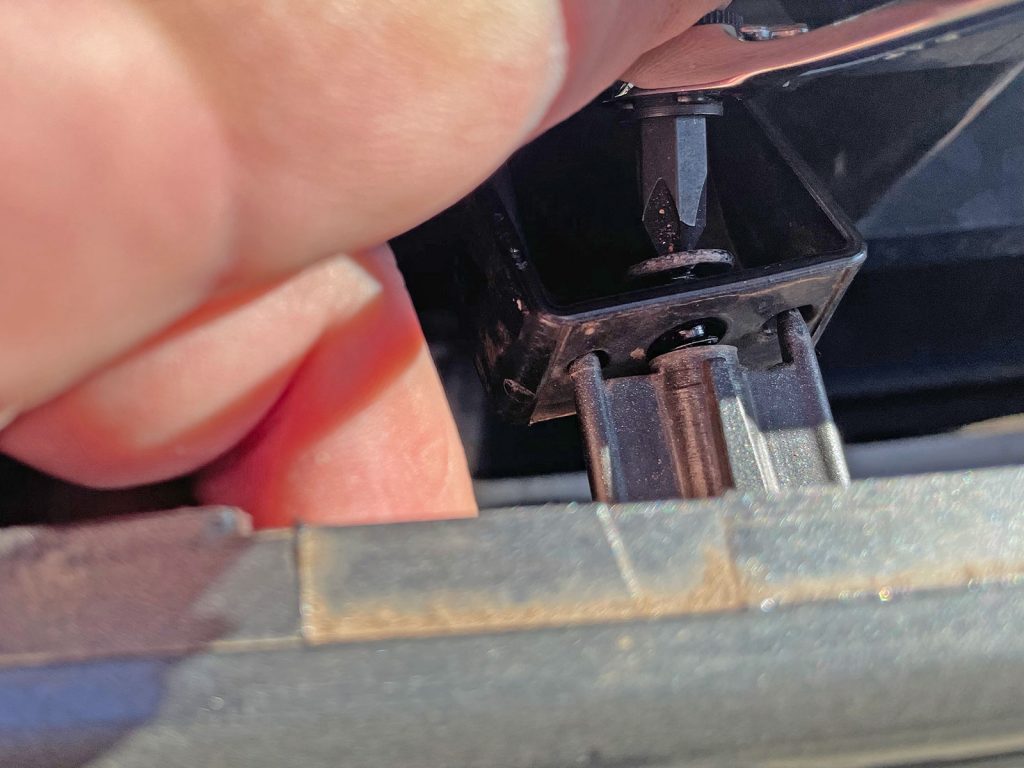
If you need to pull the grille sidways with a bullbar on then you need to also undo the screws holding on the arms that go back above the radiator to the upper plastic push pin retainers. This is where a small screwdriver bit and a 1/4″ ratchet spanner come into their own.
If you want to move the grille sideways I also found I needed to remove all of the plastic retainers from their various slots to give me enough room.
You also need to remove the two indicators which are screwed onto the grille: access these screws with a long screwdriver from the back down the side of the indicators.
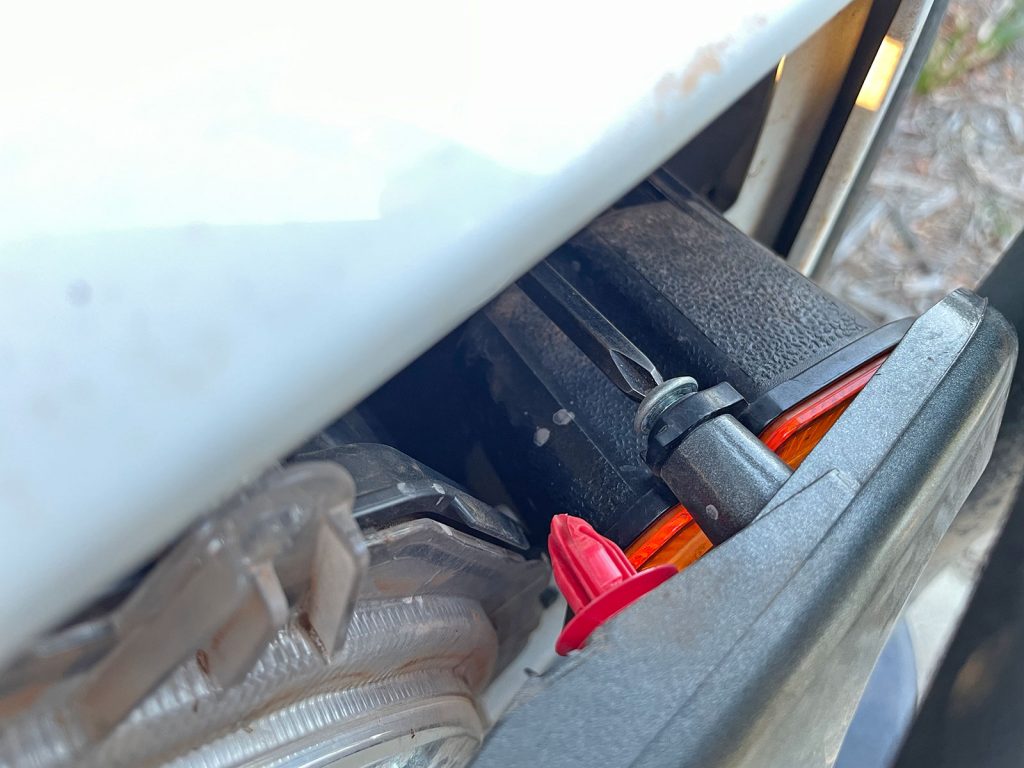
The main reason you yank the grille is for access via the headlight/indicator area to some of the nuts to do up the front of the snorkel body. Once you can slide the grille sideways you have enough access to the 3 bolts to unbolt the headlight assembly on the right hand side of the car (drivers side in Australia).
You’ll find if you have a bullbar you cannot get the grille completely off and thus the headlight doesn’t come all the way out but just getting it forwards a bit and to the side a bit gives you more arm access via the indicator/headlight area.
Plugging up extra holes in the intake pipe
Not all Jimnys have them but there are 2 holes in the bottom of some of the intake pipes.
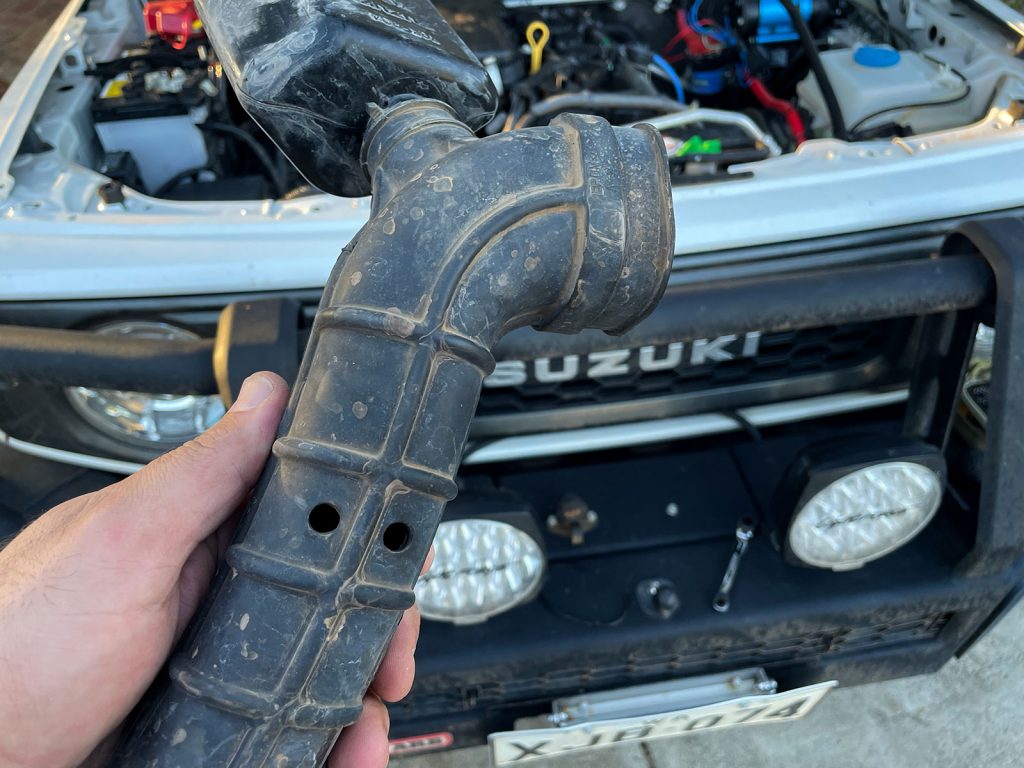
TJM instructions say to use 14mm duck bill 1 way valves in these holes but they didn’t have any in the kit and apparently don’t supply them anymore. I just siliconed them up, although I’ll source myself some small one-way valves as having an ability to drain any water that’s come from the snorkel into the intake tube is a good idea.
Drilling holes, cleaning them up, rust proofing
Obviously take your time laying out the template on the car so you get good alignment with the holes you need to drill.
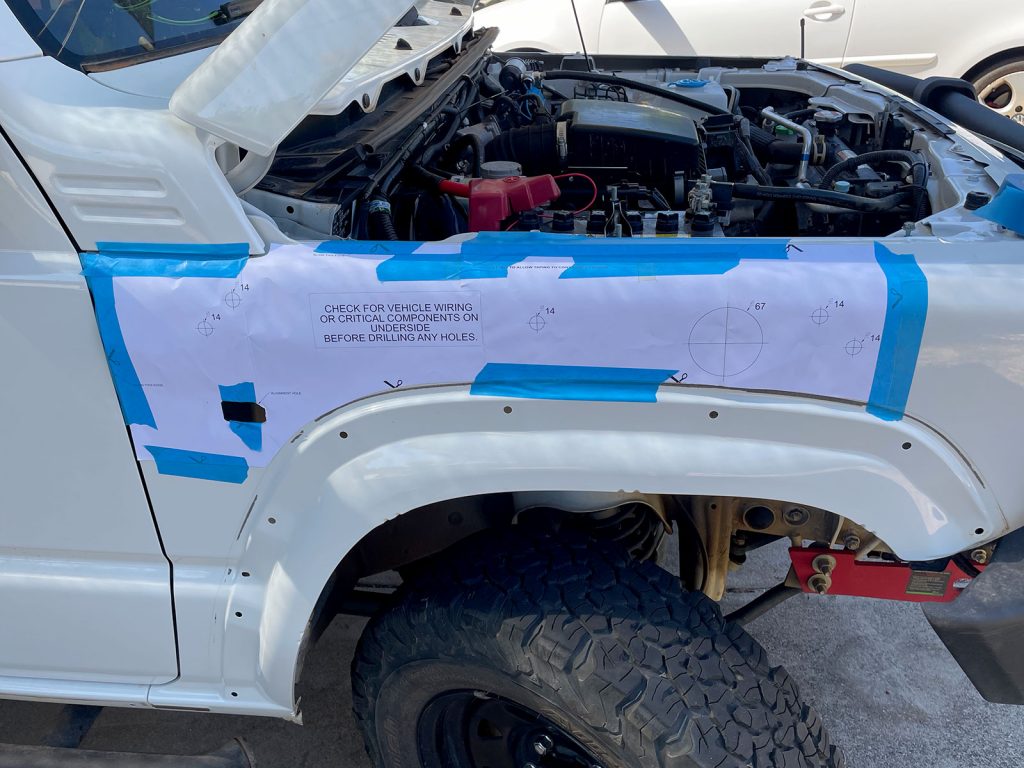
No going back once you have sunk the holes into the panel, after all – even the pilot holes are a bit final once they’re drilled.
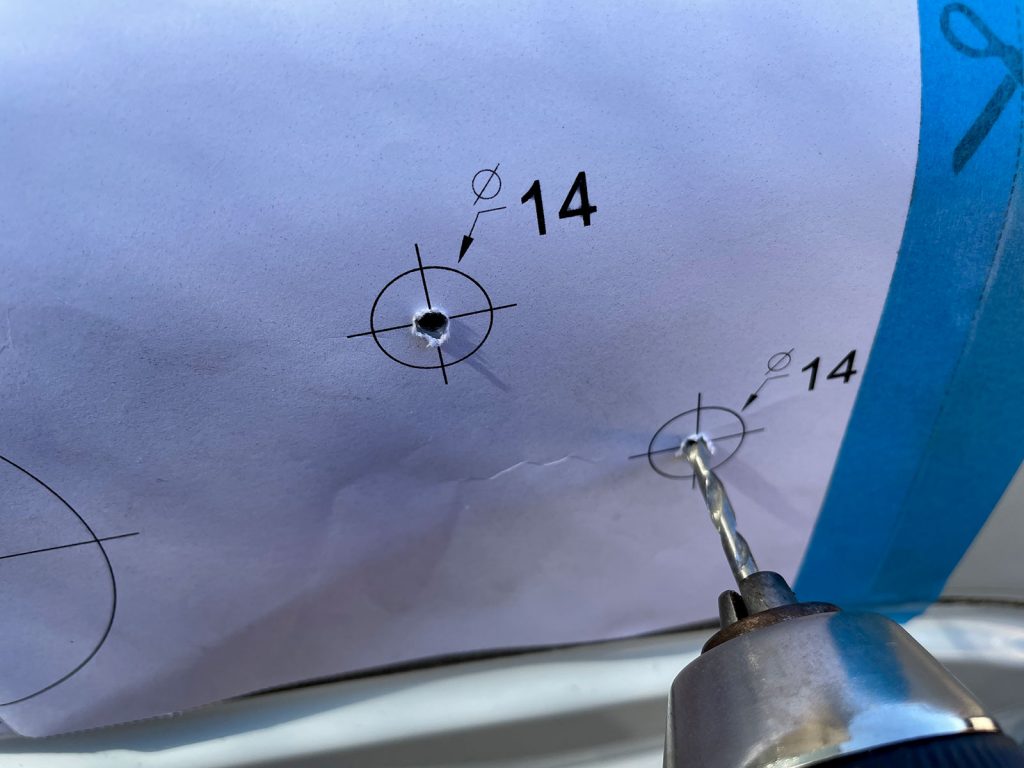
That said it feels doubly final when it comes to the large 67mm hole for the intermediate pipe to go through.
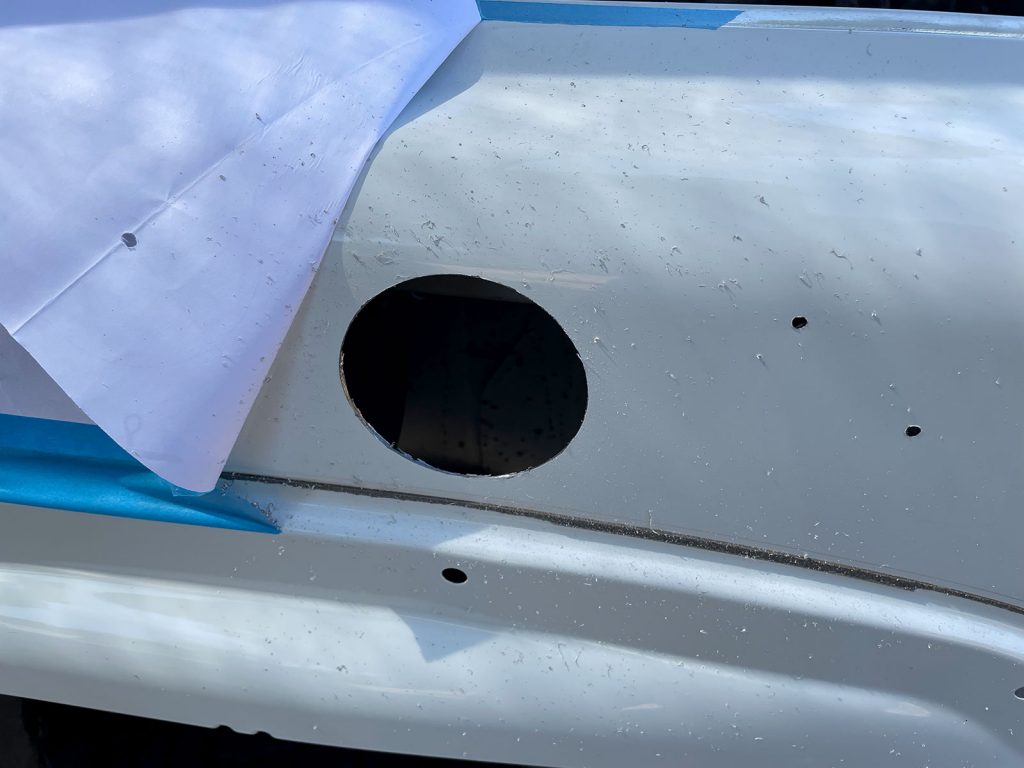
Deburring the holes is pretty important, they can be very sharp on the back and this is extra crucial for the large hole for the intermediate pipe to go through. I couldn’t find my deburring tool so I just used a round-back diamond jewellers file to clean it up nicely.
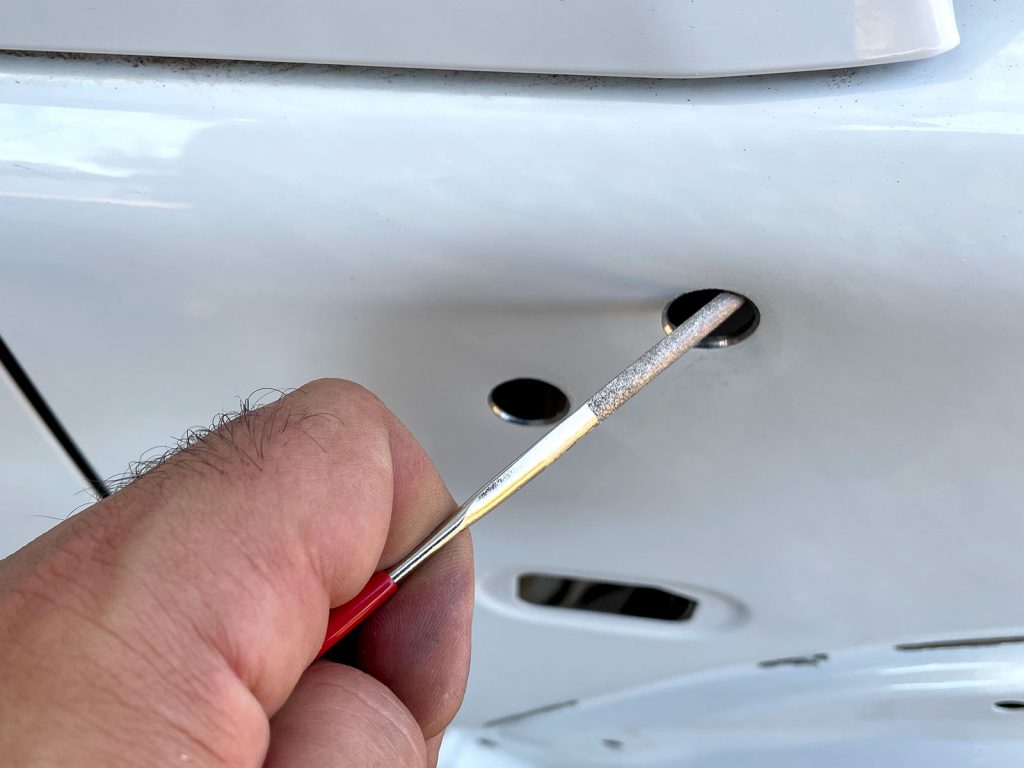
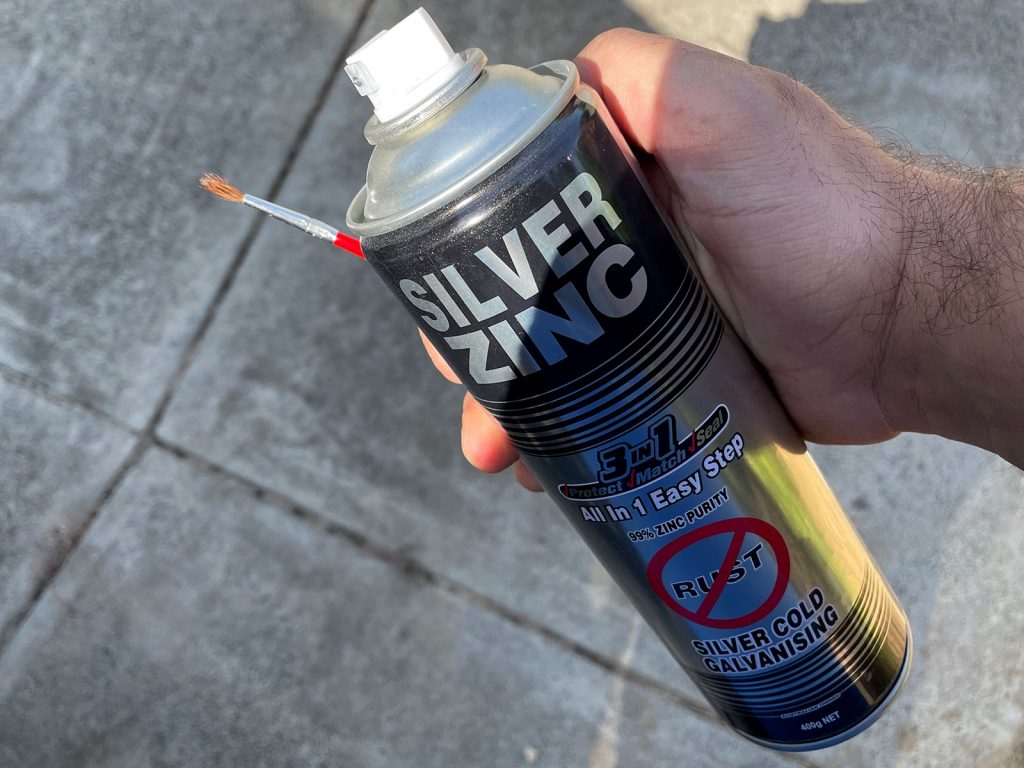
To rustproof them then I used a zinc silver undercoat and did a couple of coats. You could try to do this neater than I did and potentially then cover it with body colour but I could not be bothered as it’s all hidden by the snorkel… and if the snorkel is coming off I probably need a new guard. To apply this undercoat I just sprayed a small amount into the cap of the spray can and then applied it with a small paint brush. Easy peasy.
Using the snorkel body to mark the position of the upper mount
One of the steps in the instructions is about mounting the snorkel body temporarily and just holding it up there to mark the position for the upper body bracket. I found it easier to do this with the intermediate pipe fully in position (i.e. actually installed in the hose to the airbox) and using a couple of plain nuts for ease of installation to actually tighten the snorkel body into place with an alignment I was happy with. Note that you need to put the hose clamp onto the intermediate pipe to secure it to the main body of the snorkel BEFORE you install it in the car.
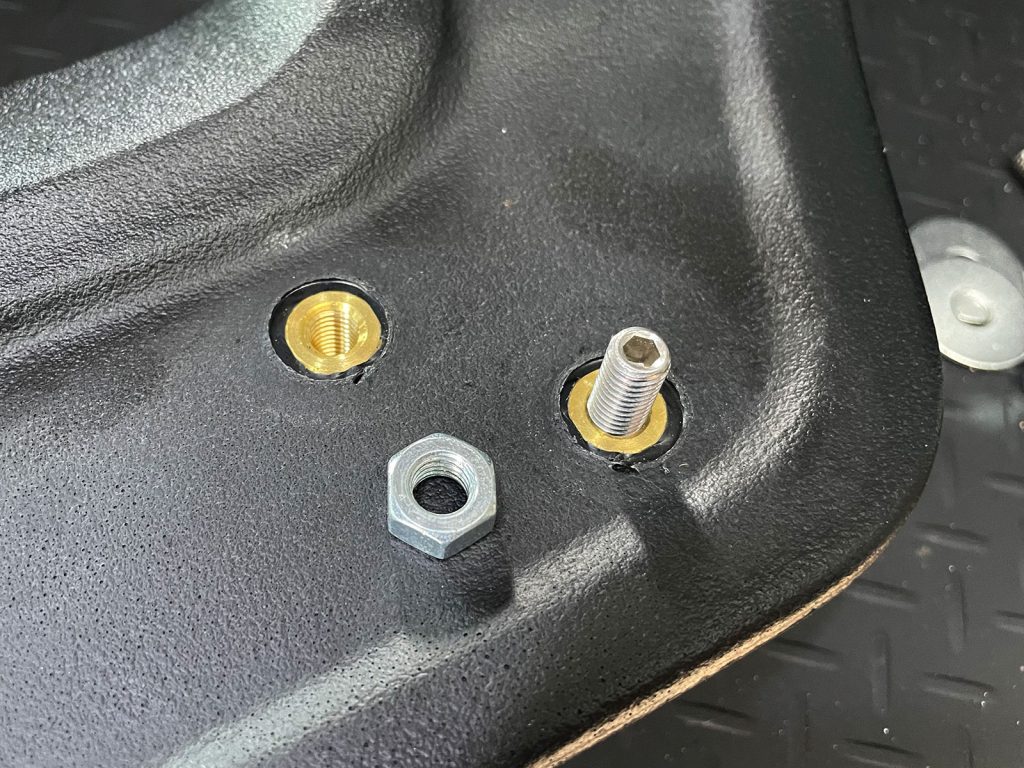
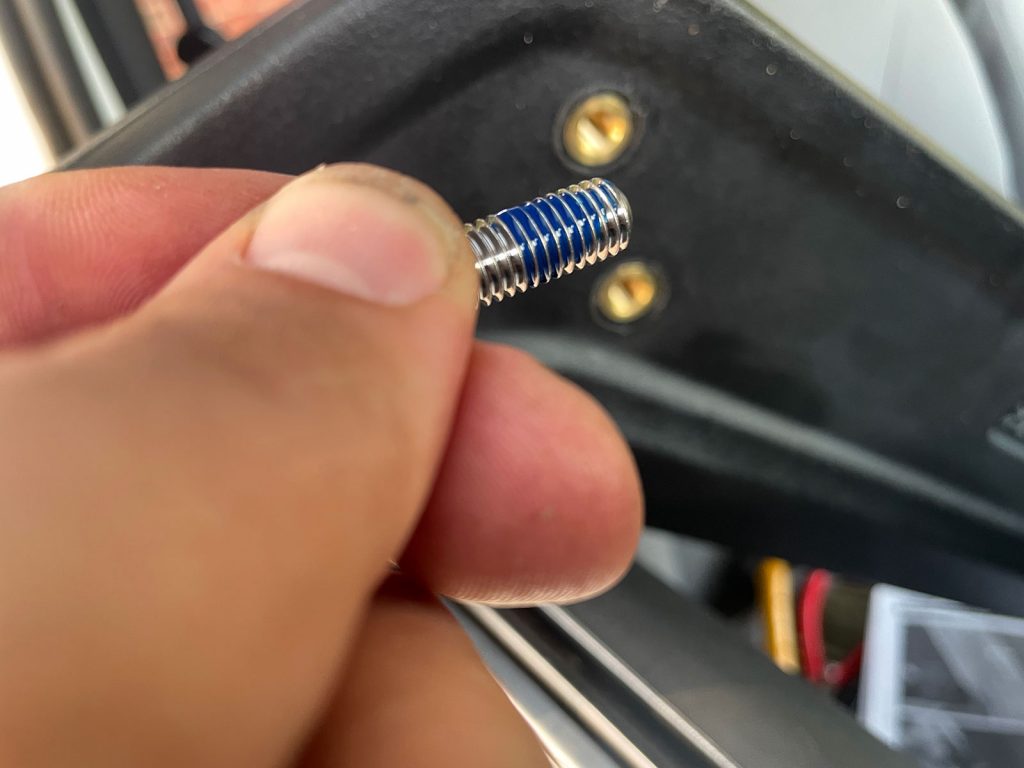
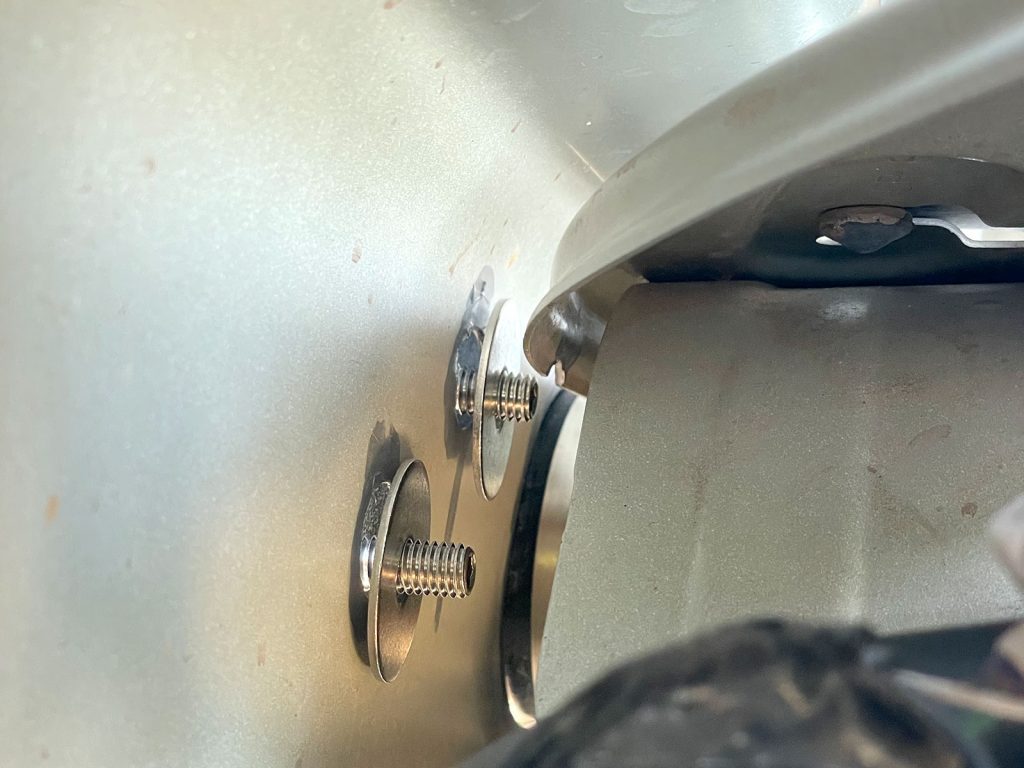
When doing the alignment you’ll also note that it’s a lot easier to have the studs a bit further out from the body of the snorkel instead of fully installed. This gives you a bit more flexibility to pull everything into place. Once you have a good idea about the amount of stick-out that’s ideal for each stud, install them permanently to this depth using some medium strength threadlocker.
Apply all of the silicone!
This is an important step and I put in a heap here. I did multiple thin beads on the inside of the intermediate pipe. The fit is fairly tight but definitely not something you want to have any water come in through!
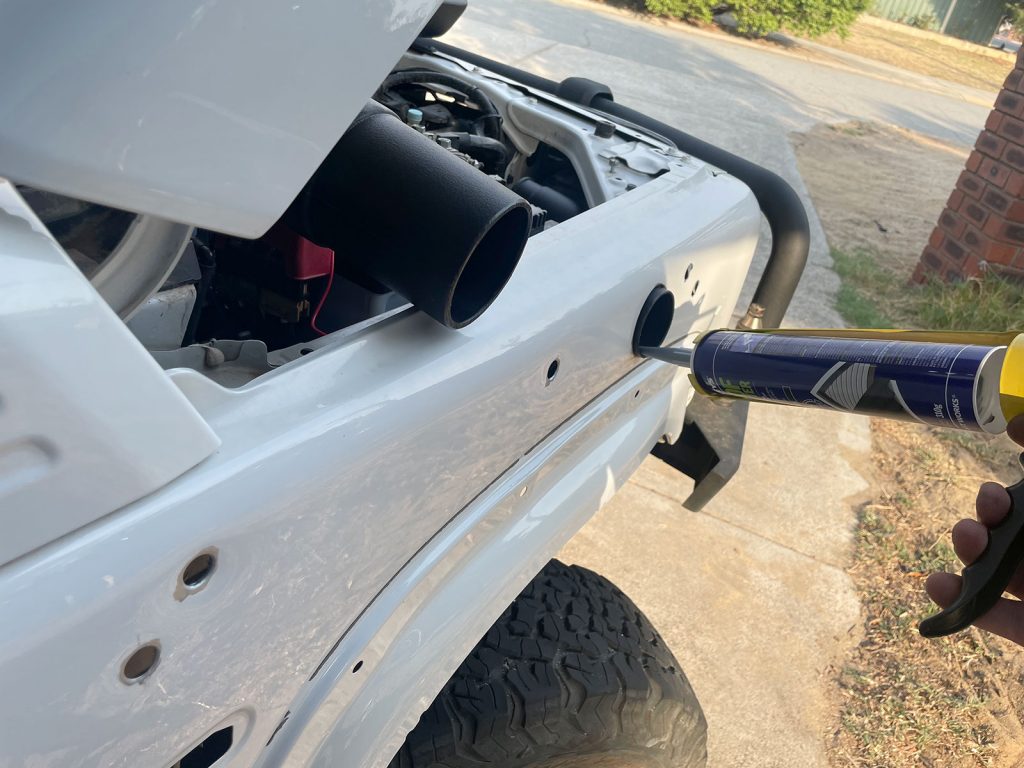
As stated earlier, make sure you’ve put the hose clamp on the intermediate pipe and it’s sitting just behind the inside of the mudguard before you place the snorkel into place!
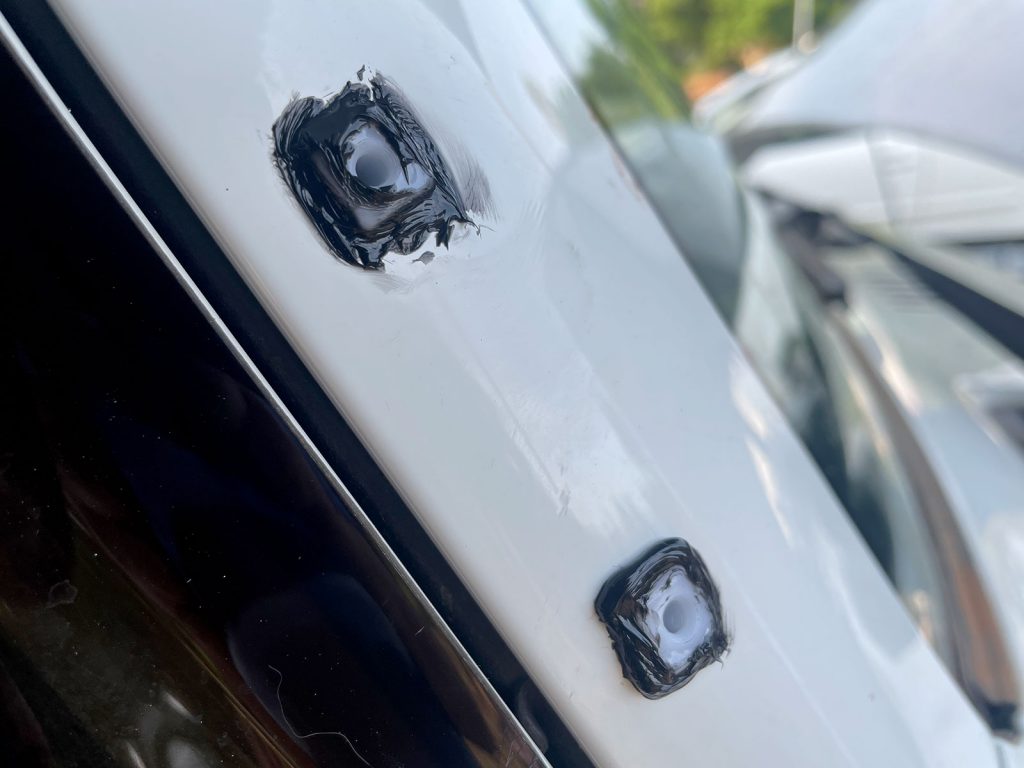
Another place to be generous with silicone is in the plastic fixings for the screws to go into on the upper body mount on the A pillar. I really should have found white neutral cure silicone for this area (as opposed to the black I used, which was a much better choice for the intake hose and the intermediate pipe) but no biggie. It’s messier than I’d have liked but these crimes are hidden by the upper body bracket.
Doing up the upper front nut to the snorkel body
This nut is absolutely awful to get to. Both front studs aren’t able to be accessed from underneath (hence the whole joy of getting the grille off), but the upper and further back one of the two front studs is especially awful.
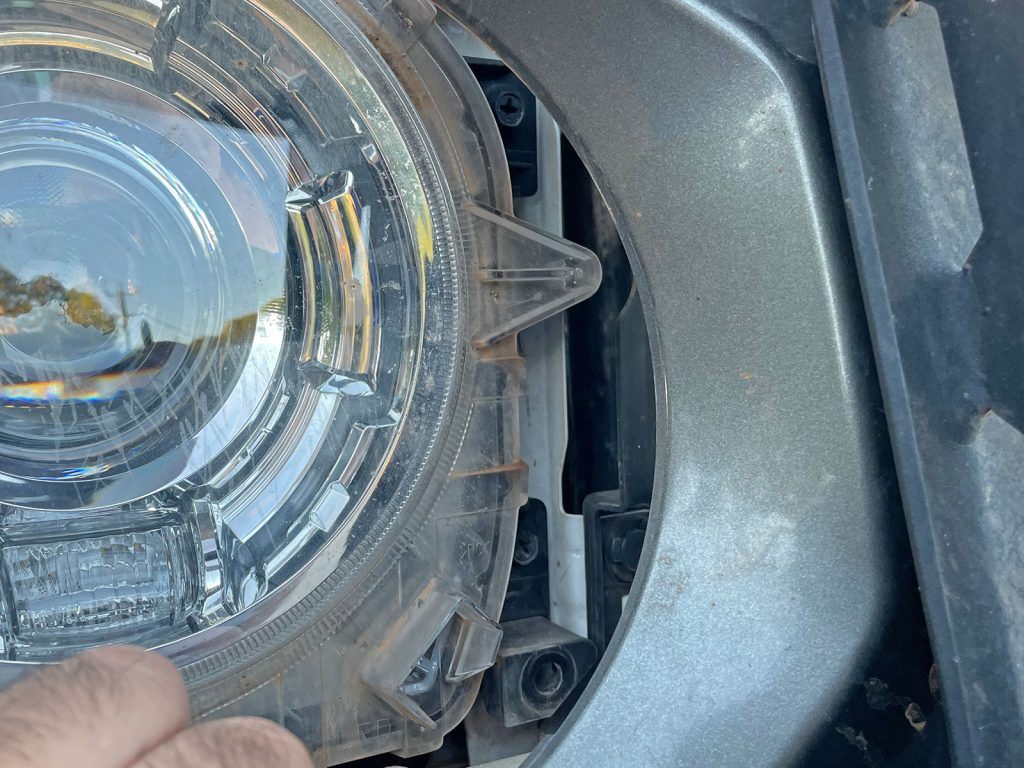
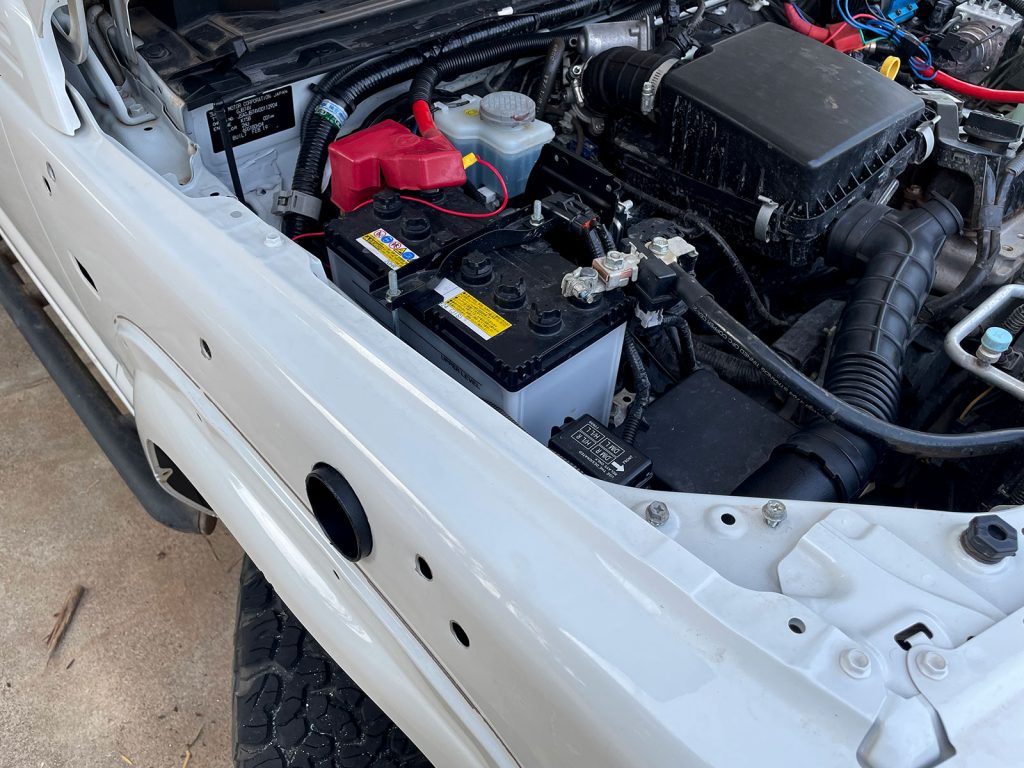
For initial access to start things off I removed off the two main upper bolts holding the front guard on. This let me get my hand in just enough to start the two front nuts.
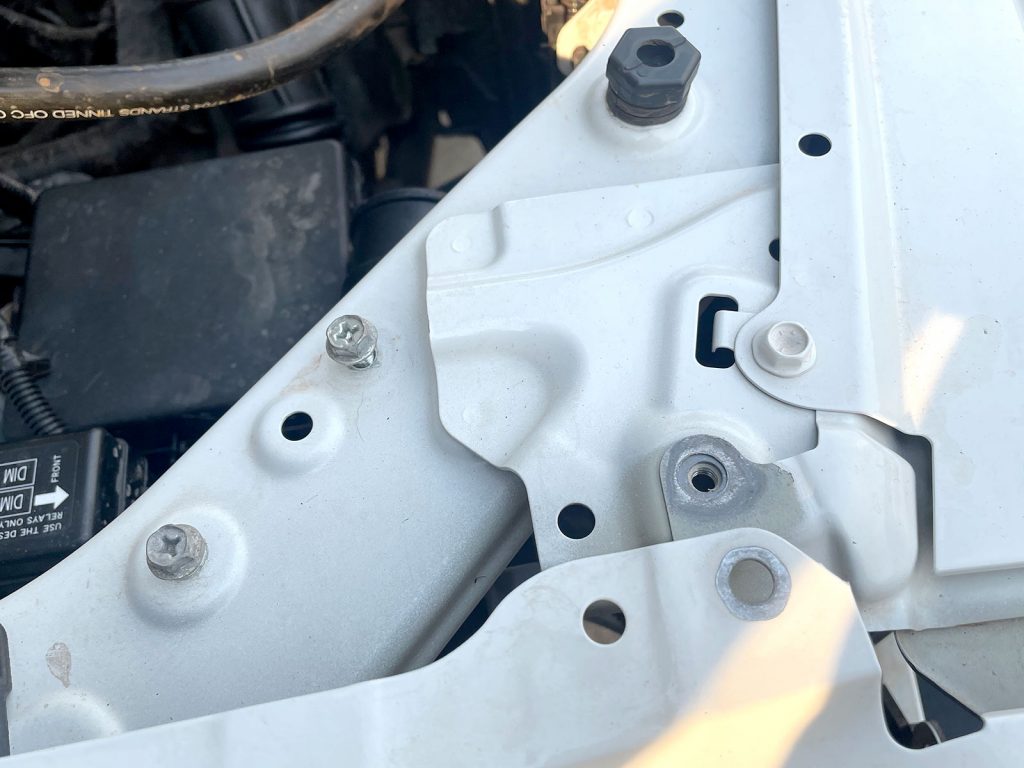
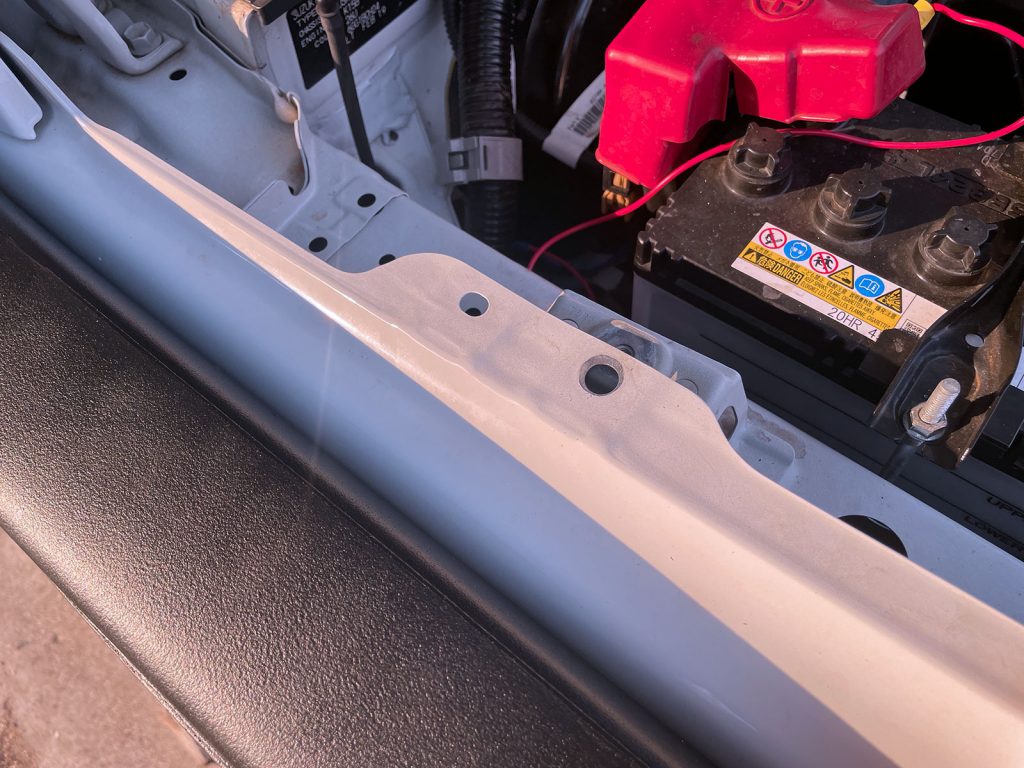
Once they were started a bit, but before they were fully tight, I pushed the top part of the guard back into place and tightened the bolts. This ensures panel gaps especially around the headlight remain factory. If you tighten the bolts up fully at this step I guarantee the guard won’t fully go back into place, leaving an extra gap.
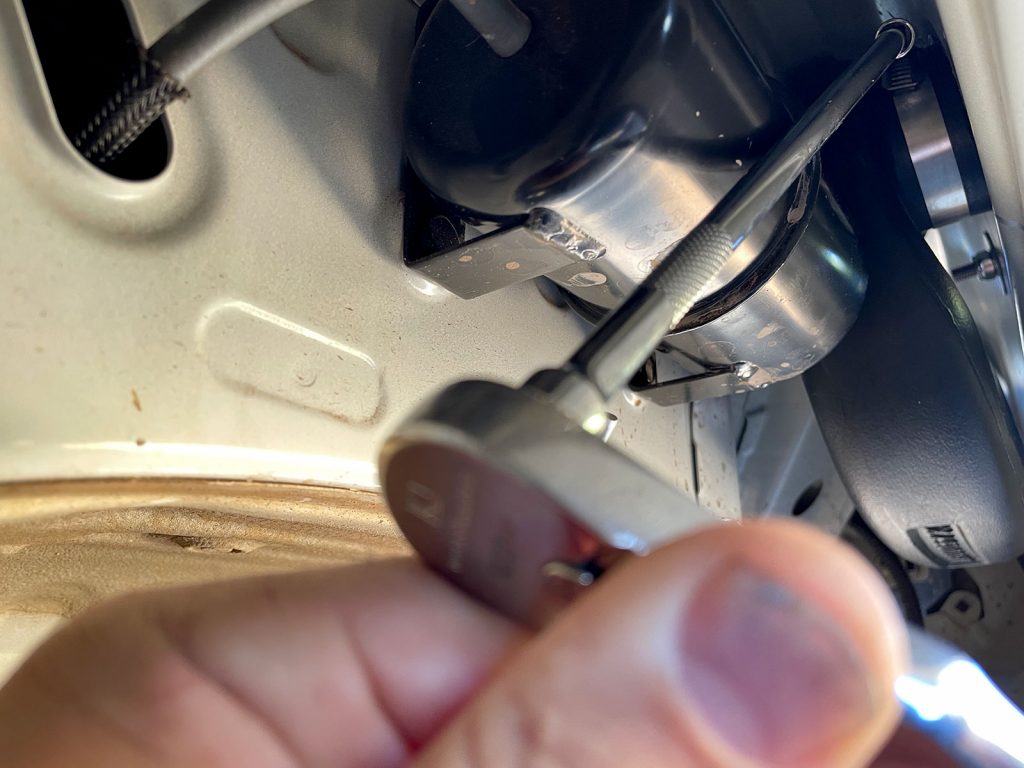
With the top of the guard back in place the only decent access was via the headlight/indicator aperture. I was able to do the nut up, 1/12th of a turn at a time, by using the open end of a spanner: tighten it up a bit, spanner off, flip it over to use the different angle of the head to get a grip on the nut, go up another 1/12th of a turn etc. This took ages, obviously.
You should not do up just one nut fully and leave the others loose, you should try to tigthen things down evenly as you work through it, which adds to the time as you flick between the easier to access nuts and then the harder ones.
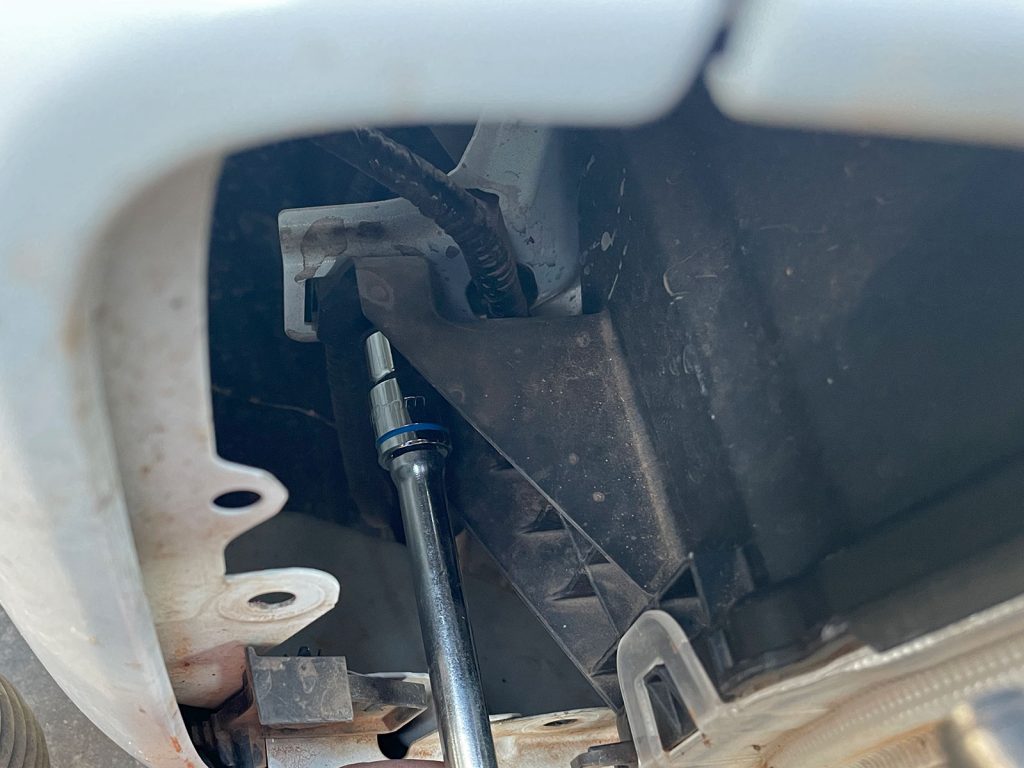
Doing up the hose clamp to hold intermediate pipe onto the snorkel body.
This is a bit tricky and I’m not sure there’s a better orientation for it. You can have the hose clamp one of two ways, just make sure before you commit to the final boltup to have the clamp bolt/screw head accessible from underneath in a way you’re happy you can access.
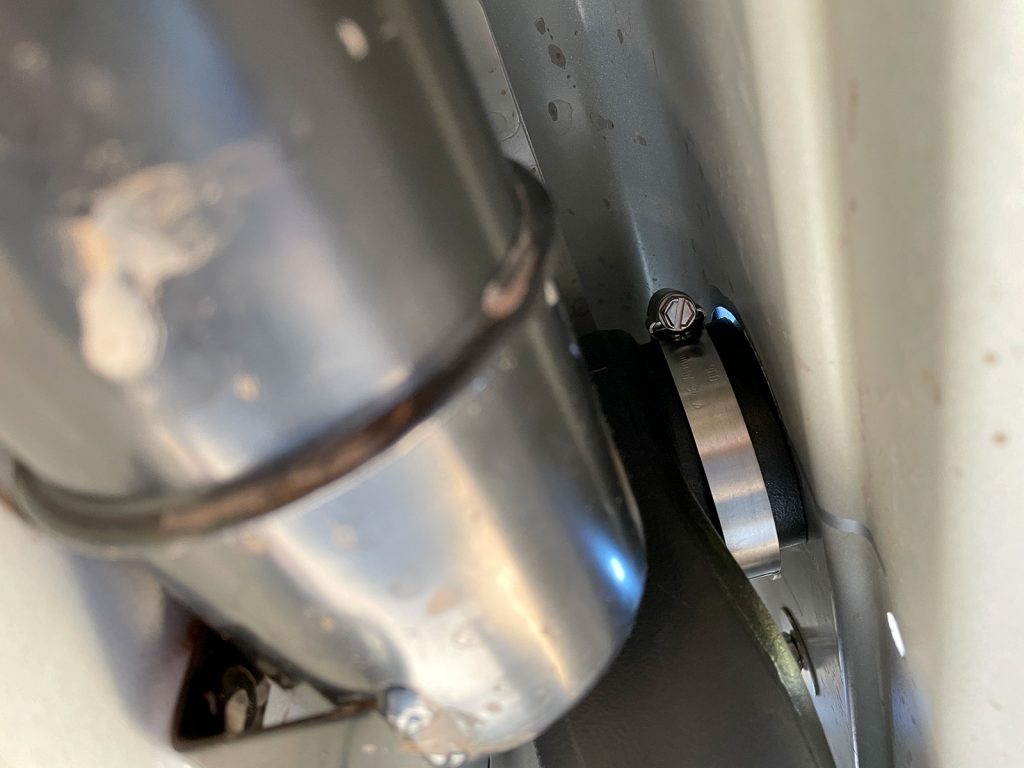
I accessed mine using an 8mm deep socket and a very long 1/4″ drive extension and a small 1/4″ drive ratchet. This worked great but if you don’t have this then you’ll want a very long flat bladed screwdriver that has only a moderate sized tip, or a really long flexidrive option.
Refitting plastic trim pieces
When it comes to refitting the trim pieces it’s basically a reverse of installation but there’s a couple of tricks to know.
One thing to note is never clip one thing in fully before attaching the next part. Just put in a couple of plastic clips to say the inner guard, then install the guard extension plastic piece with a couple of clips, and then the side sill piece with a couple more clips. That lets you get everything into alignment together rather than fighting the first piece you’ve fully installed and then not had everything in perfect alignment.
If you snapped any plastic trim clips then here’s a good point to replace them. Sometimes people don’t and then wonder why their car rattles pieces off when going offroad a few months down the track. Even just generic kits are super useful to have around for any DIY task so you’re ready to replace things when you need to.