
Water and shower solutions
This is an article I’ll be expanding on for things I’ve explored for carrying water and having showers with the Jimny. None of this is really unique to the Jimny but some stuff is going to work better for it than others.
Sections
Water carrying
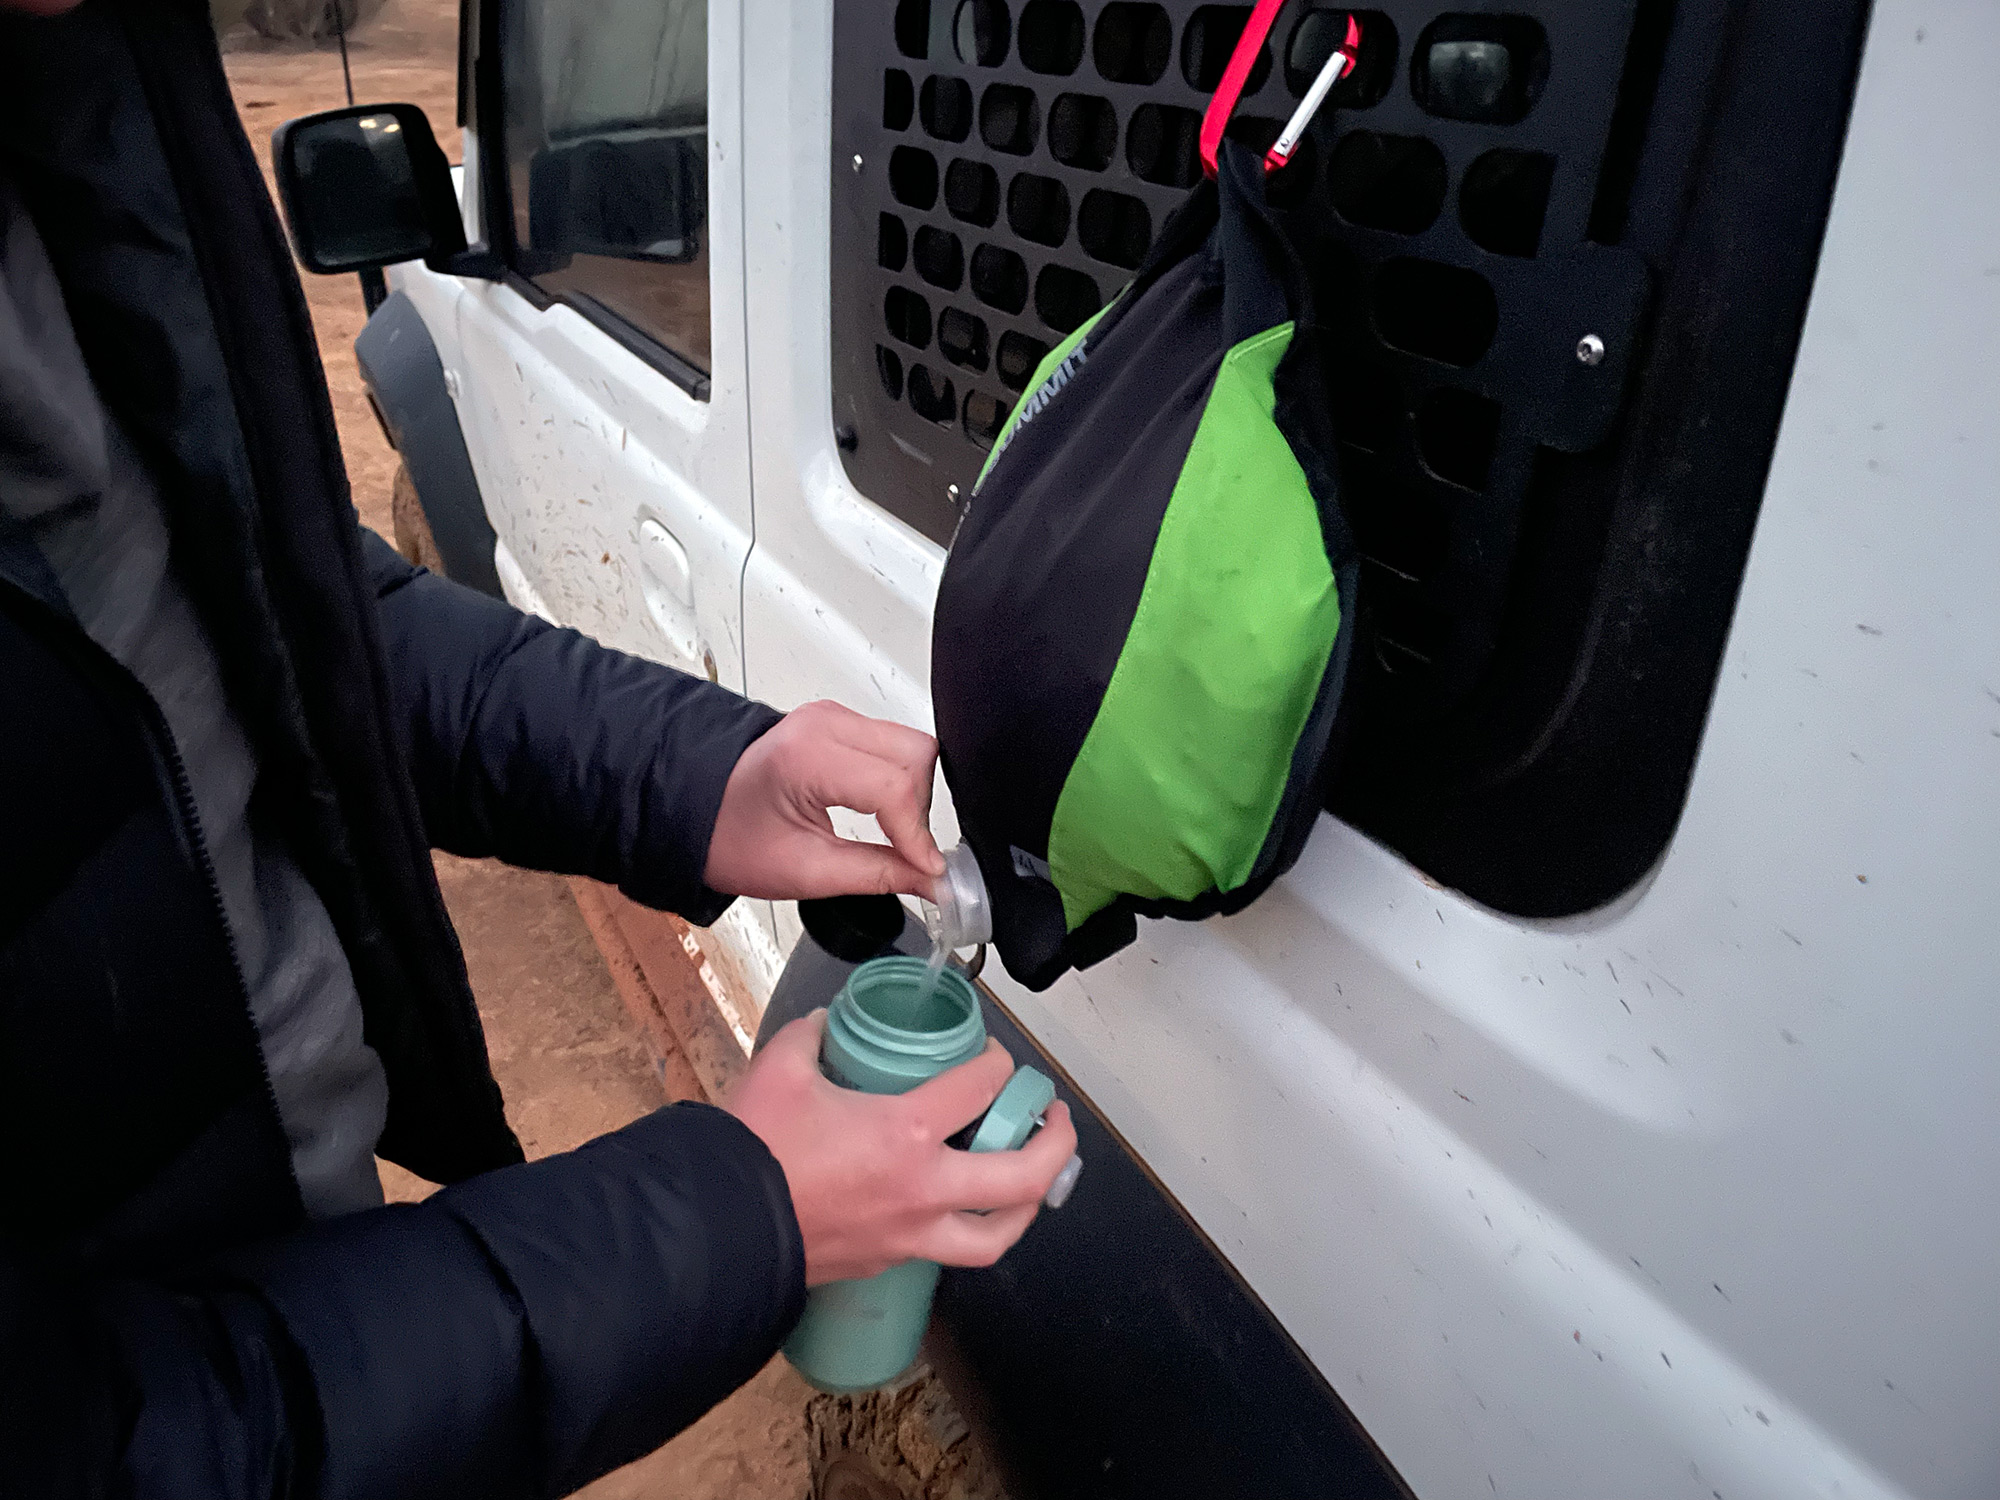
The best solutions I’ve found so far has been some water bladders. I’ve used Sea to Summit mylar ones inside tough bags (both 4 and 10L bags – called their Pack Taps), and also some of the tougher water cell bags (I’ve only used their 10L cell). The mylar ones are better for water you’ll drink as they do not impart a taste; the water cells work better for where you want a bit more ruggedness. I wouldn’t go larger than 10L, 20L in a movable sack gets a bit hard to handle and lift out when you need it.
Both can be hung from attachment points which is great for water dispensing at camp. The security panels on the outside of my sliding windows at the back are a really good option for this.
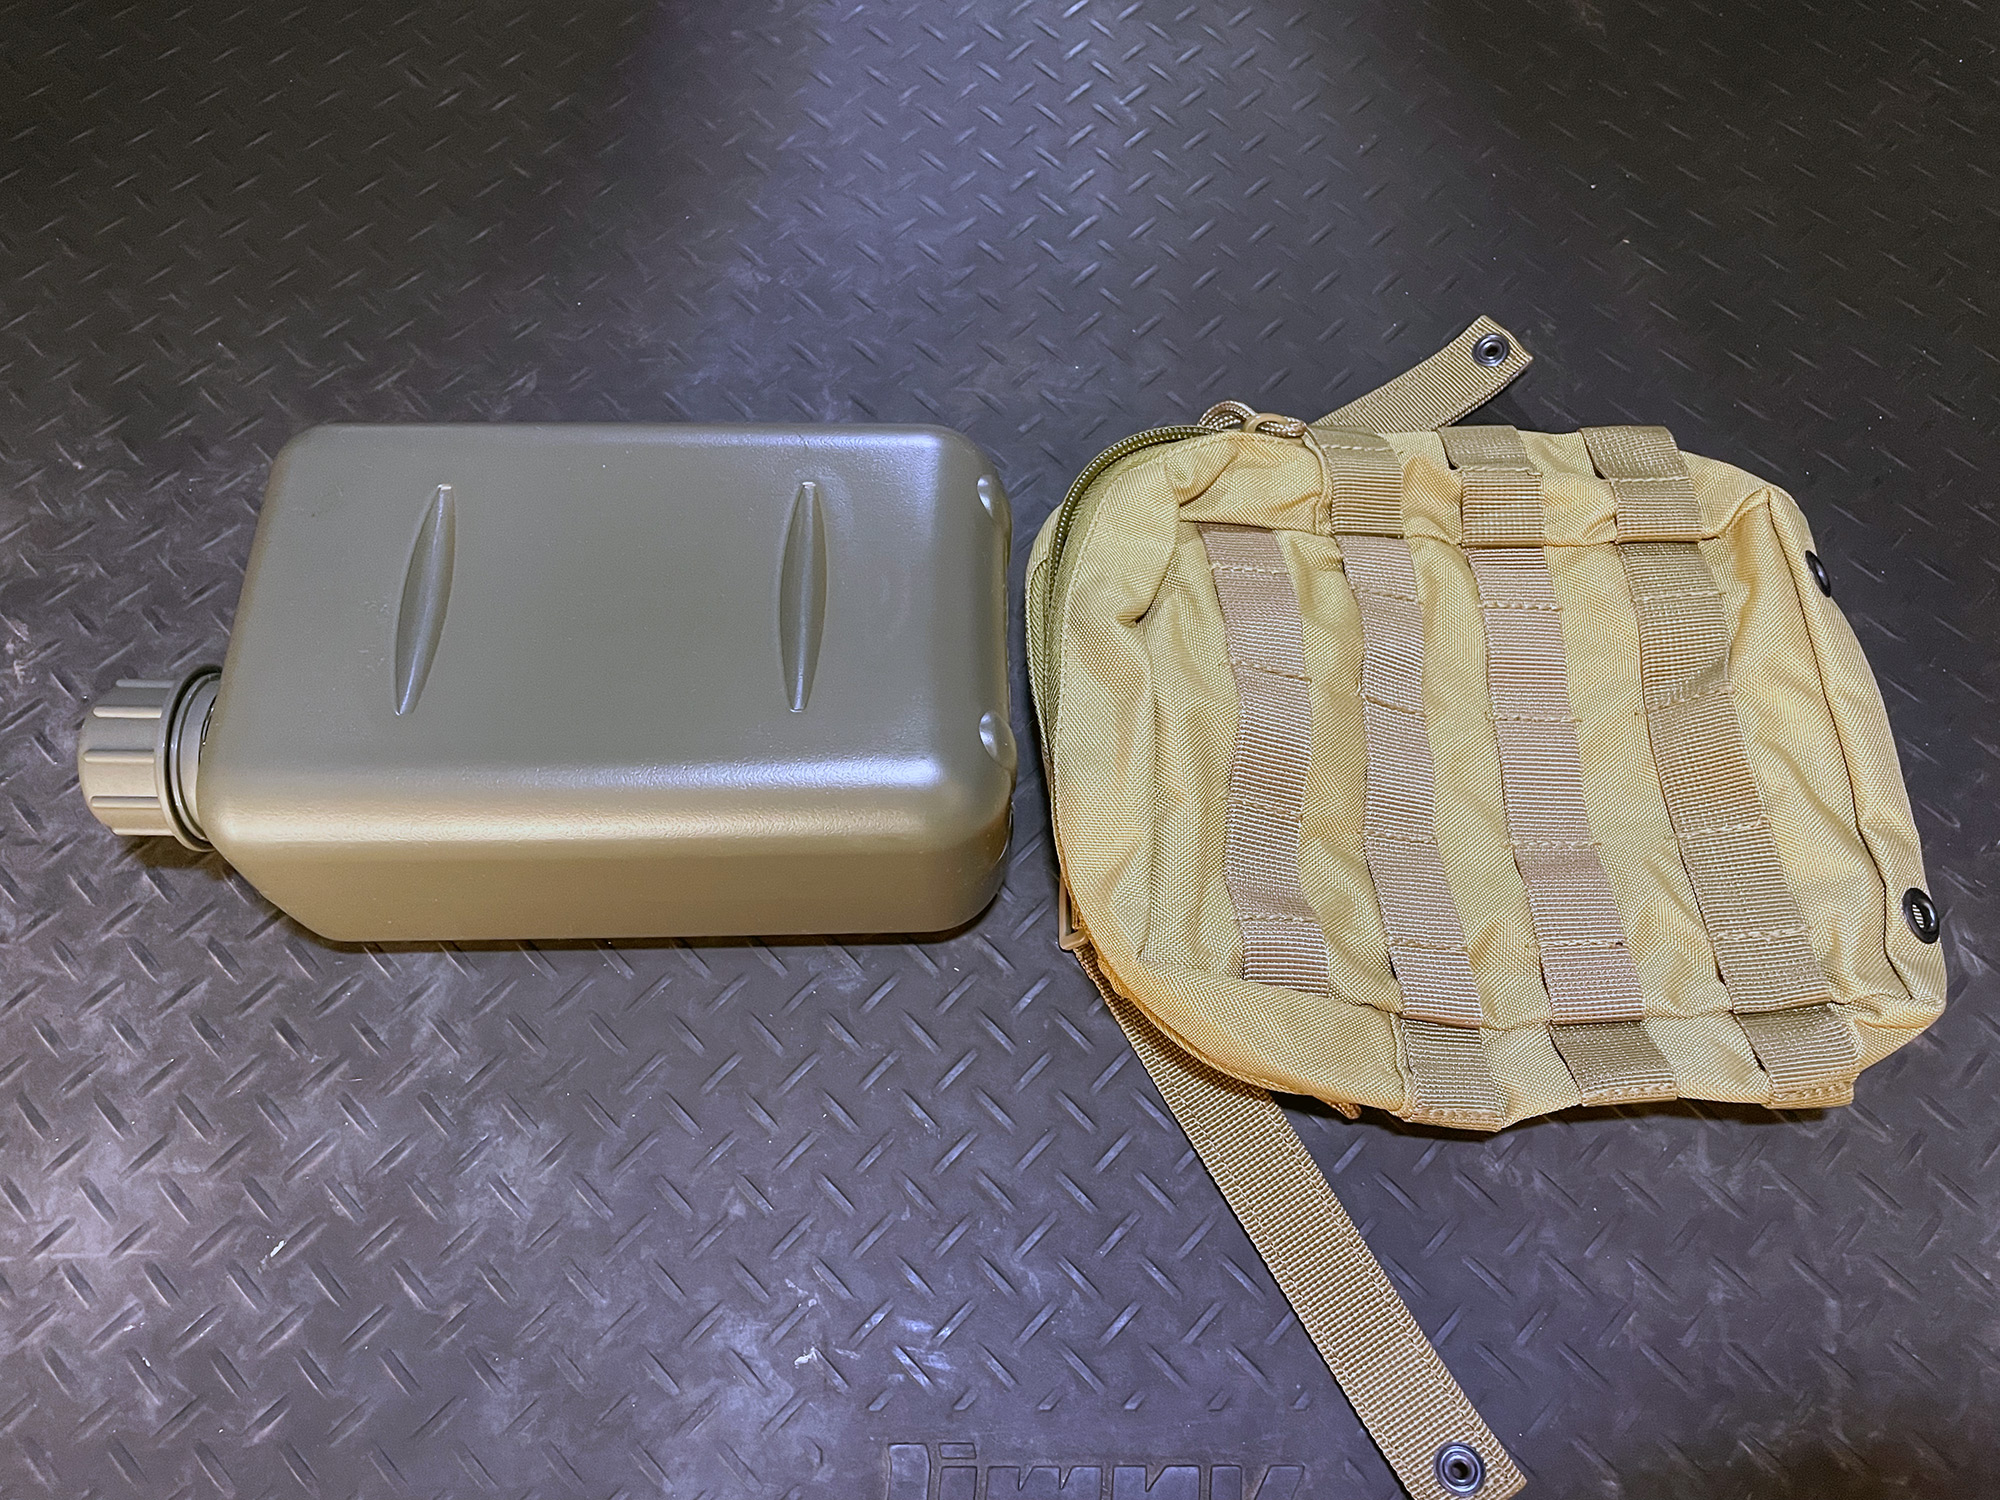
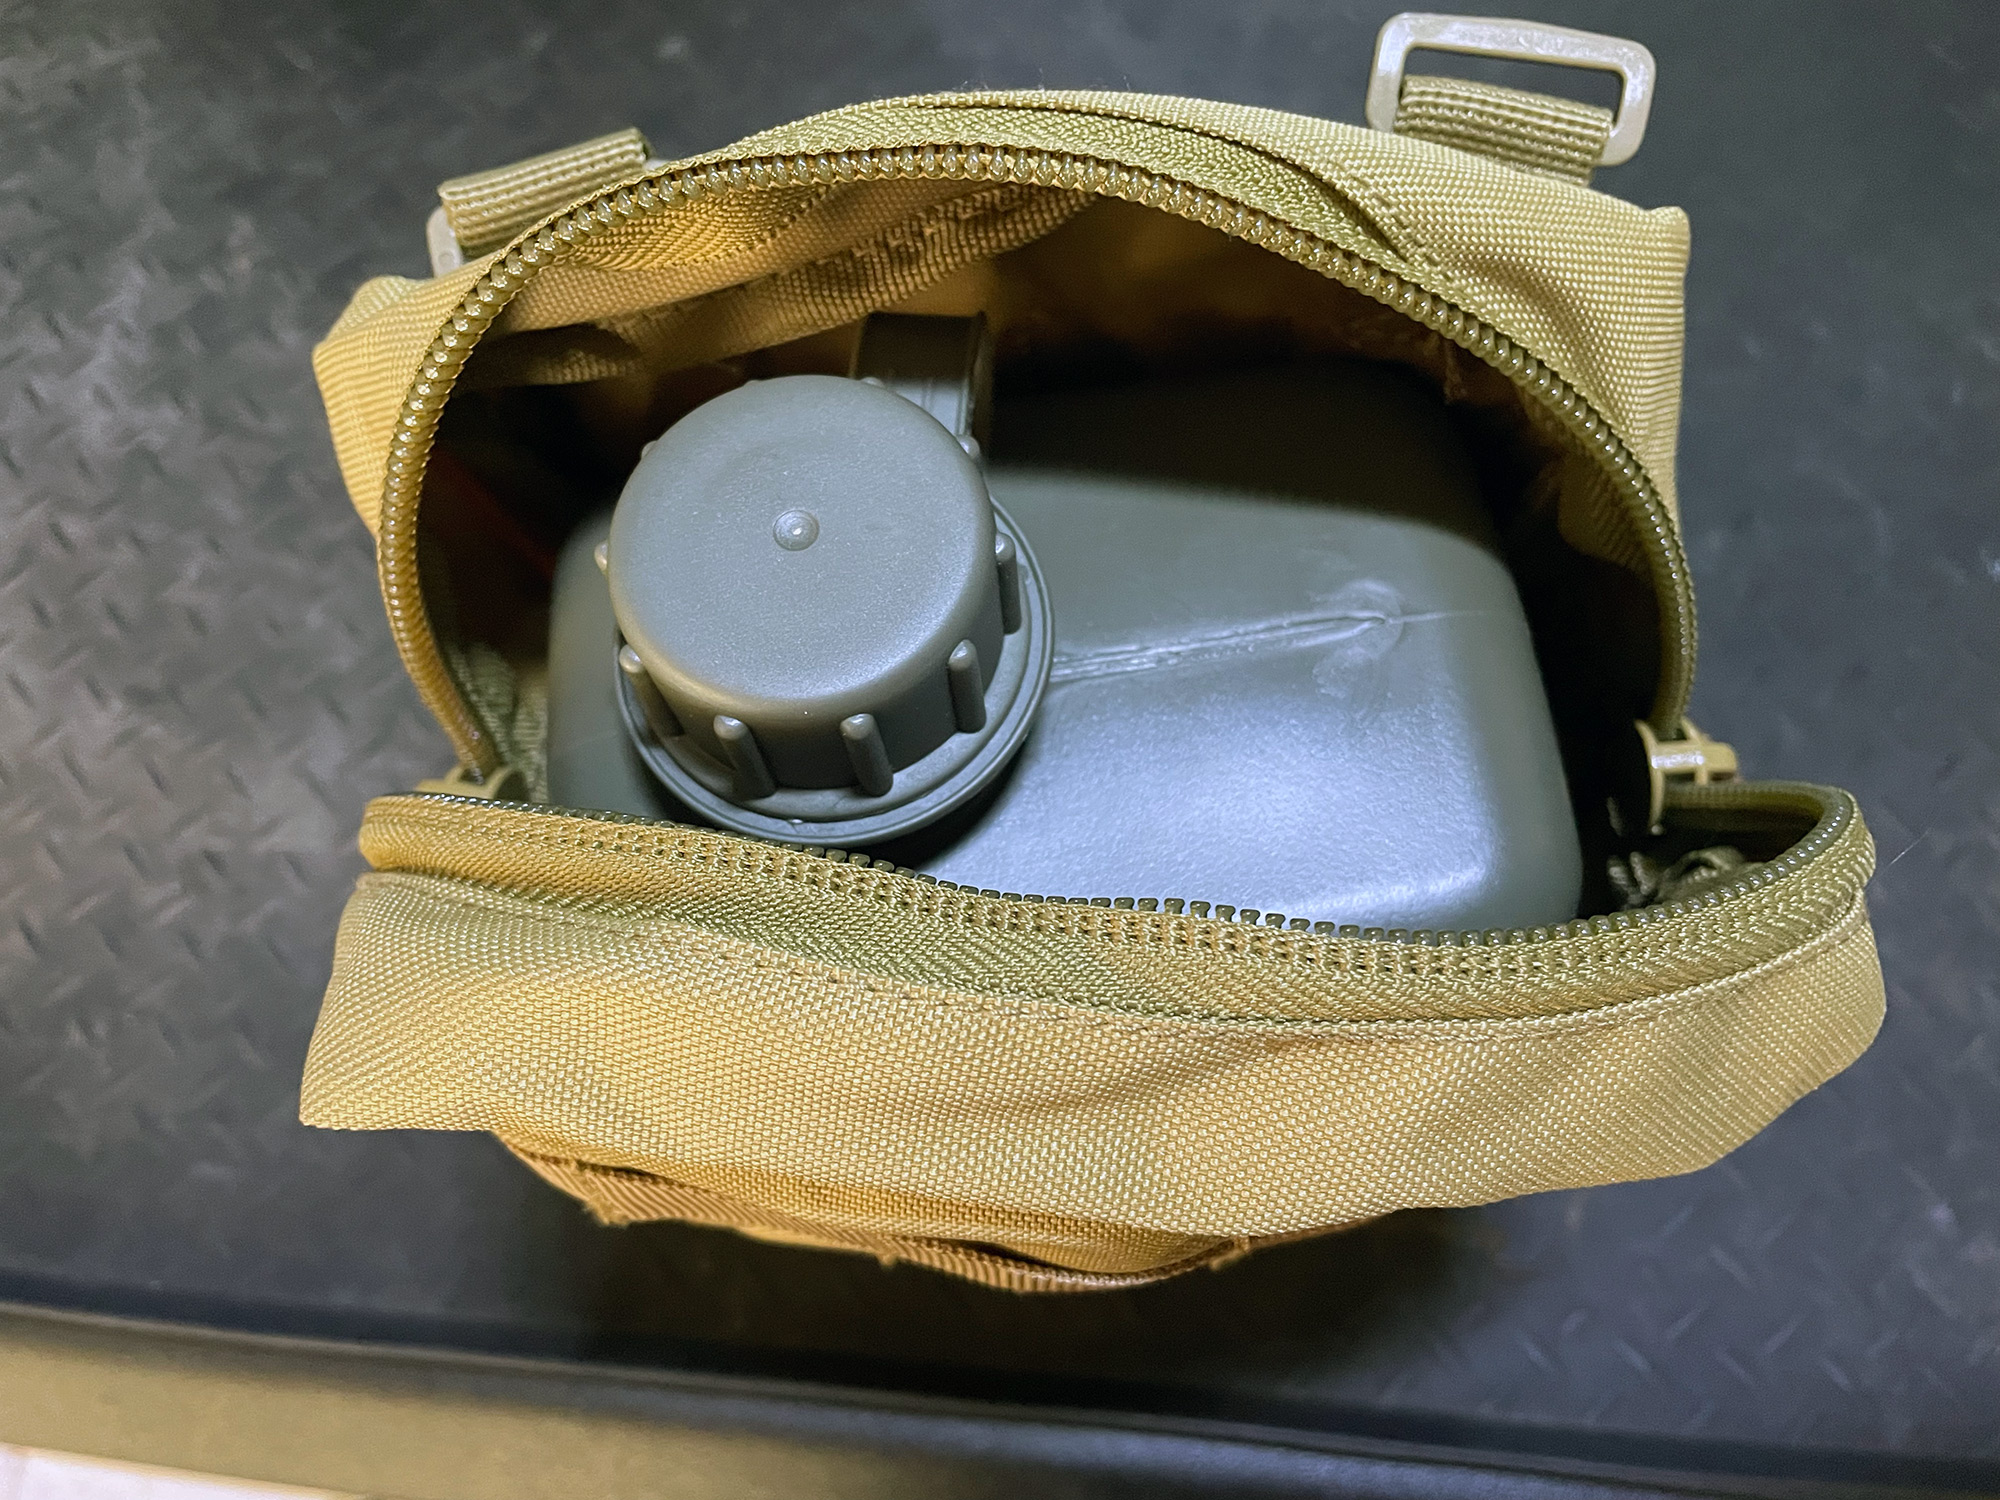
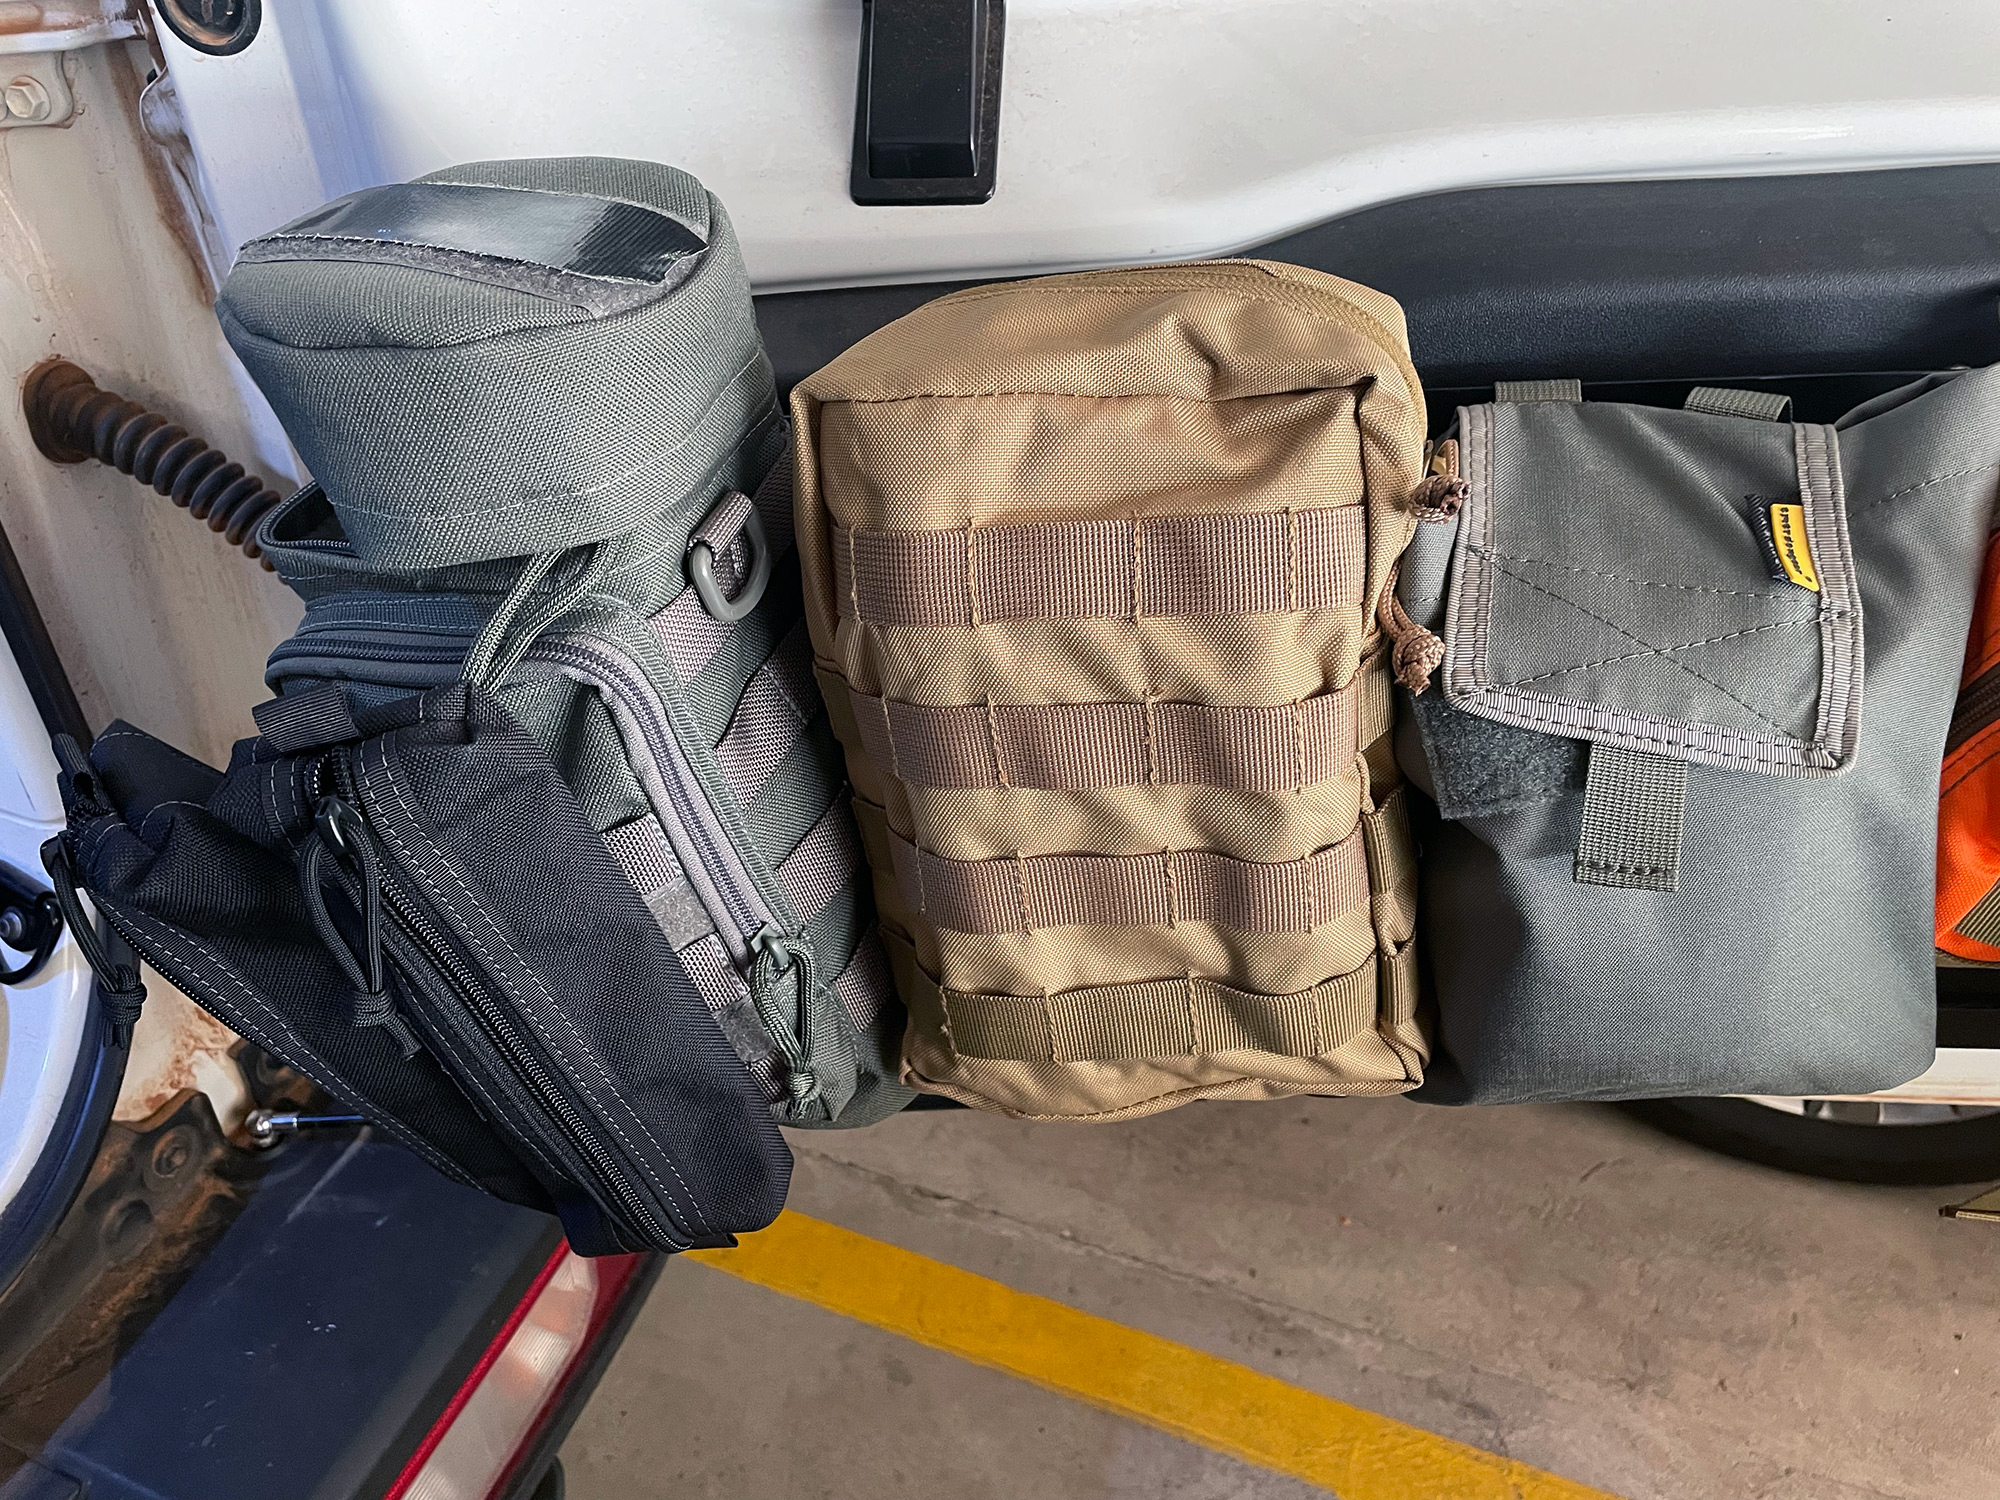
I also have some water carrying options on my rear molle panel on the inside of the back door. There is a maxpedition large insulated flask holder, which can take a champagne bottle or a 1.5L water bottle, and also a pouch that takes a 2L South African army issue plastic canteen.
Shower
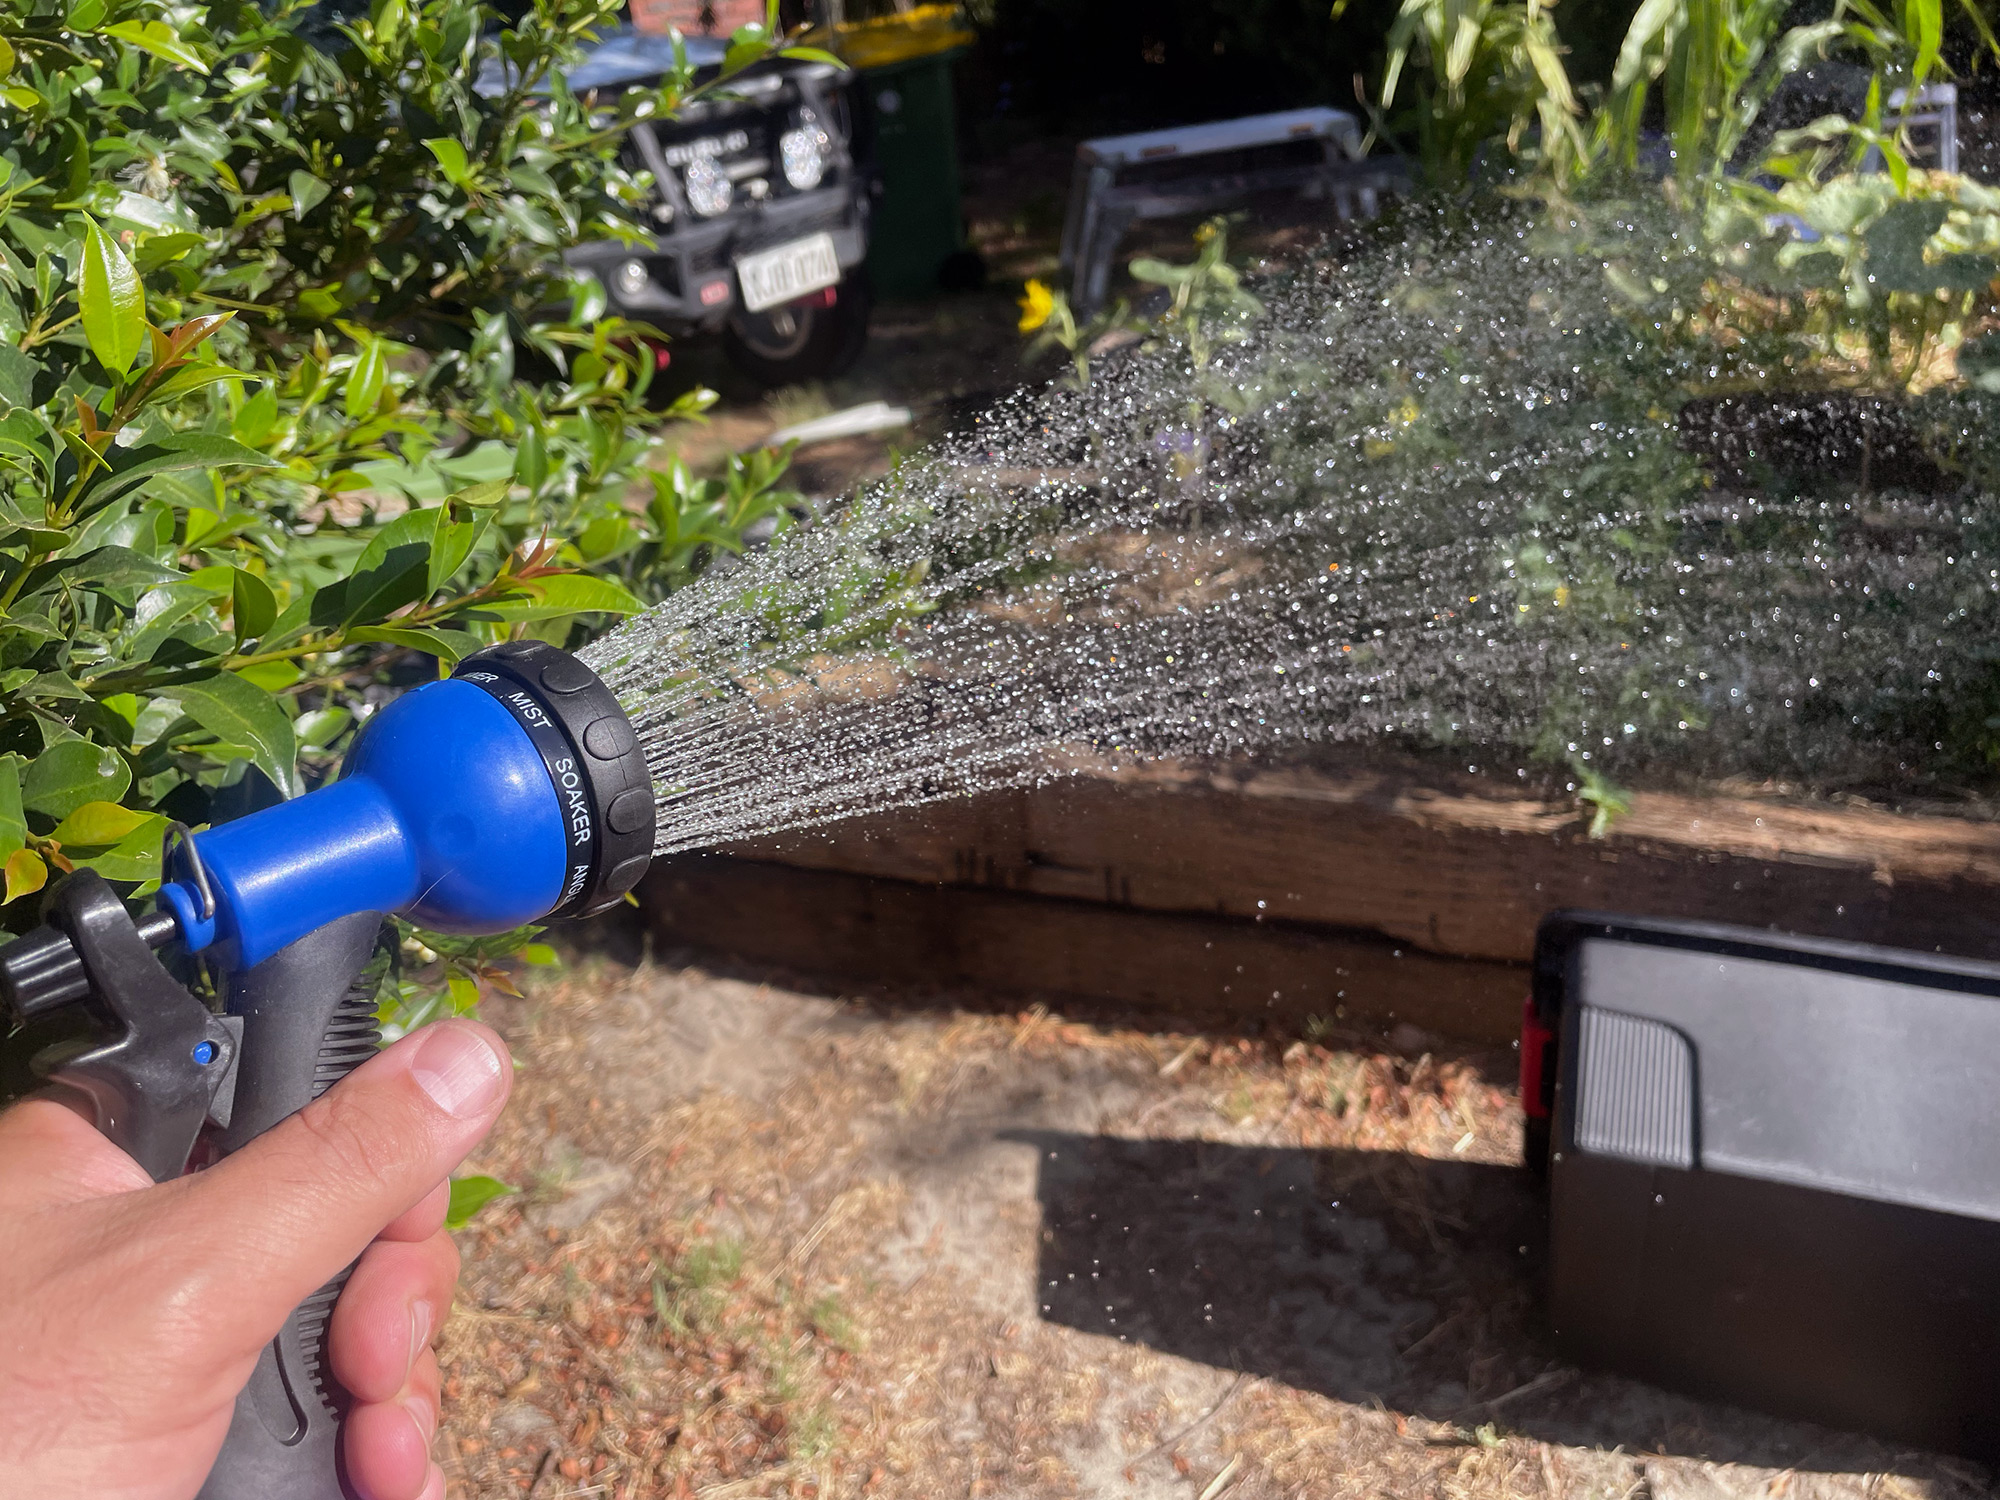
There’s a few options I’ve used on 4wds in the past but a really simple one is to use a pump sprayer and adapt it to something that’ll work for a shower head. I found a Nylex 12L pump sprayer (product number 50133435 if that link dies) at Bunnings which fits in really nicely in the back of the car and will give a couple of decent showers offroad. The boxy shape of this means it tucks in nicely, even if it’s not the cheapest pump sprayer you can buy. It also has a rudimentary filter in the bit where you fill it up with water so it’ll probably be good to fill up at a river near a camp site too.
You will also need an 8mm hose to tap fitting (Pope part number 1010676), and just get the cheapest garden hose spray nozzle you can, ideally with the ability to turn the water on and off.
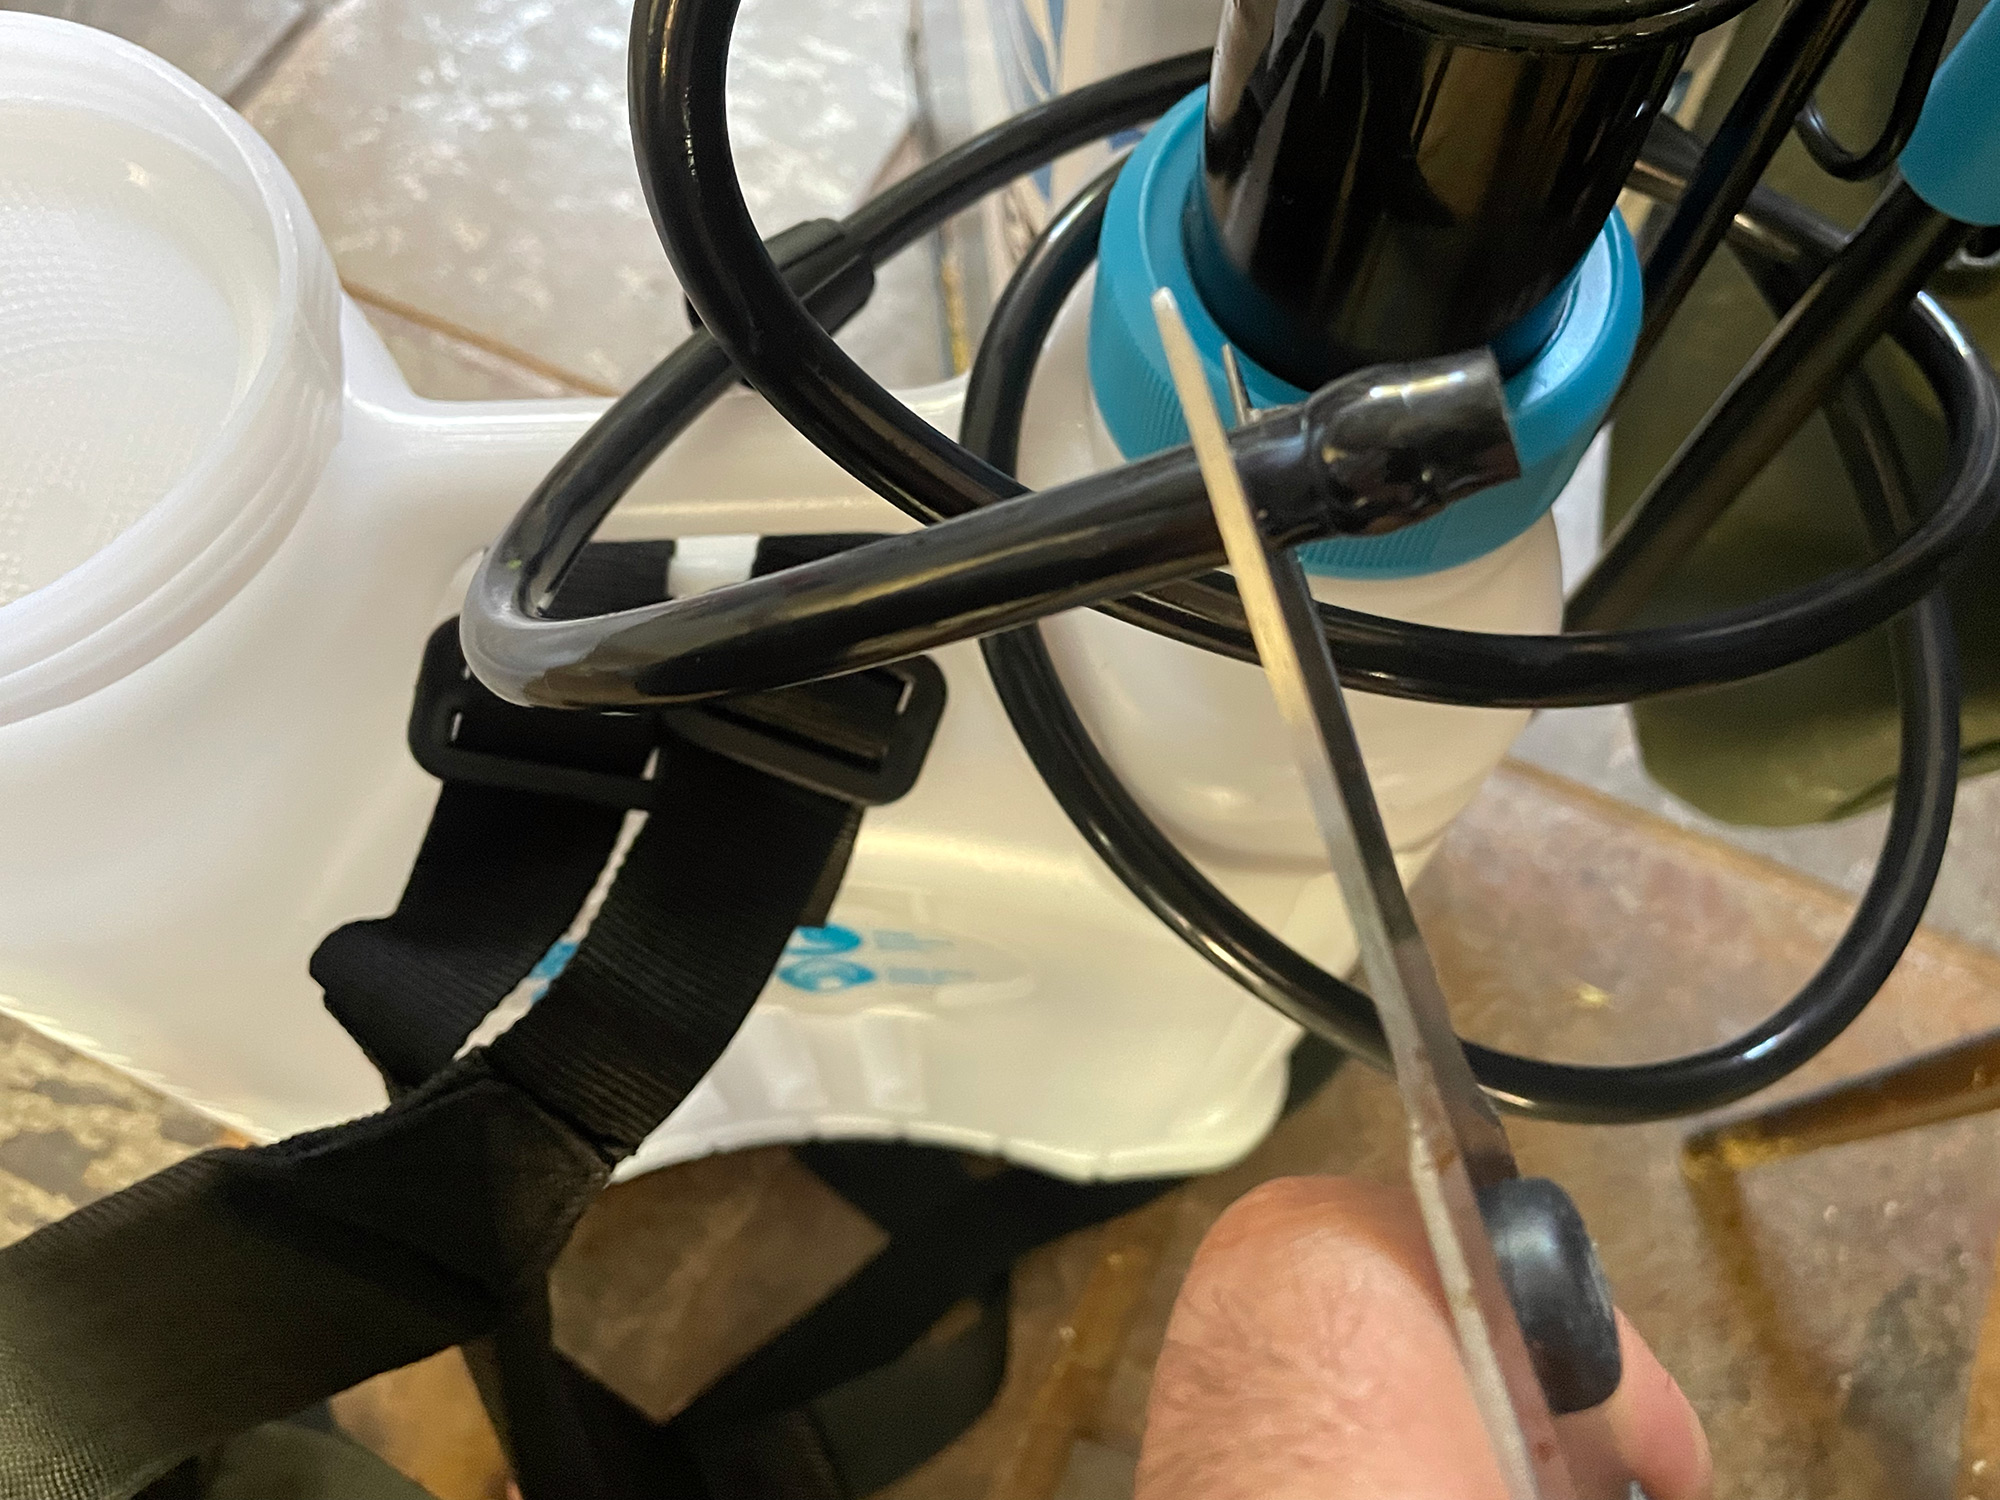
When you get the sprayer home, your first step is to cut the end off the hose where it goes into the spray lance.
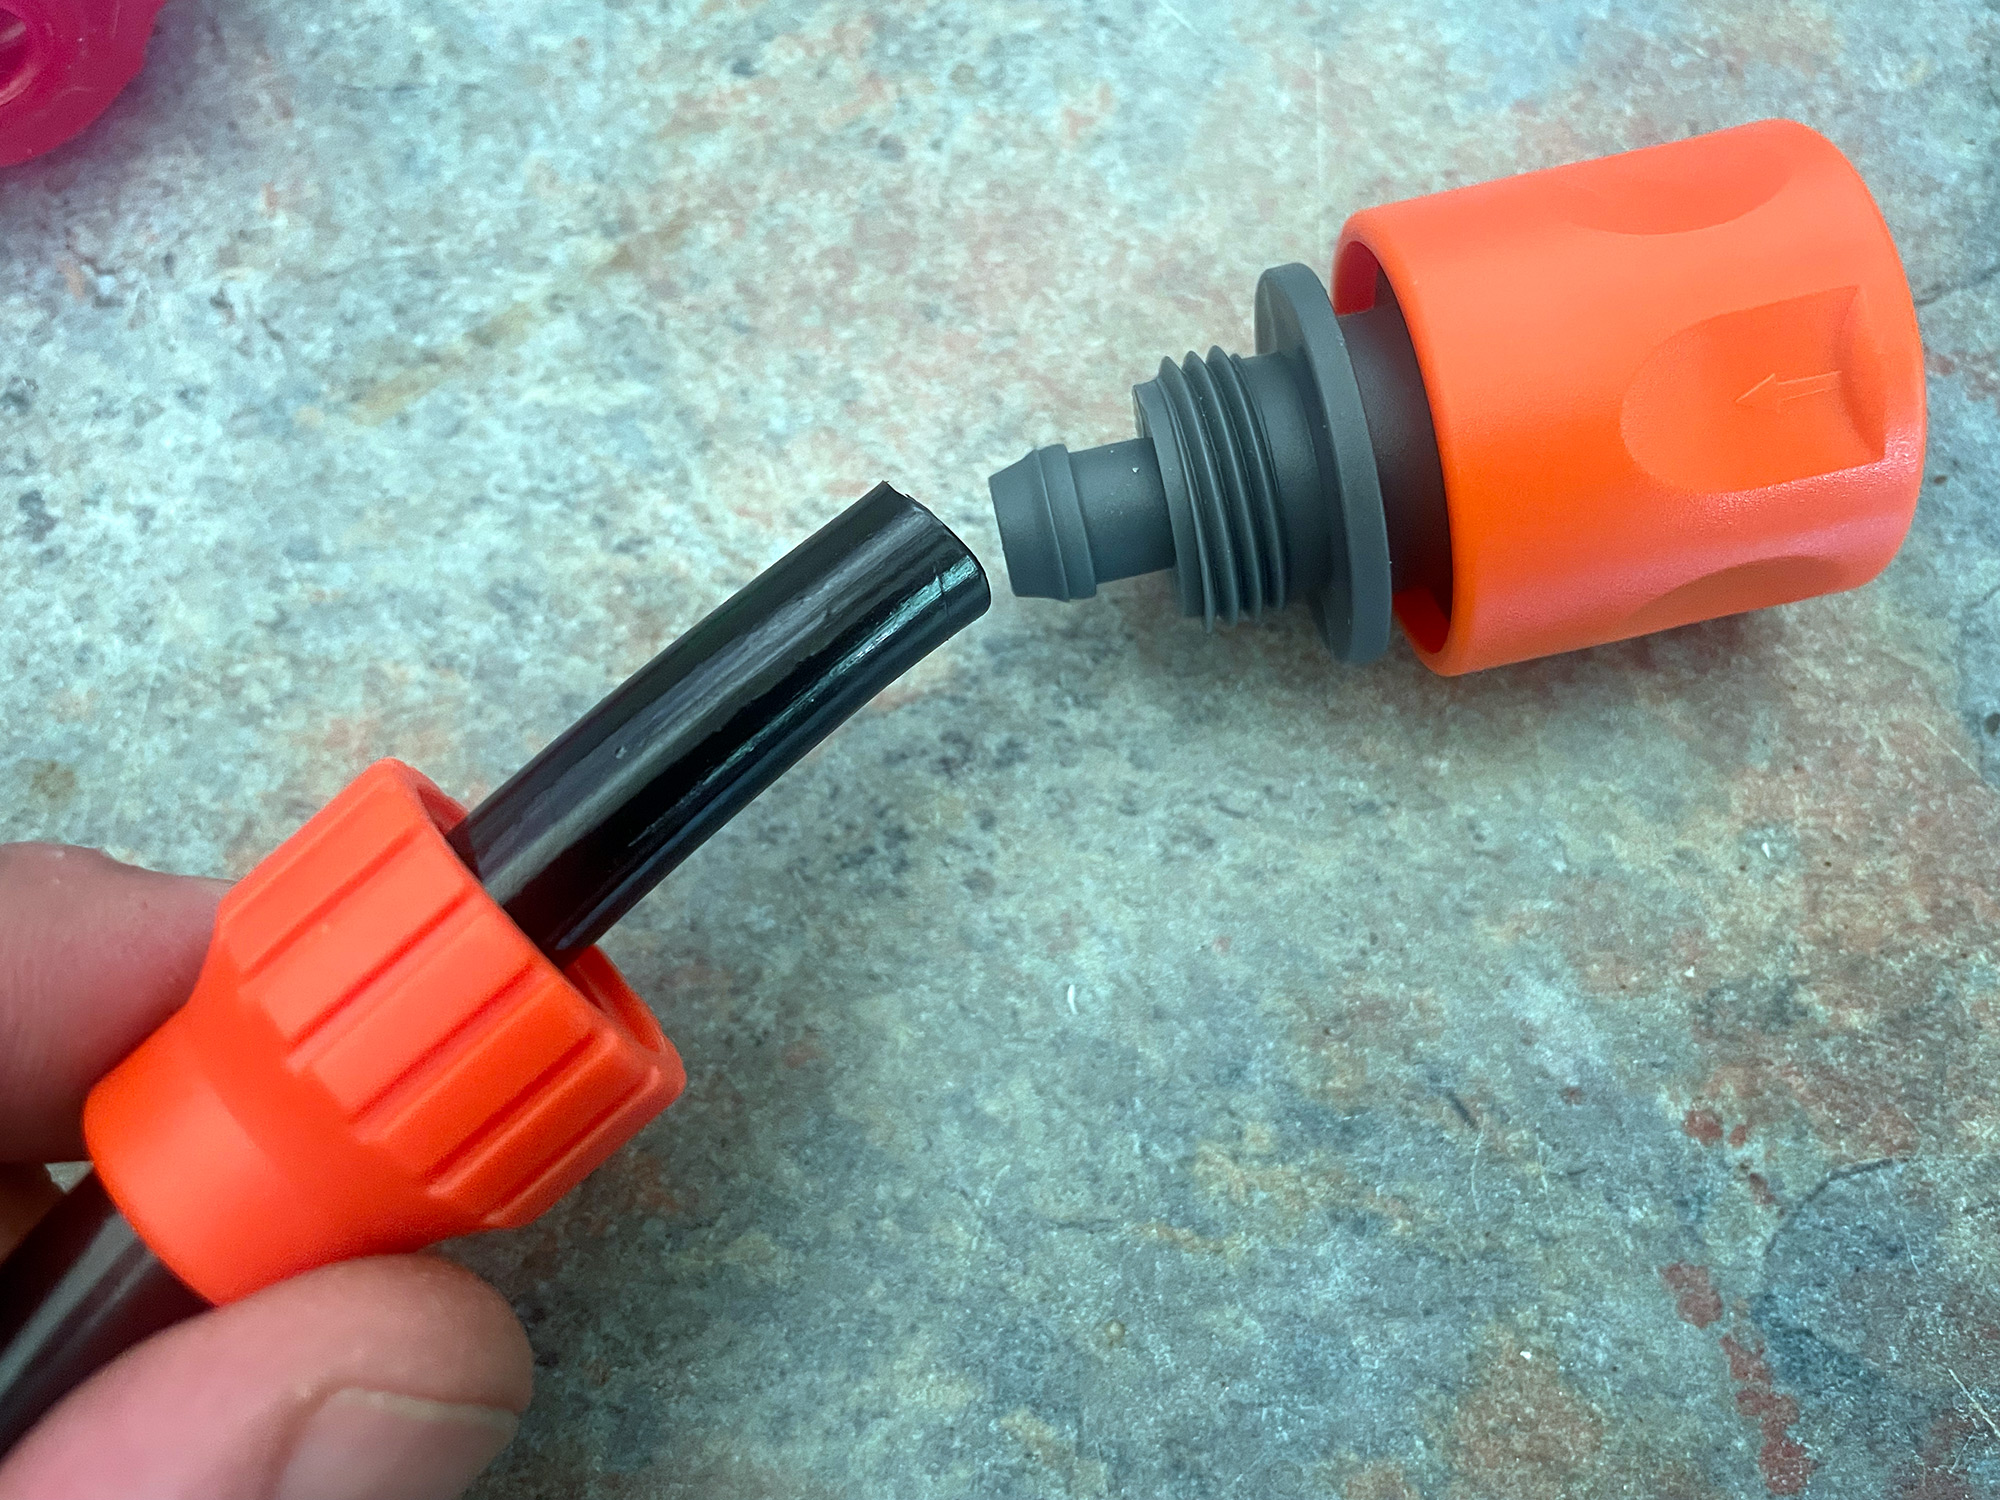
It’s fairly straightforward to fit the 8mm hose to snap-on fitting adapter, just remember to put the screw-on collar on the hose before you push the fitting onto the hose.
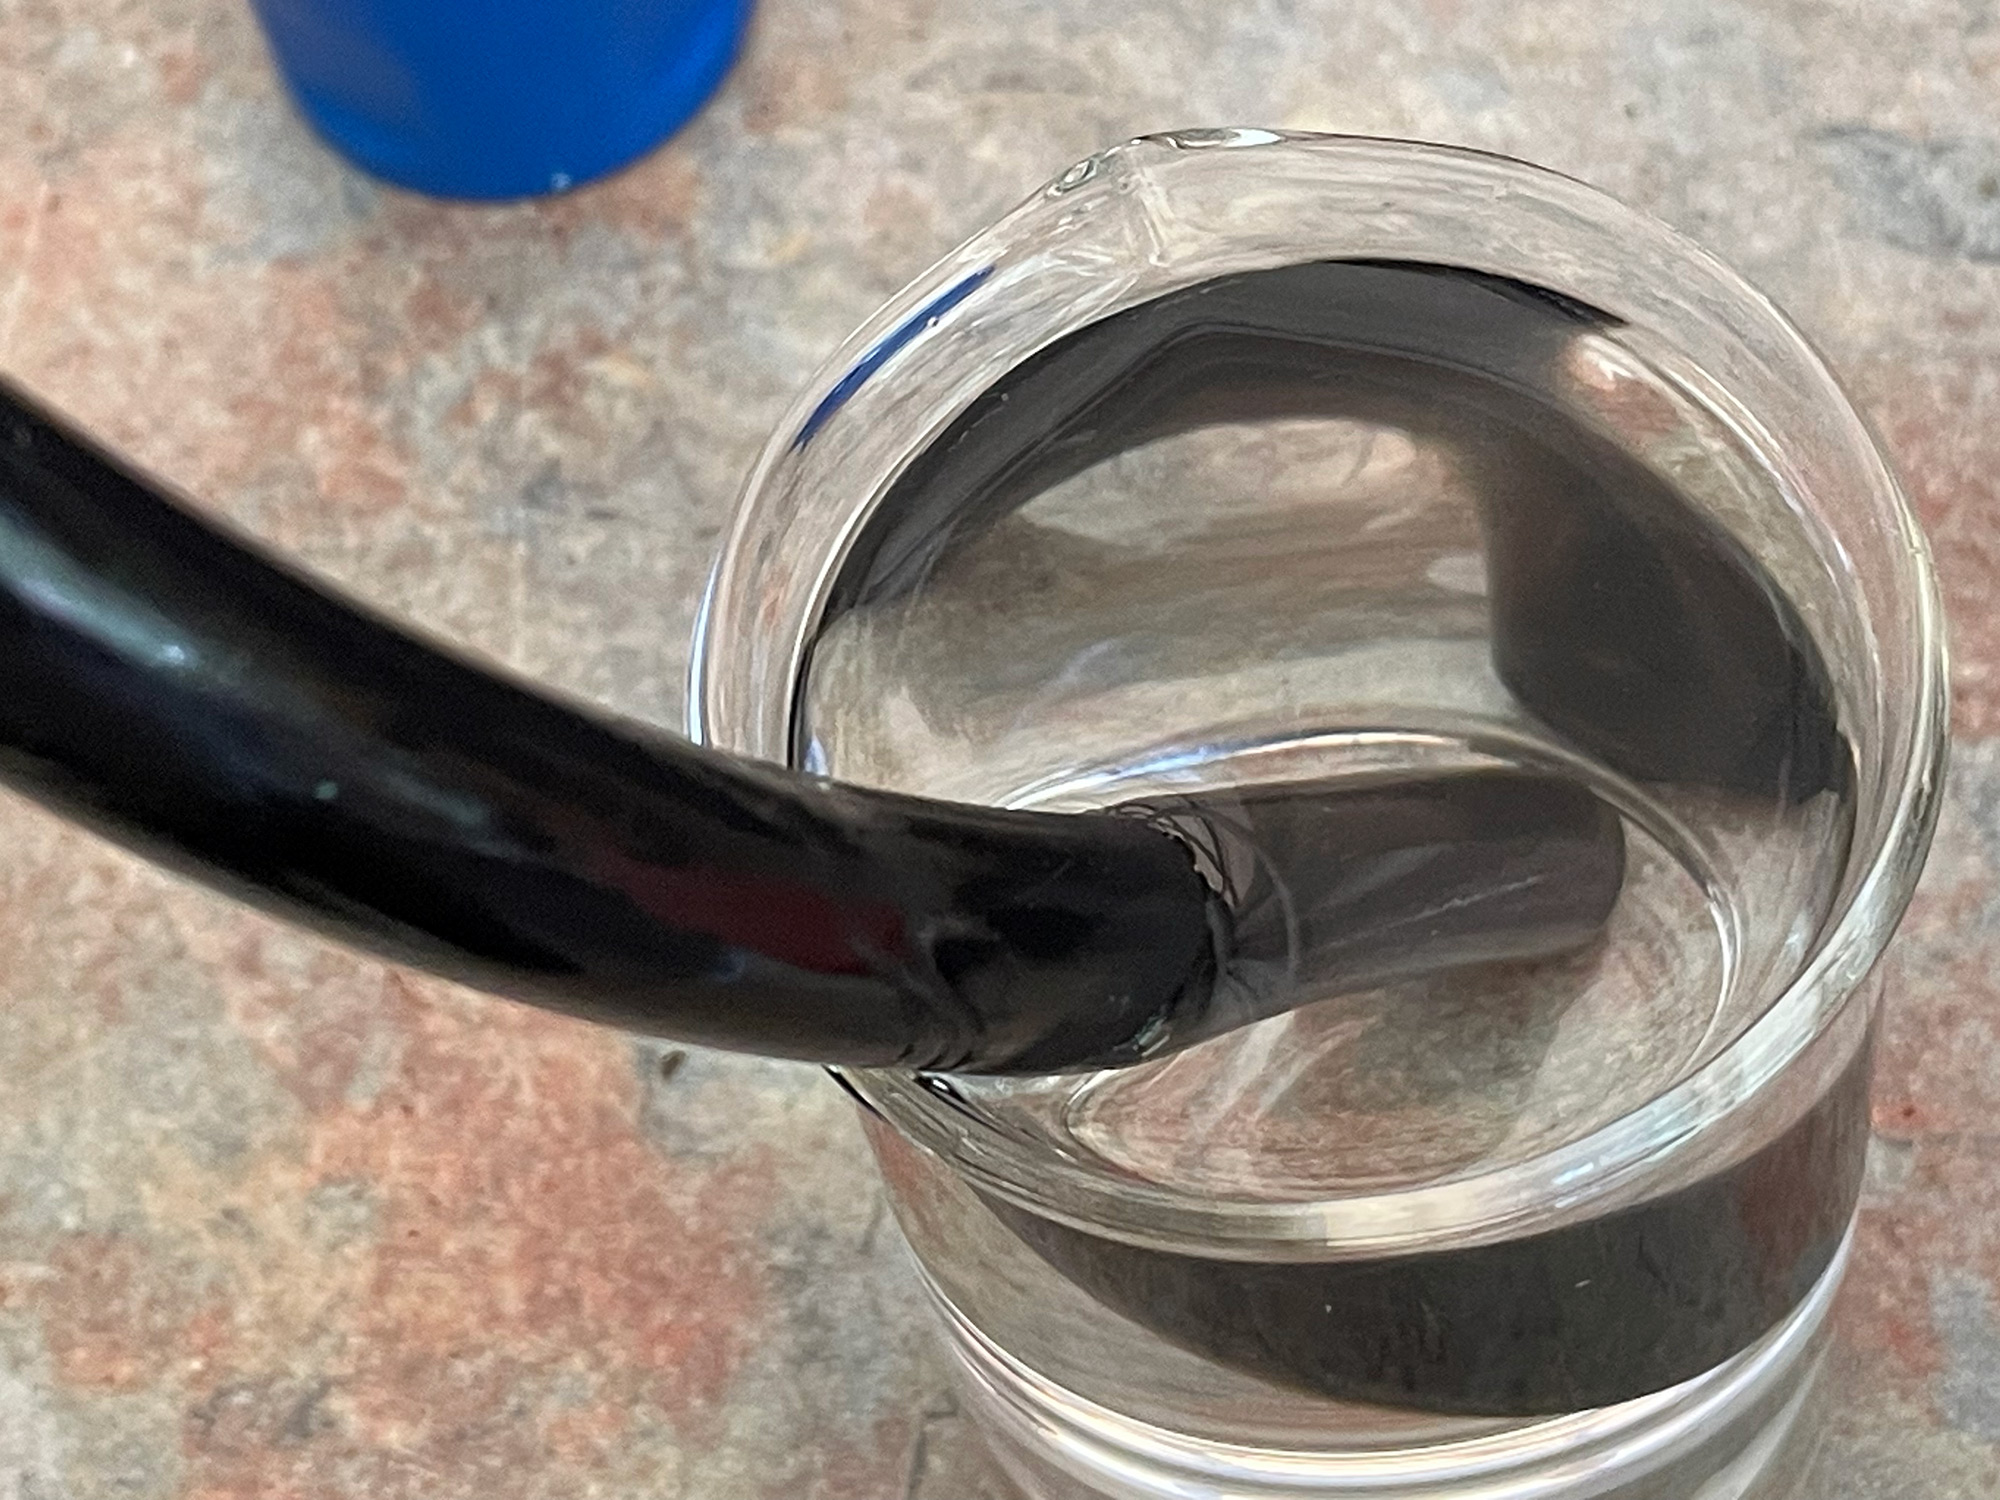
To get this hose over the 8mm barb on the snap-on fitting you’ll need to heat up the sprayer hose as it’s a bit smaller than 8mm.
It doesn’t push on that easily still with the hose warm, but I just had the fitting sitting down on the kitchen bench and pushed straight down and eventually got it to go on nice and straight. Don’t expect it to slide on nice and easily but it will get there.
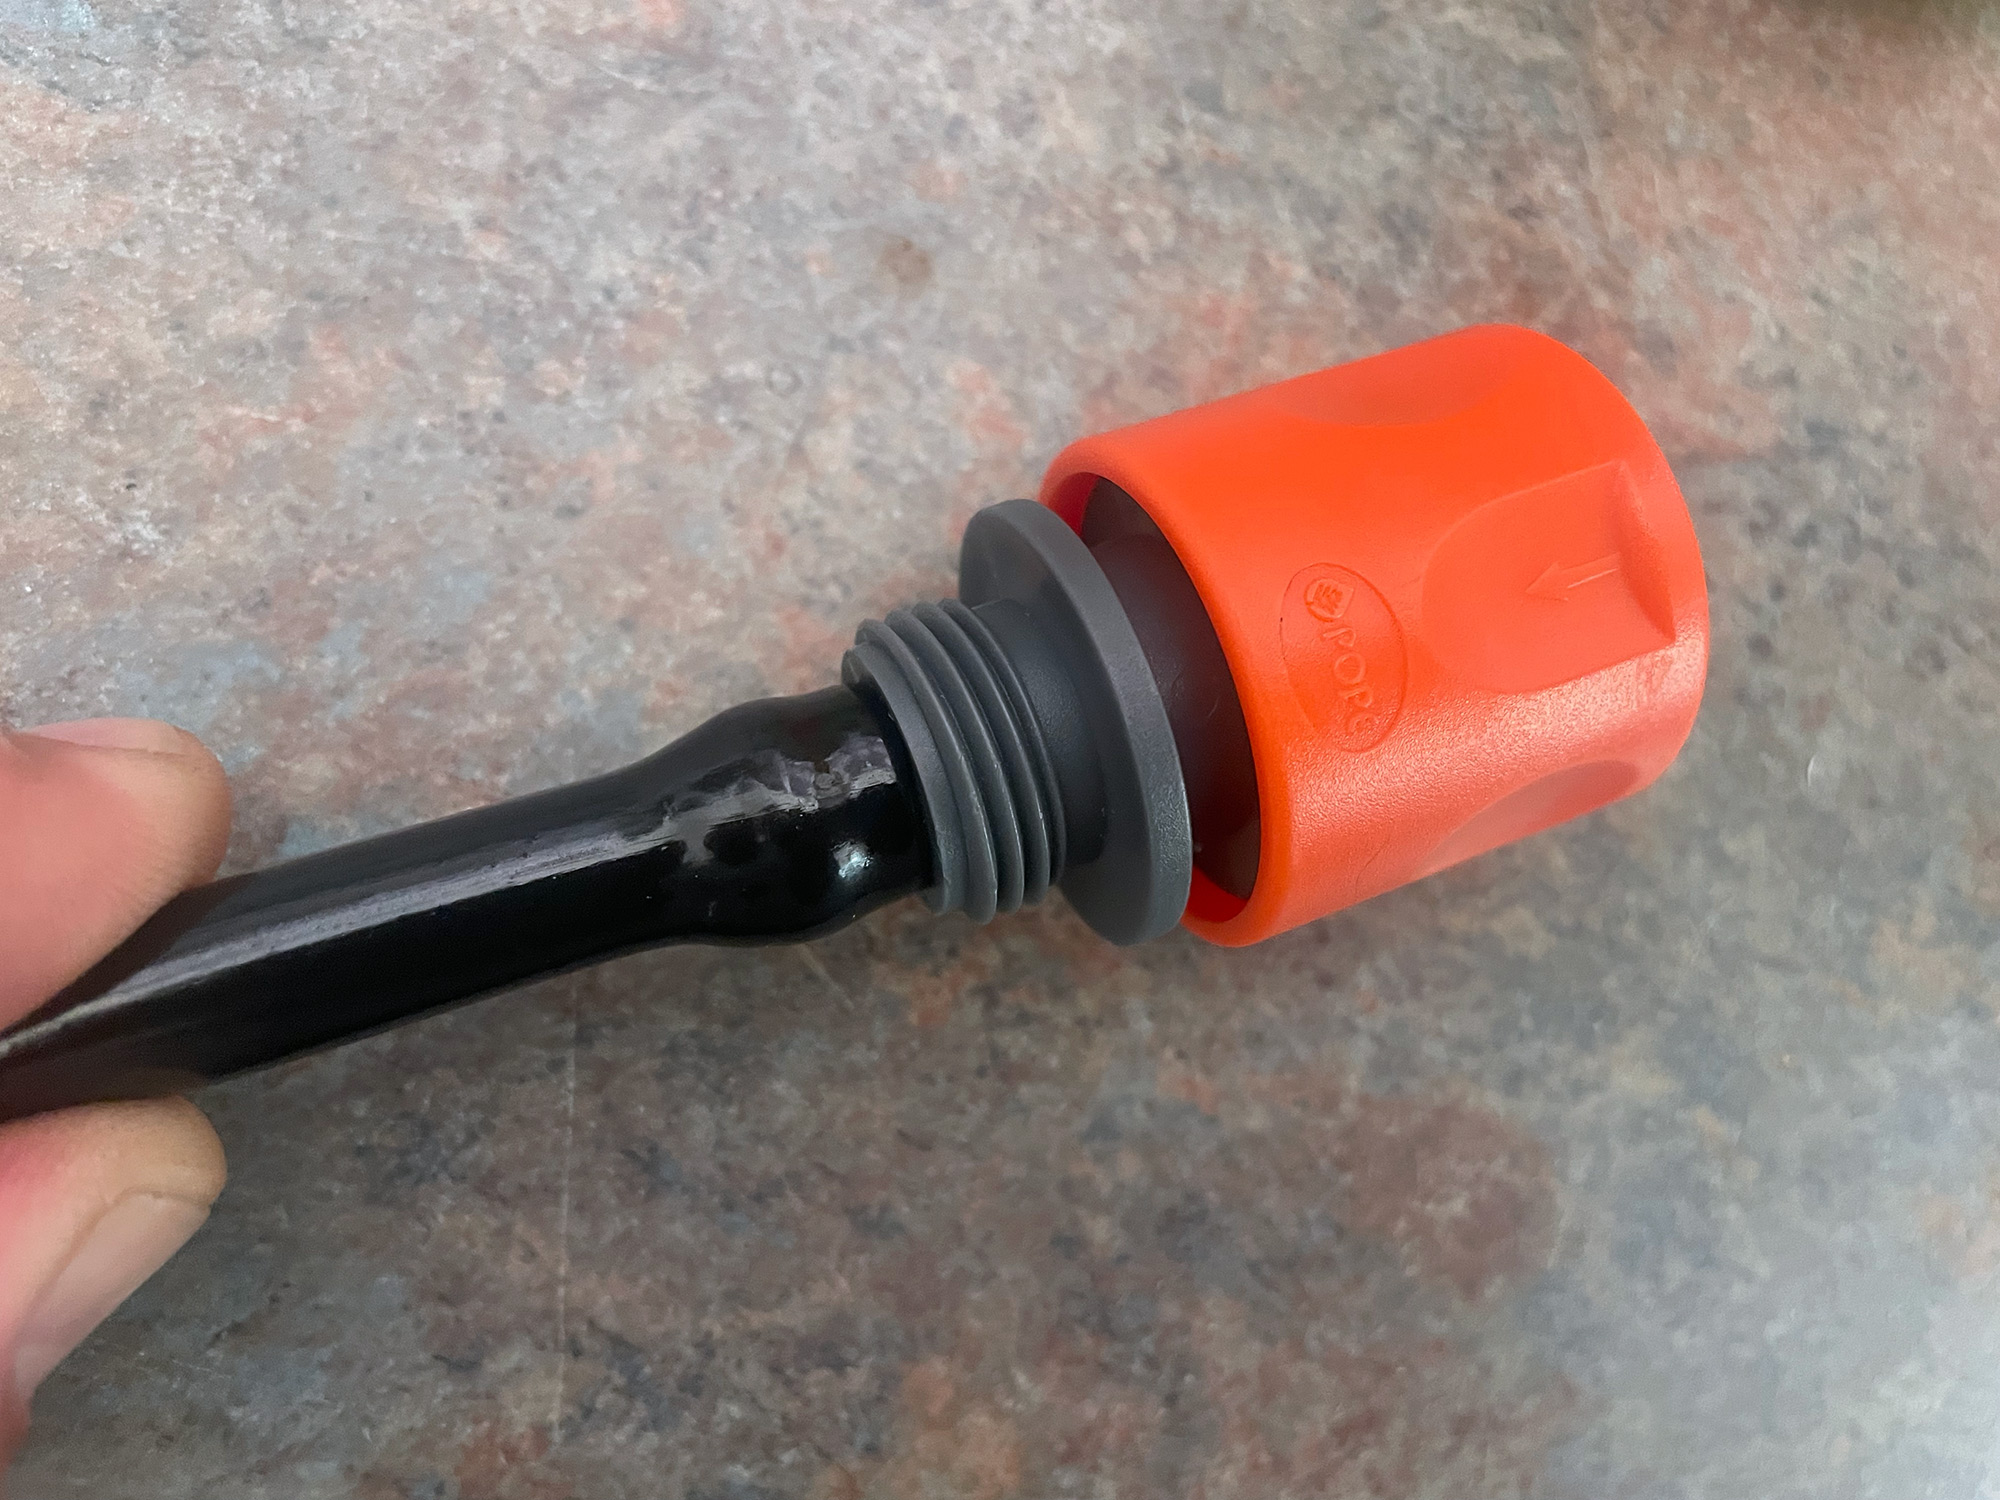
Screw the collar on and that’s it. Basically ready to go. I removed the backpack straps cause I didn’t need them, filled it with water, gave it some pumps with the handle and went outside to test it.
Works great. It’s a really compact solution all things considered. There’s a little clip to retain the pump handle, and just kinda all wraps up neatly. Note that you can pump either forwards or backwards with the handle, it just goes over centre to the other direction and off you go with the handle in that direction.
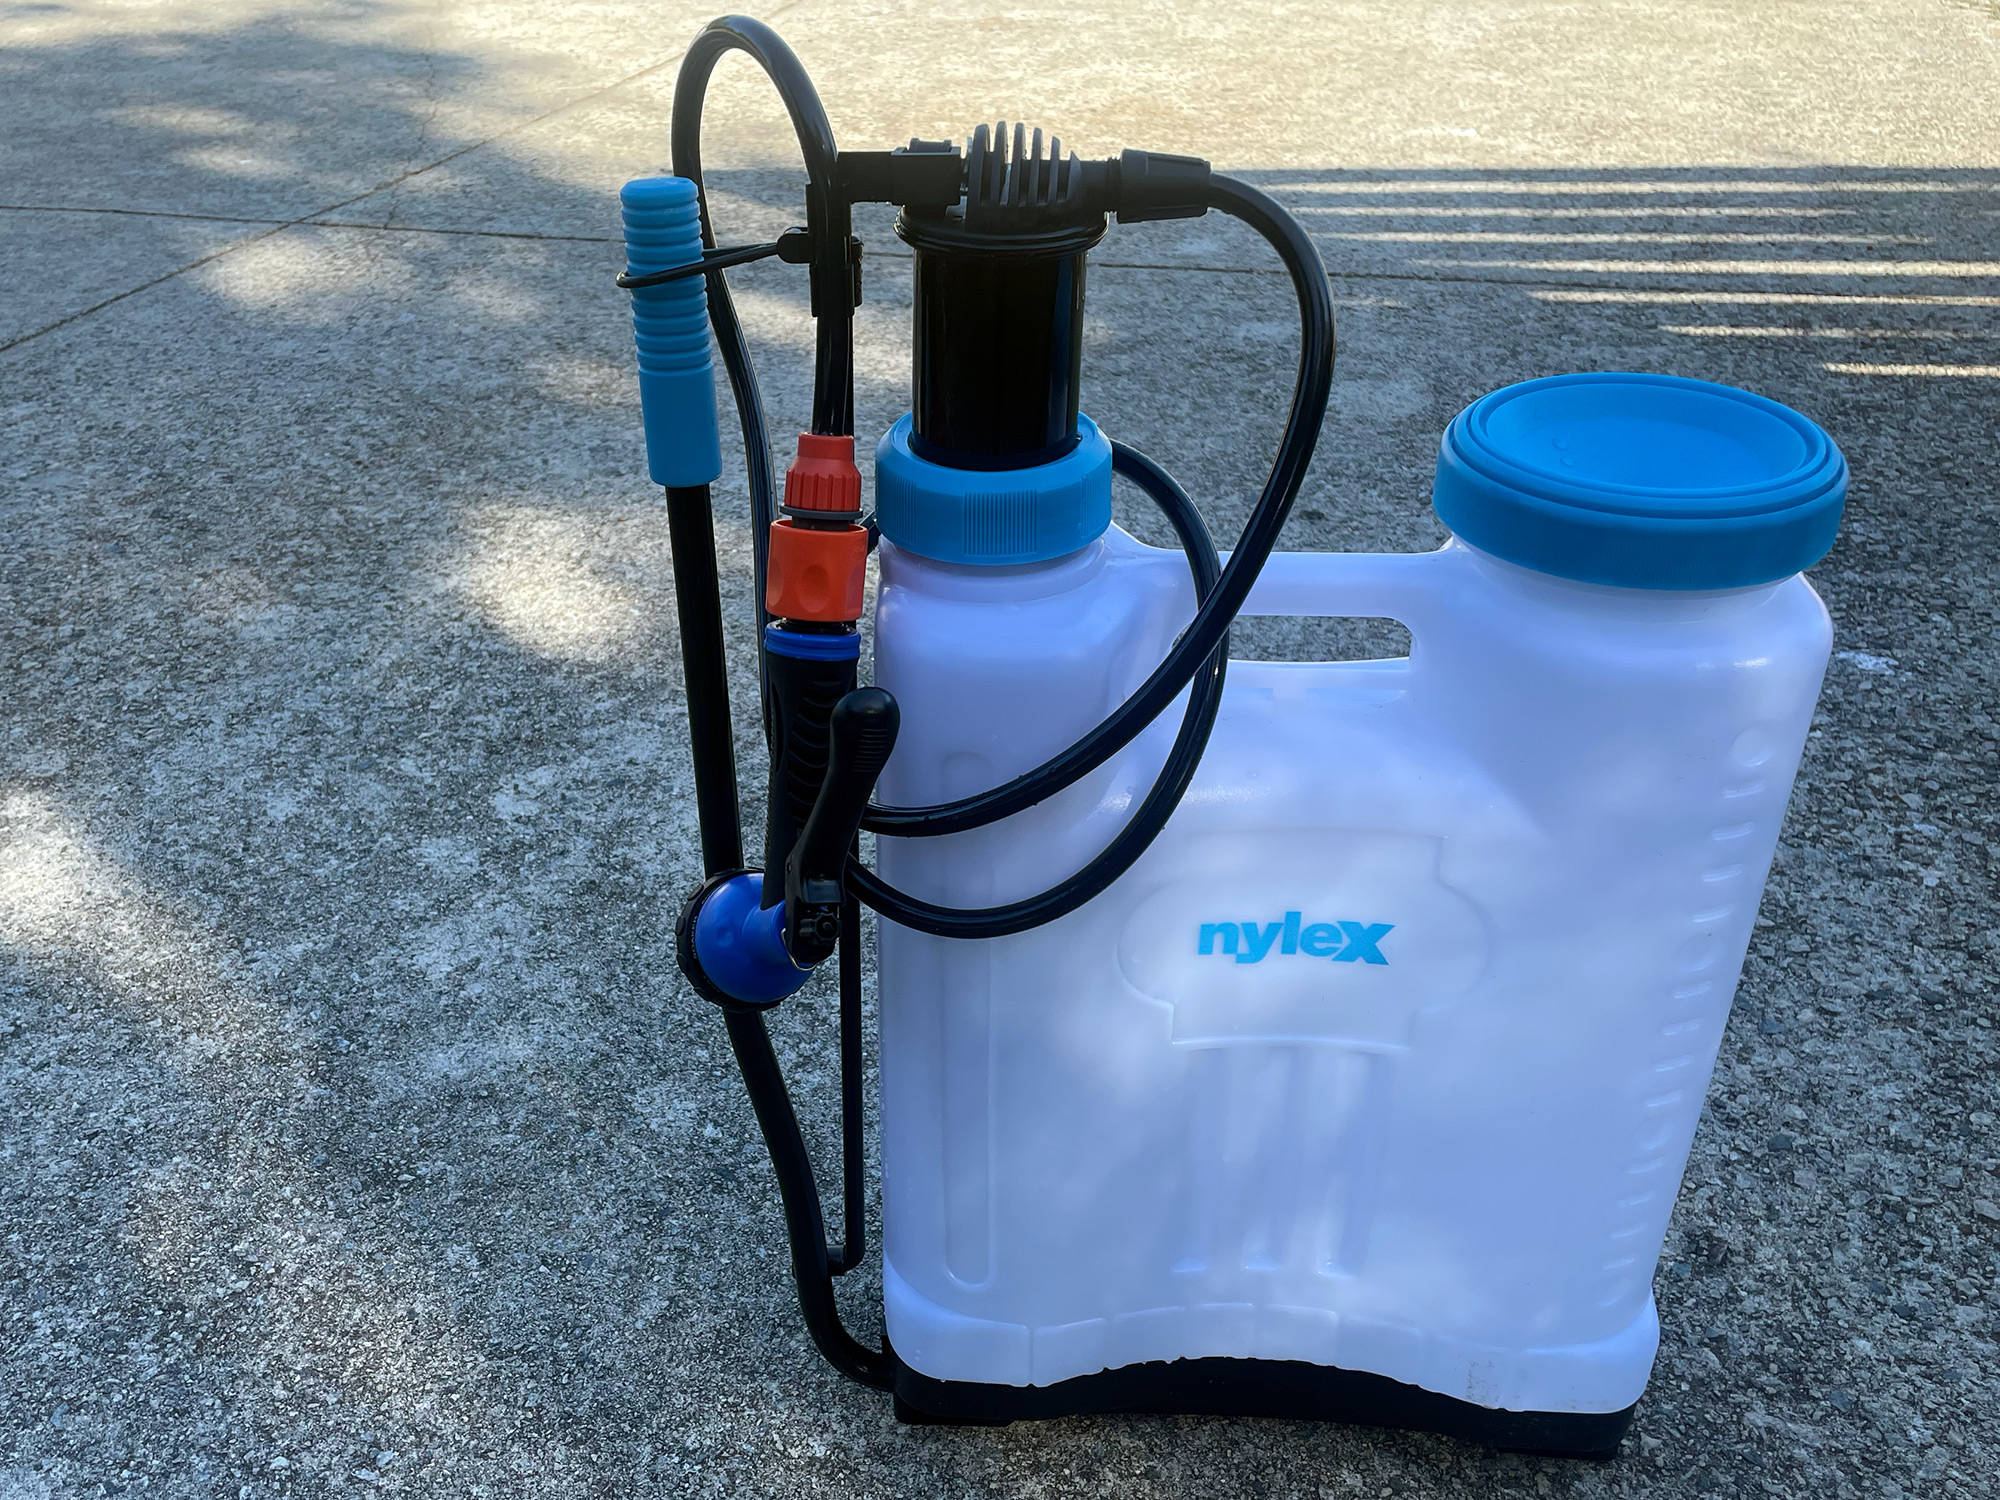
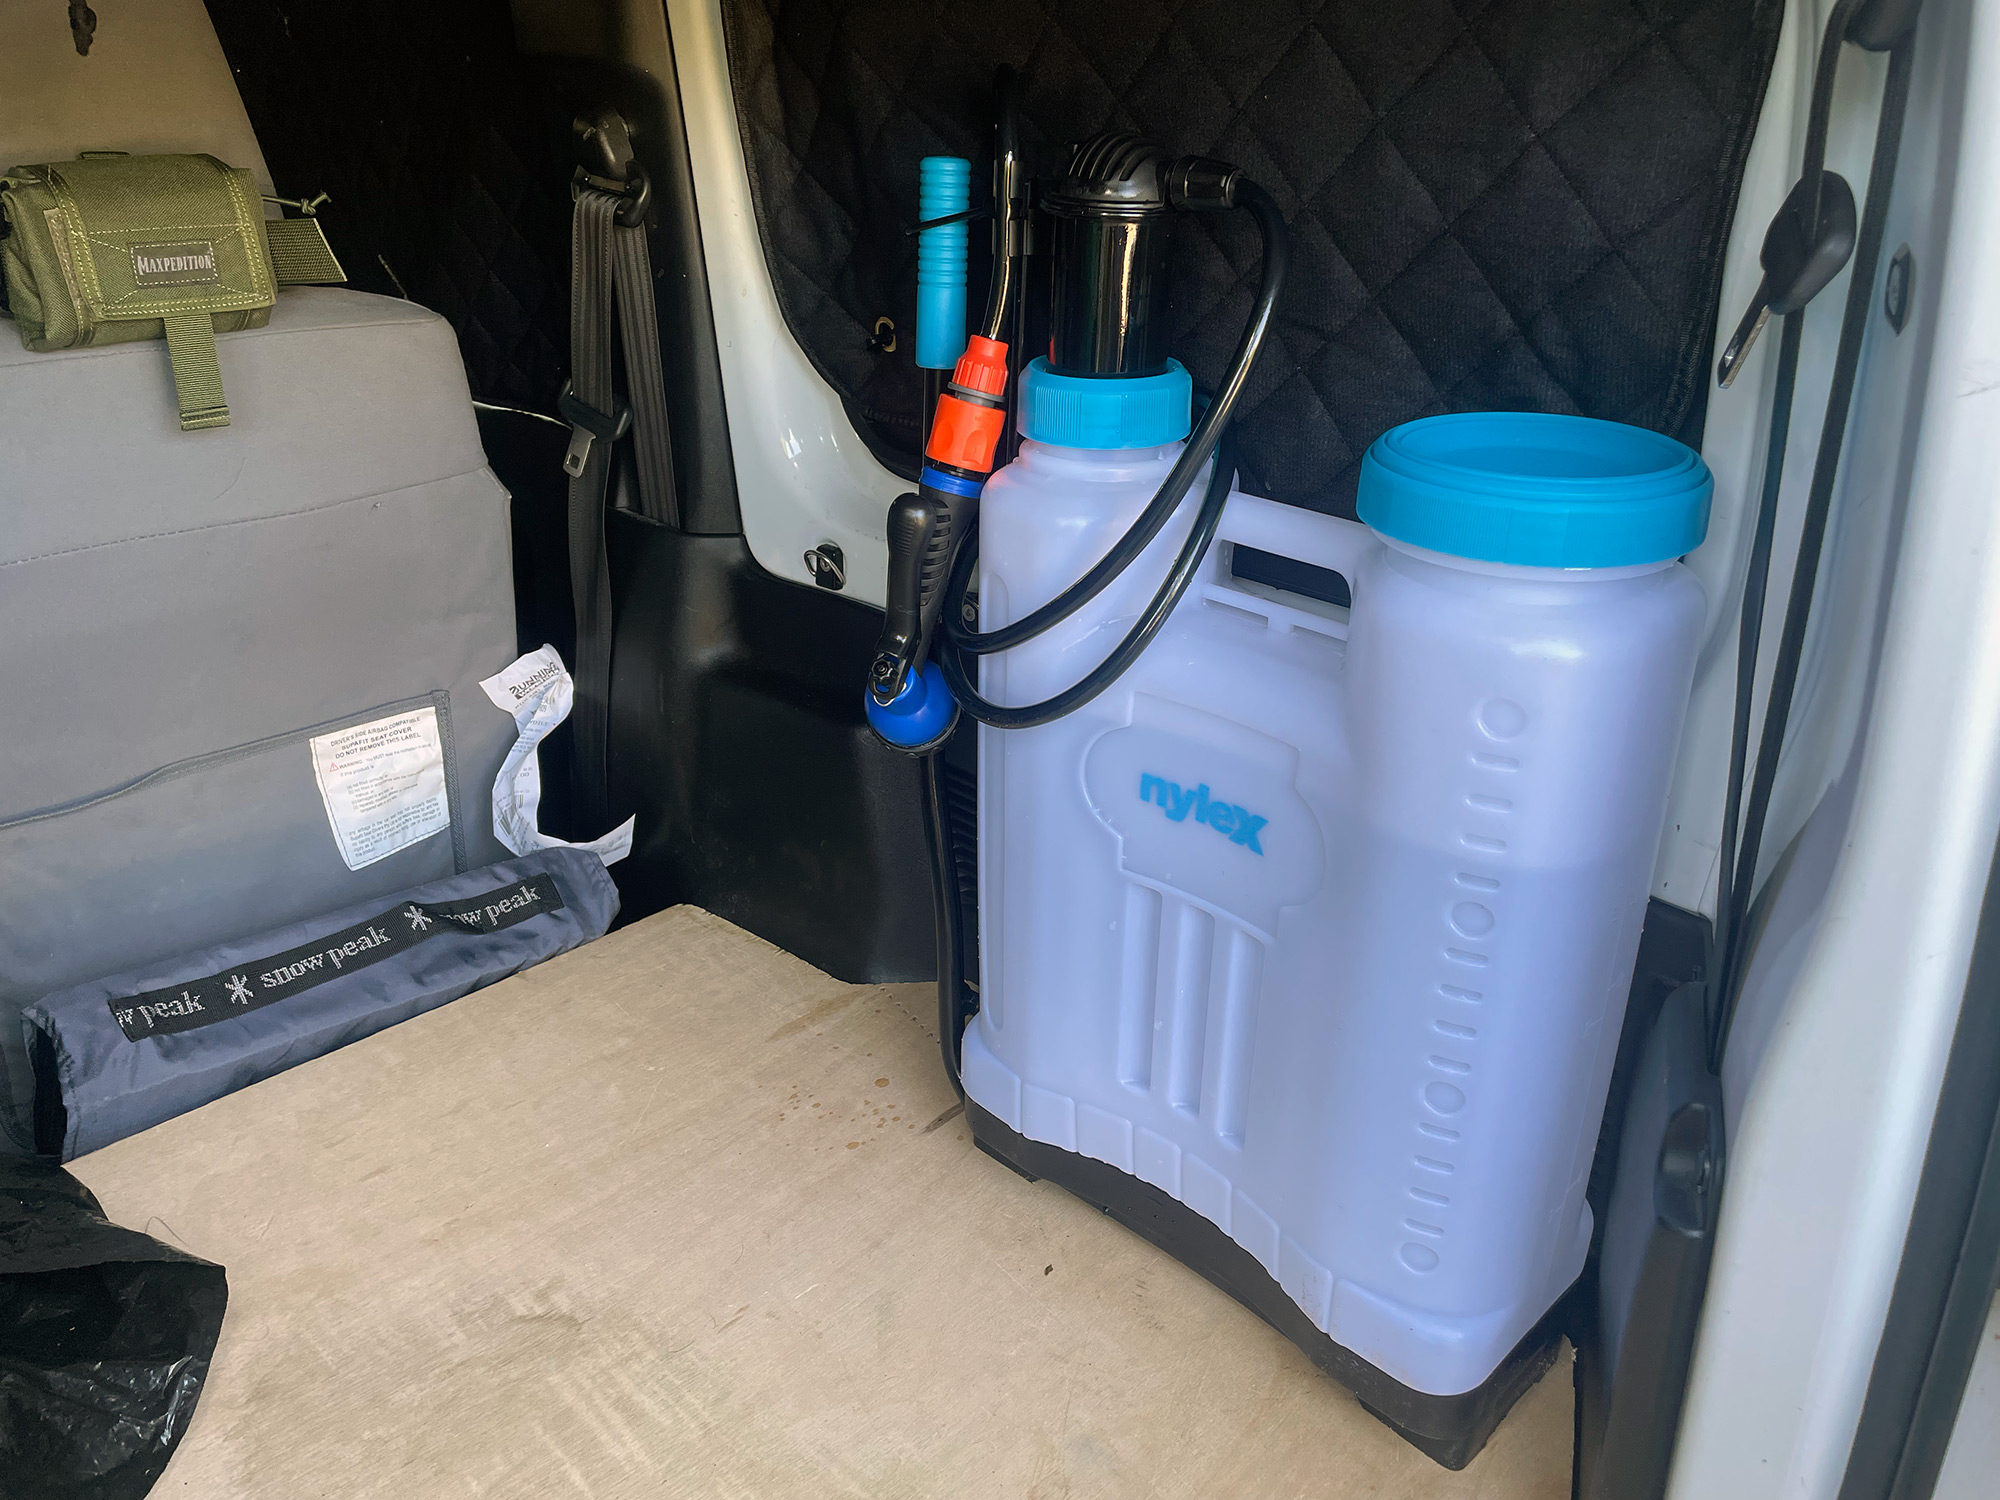
It really is ideally shaped and sized to fit in the back of the car, even with the TLR roof shelf it fits in nicely height wise. There are other backpack sprayers (or even smaller round sprayers) except they would be more annoying to tuck into the back of the car.
100% recommended.
I have also made up a water holding bit of PVC pipe complete with intermediate baffles which will go on the roof rack and this would let you have a gravity shower. You could also put a little air pressure into it from a compressor and have a pressurised shower, but PVC doesn’t handle pressure that well. Details on this once I do some more tests with it.
Shower tent
I ended up with some space on my roof racks after selling off my awning, so I used the quick release brackets to put on a Caos Nomad fold-out shower tent. It’s fine, once I’ve used it a bit more I’ll write up the installation notes. I’ve never grabbed any pictures using it, so for now a photo of it deployed in the driveway in a test will suffice.
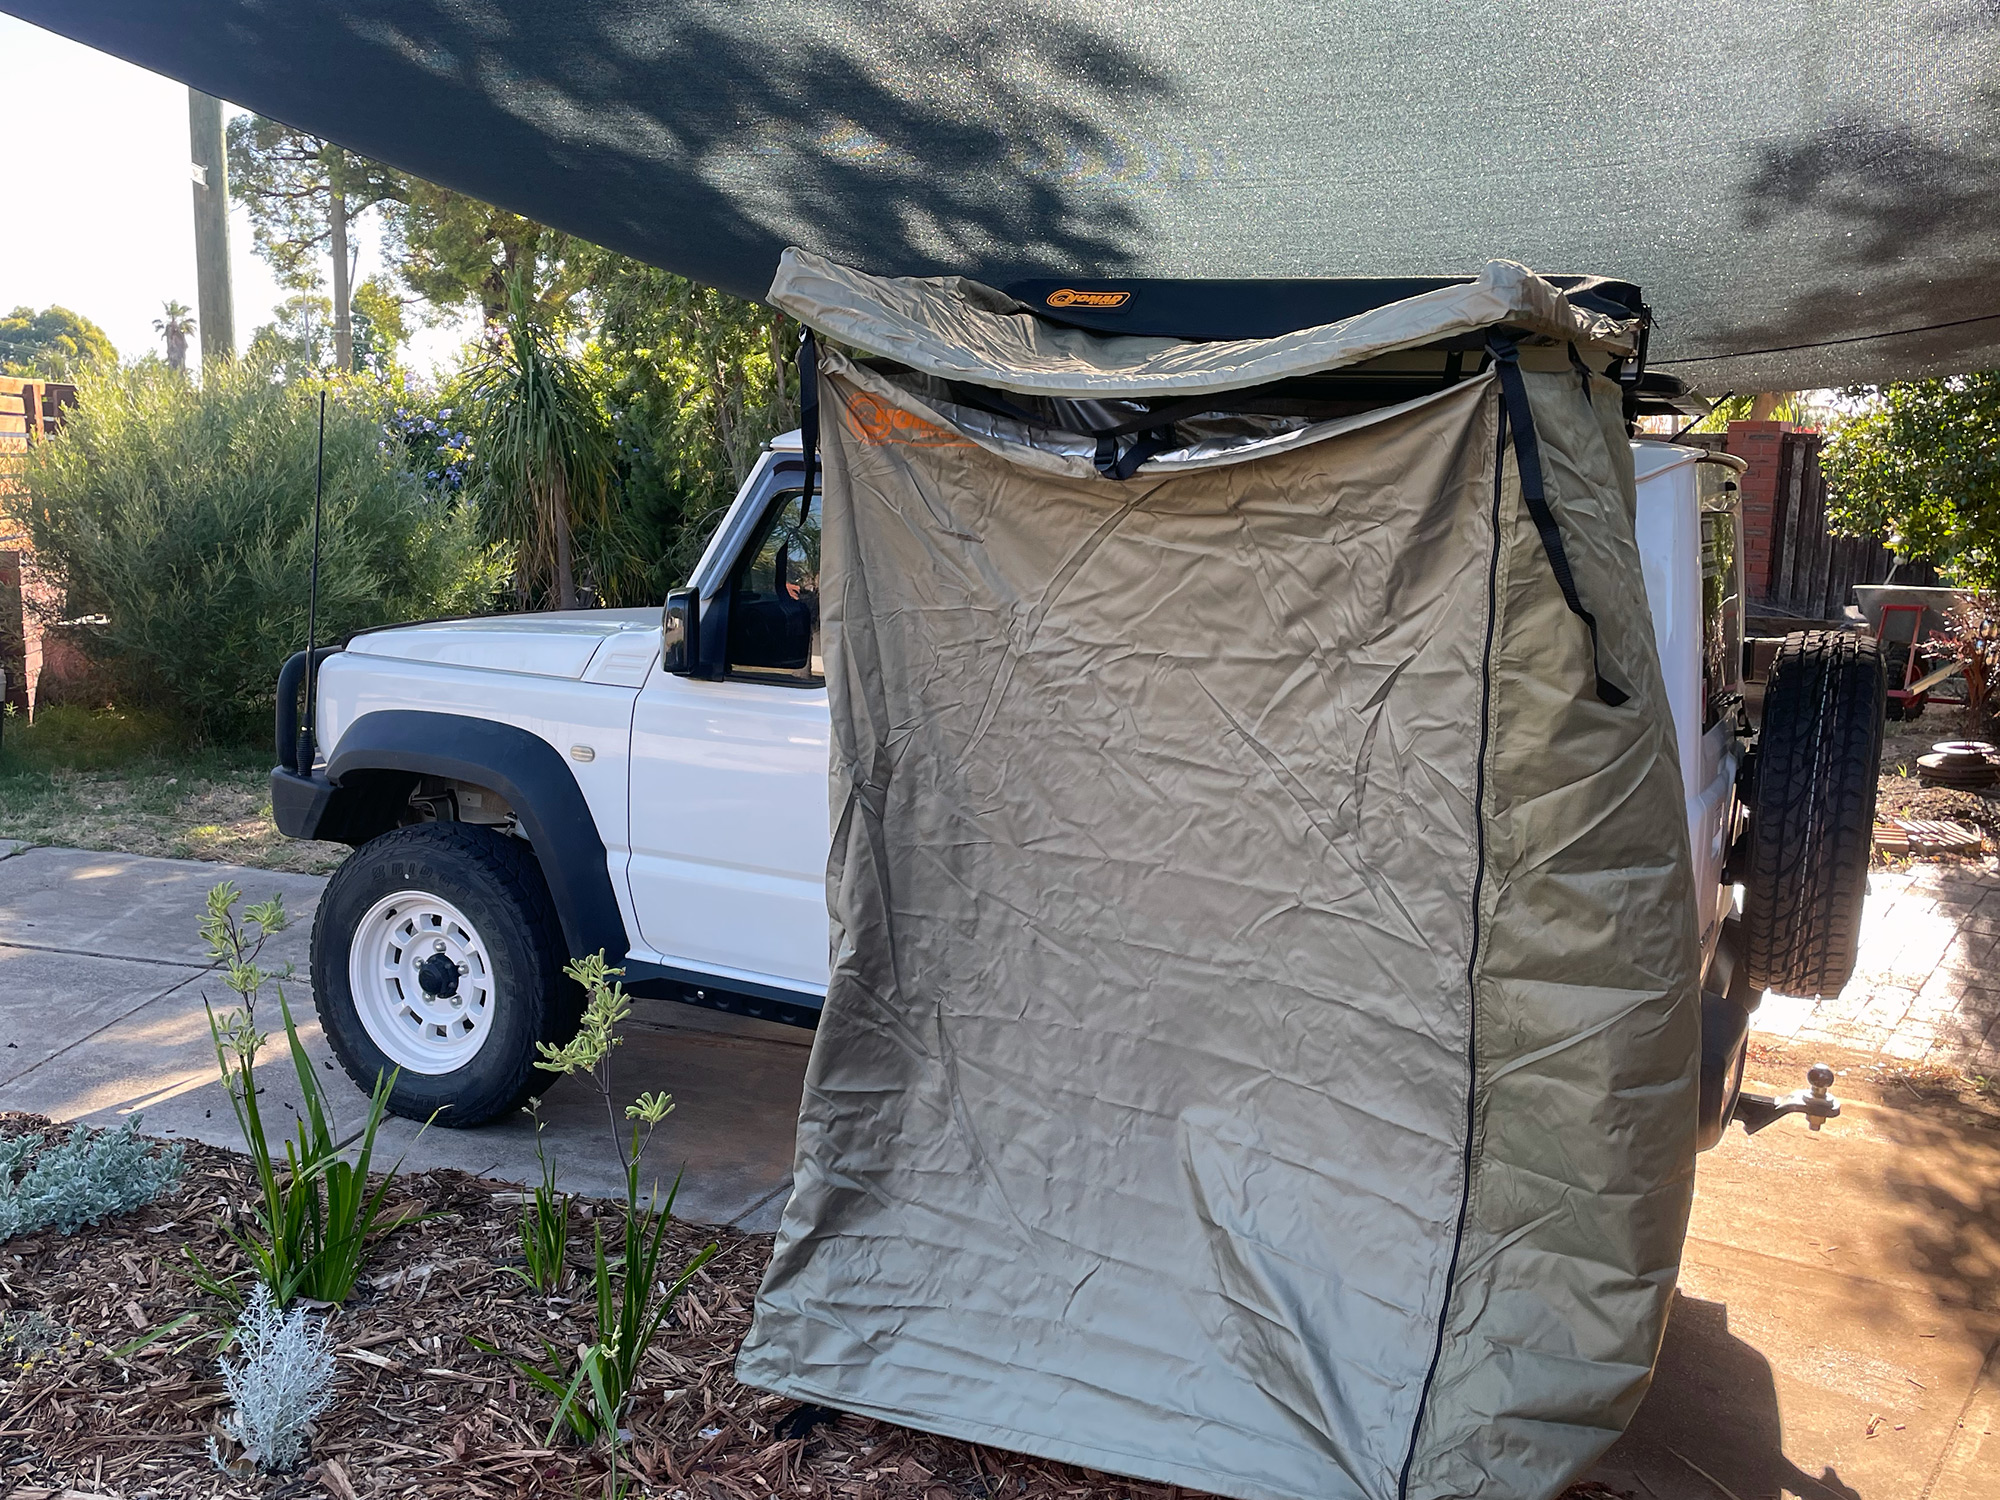
Since I took this picture I’ve actually mounted it on the drivers side, where I’ll be swapping to a gullwing window from Explore Glazing so I can fetch clothes from inside the car after a shower.
PVC water tube
I’m still developing this, but since PVC pipes and 4wds with roof racks have been mated together, this is another way to carry water. If you’re doing this you need to be aware that unbaffled pipes on your roof rack get very scary when water sloshes backwards or forwards and that you can easily exceed the roof rack capacity.
That said, Rhino Rack have lovely carriers for 100mm PVC pipe that works with their crossbars and also their roof platforms. You could also ratchet strap the tube to the roofracks but it’s a bit less secure – slippery pipe does like to slide out of straps! The maximum capacity of these carriers is 15 kg which is about as much as I’d like to carry on the roof of the Jimny.
Capacity calculations
Don’t worry, this won’t be too maths heavy, but, you can pretty easily work out the nominal capacity of PVC tubing.
You first work out the area of the pipe inside by measuring the pipe’s inside diameter in centimetres. In my case my ‘100mm’ pipe is 104mm across, or 10.4 cm. Divide this by 2 to get the inside radius of the pipe: 5.2cm.
Multiply this by itself: 5.2 * 5.2 = 27.04, and then multiply by pi (3.1416): 27.04 * 3.1416 = 85.95 cm^2.
If you want 15L of water, you can then calculate the length by dividing the capacity in mL (so, 15 000 mL) by this area: 15 000 / 85.95 = 174.5 cm. This is good, because that’s roughly the roof length of the Jimny!
(If you went 150mm pipe, you’d only need ~85 cm to carry 15L of water).
Baffling things
I’ve already mentioned baffles a couple of time: one of the challenges with water in a container is it sloshes around. If you put in some plates to slow down the movement of the water into segments, your car won’t be rocked around nearly as much as the water moves. The way I’ll do this for this project
Shopping list
Prices are from late 2022
PVC pipe cement and primer: $12.77 total for both
2m of 100mm PVC pipe (cheapest to buy 3m of pipe): $25.73
3x 100mm slip couplers: $41.37
3x 100mm end caps: $10.50
2x 100mm threaded access caps: $14.50
2x 100mm threaded access coupler: $12.08
2x 100mm 30º angle coupler: $???
~$117+angle coupler of bits for the main part of the pipe. This price compares pretty favourably to the $300-$800! for commercial rates for buying stuff like this. If you wanted to save some money, you could hust buy more threaded access couplers and cut the threads off instead of the slip couplers. They fit identically and are cheaper, just needs the cutting to make them look neat and now you’d basically be at $100. These bits are also probably cheaper from a proper plumbing supply store, too.
You will also need hose fittings: this varies a bit more, I’ll go into options once the basic pipe is built. Finally you’ll also need some paint: to protect the PVC from UV, you should ideally paint it. If you want it for showers, paint it dark; if you’d like to drink from it and not burn your mouth then paint it white.
Building the main pipe
Step 1 of this is to cut the pipe into segments. I bought 1m segments as they were easier to transport home, so I chopped these in half to end up with four half-metre segments. Since I don’t want a 2m long tube, one of these will end up cut shorter. If you were doing it to say 1.8m and had bought 3m of pipe, cut out 60 cm segments instead to have even spacings between couplers.
You need to file/smooth down the ends so they fit into the couplers nicely. Sandpaper or a dremel is a good way to do this.
Next up prep some baffles. I did this by cutting down the slip-on end caps. If you cut it with a saw just back from the cap, then go around and file/grind down the end cap till it becomes a PVC plate that will fit into the coupler then you’ll be set. These plates will be sandwiched between PVC pipe segments, dividing the pipe up into short segments where the water will struggle to move around.
Once you’ve made up these plates, time to drill some holes. I want the main hole to be at the bottom of the pipe so it’ll fully empty the pipe, but also you want another (smaller) hole at the top which will let air move through, helping the pipe to drain more easily. If you add some intermediate holes that will also help water drain and then when the pipe is more than half empty, will aid in water moving through.
Ultimately you’ll probably end up feeding a regular garden hose with this setup or similar, so you really only need a single 12mm hole (same size as the inside of regular garden hose) to let water properly flow. This will nicely stop water from sloshing too far forwards, too.
Now to assemble the whole thing. I’d start by putting one of the end caps on; this will set what part of the pipe is the top or the bottom of the tube. This is important to know as you want to line up your baffles so the biggest hole is at the bottom.
If you’ve never assmbled PVC pipework, do this in a well ventilated area as the primer and cement fluids are pretty fumey. The process is pretty easy: Dry assemble the joint you want to glue, mark on the tube where it goes to, then prime and then apply adhesive to the outside/inside of both parts of the joint where they’ll mate with each other. Press them together until the joint is fully seated, hold firm pressure for 30 seconds and you’re set.
To assemble the baffled couplers, I dry fit the joint without the baffle to mark everything and make sure it all fits on both sides. I then apply primer to everything (both sides of the joint, and the baffle where it’ll mate with the coupler and the pipe ends). I then apply adhesive to one side of the joint and the baffle plate, and put the baffle plate on the end of the PVC pipe being careful to line up where the lower hole goes so it matches the ‘bottom’ of the pipe. Coupler is then put on to its requisite depth for one side of the joint, and adhesive is added to the 2nd side of the joint & that side is assembled.
You’ll get a nice view of your baffle at the bottom of the pipe once it’s all dry so you can make sure your alignment is good… bit late now if it isn’t.
Hose connections
I’ll admit I haven’t totally figured out the right way to do this with cheap parts from Bunnings yet. This is a good reason to use threaded access caps for the ends: if you don’t like how the fittings work in these, you can turf them and screw new ones on. If you’d used fully glued on caps then you’d be trashing the end of the pipe to swap it out.
Pressure or not?
I have added a tyre valve to mine which lets me add a little air from the onboard compressor to add some pressure to the water. This is most effective if the pipe is not totally full as you need some air space to add the pressure to. A warning here: PVC is not designed as a strong pressure vessel and with water in it then it could crack and explode if you over pressure it. This is a reason to use non pressure glue: it’ll leak out the pressure at the joints if you go a bit high instead of allowing more pressure to build up.
A couple of PSI, though, will give you good consistent water pressure. Couple this with some gravity you’ll at least have ok water to have a quick shower from.
Filling it
Another benefit to using caps and some angled fittings.