
Jimny roof shelf installation
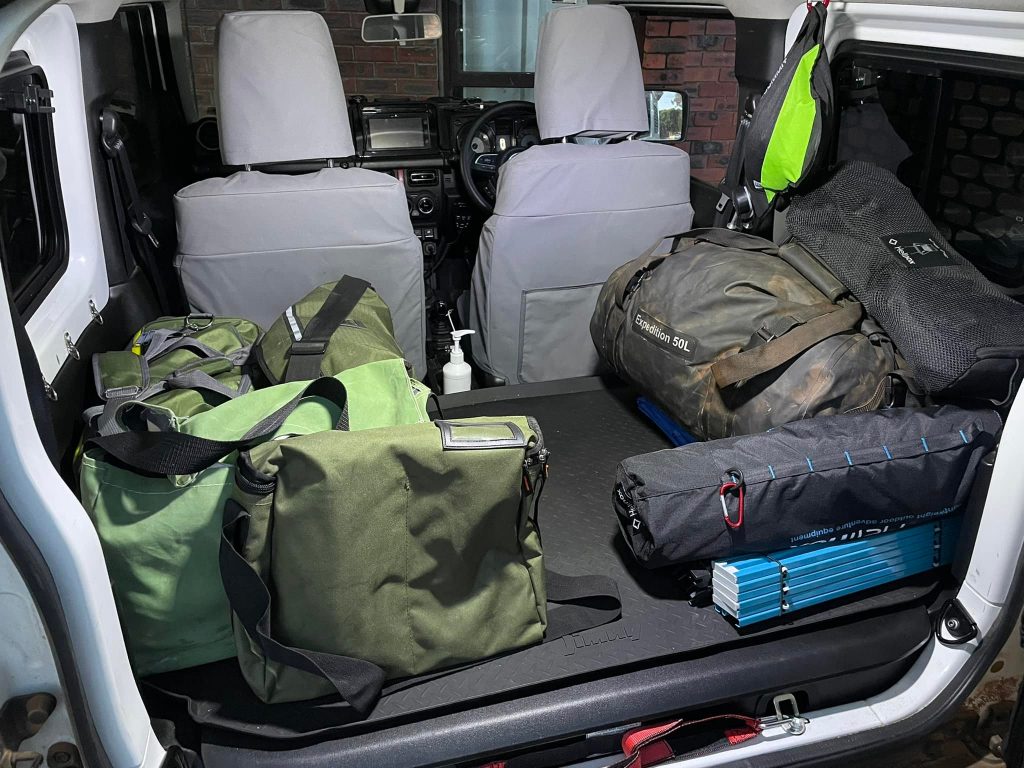
The Jimny is pretty good space-wise but sometimes camping you find you need a bit of extra storage to make things more organised.
On a recent trip we didn’t have a heap of gear despite being away for a few nights, but, it was a bit hard to keep the back organised when leaving camp each morning. This inspired me to go and grab the TLR roof shelf. UPDATE: I have since replaced this with the MOD roof hammock. Both have their positives and negatives which I’ll cover both here and also in the article on the installation of the MOD hammock.
A big thing with roof storage in the Jimny is to get something compatible with the curtain airbags. The front and rear sections deploy as one so even if you don’t have anyone in the back something obstructing their deployment in the back will stop the front deploying.
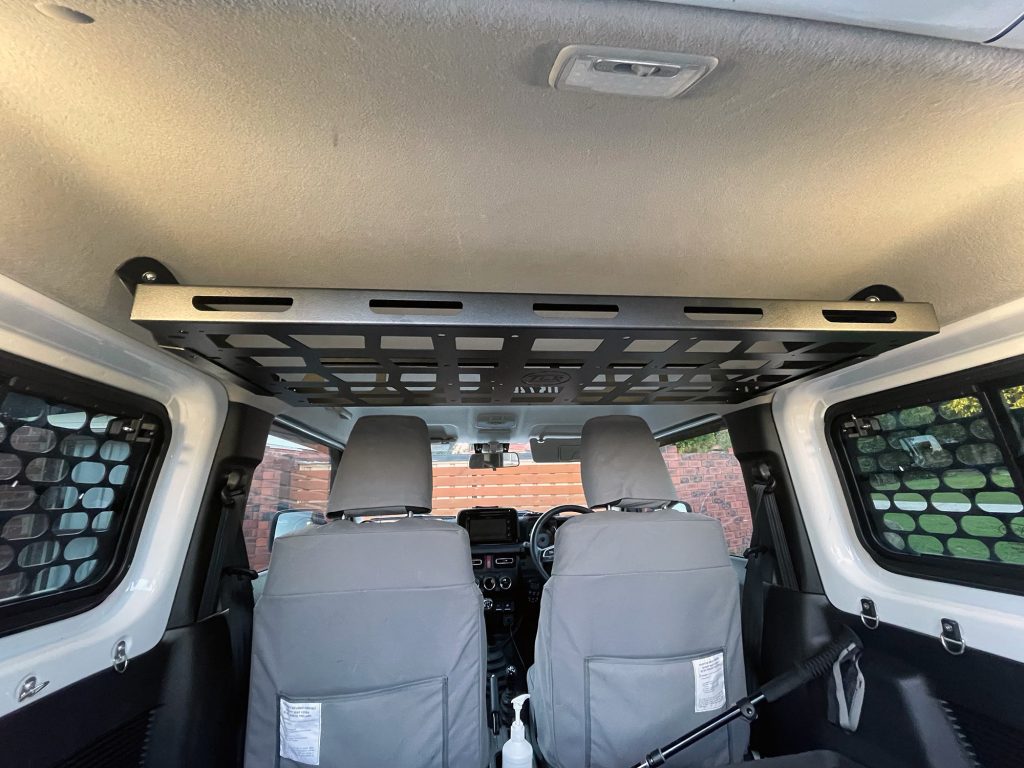
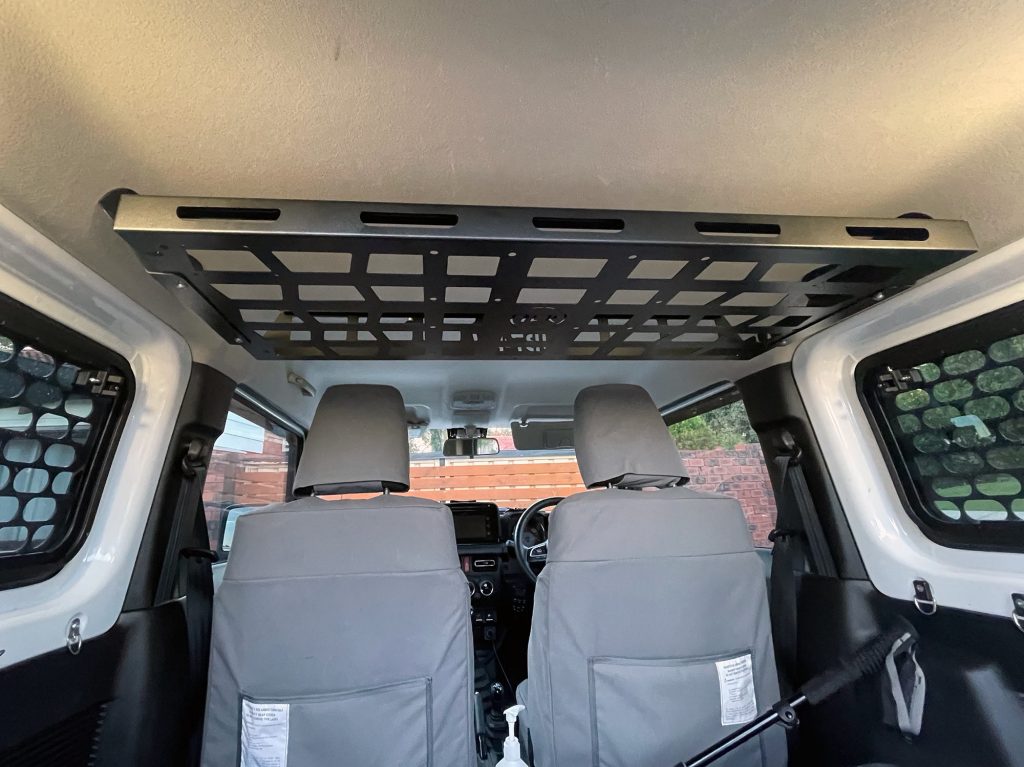
The TLR shelf was the first of the roof shelves available for the Jimny and I really like how they’ve designed it. It doesn’t obstruct your vision in the rearview mirror but has a good height for storage.
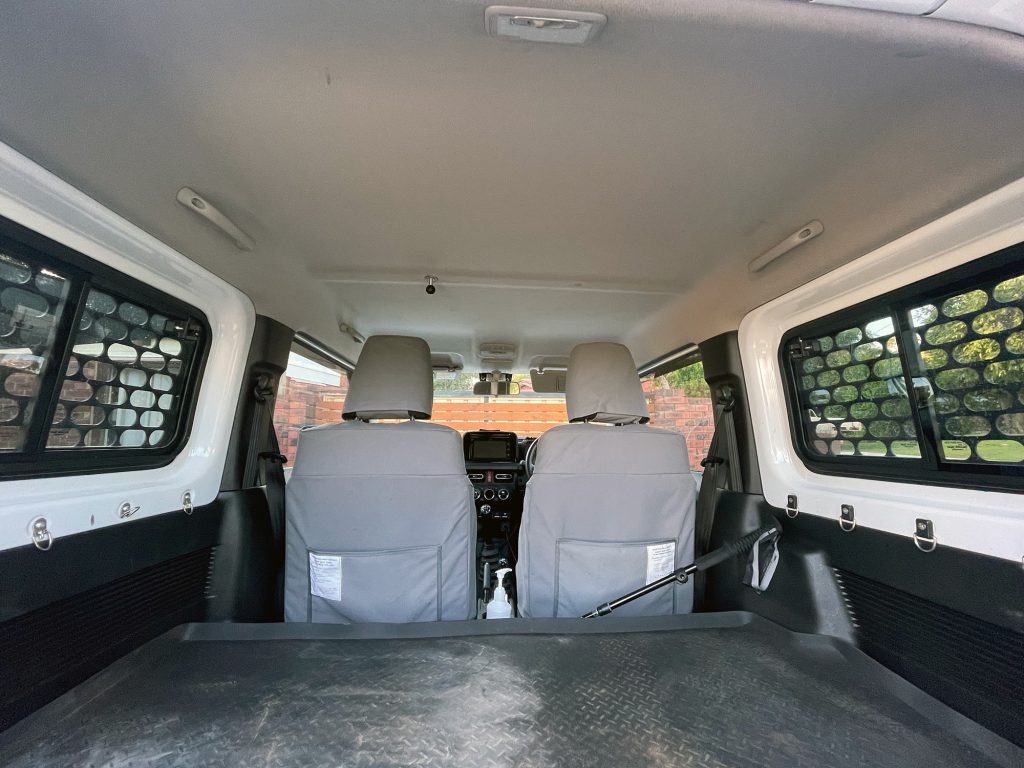
There’s so much space spare in the ceiling in the back of the car!
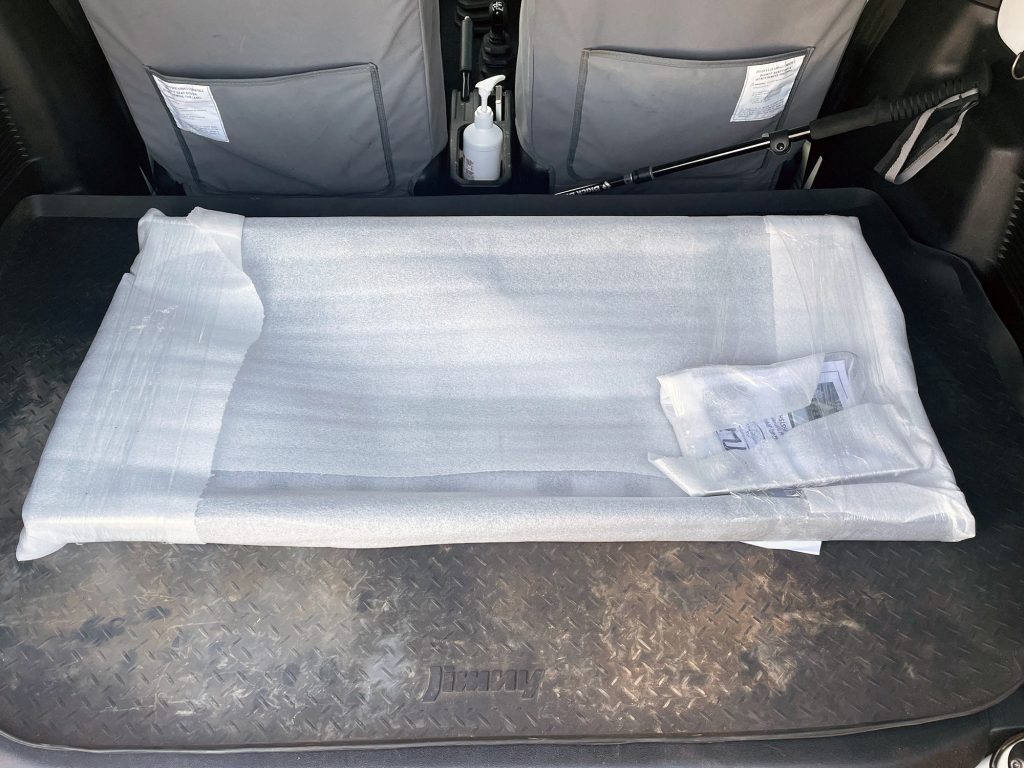
The shelf also comes pretty neatly packaged and well protected for shipping.
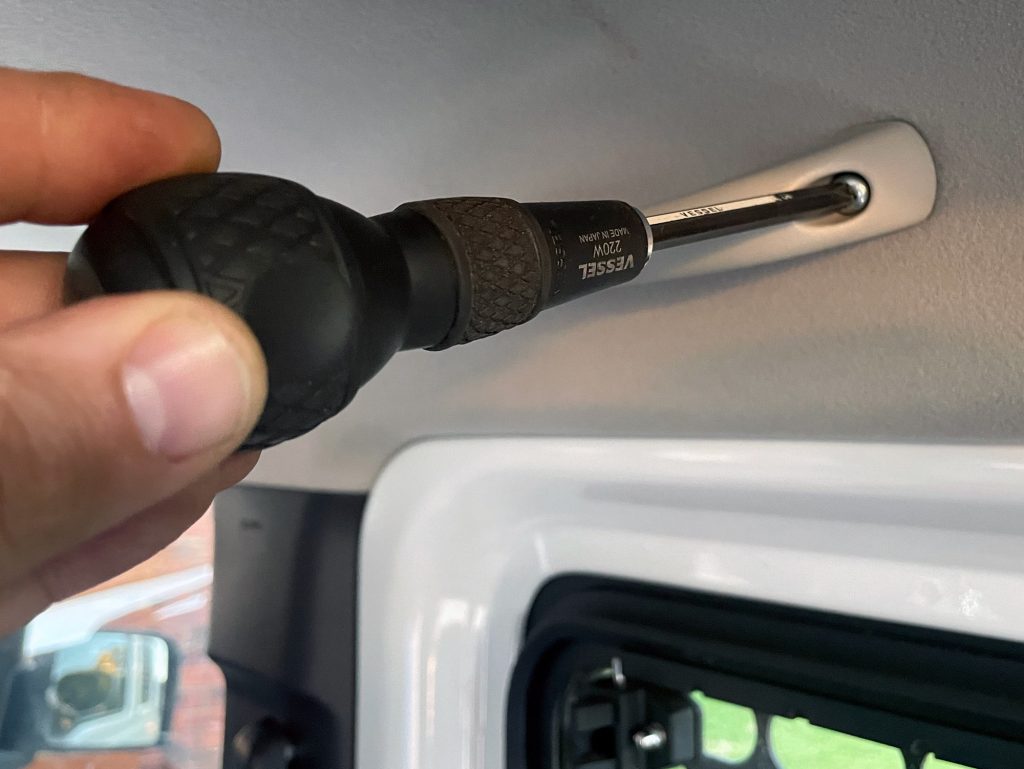
Installation is simple, start by pulling the back grab handles off with a screwdriver.

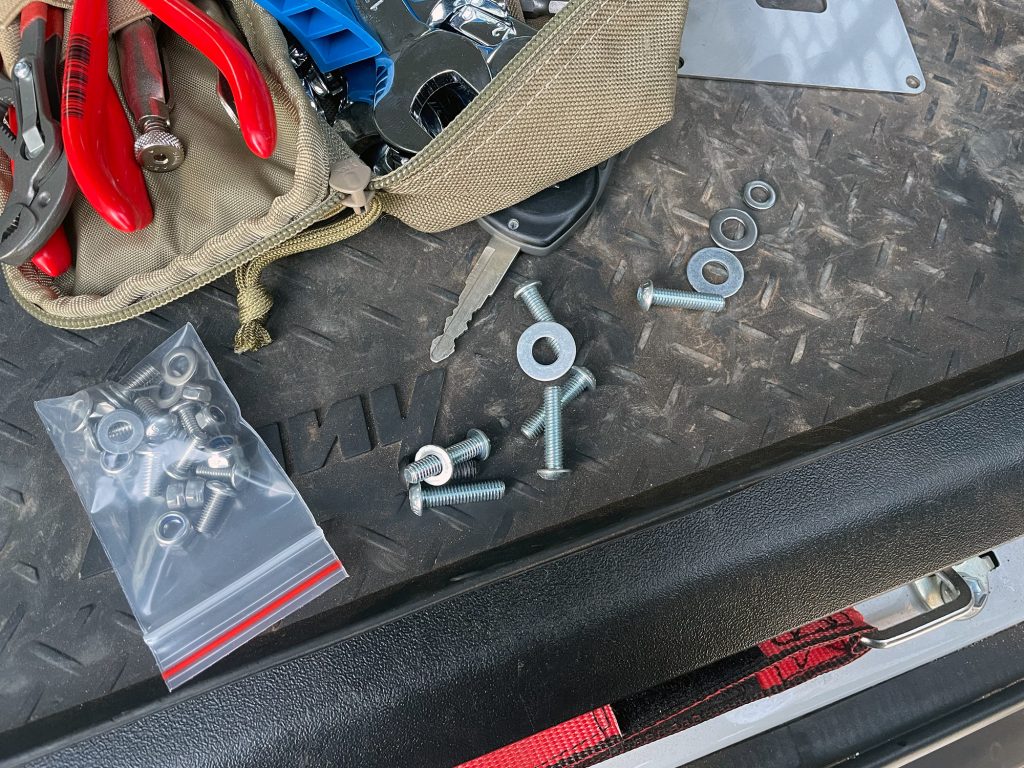
A small installation note here: if you want to install it without reusing the grab handles then you will need some M6 bolts/screws that are longer than 16mm – but not excessively so. I can confirm even 25mm length ones are ok though.
I didn’t want to put the handles back up or use Phillips headed screws to hold it up so I used M6 button head screws – this way they have the same sized head as the TLR provided screws for mounting the shelf to the mounting brackets.
With this just put the mounting brackets up there. Don’t do the bolts to the car up fully tight just yet, wait till the entire shelf is assembled before tightening everything up.
When you have both brackets installed but not fully tight, put the shelf in loosely between the brackets. The shelf can be installed either forwards or backwards, but the recommendation is to have the taller part forwards which will stop things clocking you in the head if you do a fast emergency stop.
At this point you line up the obvious 4 mounting holes that go from the shelf to the brackets.
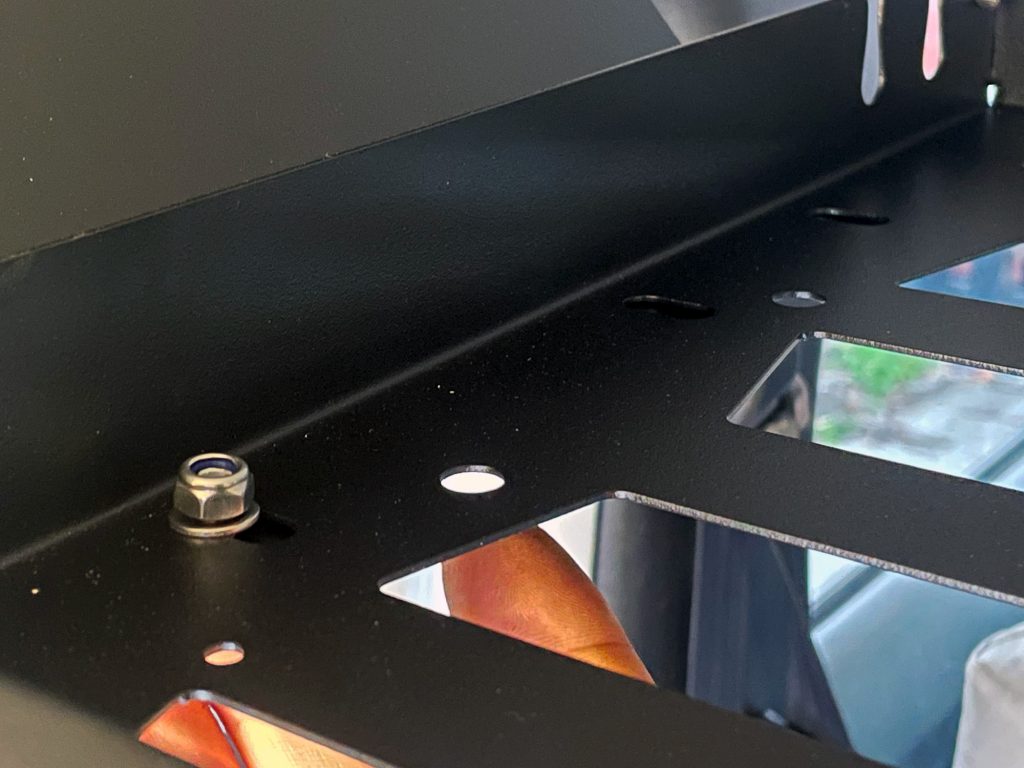
Into these go 4 of the M6 button headed screws provided by TLR, with appropriate washers and also nyloc nuts. Again just like mounting the brackets do these up loosely till you have every bolt installed in the shelf
With all the bolts in place it is now time to tighten everything up – the mounting bolts for the brackets and also the bolts mounting the shelf to the brackets.
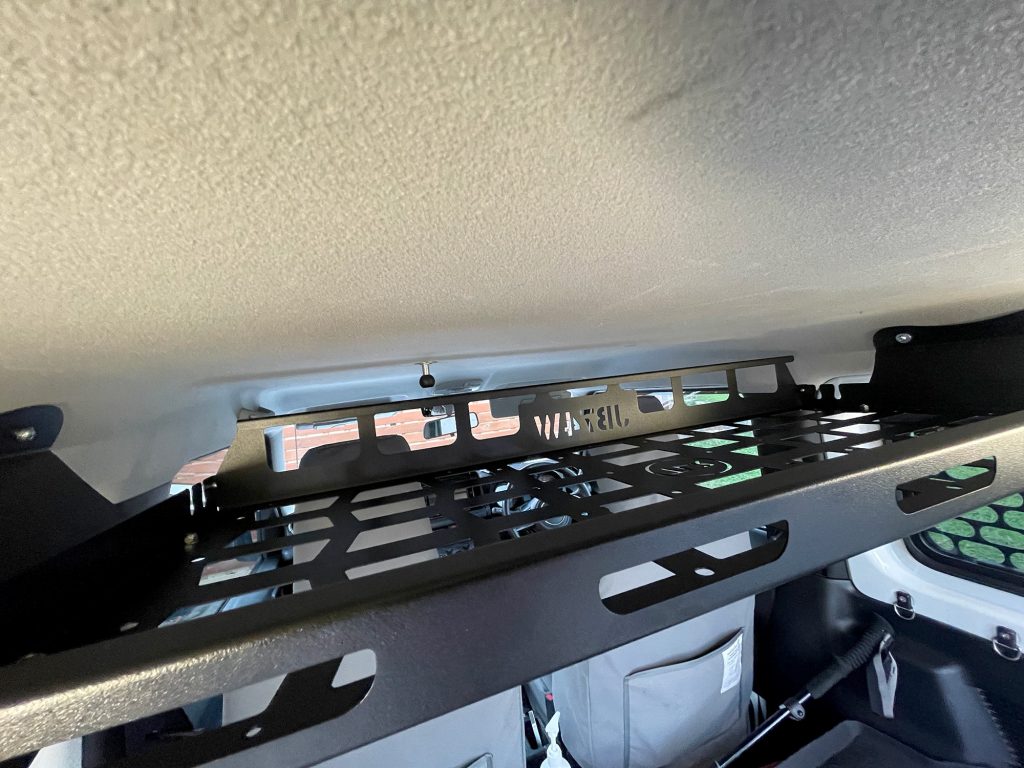
There is a fair bit of room above the shelf.
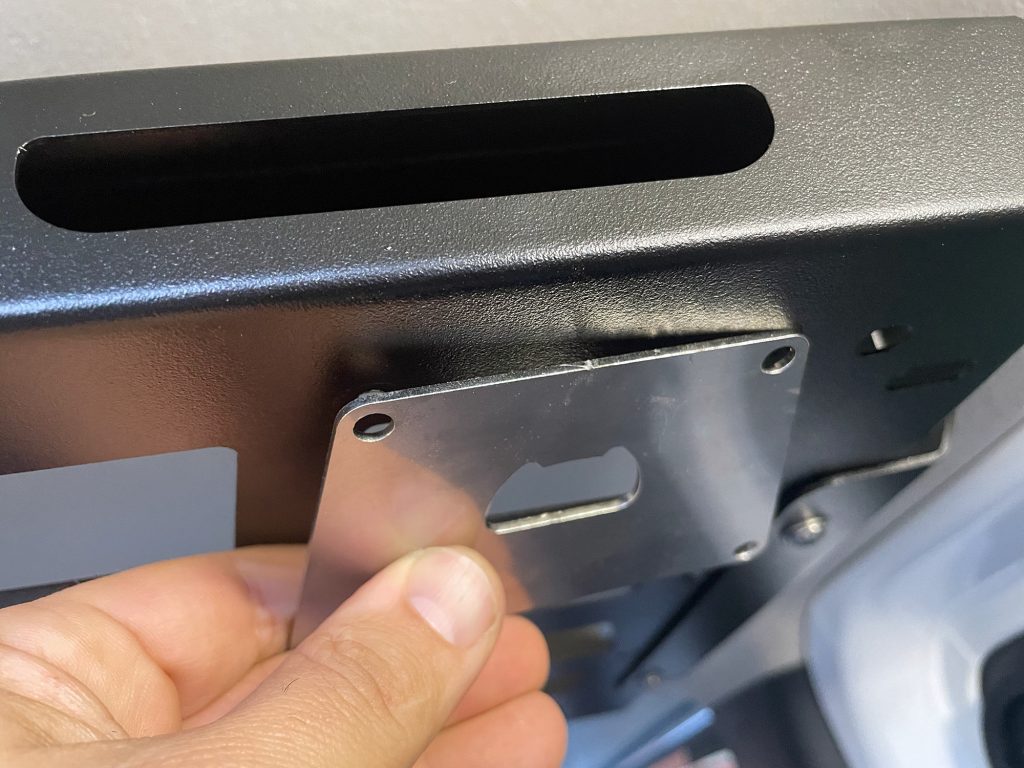
TLR provide a bottle cap remover that can be bolted underneath the shelf. I didn’t install it but here it is. This installs using the smaller M5 bolts and nuts provided by TLR.
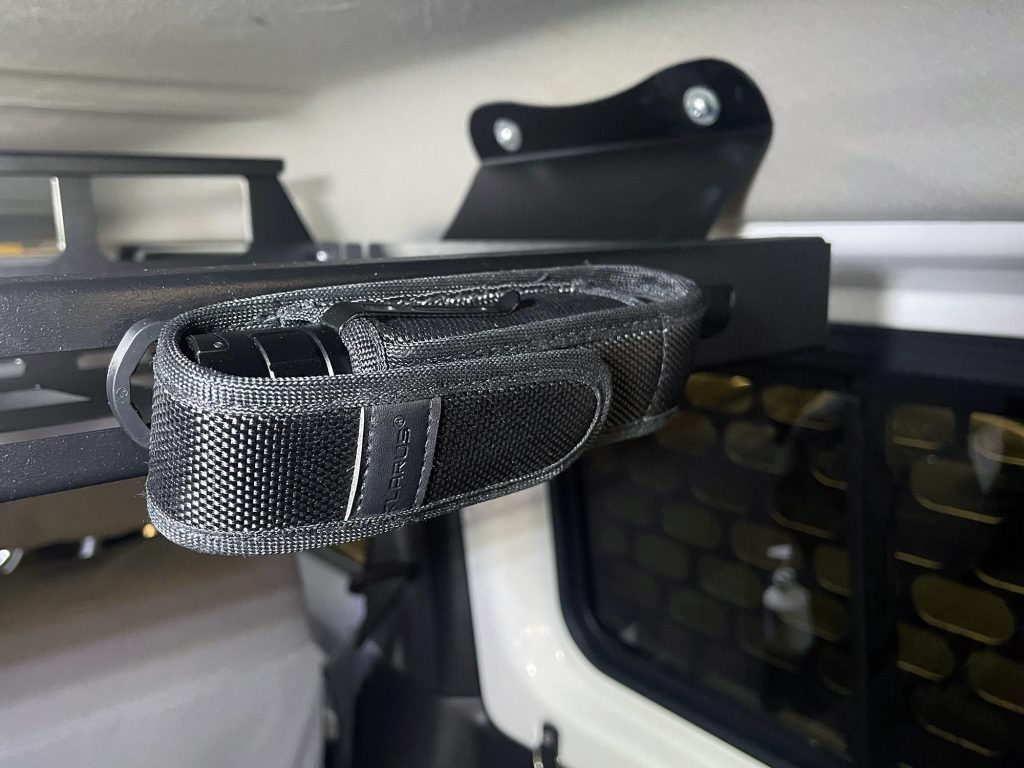
One of the most useful things are the cutouts along the back edge, I use this to store a few things but the first thing I put there is my nice rechargeable torch in its pouch.
A note on headroom: if you have adult back passengers then you might find they now don’t have enough headroom. I have previously taken the shelf done (takes about 2 minutes) to carry some people in the back, although I’d also recommend taking down the brackets so people don’t hit their head on them in an accident too. The shelf is just the right length to fit on one side of the back if you have the drivers seat a little forwards, so you have room for one passenger and the shelf in the back.
This is a really simple mod for even absolute beginners to tackle and needs only a couple of tools and about 10 minutes of your time, but it really transforms the back of the car.
Removing it is relatively straightforwards. People suggest just taking off the four mount screws but I found that unwieldy: it’s easier to detach the base from the side brackets, and then remove the brackets.
Step 1: undo the 4 bolts (2 per side) that hold the shelf to the brackets.

Step 2: Now you have bare brackets, you can undo the side brackets. Again, two bolts per side.

Step 3: all removed, and ready to reinstall grab handles (or something else) if needed.

Comparison with a soft roof hammock
Major benefits
Easier to see what you’ve stashed up there. All of the Jimny metal roof shelves seem to have some kind of MOLLE system for attachments which gives you better visibility on what’s there, plus more expansion options by attaching storage bags to the shelf.
You get more room to store things; note you shouldn’t overload these shelves with weight. Figures vary but 5-8 kg seems to be what manufacturers recommend. The limitation is down to the grab handle attachment mounts: offroad the spot welds on these can break, and it’s not the cheapest/easiest thing to get someone to reweld.
If you want a luggage divider, a metal roof shelf is the starting point for these. The factory cargo barrier was discontinued in Australia for not meeting relevant standards; roof shelves with attachment cargo barriers are the next best thing if that’s what you’re after.
More room to mount things on the front and back lips of the shelves. I used this for an umbrella and a lightweight shovel so they were always at hand.
Drawbacks
The front and rear lips give you added attachment room but make it harder to access things, especially from the cabin.
The height of the shelves cuts down headroom in the back. With mine installed it isn’t any good for adult passengers in the back. If you have just one rear passenger you can take it down quickly and put it on the other rear seat sort of diagonally and towards the other seat but it’s not super easy. Absolutely no way with 2 adults in the back unless you totally remove it from the car.
More weight: 5ish kg for the shelf alone versus a few hundred grams for a fabric arrangement.
Blocks the rear boot light from getting into the cabin, making it much darker. This includes having a much brighter rear LED: the light is blocked way more by the shelf.
More expensive: around 3 times the price of a fabric arrangement.