
Roof rack, platform and accessories
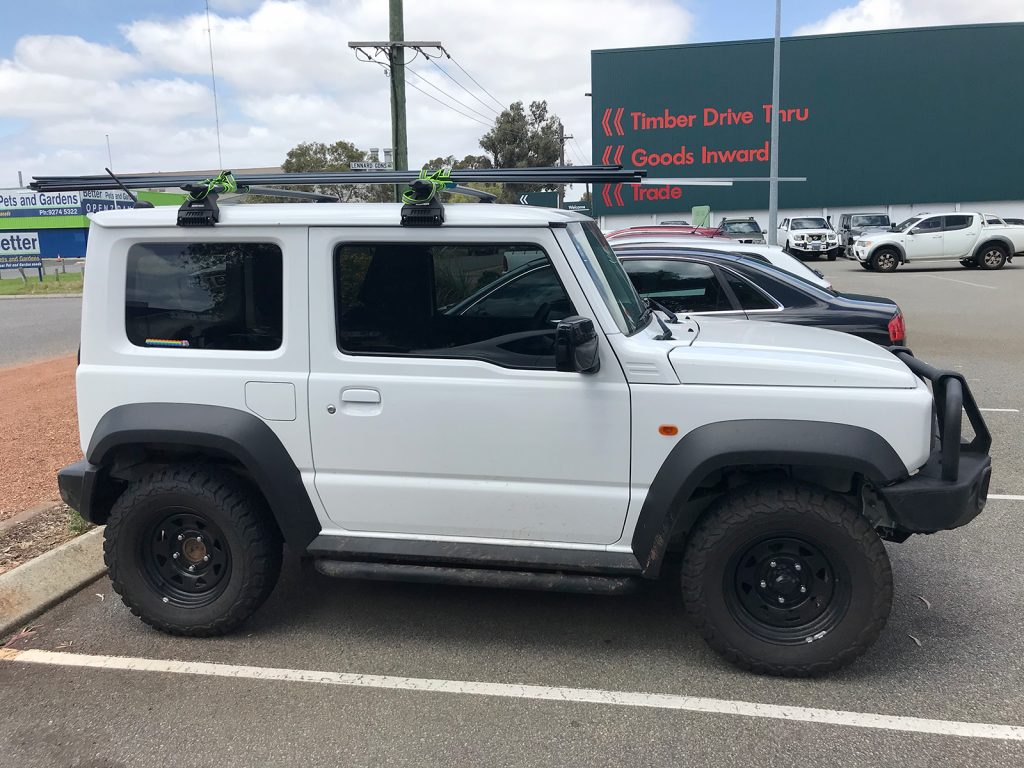
I don’t like carrying unnecessary things on the roof of cars so I was after a lightweight roof loading system that let me easily add various things and mix and match as is needed. Sometimes I might just want to get things from the hardware store like long pieces of timber and so crossbars are very suitable, and sometimes I might want a roof platform to make it easier to strap on large, bulky items or to spread the weight of heavier things.
One thing to note with the Jimny is that, while Suzuki don’t publicise it easily, is the roof load limit is relatively low. The most official number is 30 kg. This isn’t necessarily due to ‘strength’ but more likely down to stability concerns: a tall, narrow car with heavy weights on the roof is much more likely to tip over. It’s for this reason I wanted to focus on relatively lightweight options and also making it easy to only have the accessories I want fitted at any point in time
Roof racks/cross bars
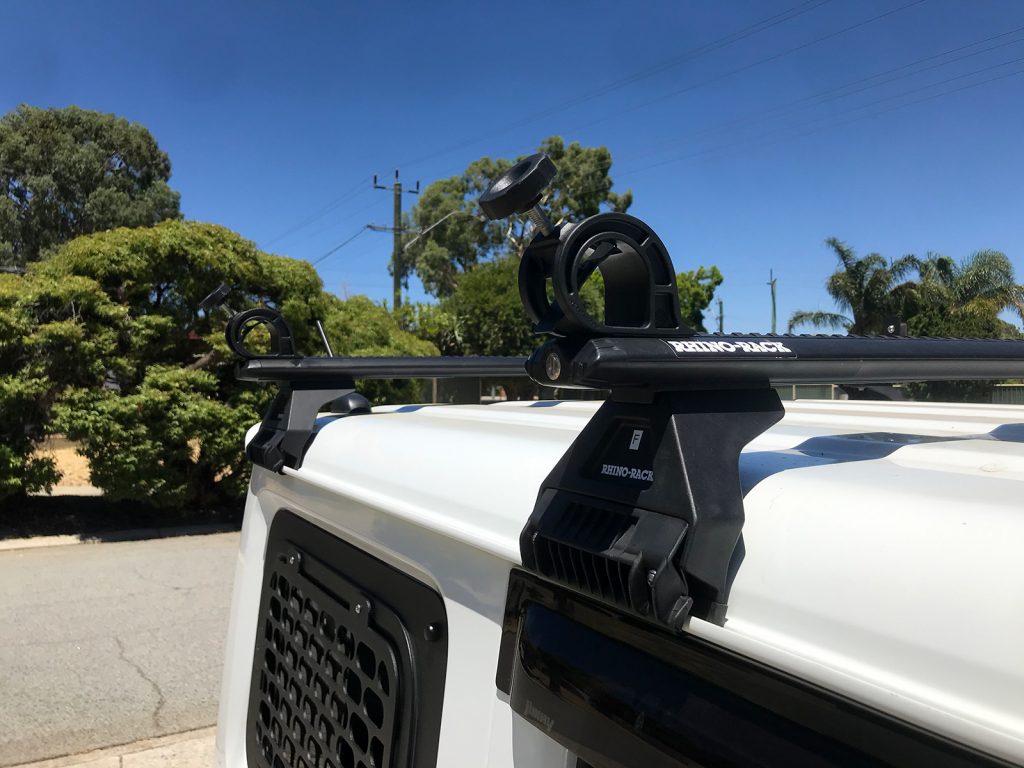
For their light weight and ease of adding or subtracting items, I used a set of Rhino Vortex bars and appropriate legs. These come in a kit with the part number JA2491. I also fitted the optional keyed locks into the caps with part number
A couple of important things with these:
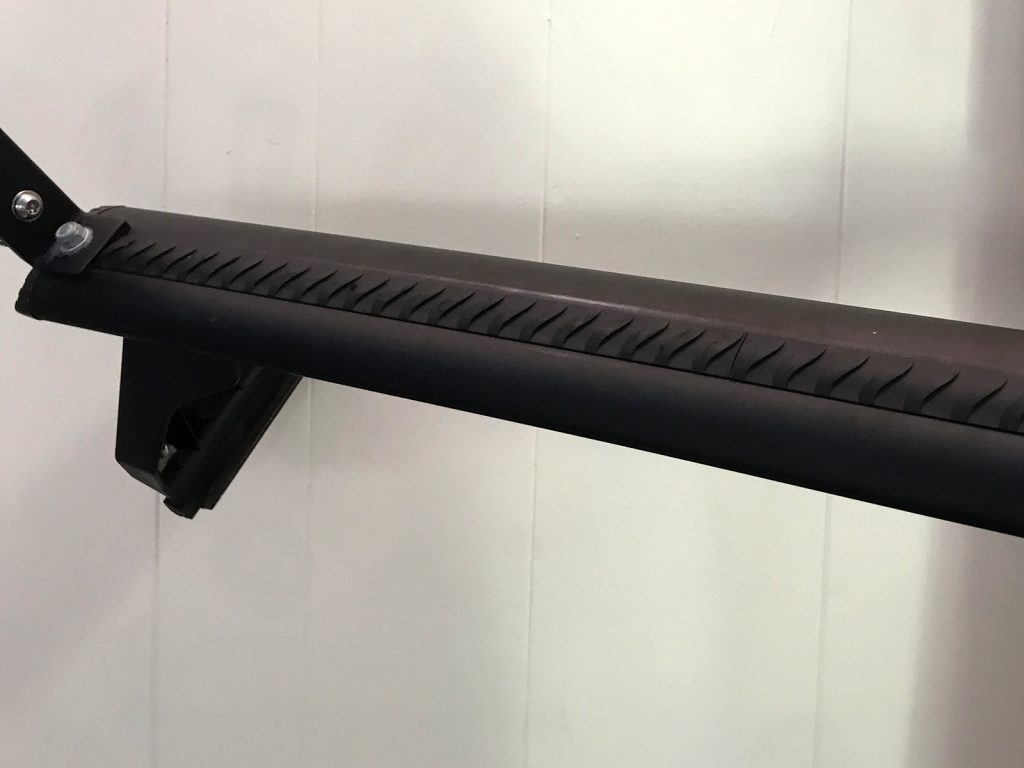
- Fit the vortex generating strips to the top so there are no gaps at all
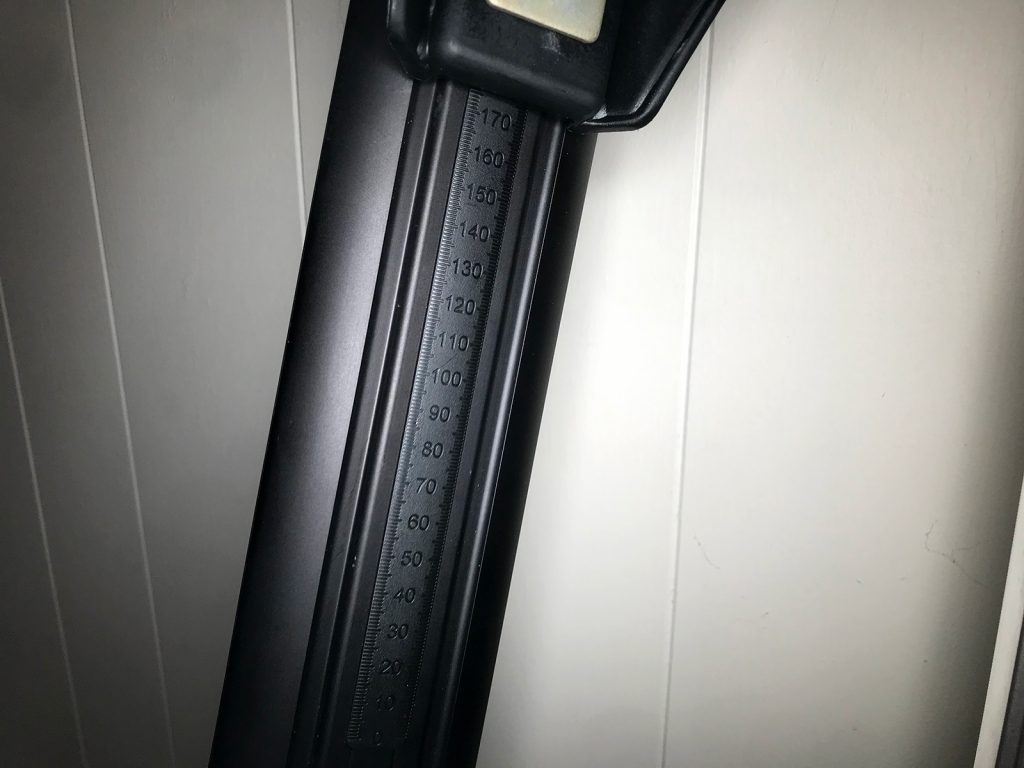
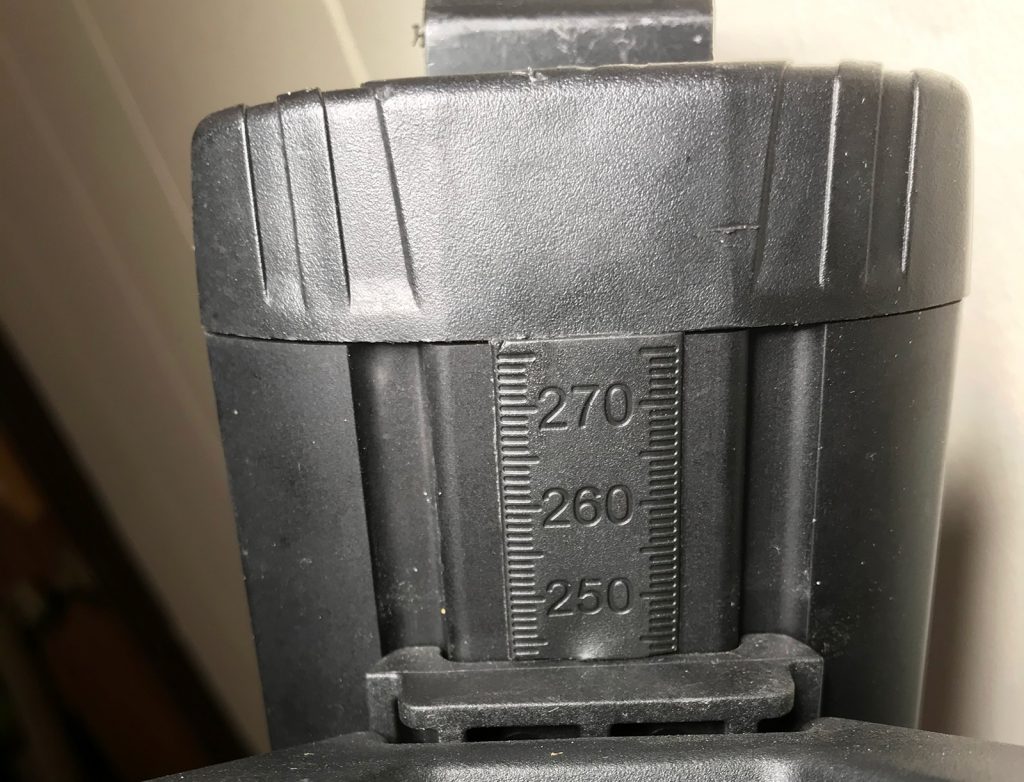
- The ruler strips underneath are cut to length to fill in the gaps between the centre of the bar and the legs
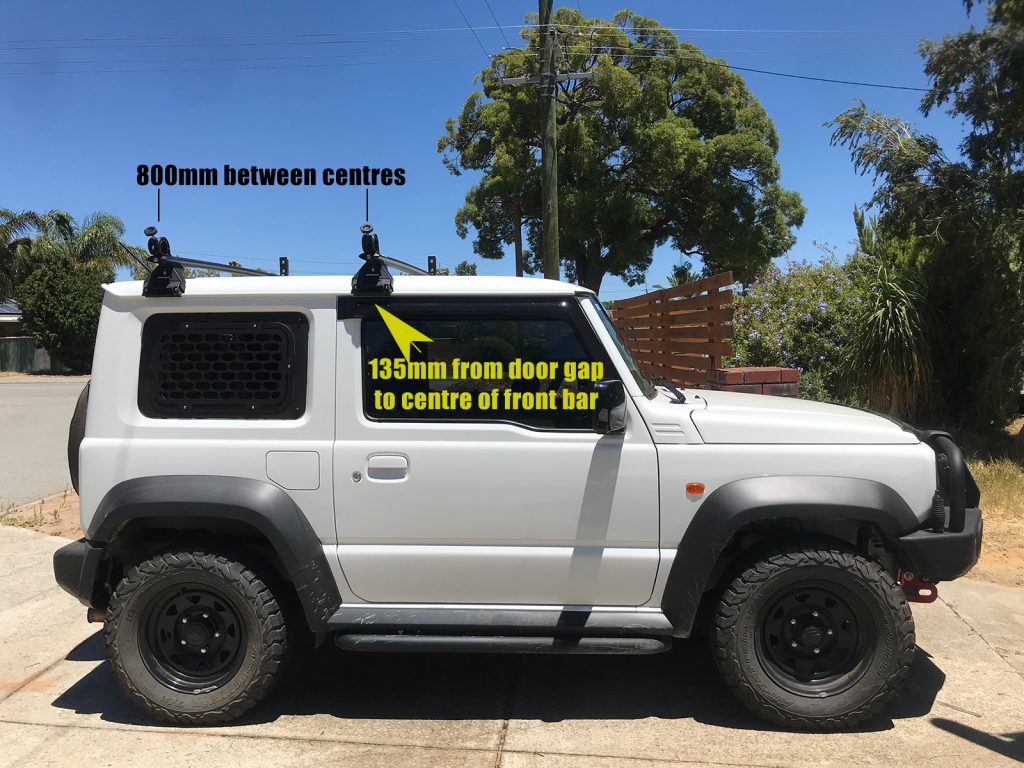
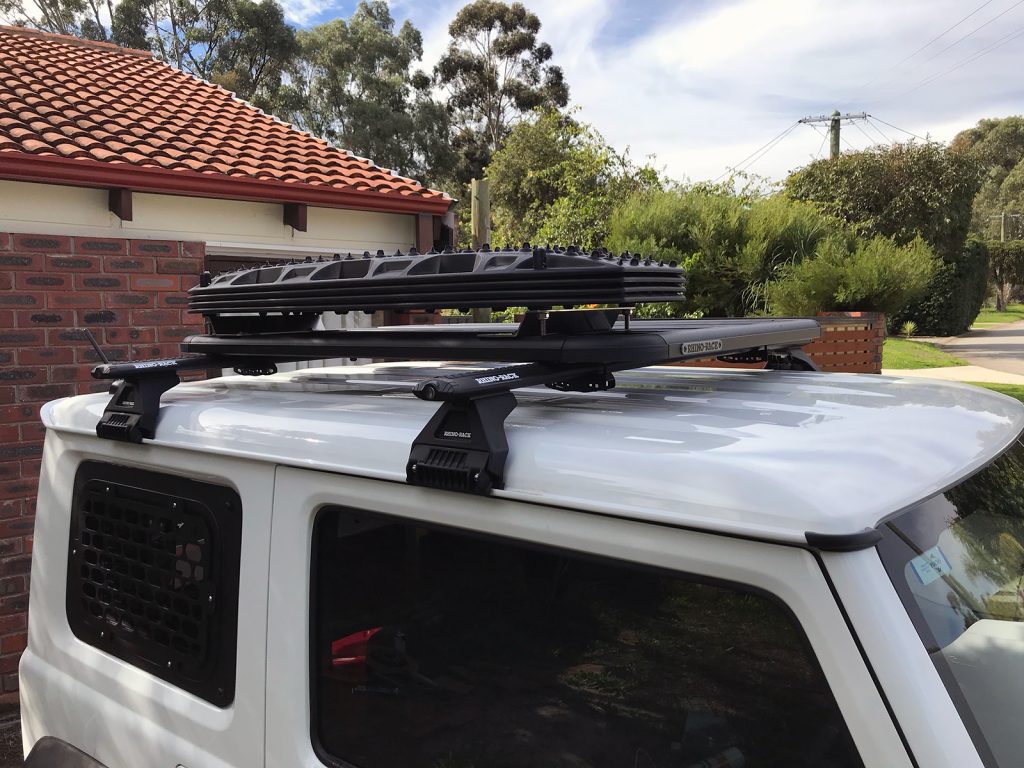
- The fitment notes suggest fitting them far back on the roof. This will help with not overloading the front axle of the vehicle and also it does seem to cut down wind noise having them further back.
If you’ve lost or didn’t get vortex generating strips they are Rhino part number VA-VGS8 for a packet of 8 (does 2 bars); the ruler measuring strips for setting up the bars to the correct widths and sealing up the underneath side of the bars are part number M641, also for a packet of 4 strips which will do 2 bars.
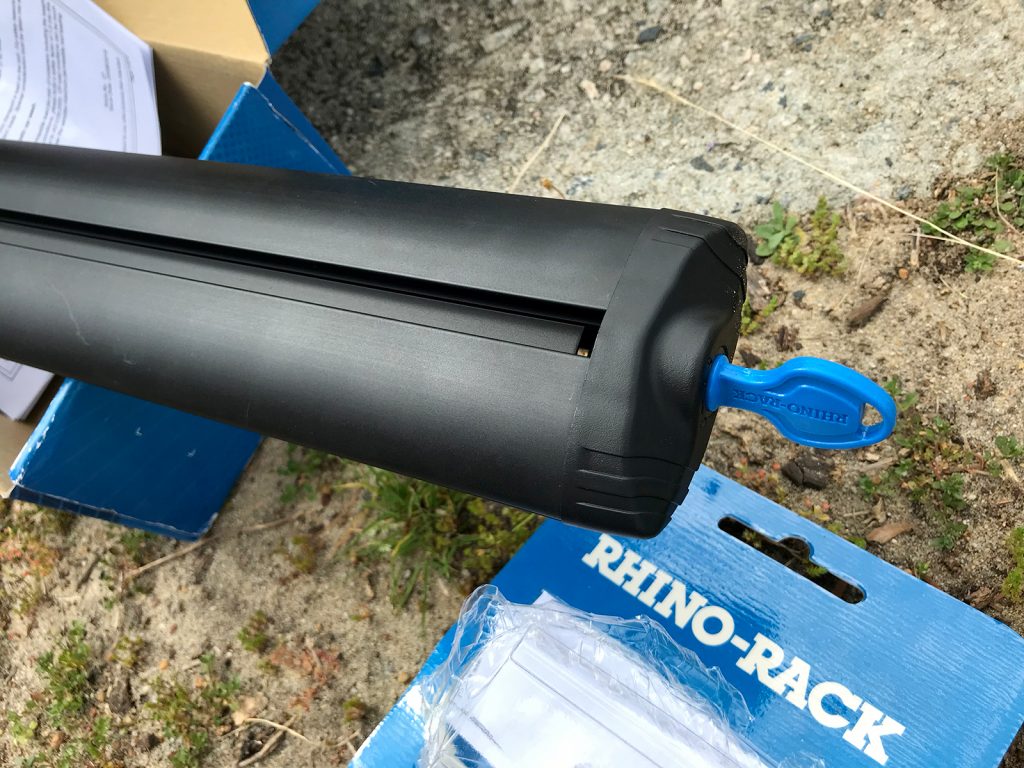
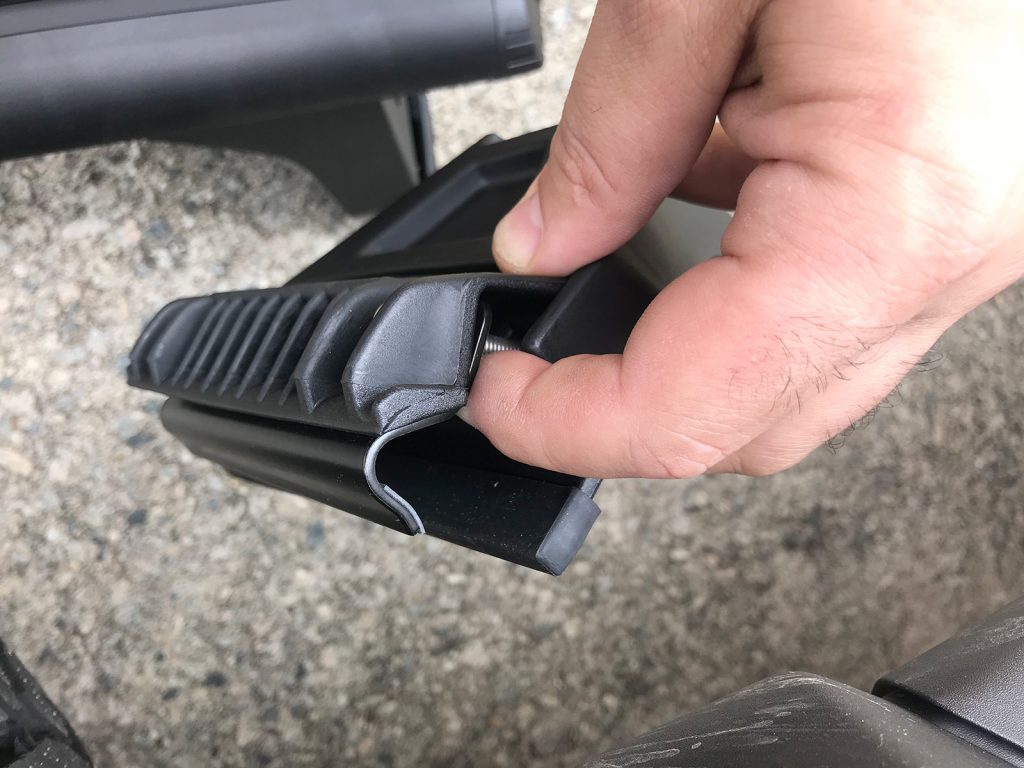
The strips come in the top of the bars.
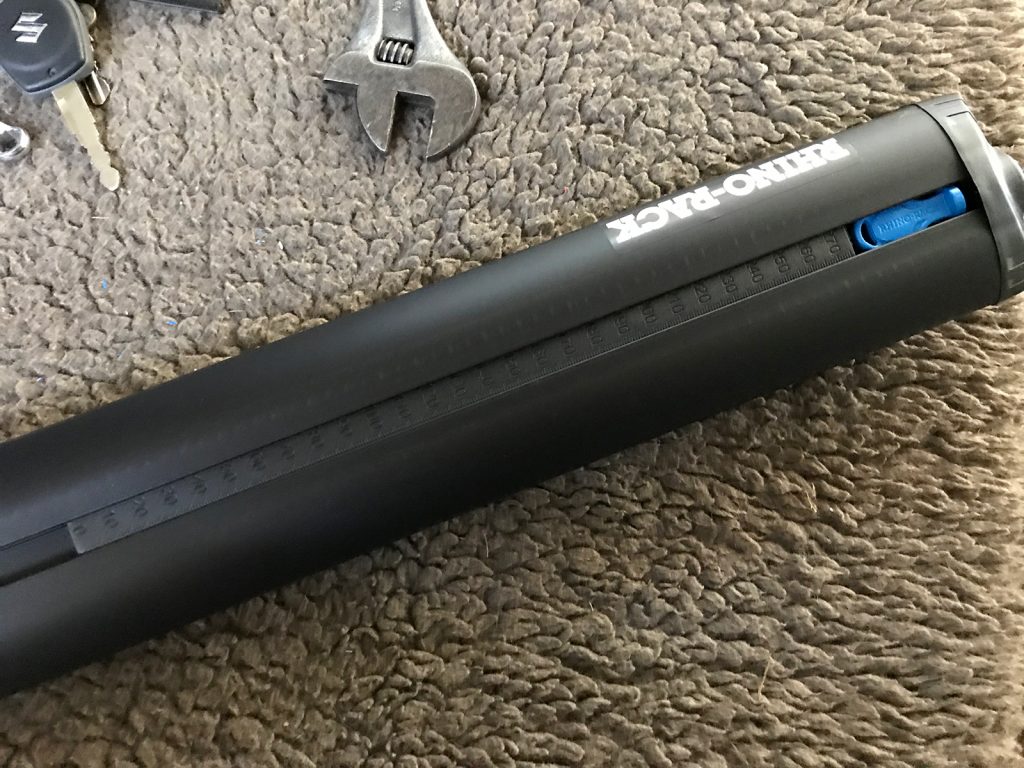
One small annoyance here: to undo the end cap you need the weird shaped plastic ‘key’, and both of mine were locked into the bars by the end caps which were locked. I managed to get one undone using a screwdriver and then pulled the plastic key out. I replaced these fake locks with actual ones using the lock barrel kit from Rhino RLK-LOCK-4
My kit didn’t come with JB74 specific instructions but these are available as a supplement from Rhino themselves here: http://vpm.cdn.rhinorack.com.au/Instructions/Parts/Legs/RL110S1-Suzuki-Jimny-Supplement.pdf
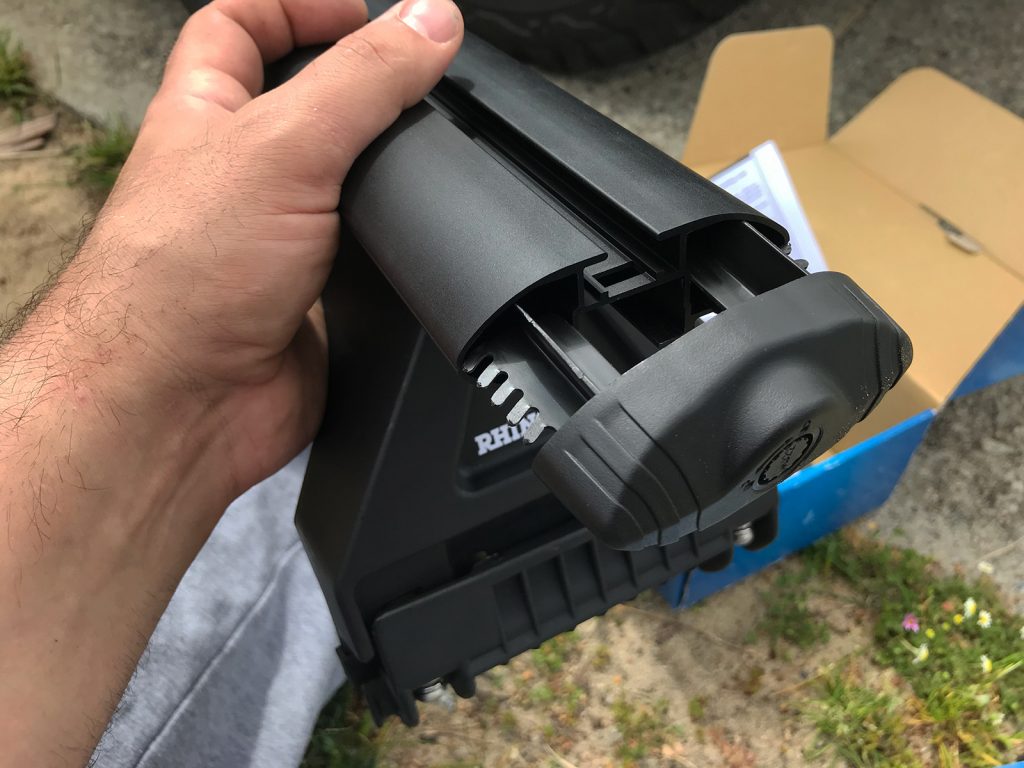
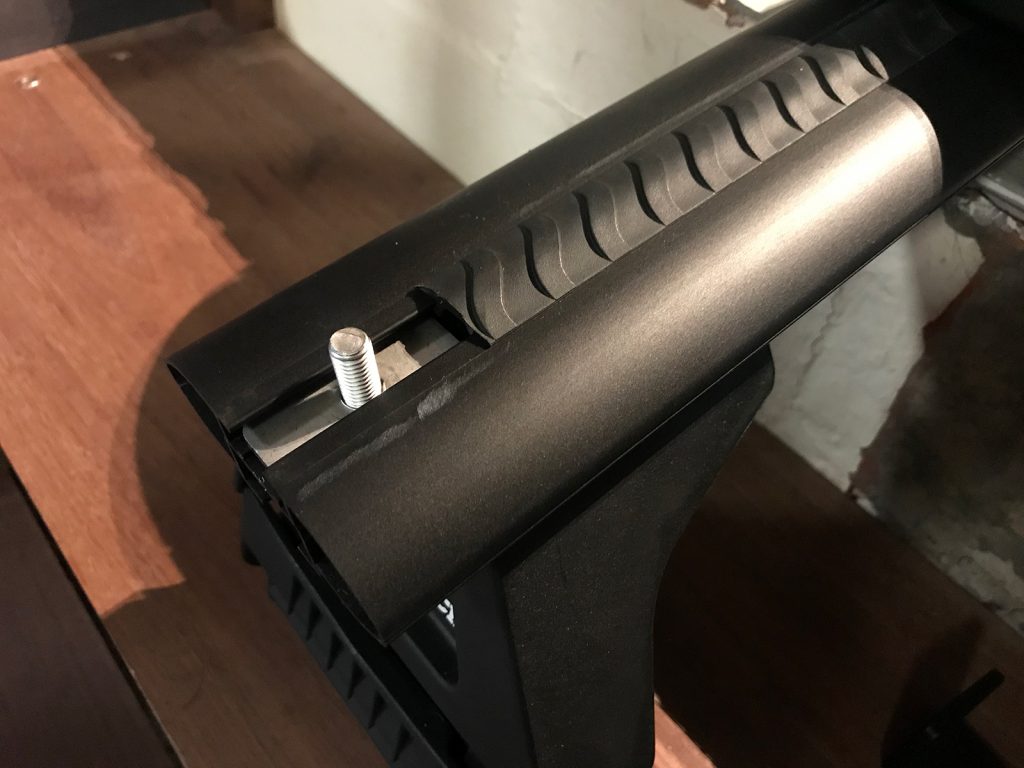
Start by fitting the legs to the bars with the end caps off. You do this by first taking out the M8 bolts and flat sided nuts which are used for the heavy duty bars…
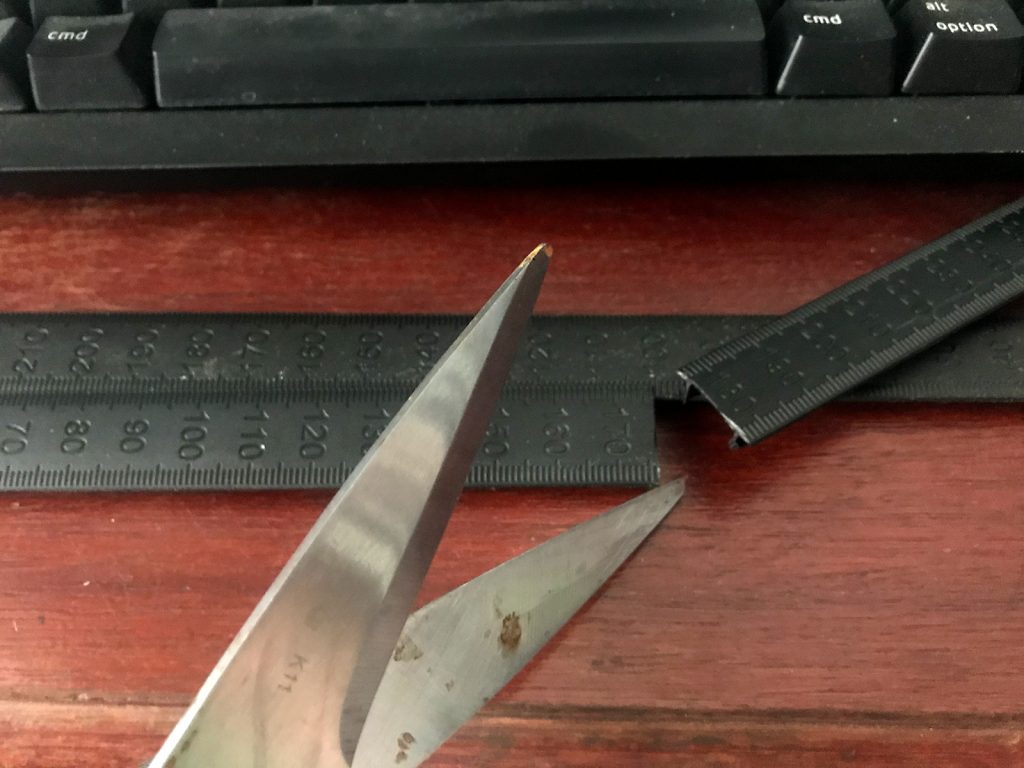
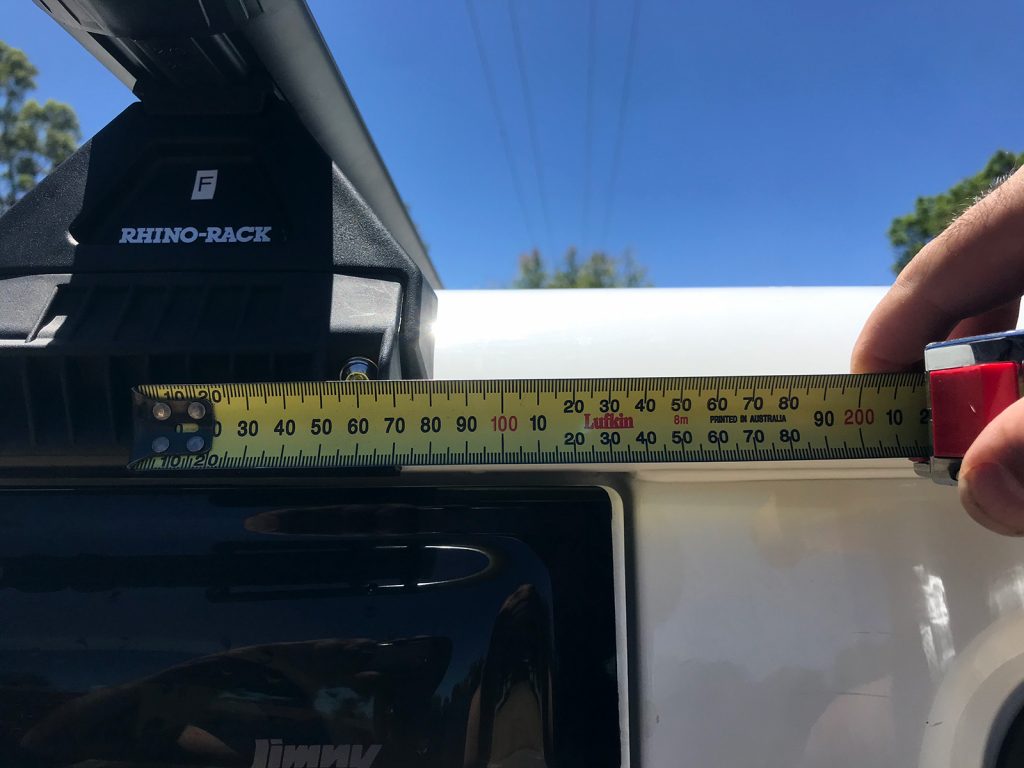
Now cut the measuring strips to length which will help set the legs to the correct widths. The front bars need two measuring strips each cut to 176 mm long, and the rears 168mm. The measuring strips have arrows on the back to indicate which way they go. I also cut down the ends of the measuring strip offcuts to seal up the gap between the leg and the end cap.
The vortex generating rubber strips go into the top of the bar. Make sure there’s no gaps at all here between the strips.
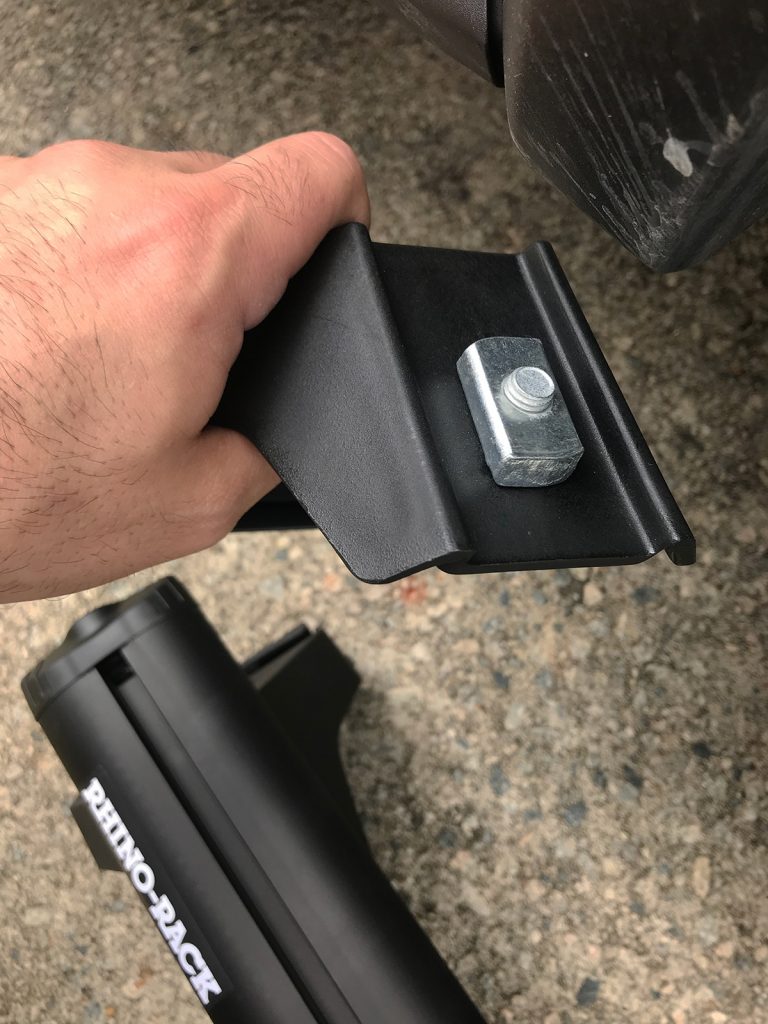
With that done it’s a simple matter of putting the bars on the correct place on the roof and tightening up the gutter clamps. You might find it easier to have the leg attachment bolt just a little loose as there is play in the way the leg mounts to the bar. A 10mm ratchet spanner is the easiest way to do this up once it’s on the car.
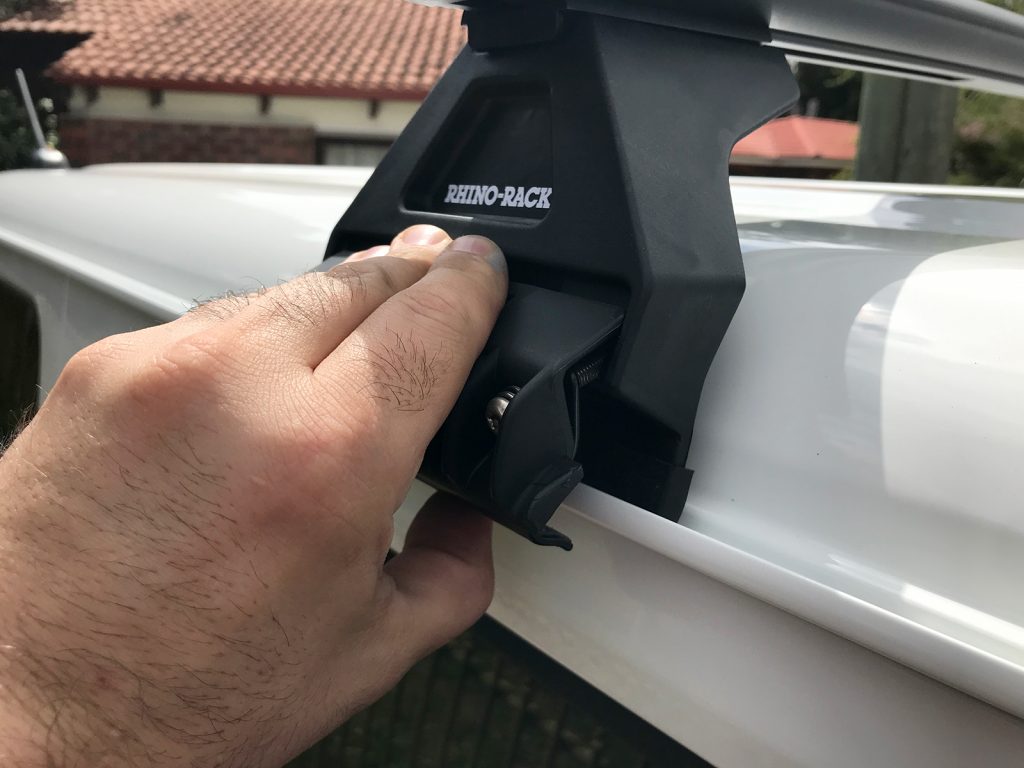
With the bars on loosely, you can now position the bars on the car. The Rhino instruction supplement has them fairly far back on the car, which will help with load distribution and I guess also helps with wind noise.
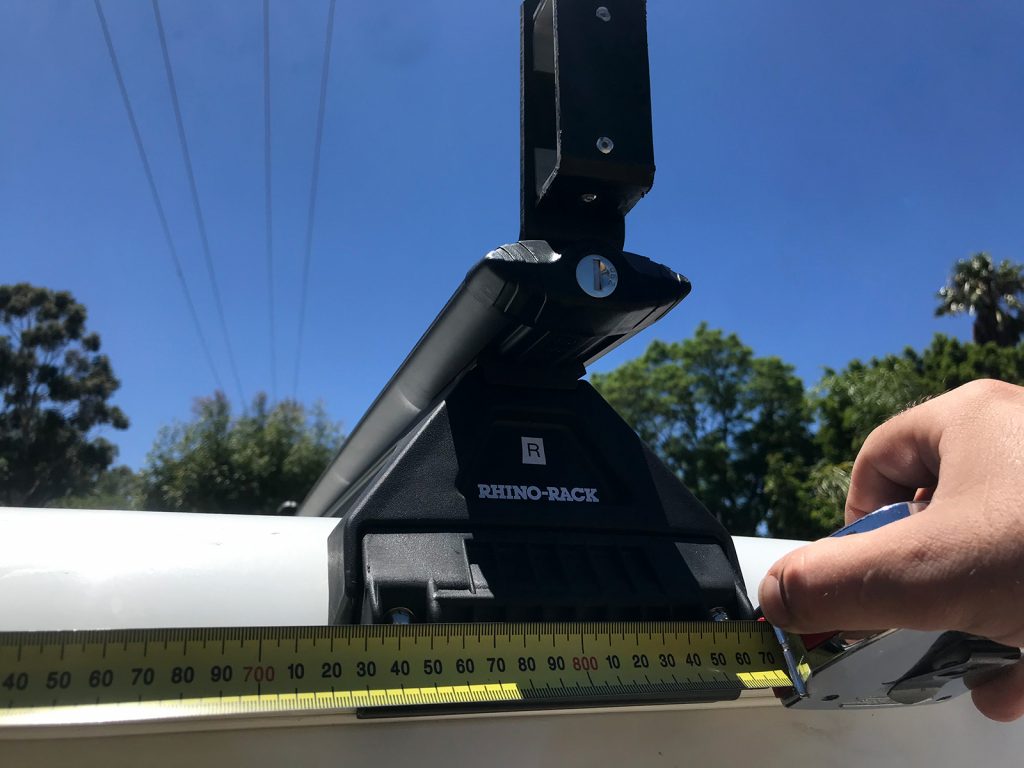
With the bars in the correct position, tighten up the two clamping bolts per bar evenly and you’re all done.
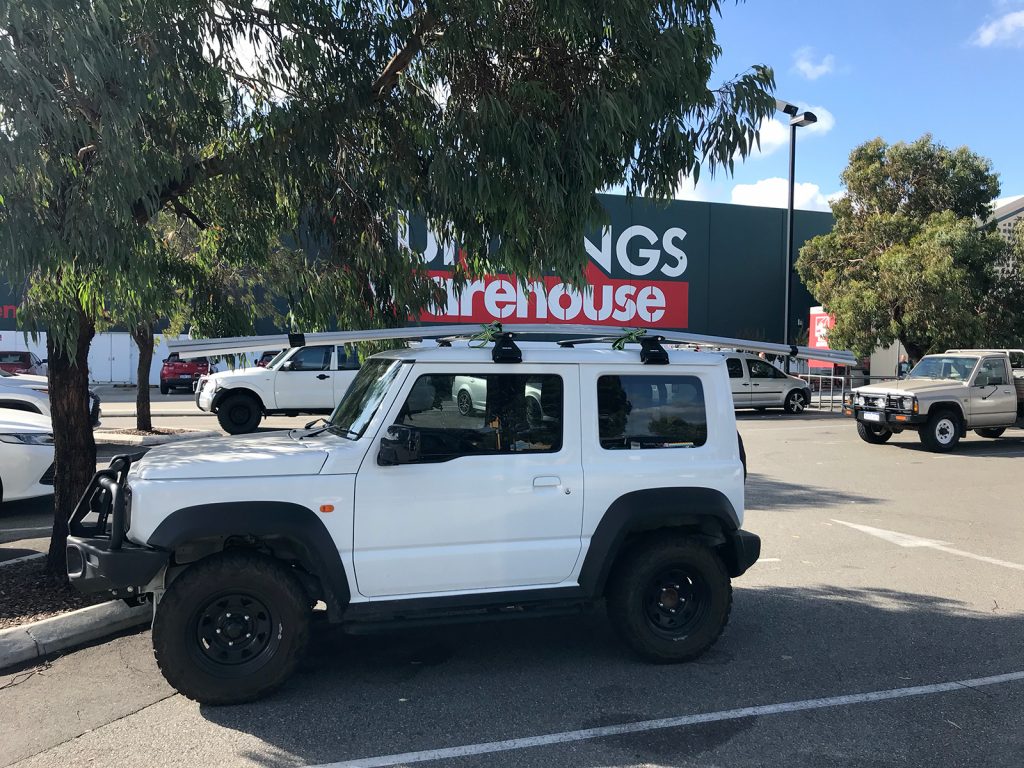
They are very good and helpful and certainly work really well for a lot of the carrying of long items I need them to do!
On the ends of the roof racks I mounted quick release awning brackets and shovel holder which I’ll talk about now.
Shovel holder
Shovels are fairly essential for recoveries, so I used the Rhino shovel holder (part code is RSHB) on the drivers side (opposite side to the awning) to allow holding of a full length shovel easily.
Fairly easy to mount this: end cap off the vortex bars, trim the vortex generating strip to allow fitting of the flat part of the holder, put in an M6 flat sided nut into the upper side of the vortex bar, tighten it all together and put the end cap back on.
Quick release awning brackets
This is a bit more complicated, and it does depend on your choice of awning. I’ve gone with the Rhino Foxwing Eco 2.1 270º awning which does not use a standard awning attachment layout, but it can be dealt with with a couple of correct parts and a few spare security torx bolts.
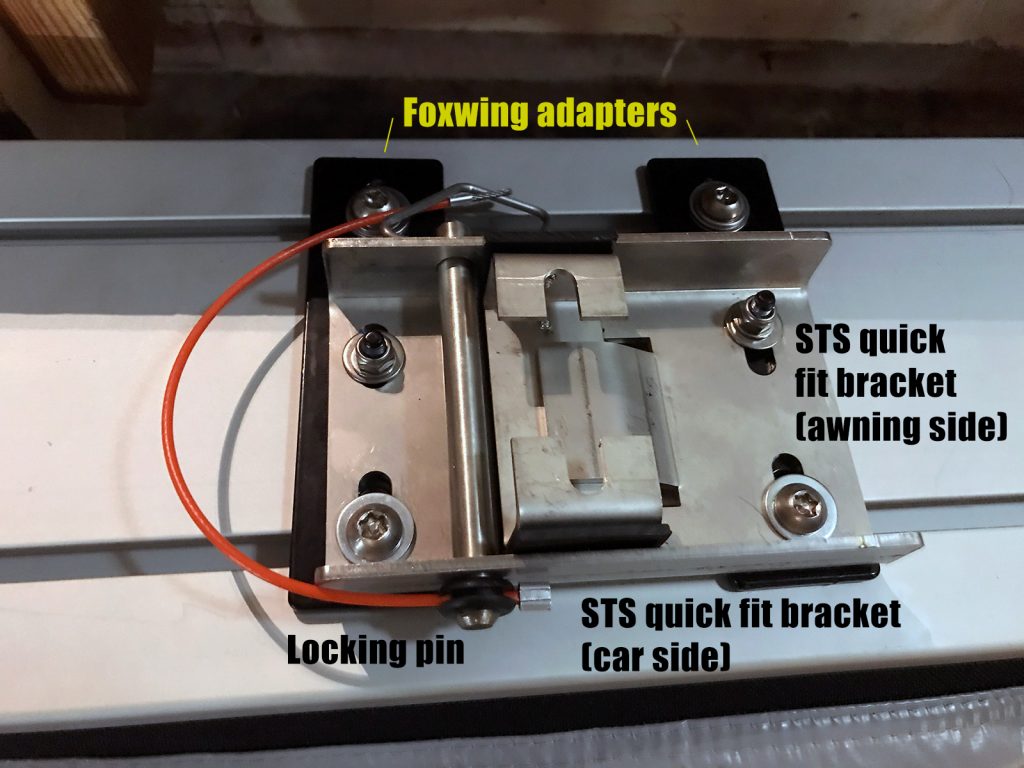
My choice of quick release awning bracket is the Smart Touring Systems quick fit bracket. I also needed the Foxwing adapters and for redundancy I also bought a second securing pin. I finally bought a 2nd set of ‘car’ side mounting brackets so I can fit the awning to the side of my house for outdoor shade too… kind of handy really!
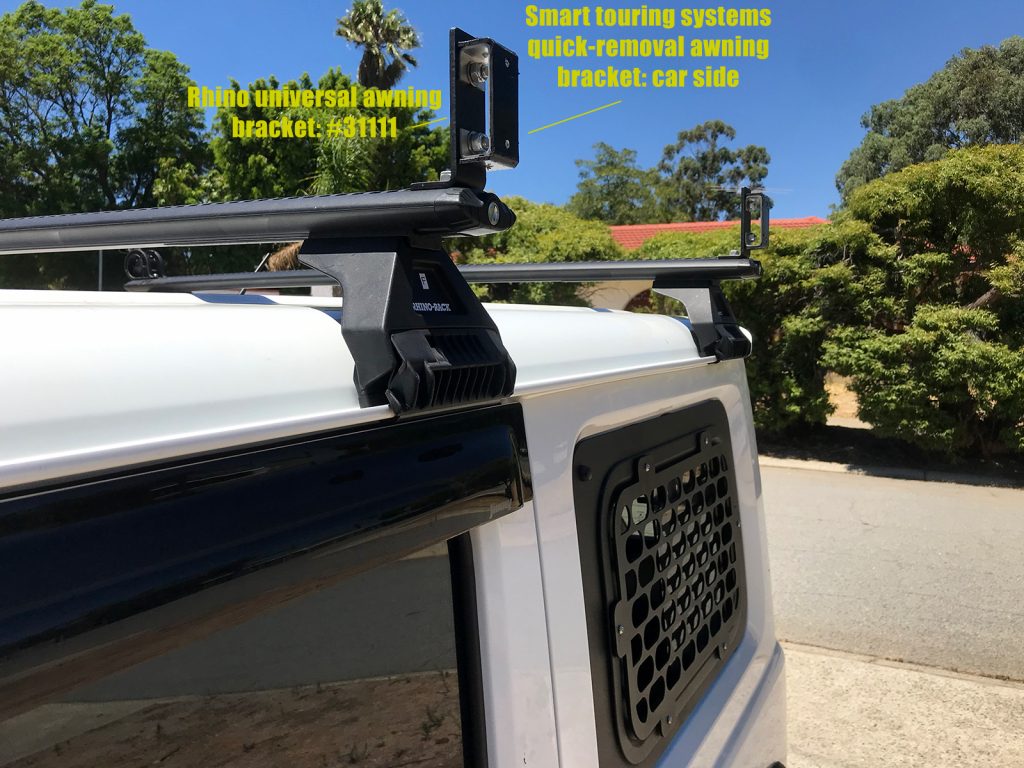
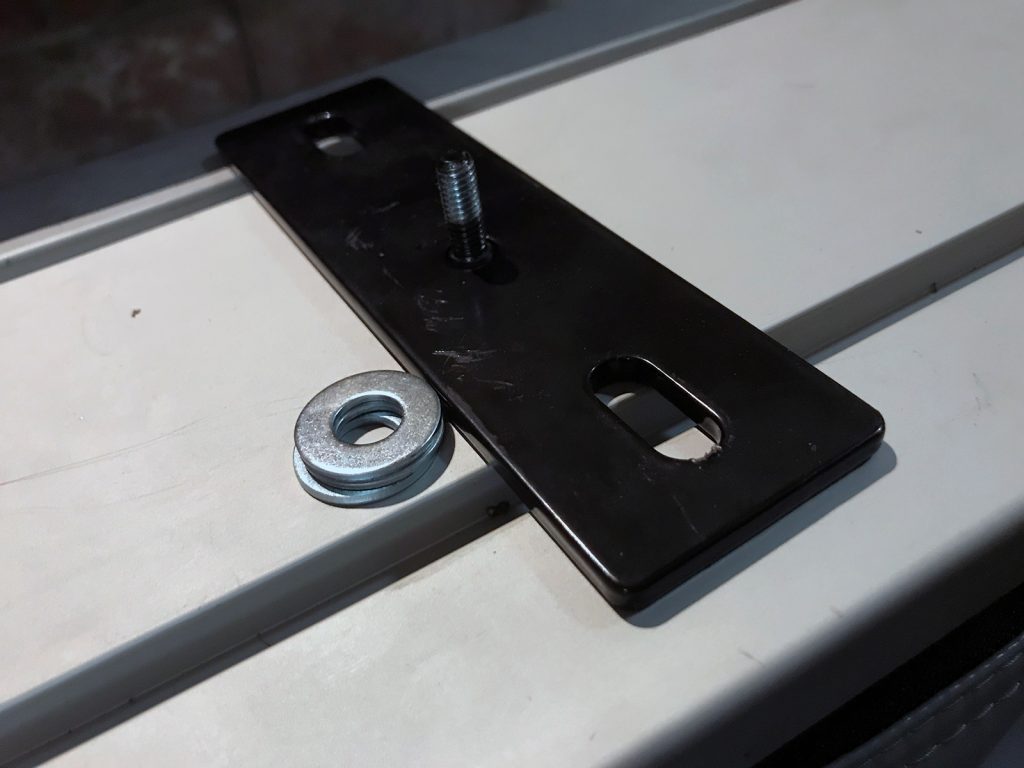
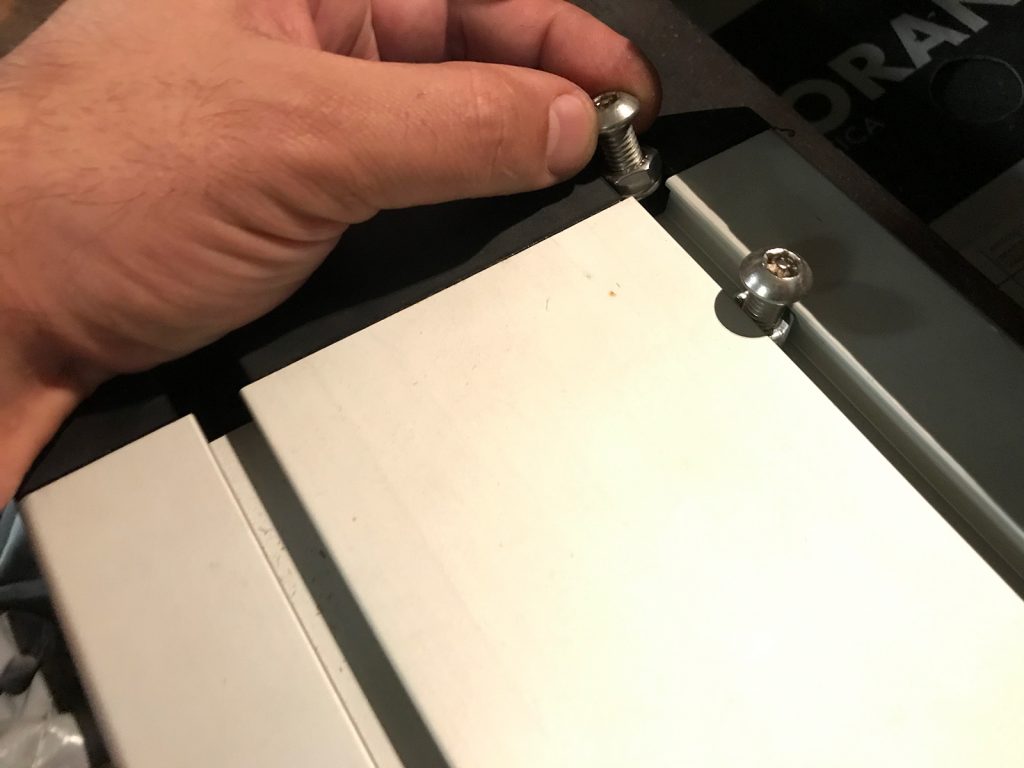
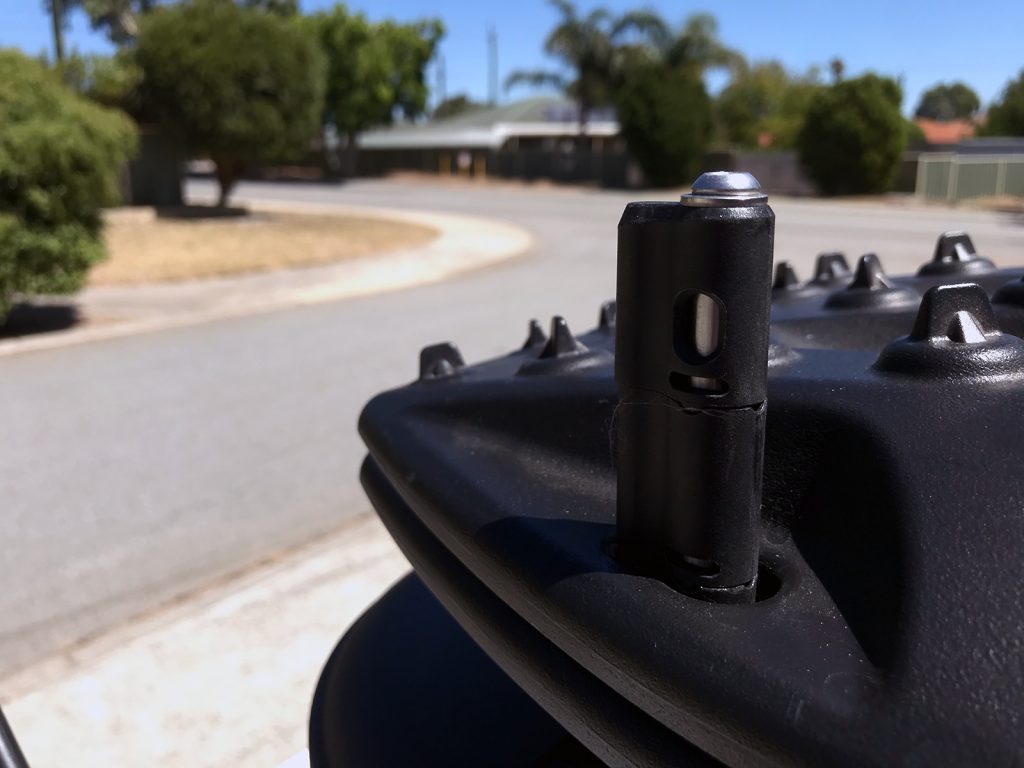
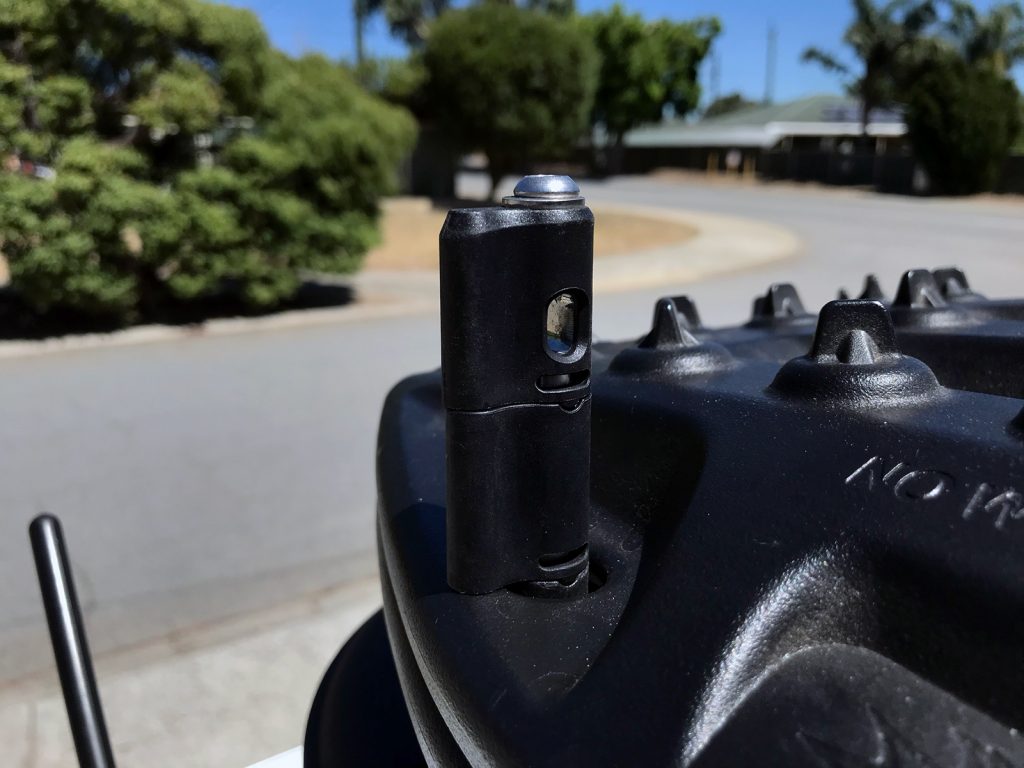
You also need normal mounting brackets to the roof racks (or to the roof platform if you go that way). I used the Rhino universal mounts off the end of the left side of the roof rack bar. You do need to trim the vortex strip a little to accommodate the stud that pokes up to mount the bracket.
The bracket attaches to this, and then you attach the car side mount of the quick release bracket to this bracket
The next part requires a bit of fiddling around if you are adapting mounts; the STS quick-fit brackets are designed to work with the majority of awning bolt patterns so it only matters if you have something weird.
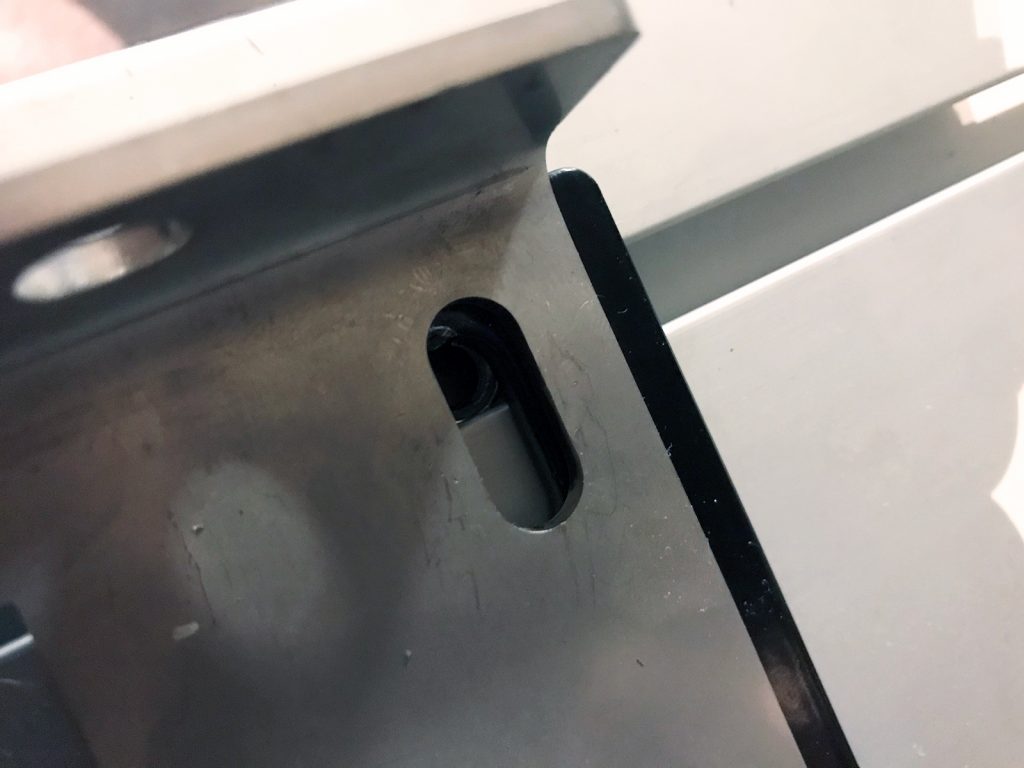
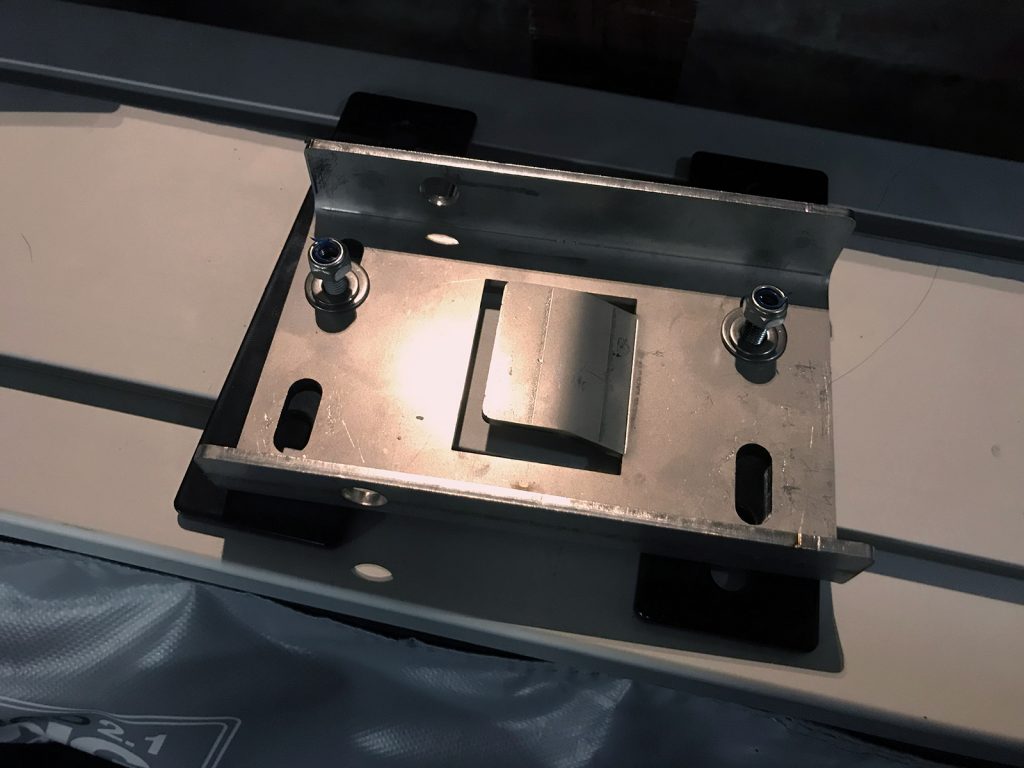
Rather than take you through the details, I’ll start with a shot of it all loosely assembled so you can see how it works. There is a tongue on the awning side bracket which engages with the car side bracket. As you slide it in it holds on tighter with a ramping action; once you get it fully on you can slide in a locking pin which holds the awning from sliding off again.
I mounted mine so I had the maximum height available under the awning, which is something nice you can do with the adapter plates. Also note I used my own M8 security torx fasteners; the kit comes with standard M8 bolts instead.
Also note that if you want security you can use a padlock in one of the holes used for the locking pin; you only need to use the pin on one of the two mounts.
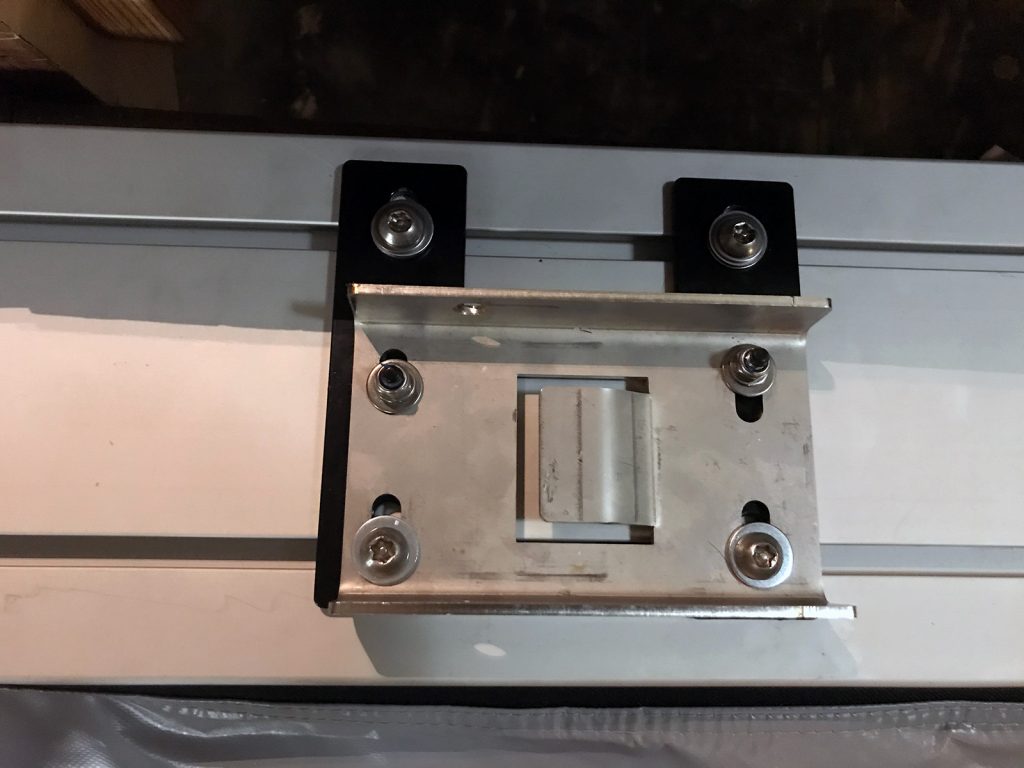
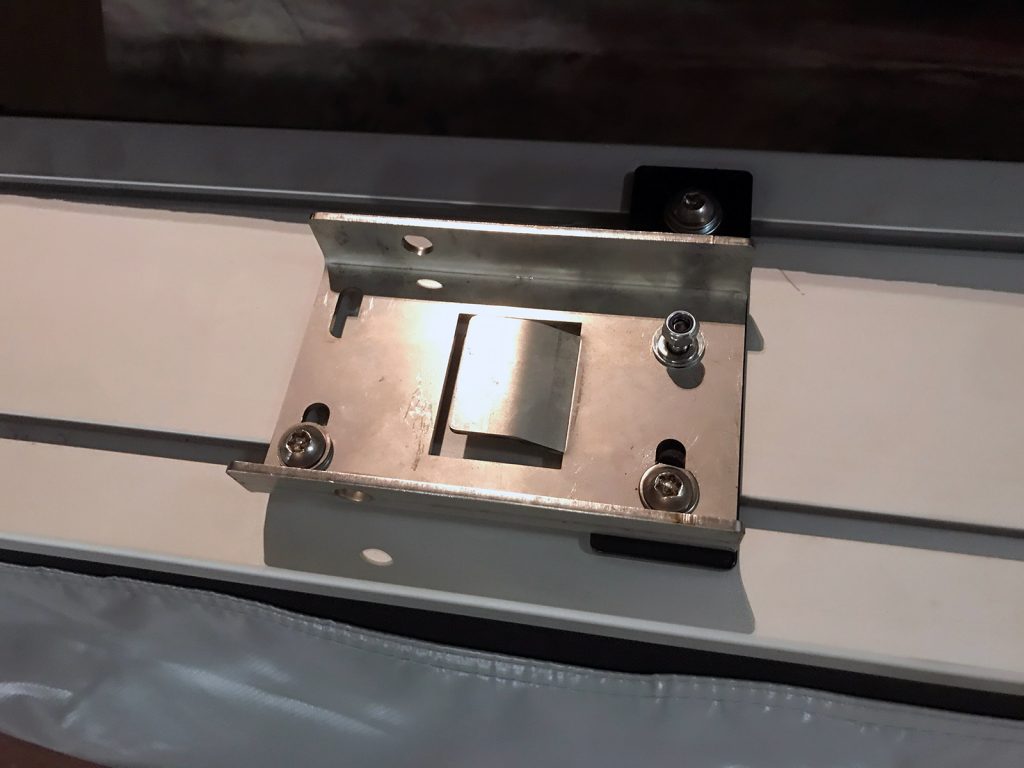
Finally, you should know that the foxwing adapters come as 3 plates, technically you have 4 sets of 2 bolts these could use but I mounted just one plate for the forward mounting bracket on the awning, and used both available sets of holes on the rearward mounting bracket on the awning.
A handy hint for getting the nuts lined up into the channels – put them in using a bolt, slide them along to roughly the right position and then line them up.
Note here you get a choice into if you mount the bracket high or low on the back of the awning. In the photos they are mounted for the awning to be ‘low’ but I ended up swapping it so they were mounted to keep the awning up as high as possible.
Because you fitted the roof racks according to the Rhino instructions, you can safely set these two brackets to be 800 mm apart when measured from equal points e.g. the tip of the mounting tongue to the tip of the mounting tongue. If you didn’t follow these instructions then measure the distance between the centres of your roof racks and mount the brackets that far apart.
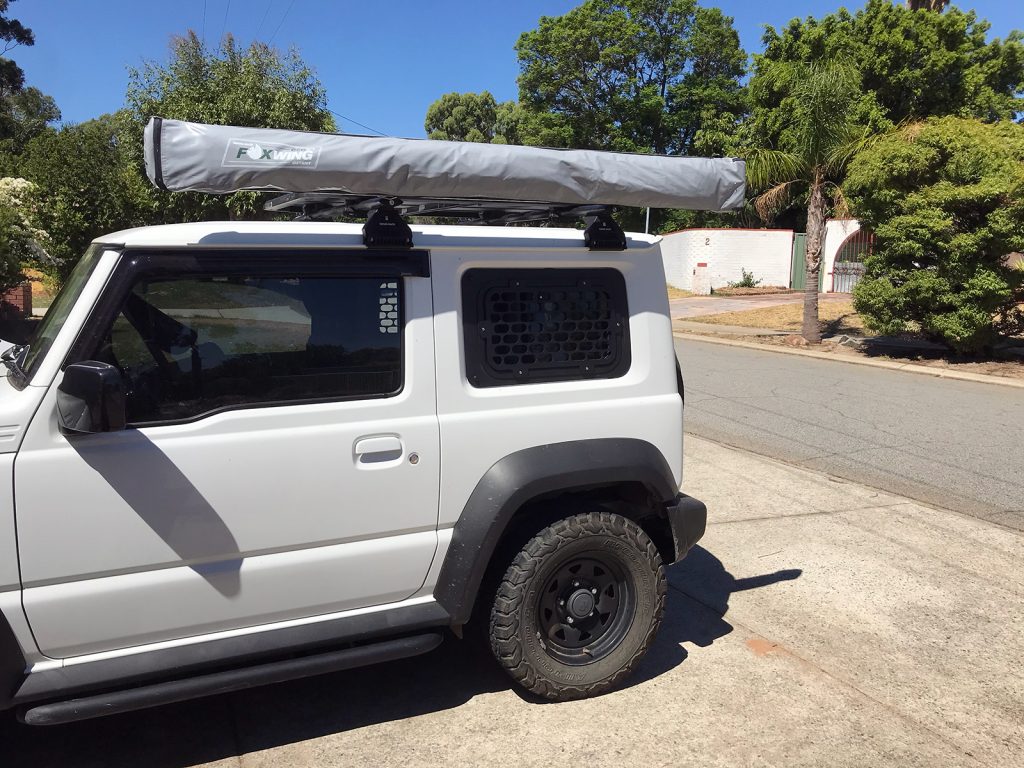
Super happy with how it works, and it’s really fast to take off if you want to drive around awning-less. This is extra handy on tougher tracks; you can even stash it somewhere else on the roof racks more out of harm’s way then re-attach it quickly when you get to set up camp.
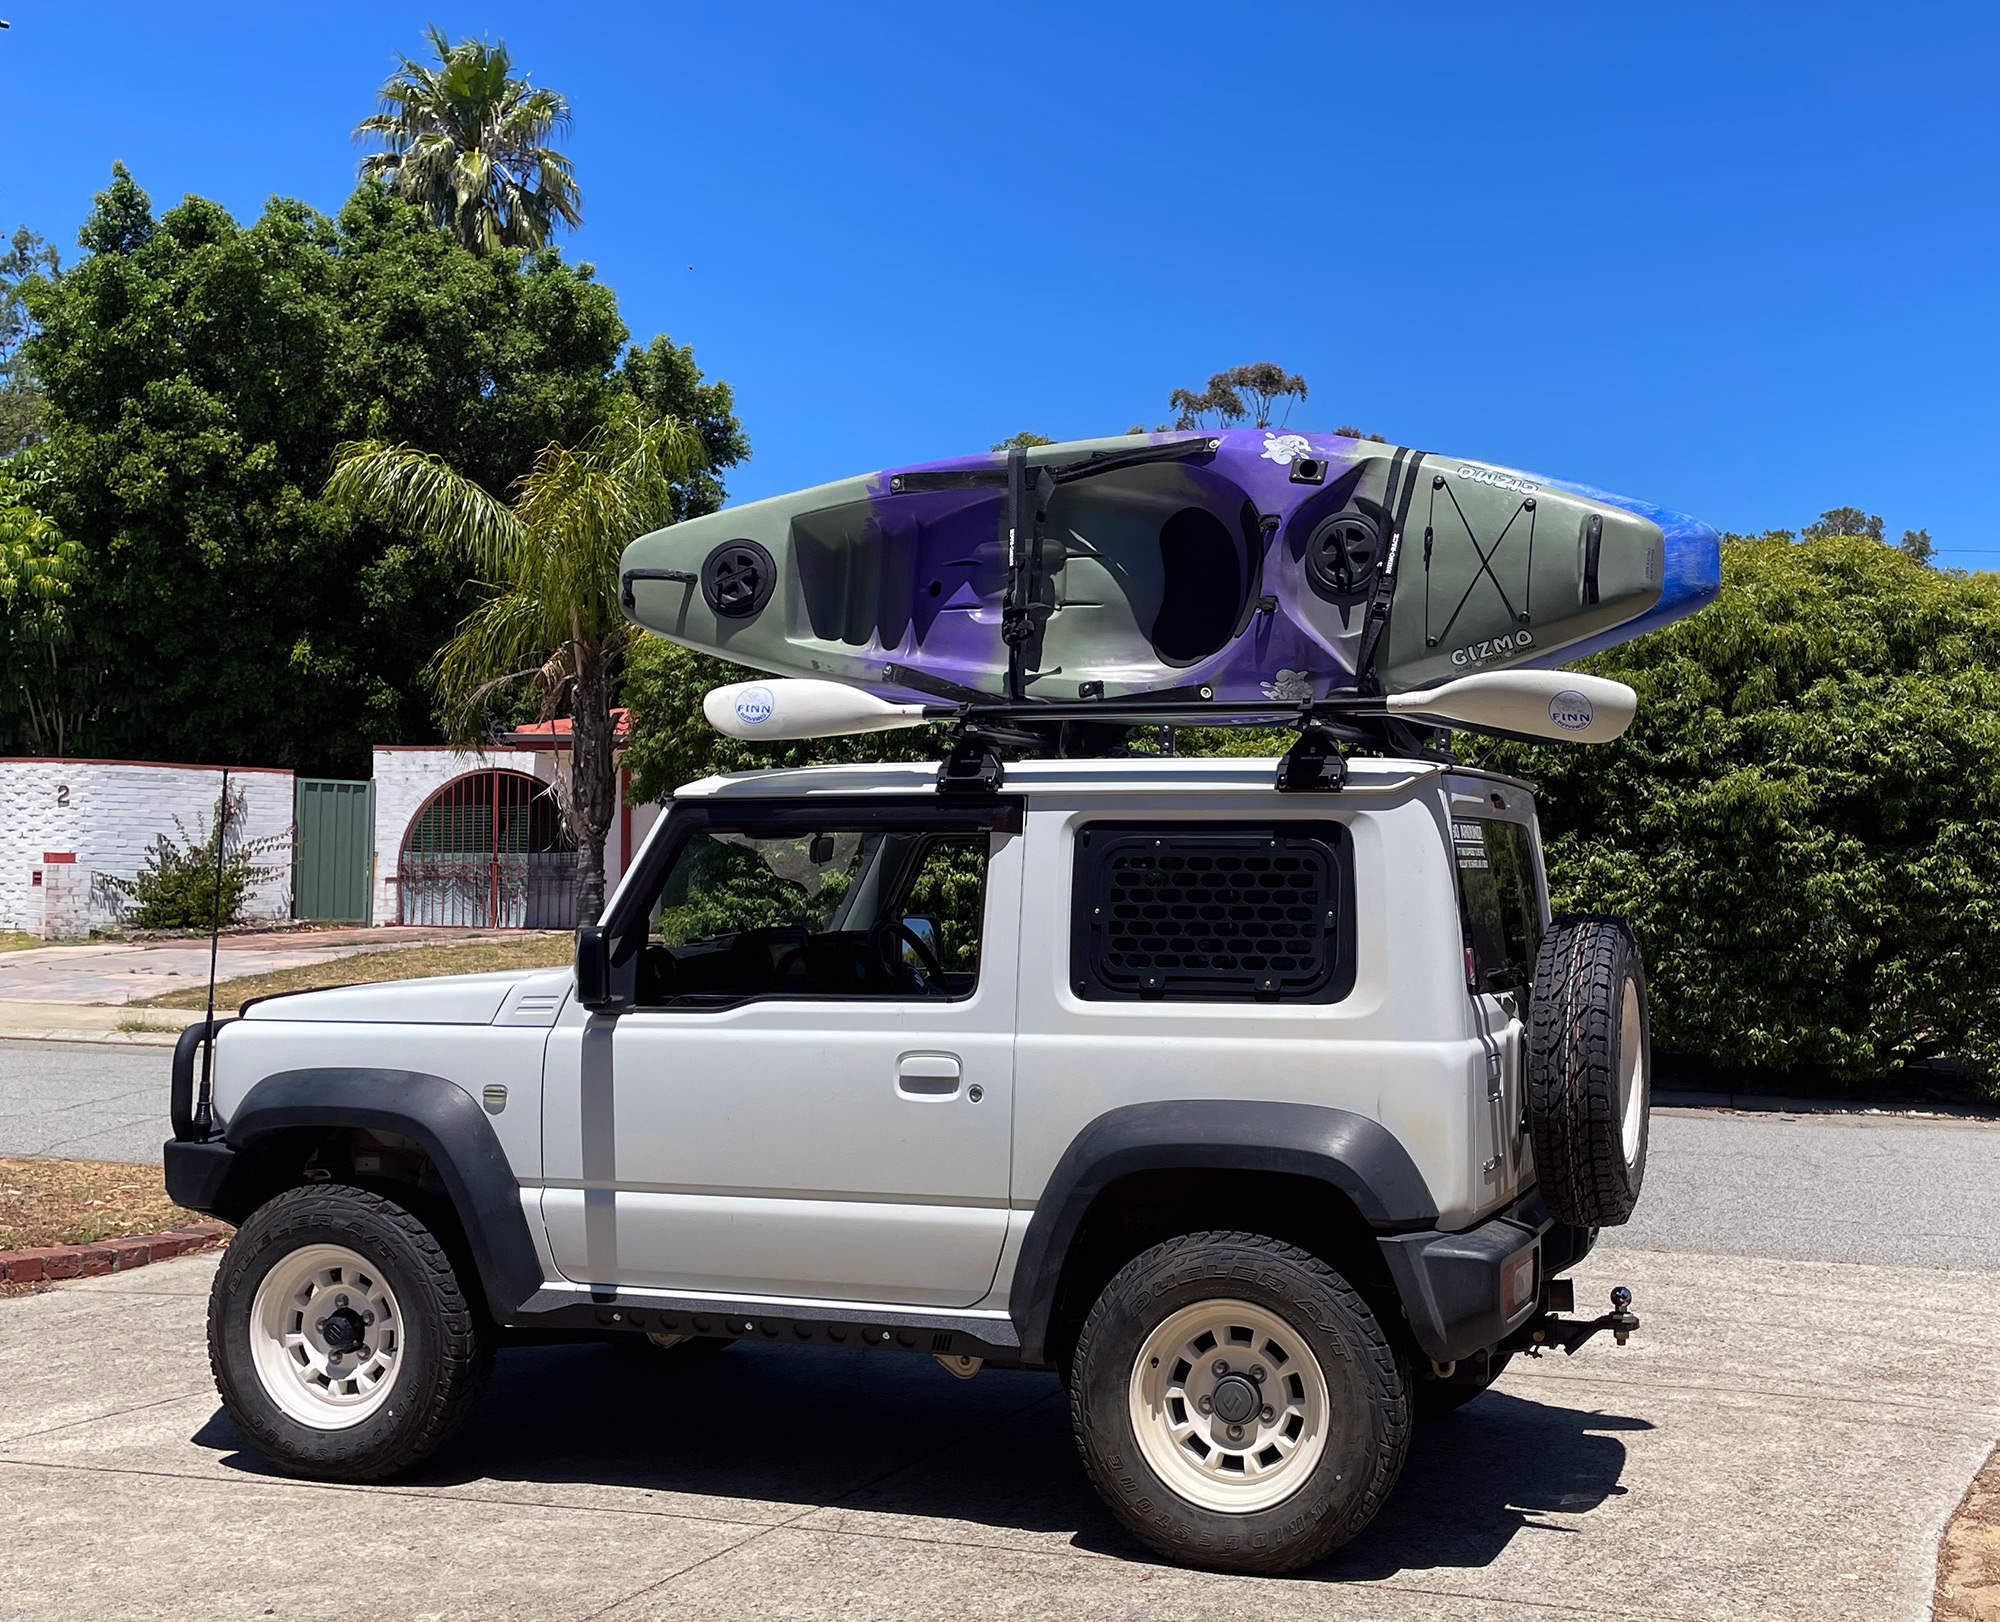
Kayak carrier
To carry my kayaks, I run just the crossbars and use the Rhino Rack folding J-racks (Rhino part S512) and the extension bars (Rhino part S512X). These let you carry the kayaks vertically on the Jimny which helps aerodynamics a fair bit over having them flat on the bars, and is essential for wide kayaks.
There is a bit of a trick to loading them involving having the straps prepared and loose on the kayaks to hold them from slipping off. You then rotate the first kayak up and into place and secure it, and then put the 2nd on on the rack and rotate it. At some point I’ll photograph loading and illustrate how to do it, even solo.
Paddle/shovel holder
For holding things I can’t slide into the Rhino shovel holder I use a couple of rubber quick fist clamps. These are really quick to use, very secure and easy to fit to the bars. I just use some M6 slot nuts and bolt them down with some countersunk M6 bolts.
Platform
There are times when you need to take things which don’t tie very well to the roof cross bars. This is especially true for things like recovery boards or jerrycans etc, but also for really big and bulky soft things like swags etc.
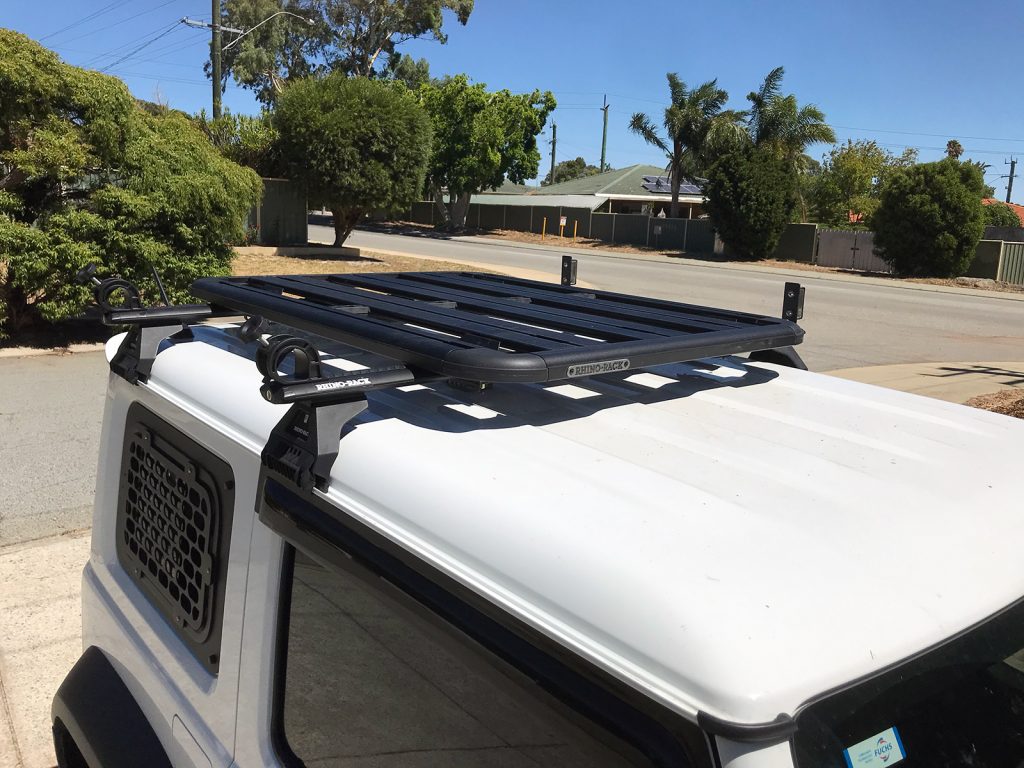
Due to the roof load limit and also as I don’t want to carry a huge amount of things, I went for the smallest Rhino Pioneer platform. This can be easily removed off the racks if I want, and the standard t-nut style attachment channels makes it easy to add accessories or take them off again
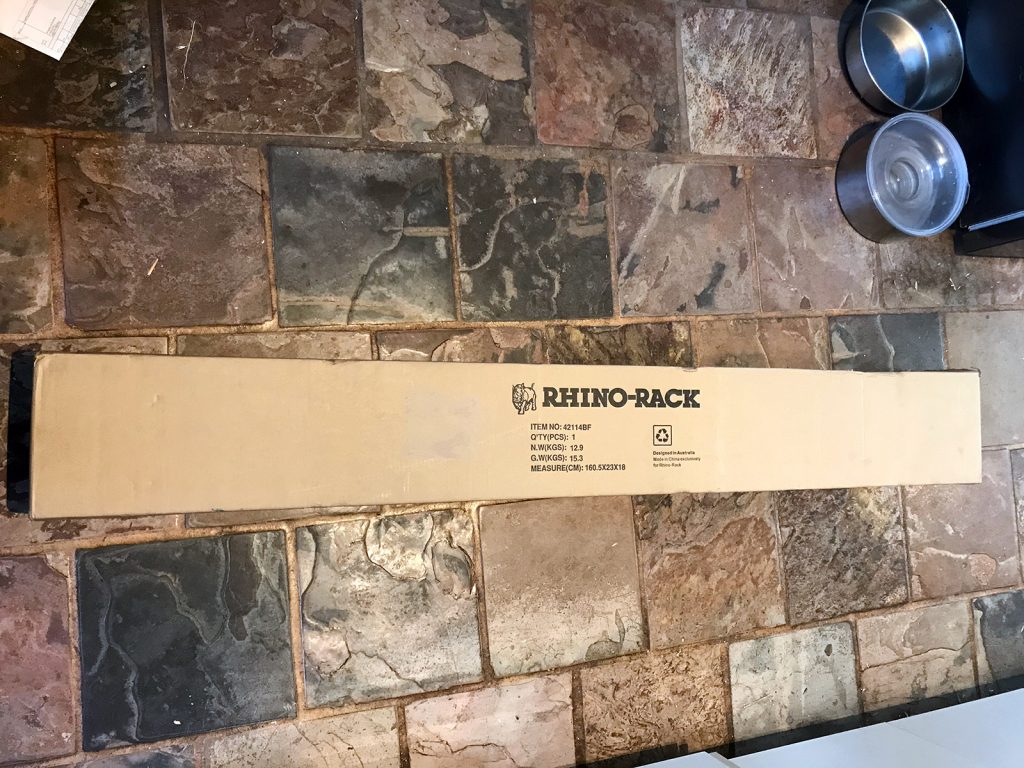
The platform I chose has the part number 42114BF, and it is 952mm long x 1228 mm wide.
Platform assembly
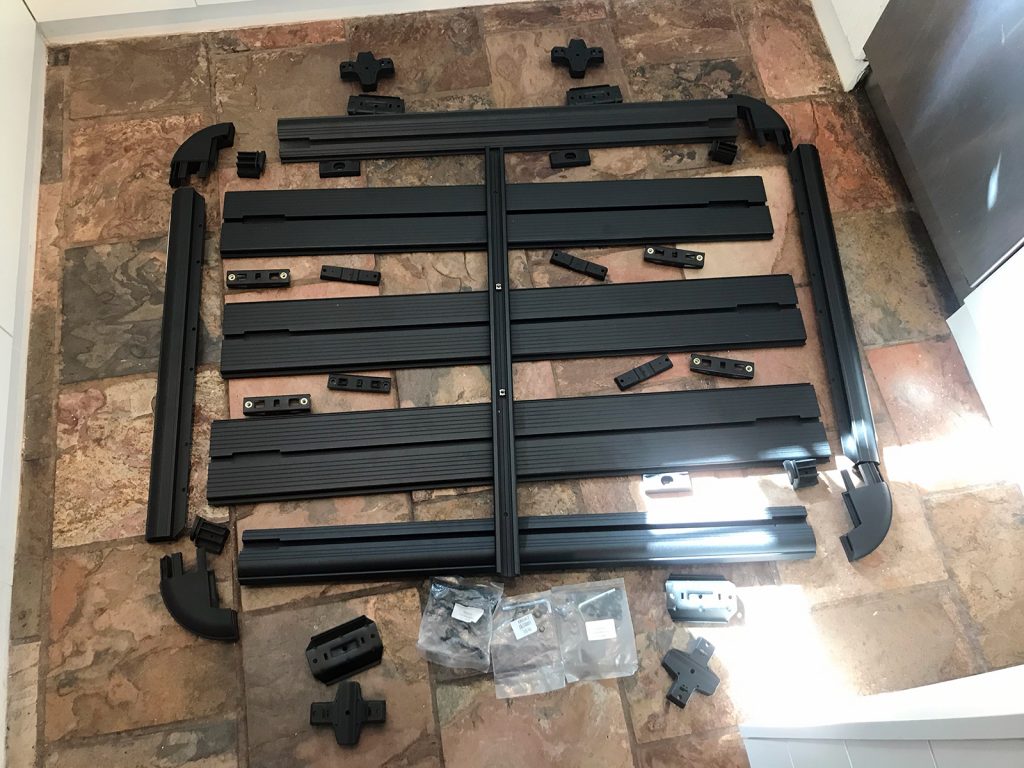
The platform came unassembled, but it goes together quite easily. It starts with a long and narrow box being delivered, however.
Laying things out before assembly helps to get everything in the right order. I definitely would suggest following the instructions, there’s a few parts where order of operations is very critical.
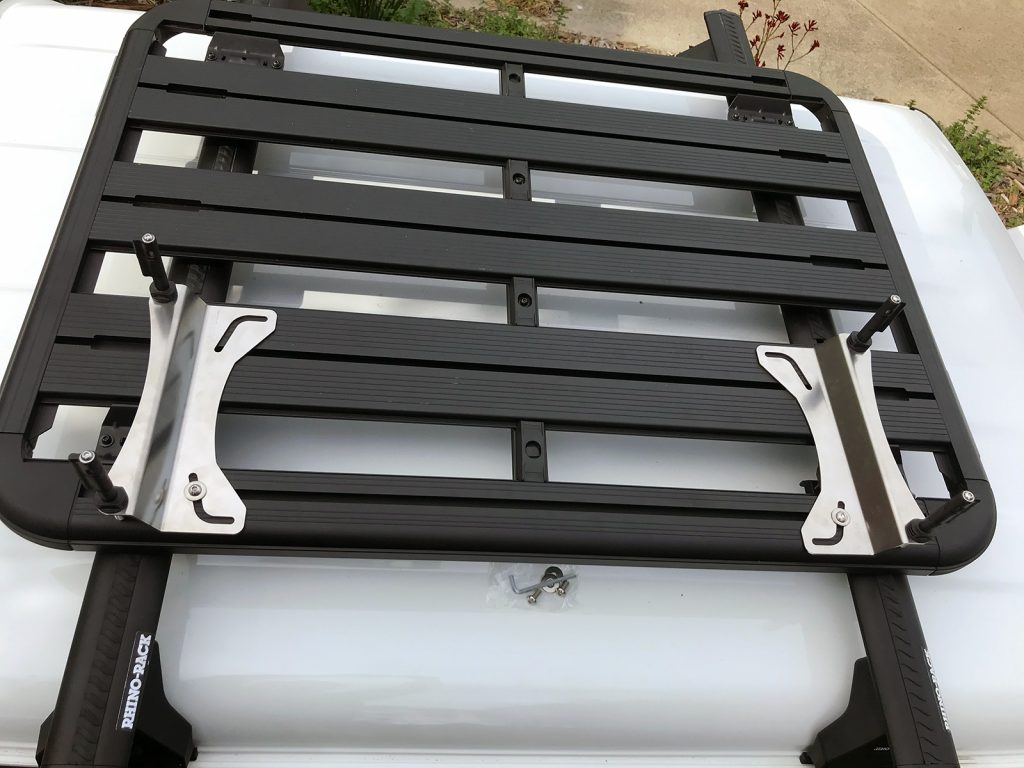
Mounting platform to the rack
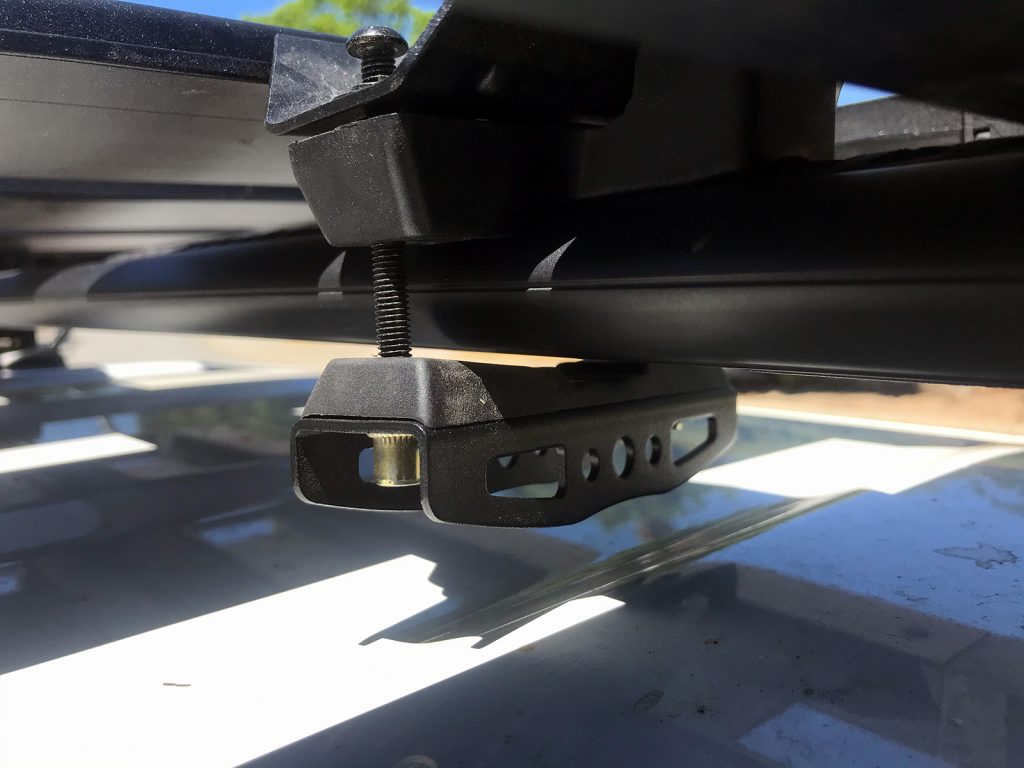
There’s a fair bit of confusion about the mounting methods aviailable. You can actually mount these off t-nuts/bolts in the bars if you wish, but I have gone for the clamp method which is easier to remove if you don’t want the platform mounted permanently.
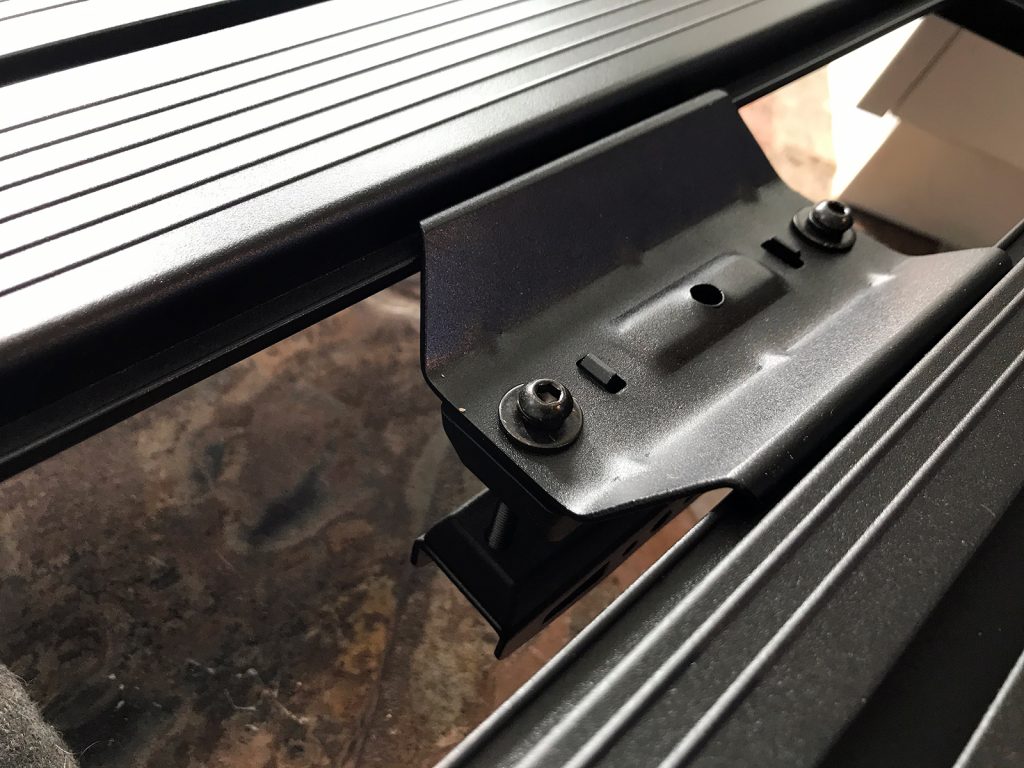
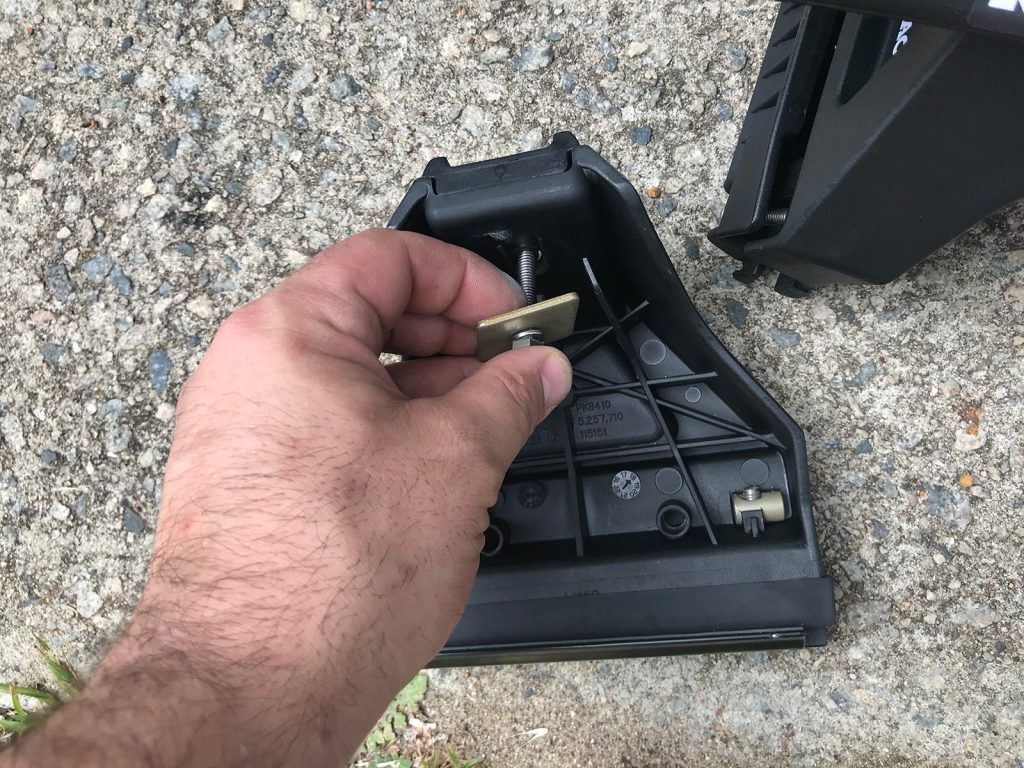
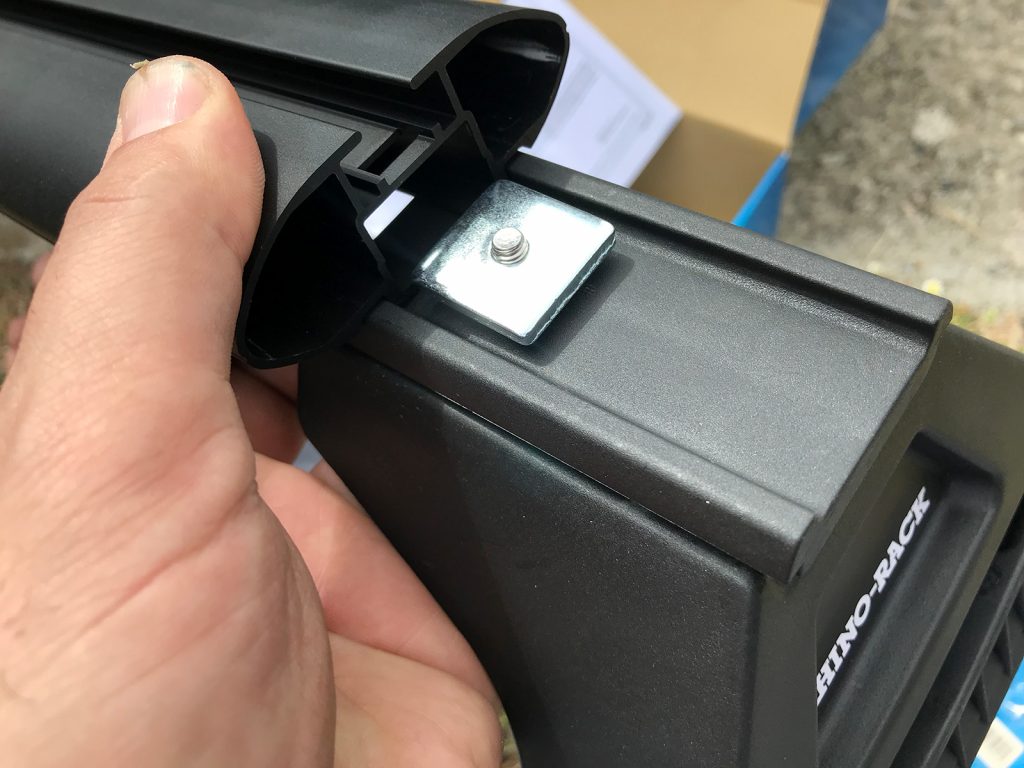
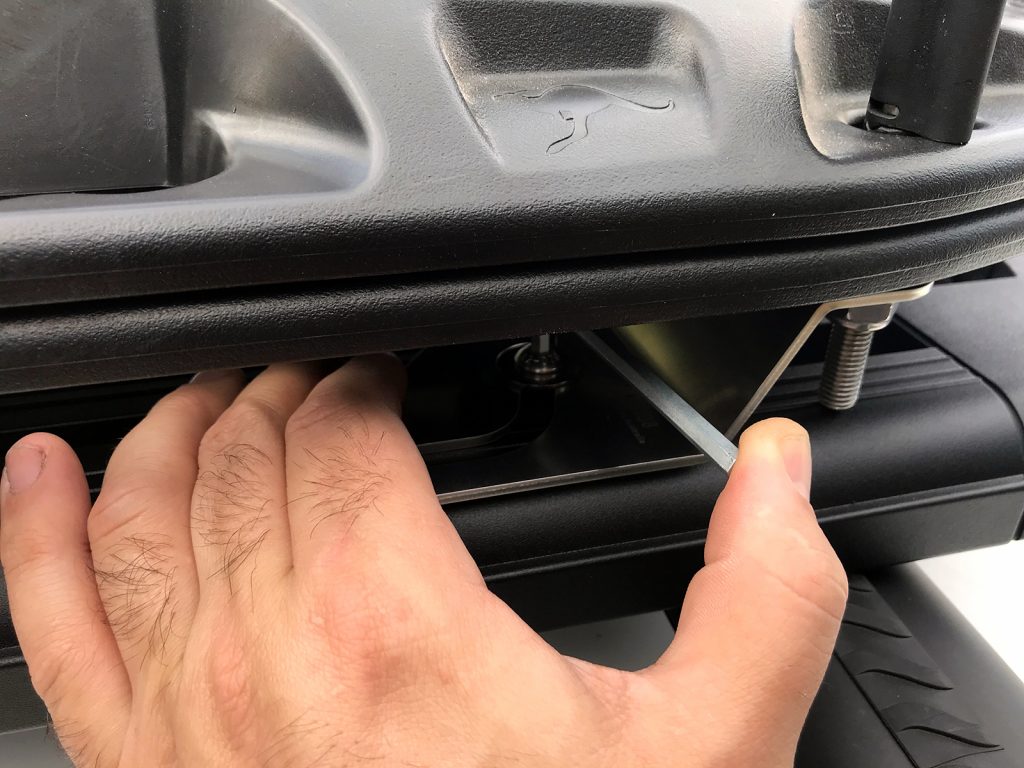
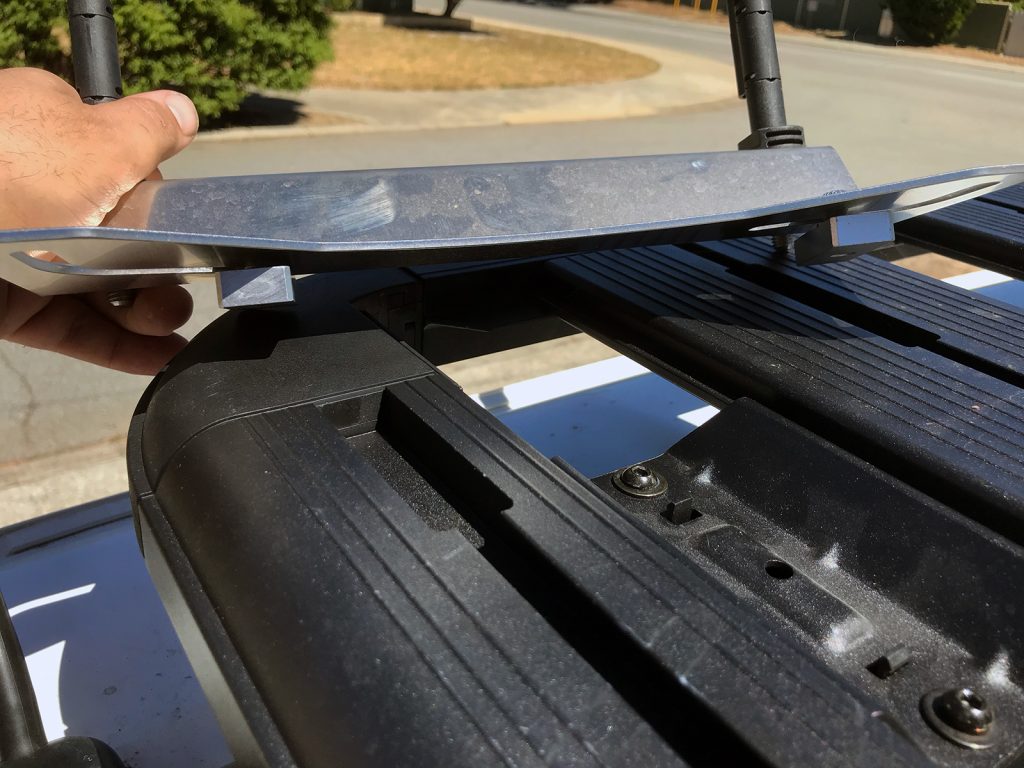
The mount works by having a plate sit in-between the channels, and then sandwiches two profiled stiff plastic sections around the bars. Although these are designed for use with the Rhino Vortex or Heavy Duty bars and their corresponding profile, there’s enough variety in the moulding it would likely work on other bars too.
You do need the bolts and the bottom clamp removed when you put the platform on the racks.
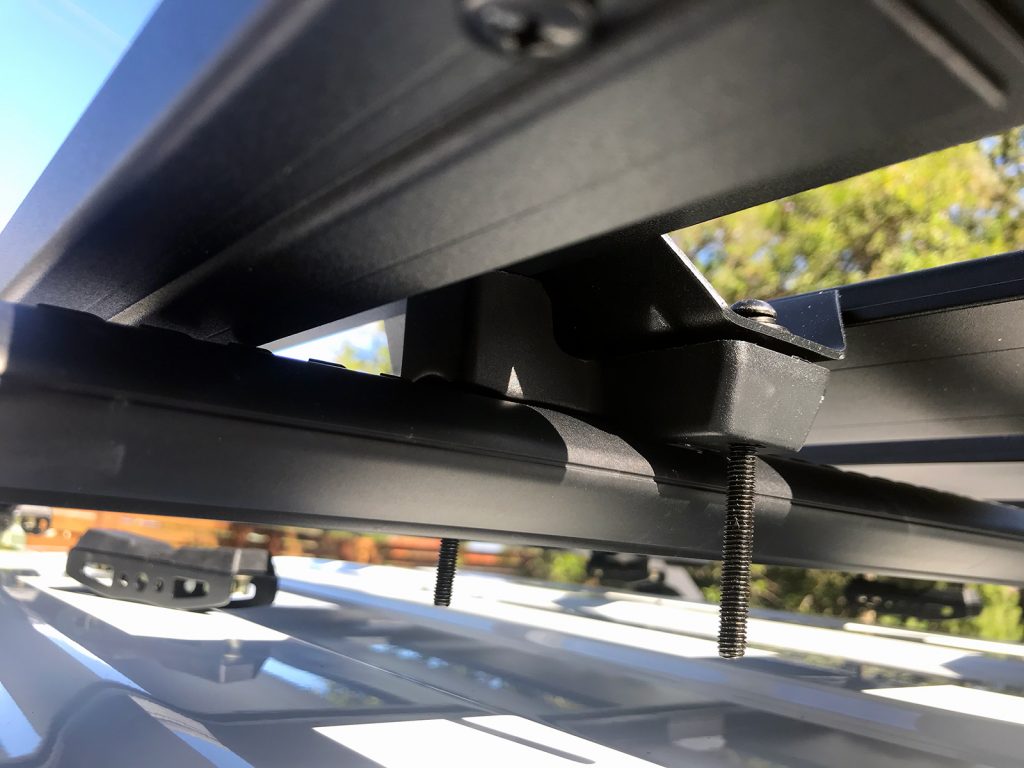
Once the rack is down against the bars with the upper part of the clamp, then you can line up and start to get the bolts done up tighter.
I would recommend keeping a close eye on this though and tighten them up evenly, and leave everything loose till you are happy with the positioning of the platform in relation to the roof. I pushed mine a little further back than centralised between the bars forwards and back, although I do have the platform centred across the car.
Now that’s all well and good but let’s go through some accessory mounting options too, since that’s the main benefit to choosing a platform like this.
Recovery board mount
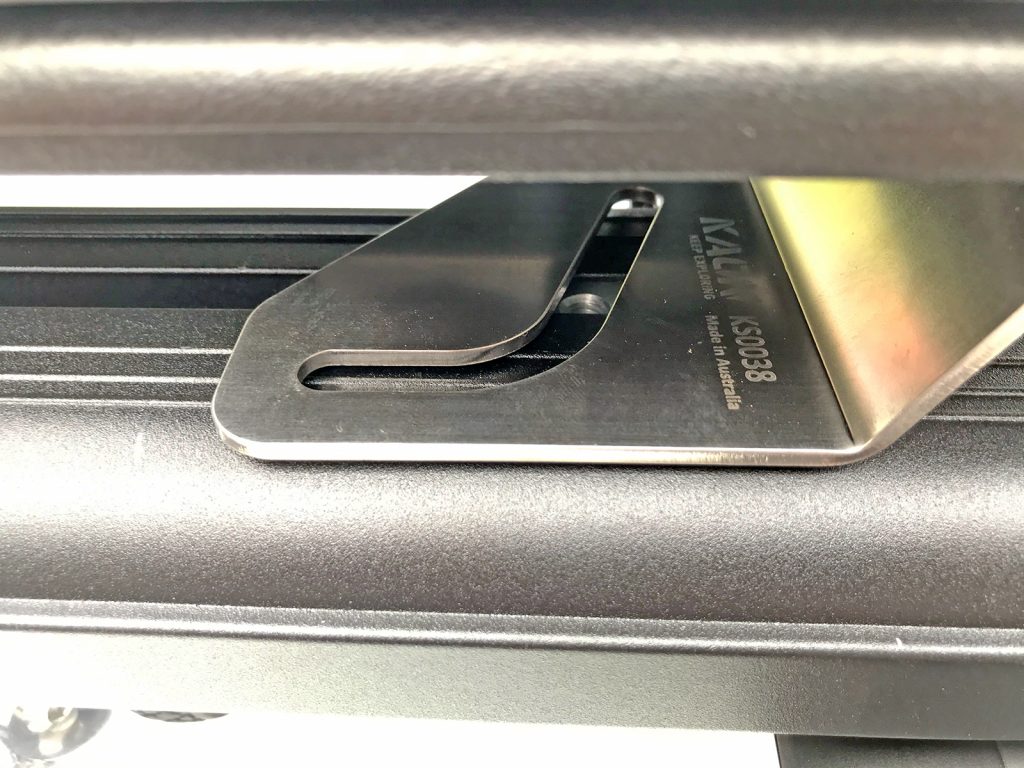
There’s a few options for mounting recovery boards onto racks like this including strapping them directly. I have some Kaon raised Maxtrax mounts which come with Maxtrax locking pins which make it pretty easy to fit the boards flat. There also flush mounting options but these tend to be less flexible with placement. The boards do sit taller with the raised mounts but it is much easier in my experience to get the boards off the platform when they are raised up.
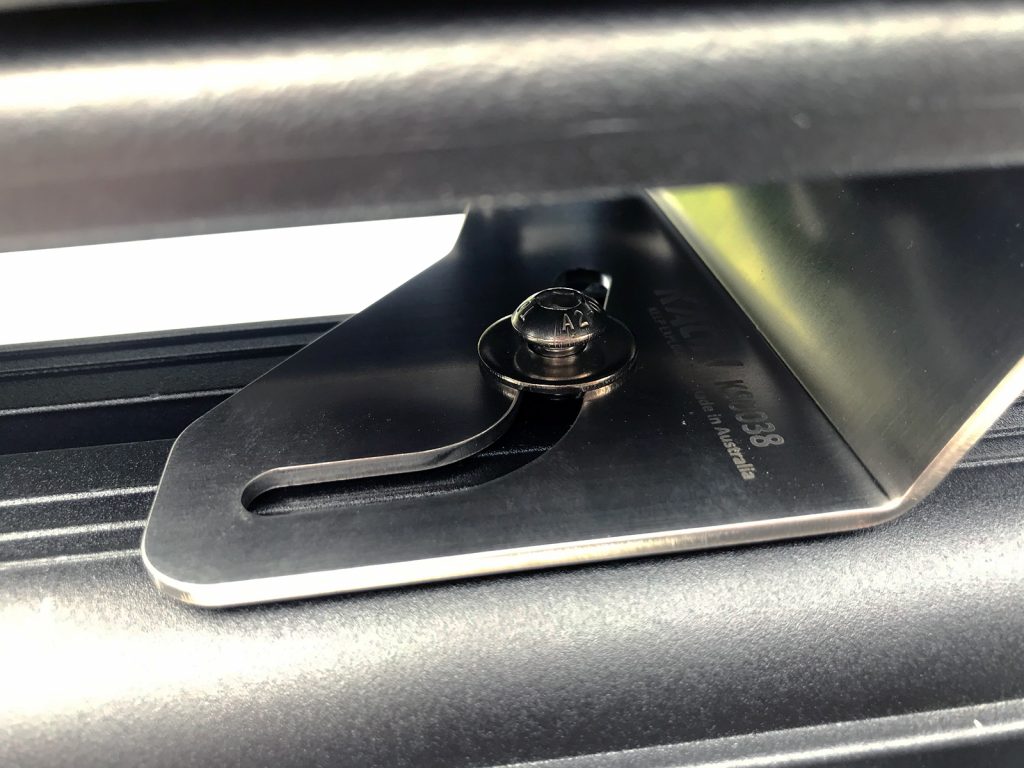
The biggest benefit to these style mounts is the flexibility you have with the bolt position. They just mount down using M8 fasteners into standard blocks to go into the channels in the platform.
The easiest way to line everything up to begin with is to put the pins onto the mounts and then put the boards onto the pins to keep everything the right distance apart. I have to run my mounts facing inwards due to the short length of the roof platform but that’s ok.

With that done you can place the boards and the mounts on the roof platform. Slide one of the provided threaded billet blocks down one of the channels and line it up so you can see it through the mounting slots on the maxtrax mounts themselves.
Finger tighten one of the screws in to line everything up, and repeat with a couple more screws so things are held a bit.
Now you can verify positioning, but for that tighten up a couple of screws to hold the mounts in place at the correct spacing to match the maxtrax recovery boards.
Now that a couple of screws are tightened and the mounts won’t move, you can remove the boards from the mounts to position the other screws as needed. This will let you tighten everything up fully using a proper ratchet with more access to the bolts.
You can then go through and tighten everything up with it all nicely laid out.
Once you’ve established the right rough positioning, the washers on the bolts will leave some marks on the mounts. These marks indirectly make it easy to line everything else up again if you take it off and refit the mounts. To make it quicker to undo and redo, just loosen the screws and slide the entire mount either forward or back on the platform to the larger openings to lift the billet threaded nuts out of the tracks.
A quick extra note on the maxtrax pins. I really like the genuine ones as they let you lock either two or four boards down easily, and they have little holes you can put a padlock through when the boards are secured. This makes it a lot harder for someone to steal your recovery boards; doubly so if your roof racks etc are secured using security fasteners.
Extra fuel storage
With a small tank, extra fuel storage is very important. A really good option (though not cheap) are the flat fuel containers from RotopaX, sold either as RotopaX or FuelpaX. RotopaX are rotomoulded, FuelpaX is blow moulded instead. Generally you end up with a larger capacity with the FuelpaX, which is what I’ve gone for. I have two of the 4.5 US gallon (17L) FuelpaX, but I can stack either one or two on the mounts on the roof platform if I wish.
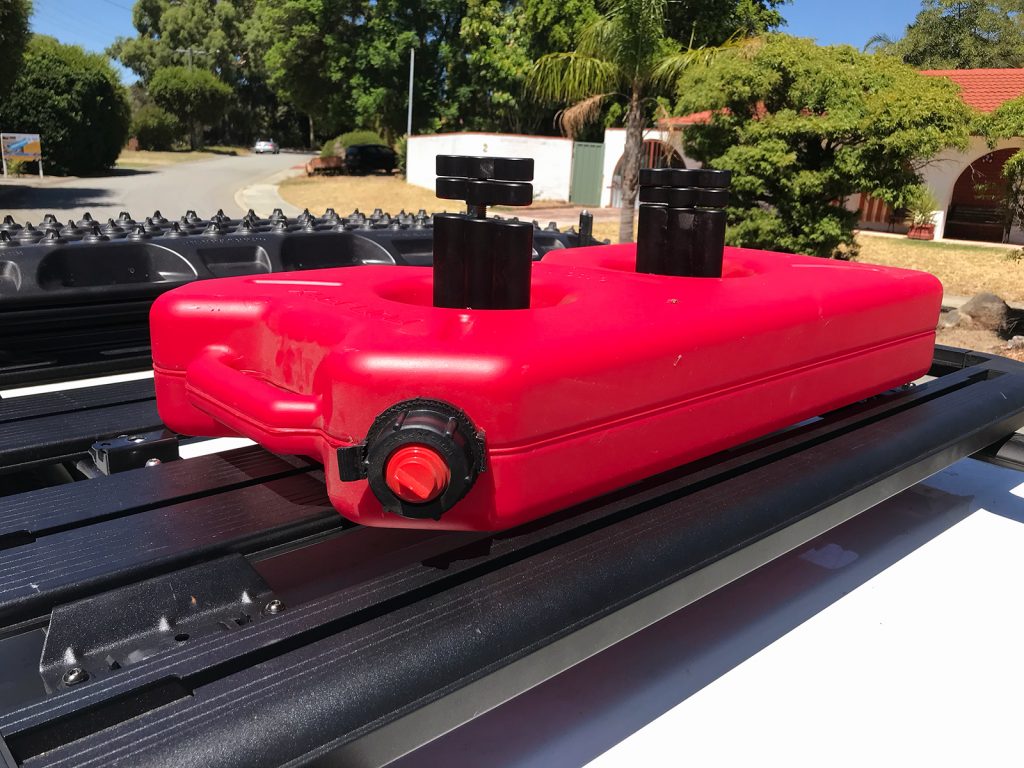
I use standard RotopaX/FuelpaX mounts with appropriate extensions for the thicker cans (and to allow double stacking) and then some M6 bolts and nuts (Rhino part number #43203) to mount these to the platform.
Installing is easy, just slide the nuts down the channels in the roof platform and tighten when in the appropriate spot.
Lining up the second mount requires putting a fuel can on to get it nicely positioned, but it doesn’t take too long.
Remember if you want to run taller cans then you need an appropriate extension, and if you want to double stack then you’ll also need that extension. It all goes together quite intuitively and holds the fuel containers very securely indeed.
Spare wheel carrier
Another luxury I’ve given myself is to have a spare wheel carrier mount for the roof platform. I don’t think I’ll use this often but it’s handy to have, and it fits quite easily. I have no shots of it ‘in use’ as yet but I’ll demonstrate it one day.
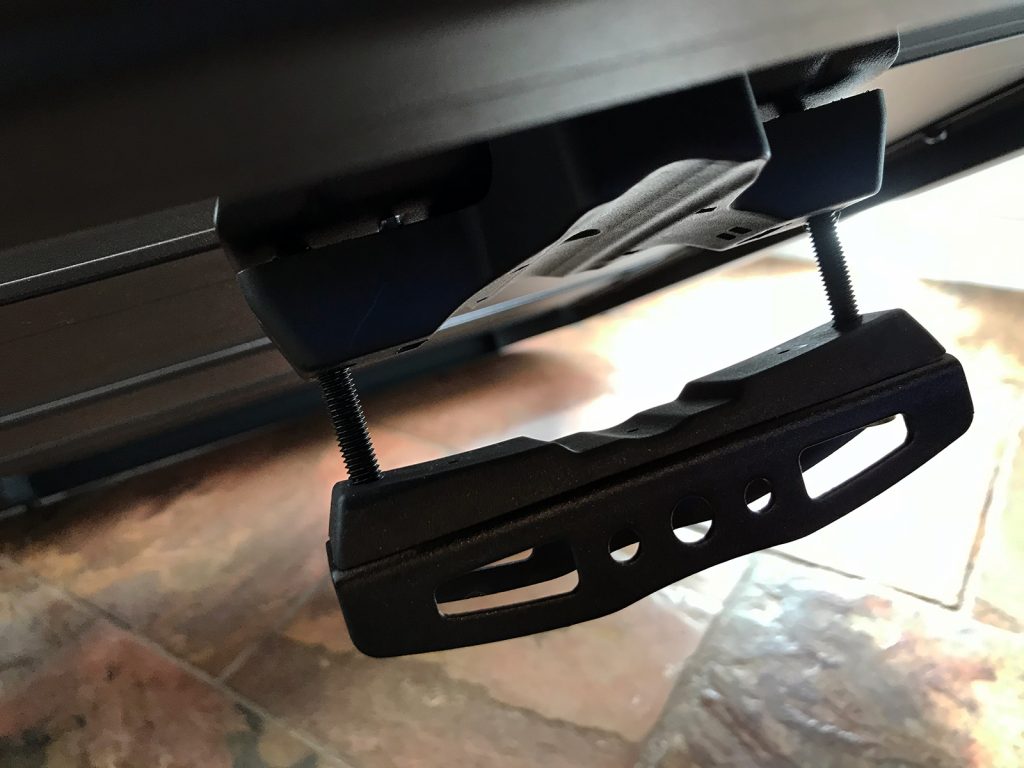
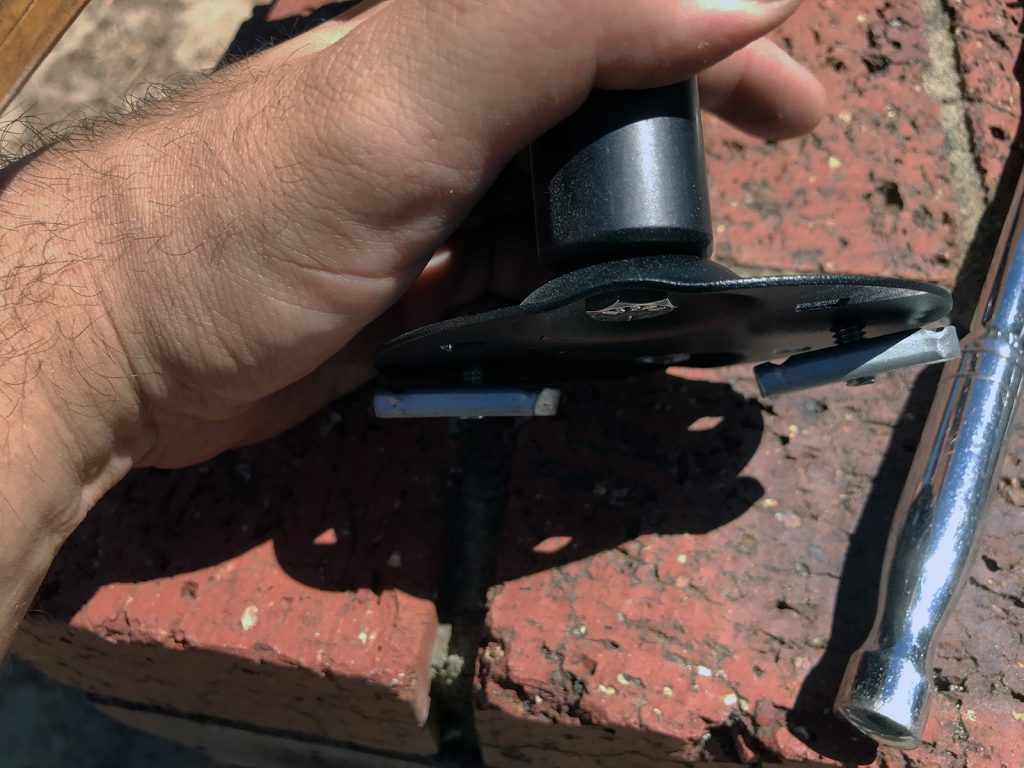
The base part of the mount consists of a load spreading mount, a clamp design that works a bit like the clamps used to hold the platform to the roof rack, and then a threaded part that a large threaded rod and cone go through to centre and clamp the wheel down.
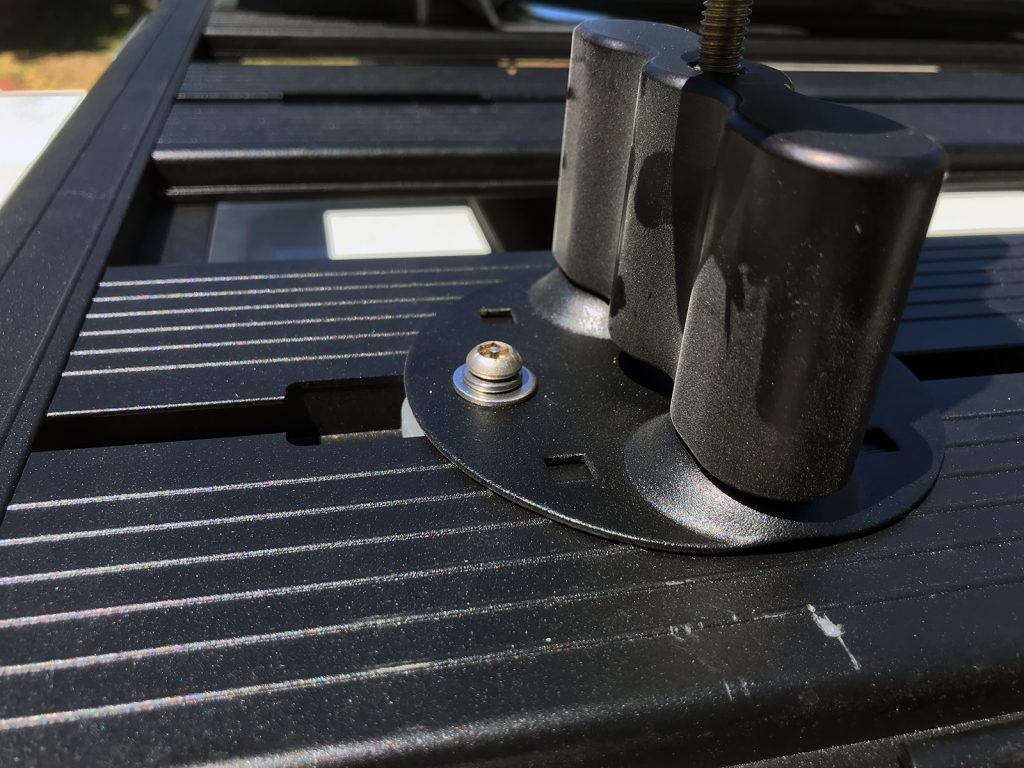
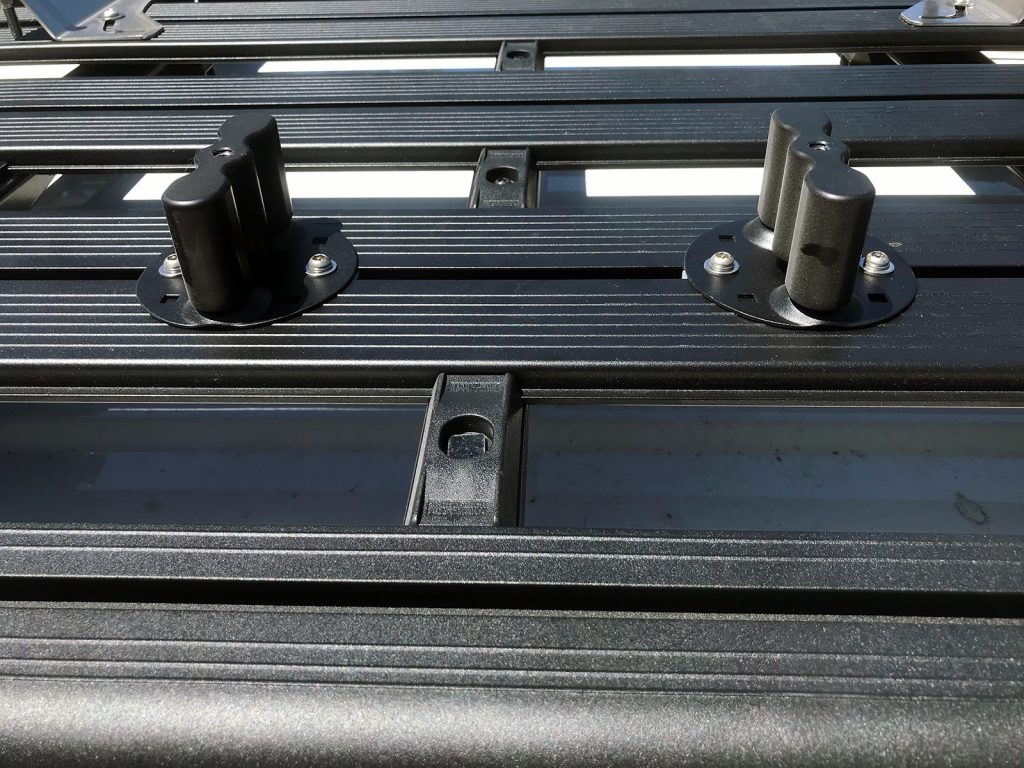
Installing it just requires having the top part of the clamp loose, and putting it between two roof platform rails.
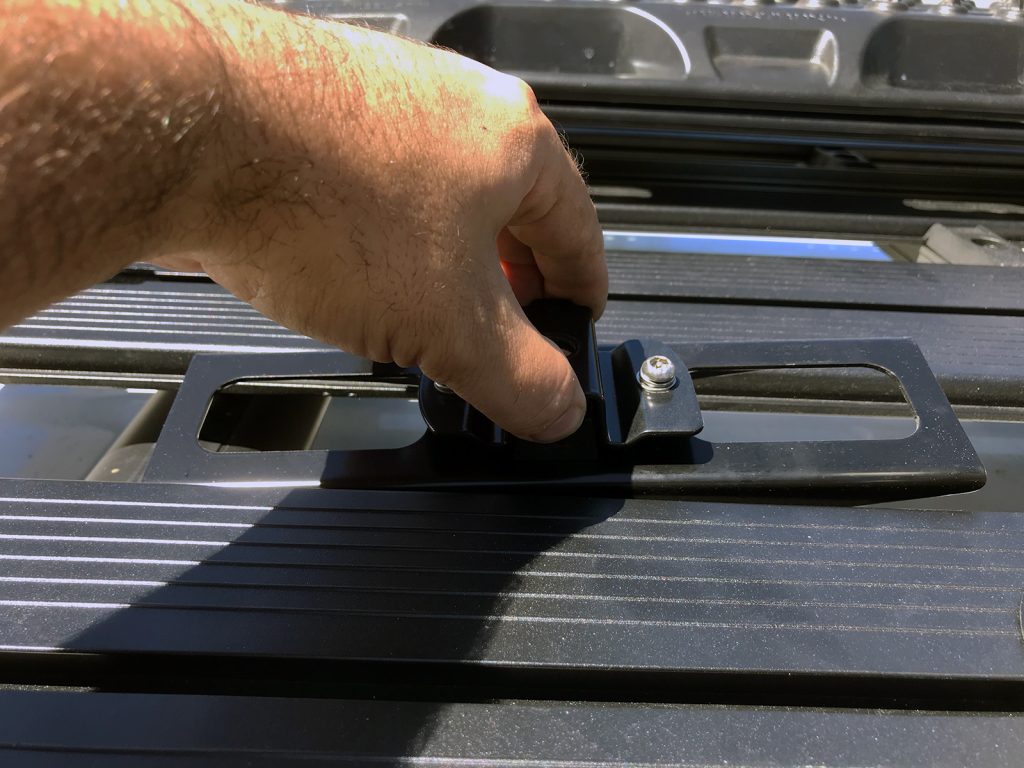
You then twist, making sure the upper part of the clamp goes above the channel in the roof platform, and the lower load spreading part goes beneath the platform.
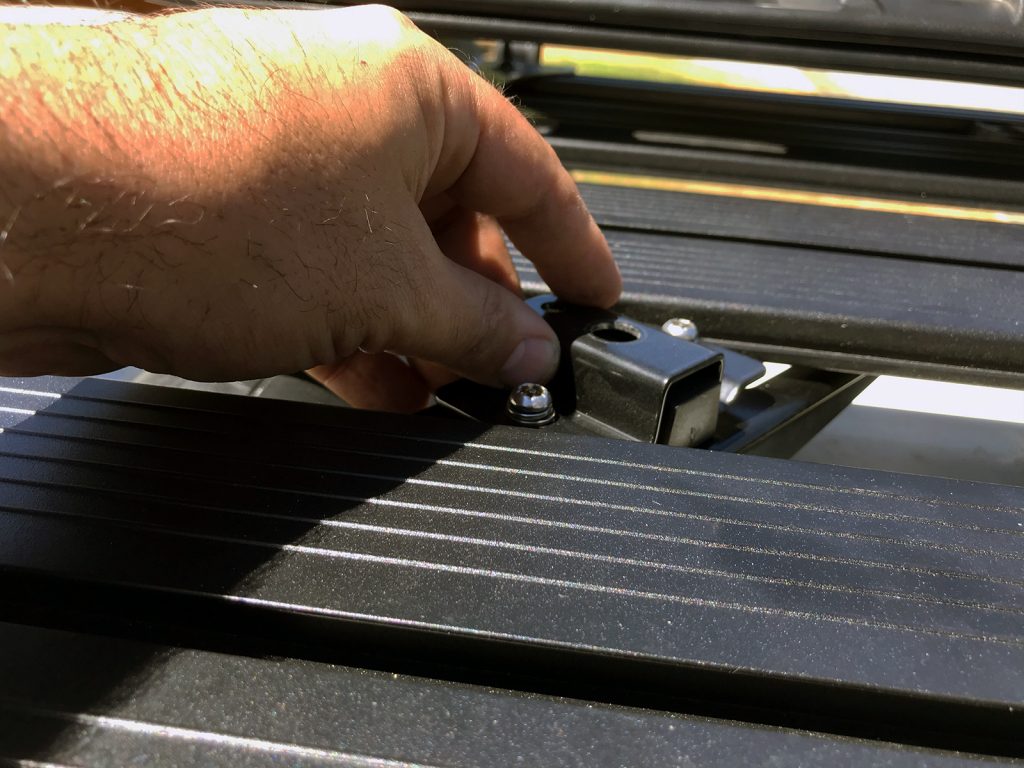
You then tighten up the two screws and it is clamped in place.
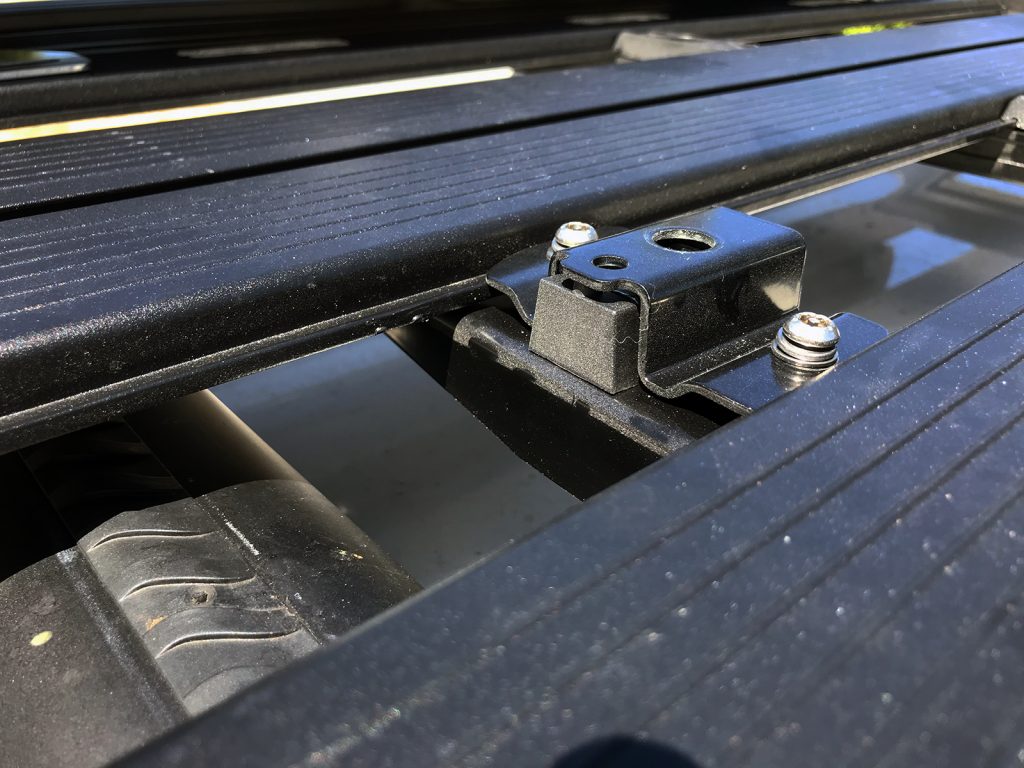
As stated I don’t yet have a shot of it in use, but the large hole is where the large threaded rod and clamping cone go through the centre of the wheel (or whatever else you’re clamping down).