
Horntools sliders for the JB74 Jimny
Sections
Background
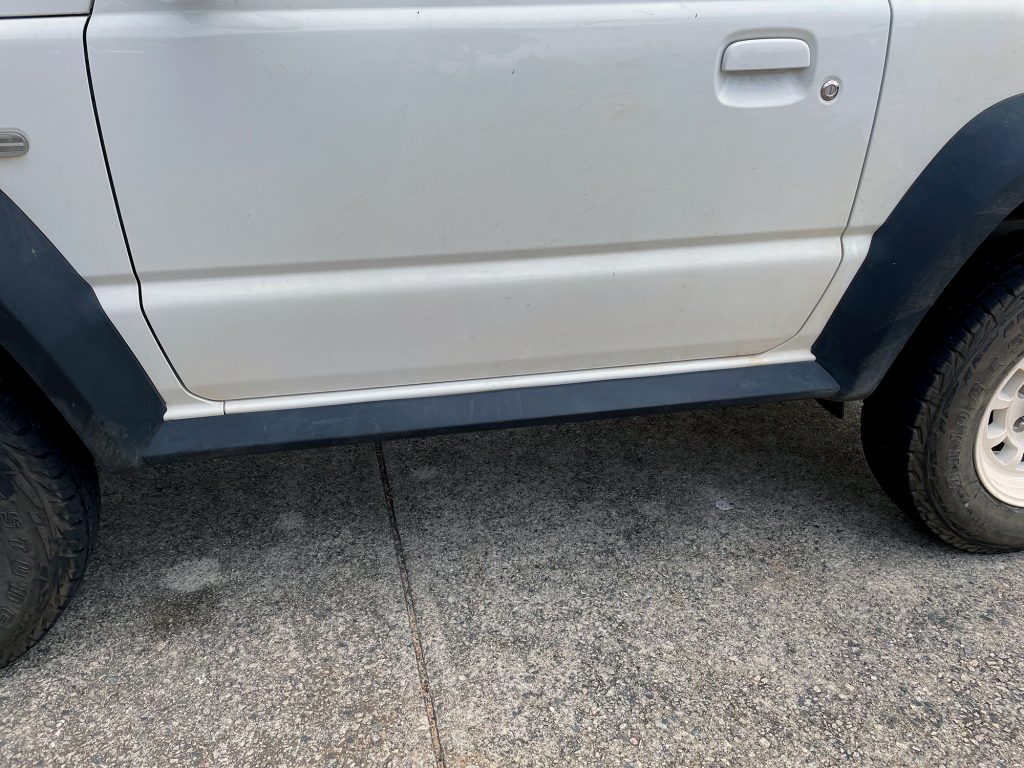
After a couple of years of using the ARB rock sliders, I realised I was sliding occasionally on rocks and stuff, but not really slamming into them. The ARB rock sliders are already about as light as you can get for rock sliders for the Jimny, but, Horntools in Austria make a set of sliders designed almost exactly for my use case.
I couldn’t order them direct from Horntools – would have needed to sort out my own freight person etc – but 4×4 outdoors tuning carry them. I was really happy with the service to get them.
There are downsides to going with something like this: if you slammed down into a rock then you’ll probably still damage the sill in some way. The mount on the sill will spread the load so it won’t damage it the same as not having anything there, but, I wouldn’t want to bounce onto a giant rock with these. The benefits, however, are lighter weight, better clearance, and you can replace the outer part if you damage that without having to buy a whole new set.
Tools and stuff needed
Installation needs a couple of tools which are good to know about
- Flat blade screwdriver or trim removal tool
- 13mm spanner
- 4 and 5 mm allen key and allen key sockets in those sizes
- 9mm drill bit and drill to use it
- Rivnut installing tool. Although you can buy these at Bunnings, they are much cheaper on ebay or aliexpress…
You also will need some threadlocker for the bolts, and a bit of paint and a small paintbrush to rust protect the holes you’ll enlarge in the factory sills.
Otherwise it’s all straightforwards. Horntools say it’ll take 2 hours to install, I assume that includes going to the hardware store for a rivnut installing tool and a drill bit and letting paint dry. It took me about 45 minutes start to finish to do both.
The sliders come with a wrinkle paint finish on them. With anything with a painted finish like this I think it’s sensible to run some sacrificial bolts through the various threads on the brackets. This makes sure there’s no paint or anything that will get in the way when you go to bolt something up. If you’re feeling fancy use an appropriate sized metric tap I think that’s probably overkill in this situation.
Instructions
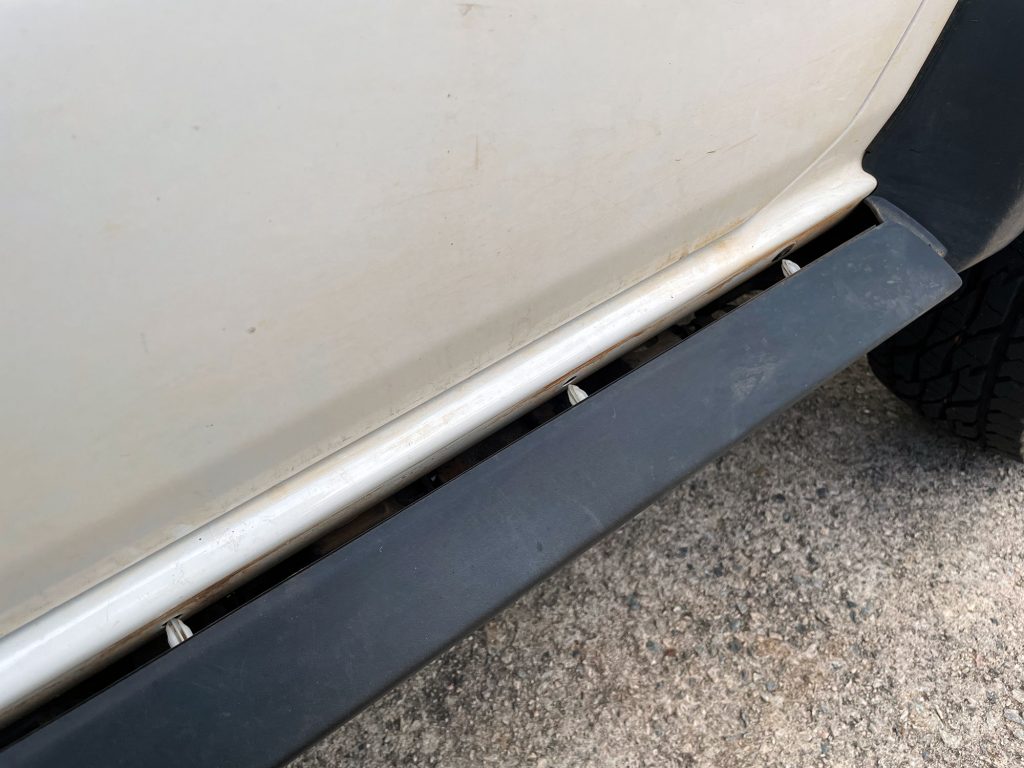
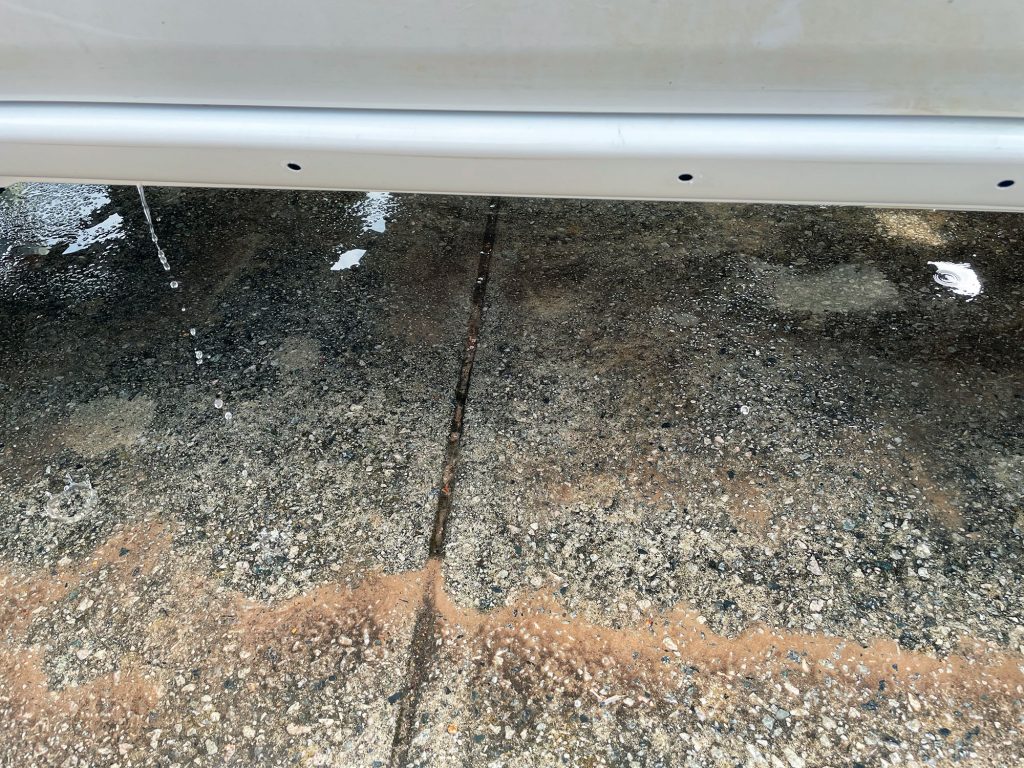
Remove the old sill cover and clean everything out
You start by admiring the plastic factory sill cover.
These covers remove with smaller plastic rivets – one at each end of each cover – and also larger plastic rivets recessed in underneath. Like all plastic rivets of this style, prise the middle part out with a flat bladed screwdriver or a strong trim removal tool and then pull them totally out.
With the plastic rivets removed, the factory sill cover pops off by pulling it straight sideways away from the car.
You’ll want to wash out behind these covers. I also would recommend washing out inside the sill itself by blowing water through the holes the sill plastic clips go into. There was a heap of mud and sand inside my sills.
Prepare and install the inner mount
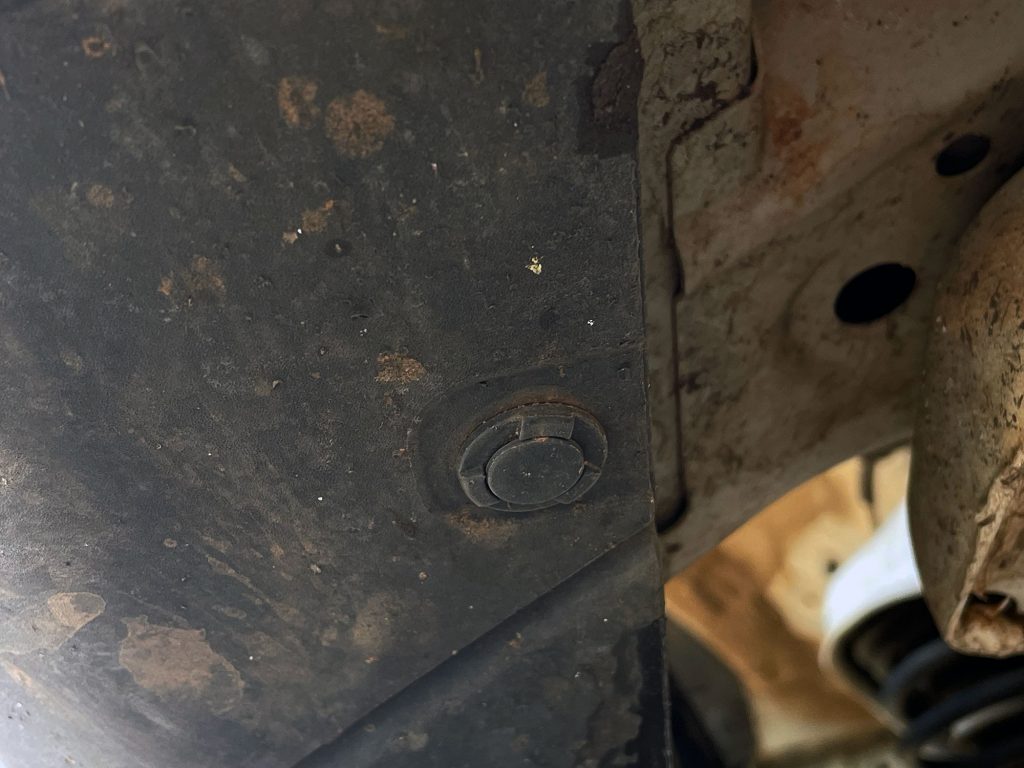
With the sill area all cleaned, the first step is to enlarge the holes that the plastic clips go into for the factory sills.
You enlarge this using a drill and a 9mm drill bit. It’s only just a little larger than they currently are; this is to accommodate the rivnuts that hold the bracket onto the body of the car.
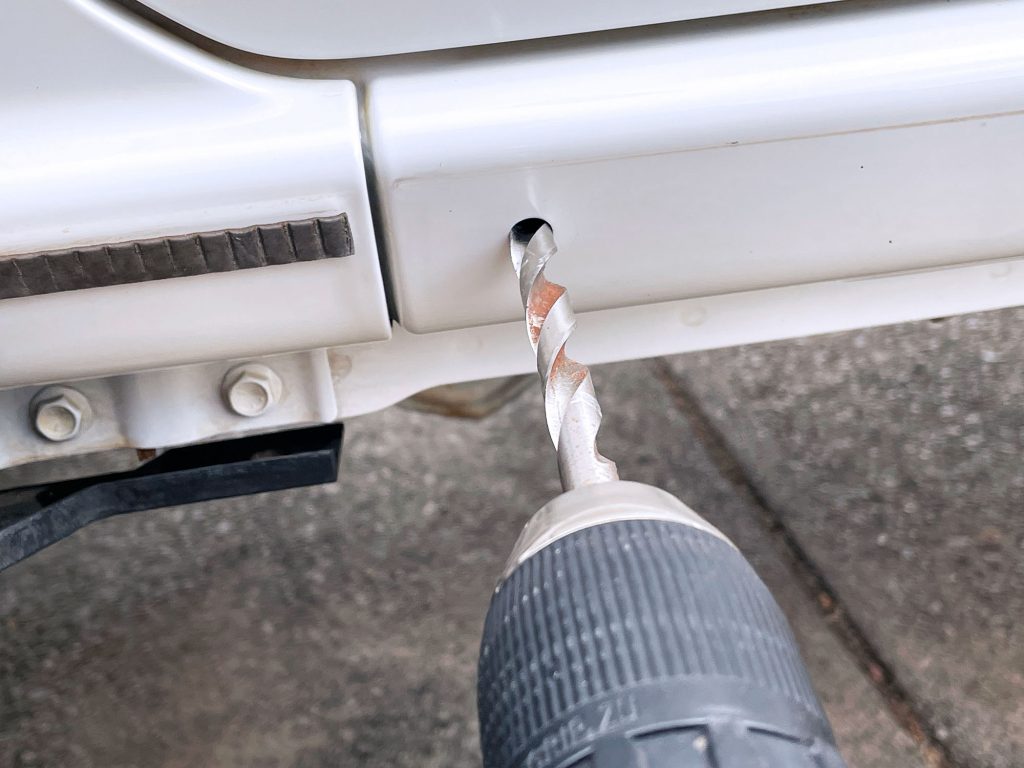
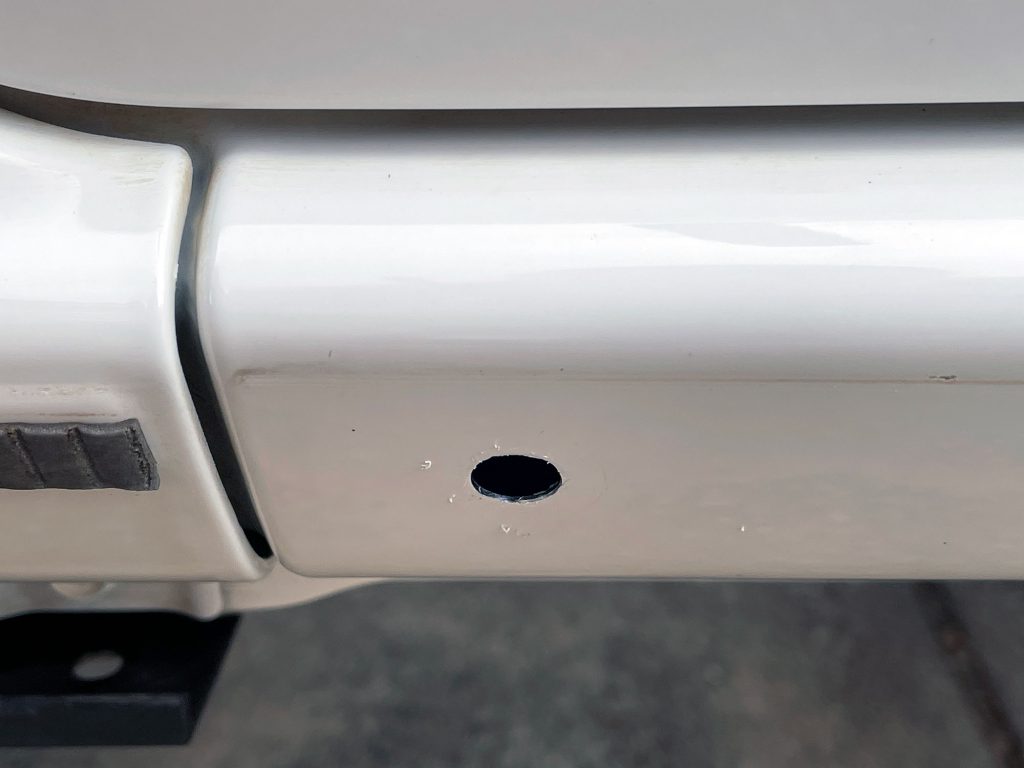
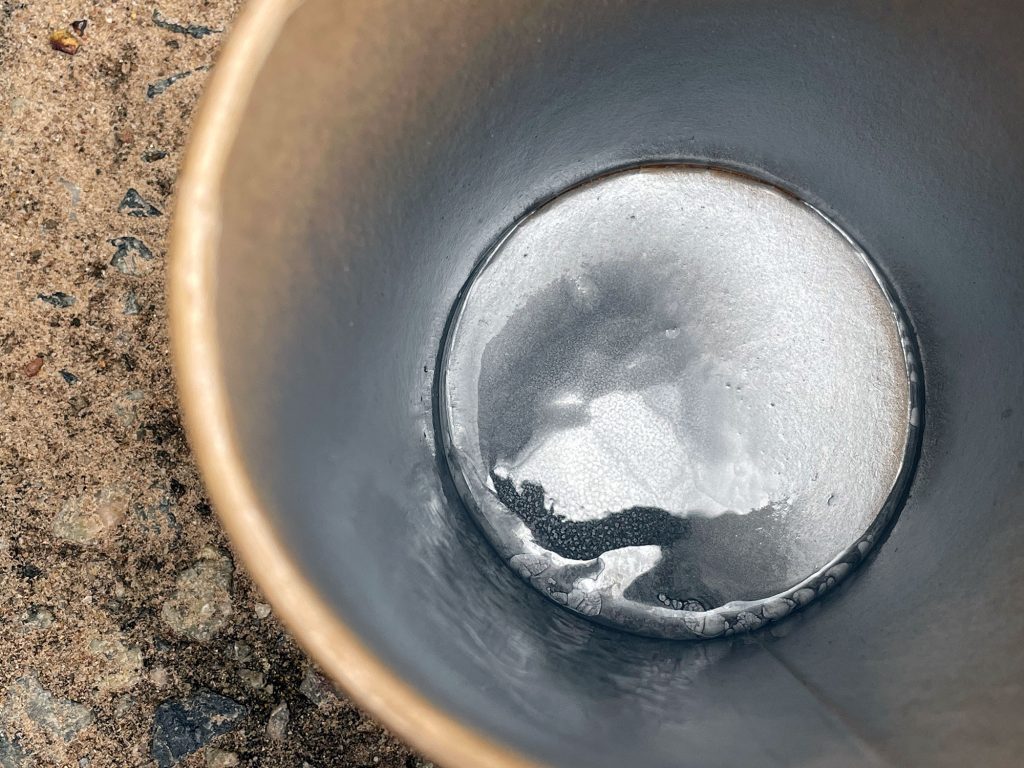
To protect the bare metal exposed by drilling, I use a bit of zinc primer on a cotton bud to liberally apply the primer. This also ensures you are covering inside the hole nicely, and if you don’t apply the paint neatly… that’s ok, the rivnut and then the bracket for the slider will cover it up!
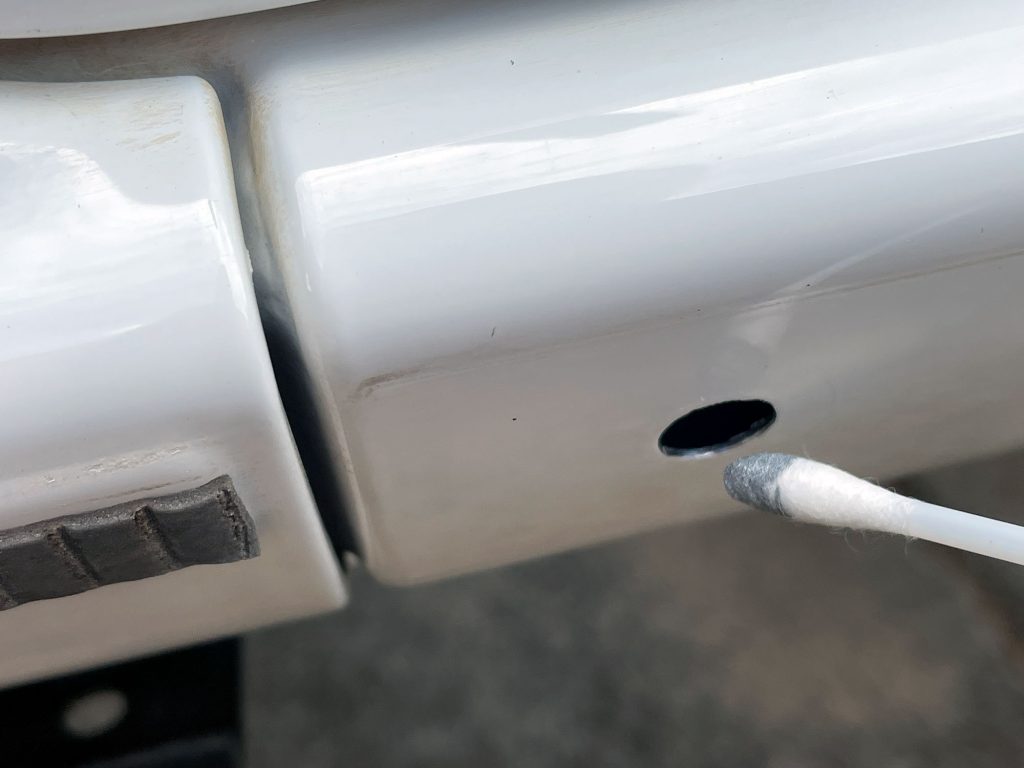
You enlarge these holes so they can take M6 aluminium rivnuts – hence needing a rivnut installer. Since some people reading this might not be familiar with the awesomeness that are rivnuts, I figured I’d explain in detail how to put them in.
First, thread the rivnut on the rivnut tool, with the handles out i.e. the bit the rivnut goes onto is fully extended. Poke the rivnut into the hole you’re putting it in.
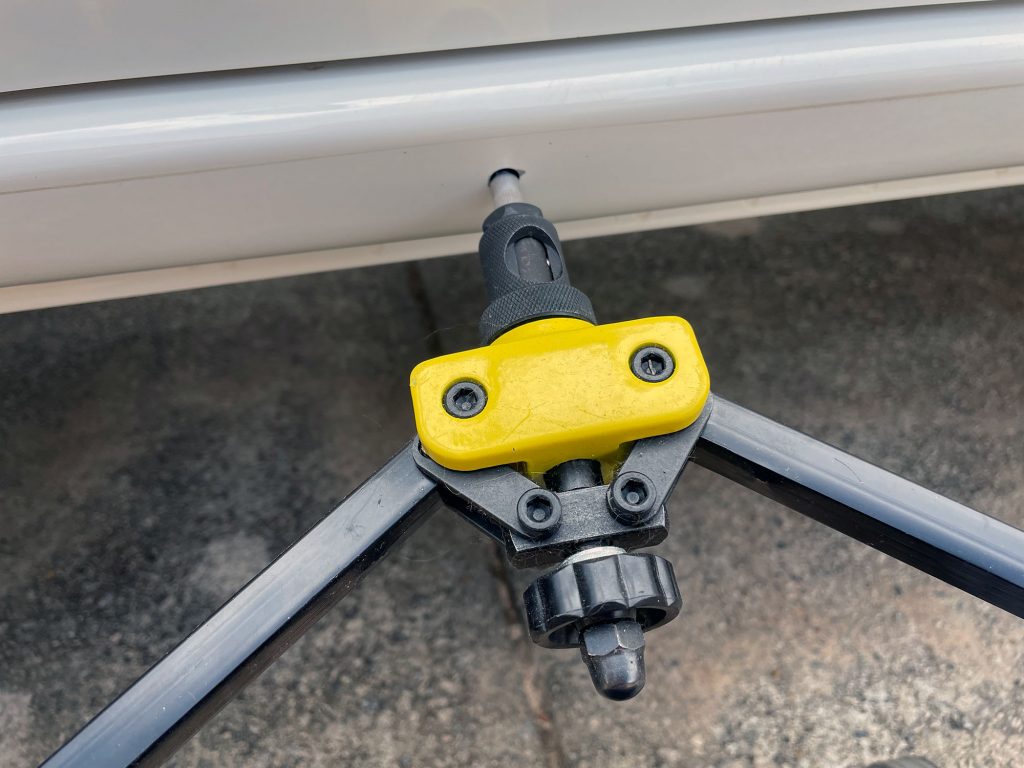
Fully push the rivnut into the hole so it is fully seated, and then start to squeeze back on the handles (exactly how you squeeze depends on your rivnut tool). You squeeze till it’s tight, but you don’t wanna oversqueeze it. Basically enough so the rivnut doesn’t want to move.
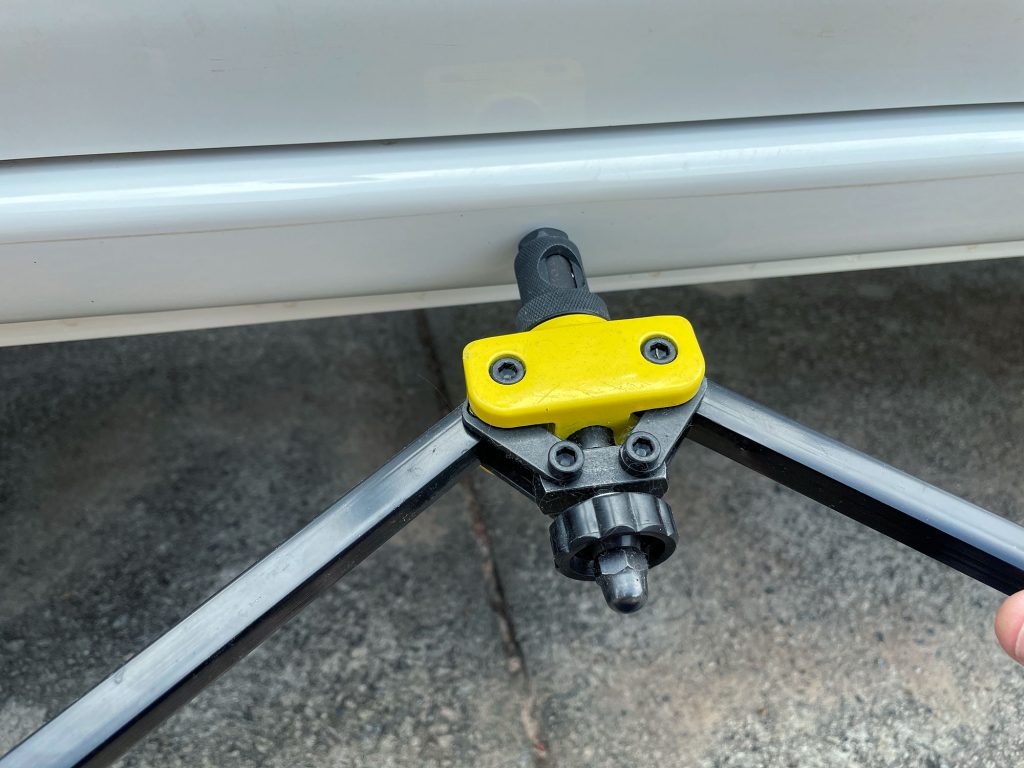
Then just unscrew the rivnut tool and you’re sorted, one rivnut installed.
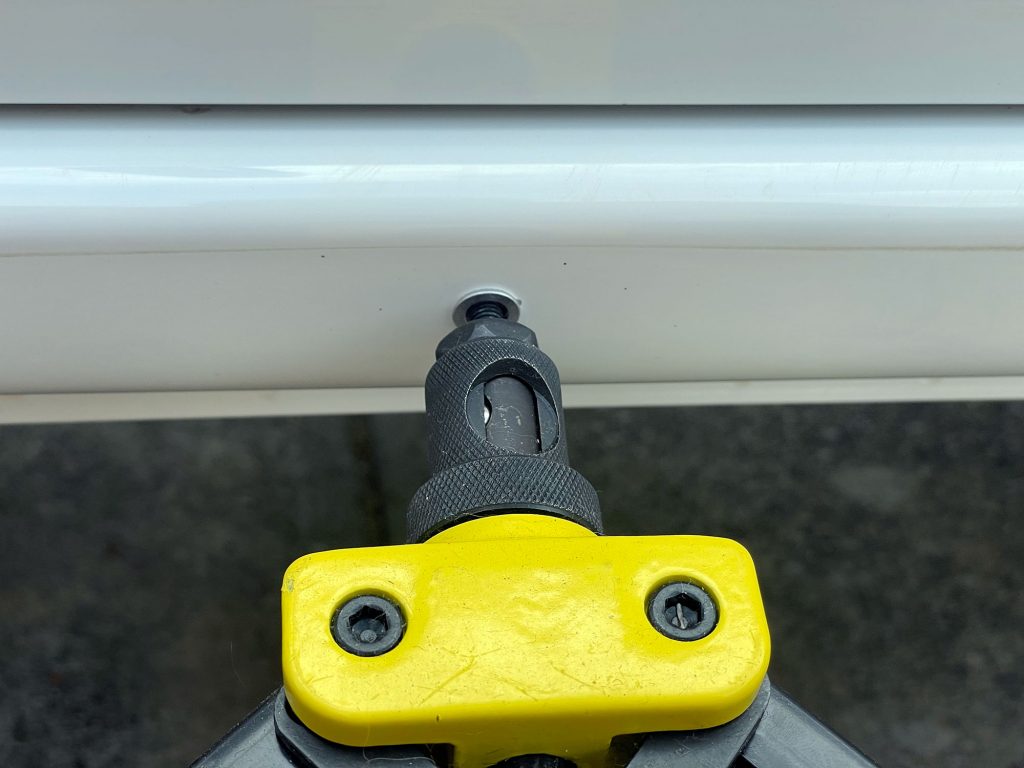
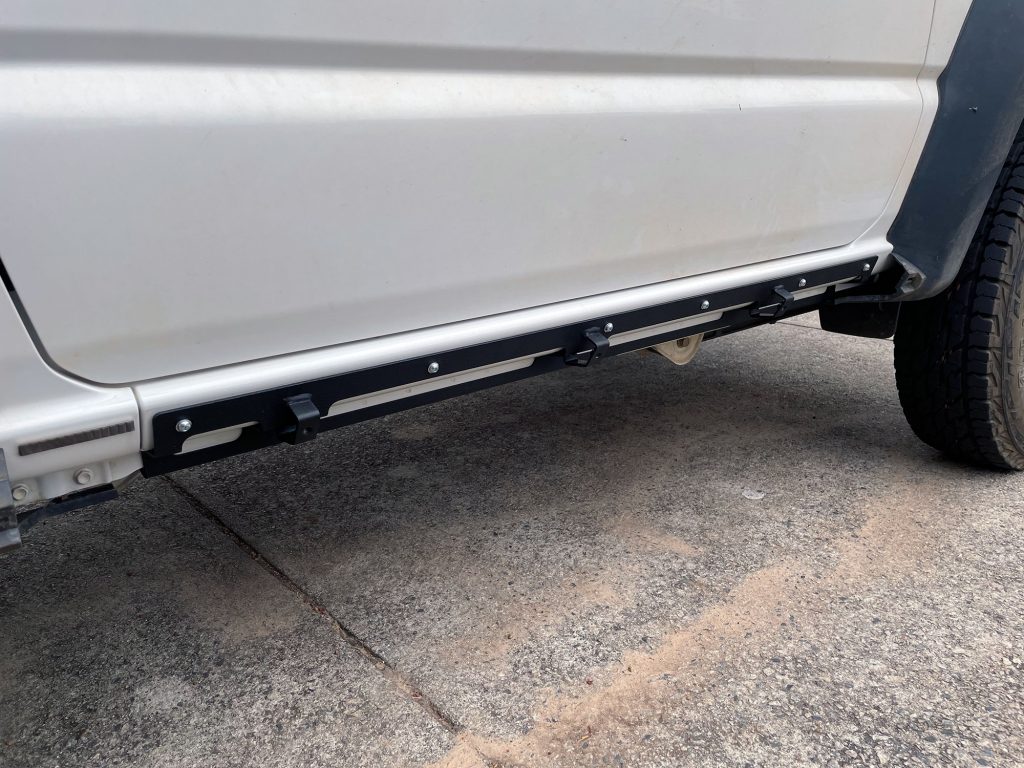
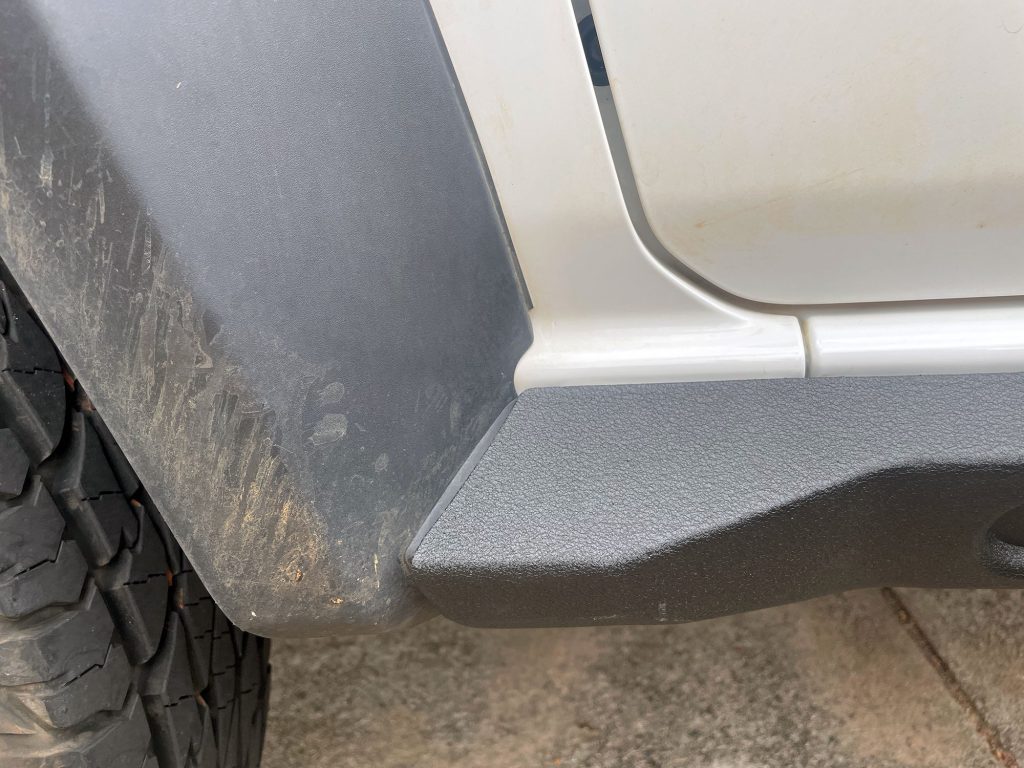
Looks pretty good with them all done.

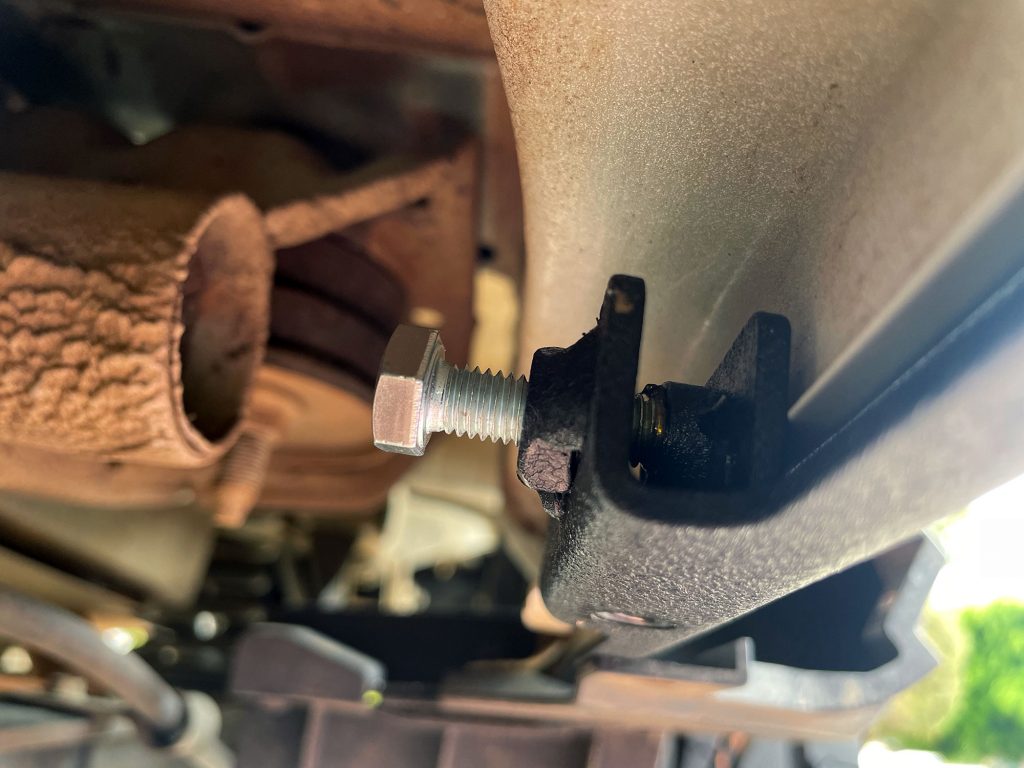
At this point you’re ready to install the inner mounting bracket. The back part goes around the sill so it’s ready for the 3 clamps; though don’t put them in yet. Just use the M6 dome headed nuts to hold the bracket on by screwing it into the rivnuts.
I started by holding up the inner bracket and making sure I could see the rivnuts through the upper mounting holes.
I then put in the mounting bolts just finger tight at this stage.
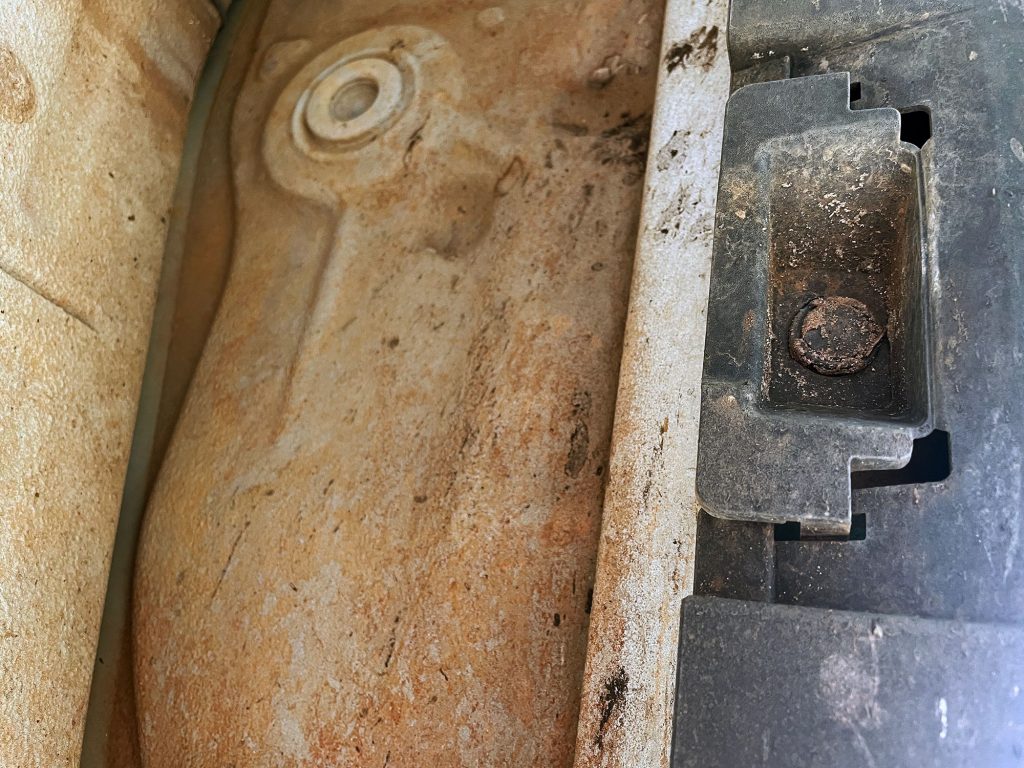
At this point it’s useful to partly line up the inner clamps, just don’t do them up tight. There is a plate that goes in between the bracket and the sill – note in this photo I have it upside down, I just didn’t get a better photo when I swapped it around! The little bit the bolt goes into goes at the bottom.
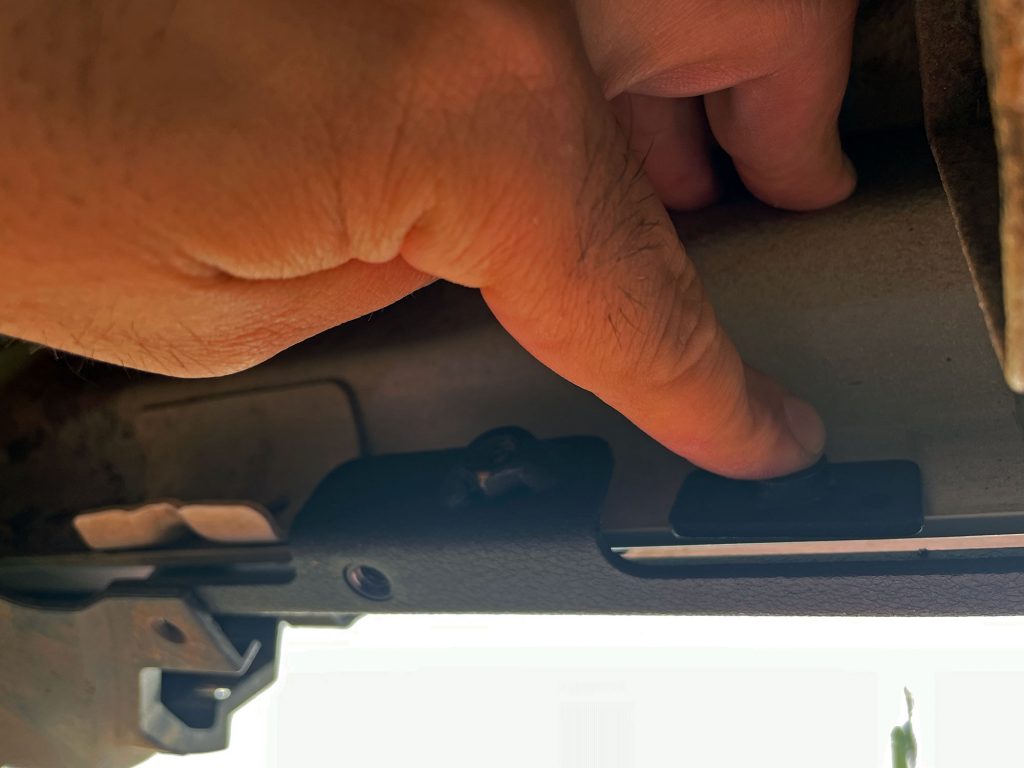
You slide it along and line it up so the bolt can go into its captive nut and go into the little bit of mounting hole in the middle of the plate. As noted before I have this one upside-down which is why it is pressing too much on the folded lip of the sill. The photo I took of it after flipping it around was even worse so I have to live with being wrong on the internet… the shame.
At this point you want everything just basically finger tight, as you need to align everything to make it look just right.
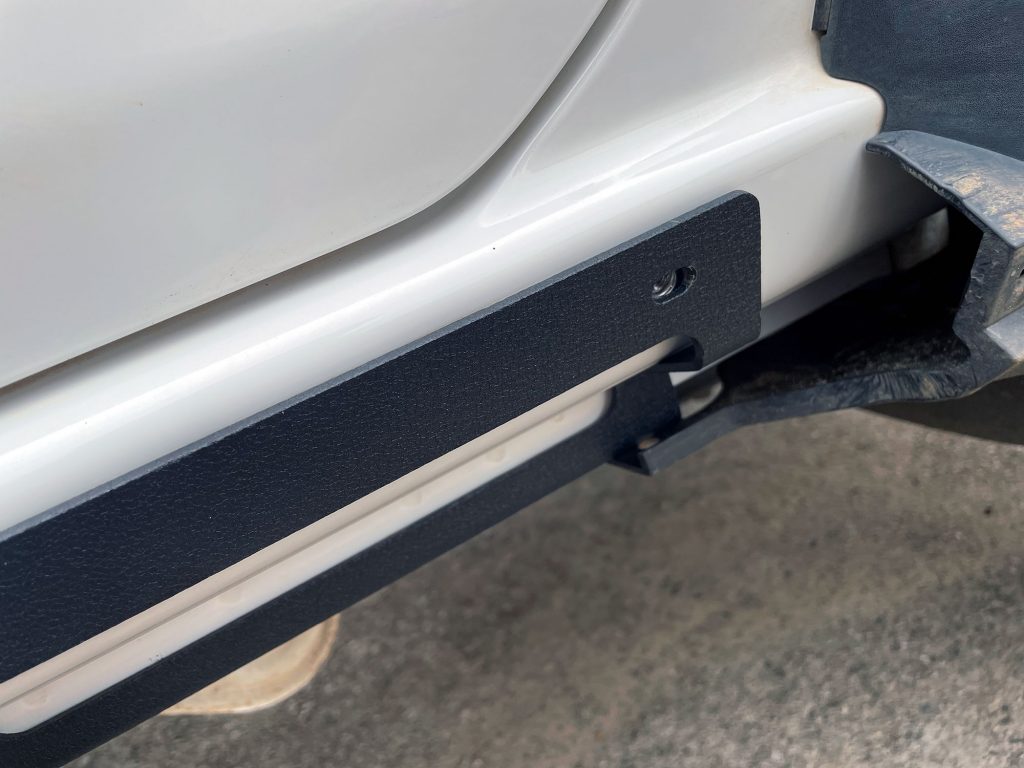
Test fit outer plate, and fully install it
The next part involves getting the outer plate and mounting it up loosely, and making sure it’s nice and seated evenly.
On my first attempt, the back was a bit close…

… and the front was a bit far away.
Little bit of playing around and sliding the inner bracket forwards a bit solved that.
At the point at which you’re happy with the fitment, go ahead and tighten up the bolts one by one, keeping the others tight enough to keep the bracket in place. Fit thread locker at this point, too, so the bolts don’t come loose. Do up both the upper bracket bolts and the inner sill clamps at this point, then fit the outer plate for the last time and tighten it up, too.
With that, you’re done!
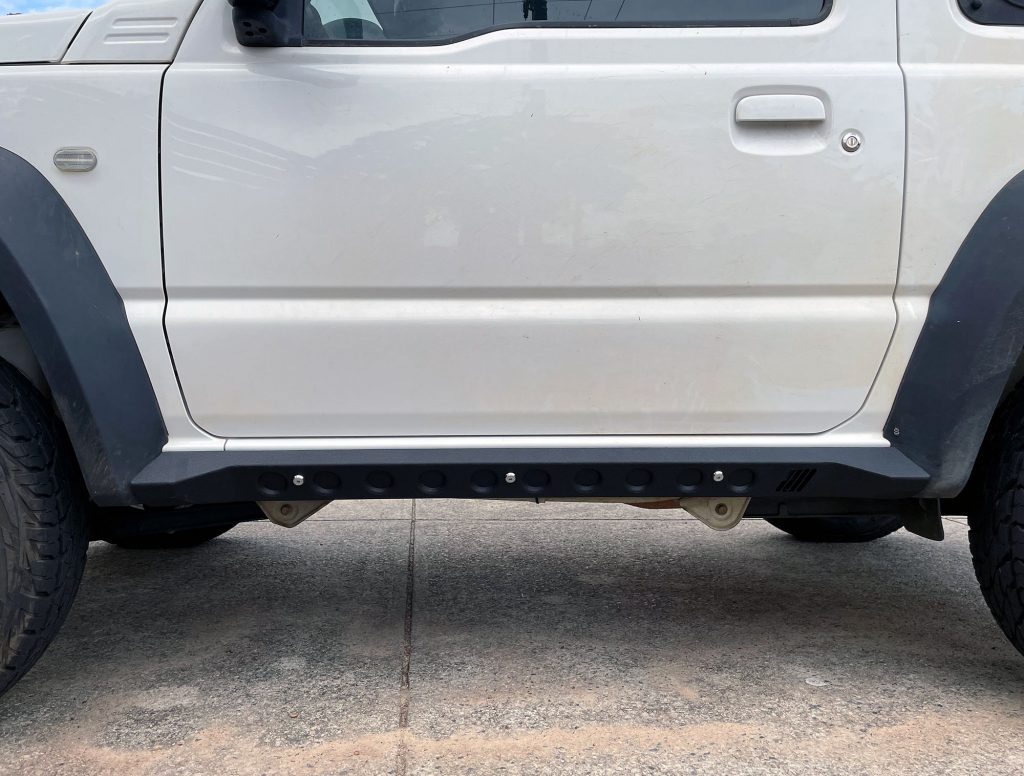
Super happy with how they look and also how light they are in comparison to other options. I’ll keep an eye on how they wear but I’m very happy that they’ll last a good long time with the kind of driving I do, while also giving a bit of protection for those times when things don’t quite go to plan and stuff gets rubbed a bit!