
Extra circuits and 12V details

Nearly every 4wder wants extra power and possibly some different circuits. The Jimny, being small, is no different but you just need a bit less wire length to get it done. In this page I’ll go through how I added a fuse box for extra circuits inside the car including a relay to easily provide both permanent and ignition-switched power, and some other 12V circuits both inside and outside the car.
Sections
- Relay and fuse box for accessory circuits
- Fuse box details and location
- Accessing ignition switched power
- Switched power relay
- Rear USB socket for charging things
- Rear high-power connections
- Outside high-power connection
Relay and fuse box for accessory circuits
A key thing for me was to make a tidy relay and fuse box for various inside-the-car components. I wanted this to be basically separate to the rest of the car’s wiring so I could completely independently wire it. I also wanted this to provide a simple way to get switched power to multiple circuits as well as providing for permanent power (albeit separate to the high power things I’ll talk about below).
Fuse box details and location
For this, I use the 18 position Littelfuse HWB18 fuse/relay holder just the same as I use in the engine bay for wiring up accessory circuits there.
A benefit to this fuse box is that it is not bussed at all. This does mean you have to do your own wire splitting of certain circuits e.g. splitting out the output of a relay for switched ignition power into multiple circuits but it also means you have a lot of flexibility for how you wire things.
For a location, I have this PDM up behind my glovebox. This is one of the reasons I didn’t mount my UHF here, it seems better to have the UHF under the centre console and then the power distribution/fuse holder still has a very convenient spot to go where it’s easy to access if a fuse does blow.
I couple this PDM with a little power distribution stud mounted high up underneath the dashboard for accessing permanent power inside the cabin, too. This gives me a range of ways to get power in and out while minimising the cable I have to run through the grommet in the firewall.
Accessing switched ignition power
This comes up a lot in discussions especially on UHF wiring, so I wanted to expand on this.
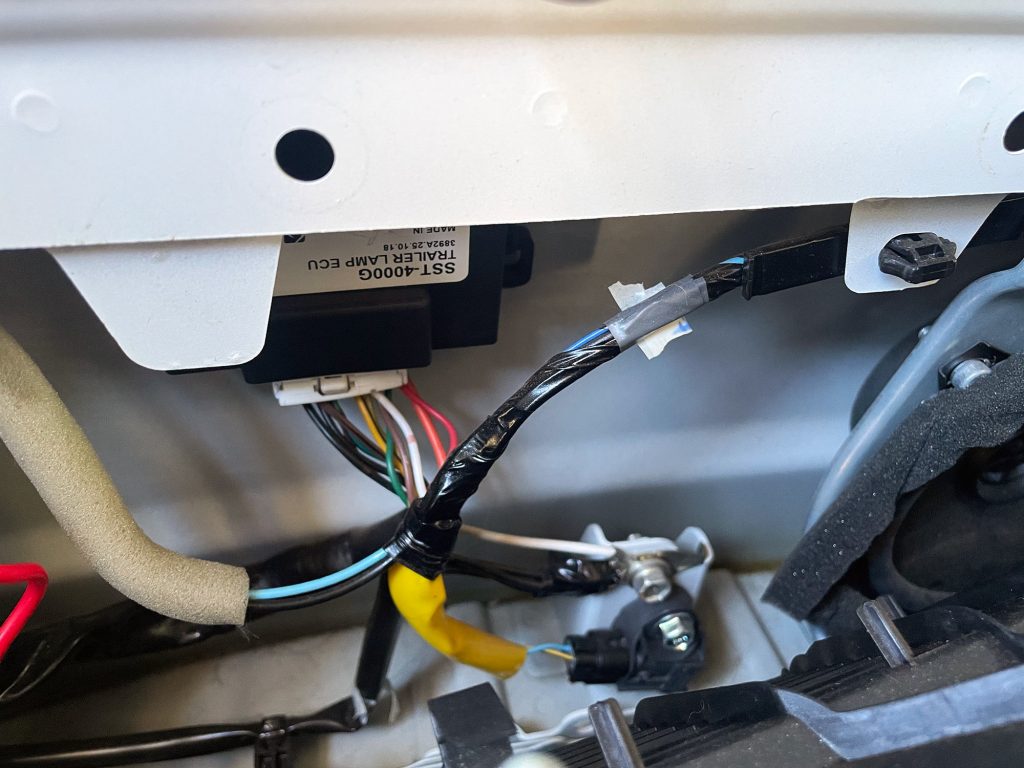
The easiest way to get switched ignition power, I think, is to make a little piggyback wire off the back of the front cigarette lighter socket. It is ok to use this for some small loads, although bear in mind you are limited to the 10A maximum of this circuit and that includes whatever you intend to plug in the front and back cigarette lighter sockets.
Making up this piggyback wiring is easy. You basically want to extend the wires that normally plug into the cigarette lighter socket while also getting out power elsewhere.
Switched power relay
Rear USB socket for charging things
This one is a really quick change you can do. I swapped the factory cigarette lighter style socket in the back area to a dual USB point for easy charging. This could also be done in a lower spec Jimny where no rear aux power socket is provided but the wiring is already there – you’d just have to drill a hole.
Start by pulling off the left-hand side rear inside trim. If you fully want to remove this then you need to take out the back seat and the luggage box (if fitted to your car), but you can get away with just pulling it away from the side of the car to make this change.
You remove this trim by taking off the 3 panel rivets by the left hand rear seatbelt. Just prise up on the centre of the rivet with a trim removal tool and pull the 3 rivets out.
The rest of the trim just fits into the body of the car using panel clips. Use a plastic trim removal tool to lever it away from the car a little bit, then use your hands to pull the upper part of the panel away from the car to release the trim clips. Then disconnect the power cable from the factory rear power socket.
You just sort of push in the sides of the factory socket and pull it out of the panel. I didn’t get pics of this, just sorta did it till I got it out.
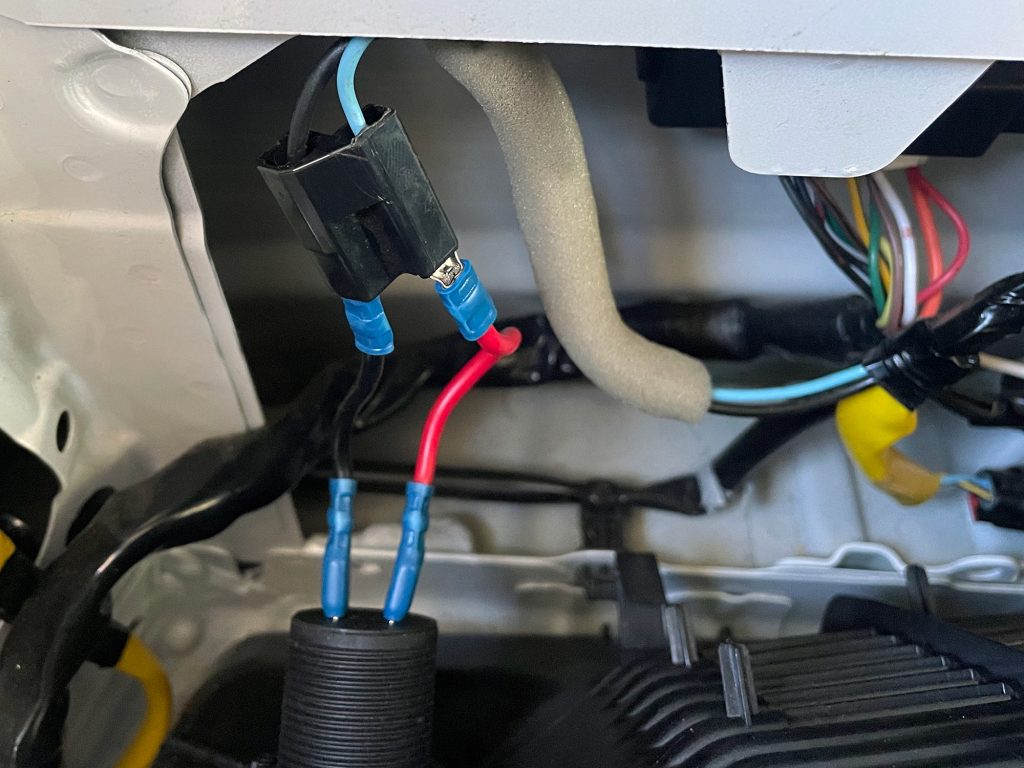
The wiring is very simple: just some blade connectors to get power from the original plug to the appropriate USB panel socket. One of the two plugs on the original Suzuki socket are smaller than the other, so I snipped the side of the blade connector a little bit to make it fit. Blue is the switched power input, and black is the ground from the factory connector.
Just a case of doing up the screw ring to hold the USB converter and put the trim back and you’re all sorted.
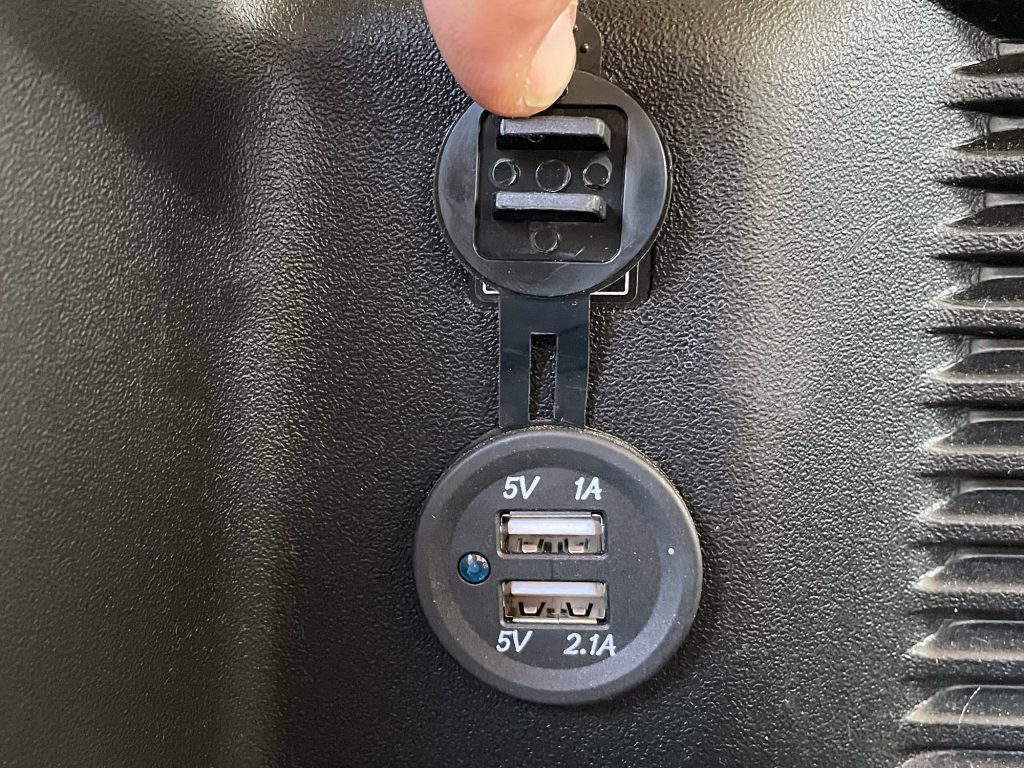
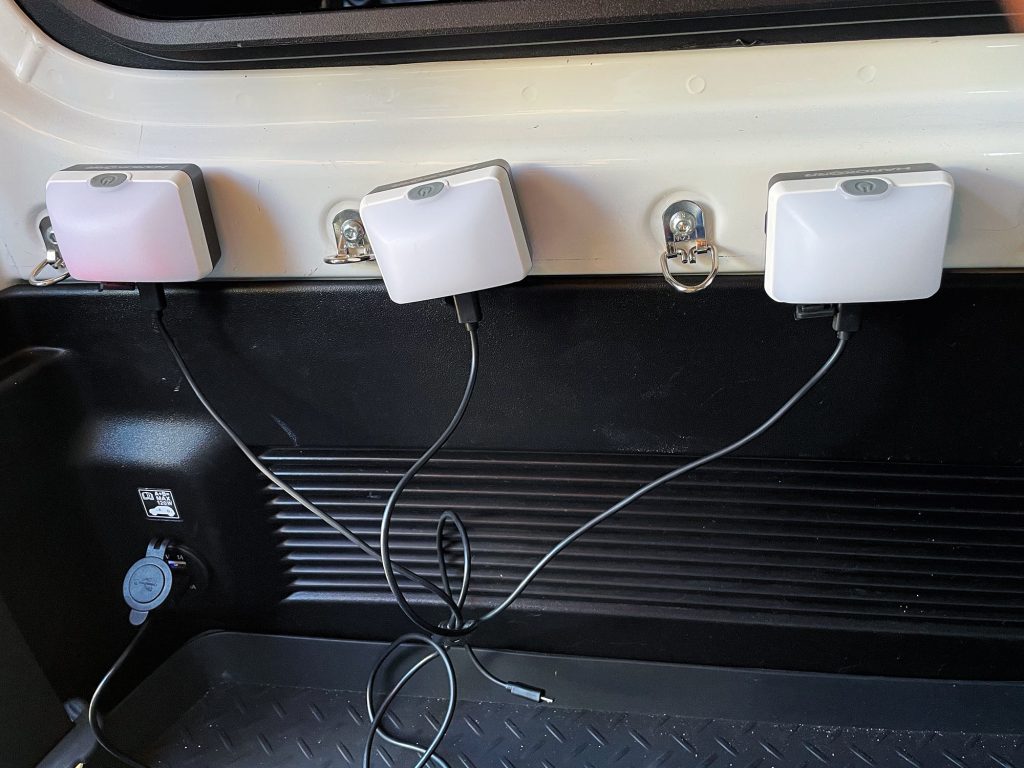
I could have sought out a higher power set of USB ports here but I really didn’t need them. Mostly I want something like this for charging things like torches or my camp lights and for that low power is fine.
Rear high power connection
One of the reasons to do this is I did want permanent high power available in the back for things like fridges etc. Potentially this will come off an auxiliary battery but at the moment I’m wiring it directly to the main (and only) battery.
I did do this to have a high power cigarette lighter socket too – obviously you can use the factory provided point in the higher specced Jimnys but you are limited to 10A total draw between the front and the rear. I have a car USB-C adapter that can run laptops that alone will pull 10A charging a modern laptop, so you couldn’t do that in the front and the back with the stock setup.
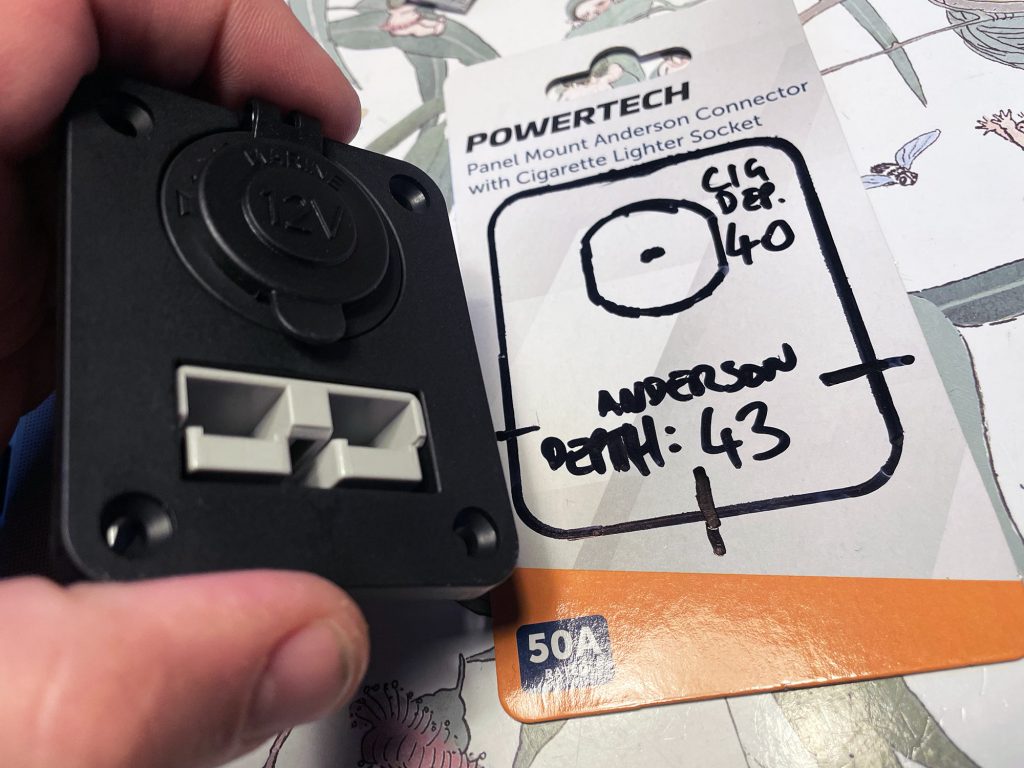
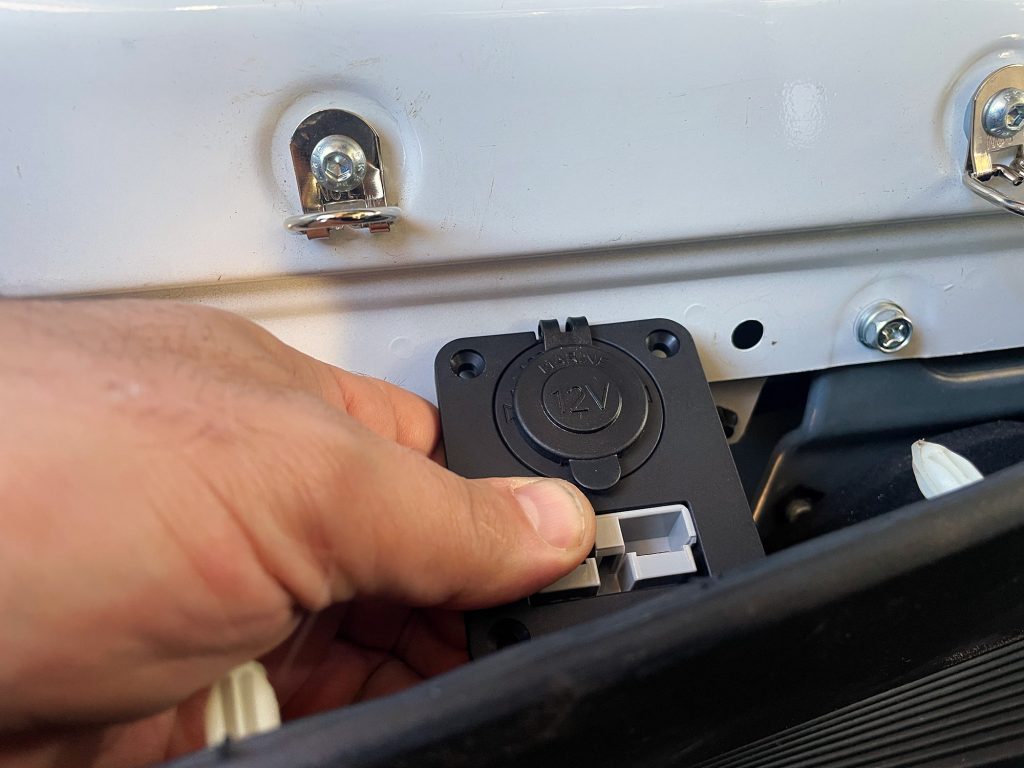
Jaycar have a really nice panel mount for both a high power marine grade cigarette lighter style socket and also a 50A Anderson plug.
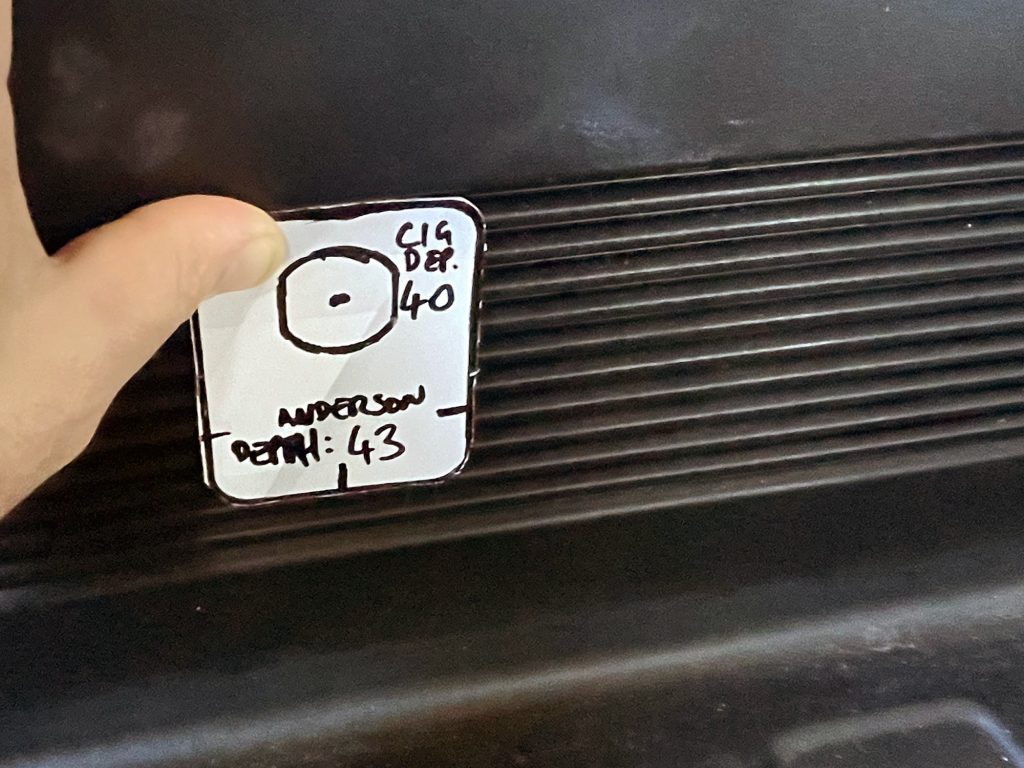
A key thing here is to make up a template to help line everything up. I drew this on a piece of cardboard and included a border in the form of a thick pen line to make sure I kept clearance around the panel. The back of the packet the panel comes in helps here!
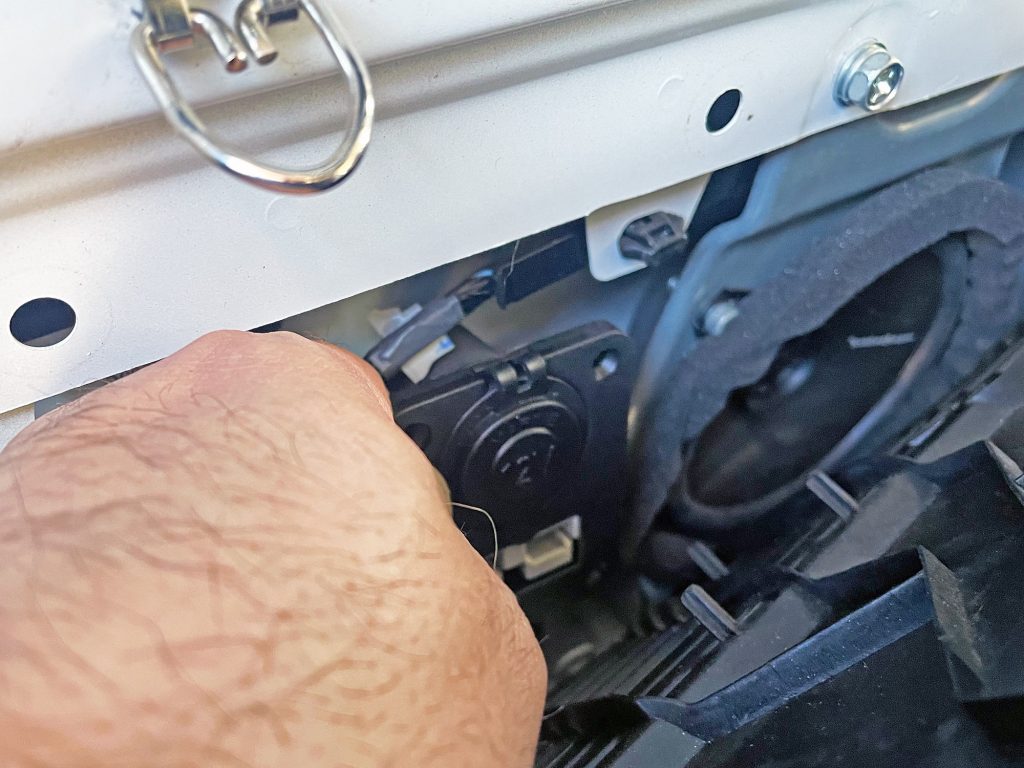
One of the considerations for using this panel is that you need ~45mm behind the panel just to fit the sockets, with extra depth needed for the wiring. After pulling the back trim panel off a bit I checked out the back and the easiest spot to have this depth guaranteed is to put the socket just to the rear of where the speakers mount. This just would clear the earth point and the airbag sensor beneath it and be in a reasonable spot for plugging things in.
You can then use the panel itself to check the available depth and where you need the panel vertically.
You can then lift the panel up and check the horizontal positioning with respect to a reference like one of the panel trim clips.
This then lets you work out where to position the template on the front of the panel to start cutting out the panel.
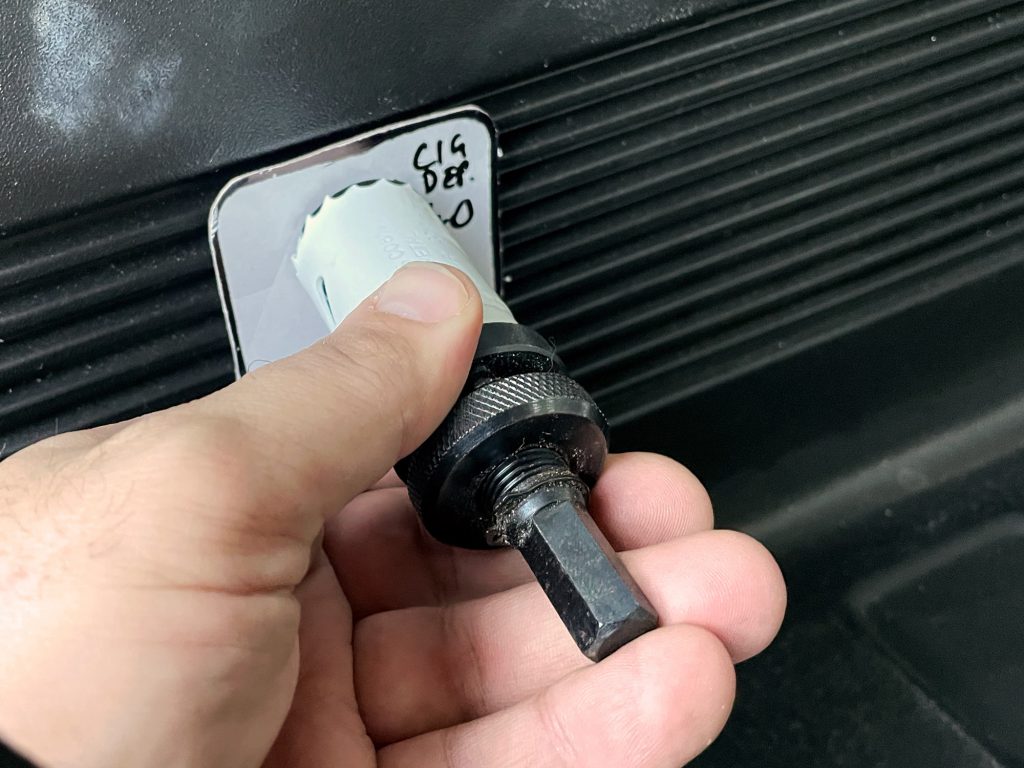
I started off the hole for the panel with a 25mm hole saw. In retrospect that wasn’t ideal as it wanted to grab and move off sideways, marking the panel slight, but it worked.
With the first hole cut out I then used a sharp box cutting blade to cut out the inner part required to fit the panel in.
I dismantled the Anderson plug and the cigarette lighter socket off the panel mount at this point to check fitment positioning.
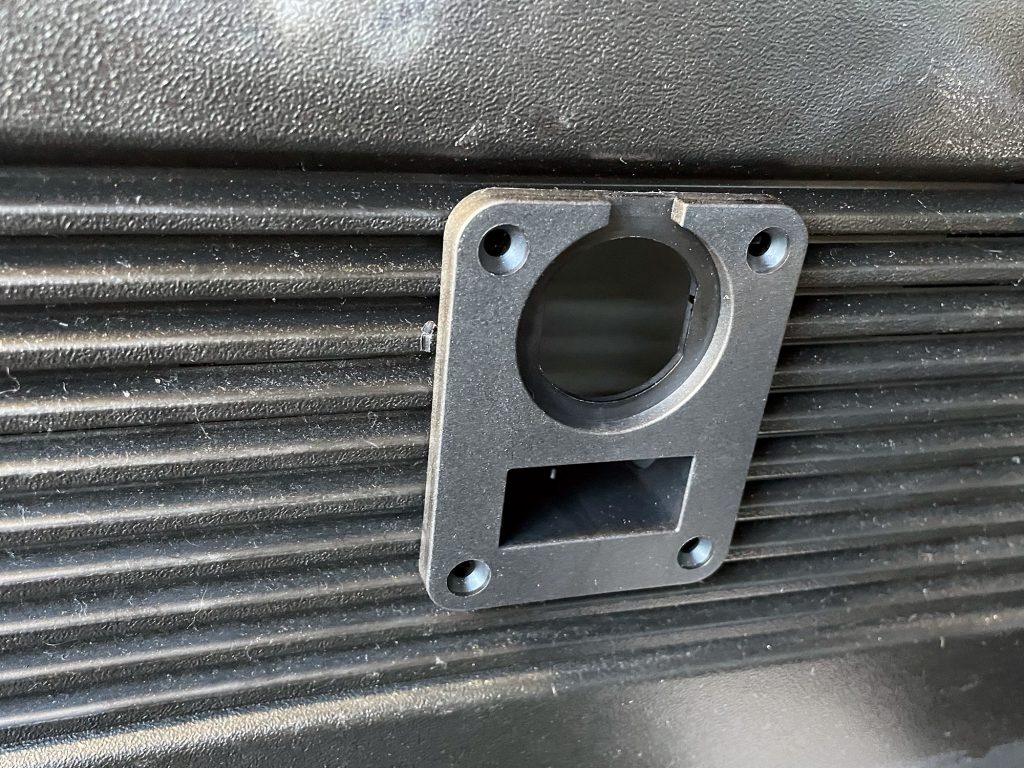
Perfectly fitted! I then drilled 4x 4.5mm holes for the screws. I had some M4 allen headed bolts and nuts available which I used to bolt the panel down. I also refitted the Anderson and cigarette lighter sockets to the panel to line it all up and have it ready to go.
The wiring itself is super simple. I will get a better photo later but I just grabbed the power and ground off the Anderson socket to power the cigarette lighter socket. The earth can go to the earth point behind the panel, which then means I only needed to run one single 8AWG wire out to the front of the car and the battery for it to be permanently powered.
Below is an example of how I did the wiring. The 20A capable wire (yellow) goes into the Anderson crimp terminal along with the 8AWG (60A) red wire. The same applies to the ground wire, which I haven’t shown here.

With that it’s super easy to have everything all wrapped up and sorted!
Outside high power connection
Another thing that is useful, especially at camp, is to have at least one connection available outside the car that can deal with high power. It provides you the ability to use the car to power things like camp lights or similar. For flexibility I’m choosing to put a 50A Anderson plug at the back of the car using the towbar as an easy mounting point. Jaycar also sell nice waterproof housings for Anderson plugs so having this permanently powered will be ok as it is fused at the battery and also IP64 waterproof.