
Suspension work
Interested in twiddling knobs on suspenders? So are we!
Suspension setup guide
To be worked on 🙂
Suzuki GT250 fork rebuild and seal replacement
(oldschool damping rod forks)
This covers doing some pretty oldschool forks; more modern forks have more gubbins and crap to watch but it’s all pretty much the same principle.

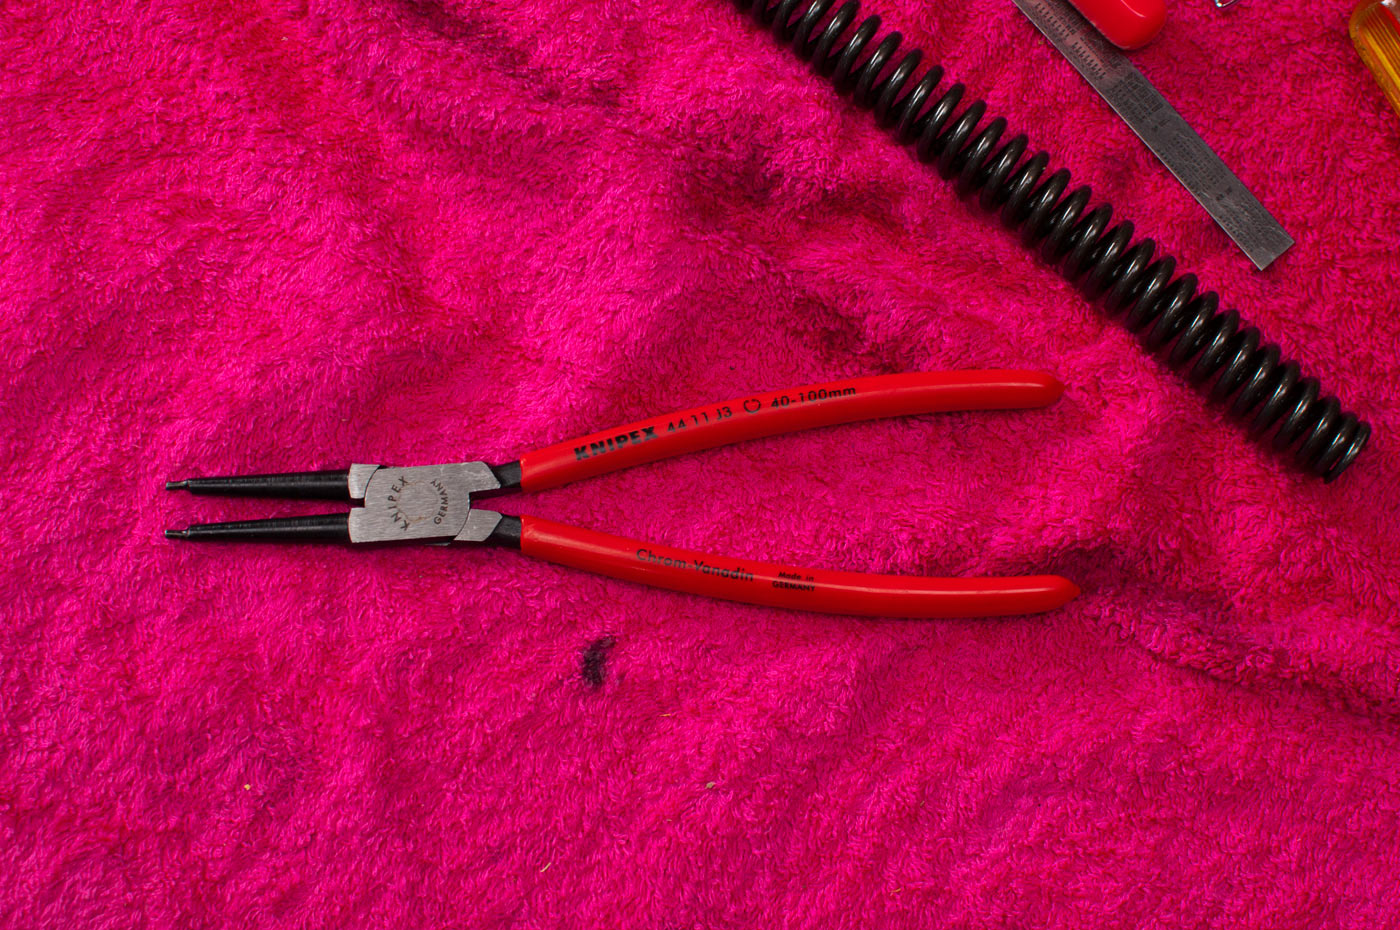
Certainly not all the tools you’ll need, but usually you’ll need some circlip pliers and a rattlegun helps to undo some stuff if the forks are removed.

Top cap removed. These forks were clearly rusted into the triple clamps but seriously, the wreckers I bought them from didn’t need to munt the top caps getting them out. Grr.
Anyways, getting the cap off can be fraught with danger. Easy to eject it into your face with the force of the preload on the top cap. Rattle gun if the fork is removed to start it off, or bolt it carefully in a vise being careful not to squish or damage the fork slider at all. Finish it off with a breaker bar, with one hand on top to help hold against the preload. If it’s a particularly stiff set of forks (like on modern sportsbike), consider getting a fork compressor to take the load instead.
Spring out.
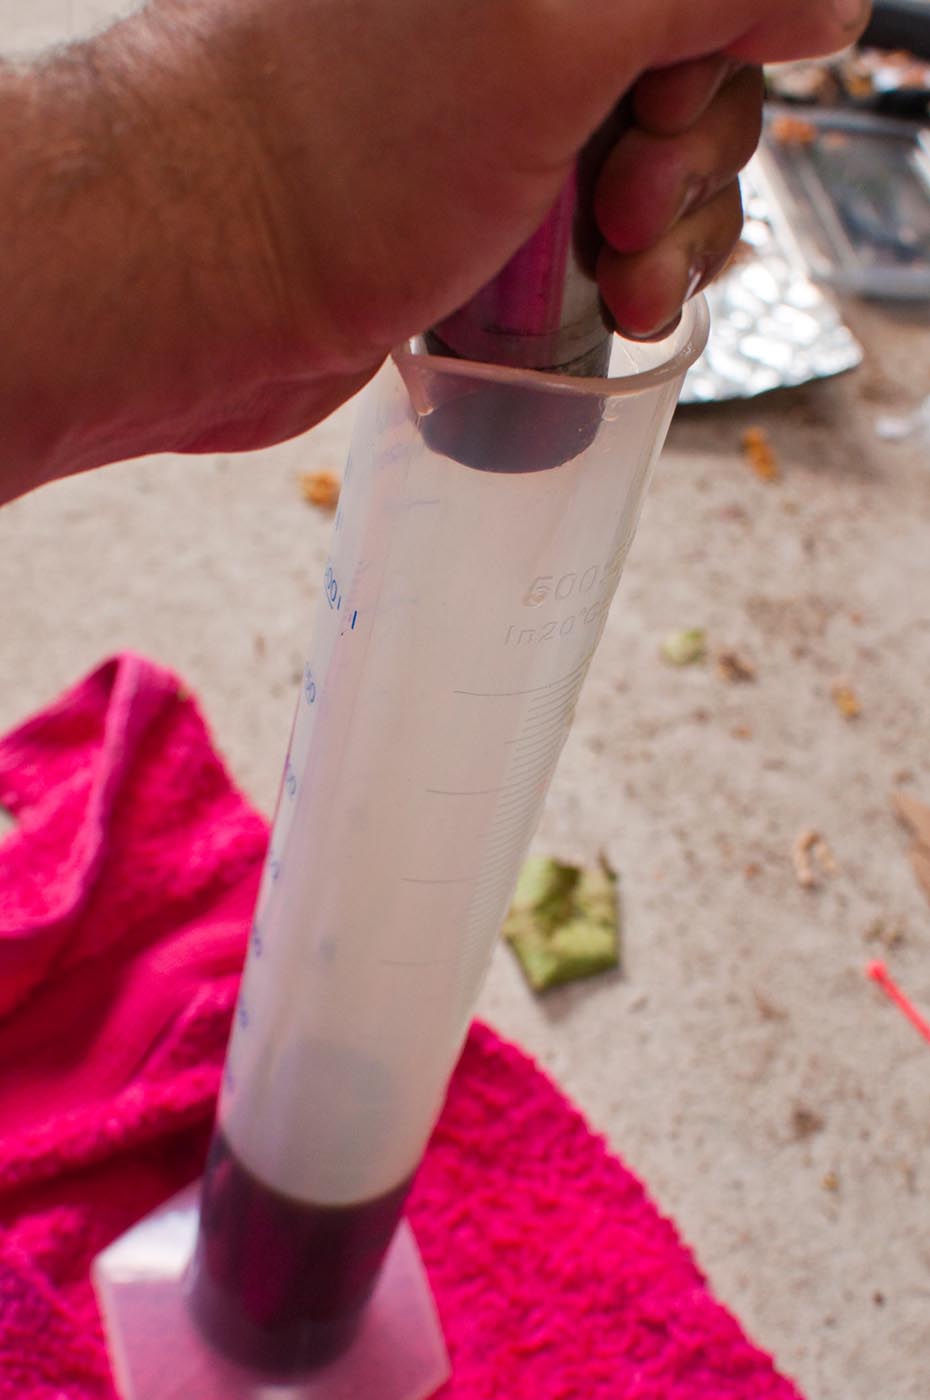
With these forks, there’s little documentation on what oil volume/air height to run. In these cases, it’s good to characterise what is in there. Viscosity was pretty similar to automatic transmission fluid (which is what the Haynes manual recommends).
I’ll show you draining the whole fork in a minute, but if you want to characterise the volume well, you need to capture all of the stuff that’ll come off the other components, too.
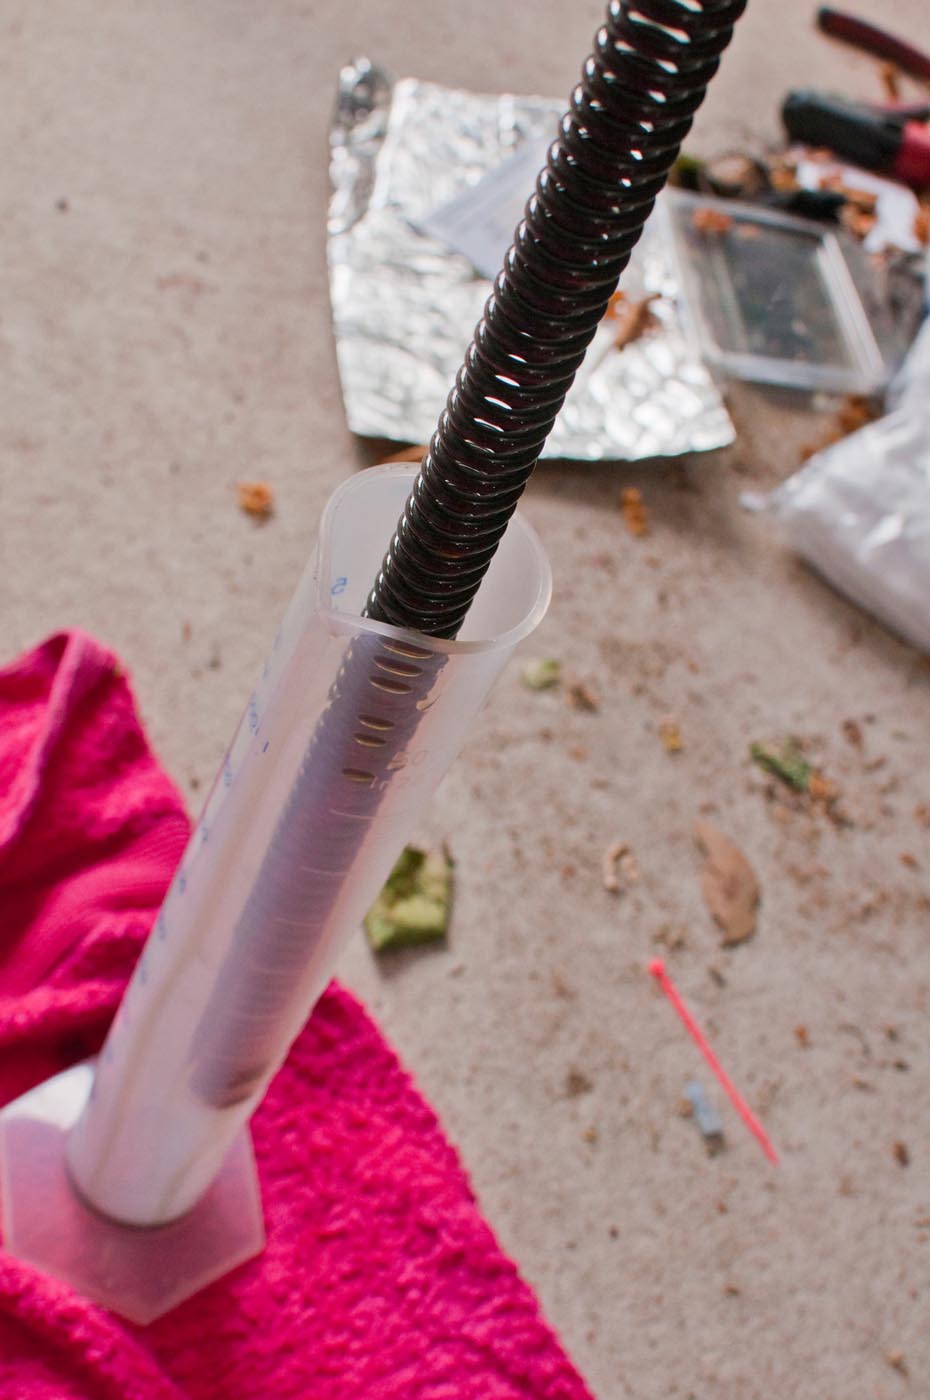
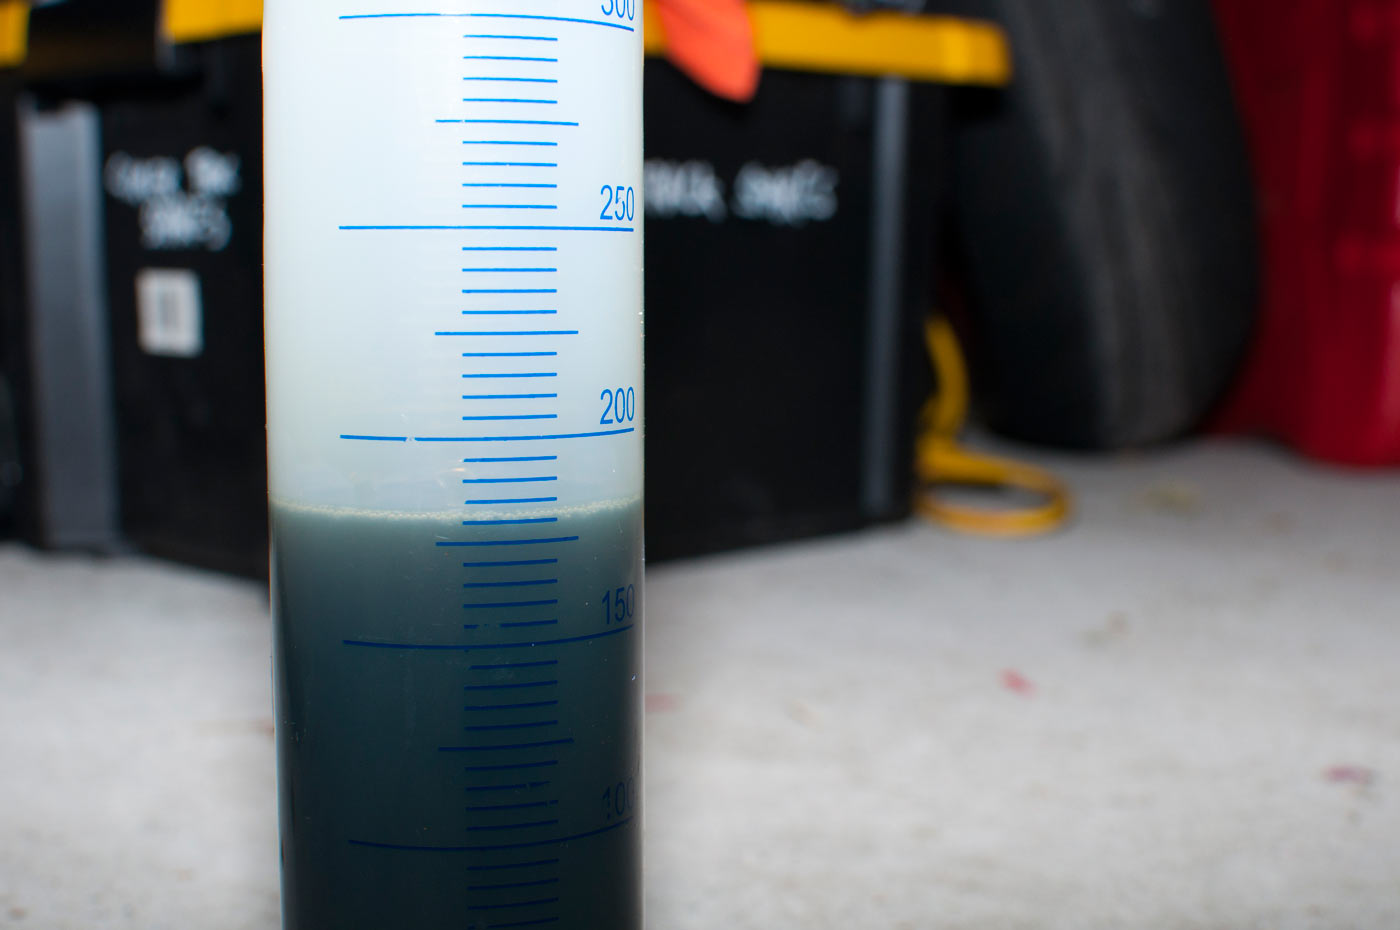
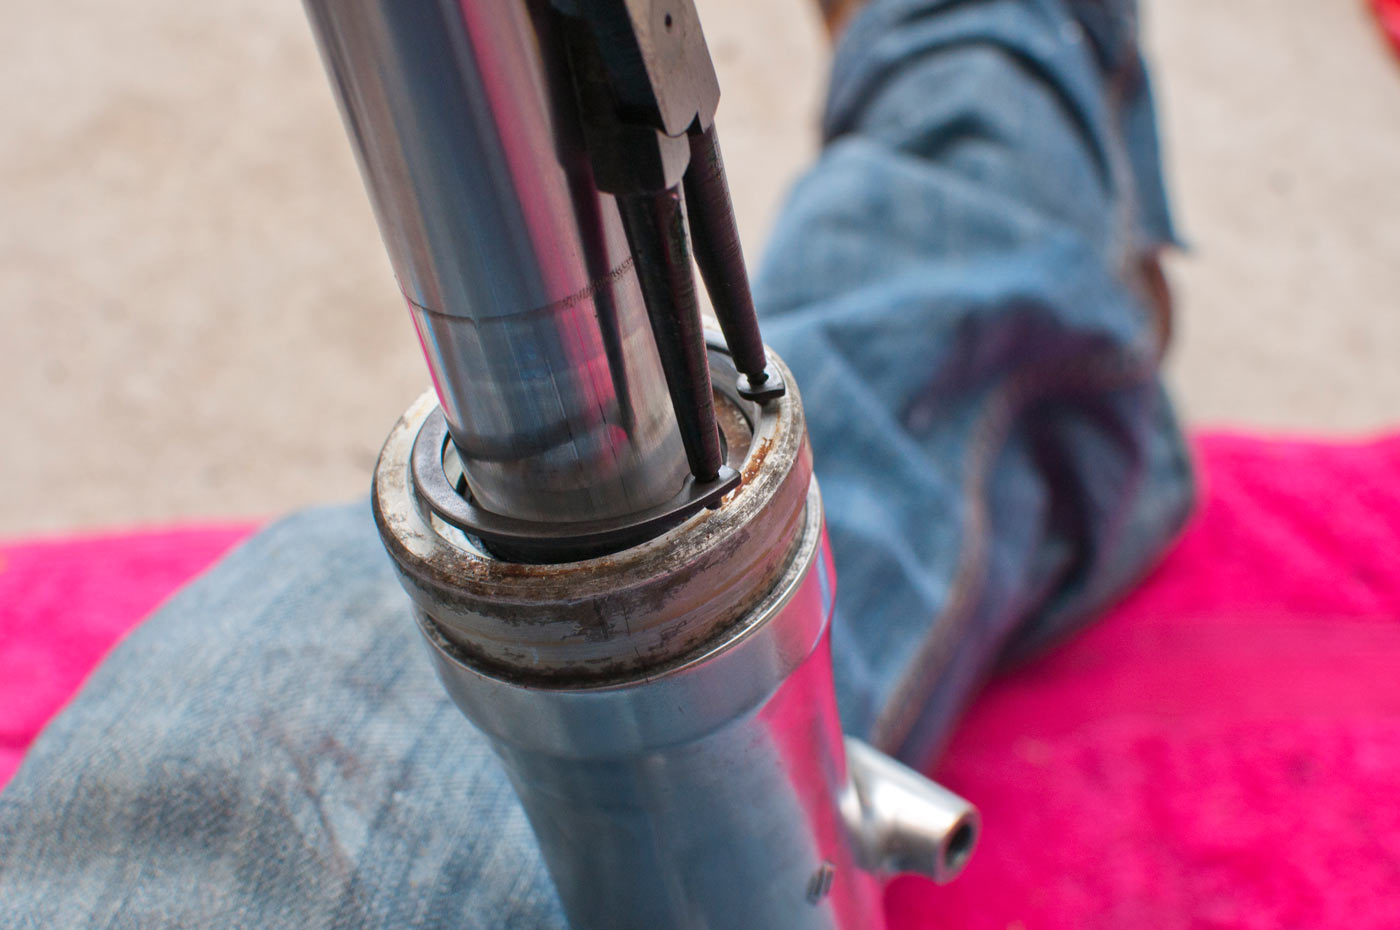
Checking the air height.
Air height is the difference between the top of the fork slider and the oil, with the spring removed and the fork slider fully compressed. Most forks are of sufficient diameter you can use a metal ruler to work it out, and there’s even special tools to make it even easier.
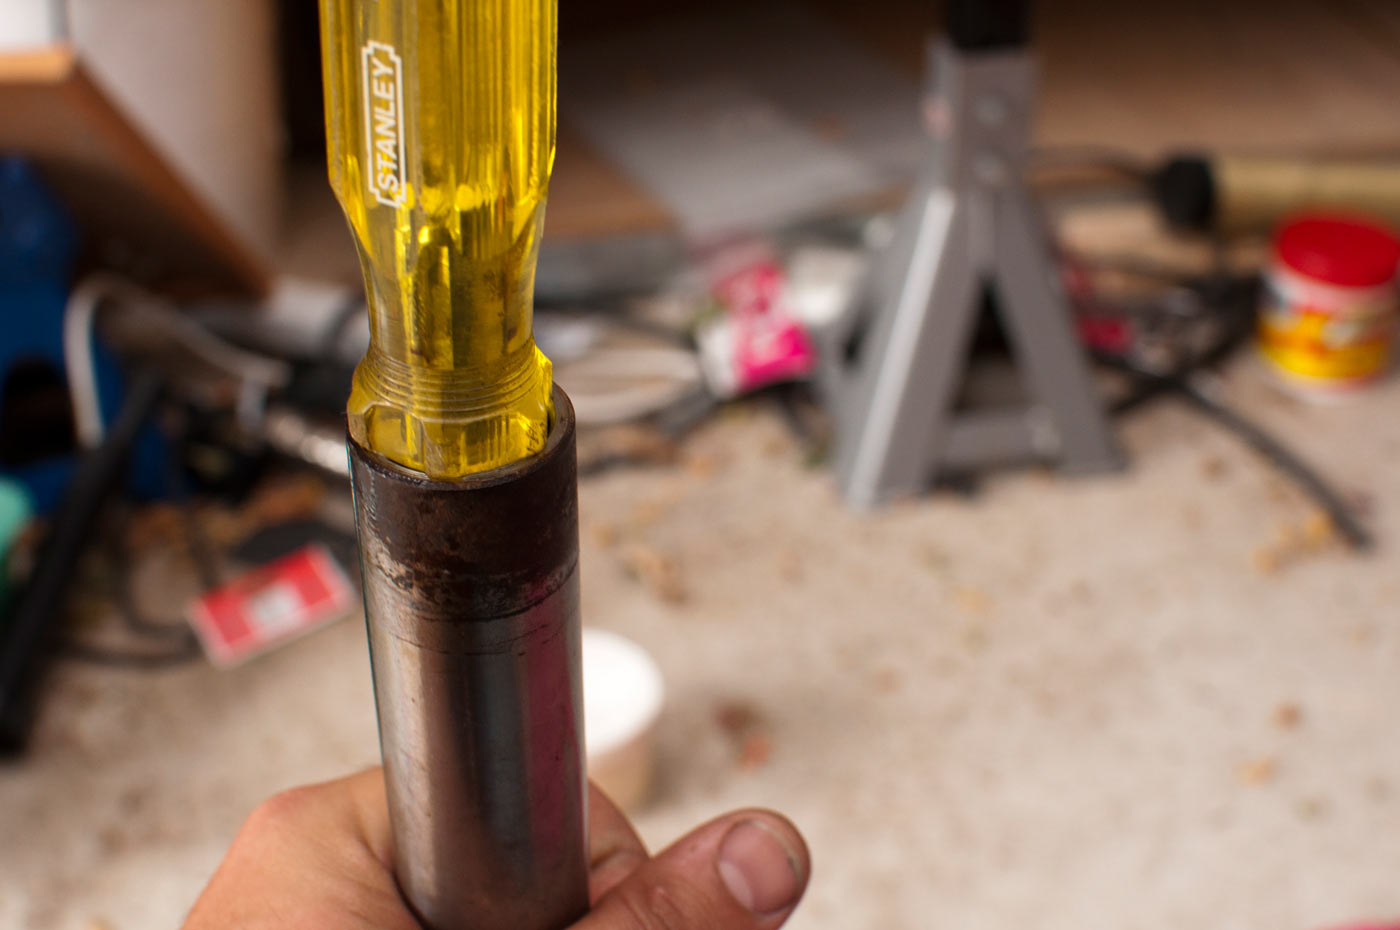
Really long screwdrivers make excellent dipsticks though.
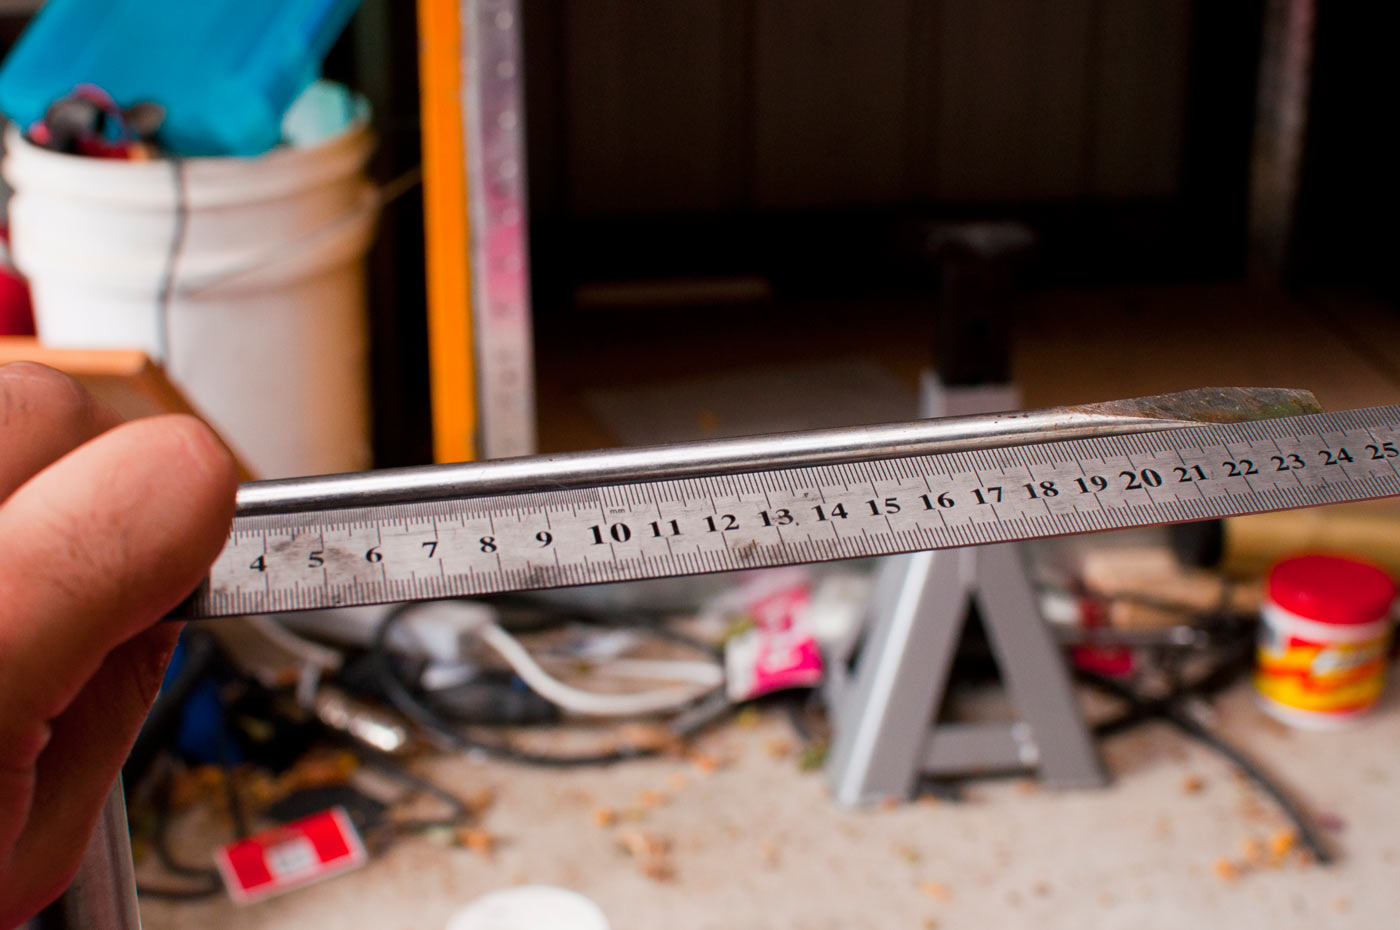
Difficult to make out where the oil is, but it’s only on the tip. Pretty much at 205-206mm air height. No-one knows what it should be, though :). That’s a fairly ‘low’ air height, but they are also small diameter forks where the spring occupies a relatively large volume.
Air height is more critical in modern forks; I believe it controls the compression damping at the bottom of the stroke. Modern bikes specify a volume AND an air height; use the volume to get it mostly right, then get the air height perfect. This is especially critical if you don’t fully disassemble the forks and you end up with a bit of old oil still in there. Adding the volume specified will probably make it too stiff; in rare cases, you can end up with so much oil that with the spring in, the seal is under enormous pressure which is a great way to end up with a leaking fork seal straight after rebuilding your forks.
Getting the last of the oil out of the fork, now I’ve measured the air height.
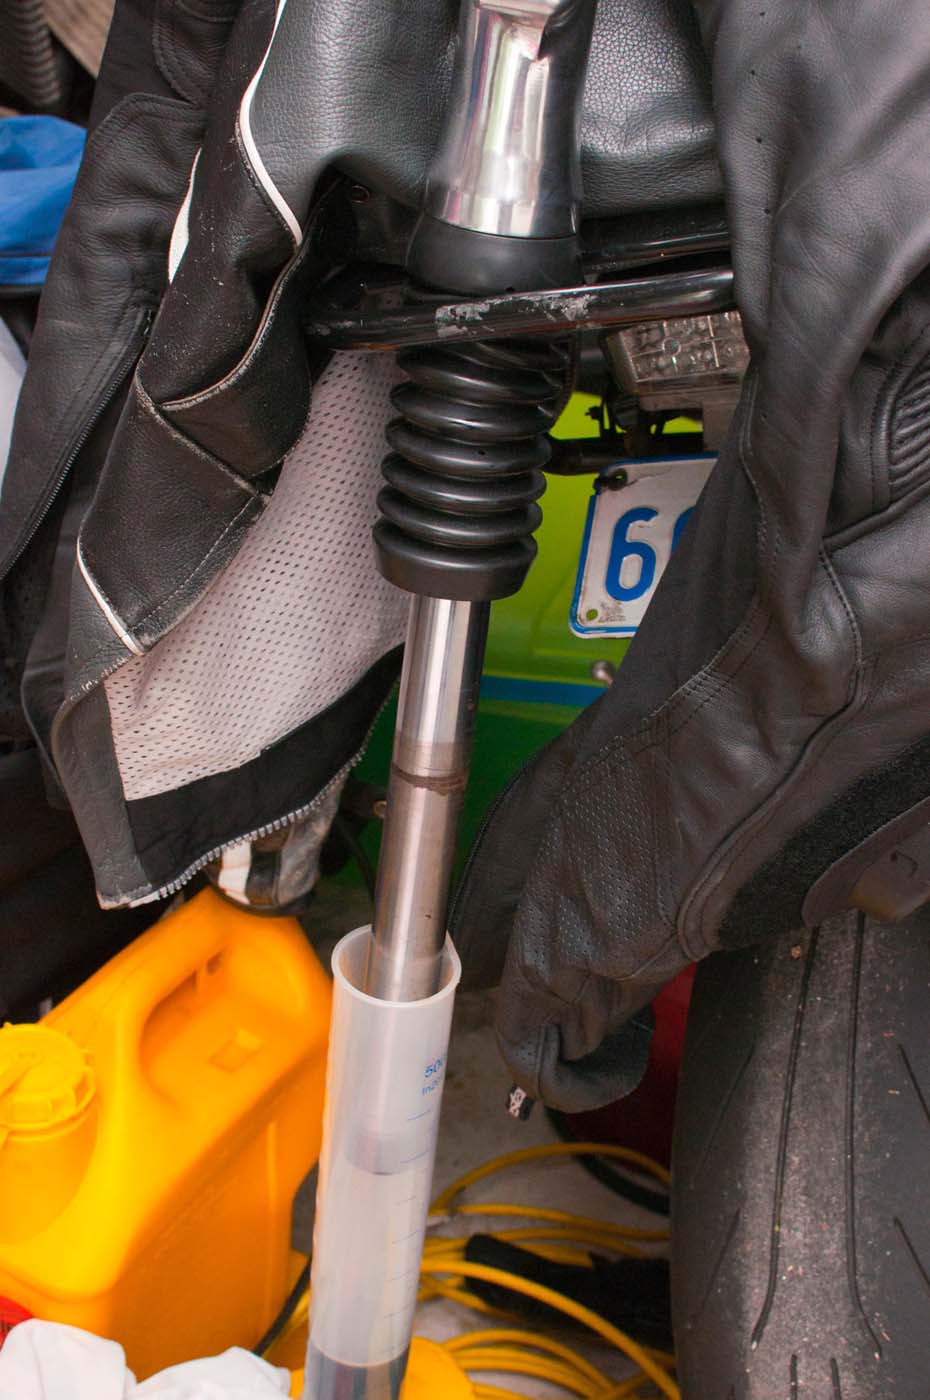
Ventura racks, with a leather jacket and pants to add some protection to the lovely polished fork leg, makes an excellent way to upend a fork and drain it completely.
I got 190 mL out of the left hand fork and 180 mL out of the right-hand fork. Values for the amount required vary from ~140 to 230 mL; I’ll go with what came out of it to start with and go up if it needs it. It’s slightly easier to accurately add more oil than it is to accurately drain some :).
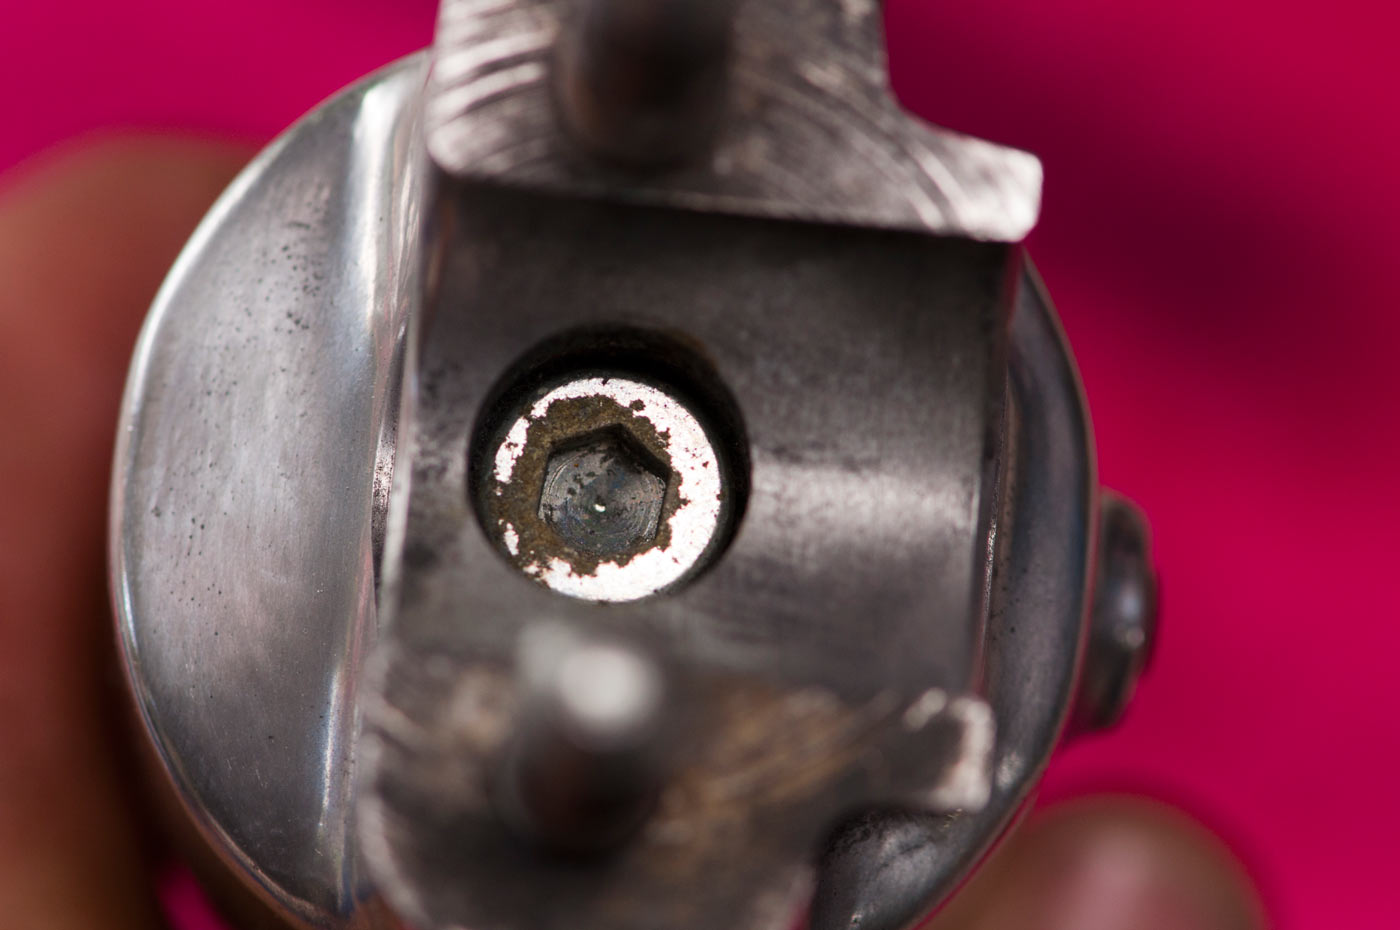
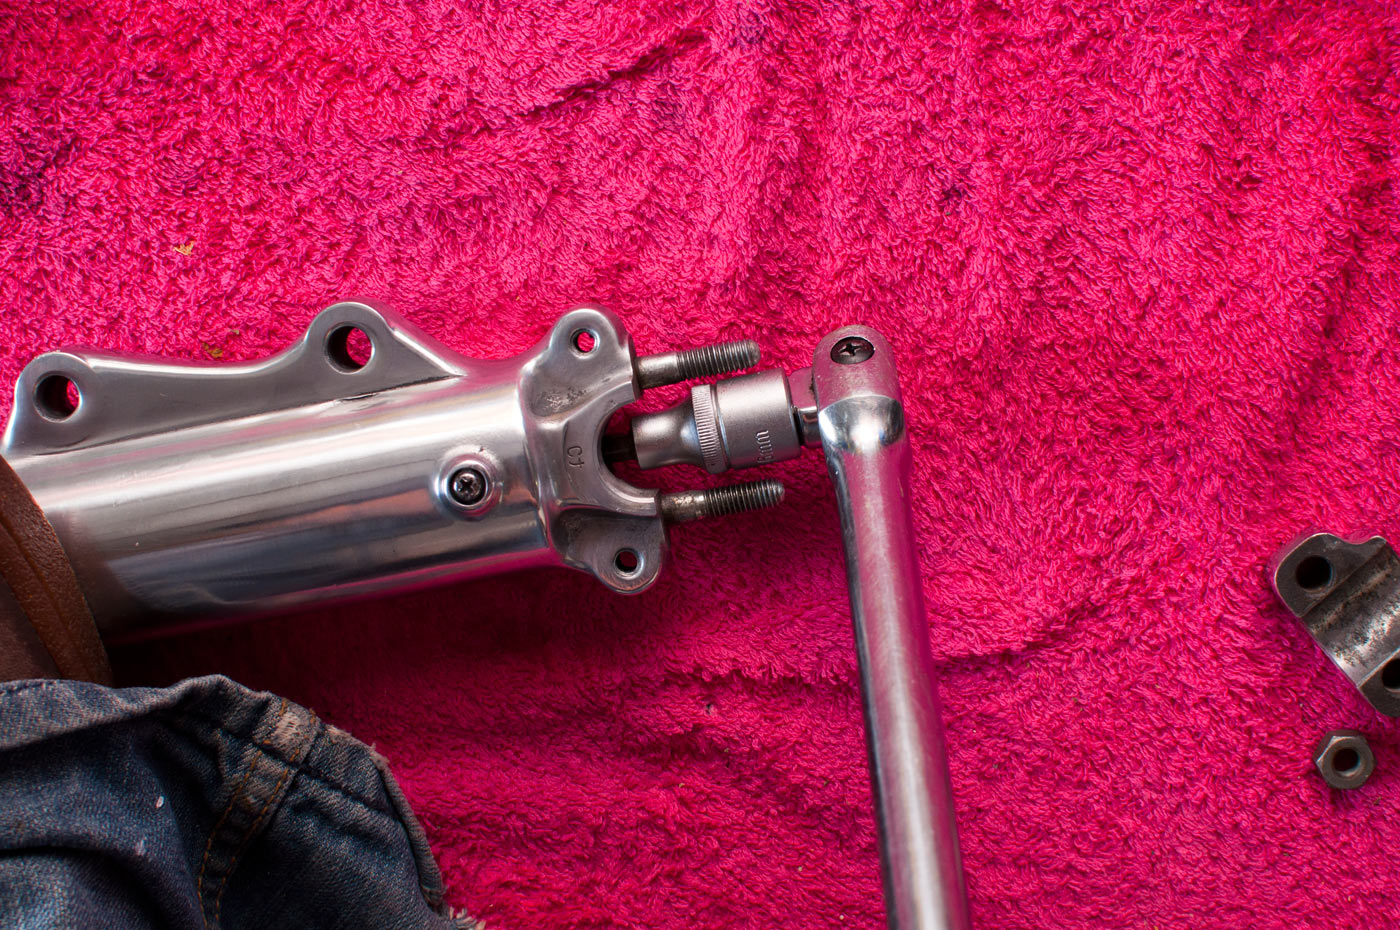
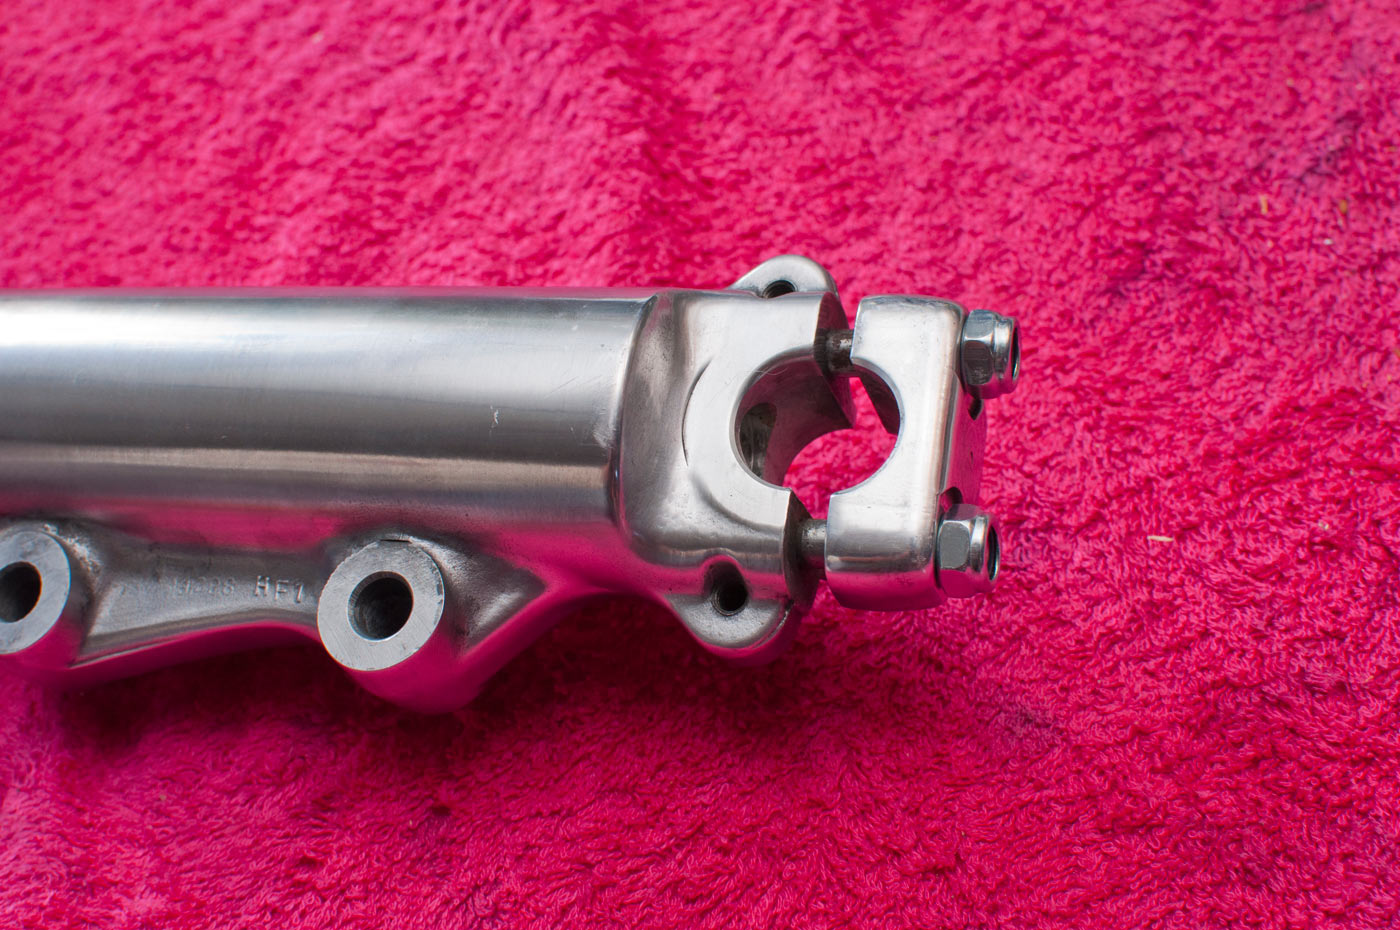
The next task is to get out the damping rod (terminology could be wrong). This is the bolt that holds it in place.
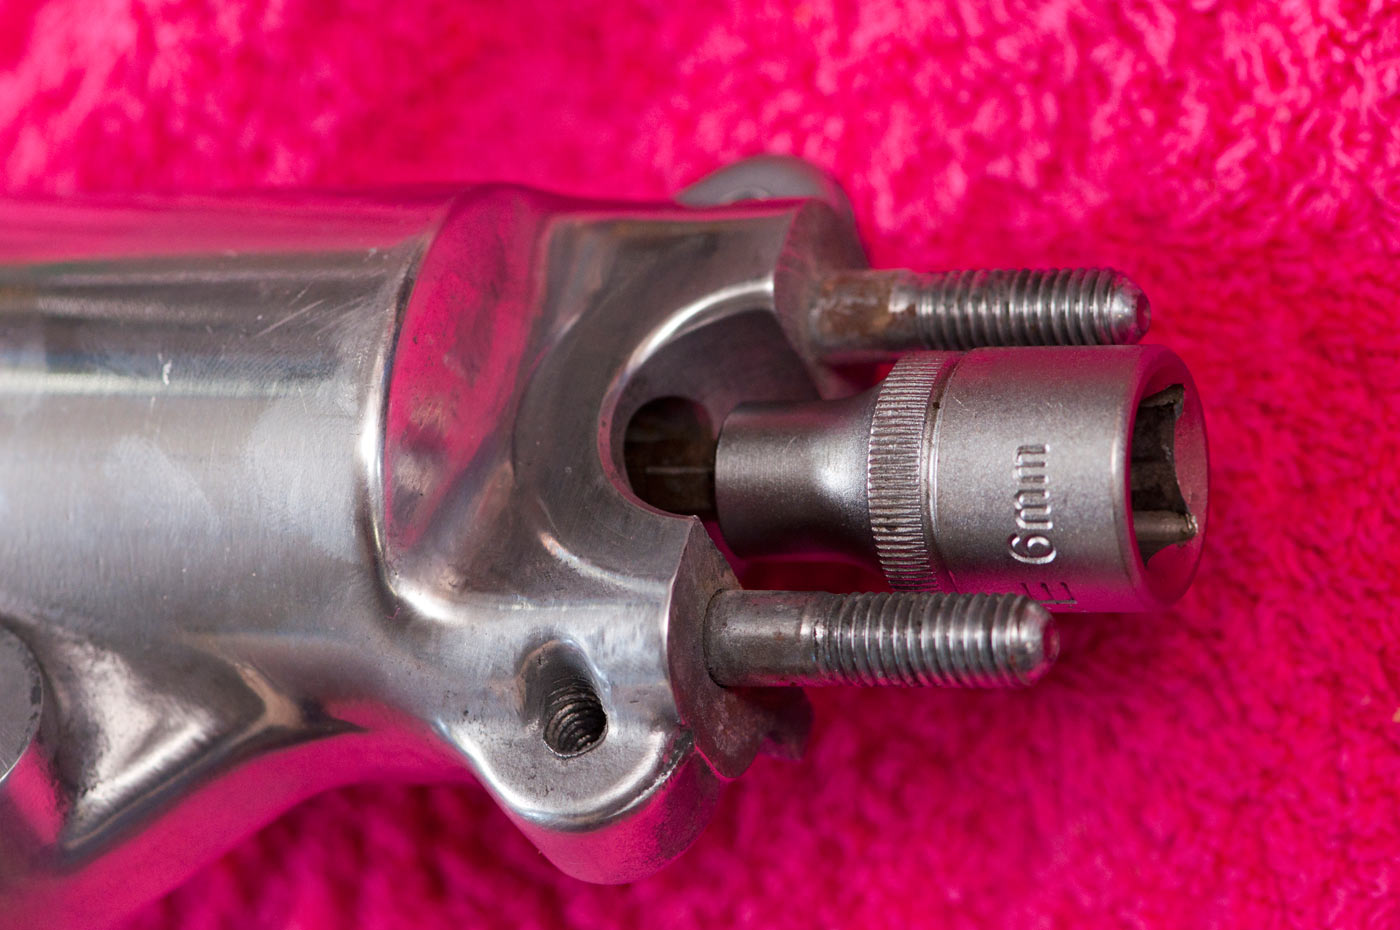
Most of the time, you need an extra long allen headed socket to get these. Tiny forks let you get away with a normal one. If you don’t have a long allen socket, you can make one out of an allen key and a 6 sided socket of the appropriate size.
Rattle gun to undo this sometimes, or carefully clamp the fork leg. Some bike manufacturers specify red loctite here; somewhat dumb as it isn’t oil safe, but a hit of heat from a small blowtorch and a tap or three with a hammer on the allen headed socket helps to undo any locking compound.
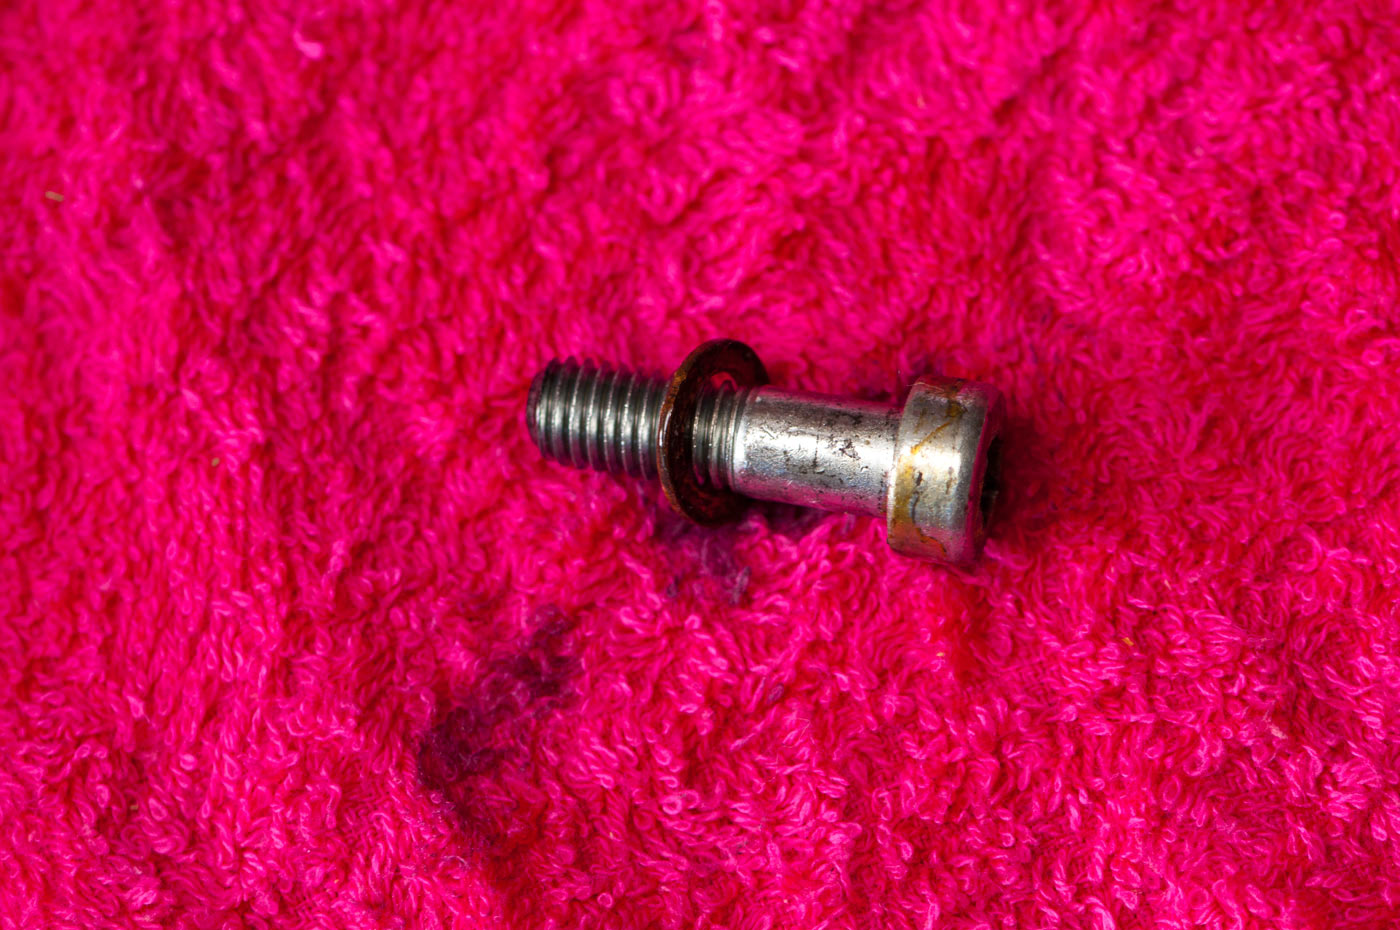
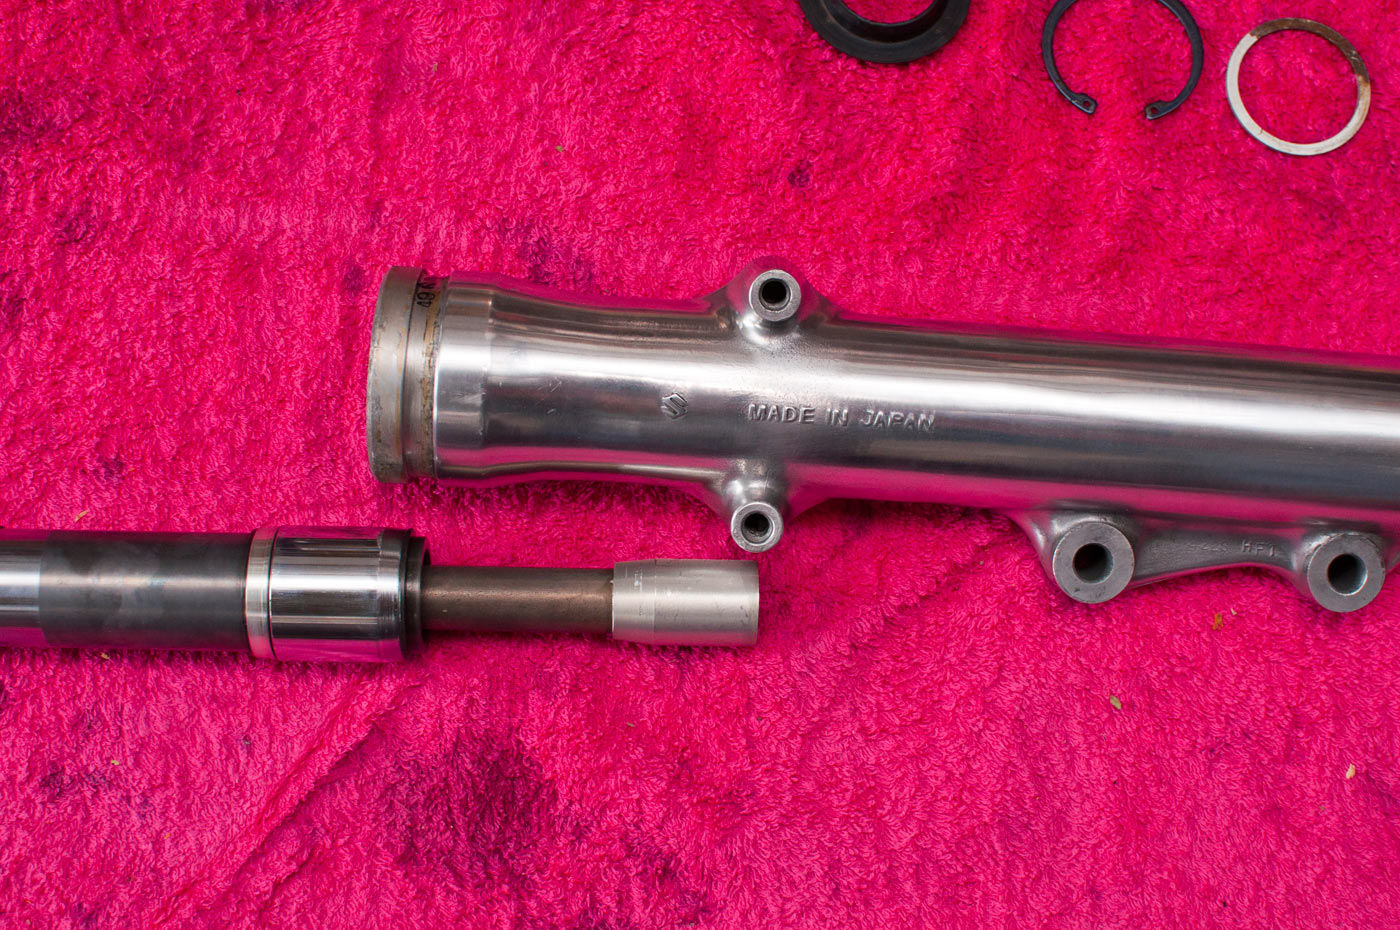
Bolt out. Note the sealing washer, made of copper. Best if you buy a new one to make sure when you reassemble it won’t leak. In this case there’s not a choice (it’s a stupid size) so I’ll show you how to deal with it so it won’t leak in a bit.
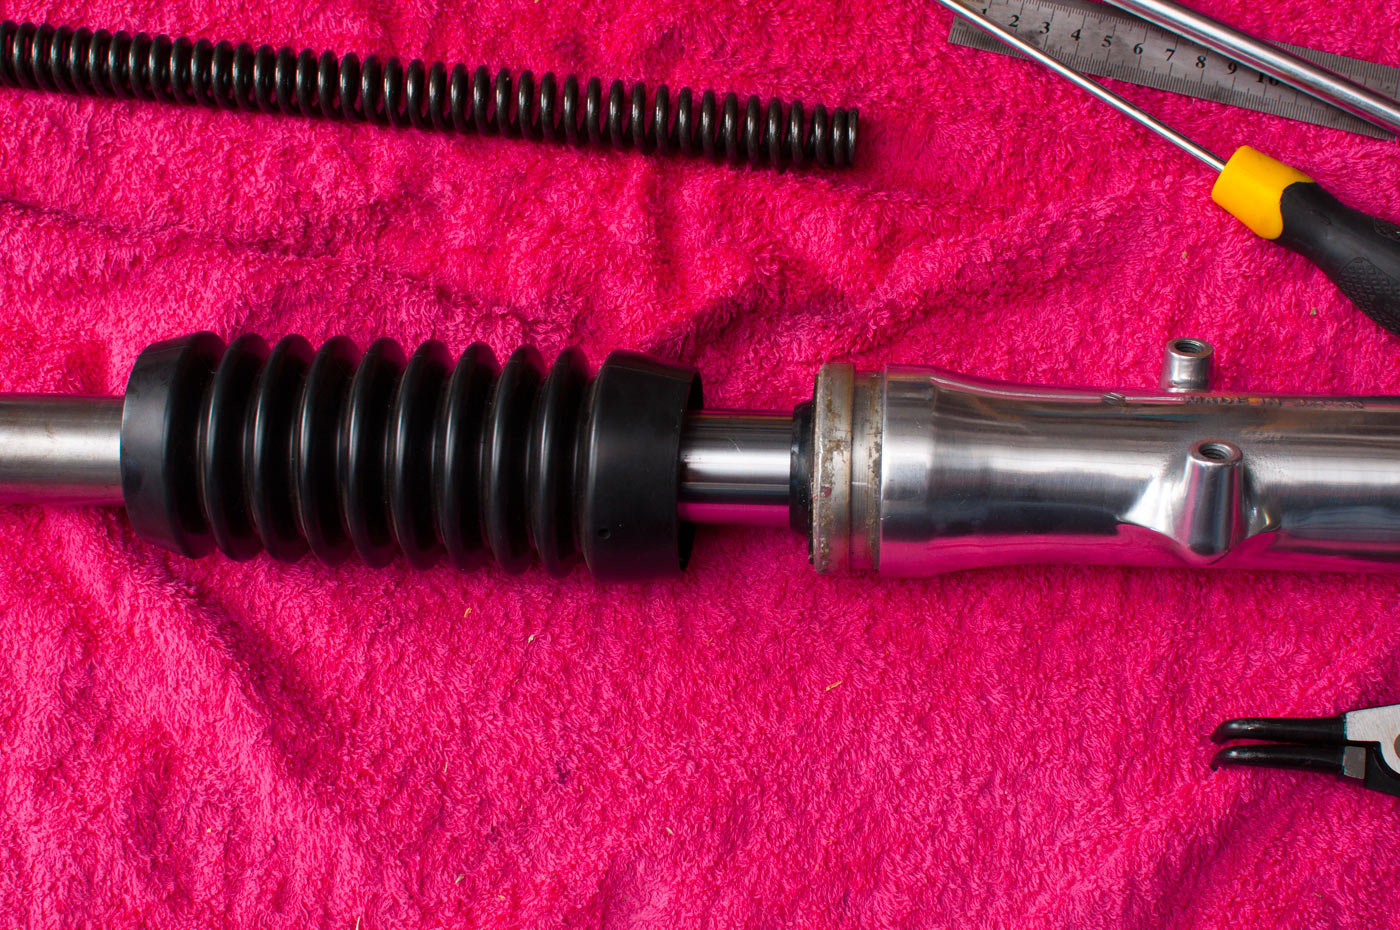
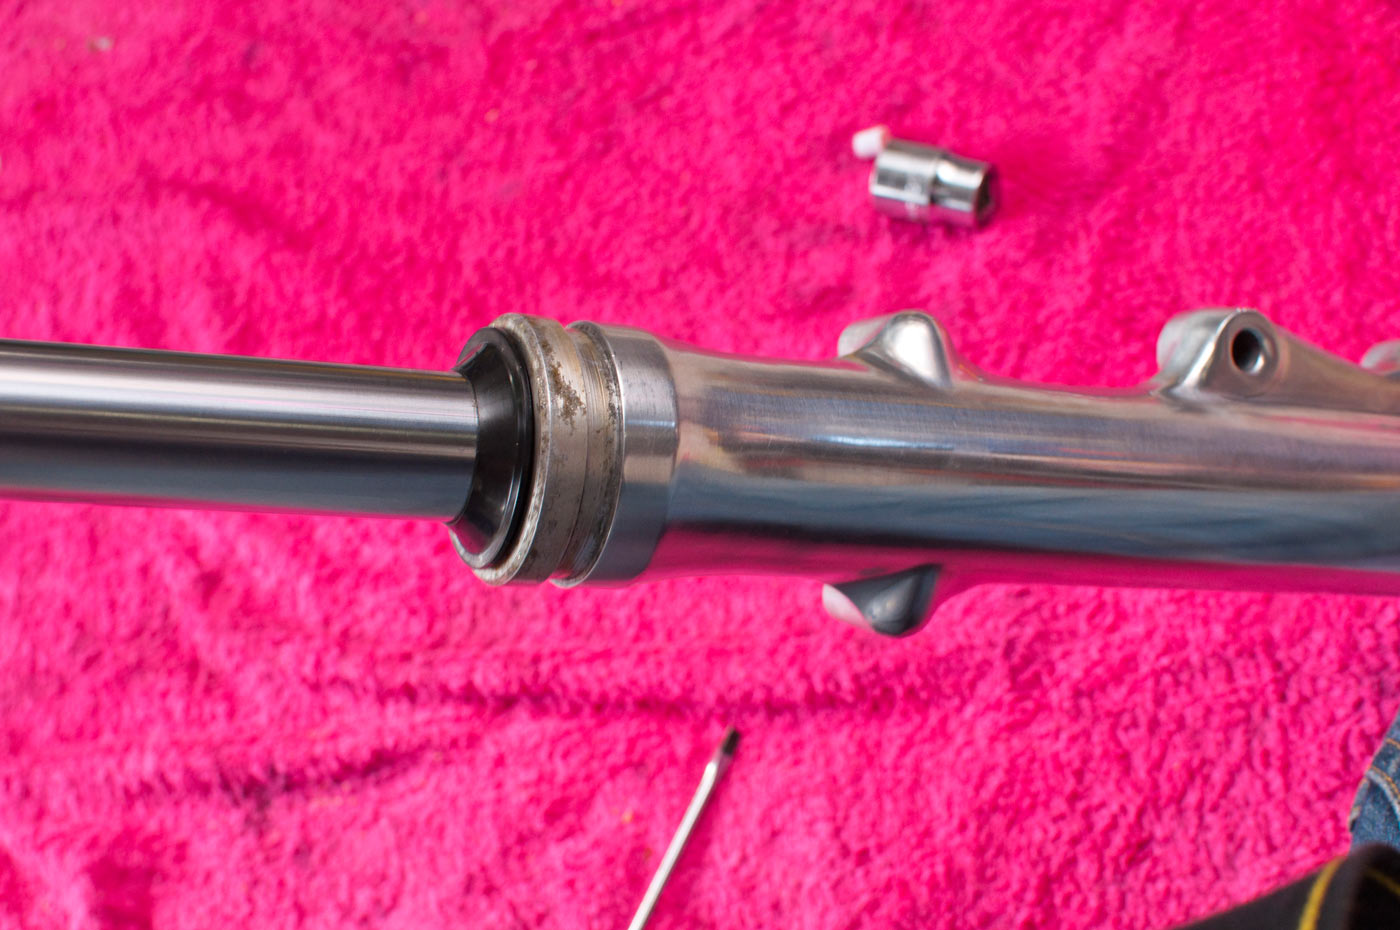
Fork gaiter off. No tricks here, just prise it up with something soft so as not to chip the alloy etc.
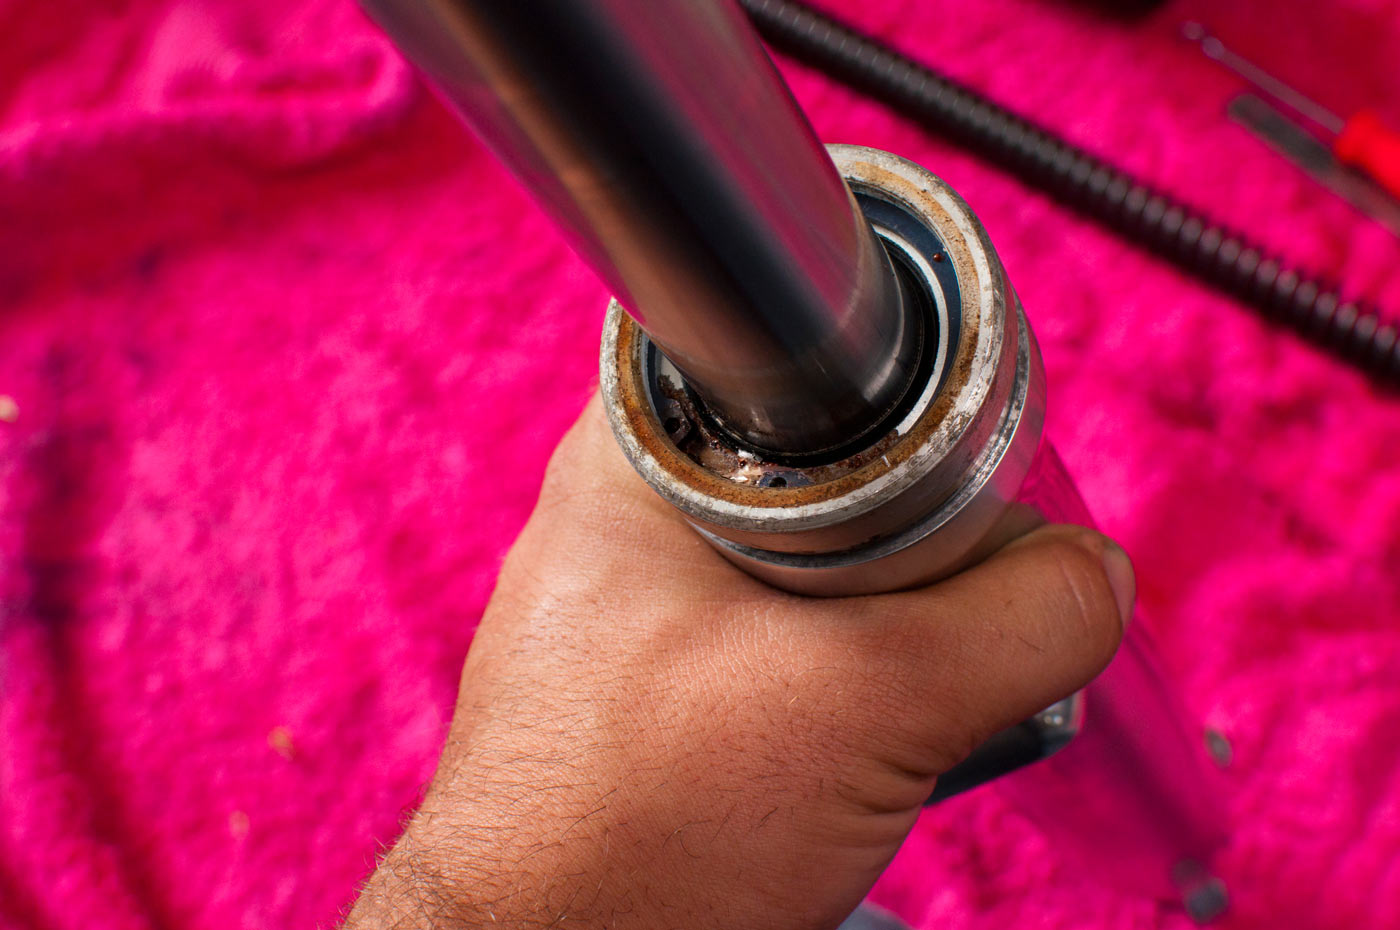
Dust seal. Not on all forks. Dentist picks help here, but again, be careful not to damage the fork leg especially on old bikes.
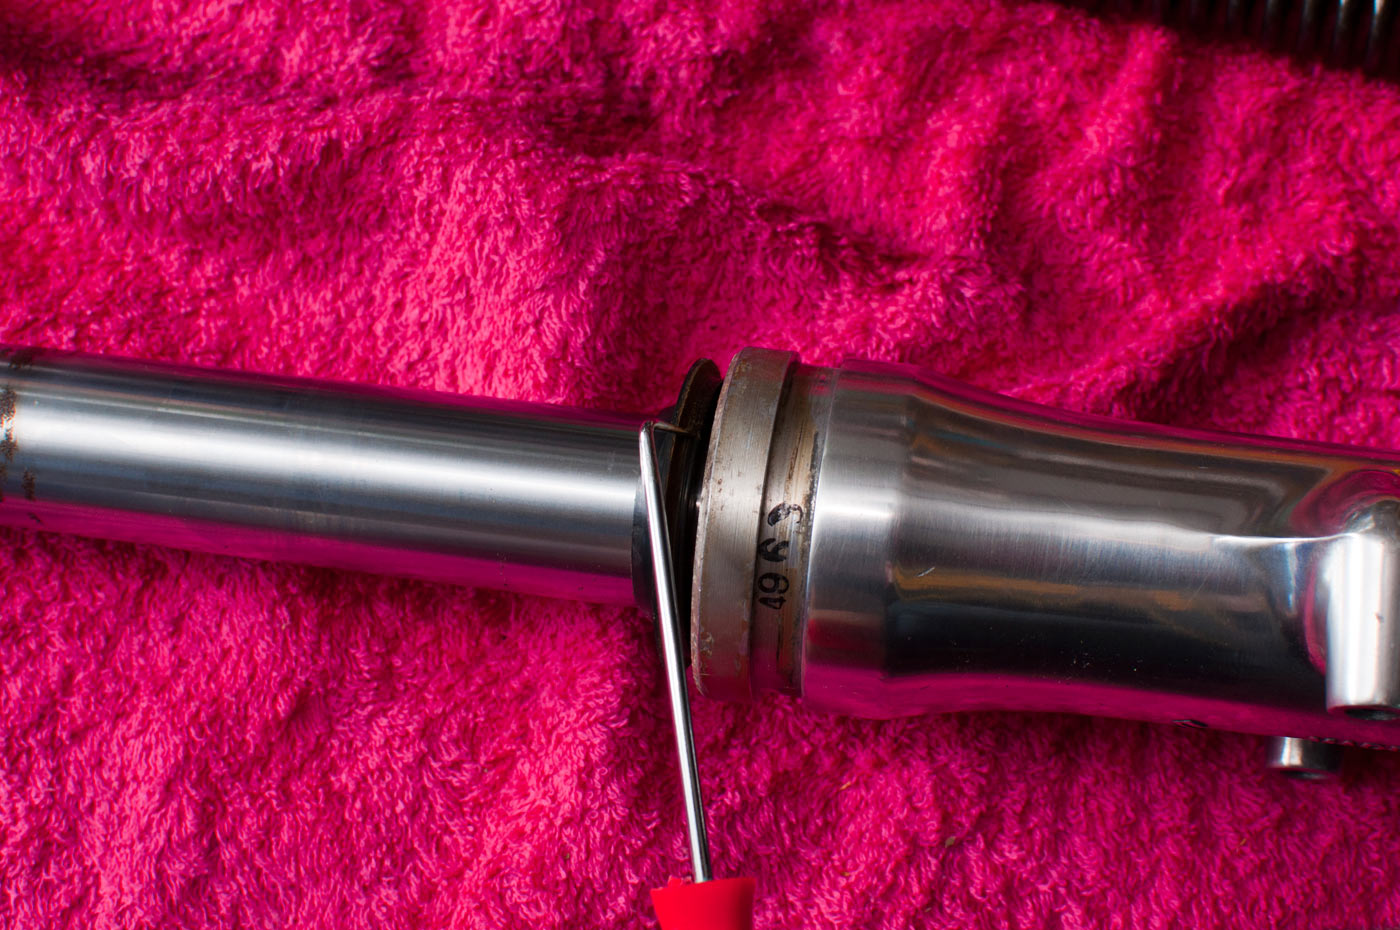
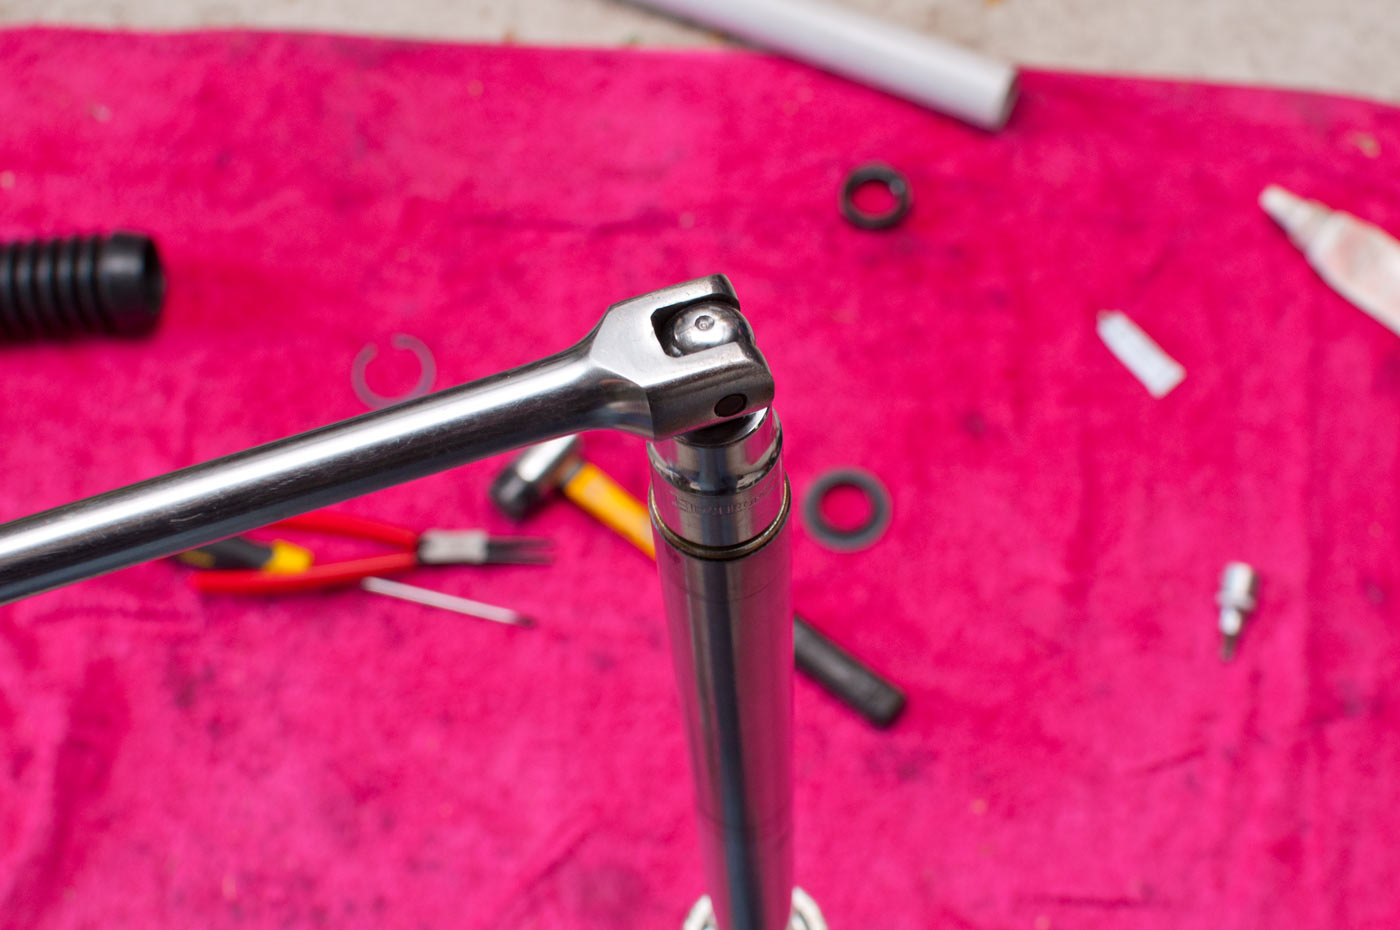
Now we can see the circlip that retains the fork seal. Some bikes just use a slightly weird ring style that comes off with a couple of small screwdrivers; this is a proper internal circlip.
Proper circlip pliers help a bunch here.

With the circlip out, use a dentist pick to get the washer that stops you ripping the seal with your circlip pliers. Not all forks have these.
With the damping rod undone, it’s time to pop the fork seal out. You can use fork seal removal tools or lots of other ways, I tend to use ‘wank’ (best description of the motion 😉 ) the fork slider up a bunch of times to work the fork seal out. Here it’s half out.

Fully out. Fork slider is now visible.
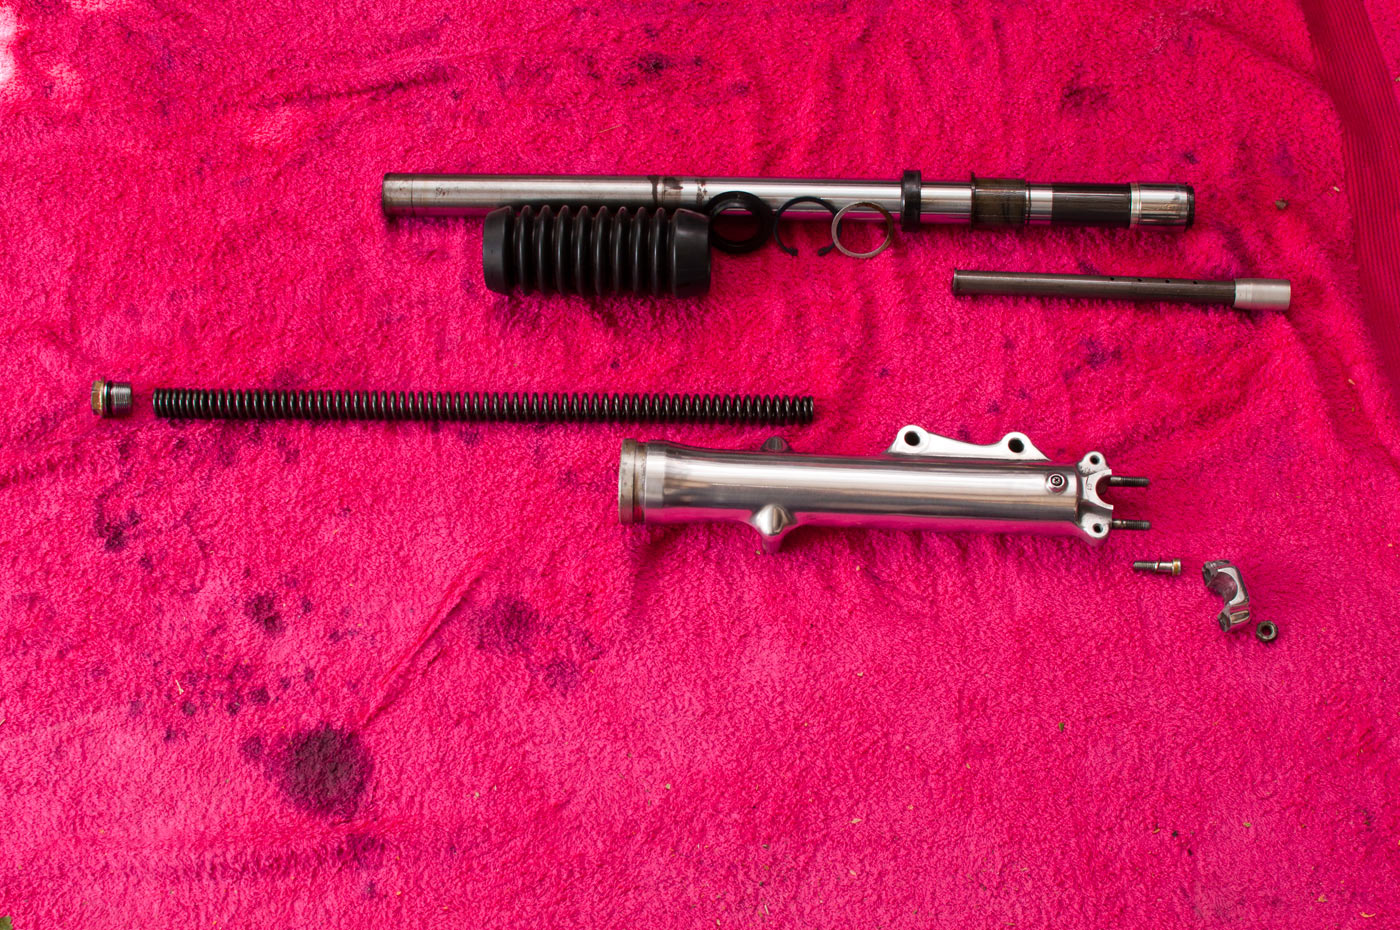
Good idea to lay out all of the components in the order they go into the fork. Helps reassembly.
Now comes the tedious part of cleaning everything up. Some pro tips:
* Brake and parts cleaner is good.
* Remove any chips or burrs in the fork slider, especially where the fork slider runs up and down through the seal, with various grades of steel wool. Coare, fine and super fine are usually sufficient.
* Remove rust with rust removal stuff e.g. a rust converter or something like Reducteur H-72.
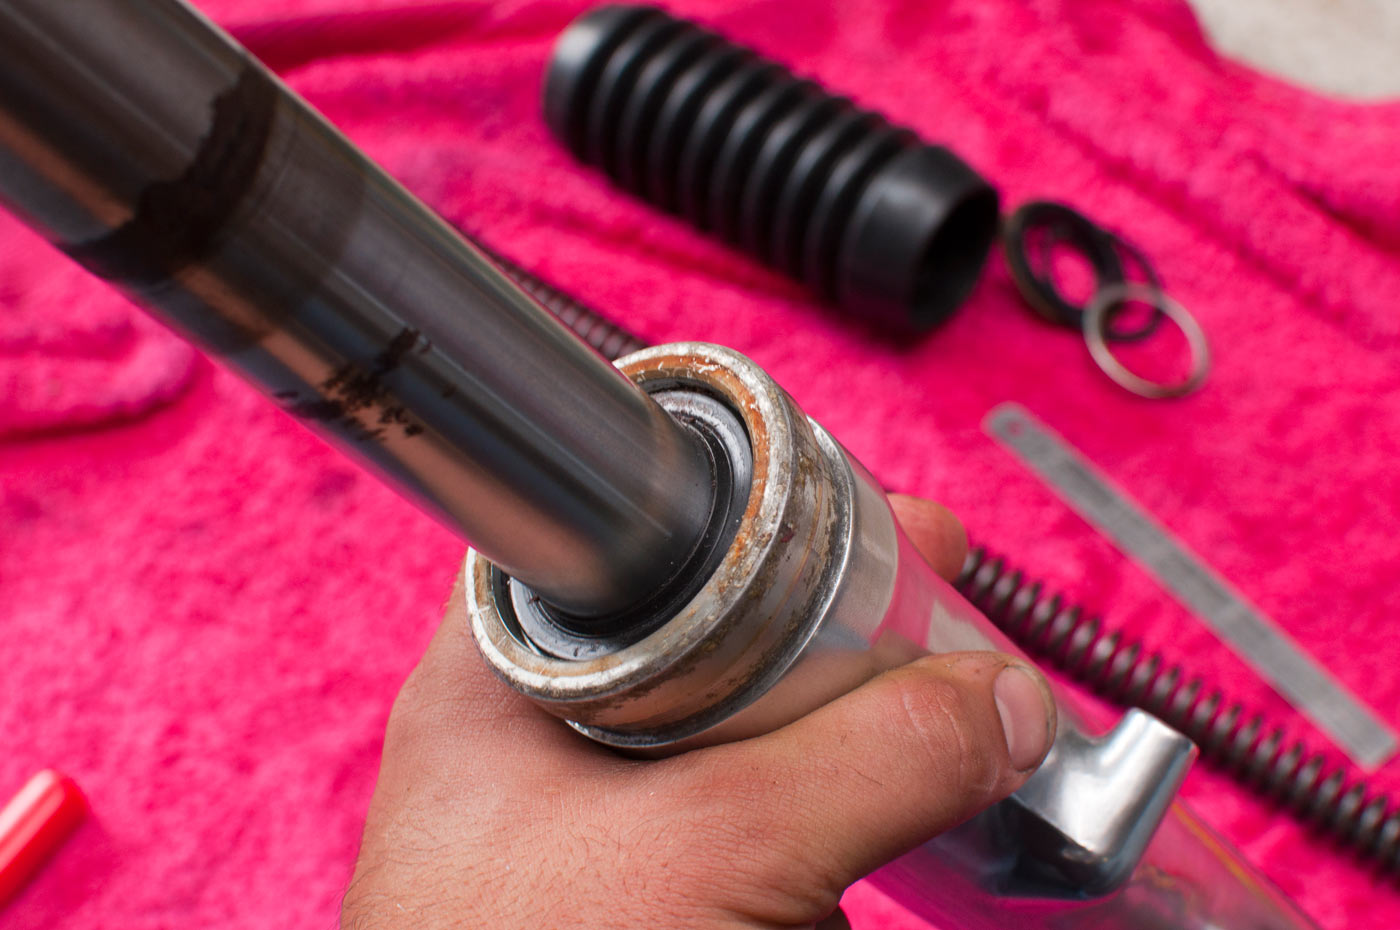
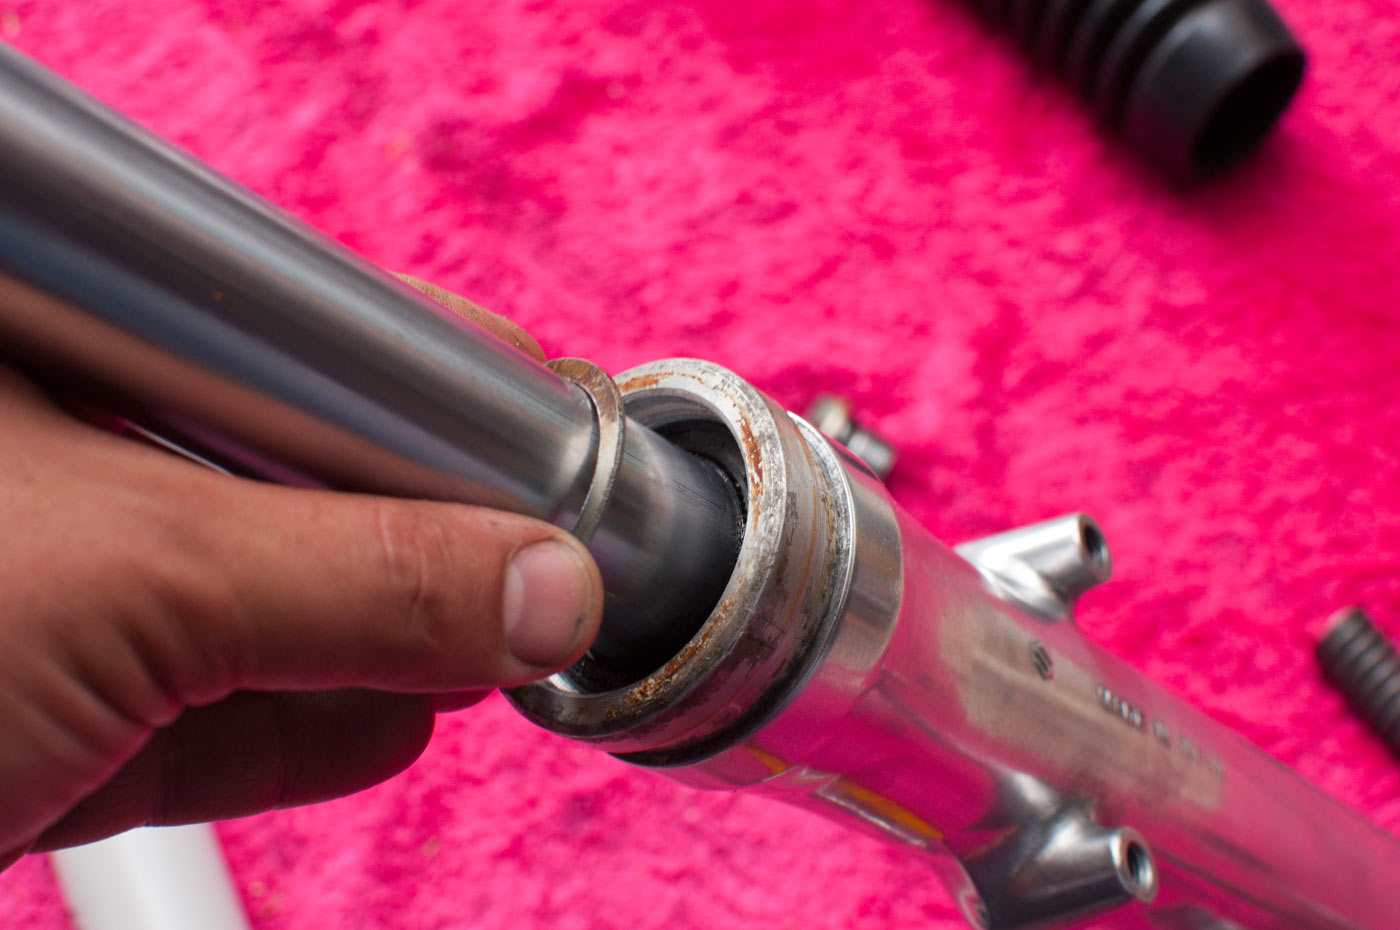
These forks had a bunch of rust on the slider. None where the slider goes through the seal, but a bunch on the chrome where they met the triple clamps. This still isn’t good, as you can rip the fork seal putting it on over the slider. Took me about an hour with rust converter and steel wool to remove the majority of the rust and polish the fork slider up to the point where it felt mirror smooth.
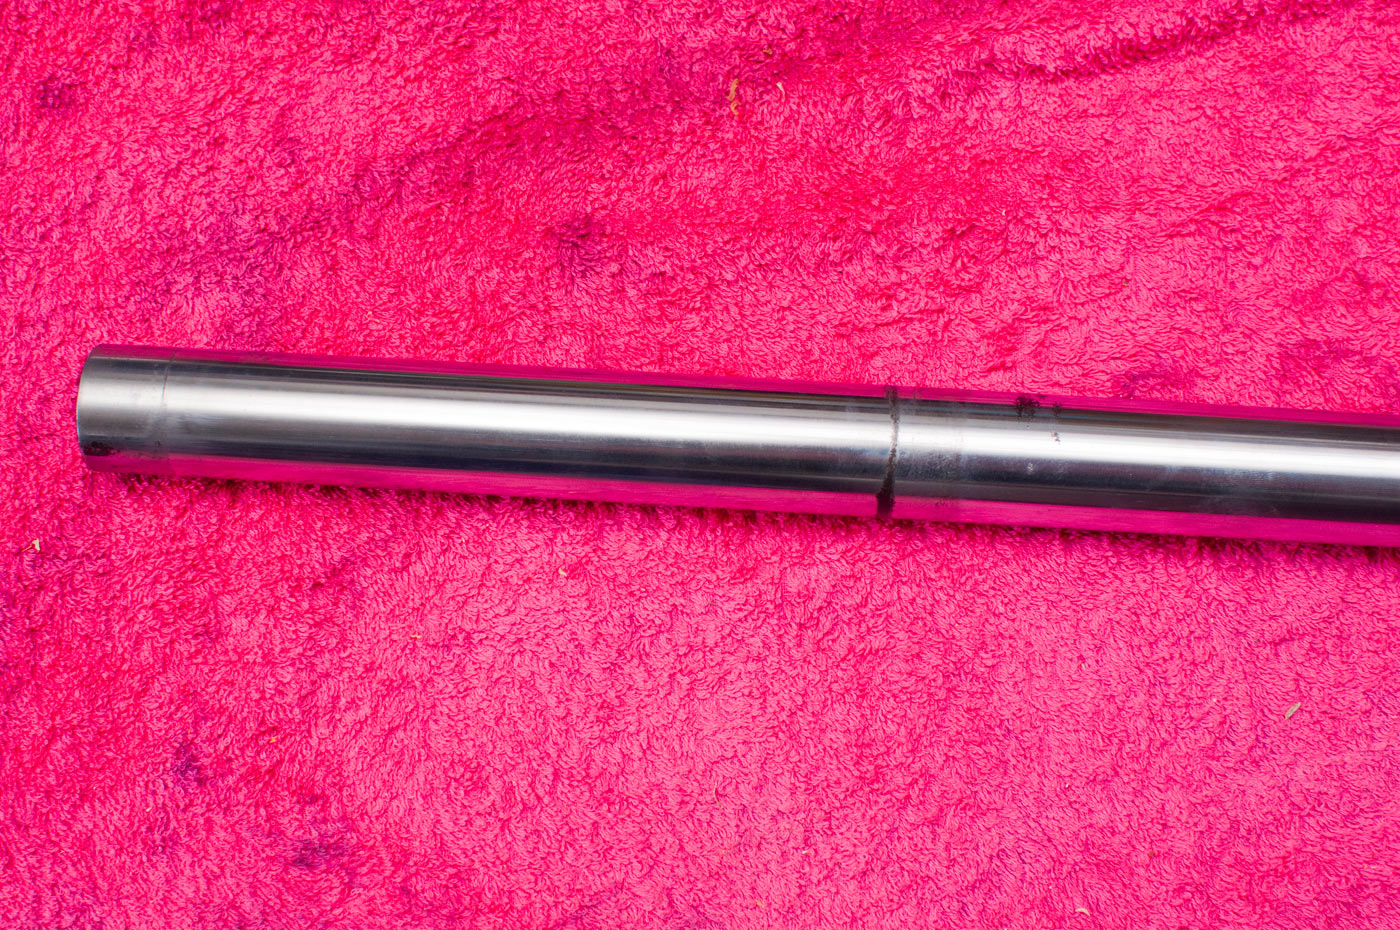
It isn’t perfect but you don’t expect that on 40+ year old forks. A whole lot better than how it was, though.
With everything clean, it’s now time to reassemble the fork.
Damping rod inside the slider. This helps to keep it centralised to line up the bolt at the bottom.
Time to deal with that sealing washer, if it happens to be made of copper and you can’t get a new one. They’re usually cheap, but this one is a strange external diameter (to fit into the fork bottom) that no-one could get me, and it’s NLA from Suzuki.
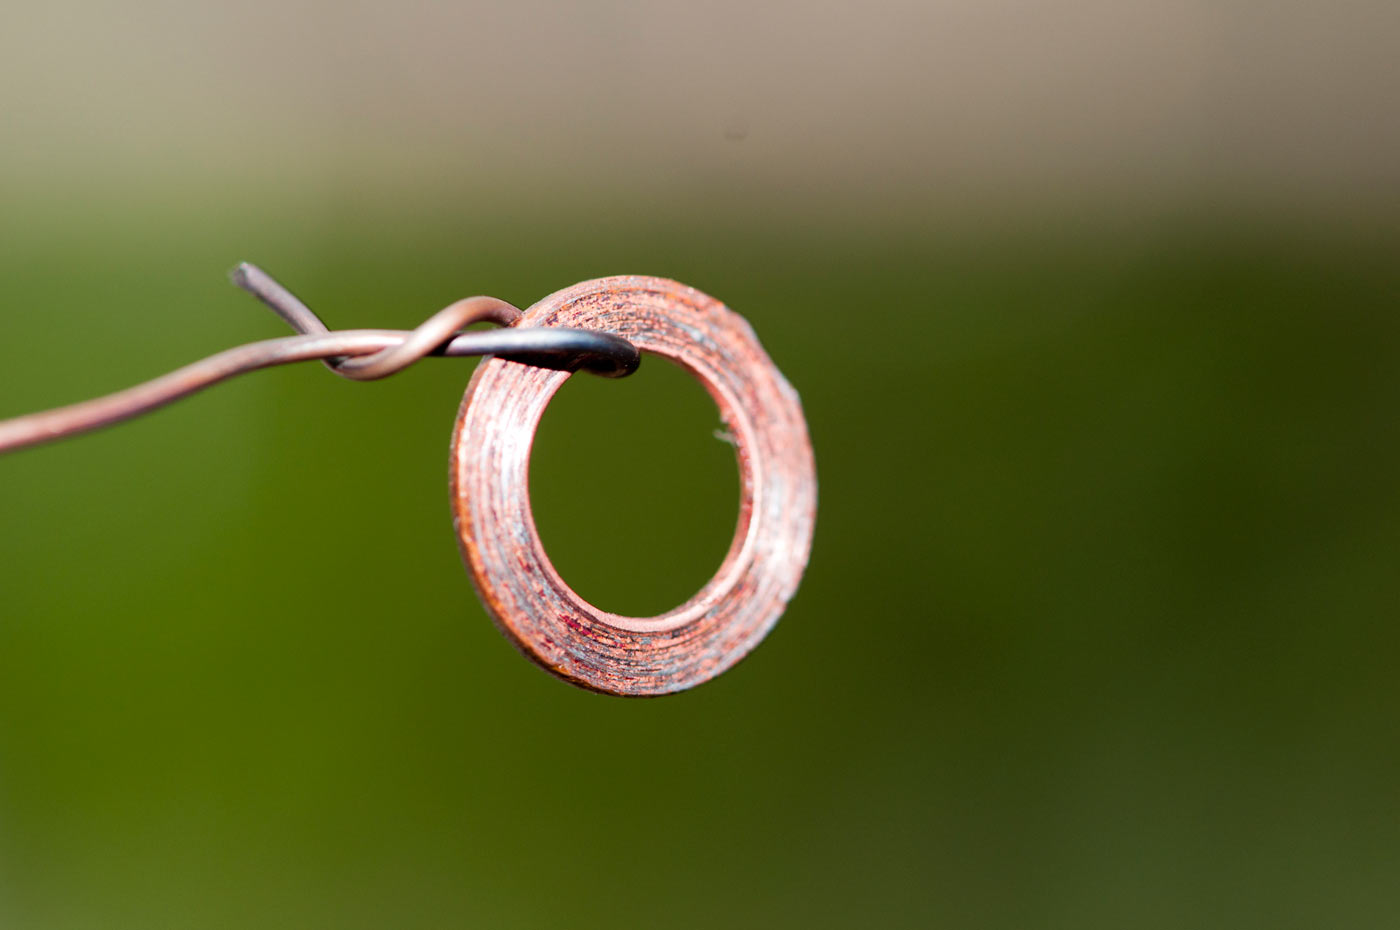
Hang the washer on a bit of wire.
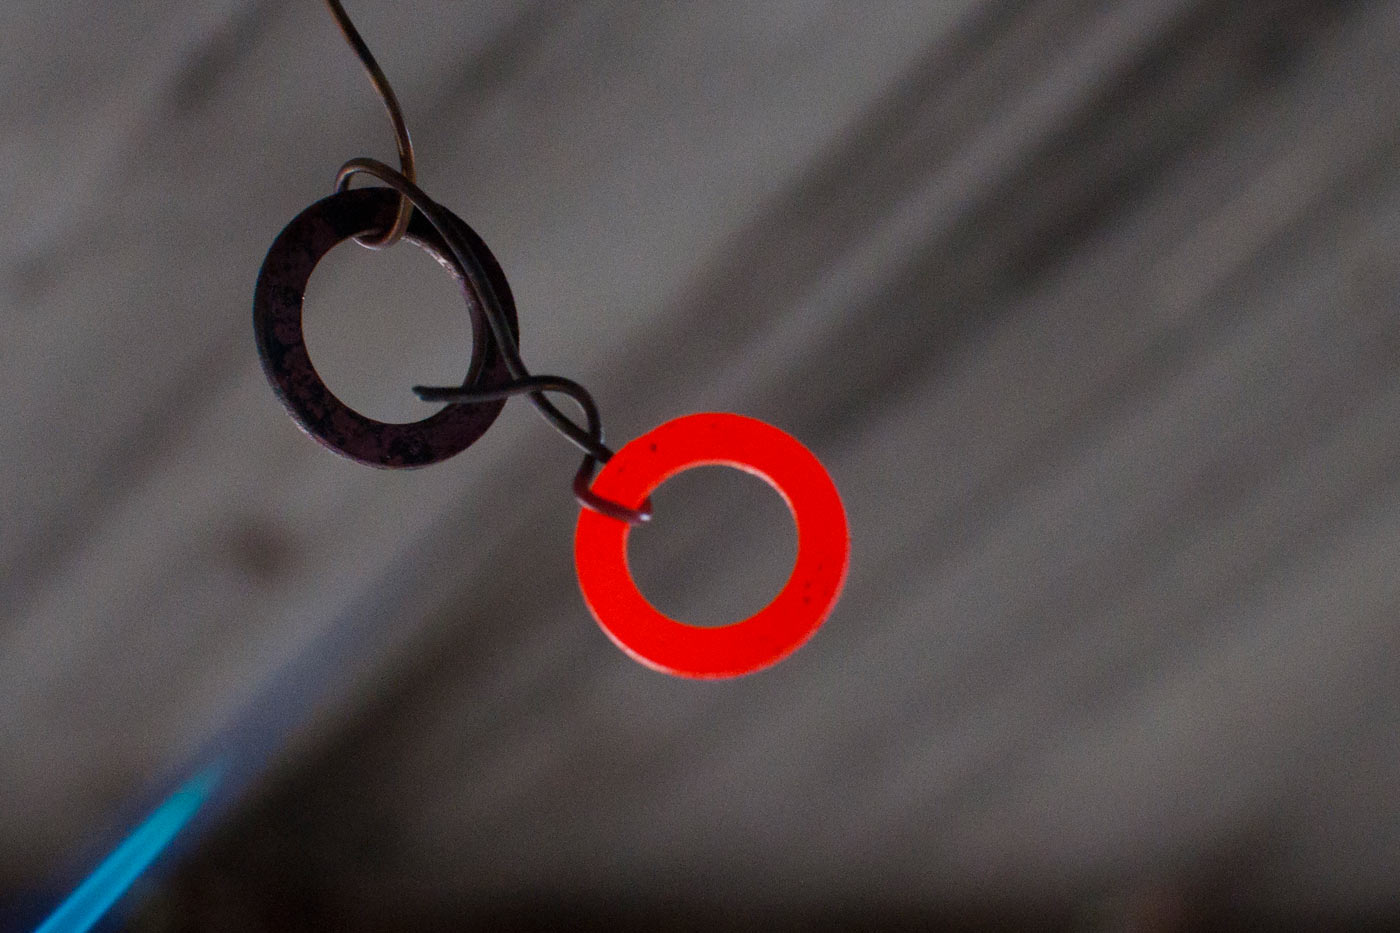
Use a mini blowtorch to heat it up to cherry red. 2nd washer there is from a brake system and is there to show you an unheated copper washer.
Let it air cool. Now it’s annealed and ready to go.
Some manufacturers specify some thread locking compound on the damping rod bolt. Not cool if they come loose. At the same time, the locking compound helps to seal the bolt in case the washer seal isn’t perfect. Fork oil leaking out of the bottom sucks a lot, too.
I like to mix it up a little here. Loctite make a great product called master pipe sealant.

There are various grades, but one is high temperature and resistant to oil, petrol etc. This is great for sealing sump plugs and the like, and beats using teflon tape for plumbing jobs.
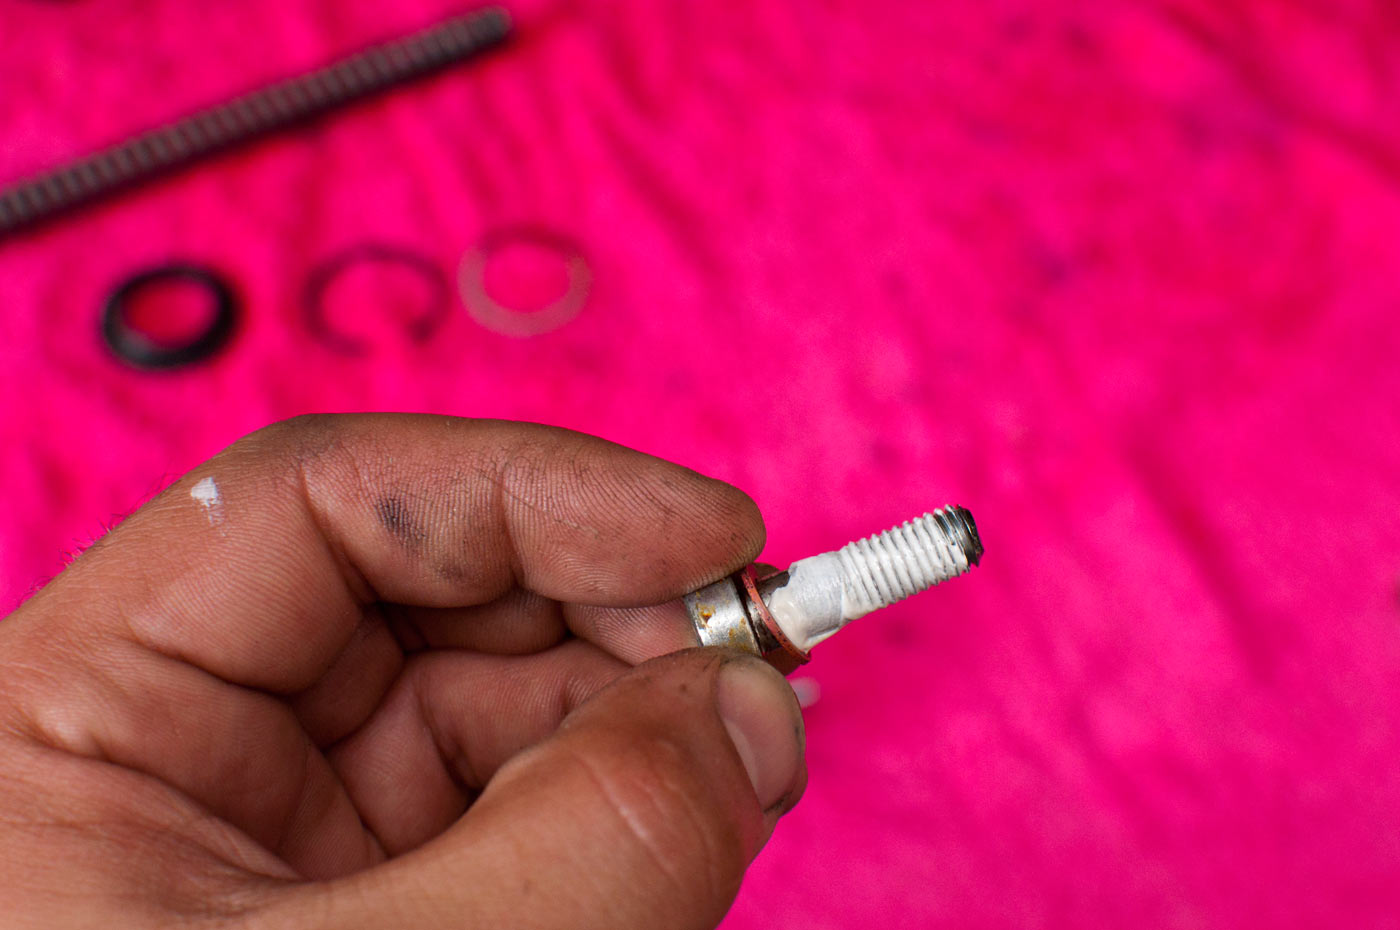
You don’t need much, but it definitely helps. Really good for those who are too lazy to buy new sump plug washers when they change their oil, too. Since it’s a locking compound as well, it helps to make sure you won’t have the plug coming loose either.

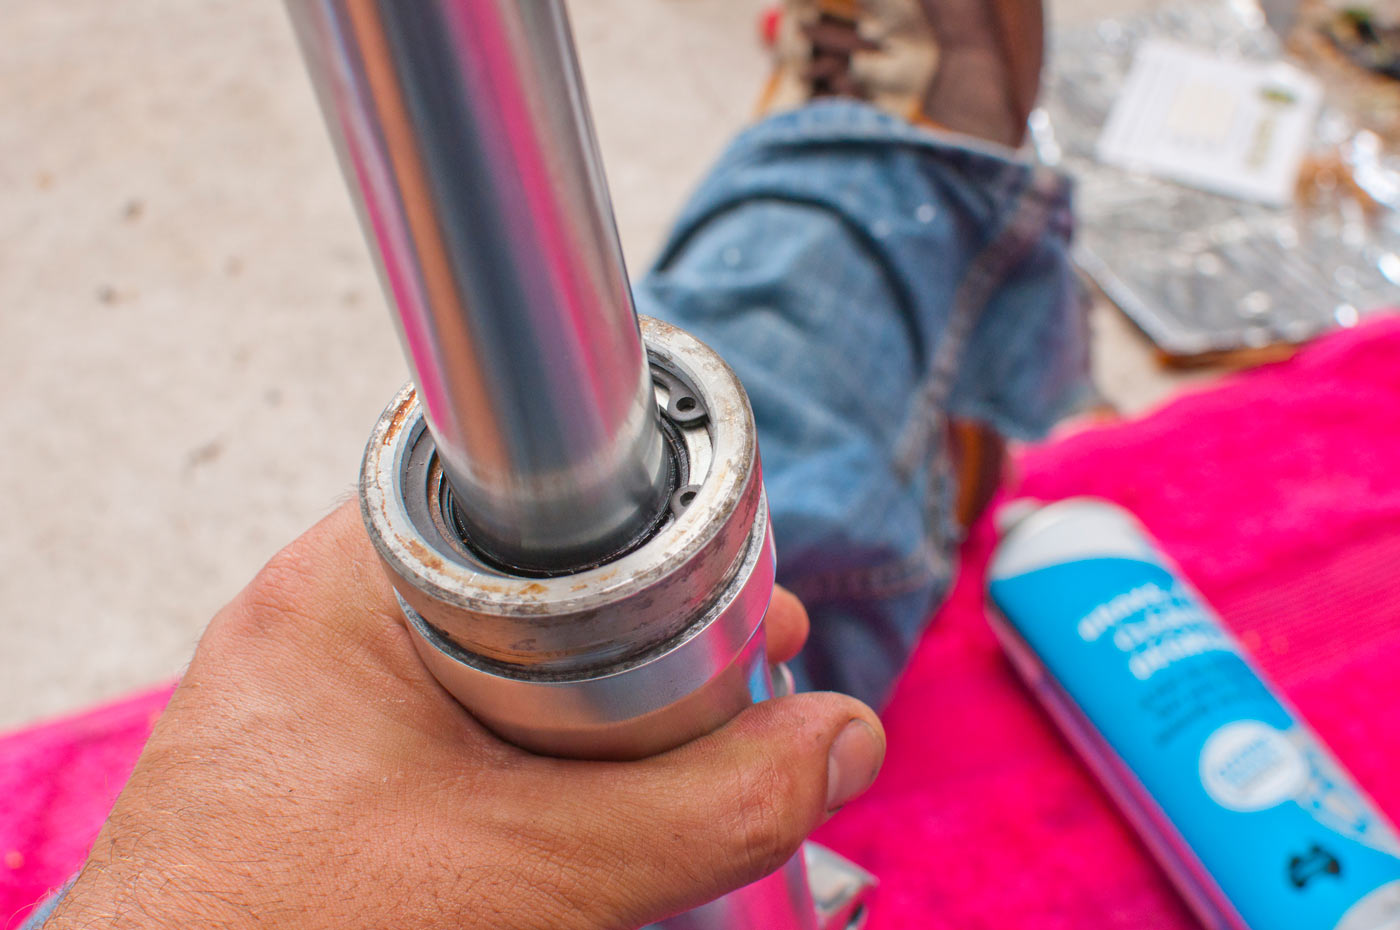
Now we make sure the fork slider is carefully pushed all the way into the fork. Make sure you push in the fork slider guide, too (which is the bit you can see sticking out of the fork leg).
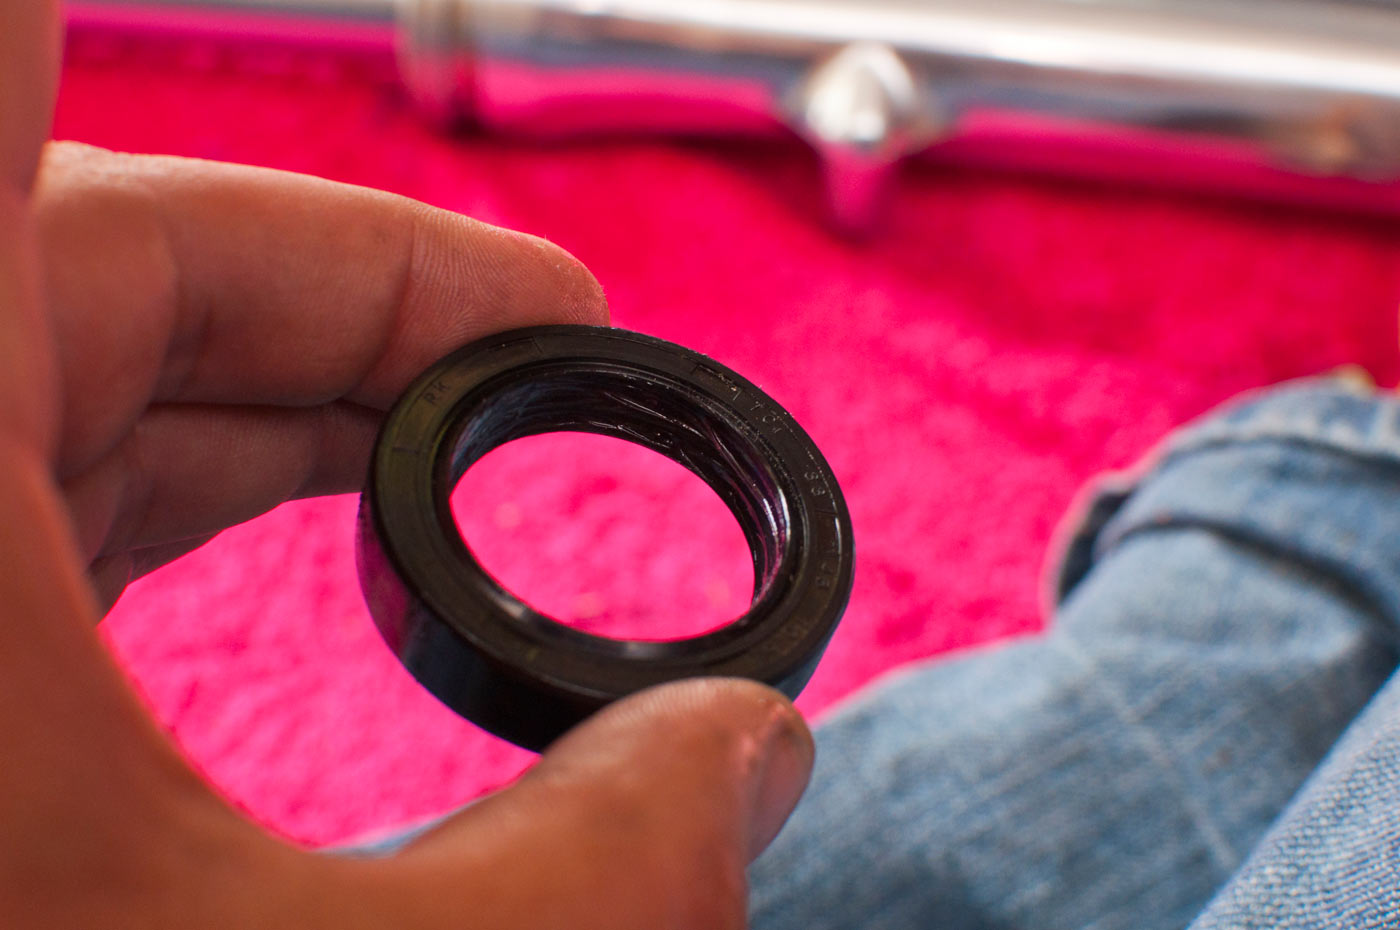
Fork seal. They usually come with some grease, this is for the inside mostly to make sure it slides nicely down over the slider and doesn’t get stuck on anything and rip (which causes leaking fork seals).
Fork seal slid alost down the slider into the fork leg.
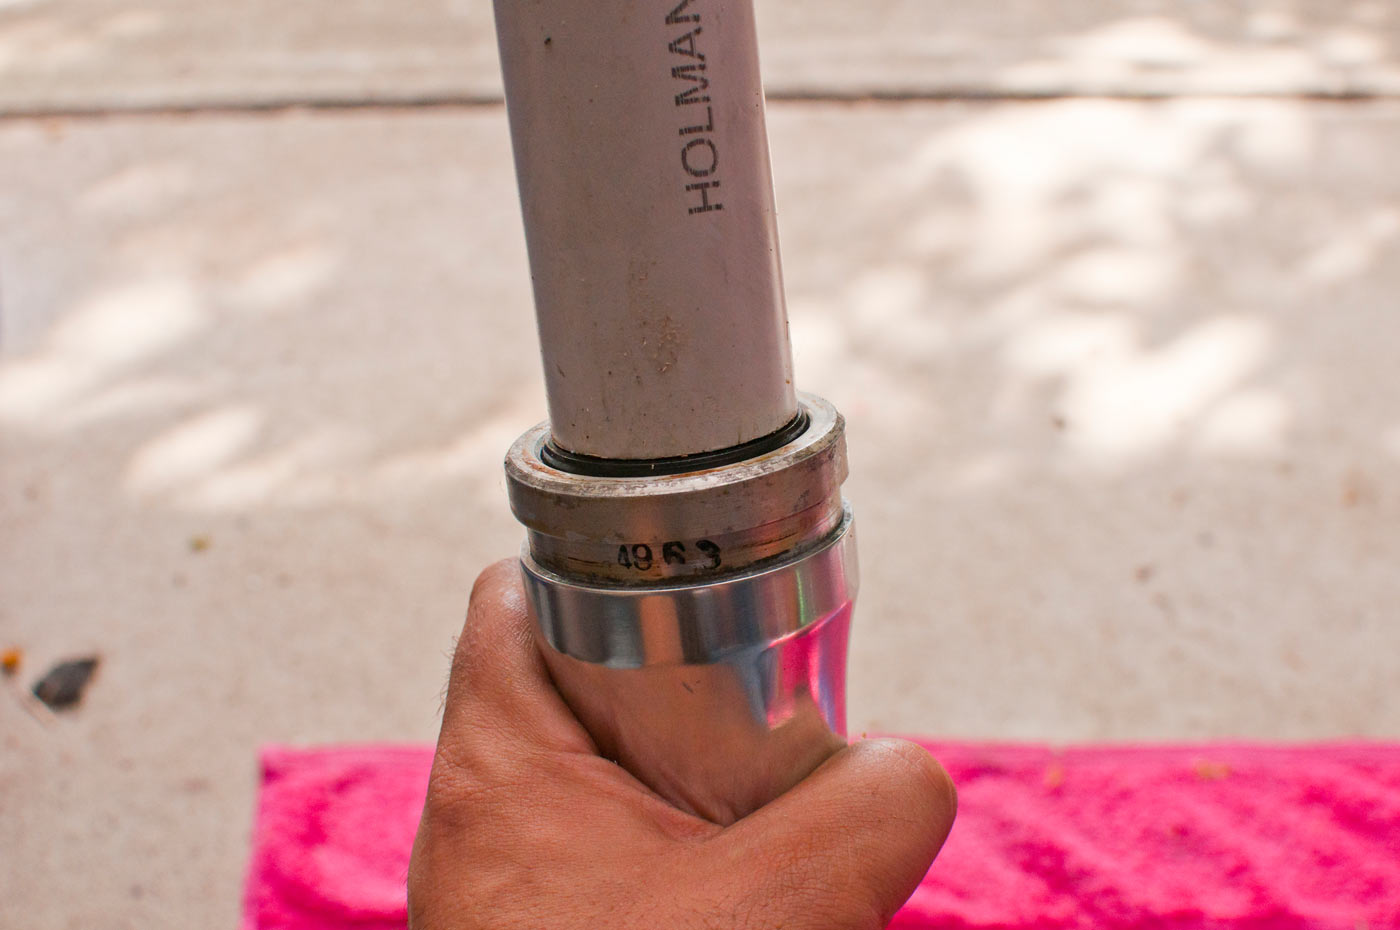
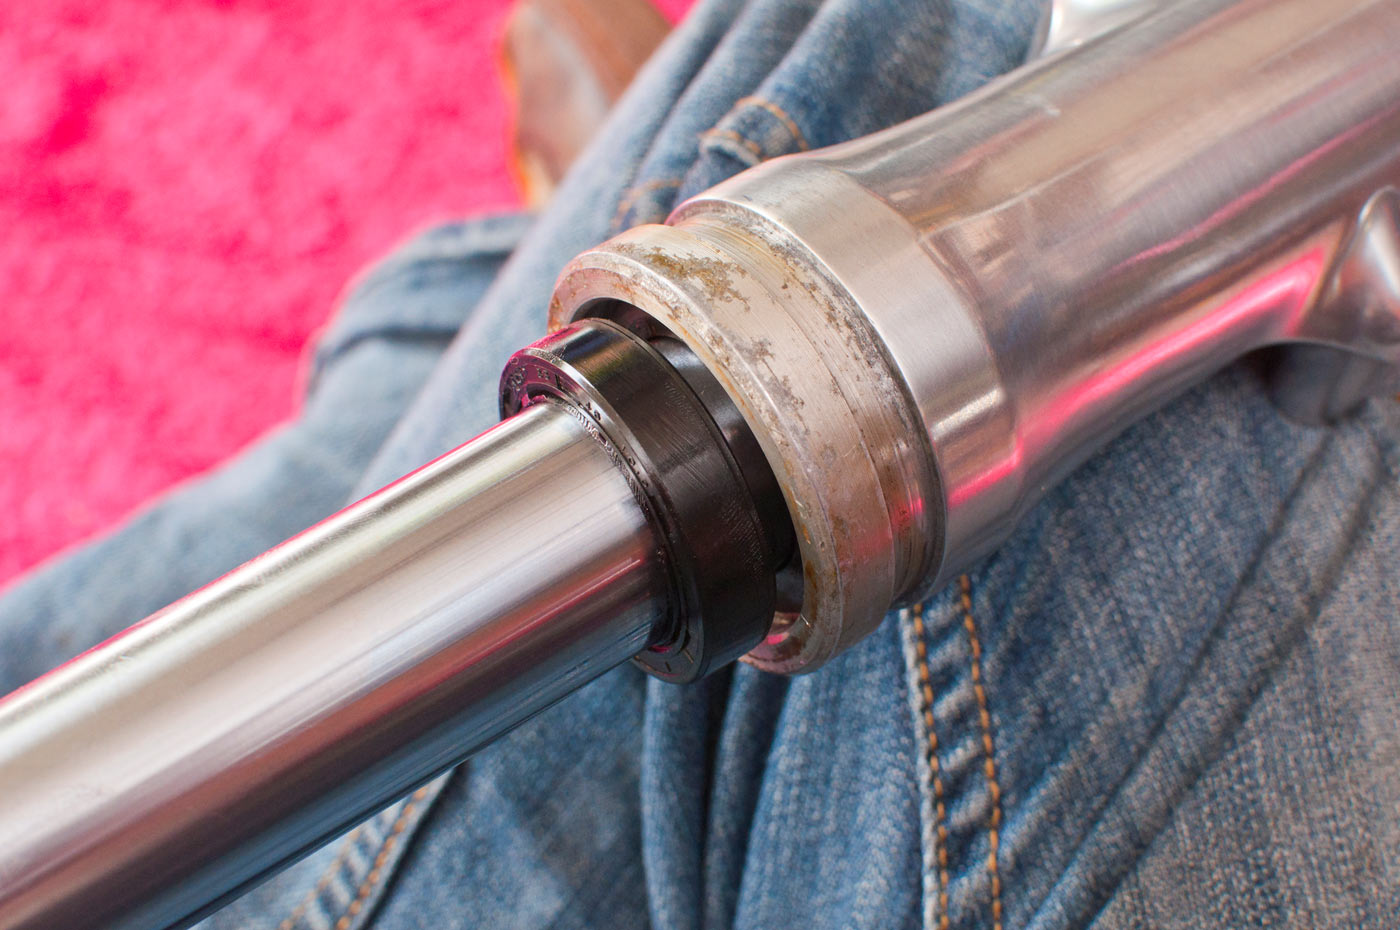
There are proper fork seal drivers which make this easier, but in a pinch some PVC pipe does. Make sure you carefully drive it in nice and straight, and don’t cut into the fork seal.
Fork seal in, and washer going on.

Circlip time. I bought new ones; they were cheap from a bearing place and one side was completely rusted and destroyed.
Circlip going in.
Circlip in and sitting nicely.
Damping rod completely tightened. Will torque it up once I clean off enough space on the workbench to clamp it down.
At this point, I filled up the forks with 190 mL of 15W fork oil. Arguments vary on what viscosity to use; automatic transmission fluid is specified by the Haynes manual and it’s about 7.5W. Some people even talk of using monograde 30W engine oil as a fork oil to stiffen them up; getting the springing right is, imho, better than just overdamping the fork. We’ll measure the sag and look at different springs once the bike is assembled then play with the oil to get the damping just right once the bike is done.
Top cap on. Will fully torque it up when the fork is in the triple clamps (easier to hold then).
Bottom cap with new pretty and shiny nyloc nuts.
Dust seal mostly down, then I discovered my bit of PVC is just the wrong diameter. Too lazy to go out and buy another, but it’s not important till I’m ready to put the forks back in the bike.
There you go, disassembly and reassembly of some pretty simple forks.