
Installing footpeg/rearset riser plates: GSR750, GSX1300R, B-King

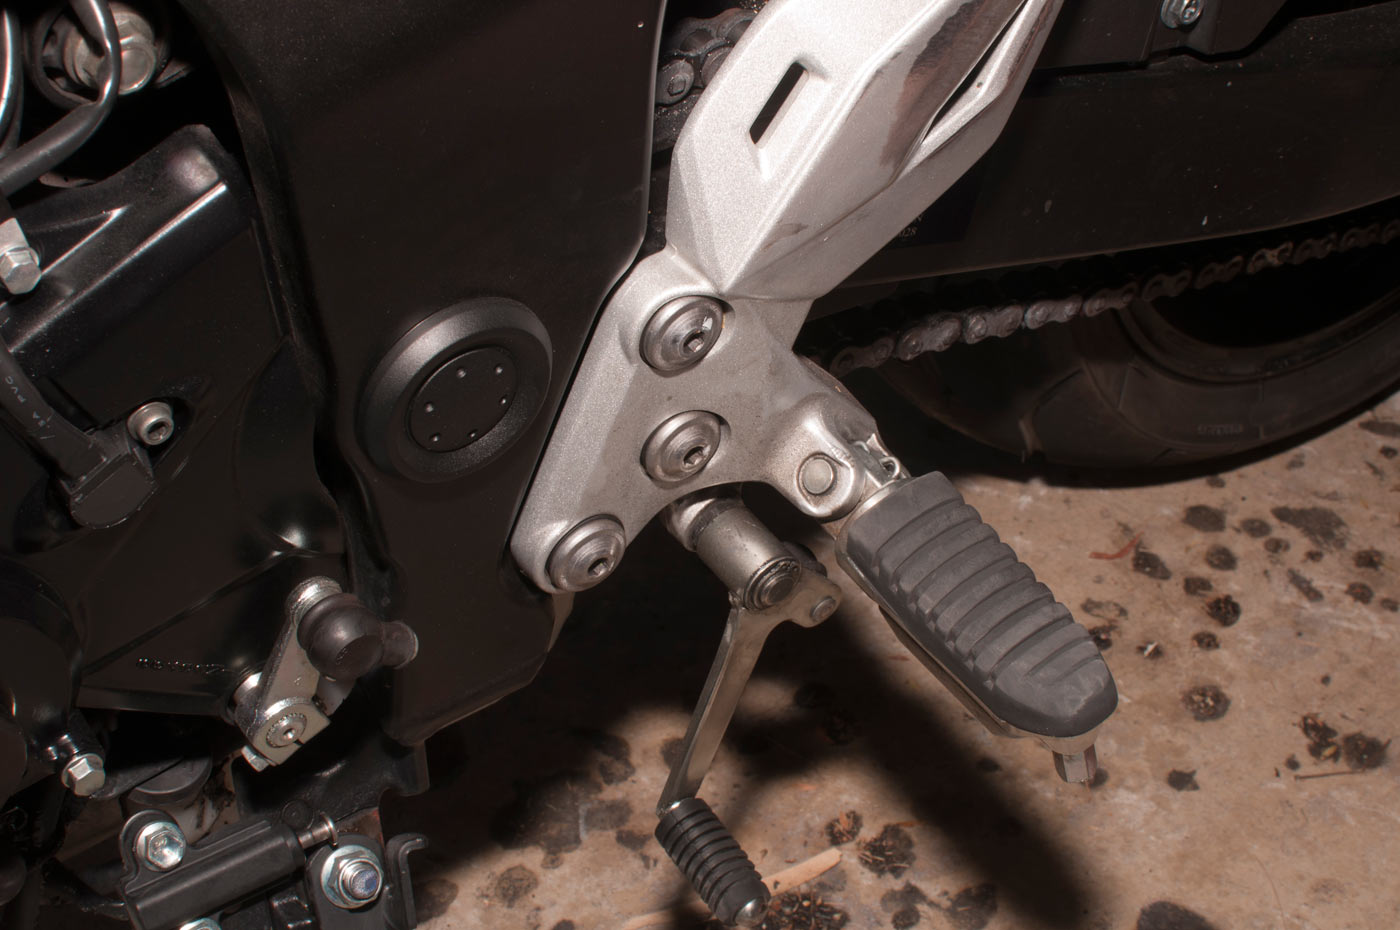
One of the problems with some motorbikes is a lack of ground clearance on the pegs but also a lack of affordable rearset options. Here I show how I helped a friend install ValterMoto rearsets on her GSR750. The same rearsets apparently bolt up to a gen1 Hayabusa (GSX1300R) and also a B-King. They’re pretty universal in design, so no doubt these would also be suitable instructions for many other makes using rearset/footpeg riser plates to gain some clearance!
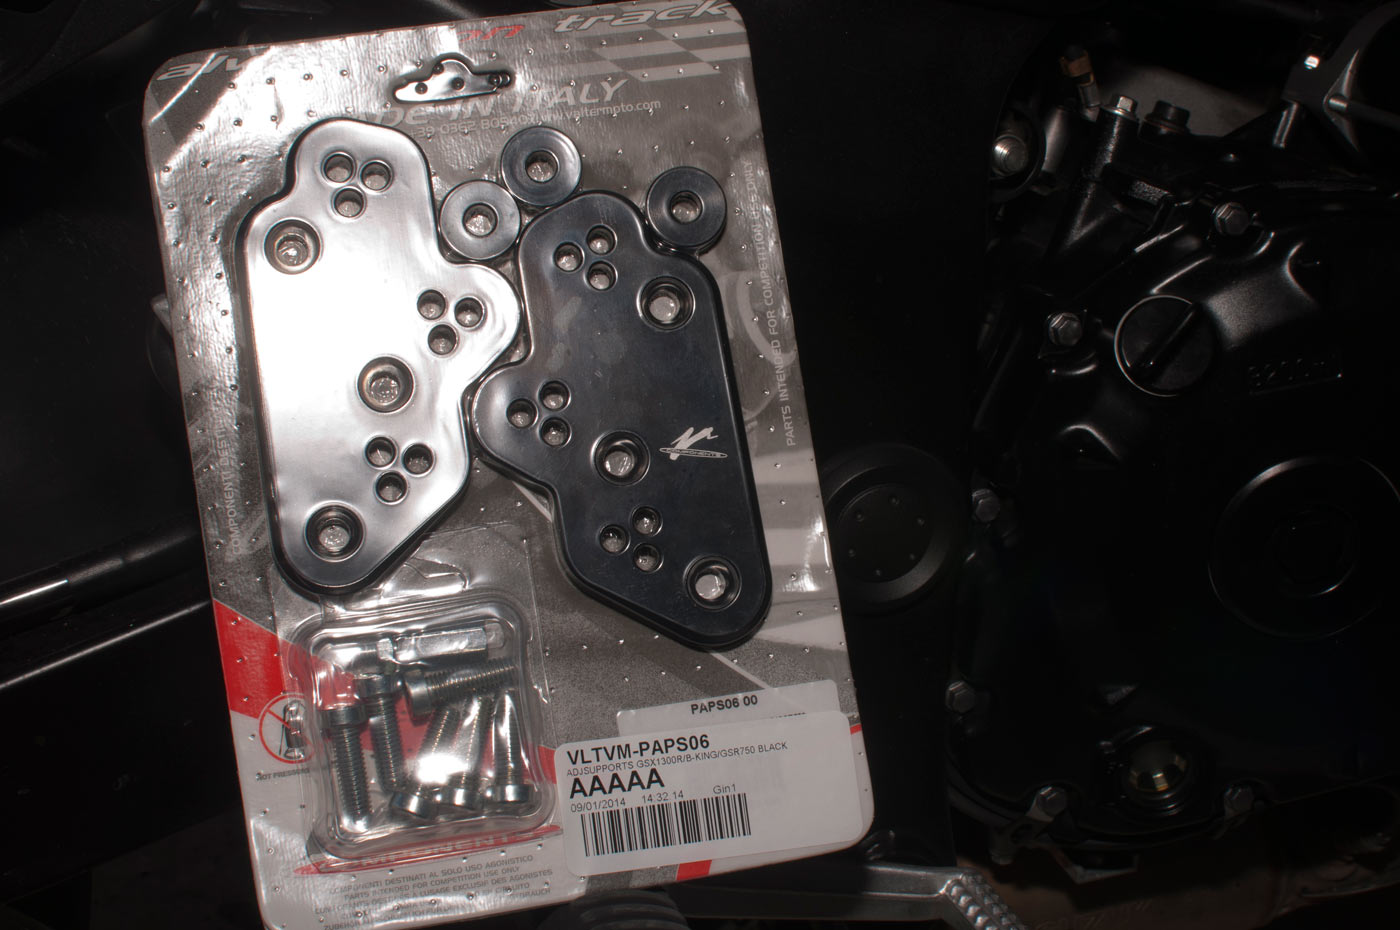
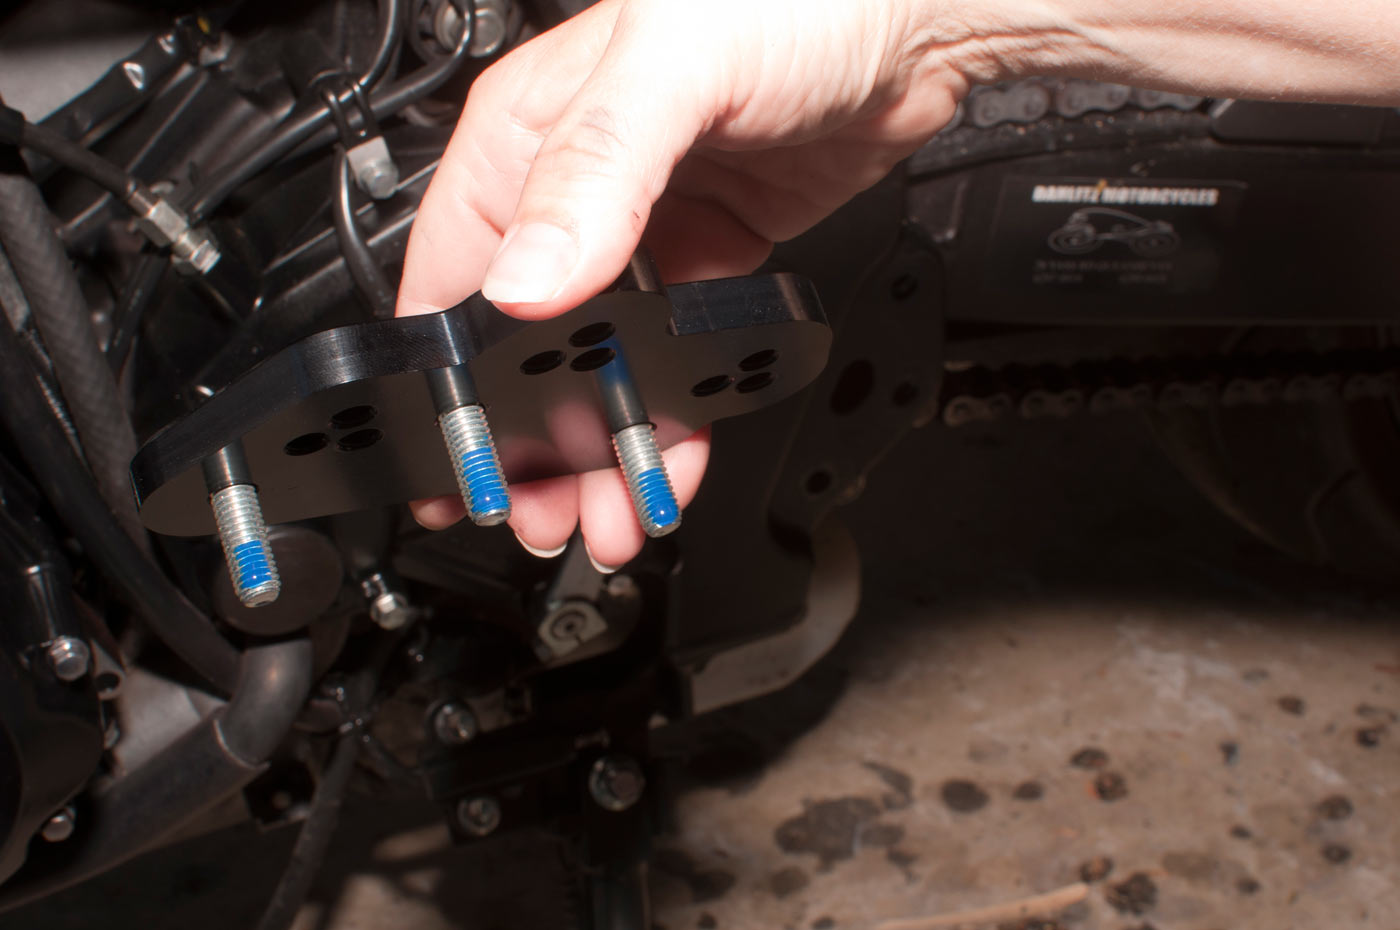
We start with them in their packet. All pretty simple – plates that bolt where the footpeg hangers currently bolt, and then some other bits to let you bolt the footpegs to the plates. Easy to knock up these plates for bikes where they aren’t available, too, as these are just 10mm aluminium.
Don’t forget, if DIYing this, to make up an adapter to give you a longer gearchange rod. This kit comes with one – some of the other kits do not!
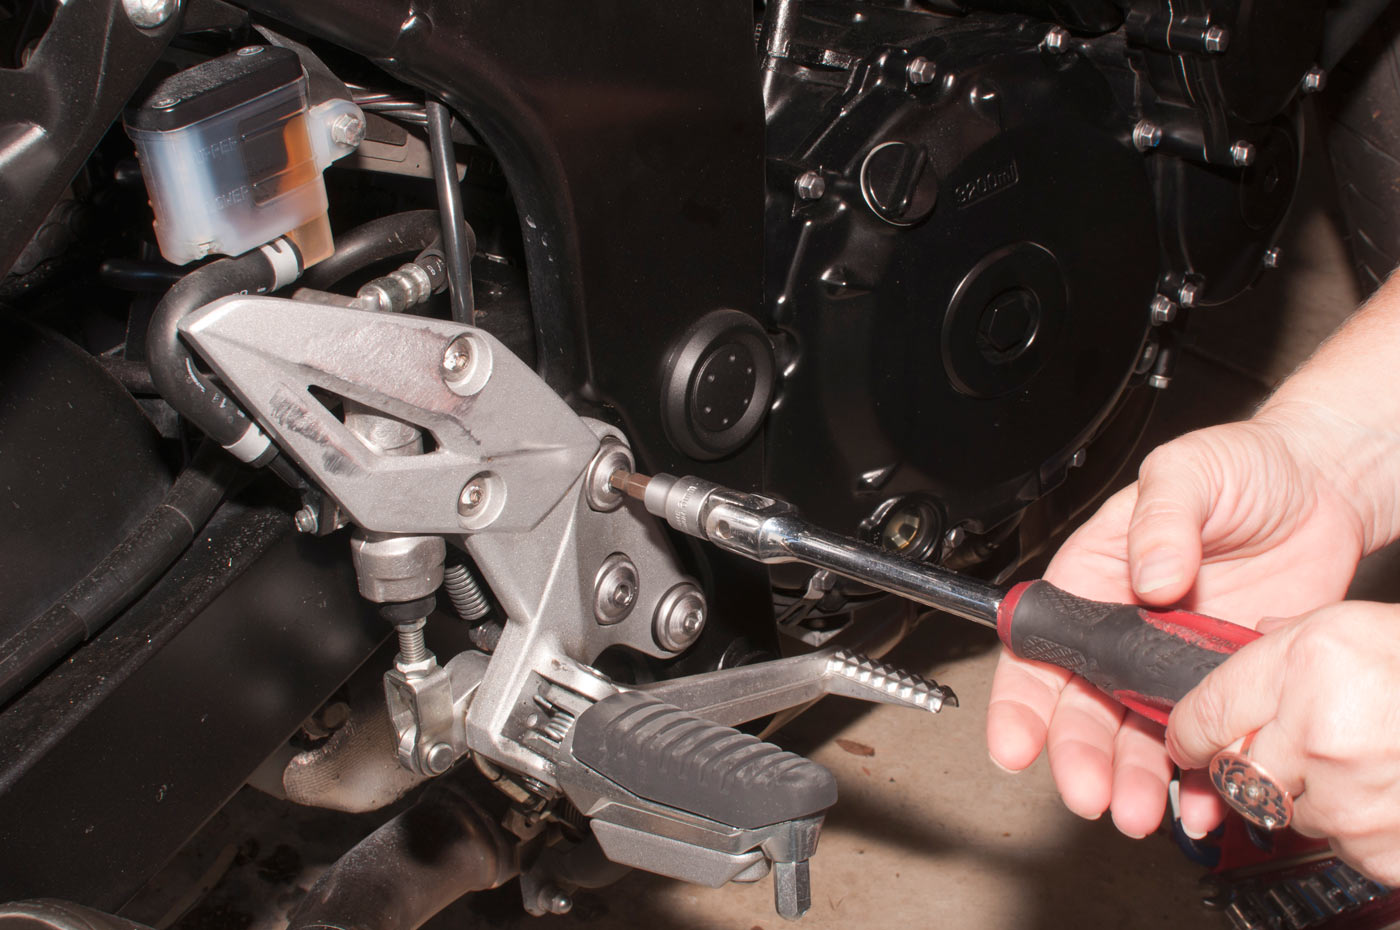
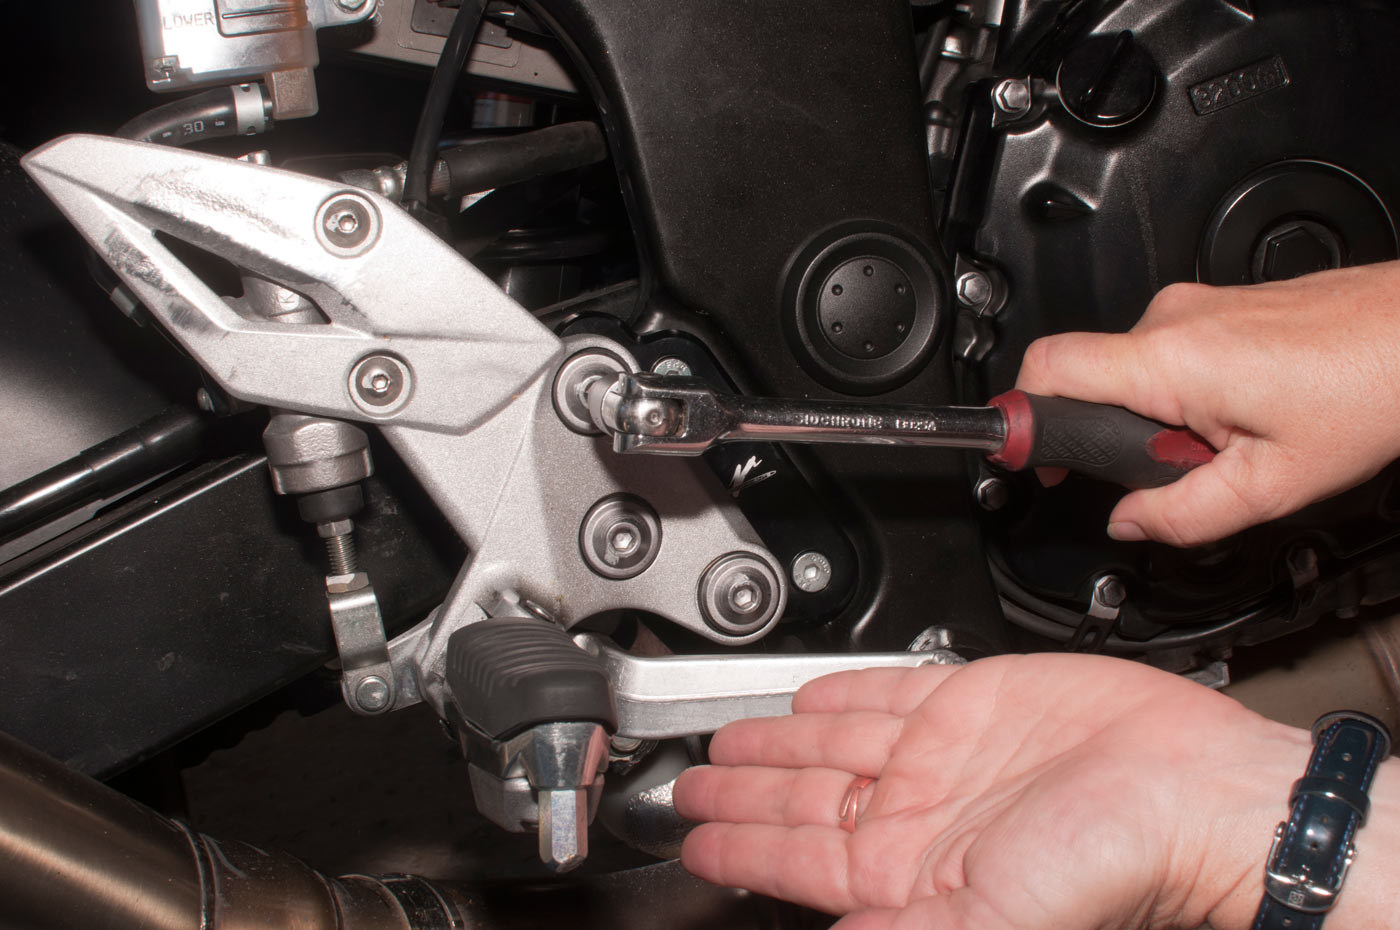
Undo the hanger from the frame. Nice and simple, 5mm allen key socket does the job here.

It’s a good idea to sit the plates up where they’re meant to go and check for any issues around relocating the master cylinder etc. Usually there’s enough length on the brake reservoir hose and the hose off to the caliper, but it’s worth checking to make sure it’ll all fit easily.
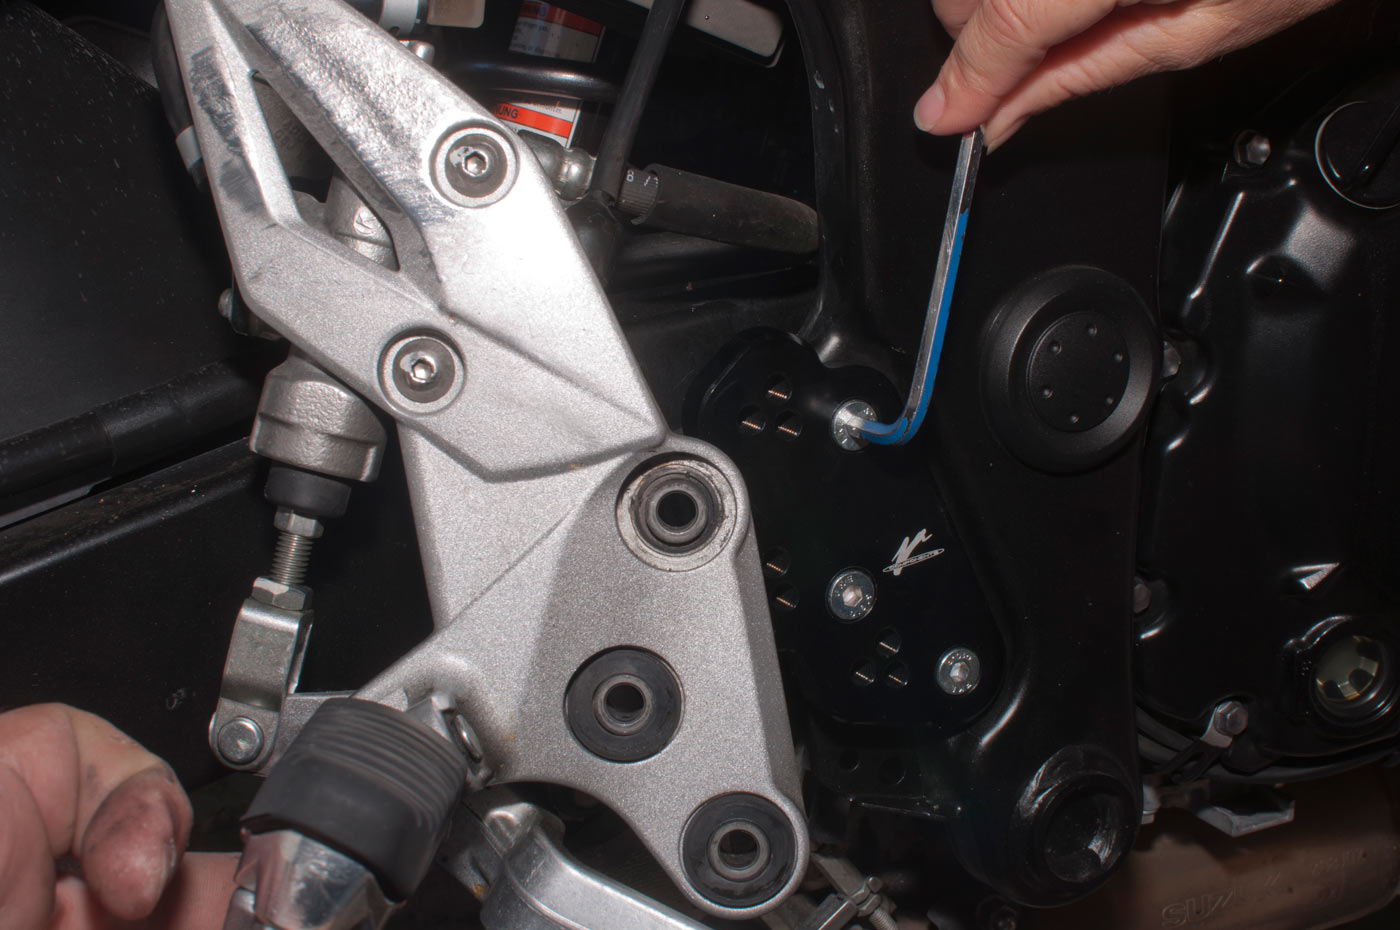
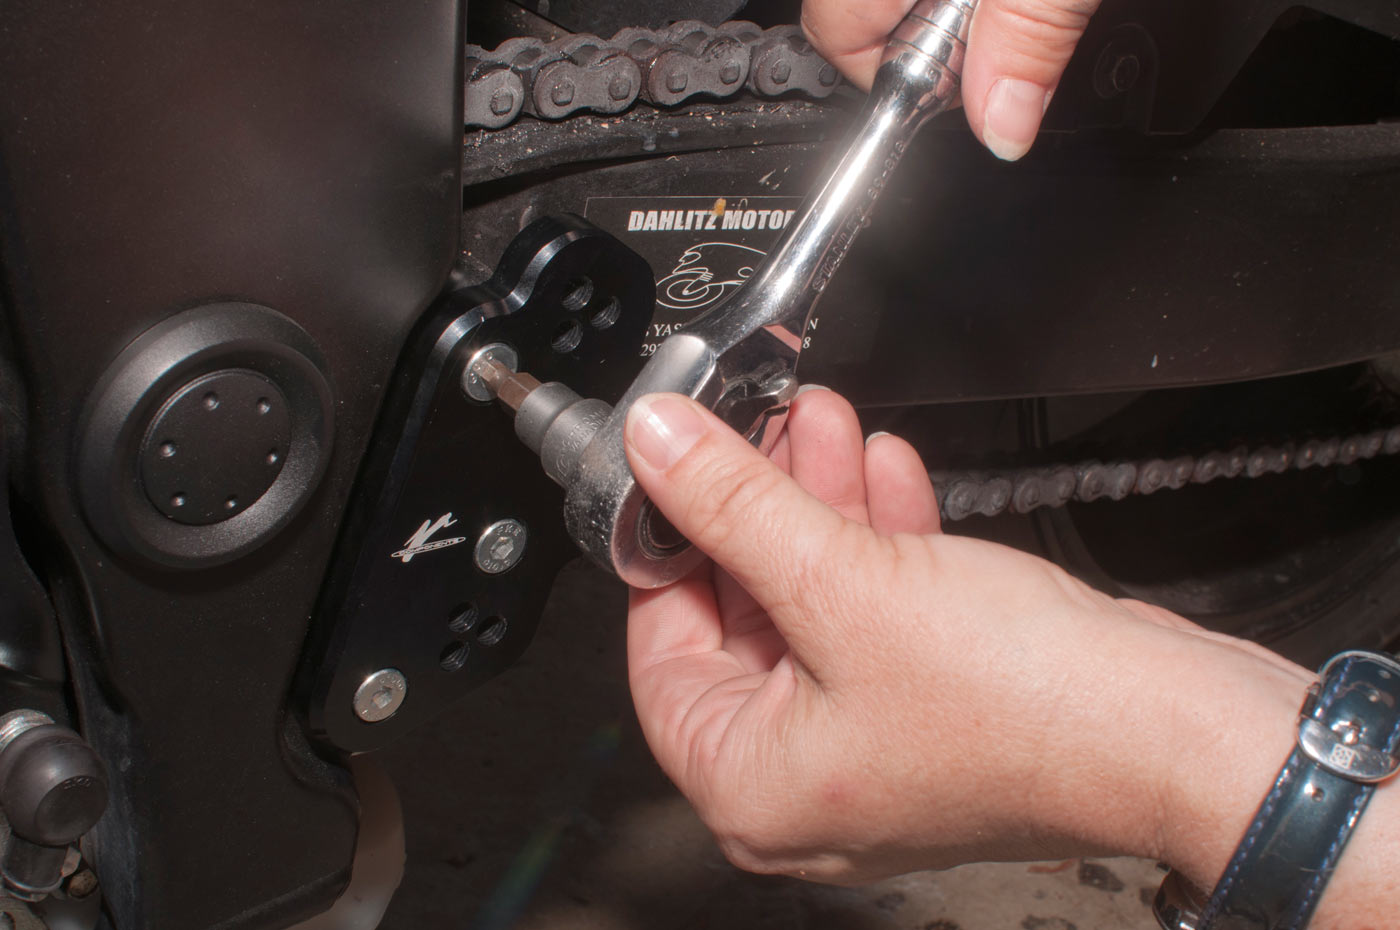
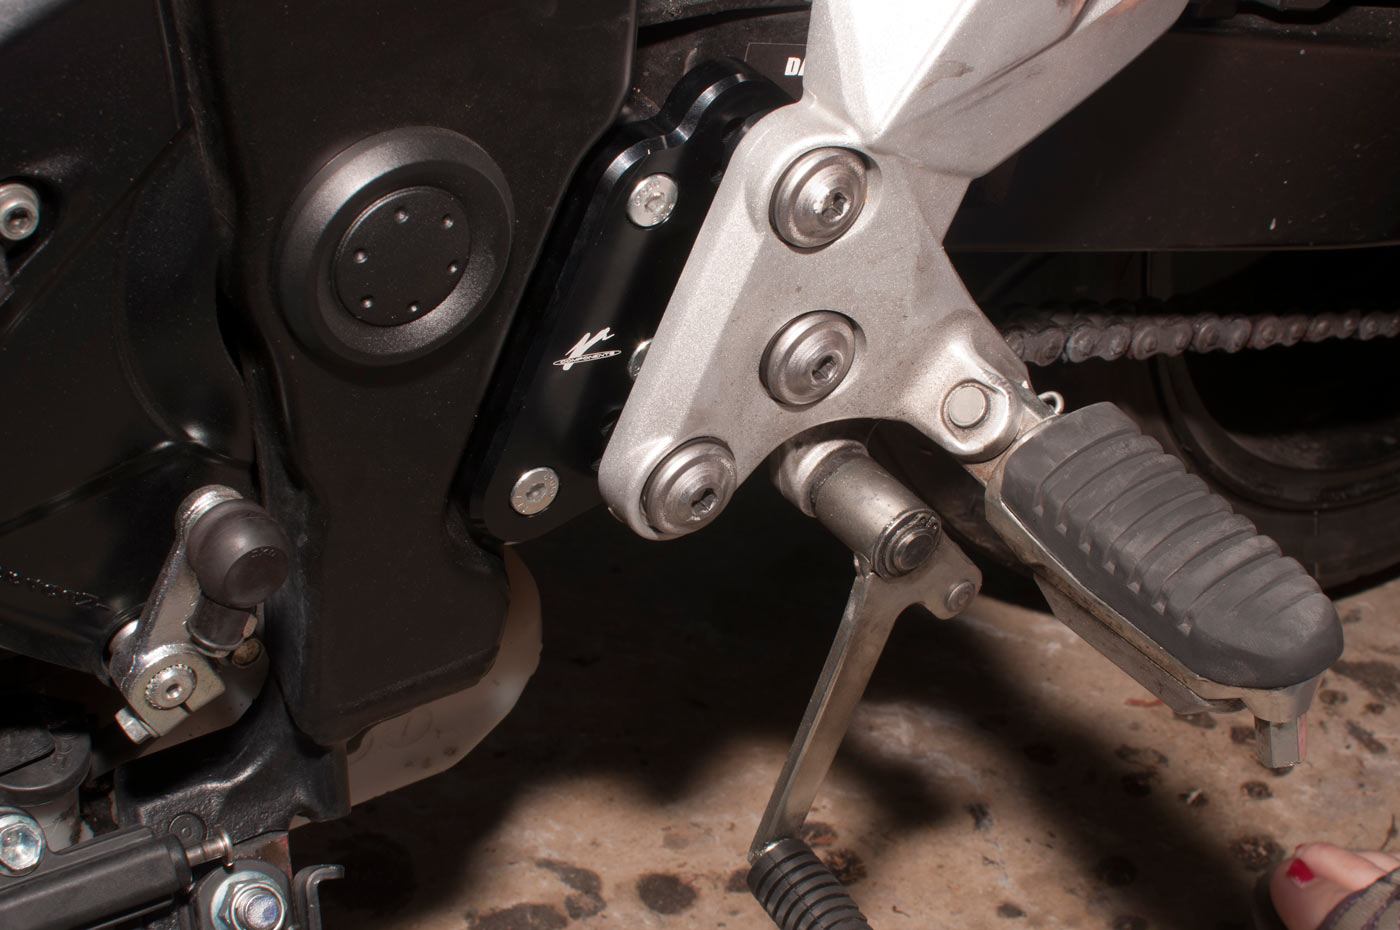
New plates bolt up nice and simply using the provided bolts. I like to use a little bit of blue loctite or similar threadlocker stuff on these bolts just to make sure they stay in (pic of this later).
There are small little spacers included in the kit, these are needed to ensure swingarm clearance. They go on between the standard rearset plate and the riser plates. Reuse standard bolts for this attachment point.
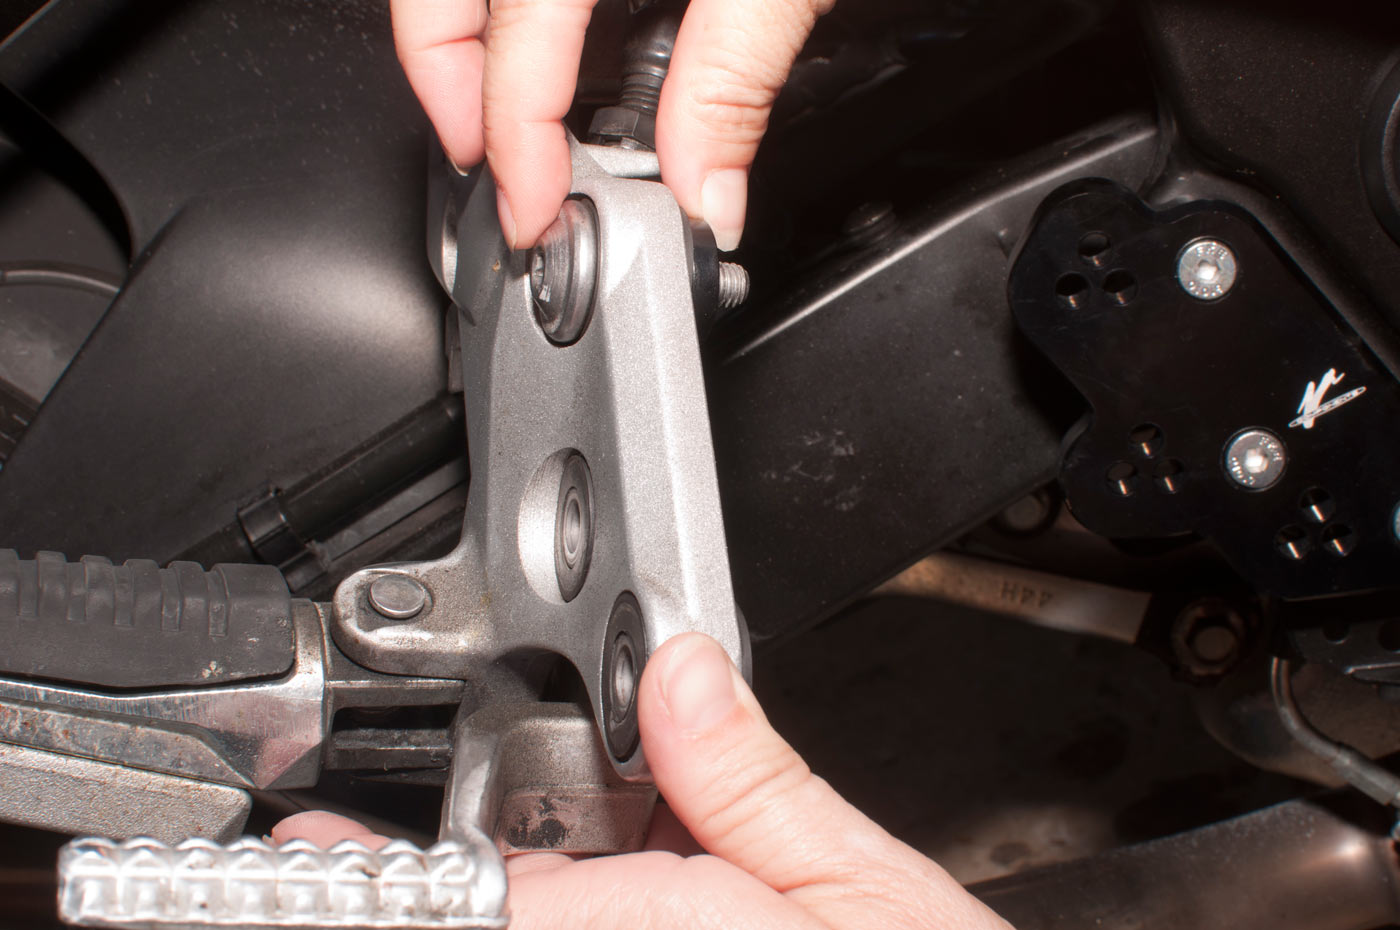
Do up the standard bolts. These plates provide 3 options for rise and setback, and we went for the middle position just to be entirely average.
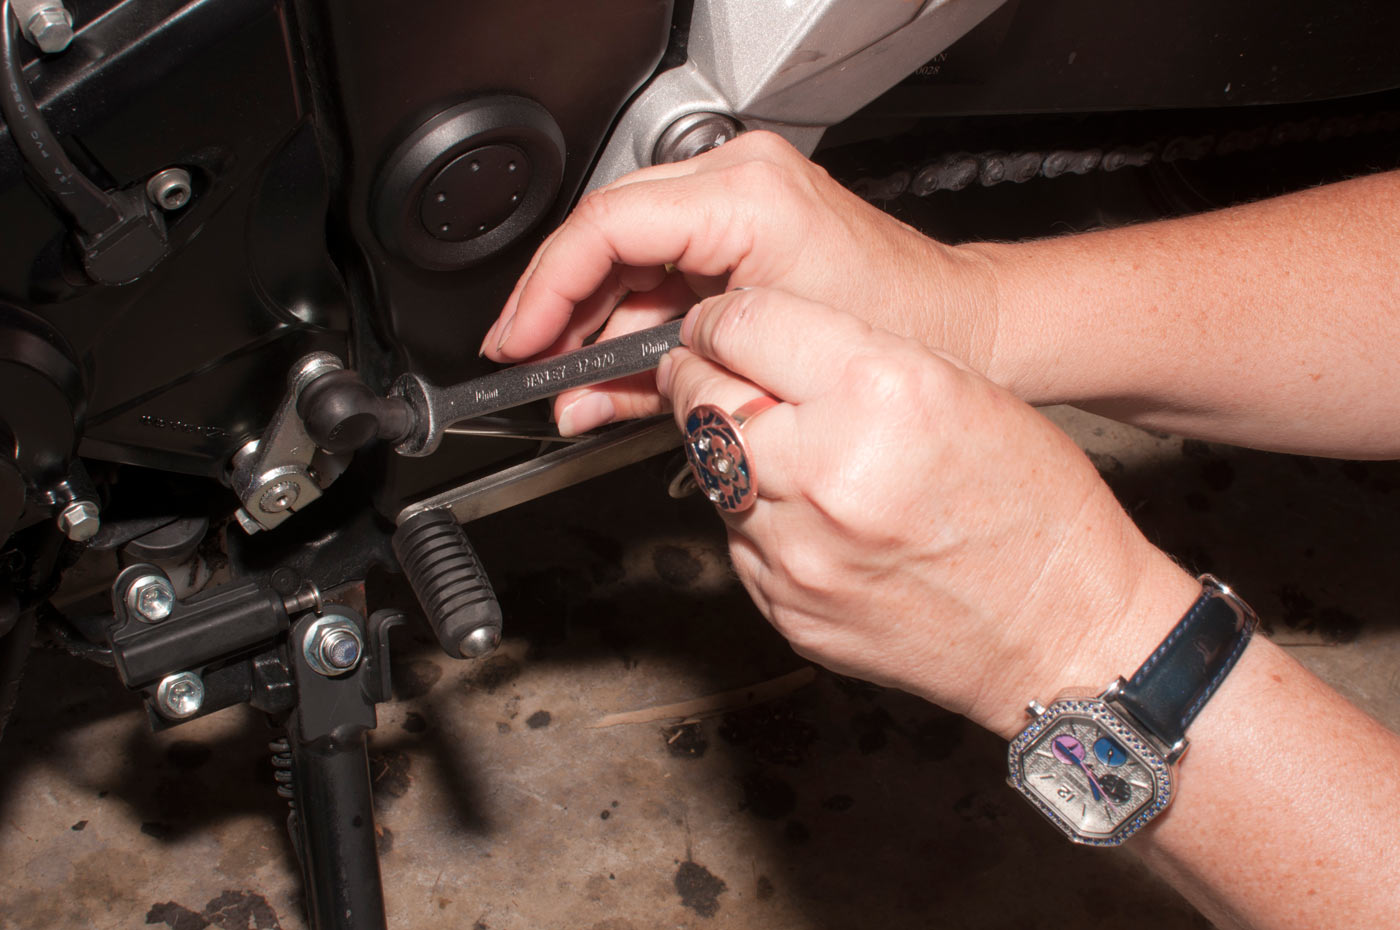
Doing the gearchange side is pretty similar, but you will need to slacken off the gearshift rod.
There are locknuts at each end, and one end is left-hand (reverse) threaded. This is useful to know if you find one you cannot undo – try turning it the other way! With that done, the rod spins anticlockwise to undo it from the gearchange arm.
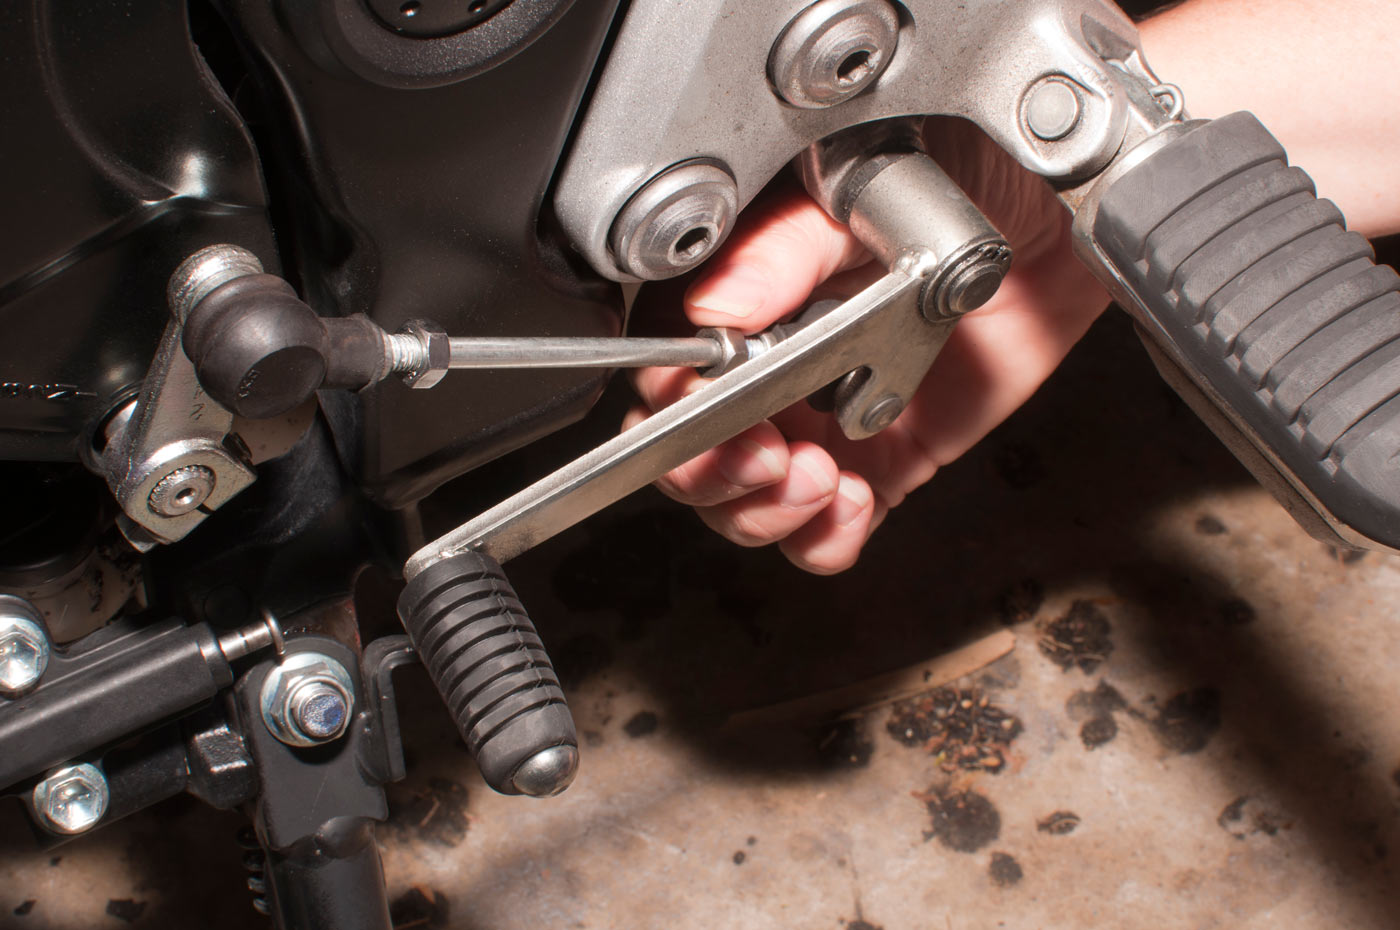
Good idea before you pull the standard peg hanger off the bike to check that the gearchange rod lengthening part fits onto the rod. Here you can see it definitely does. Pretty simple device really, just has an extra locknut to take care of when you screw it all back together.
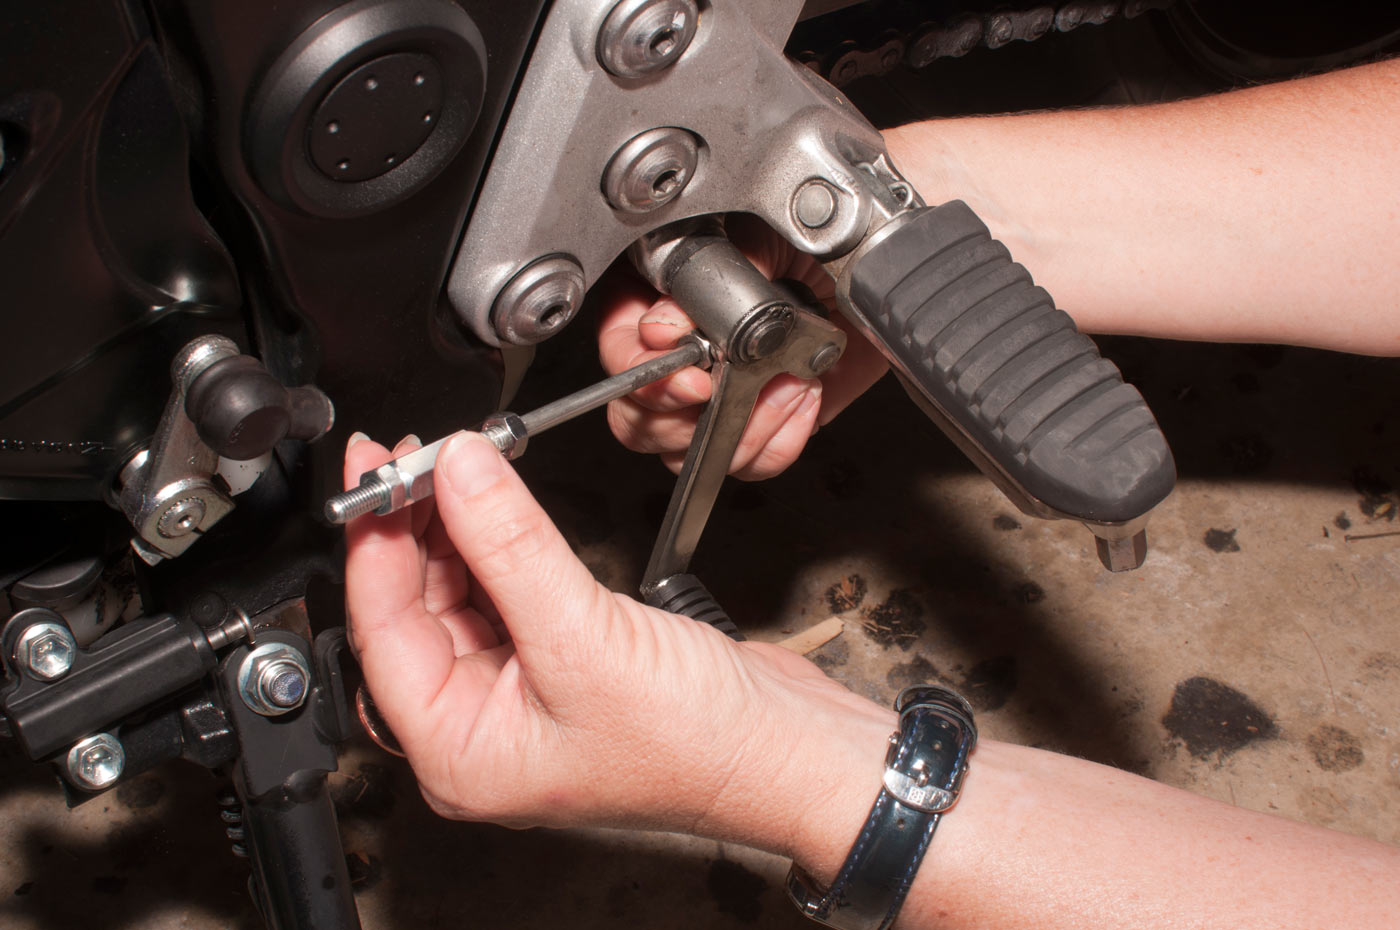
Rod etc all hanging free, ready for the standard riser plate to be released from the frame!
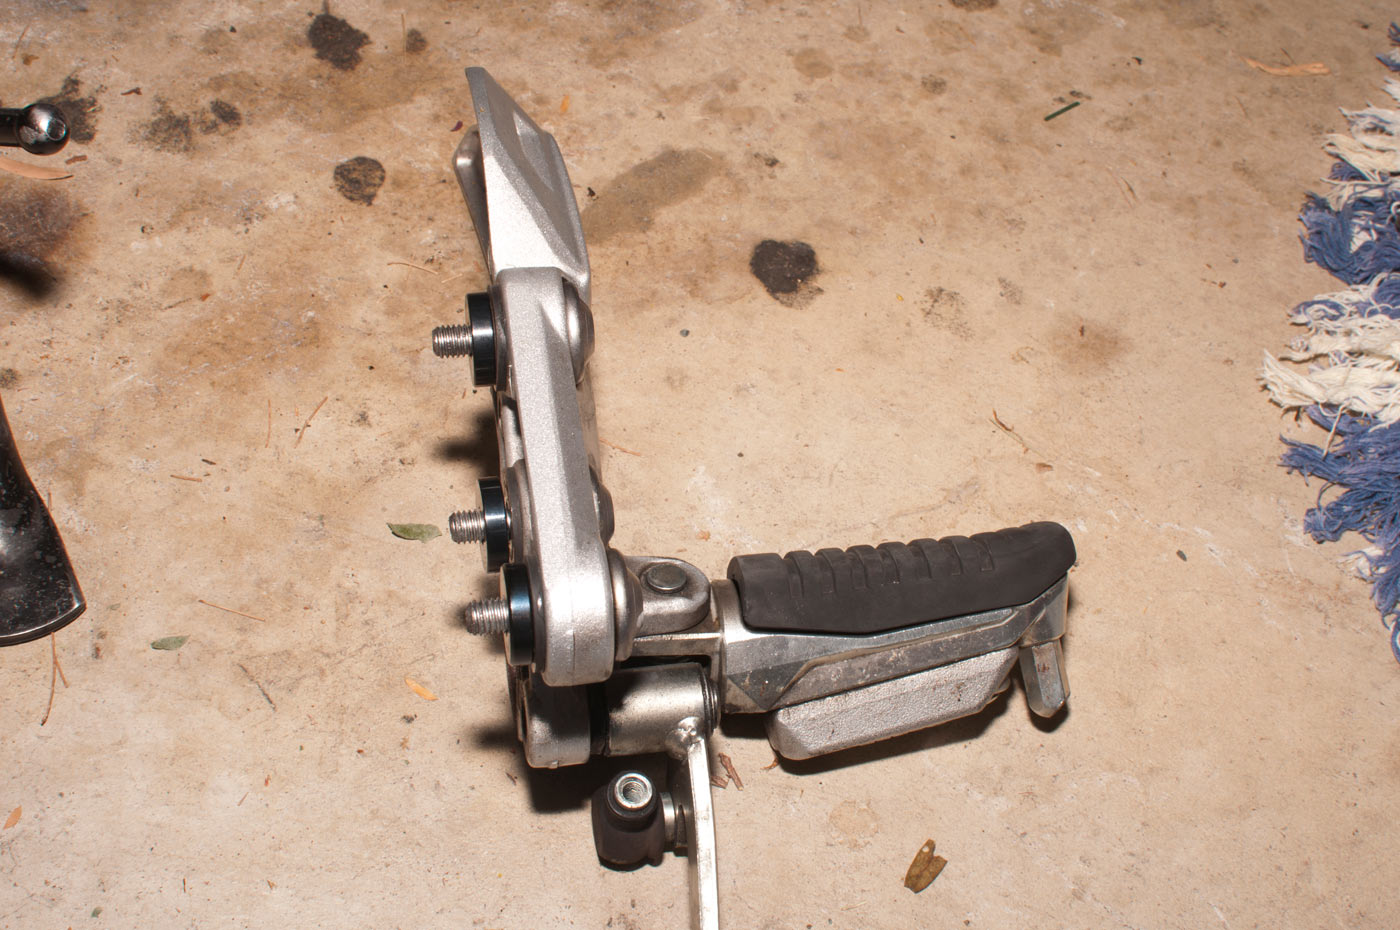
Plate off the bike, with spacers in place.
Bit of loctite on the ends of the bolts. No need to go crazy here, and blue (loctite 243 – or loctite 248 if in solid glue stick form) is perfectly fine. Just good to make sure the screws attaching the new plates to the frame don’t want to vibrate out.
Same deal as other side, screw the new plates to the frame to start with.
Now bolt stock footpeg plate to the new riser.
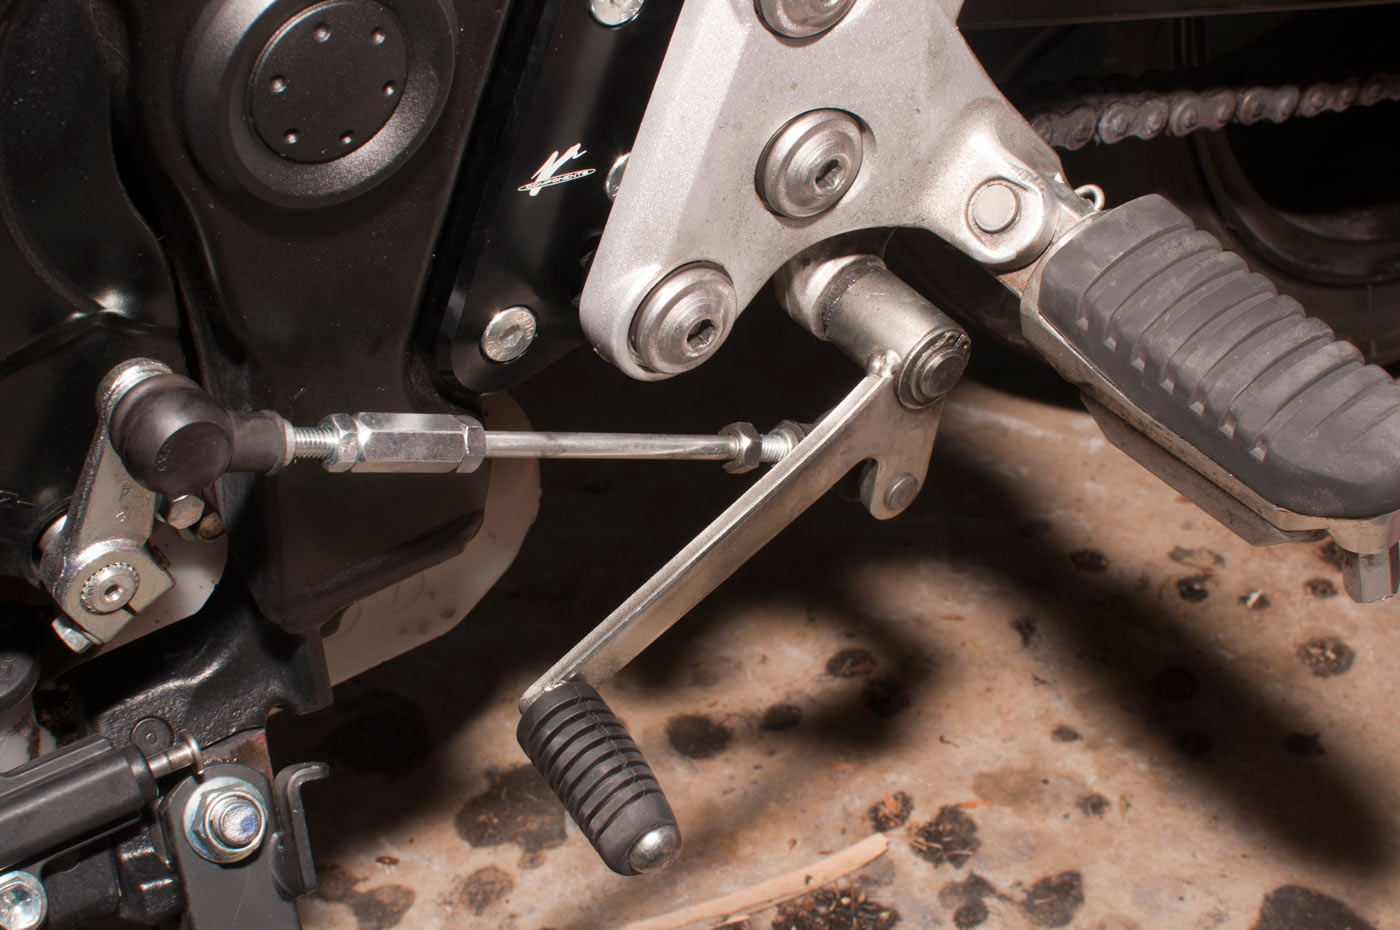
Gearshift rod now goes on. Leave locknuts loose and adjust the height by turning the rod one way or the other.
Check for foot position… and do up the gearchange locknuts!
With that, you’re all done. Nice and simple, took us about 15 minutes to do all up. Really easy mod and gives the bike a much nicer race position without the price of race rearsets.