
Fixing a motorbike (wet) clutch: Yamaha RD250LC
Although this guide specifically illustrates replacing the clutch on a Yamaha RD250LC, it applies to quite a lot of motorbikes (with a wet clutch). In fact, the only problematic part with this bike is that you’re also dealing with the cooling system due to where the waterpump is. On a lot of 4 stroke motorbikes, you don’t even have to deal with this.
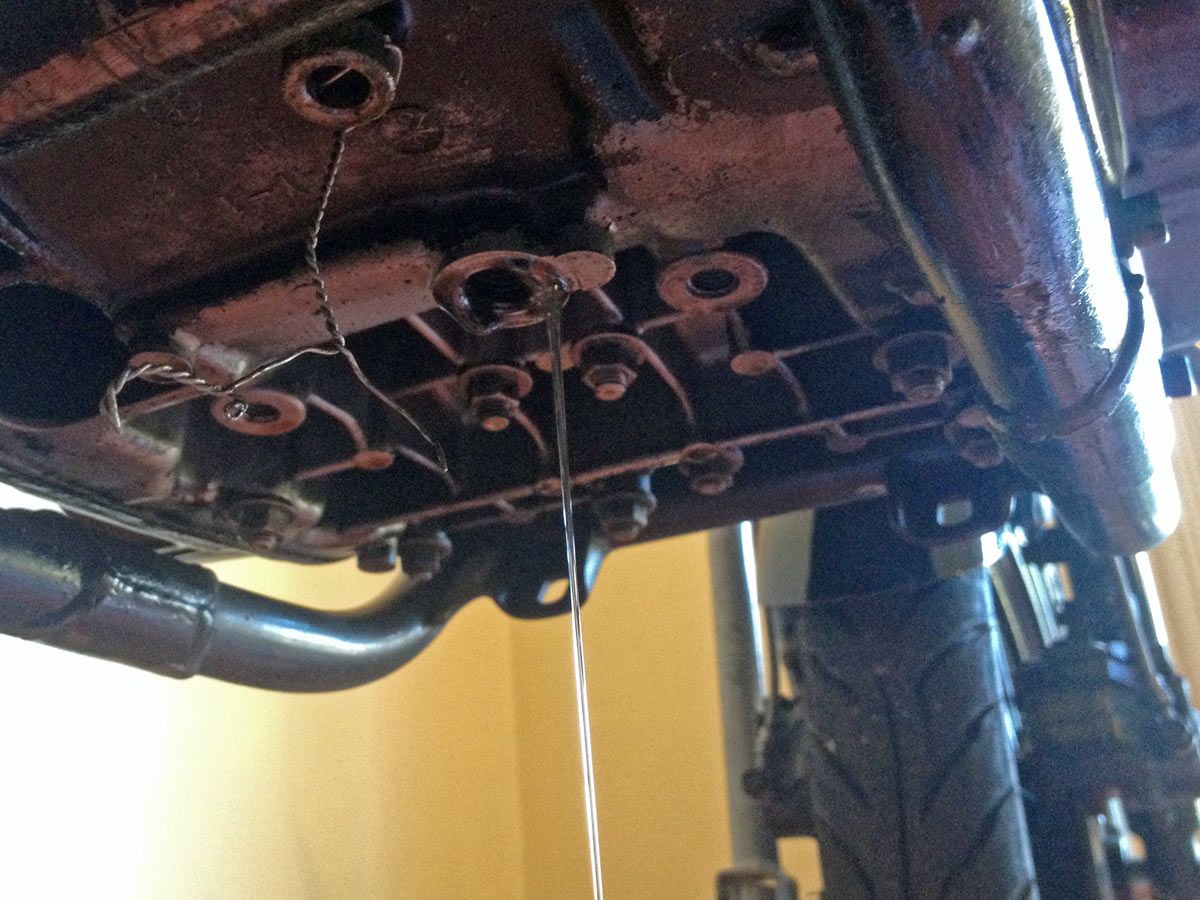
It’s also a very simple job. Start by draining the engine oil, or in this case only the gearbox oil (as it’s a 2 stroke).
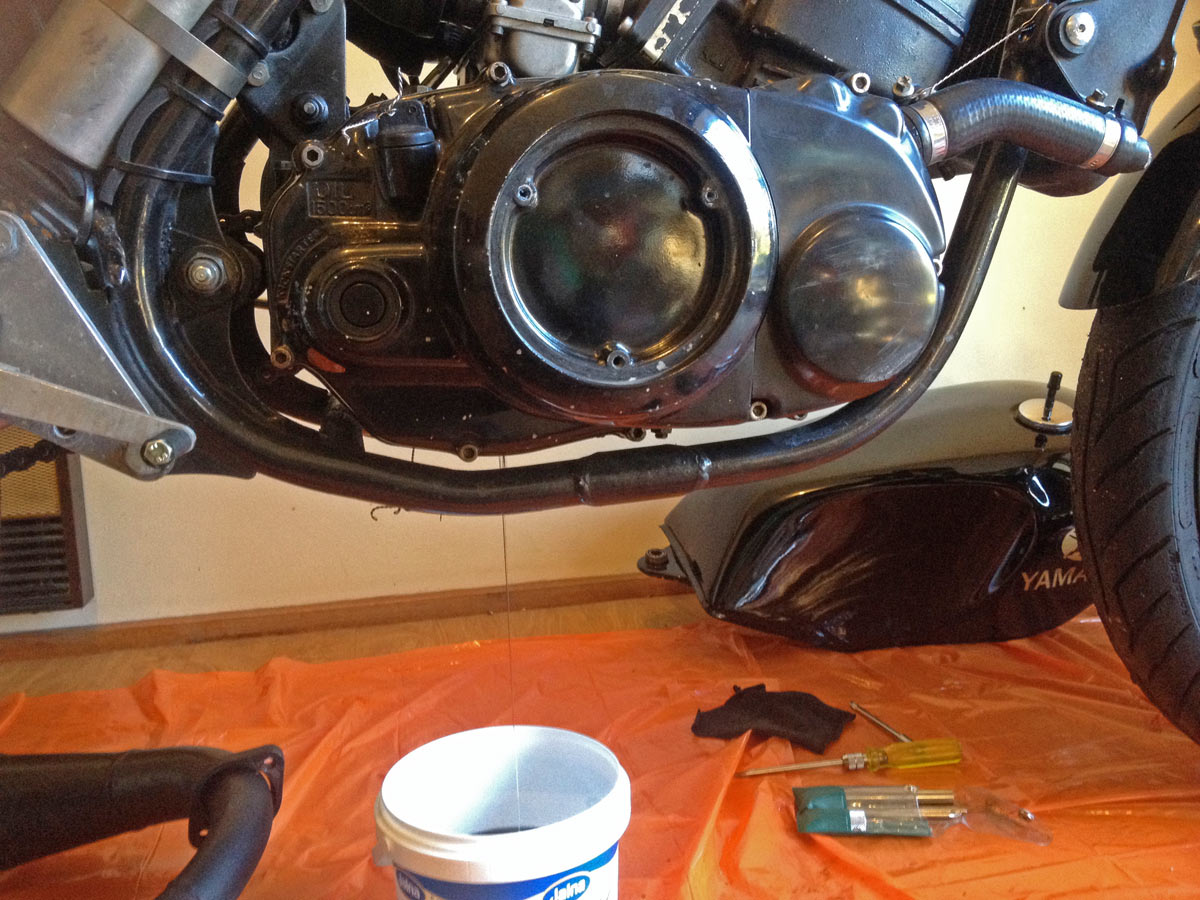
Once the oil has been drained, you then need to pull the waterpump cover off in this case and also drain the cooling system. This doesn’t apply to all bikes, but, given the water runs through a metal pipe into the clutch cover it would get very messy on an LC if you didn’t do this!

Waterpump exposed
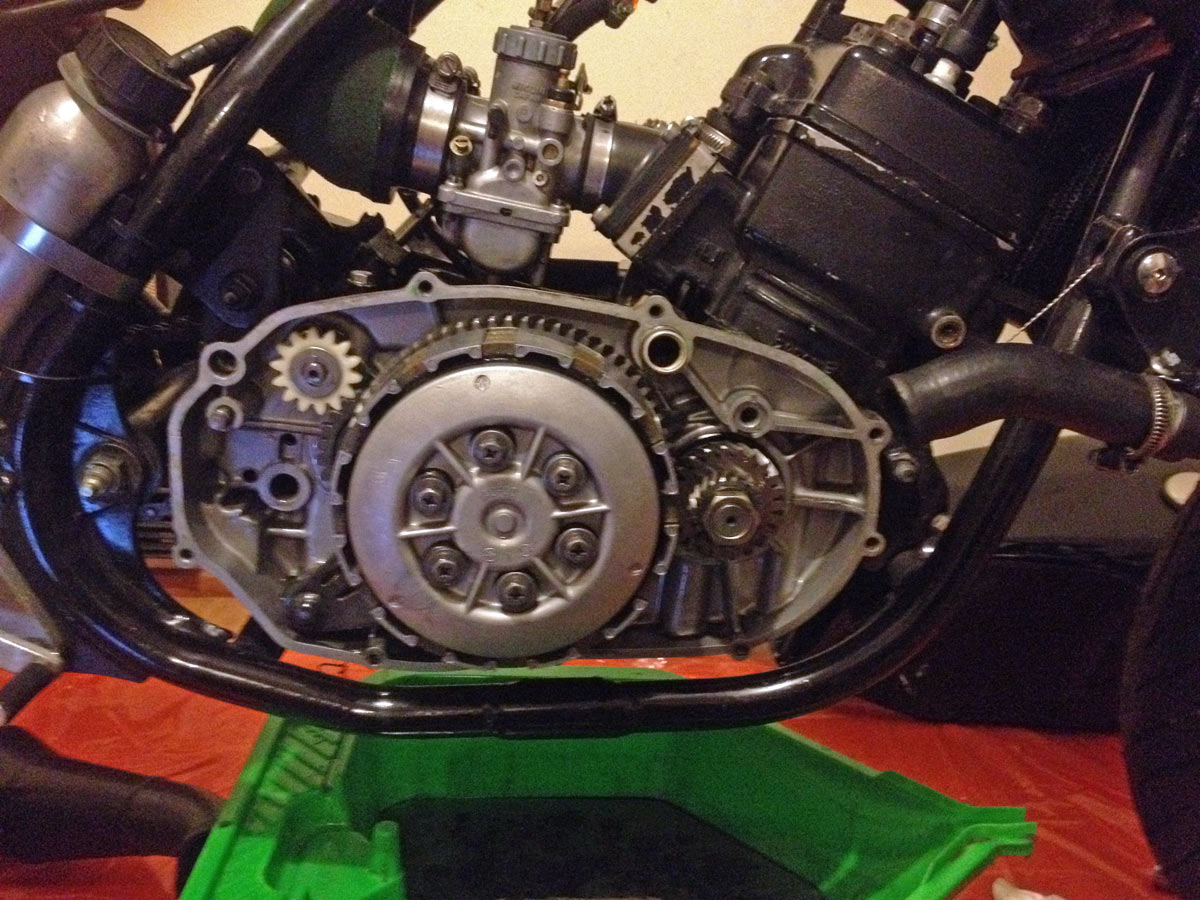
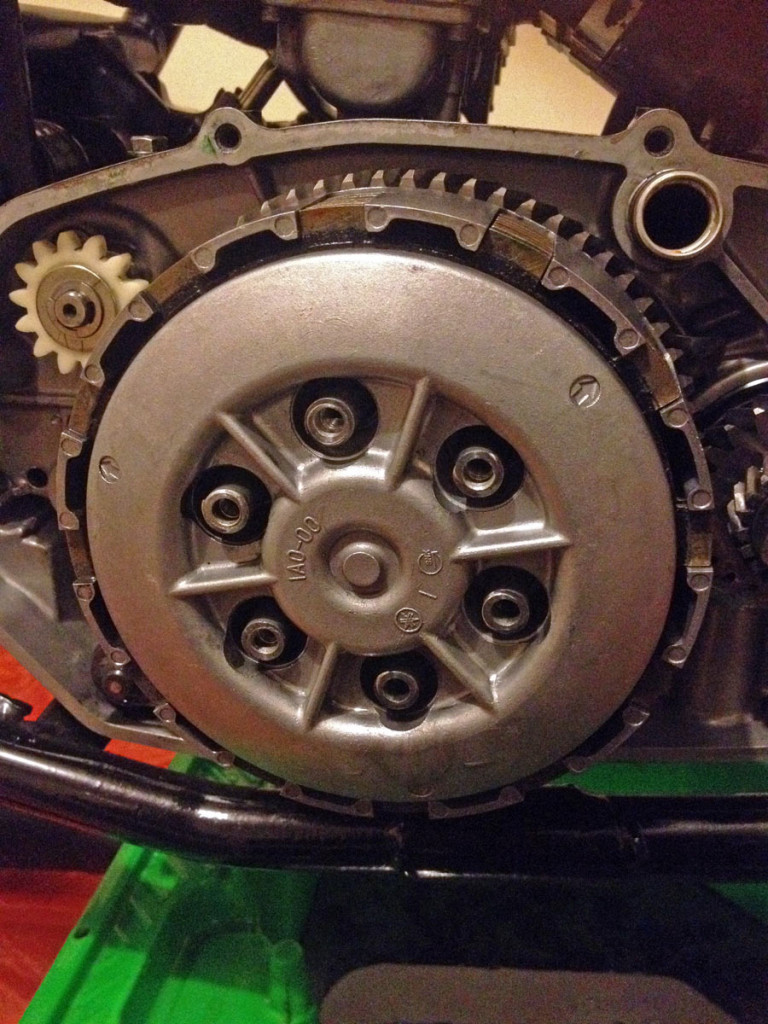
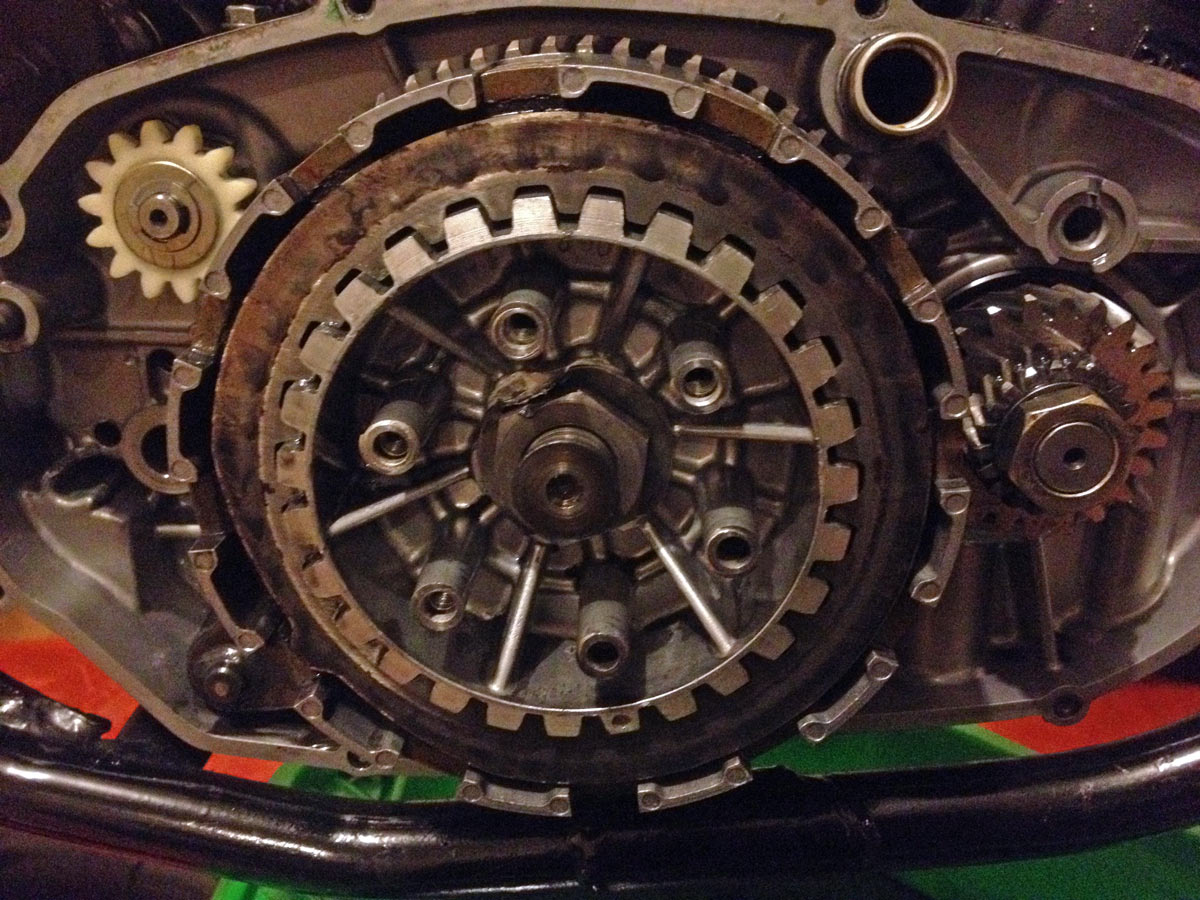
Clutch cover removed
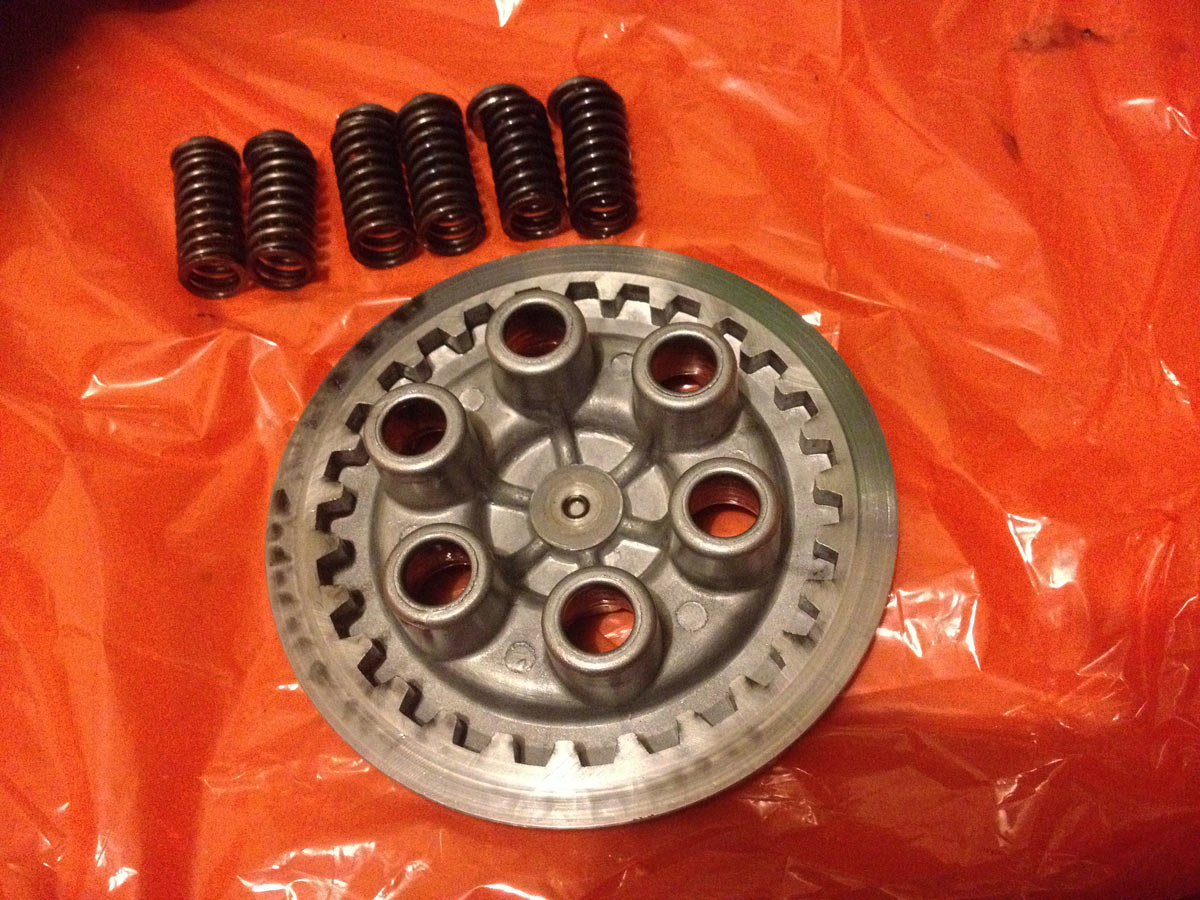
Now it’s a case of getting the clutch springs off and removing the pressure plate. If you just lever away at the bolts with a spanner or ratchet you end up spinning the motor: ideally, you need to use a little bit of impact to shock them loose without turning the motor over. They’re usually not that tight (the spring preload helps to stop the bolts coming loose) so you can get away with just whacking the spanner with your hand.

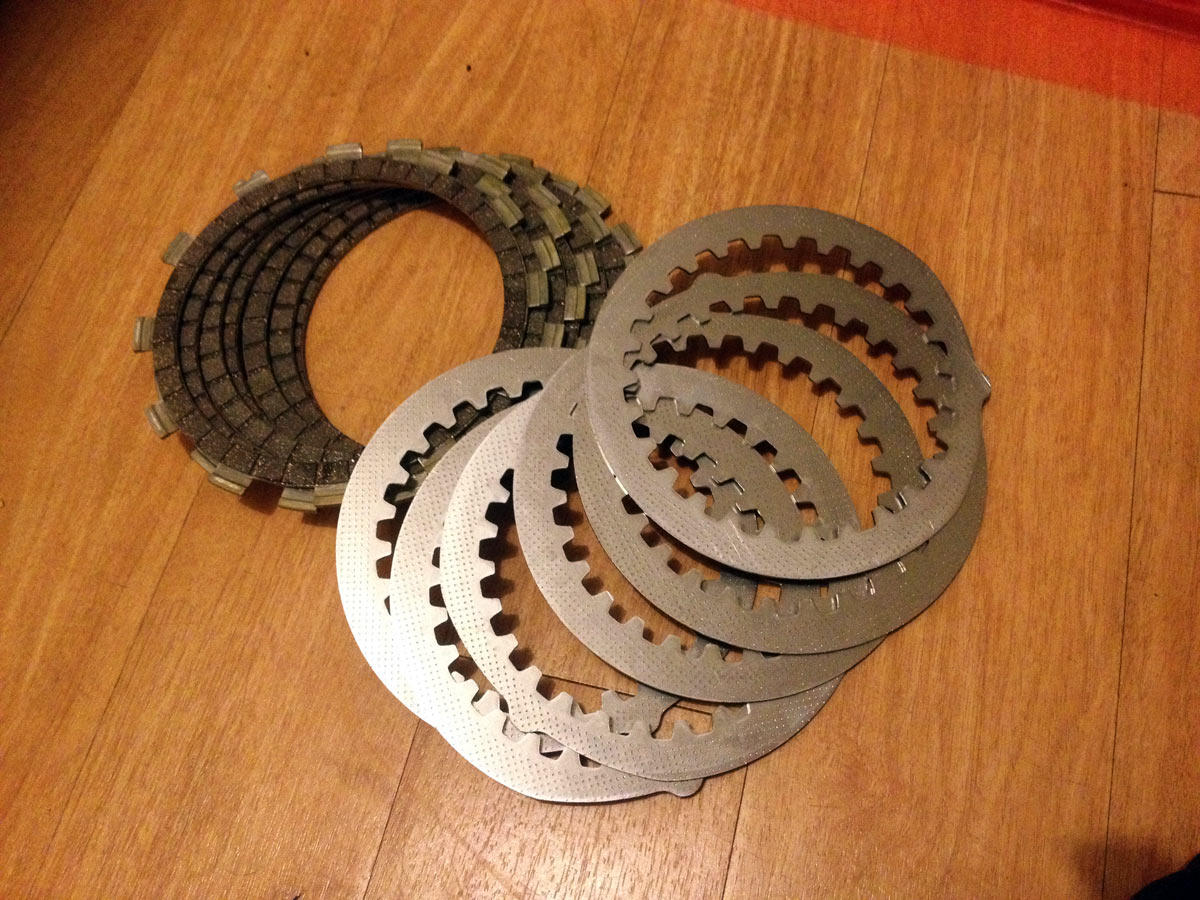
Then we can check out the order and the numbers of the plates. The plates alternate between friction plates (covered in fibres – driven by the outside of the clutch basket and therefore the engine) and metal plates (just plain metal – these drive the inner part of the basket and hence the gearbox input shaft). Below I expose first a friction then a metal plate. It’s important to put them back on in the right order.

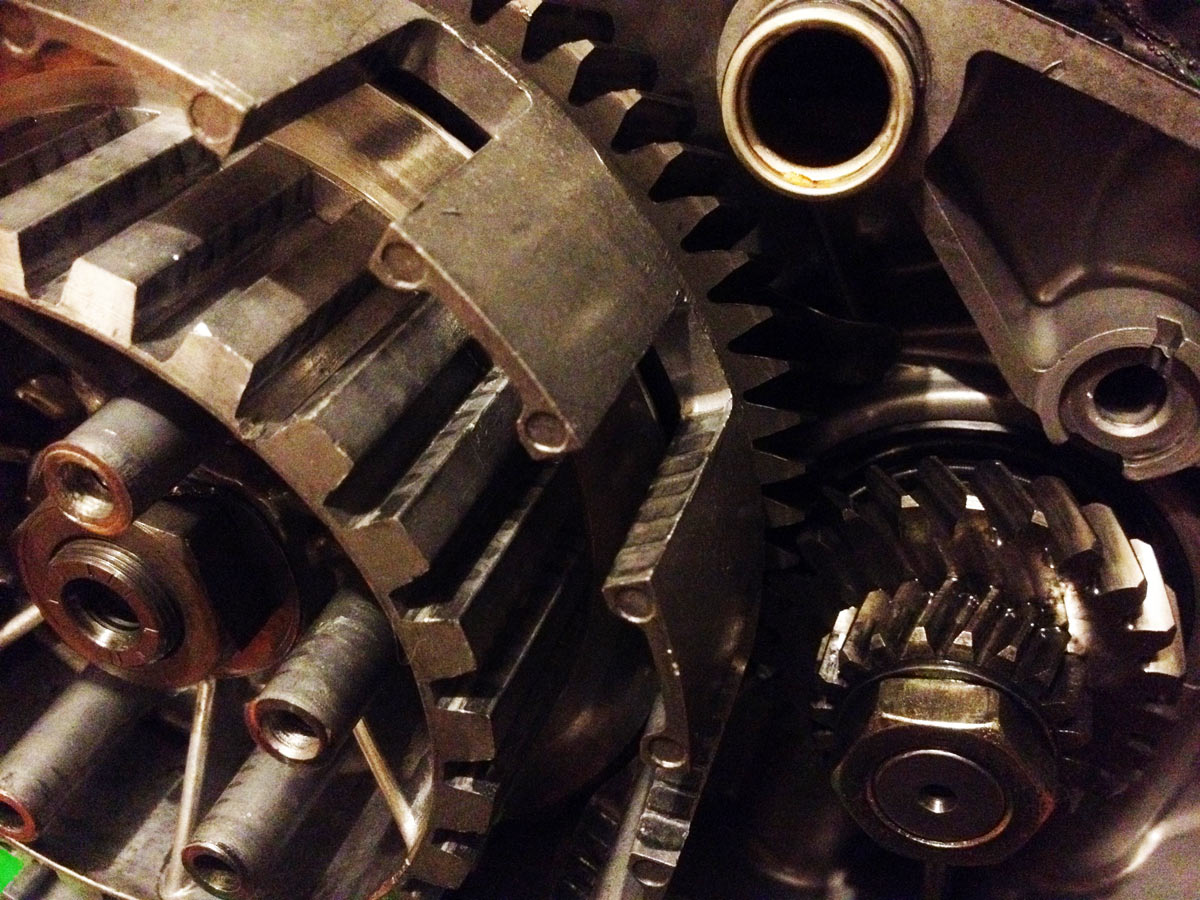
Now we check everything for wear. First, look at the clutch basket for any notches – here we have some. They’re not terrible and I can file them out so the sides are smooth again.
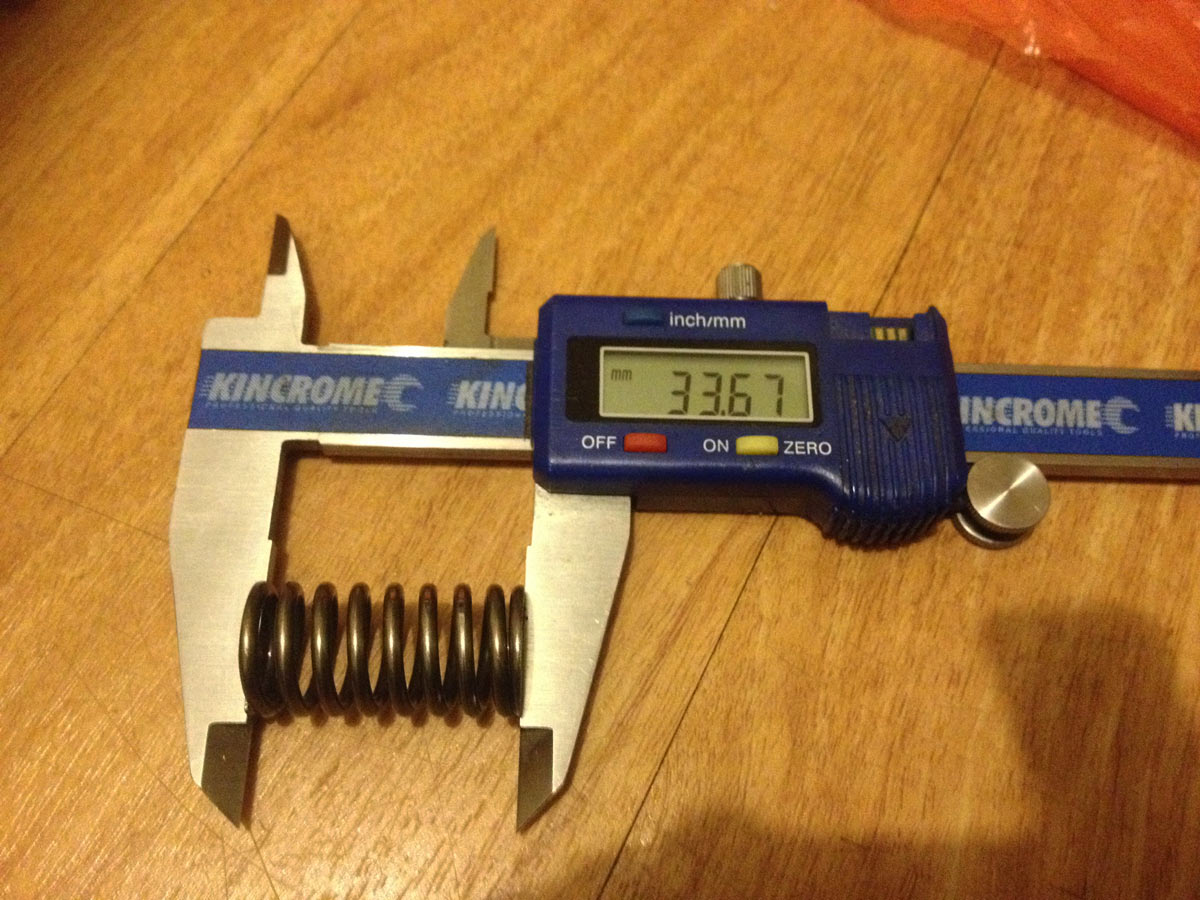
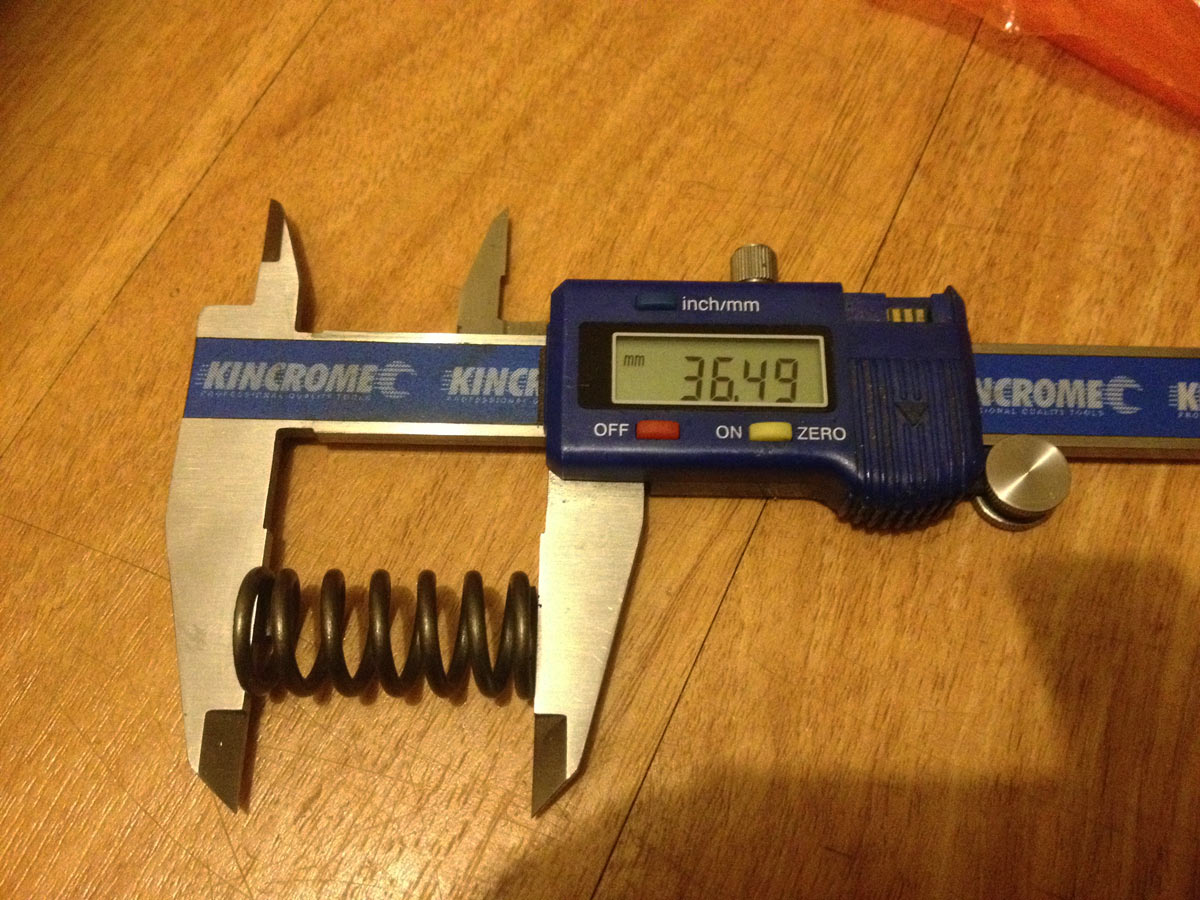
Next we want to look at the springs. In the picture below, the old springs are at the top and the new (EBC heavy duty) springs are the bottom. I pulled two off and you can see there’s a length difference.
This length difference is the spring free length. Check the workshop manual for the specific numbers; here you need to replace the springs if their free lengths are < 33.9 mm (which they are). The heavy duty EBC springs are actually longer than standard, which adds preload making for a harder clutch pull but also a stronger clamping force.
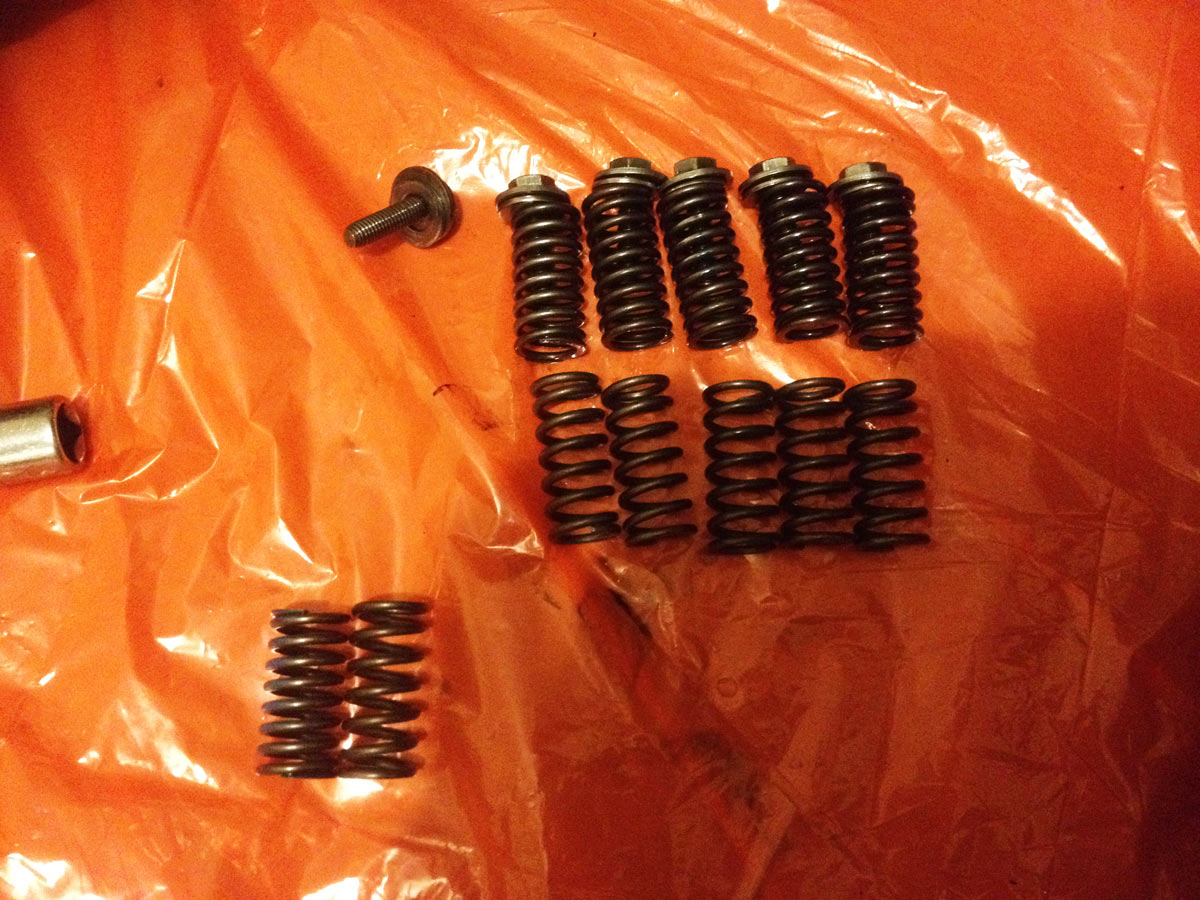
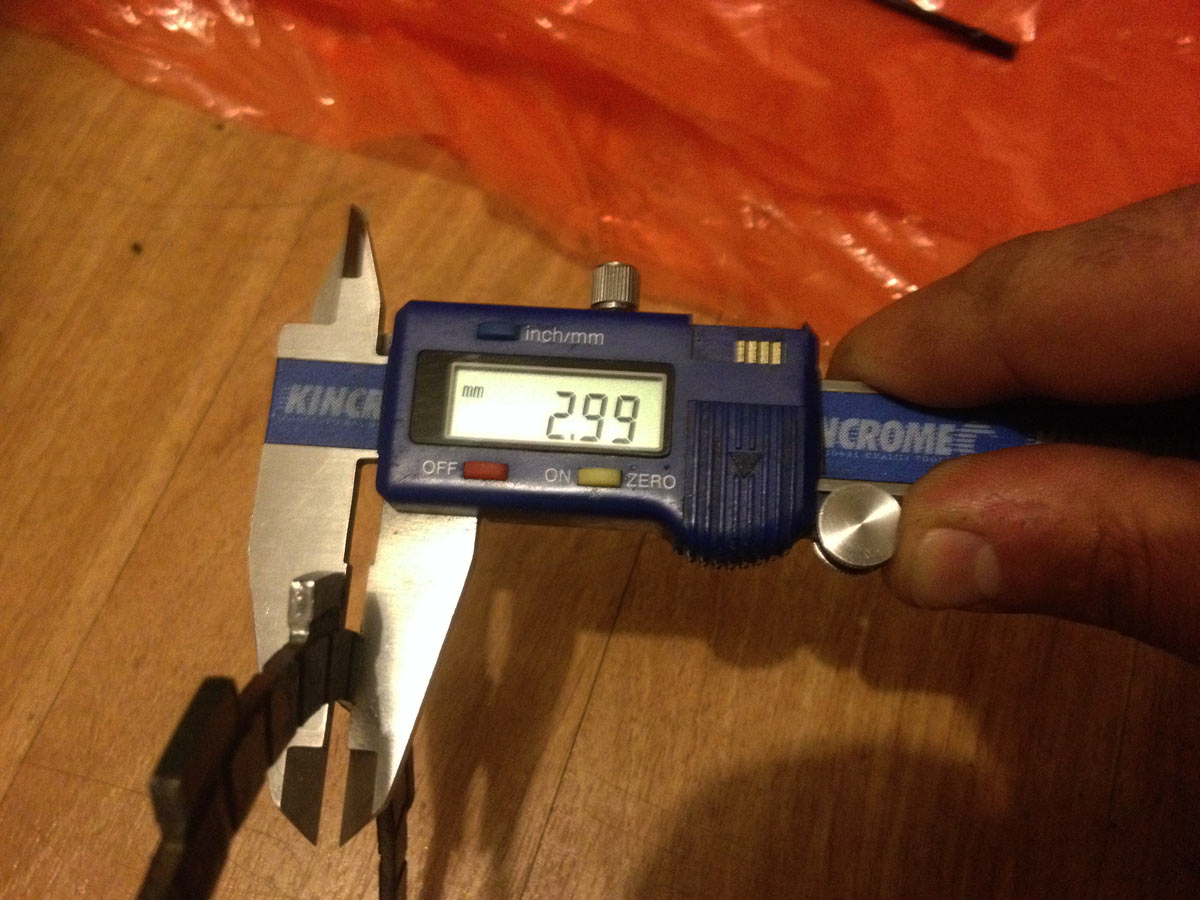
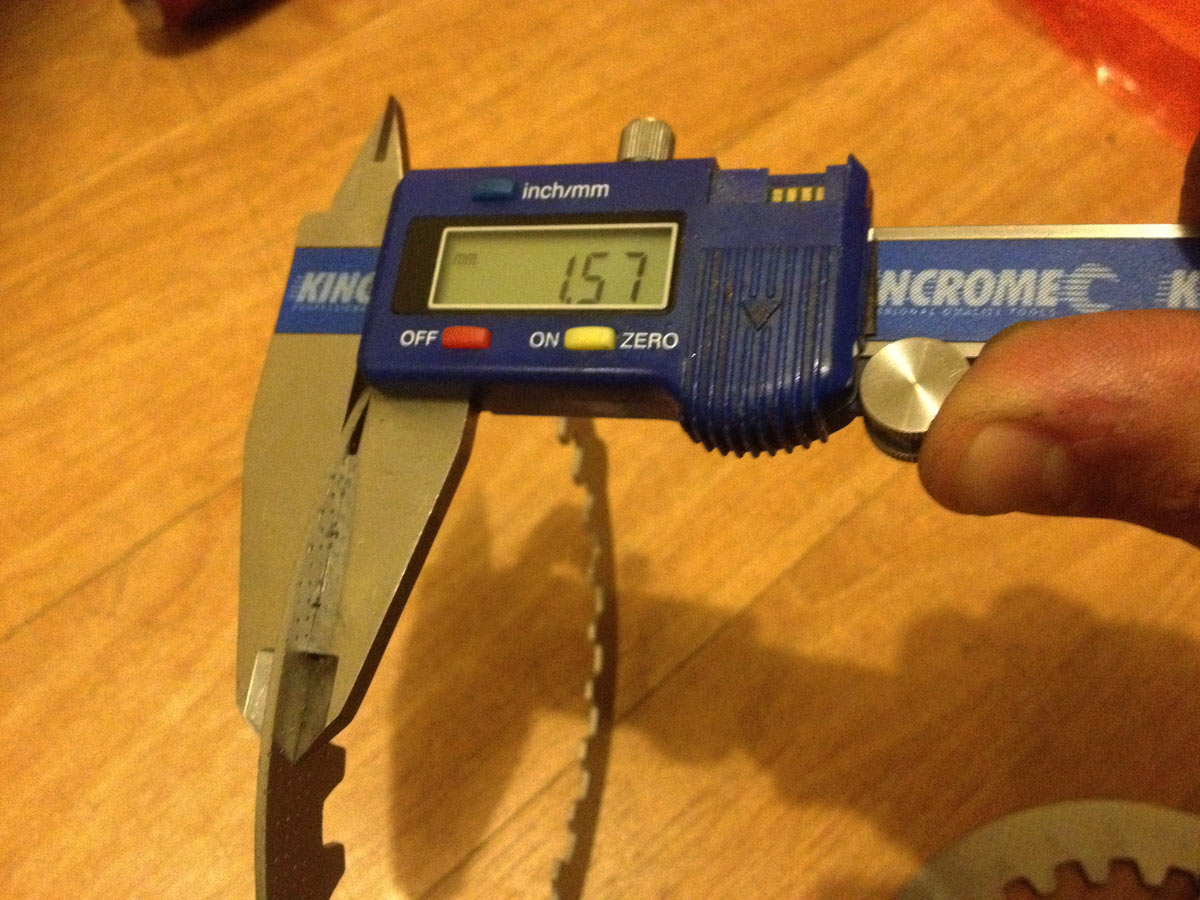
Another thing to measure is the thickness of the plates. The friction plates in this case measure ~3mm, which is right on spec for relatively new plates. Yamaha say to replace them if they are less than 2.7 mm.
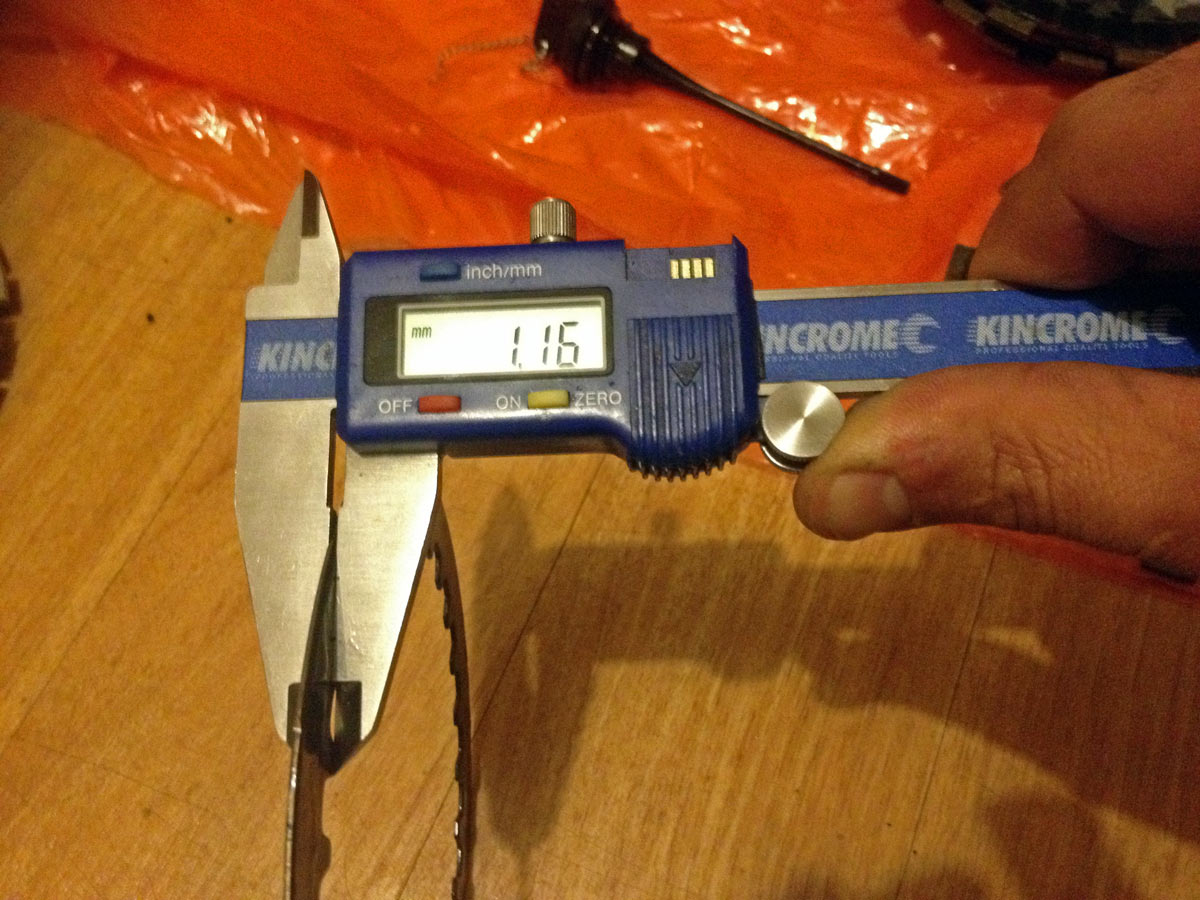
Now we come to the metals. Usually these wear with a bit of a lip on their edge so you need to measure them carefully. In this case, they are pretty worn. New OEM Yamaha plates measured nearly 1.6mm and these came up at 1.2mm or so.
Finally, we get to deal with the new plates.
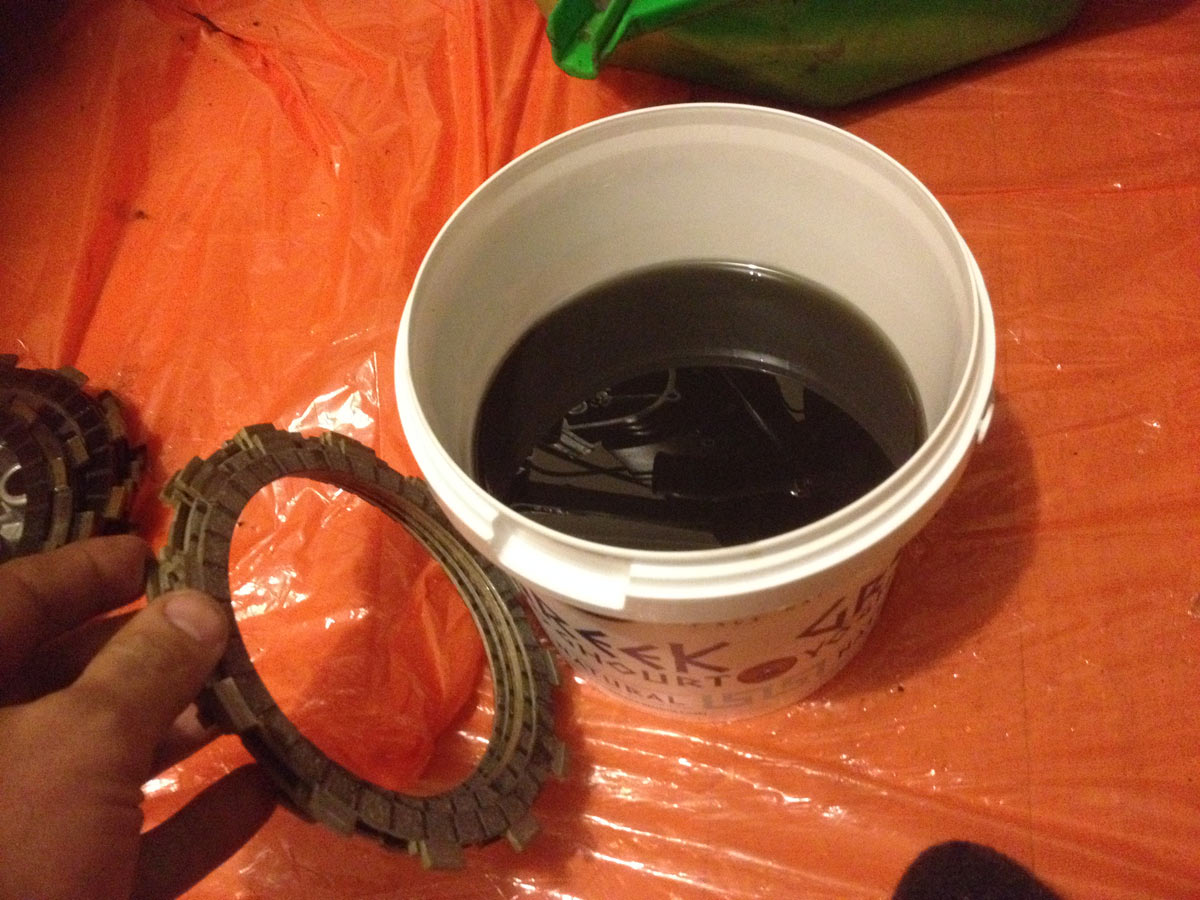
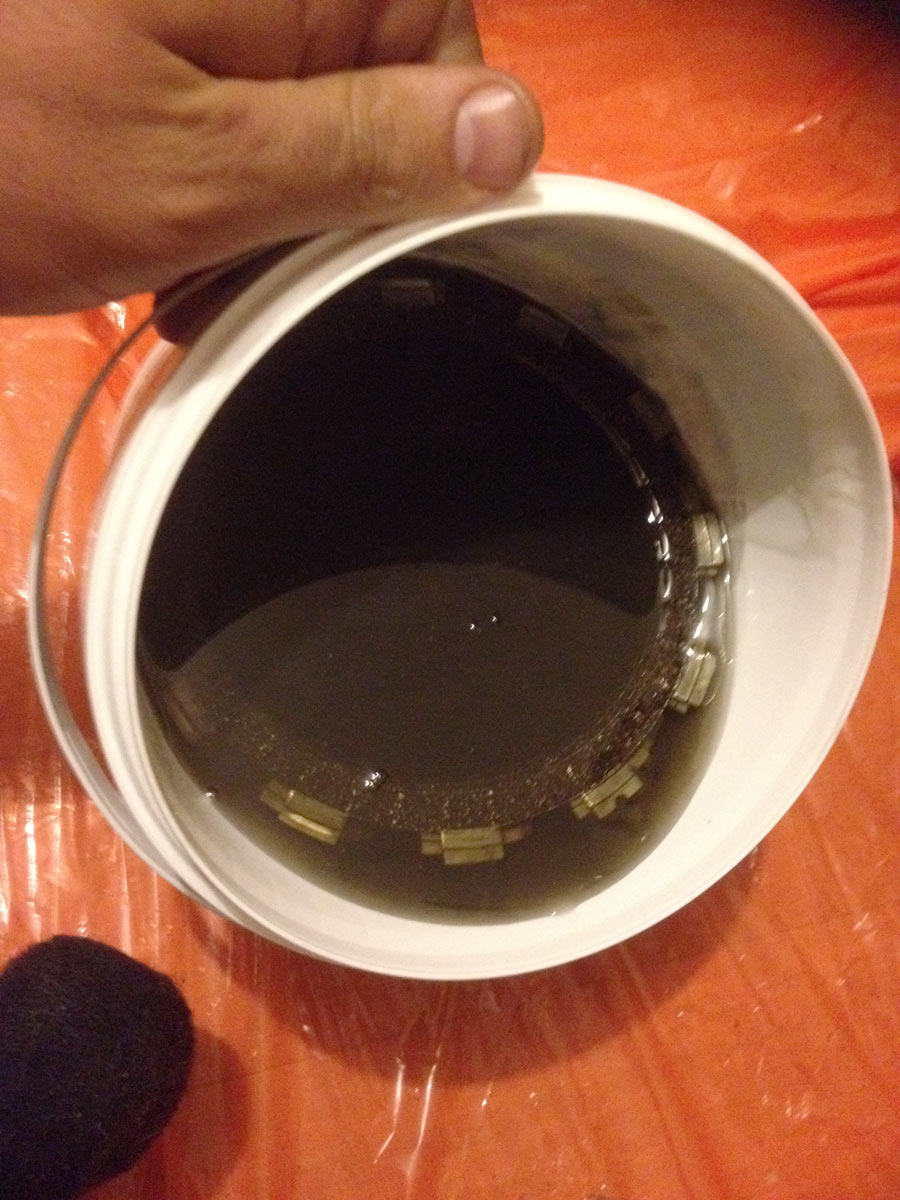
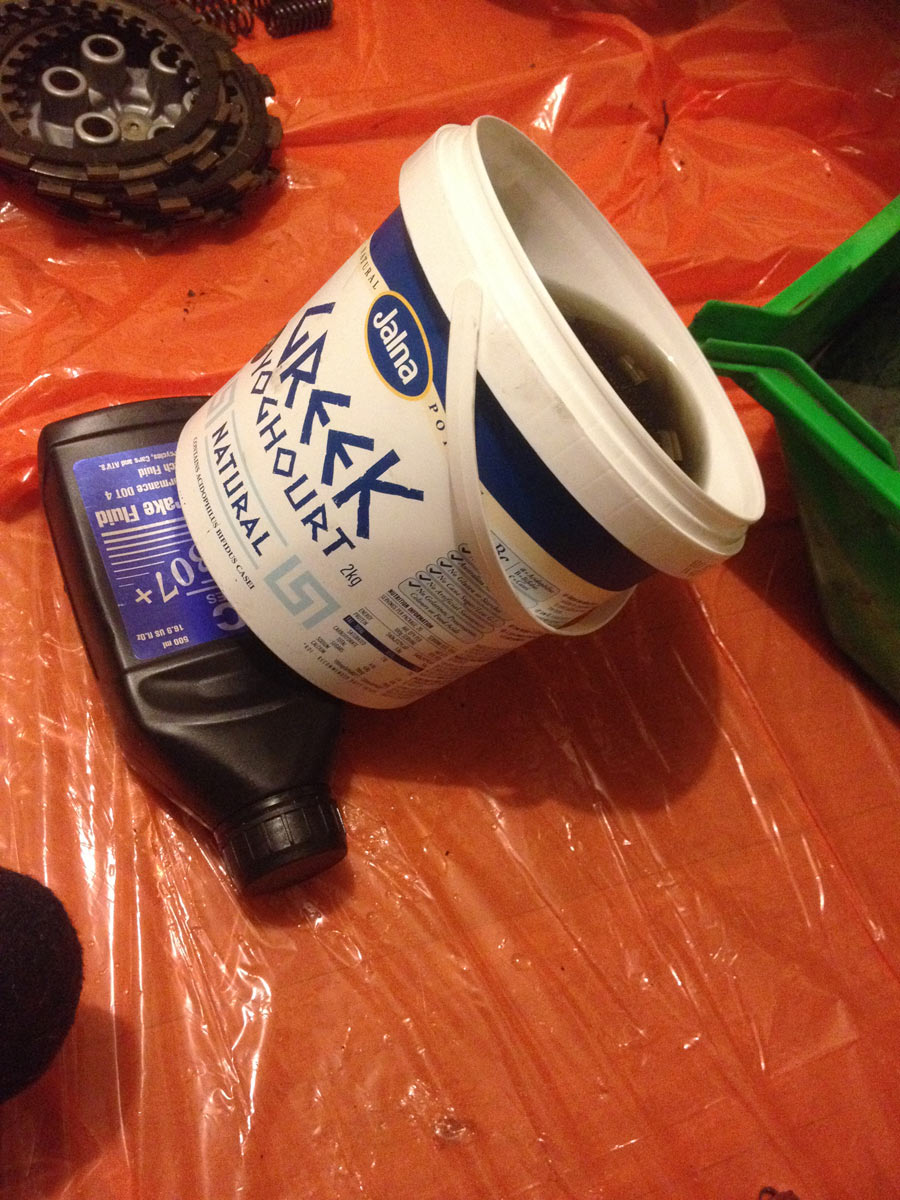
One thing people often forget with new clutch plates (well, for wet clutches): they need to be soaked in oil. Here I am going to soak them overnight in the used gearbox oil. I managed to select a container which was just a little bit too small for them, but with a bit of tilting of the container it’s possible to completely cover them.
Next up we will make up a clutch basket removal tool, pull the clutch basket out, clean up the notches, then put all back together.