
Suzuki Across GSX250F Carb Overhaul (Mikuni BSW27)
There’s a few little tricks with the Across carbs. They aren’t the fiddliest or the worst, and there’s a lot of generic carburettor things that happen. I happened to have a chance to illustrate a carb sort-out on an Across, so here it is :).
We’ll first off start with a listing of common issues and their symptoms, then the various parts and options for rebuilding the carburettors, and finally hop into dealing with them.
Common Across carburettor issues
(generic) blocked jets
won’t start, feels like it has ‘no fuel’
(generic) float needle/seats worn or sticking
floods, fuel pours out of carburettor drain(s), oil suddenly becomes ‘over full’, won’t rev out to full revs, oil smells like petrol and seems really thin
(generic) dirt or rust in float bowl
same as worn out float needles/seats. inline fuel filters in old bikes can be a good idea.
(generic) vacuum diaphragm perished or not sealing
won’t idle/lumpy idle, going to full throttle makes no more power
vacuum slide clips break
no power/feels like it has half power, won’t rev
choke o-rings fall apart
hard to start, choke doesn’t work very well, idle is a bit ordinary and slow and lumpy
(generic) emulsion tube/throttle needle wear
manifests itself as high fuel consumption and poor mid-range throttle response
Part numbers/stuff for rebuild
(thanks to http://2fiftycc.com/index.php?threads/mikuni-bsw27-carburetter-rebuild-kit.919/)
A partial parts list for a rebuild of both carbs is:
4 x 09492-30010 – jet pilot (30)
use Mikuni N151.067 #30 pilot jet from a Mikuni dealer
4 x 09491-90007 – jet main (90)
use Mikuni N100.604 #90
2 x 13370-37100 – float needle and seat
superseded by 13370-05530
can use Keyster part number KYV33020
Mikuni part number is N133.200 size 1.8
4 x needle holder – 13511-38400
These are what you need to replace if the throttle slide holder snaps and you have no power
4 x needle jet – 13383-24D00 (5D52-3)
You need this (and the emulsion tube) if they show excessive wear from flopping around inside the emulsion tube from warn needle holders.
4 x emulsion tube – 09494-00707 – jet needle (O-1)
You need this (and the needle jet) if the needle jet shows excessive wear from being flogged by the throttle needle rattling around due to warm needle holders.
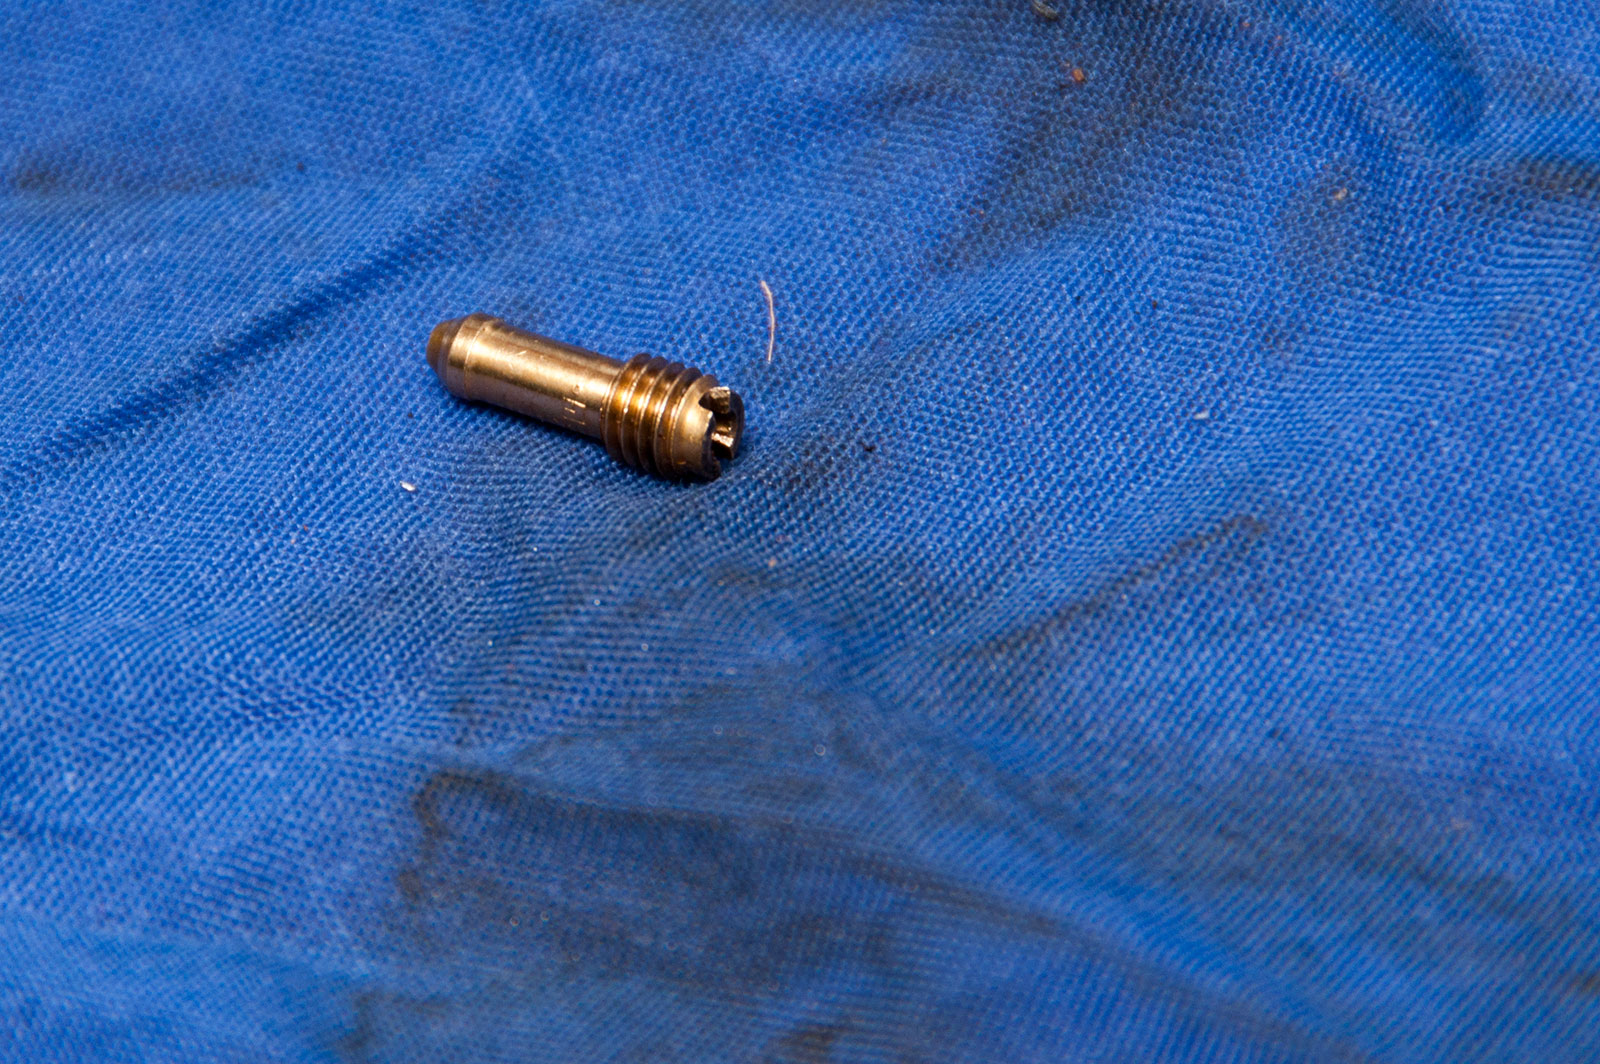
4 x 13279-47080 – pilot screw
4 x 13268-47070 – pilot screw spring
The pilot screw can vibrate out of adjustment or entirely out. Not much fun.
2 x 13250-43410 – float
Just in case your float develops a hole. You’ll know if it does this, it’ll flood like a stuck float needle.
2 x 13500-34A00 – vacuum diaphragm
If the bike doesn’t want to climb onto full throttle especially from high revs.
It can also be worth replacing the various o-rings and the gaskets, your best bet for these is Lite-tek.
http://litetek.co/Carb_Kit_Suzuki_GSX250F_Across.html
Carb rebuild/cleanout/fix-up
Getting them out
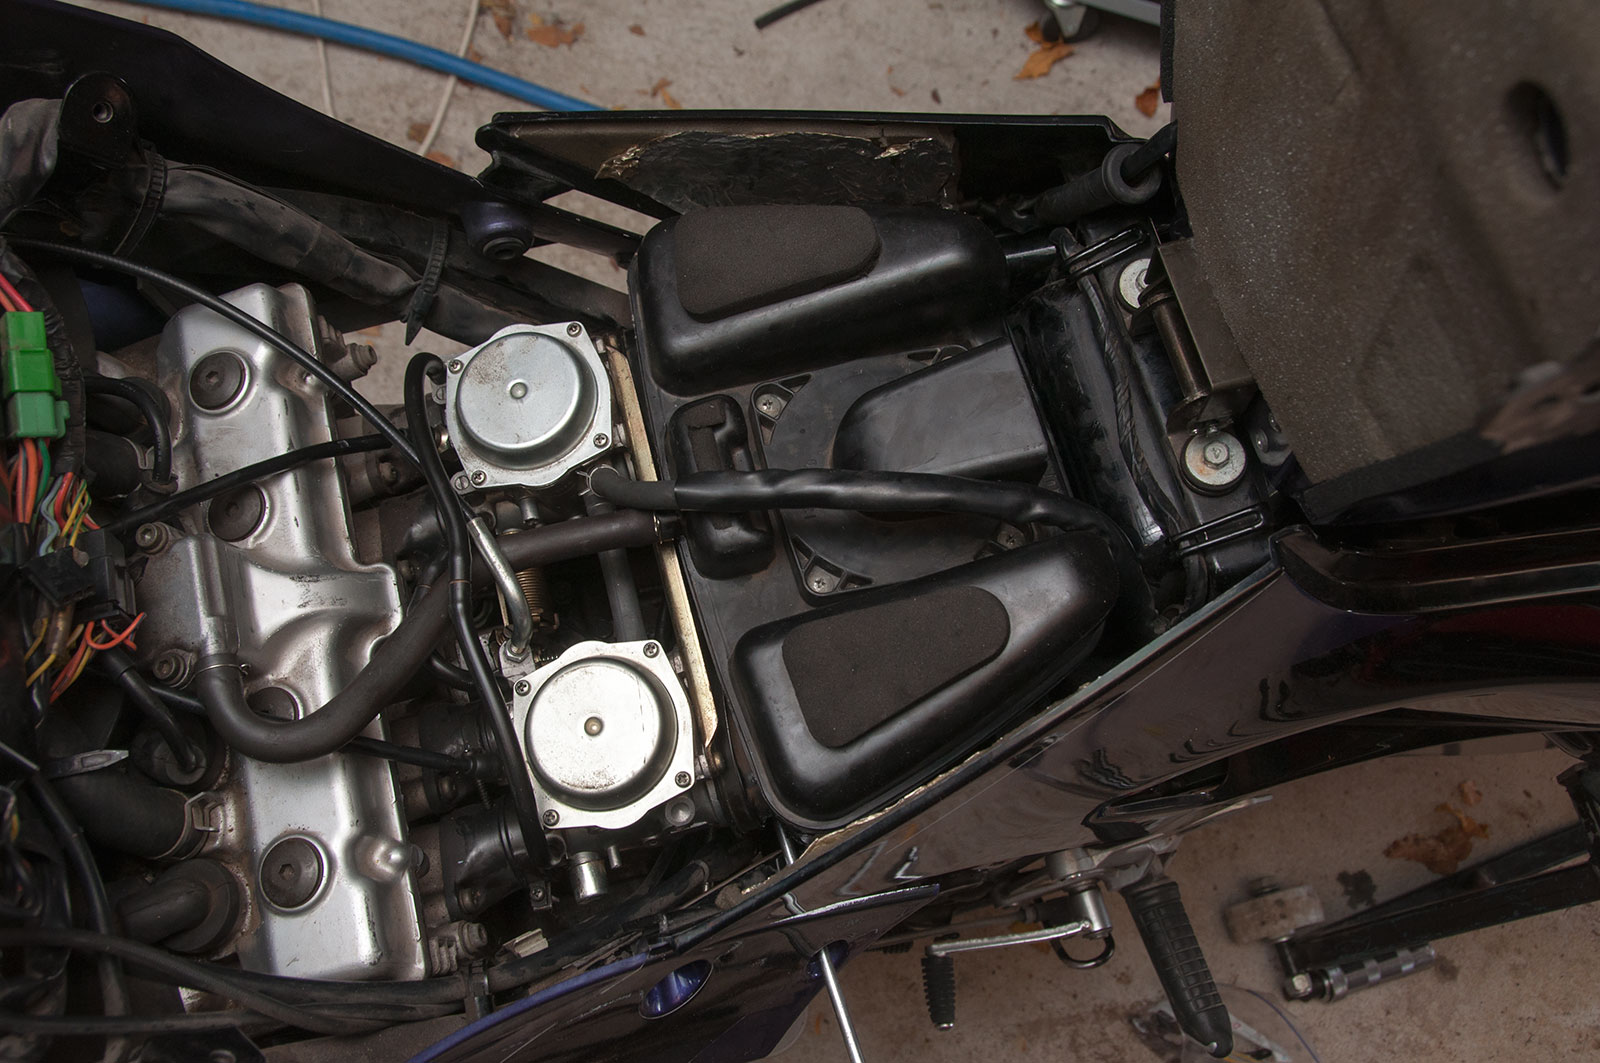
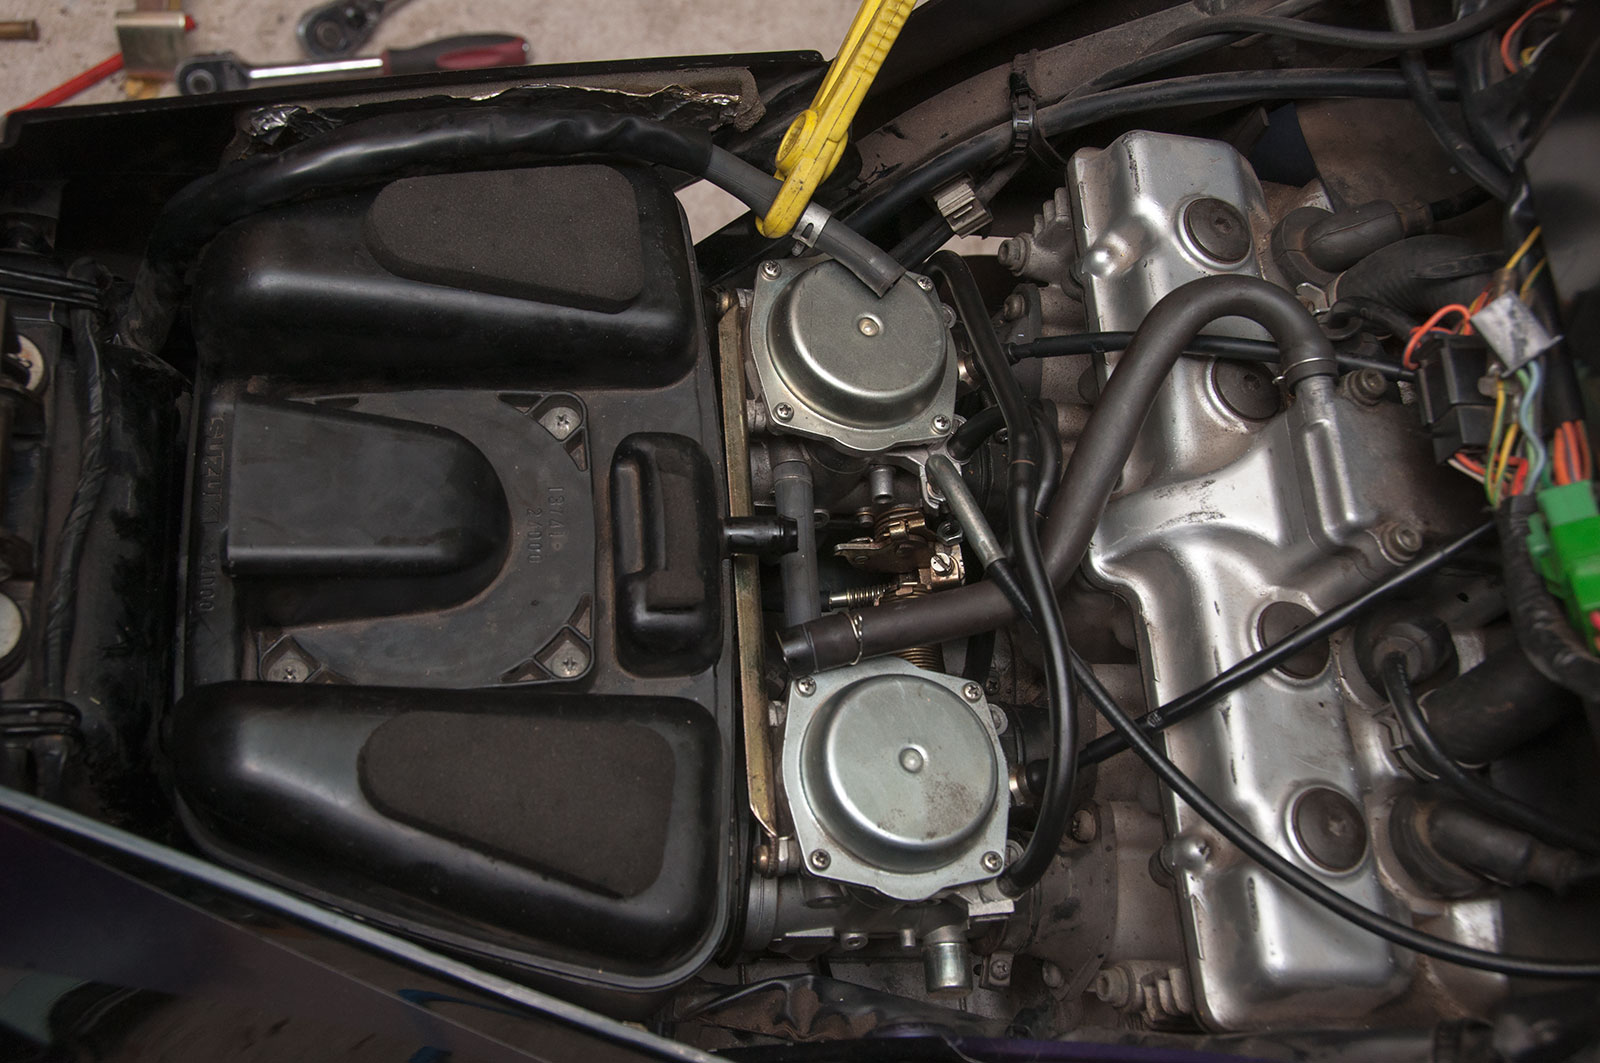
This is the initial view once you’ve got access to the carbs. The storage bit has to come up which requires loosening of the top fairing bolts. The rest of the carb job is made a whole lot easier if you already have removed the bottom of the fairings too, so do that too. (The bike was given to me without the bottom fairing and the boot was already undone, pretty much).
You’ll need to start this off by undoing the air box rubber boot clamps which connect the air box to the carbs.
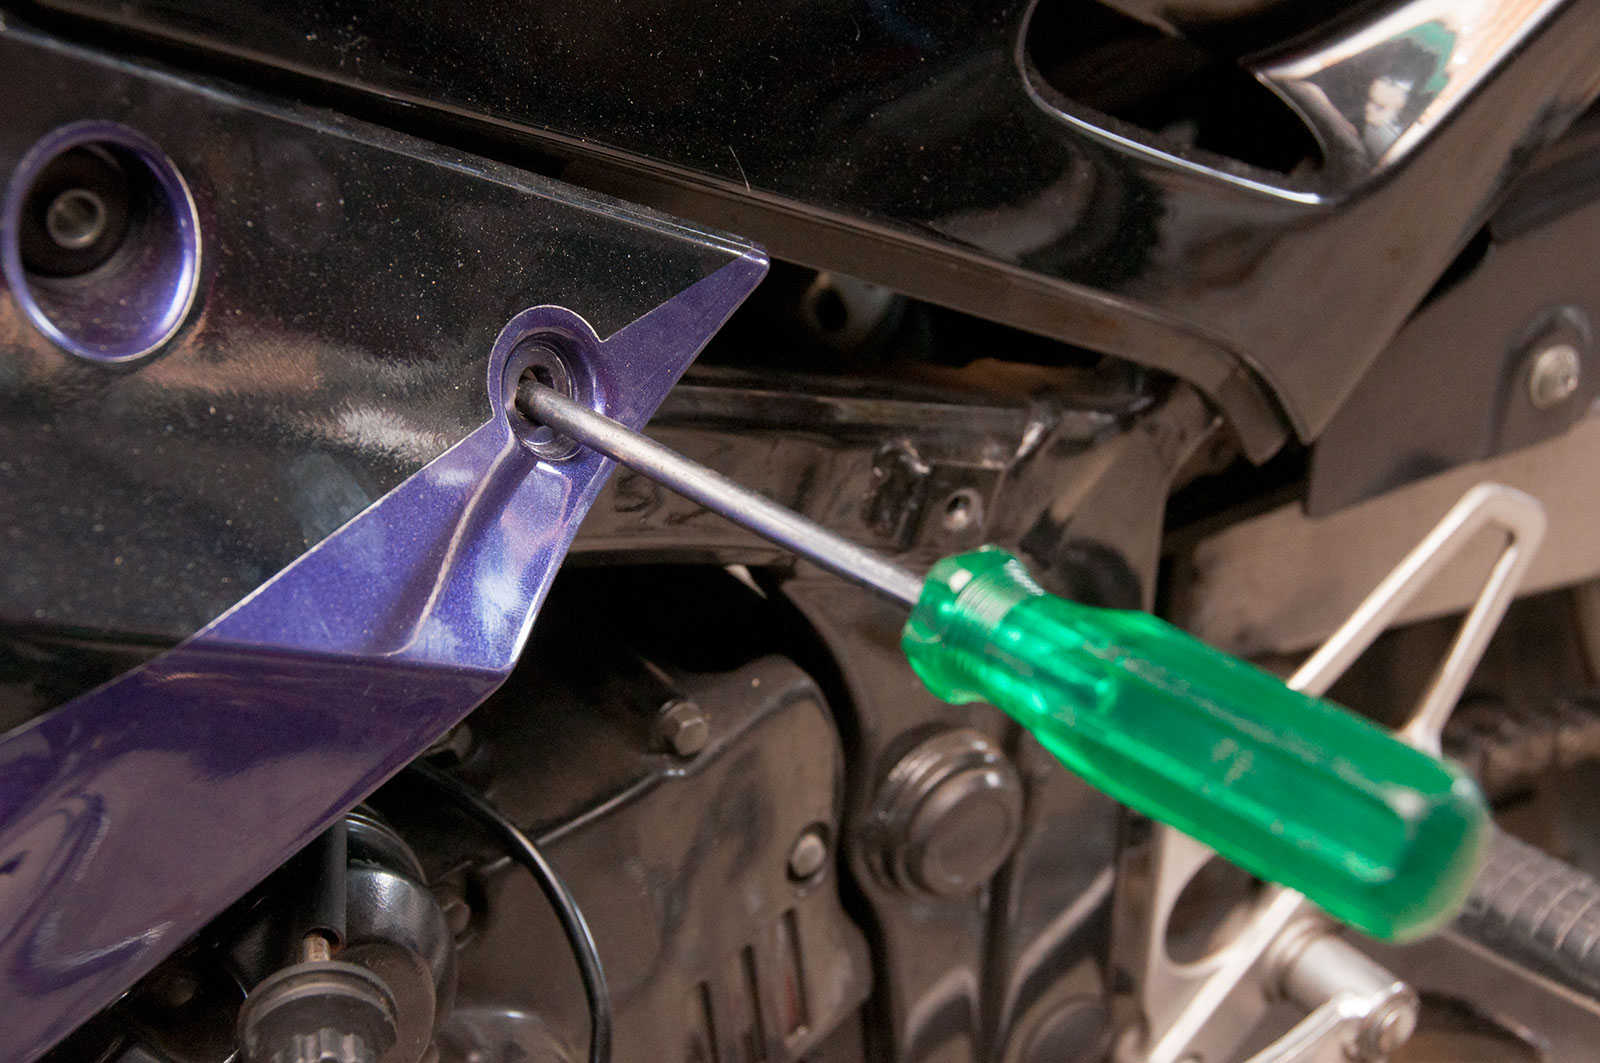
There’s a bit of a trick to getting to the air box rubber boot hose clamp screws. There’s a hole in the bottom of the upper front fairing which you can use a long screwdriver to get in there. It takes a bit of aiming – this is where having the bottom fairing off helps, cause you can look in from underneath to guide the screwdriver into place.
The simplest way to get the carbs out is to pull the air box out, then undo stuff from the carbs, then pull the carbs. I don’t have the pics but there are only two bolts holding the air box into the frame, you can access them with a long extension on a ratchet and ‘peeling’ back the side fairing plastics.
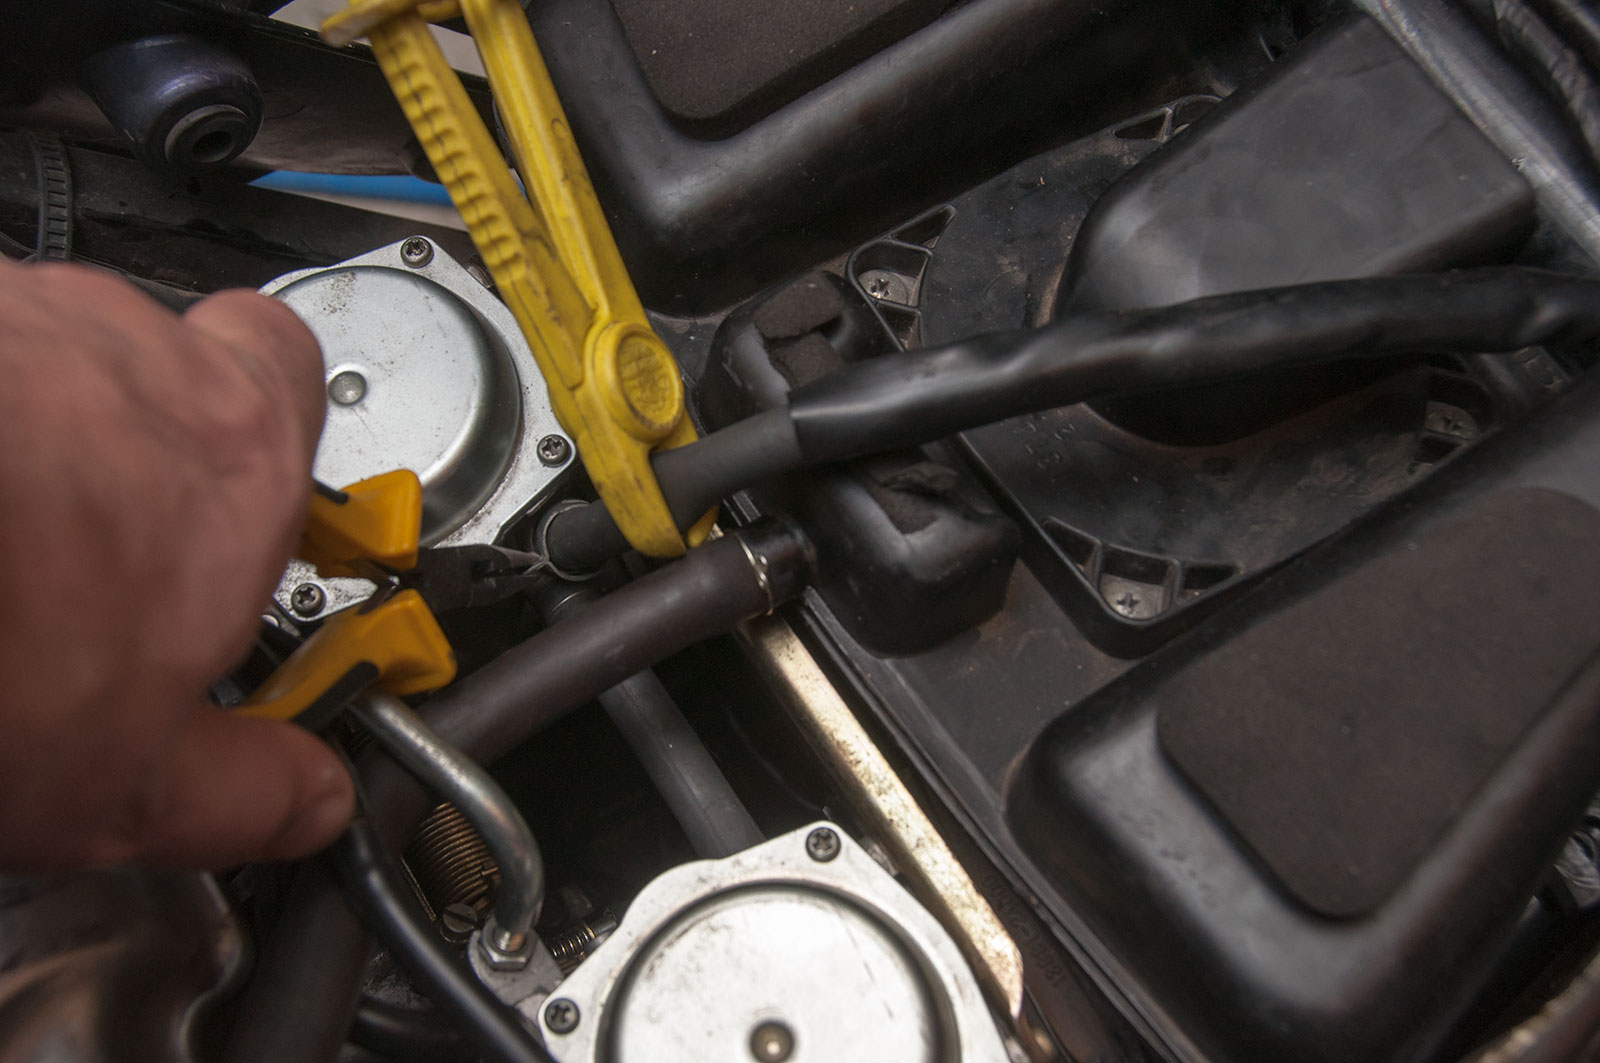
I like to clamp off the fuel line. The Across has a fuel pump so in theory there shouldn’t be too much fuel with the bike off, but it’s still better to be safe rather than sorry. Pliers to pinch the little fuel hose clamp to make it easier to access.
You also have to pull the breather from the cam cover, with that done the air box pretty much is lifted out.
Impossible to get a photo of this, but there is a drain hose thing off the air box you gotta disconnect. The drain hose runs to the bottom of the bike on the right-hand side, but you can’t easily lift it up much. Lift the air box up a little bit, stick your hand underneath and pull it off the bottom of the air box. Then lift the air box fully out of the way.
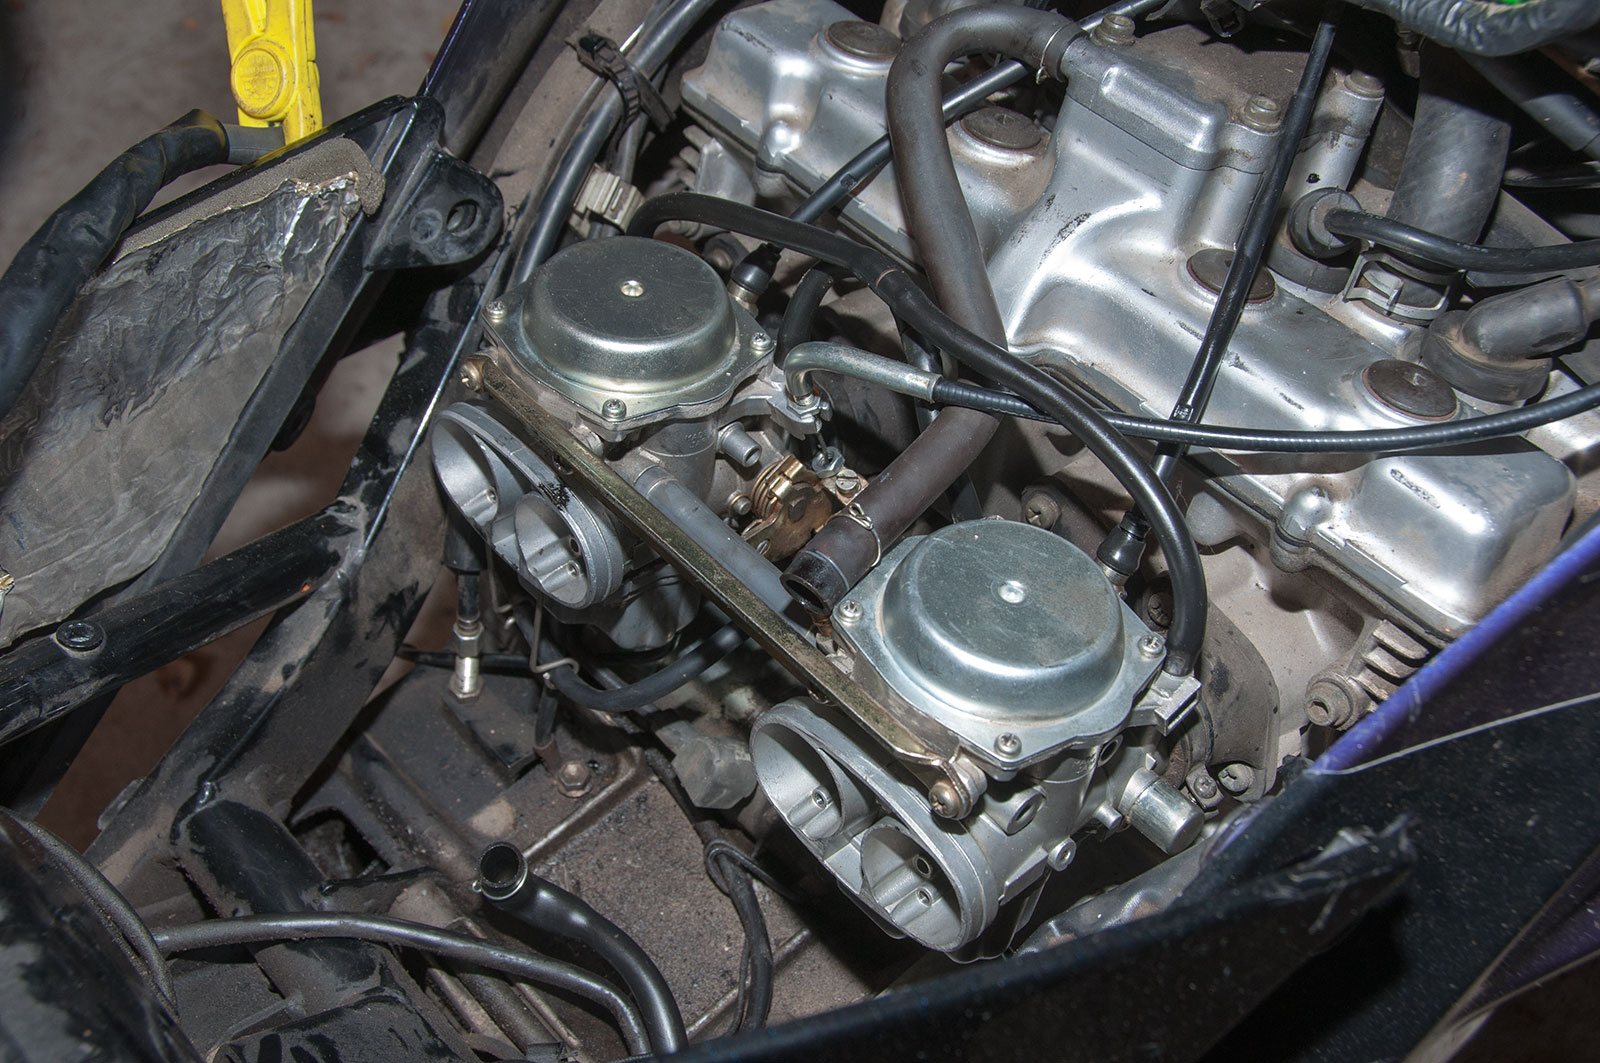
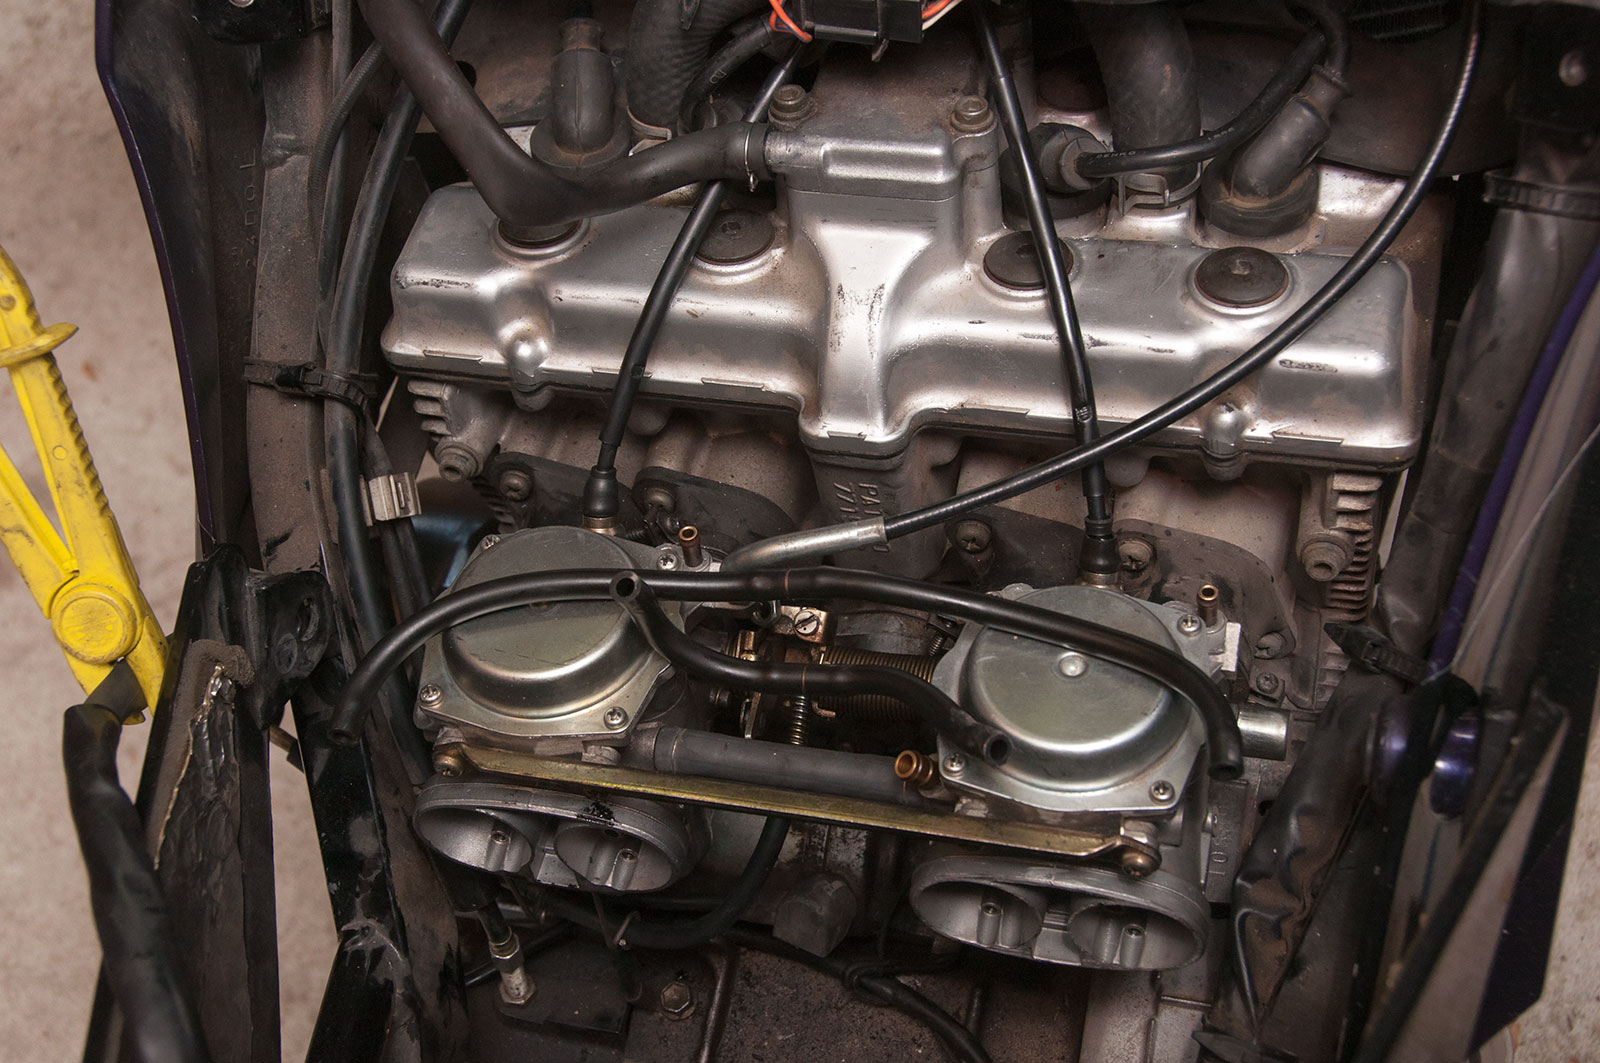
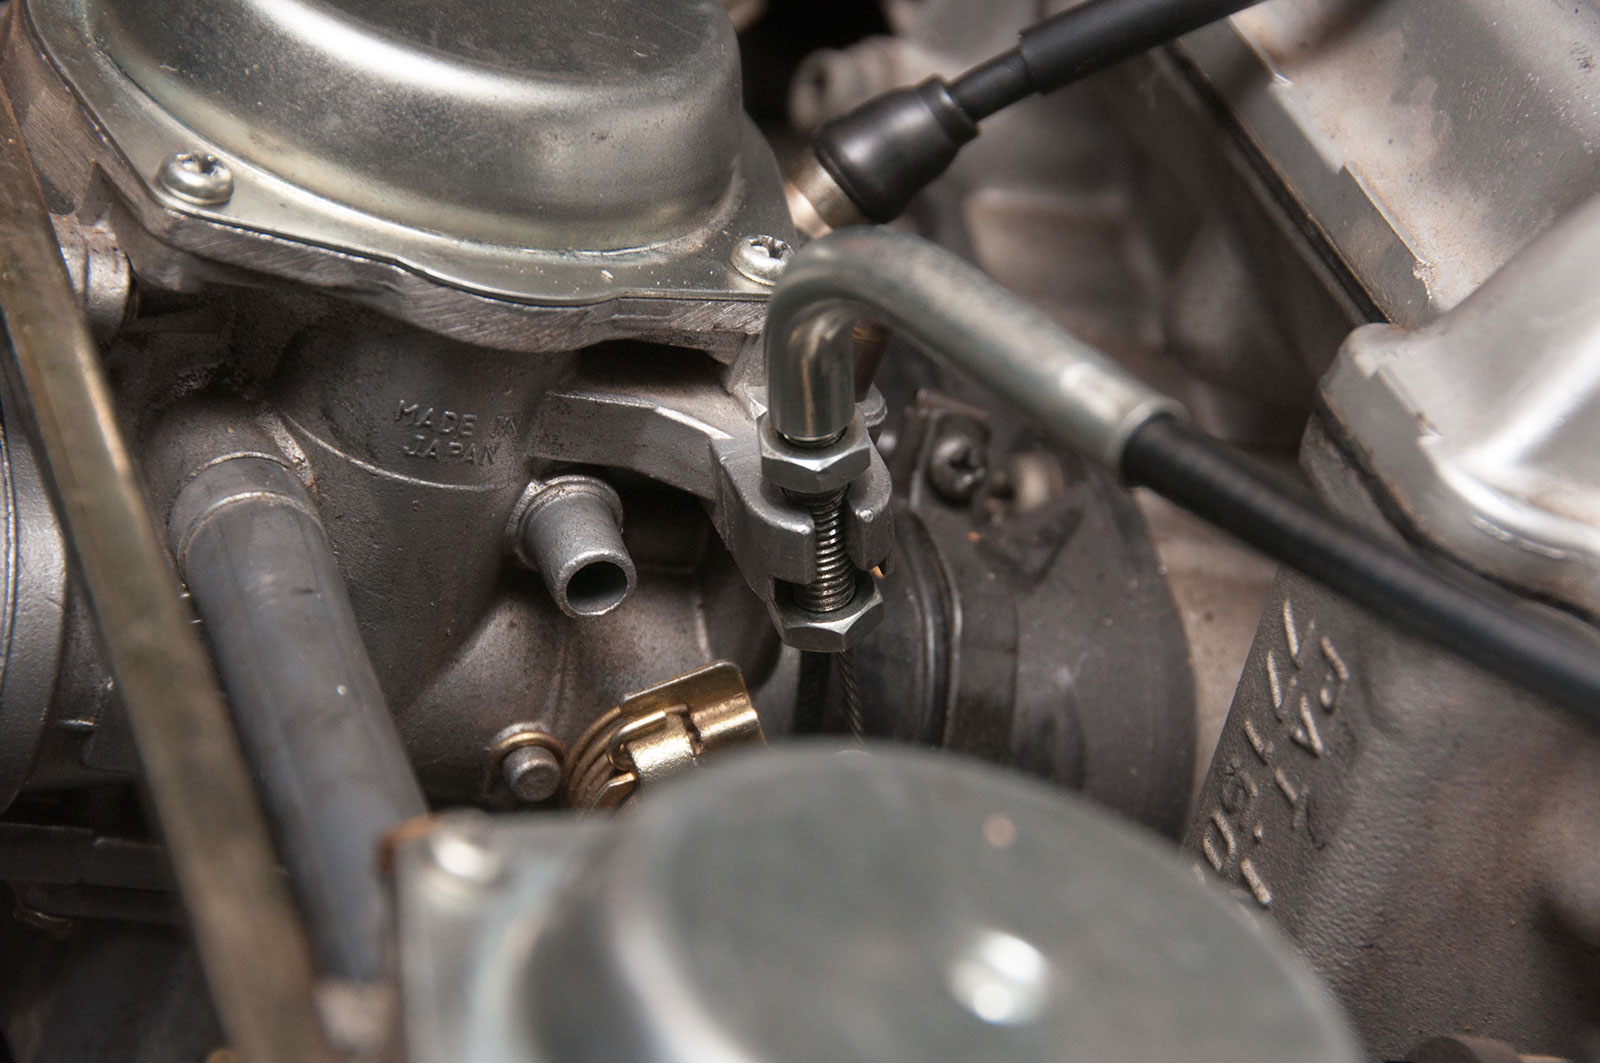
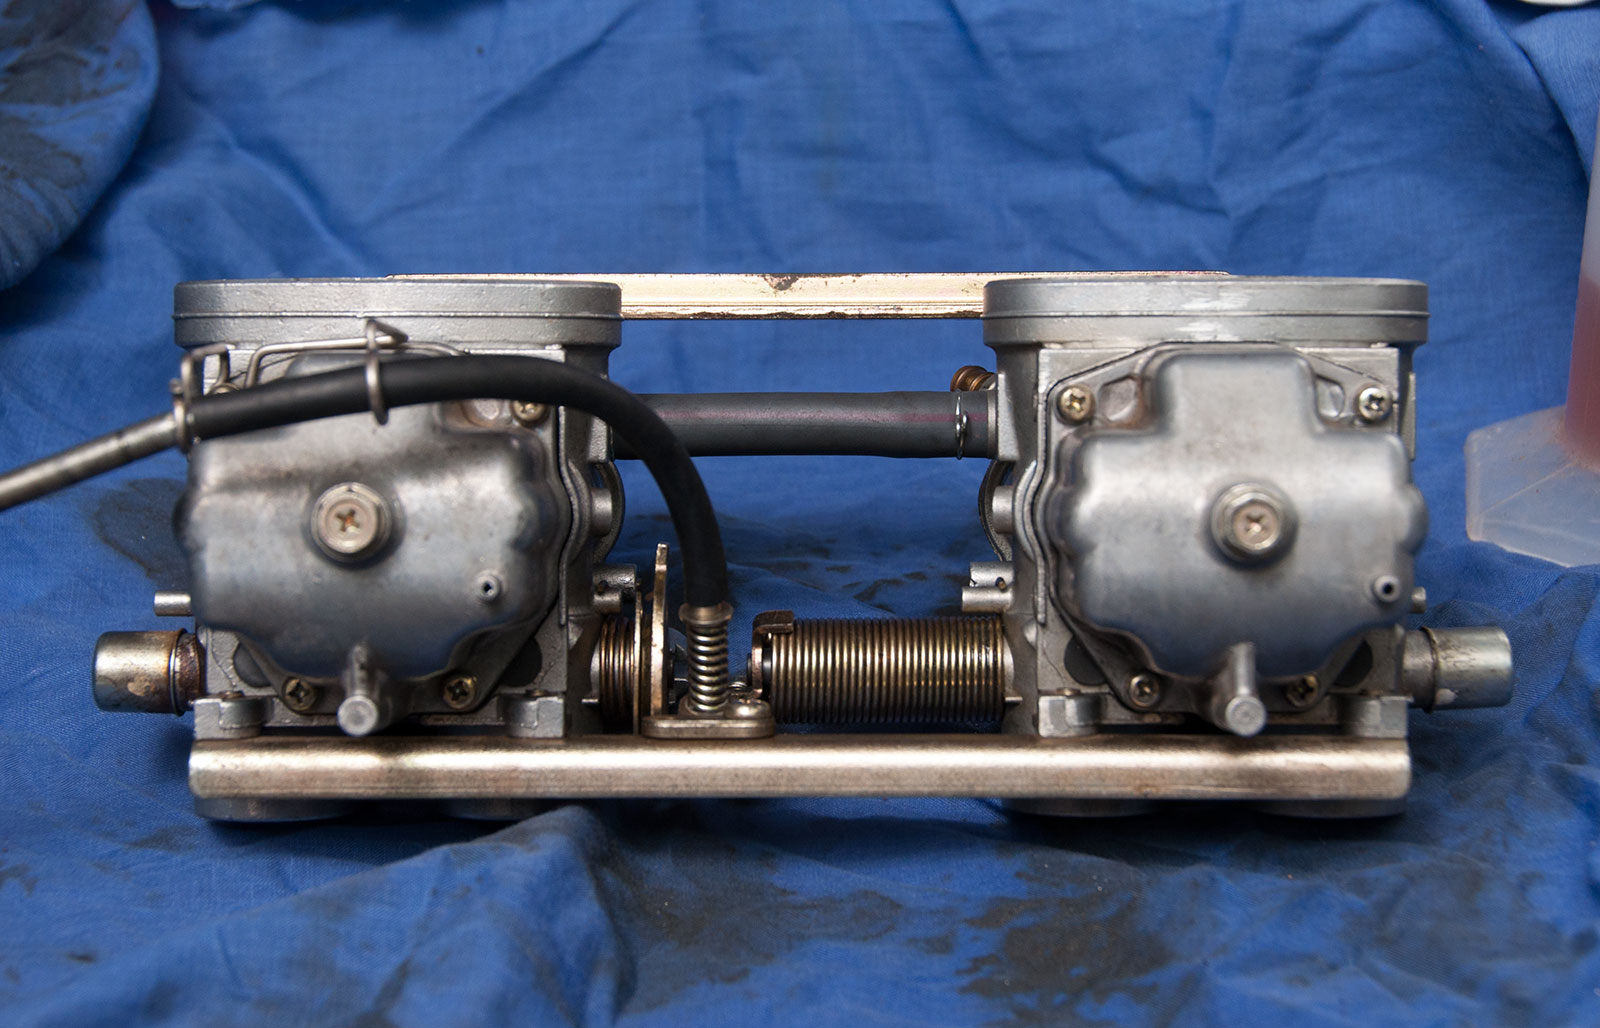
These are the carbs now without the air box in the way. Things to come off now – balance hoses between cylinders 1 and 4, and between cylinders 2 and 3, the cam cover breather hose, the throttle cable, the choke cables, and the carburettor manifold clamps need to be loosened.
Balance hoses pull off easily.
There’s a few more steps to undoing throttle cable.
Start by loosening the top nut on the throttle cable.
Now lift the cable up a bit, and loosen the bottom nut till it is totally undone.
Now you lift up the cable body fully…
…then yank it sideways out of the body of the carb. Note the cutout for the inner cable to go through
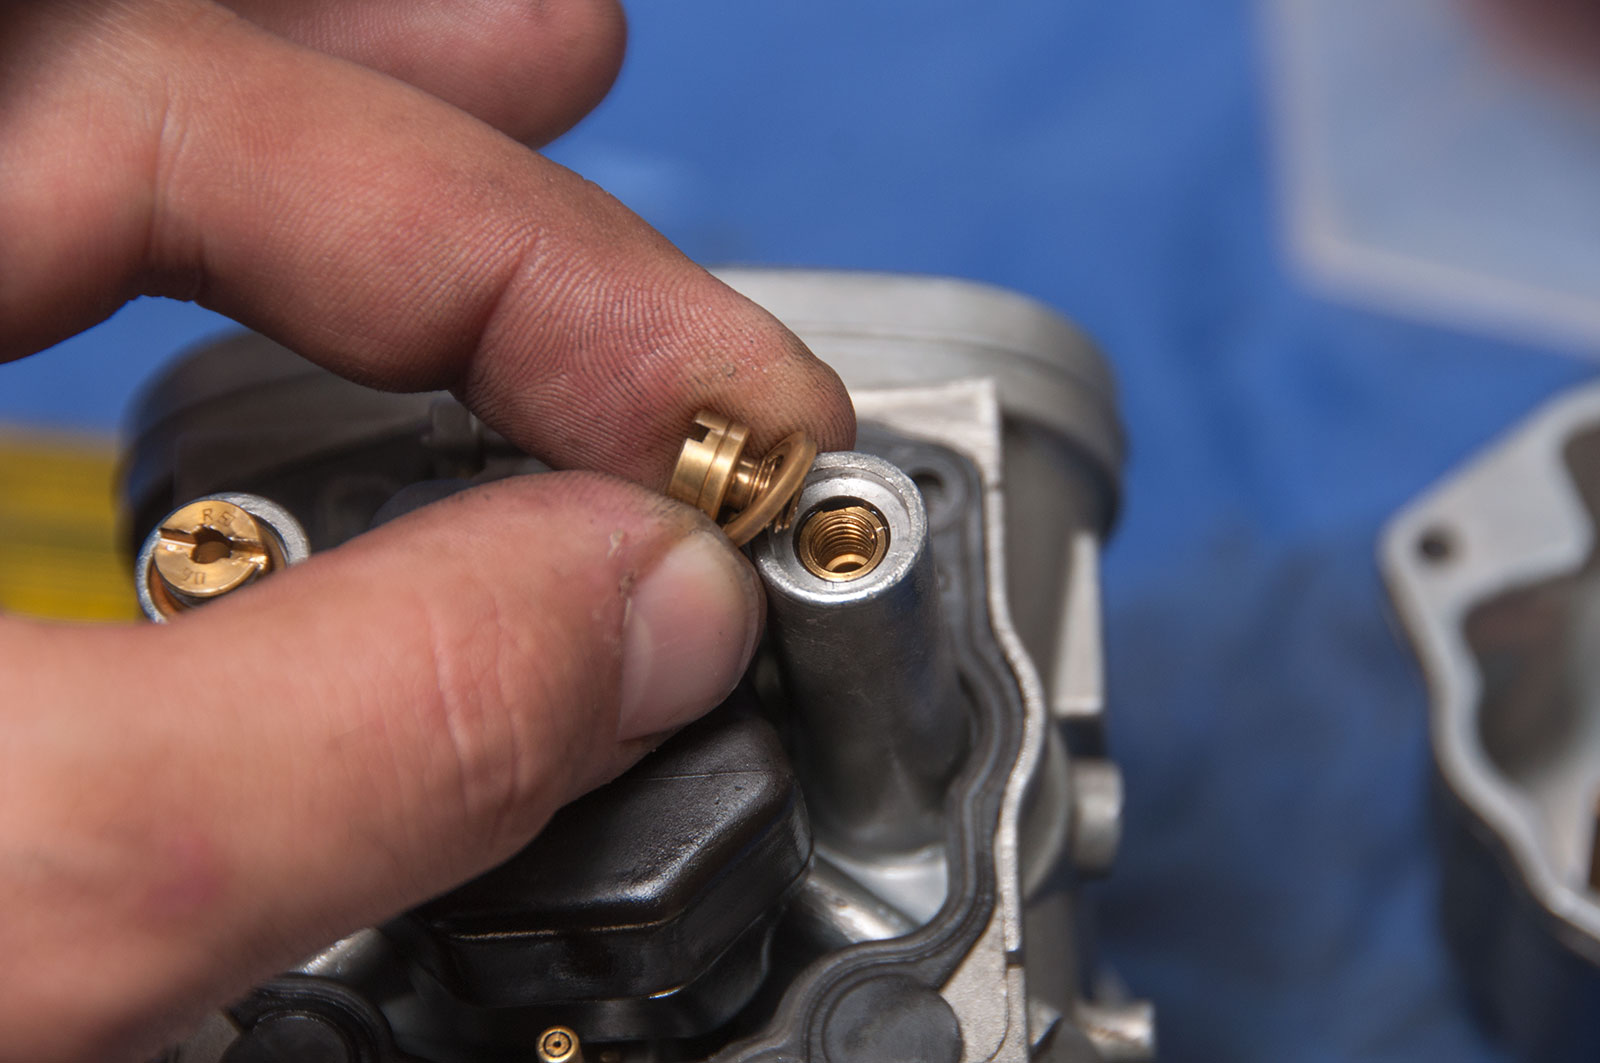
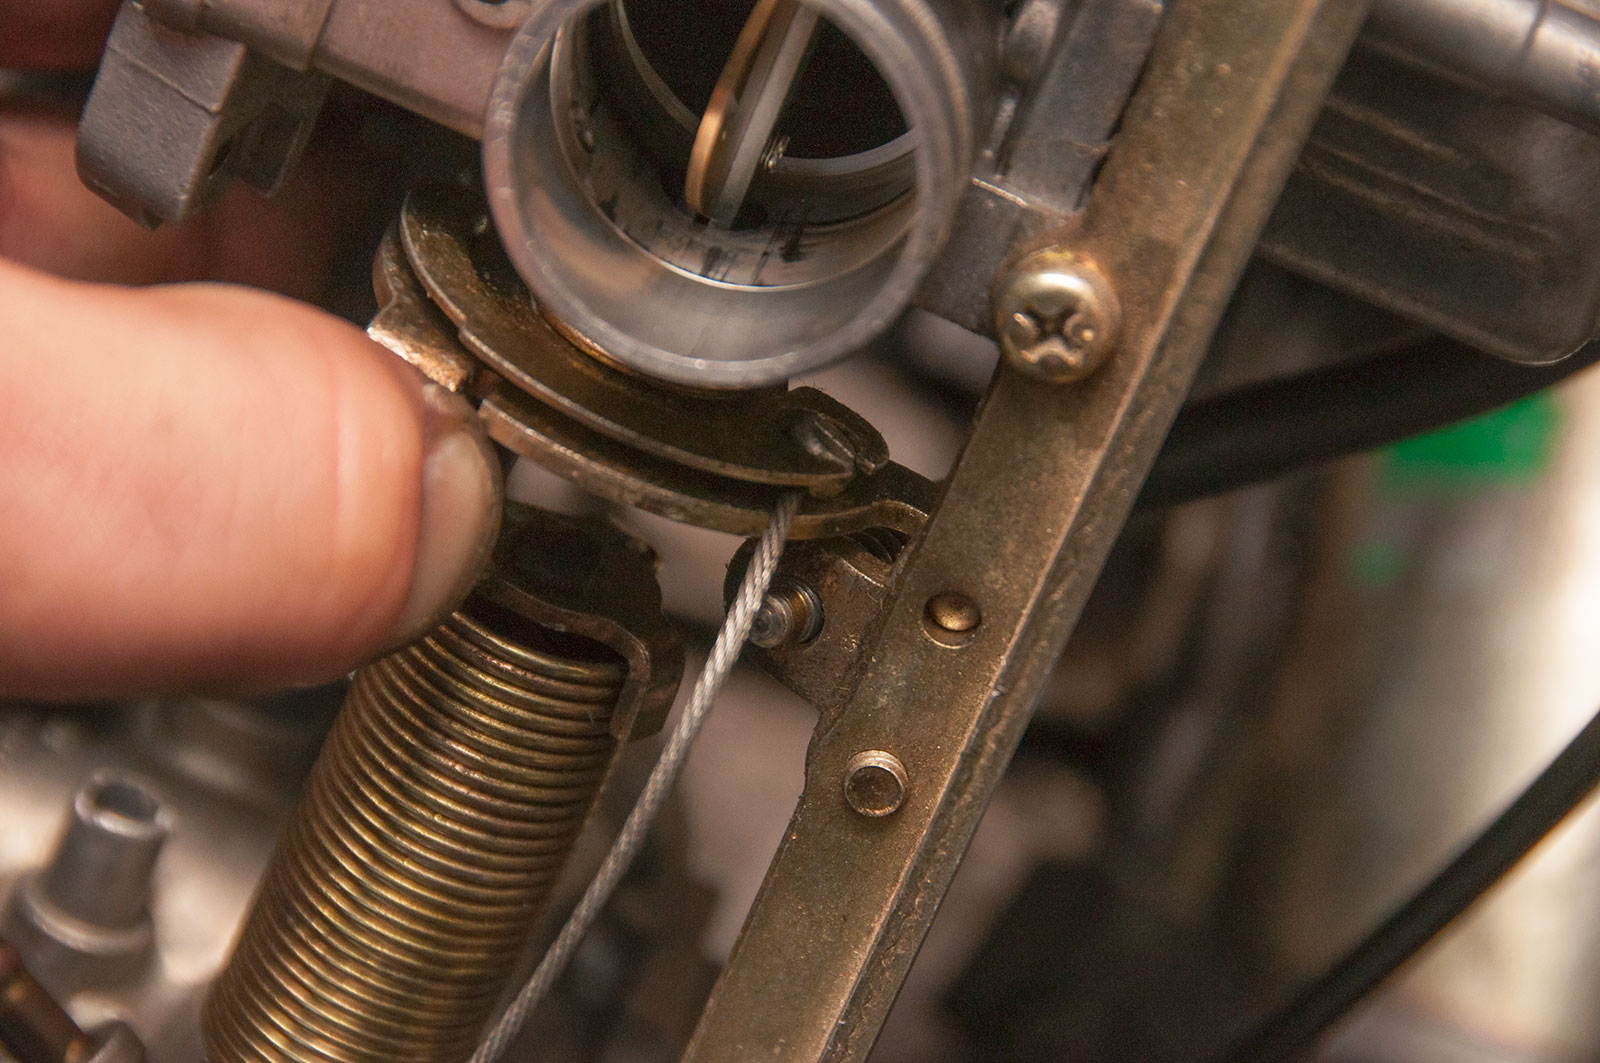
Choke cables get disconnected next. They screw into the carb bodies and they aren’t that easy to get to. 14mm spanner here.
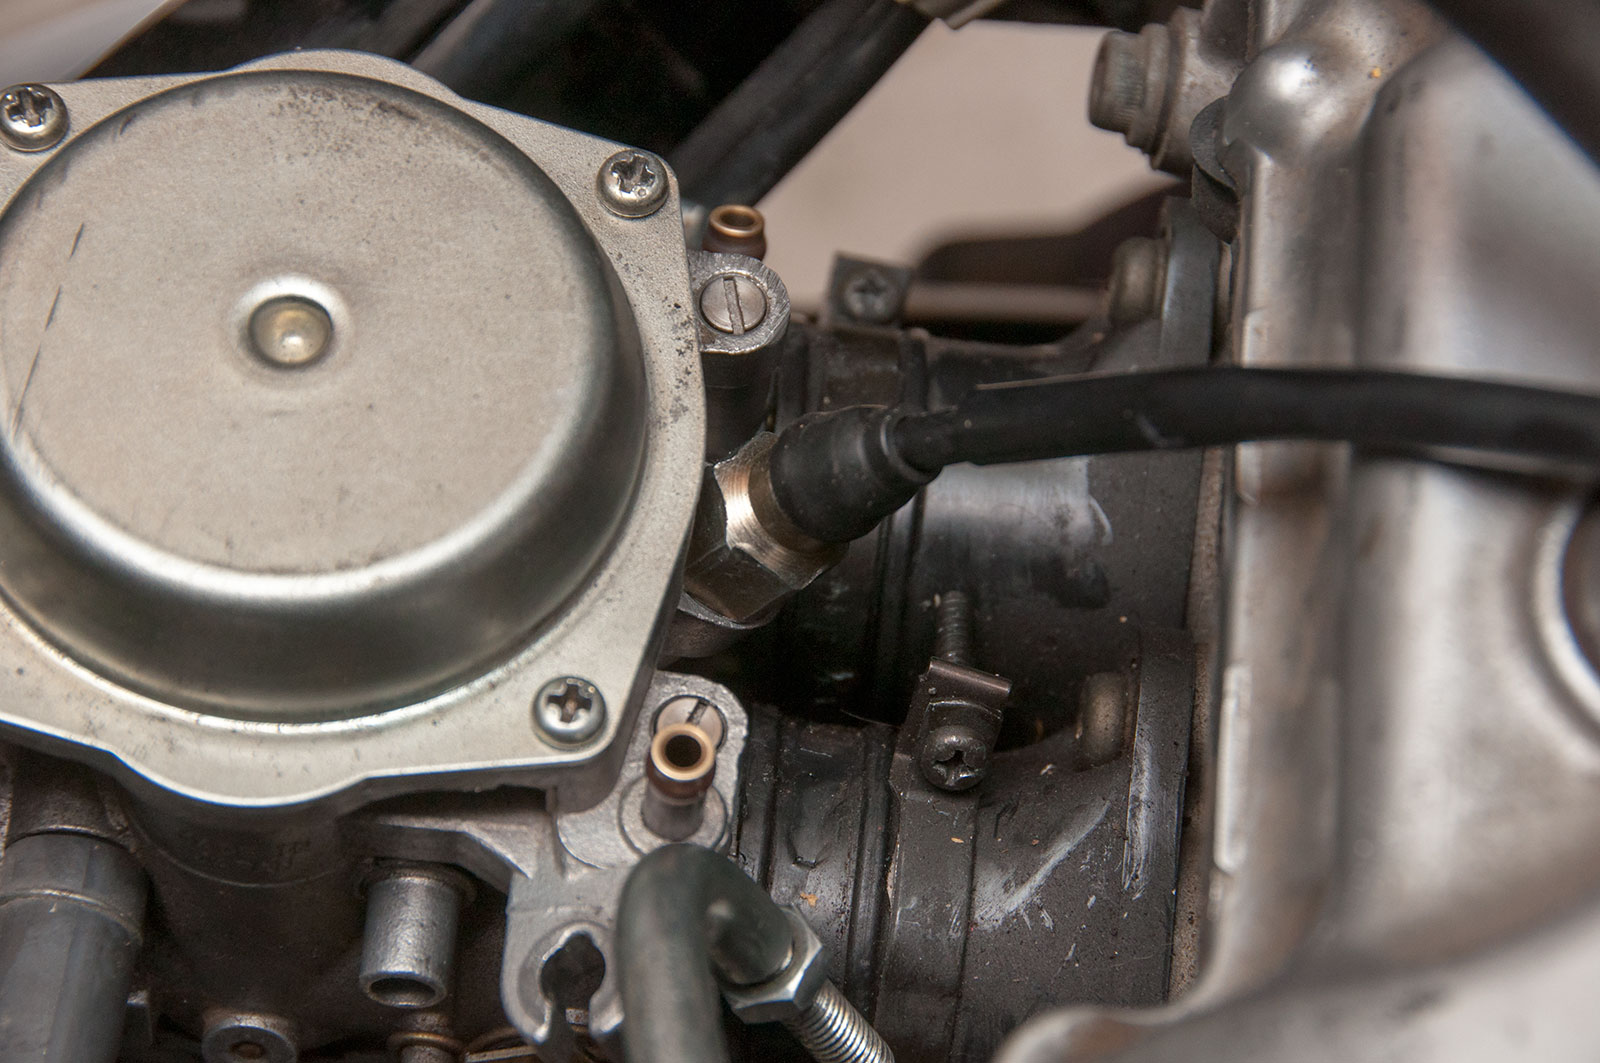
Here’s one of the chokes screwed into the top of one of the carbs.
Chokes are a bit tricky to get a spanner onto – hence they always end up with little marks from people not being able to get a solid grip onto them – and I use a really long spanner for this job. With the spanner more upright than square onto the nut, a long one gives you the same leverage as a normal length spanner.
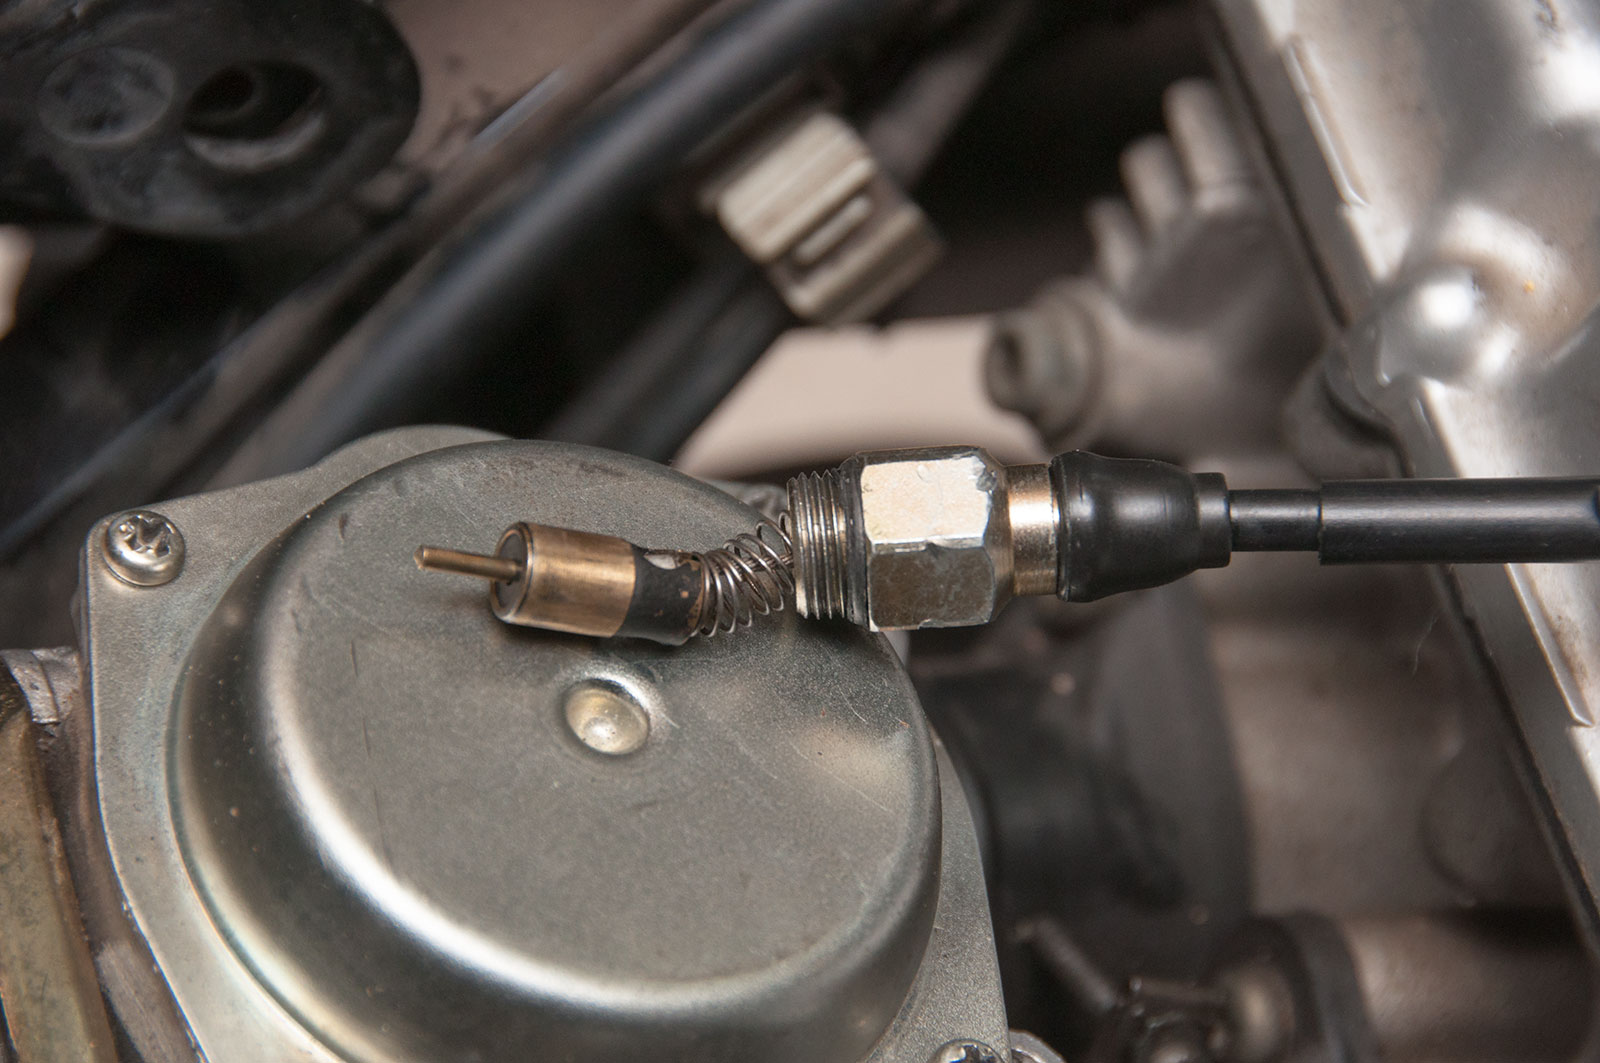
Here’s the end of the choke. The actual mechanism is the bit at the end of the cable. The o-rings perish at the top of the thread, that lets in air and stops the choke being so effective. Can be worth replacing these on older bikes that haven’t had much love. Also worth having them on hand in case you rip one!

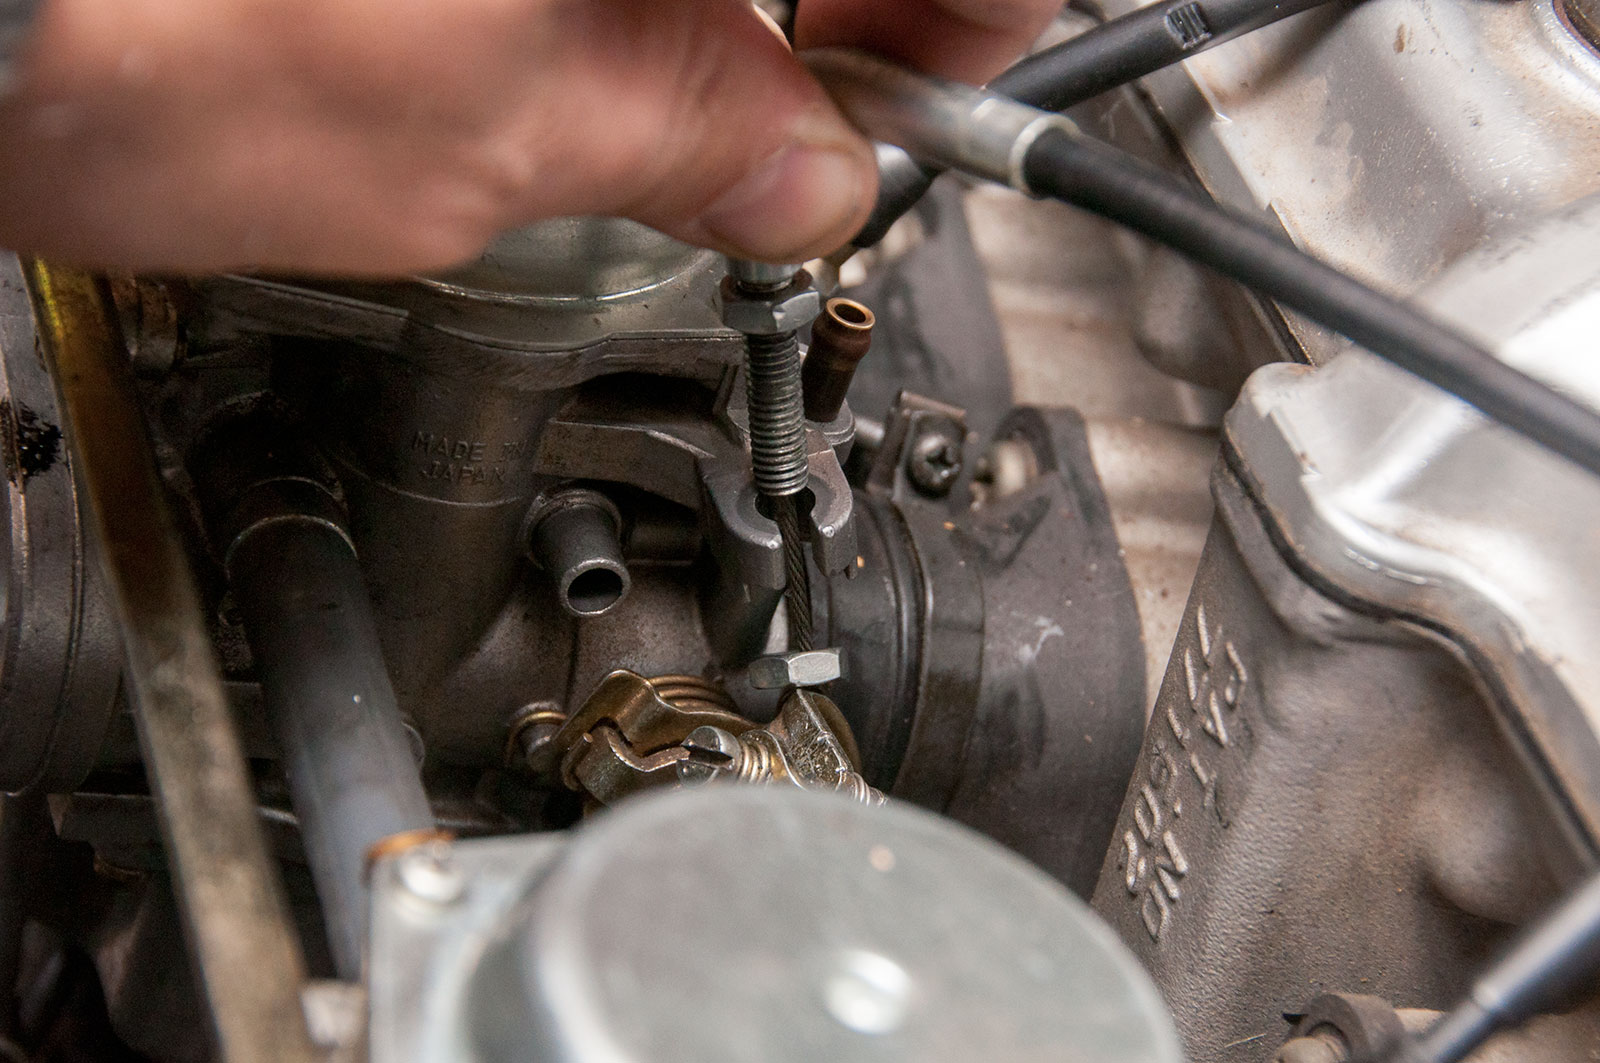
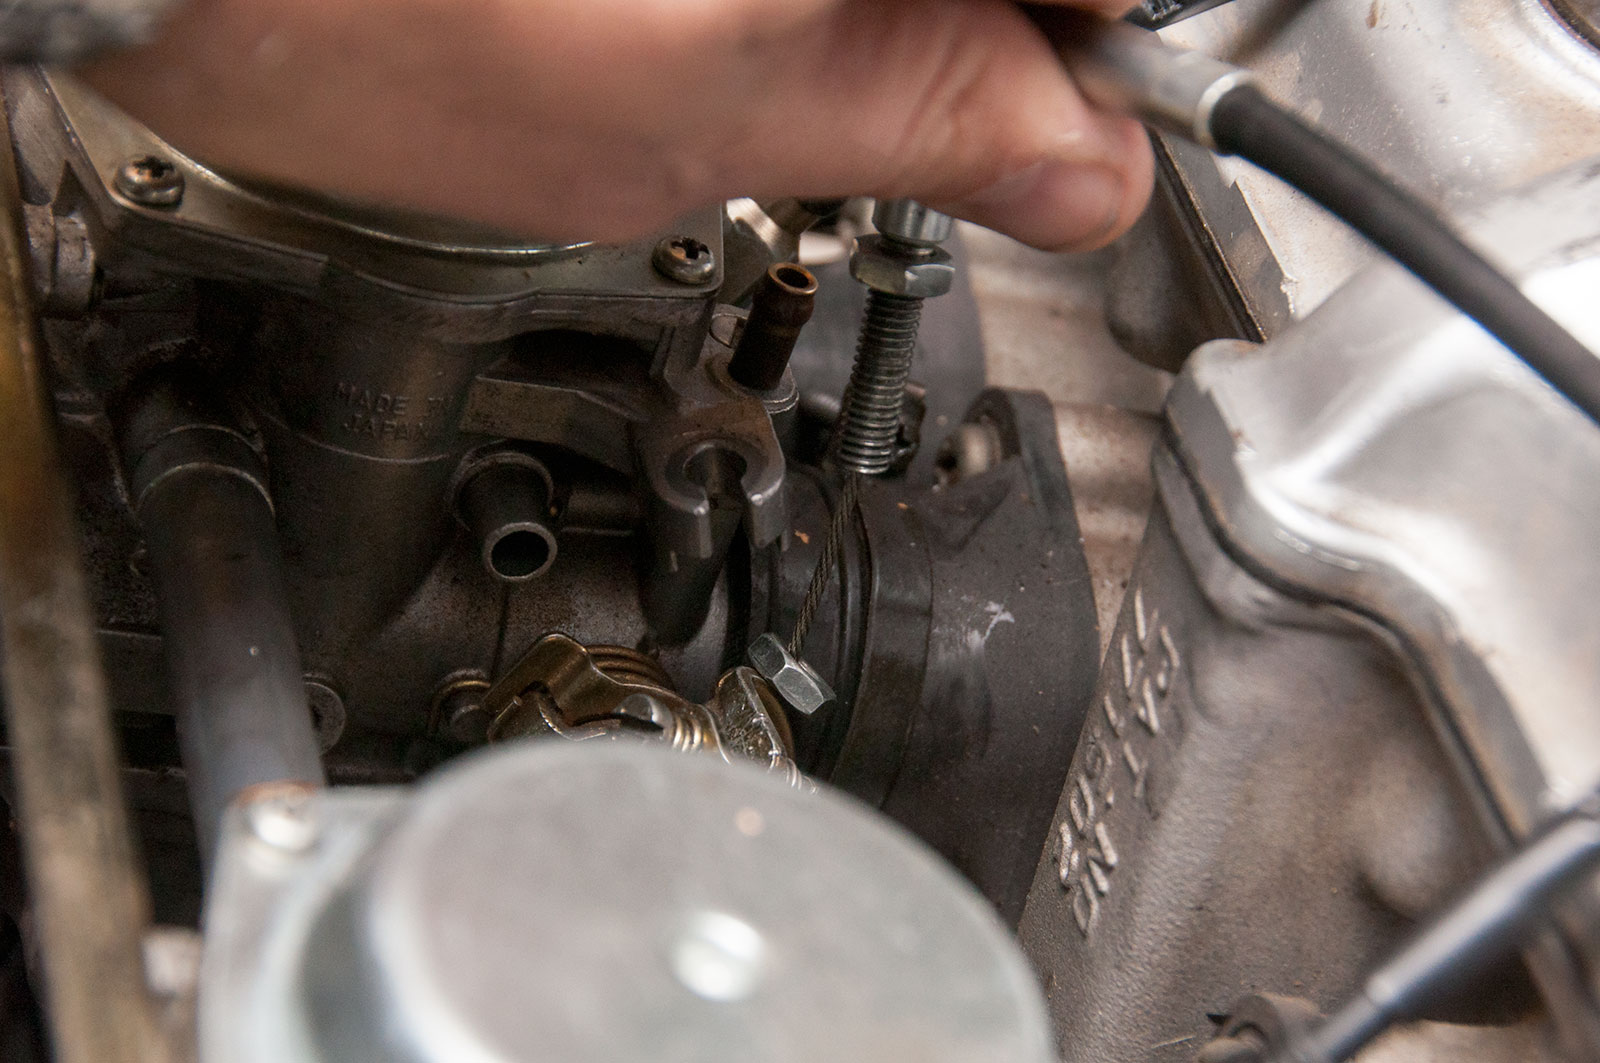
Finally, the manifold clamp screws need to be undone. There is one per carb – note the orientation of the one near the throttle assembly. It’s easy to think “oh, if I flip it around it’d be more accessible”. Yes, but then the screw gets caught up in the throttle assembly. Ask me how I know!
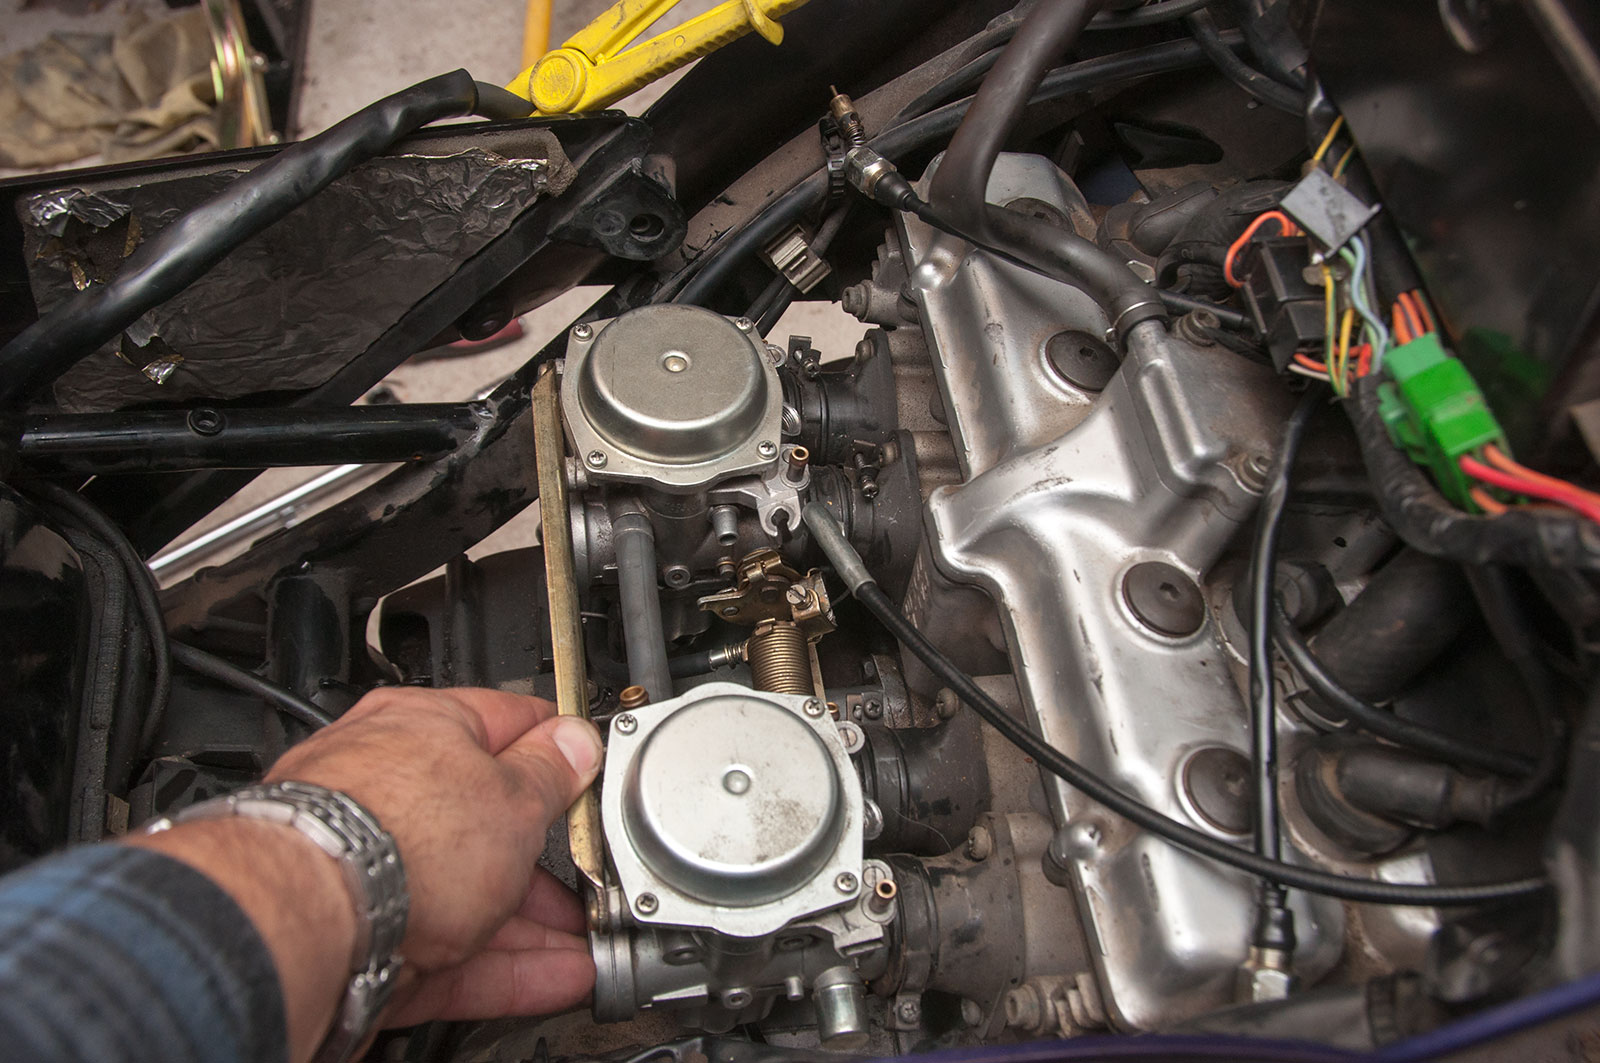
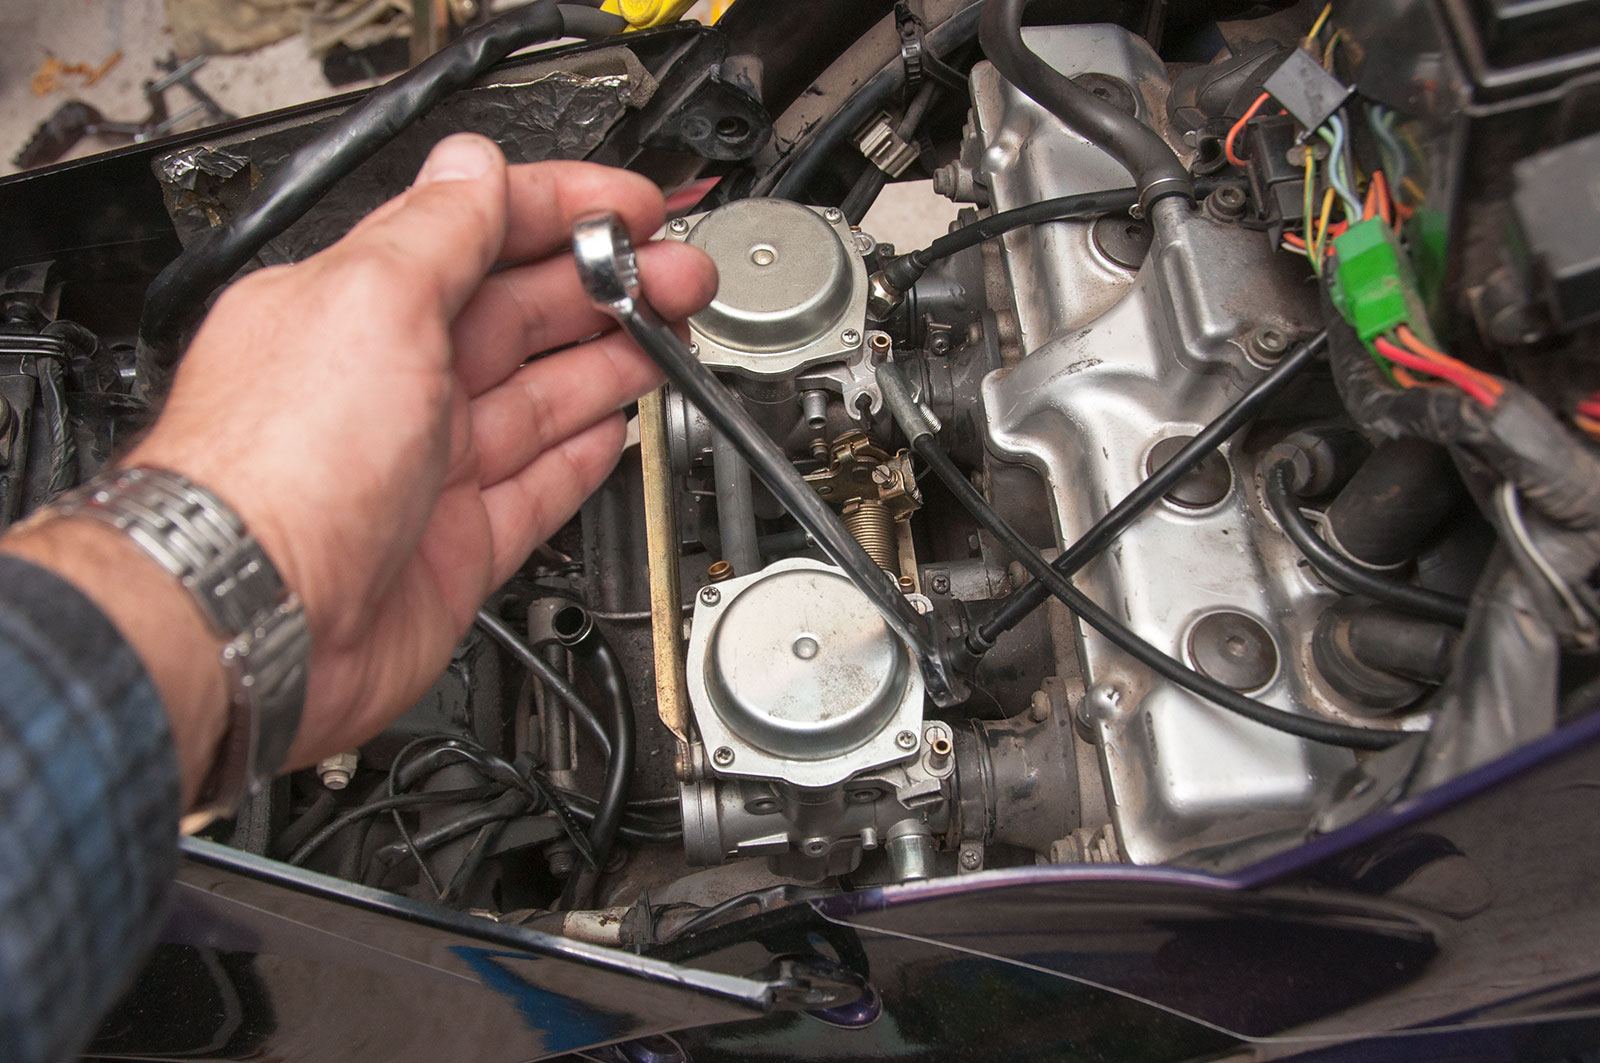
The carbs are easiest to remove by pulling up on the back of them – the air box side, that is – and then sorta pulling them back as you rotate the back up. They can be in the manifolds tight!
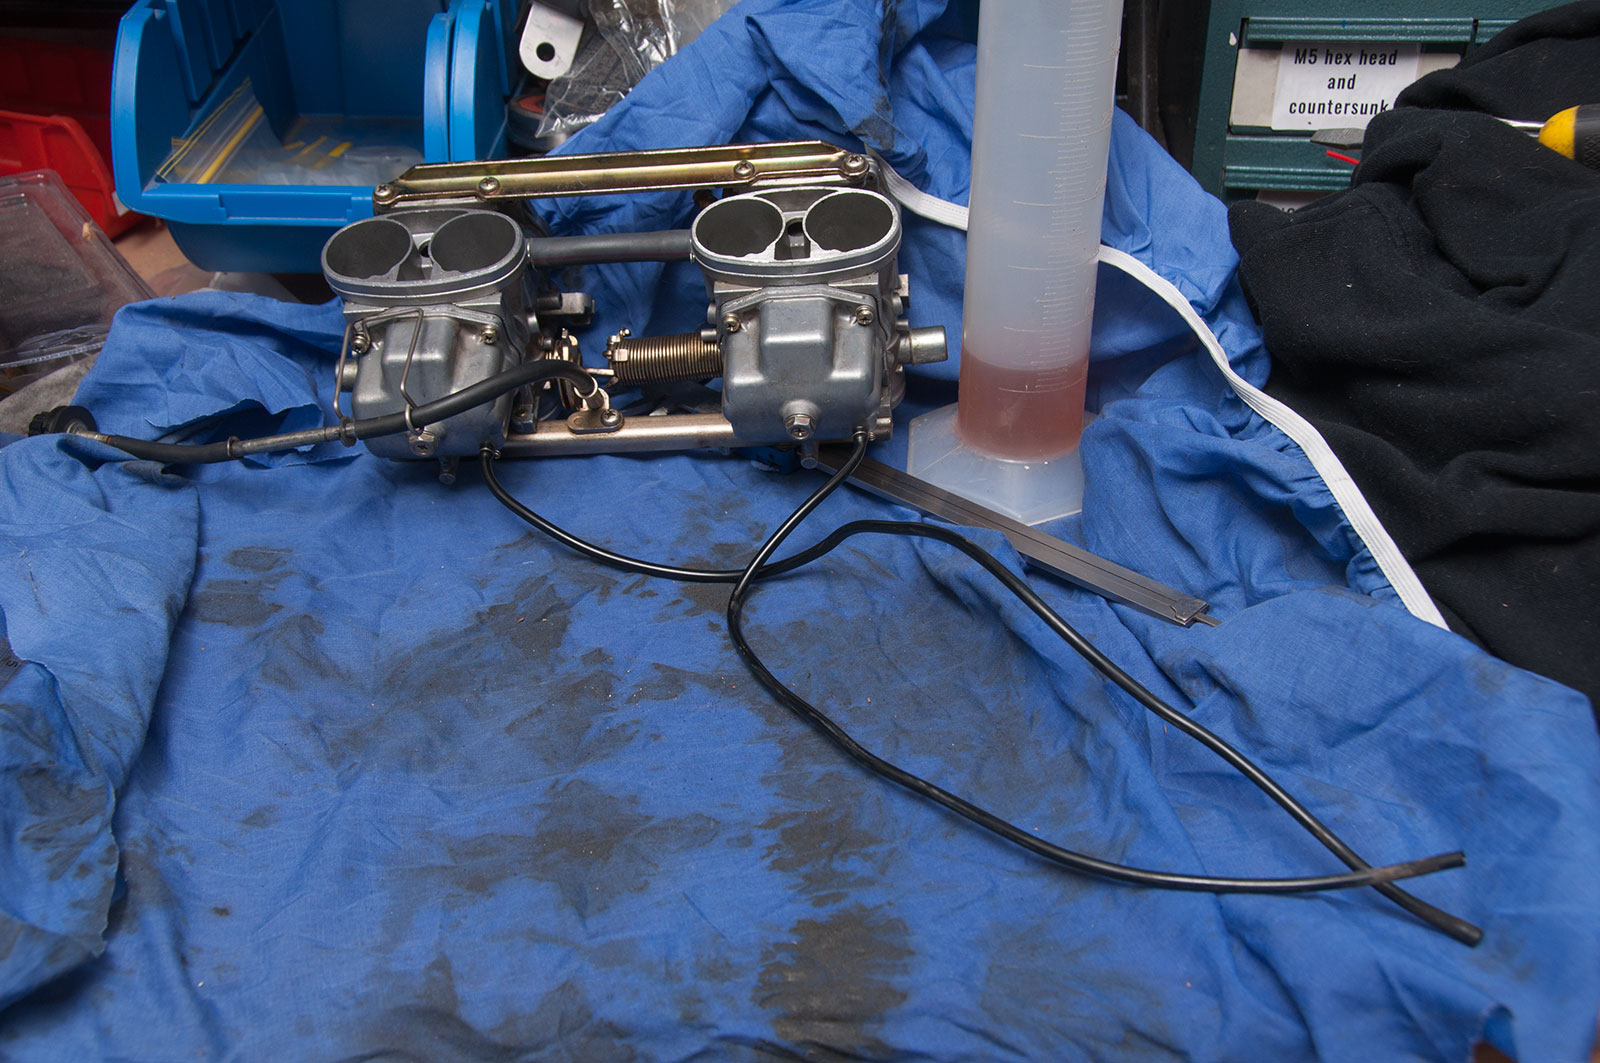
Before getting inside them to work on them, it’s a really good idea to drain the float bowls. This is accomplished by the two largest screws – one per float bowl – on the bottom of the carbs.
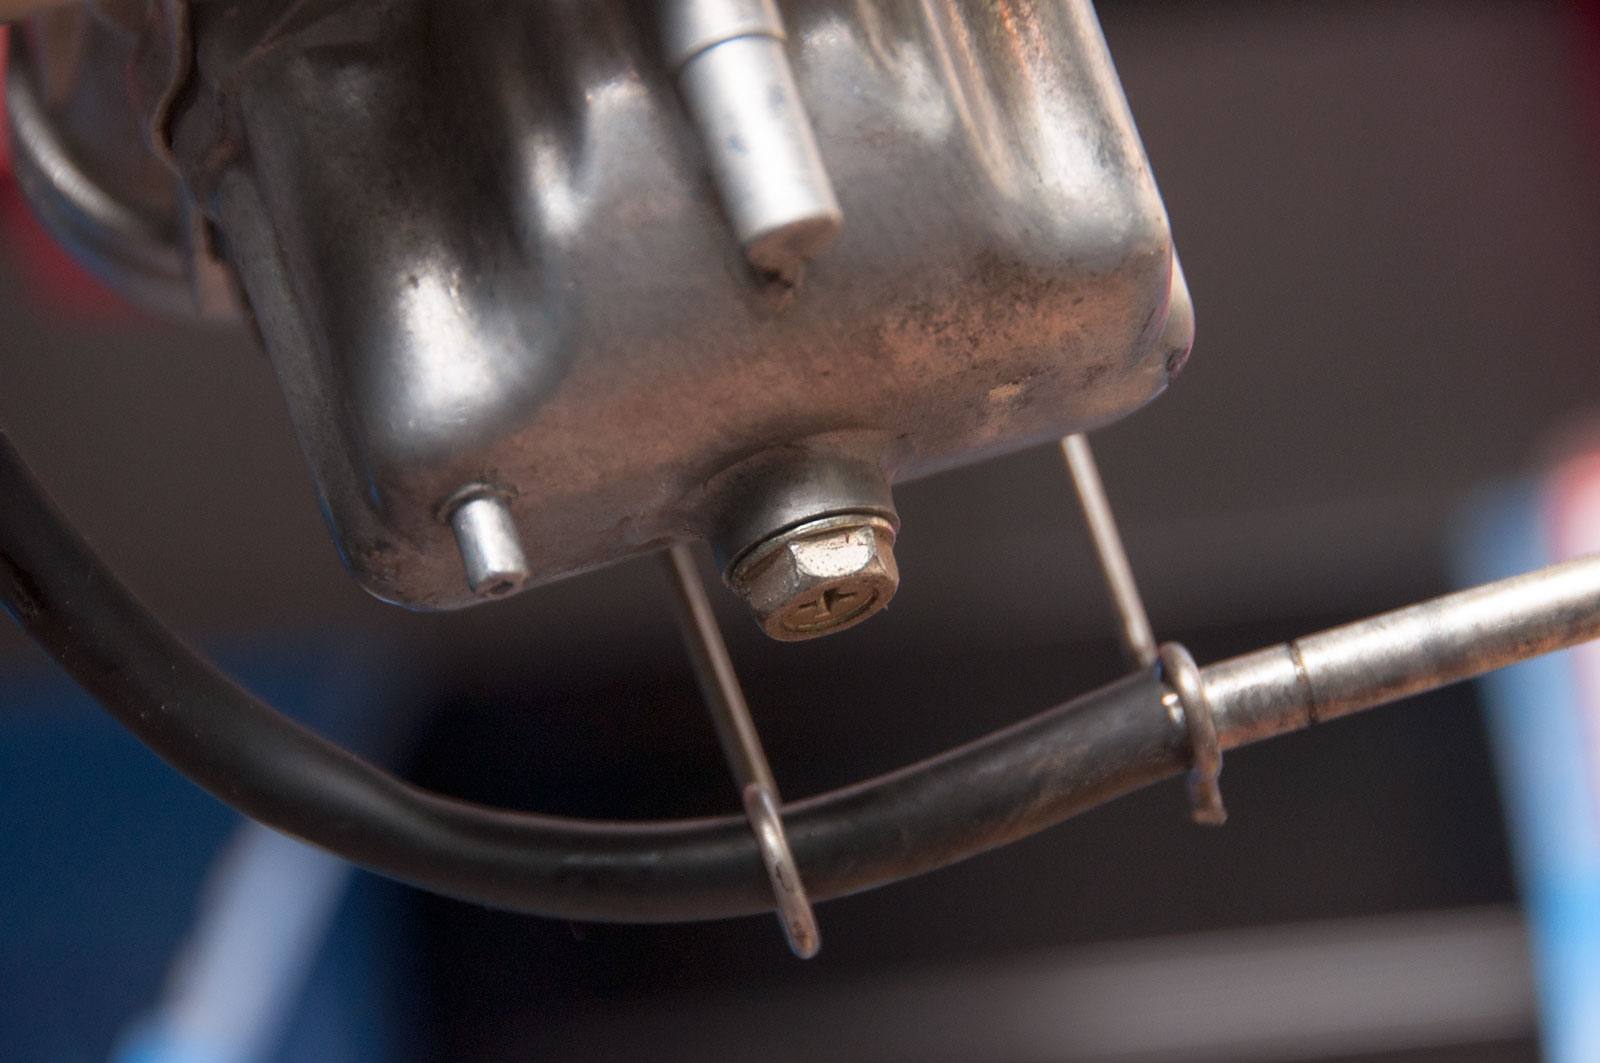
Here’s the screw in question
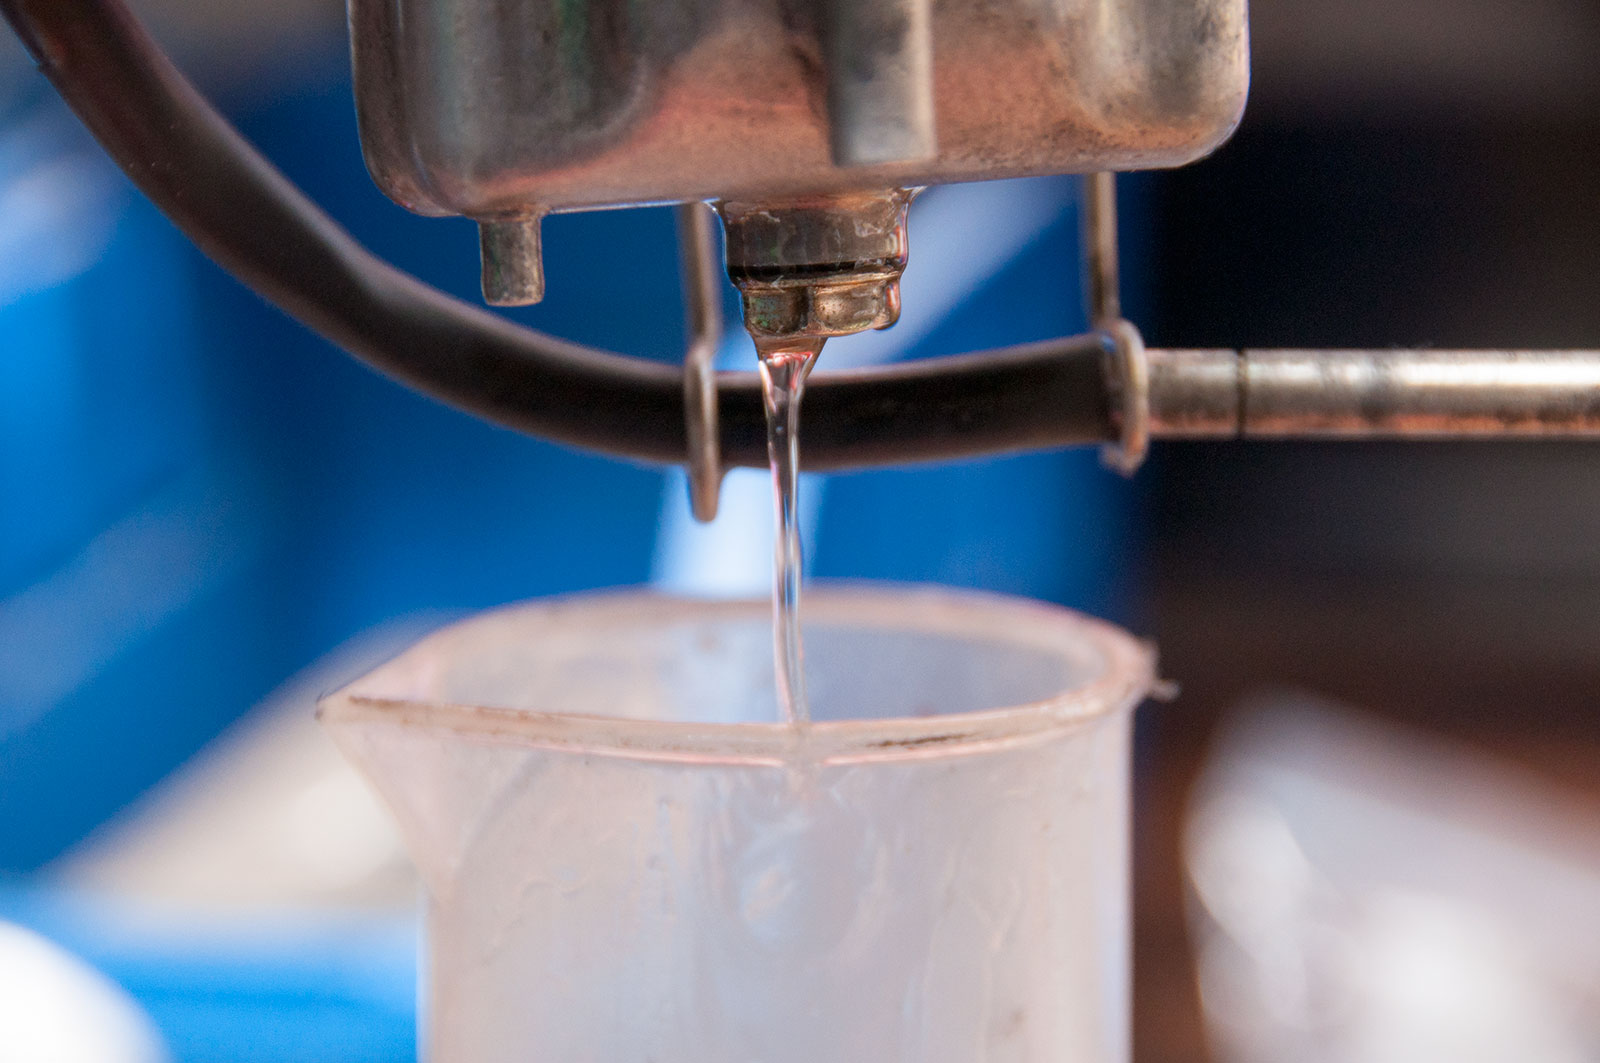
Draining the float bowl into a suitable container.
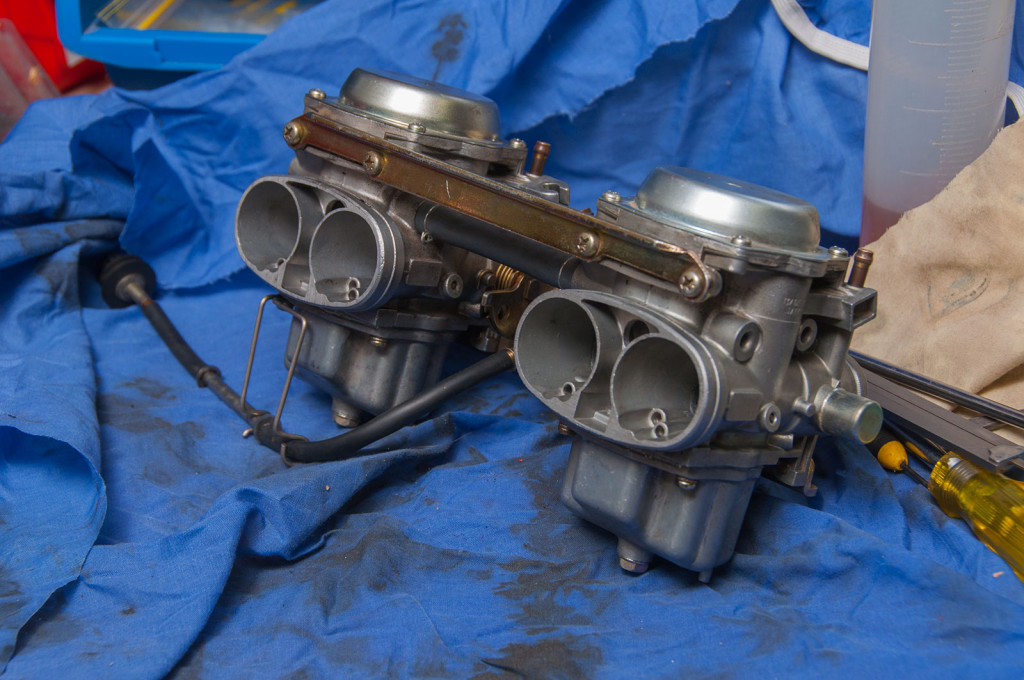
Now, we pull them apart!
Getting them apart
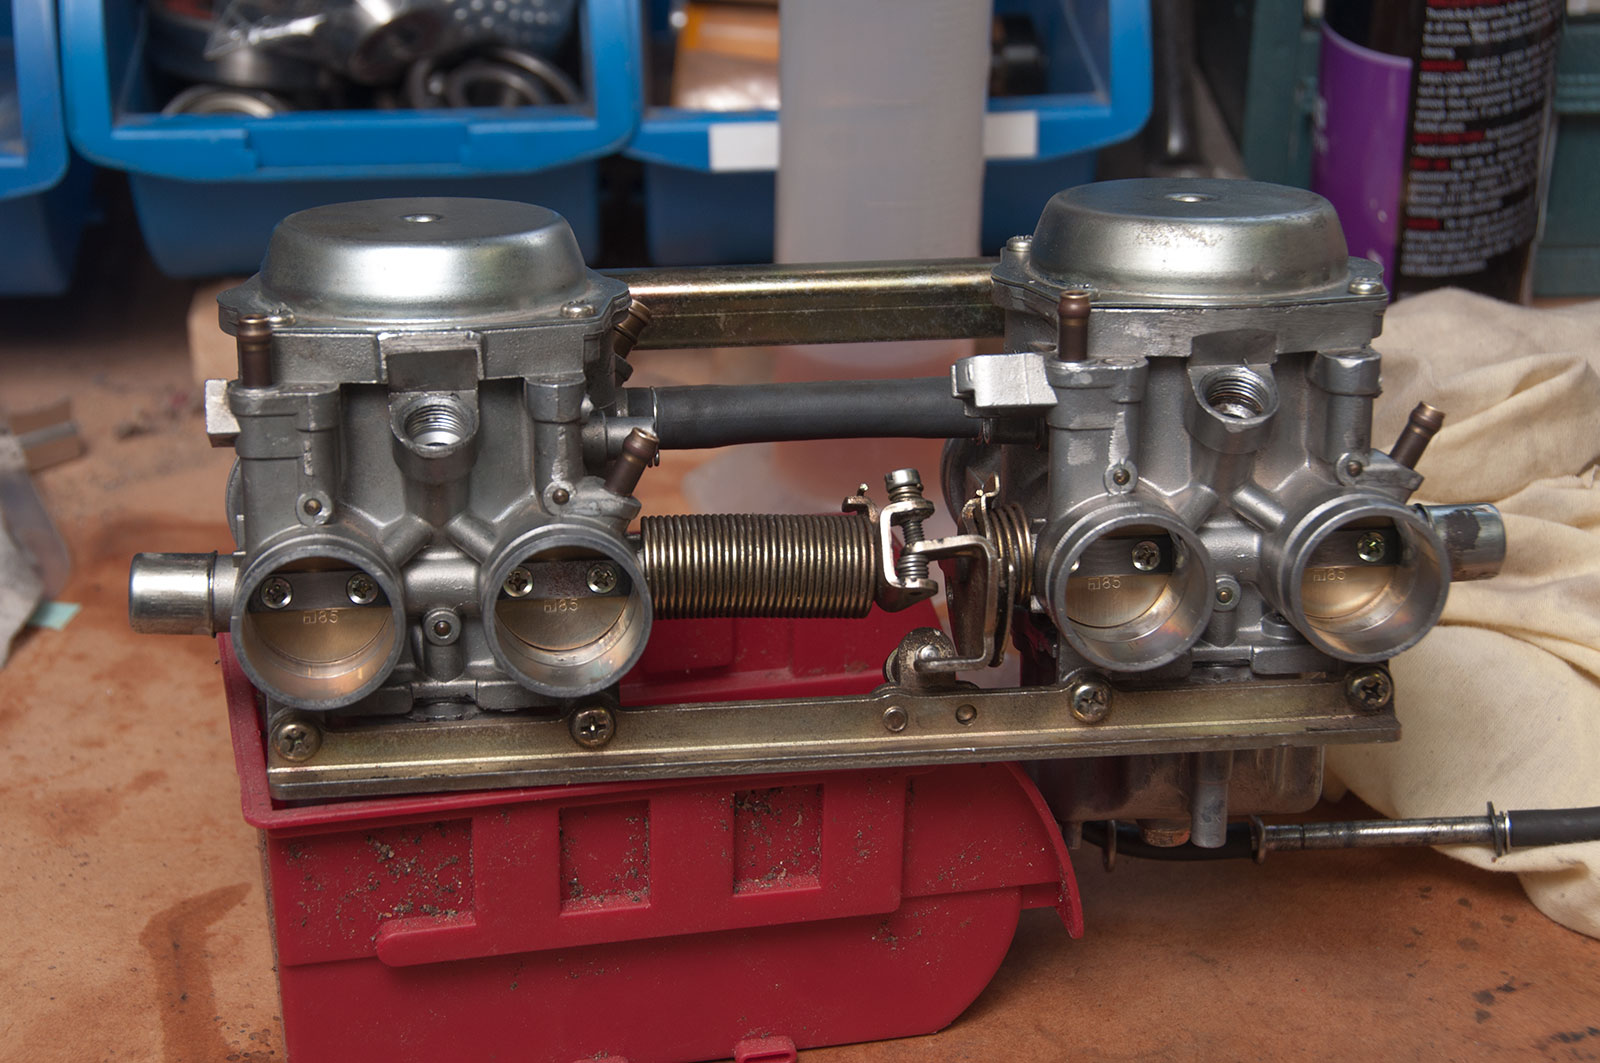
Here’s the carbs, now drained, sitting on a bench. It’s a good idea to make yourself a nice clean work here to do this. Since my bench has two engine rebuilds sitting on it, space is at a premium but I’ve made do and made room to make sure you can see what I’m doing.
Top side
We’ll start at the top, mostly because it is just there when you sit the carbs upright :).
These are the throttle butterflies and make up one half of the throttle system. On non-vacuum carburettors, this would be it (or you’d have some form of slide). These butterflies are directly connected to the throttle. Twist the right grip, these open up more. Release it and they close.
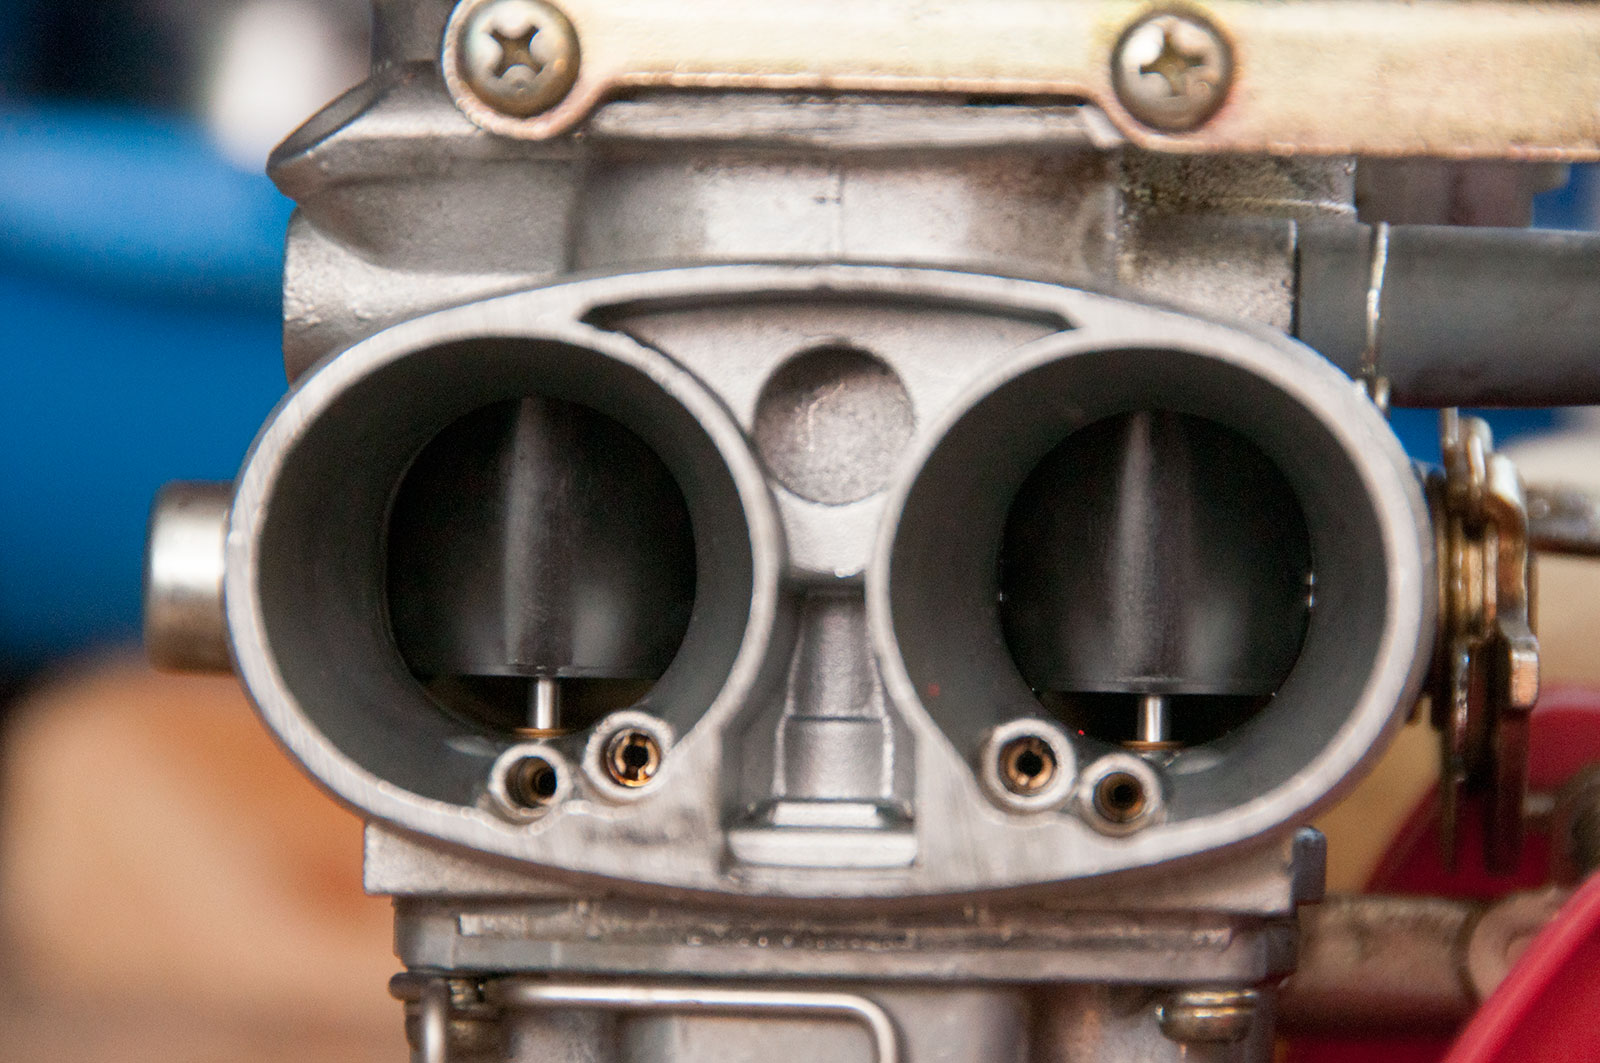
These carbs, being vacuum (CV) style carbs, also have throttle slides which are actuated by a vacuum. Only at high RPM and full throttle will these slides be all the way open. When you first open the throttle to full throttle at low RPM, the engine will slowly lift these. If this didn’t happen, the engine would be getting way too much fuel at the low RPM and not be as responsive. That’s how older style carbs work – these, on the other hand, are a bit more modern than that.
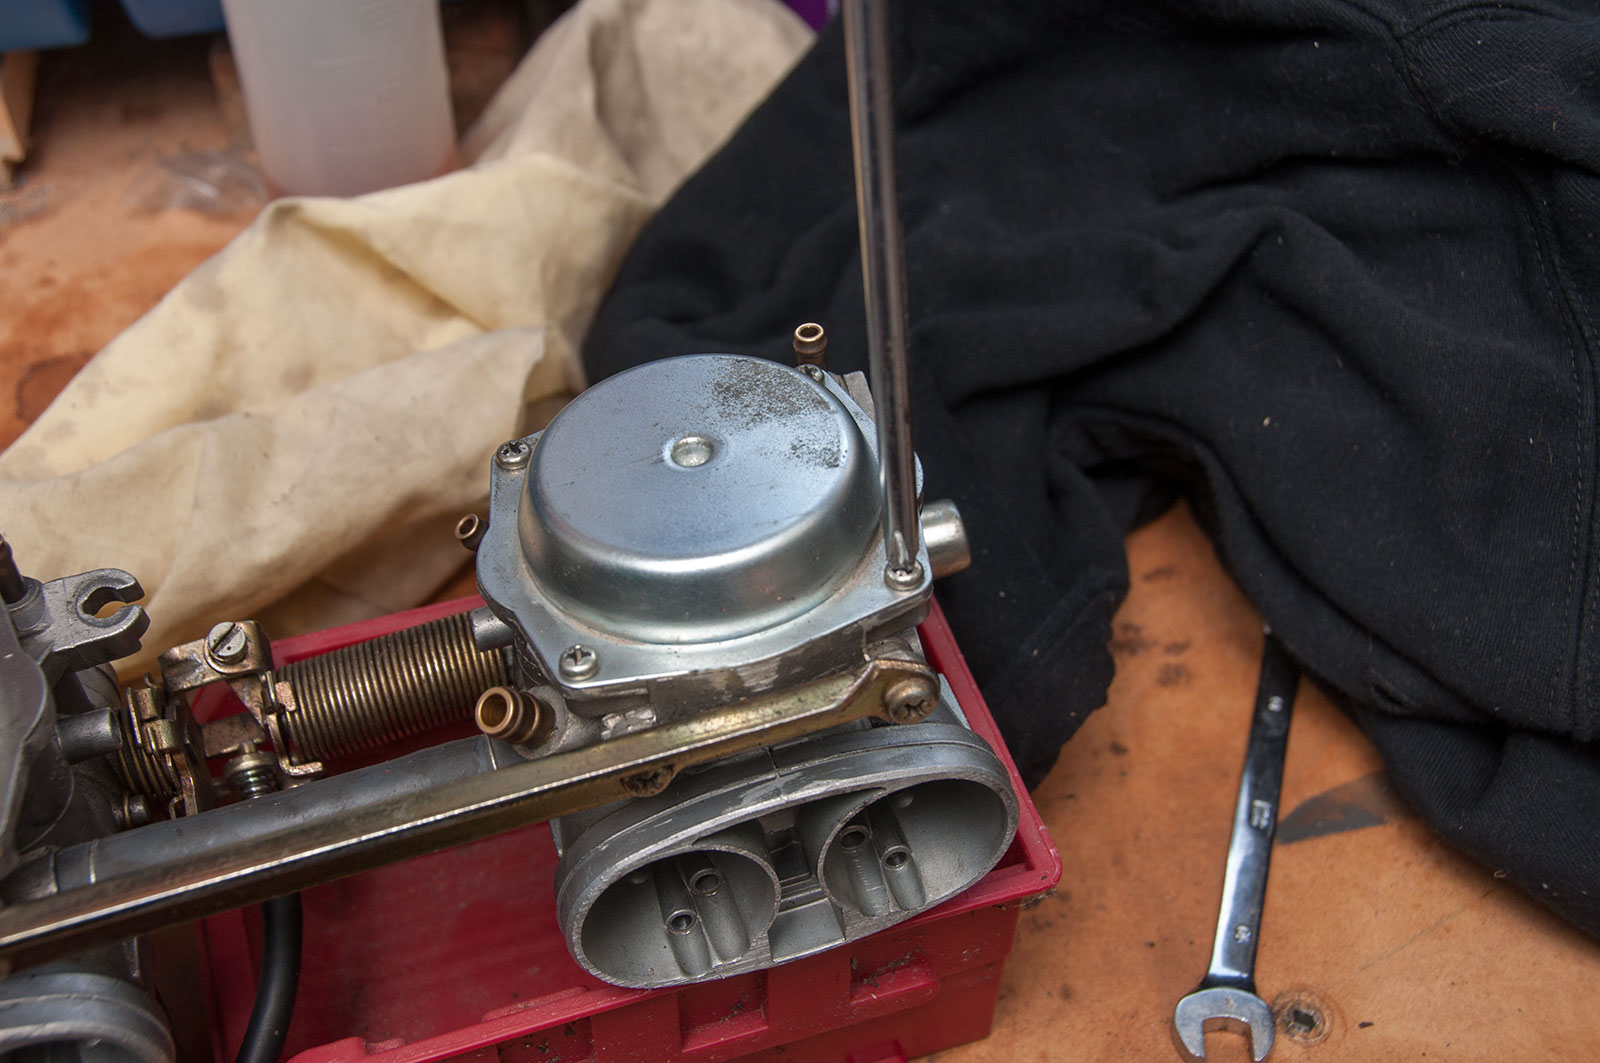
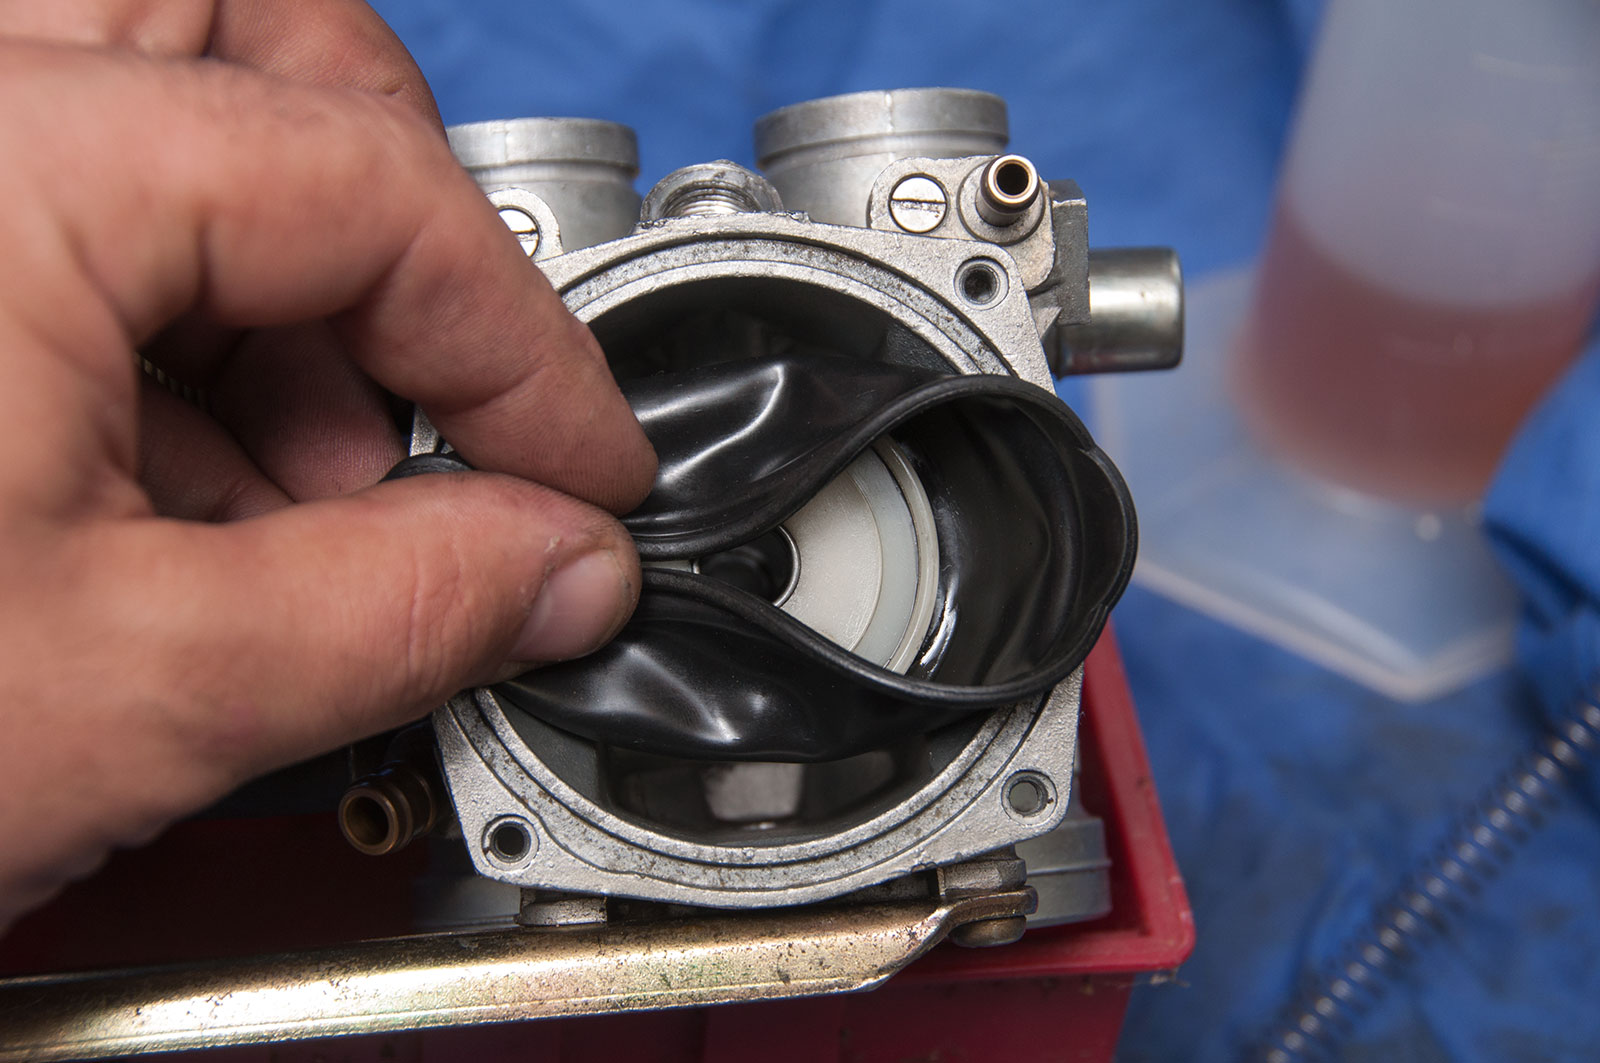
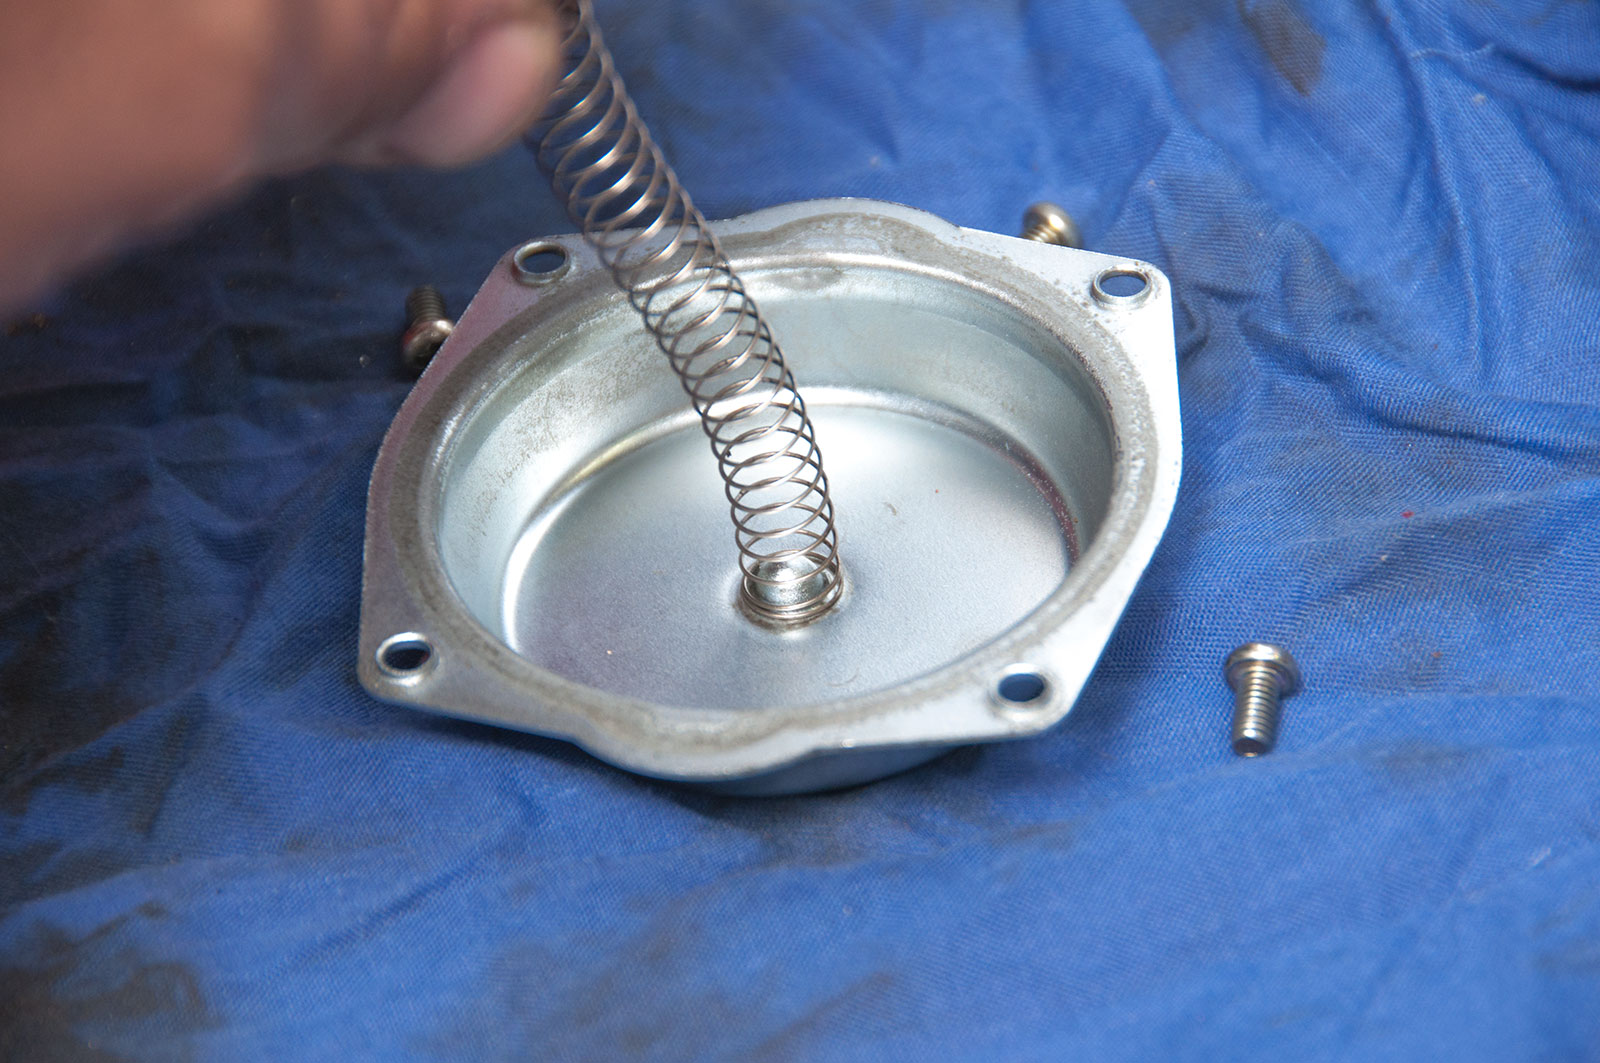
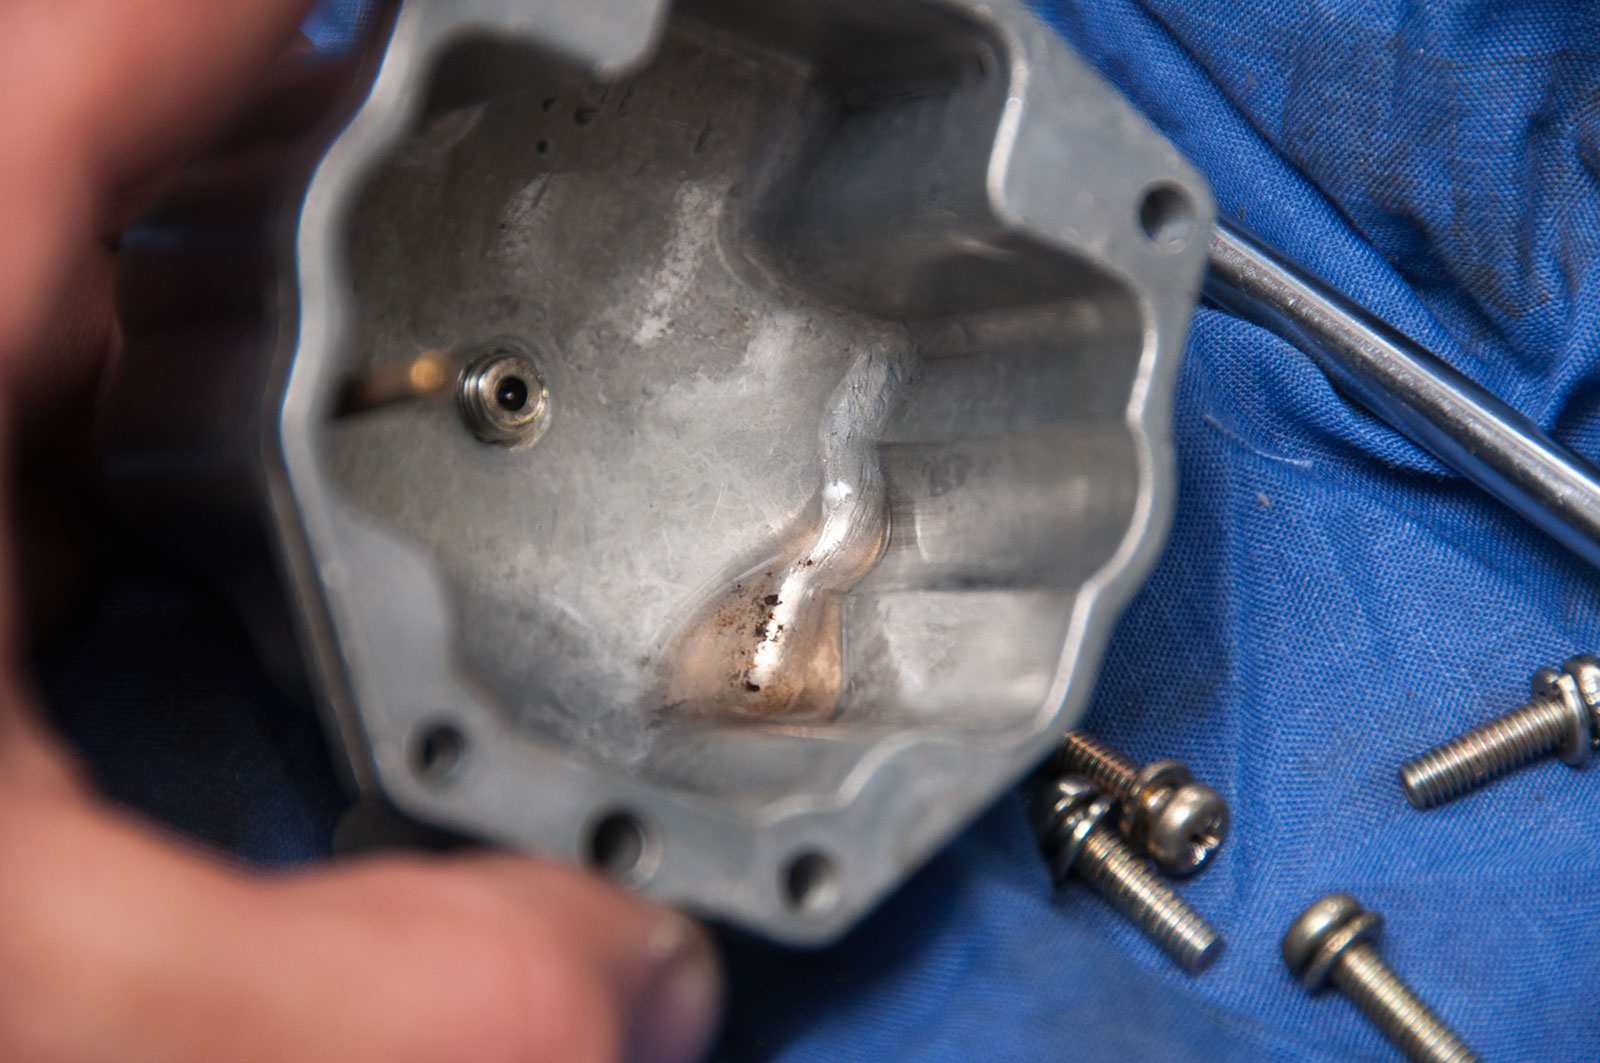
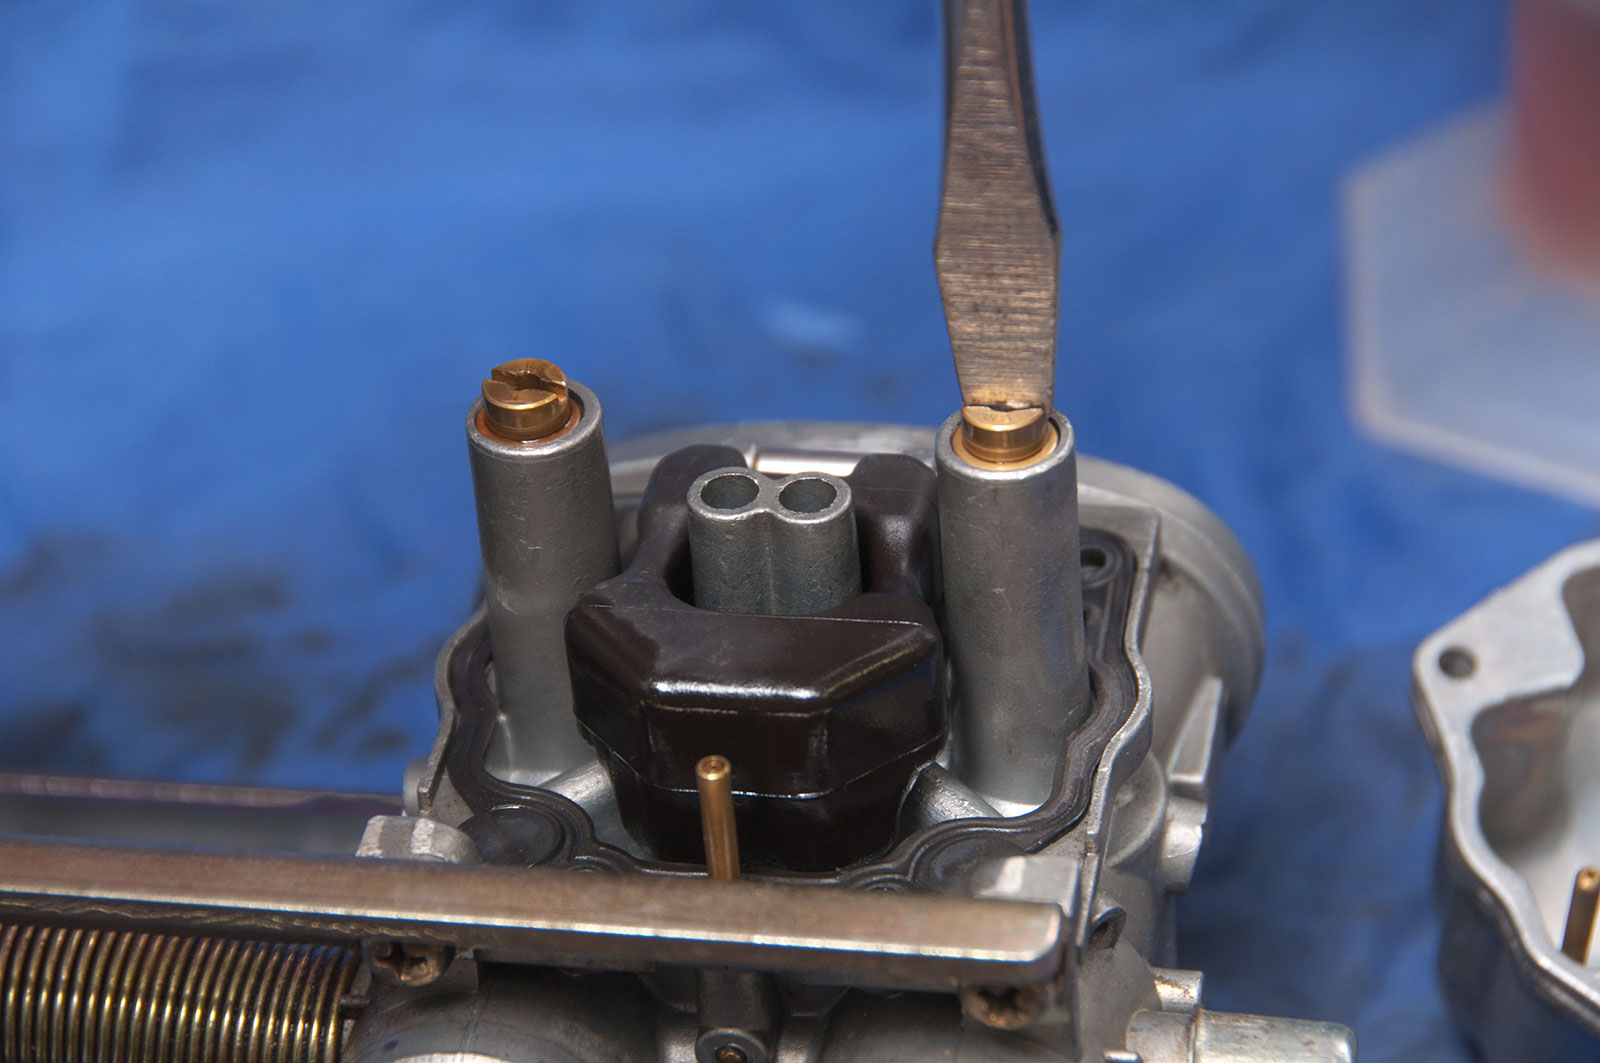
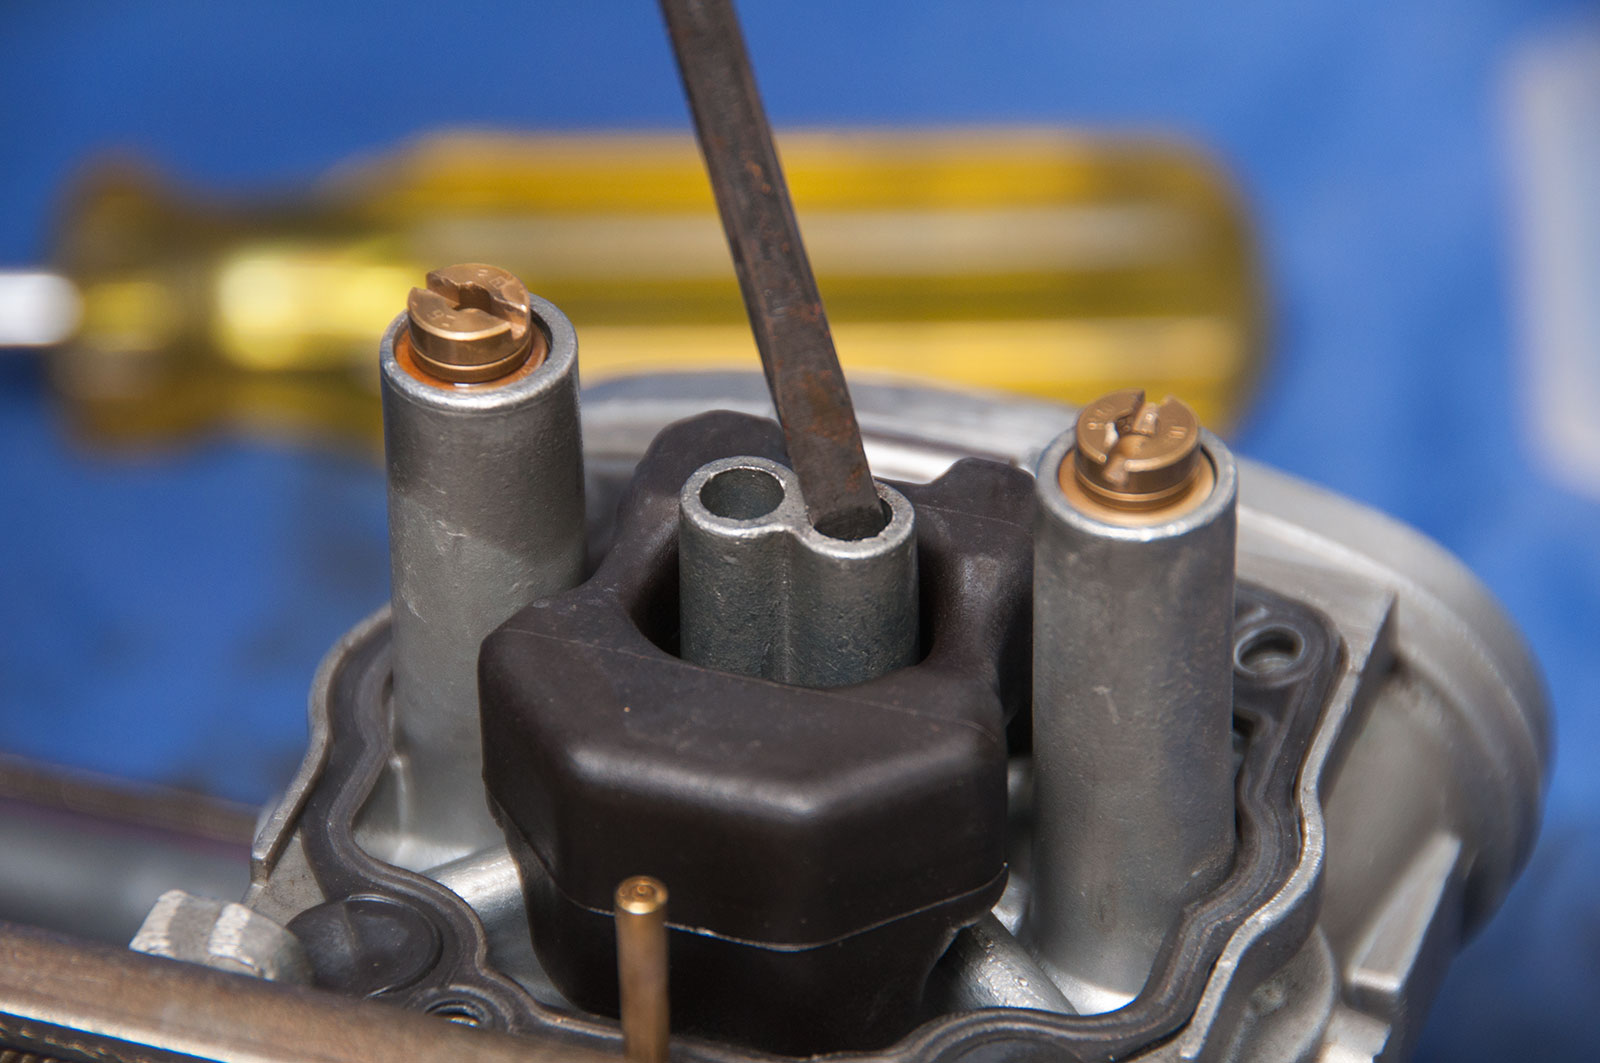
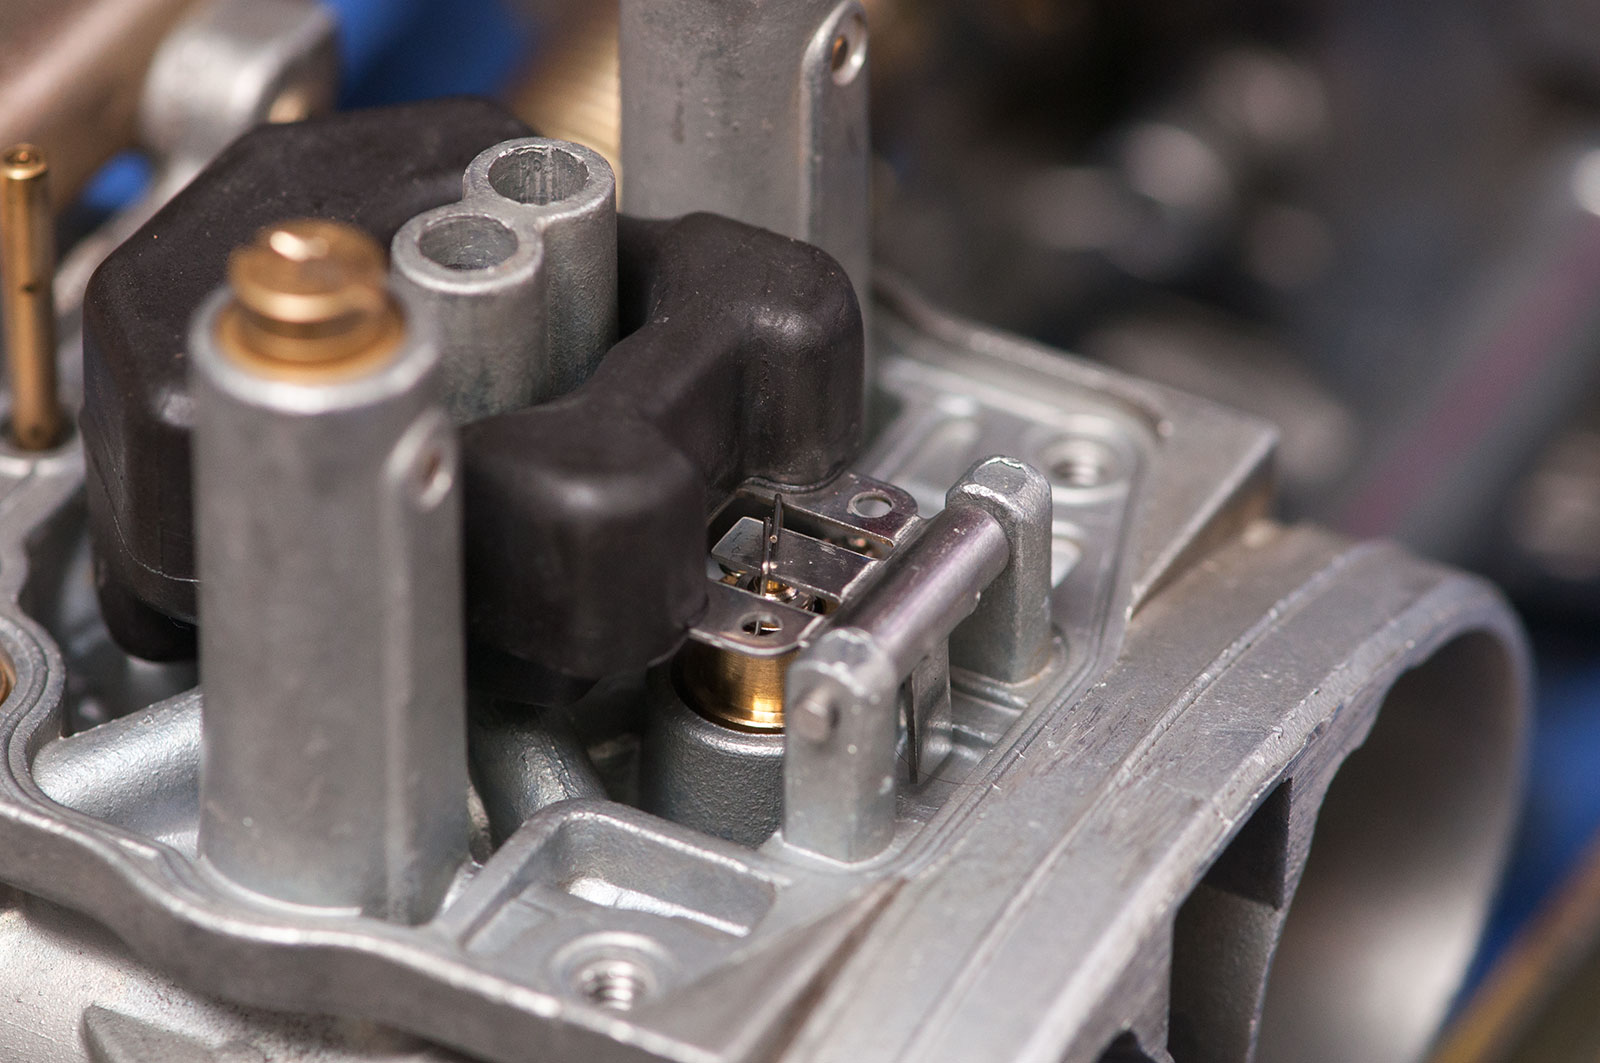
The vacuum diaphragm that controls these slides is revealed by undoing the top cap. 4 screws here per carb.
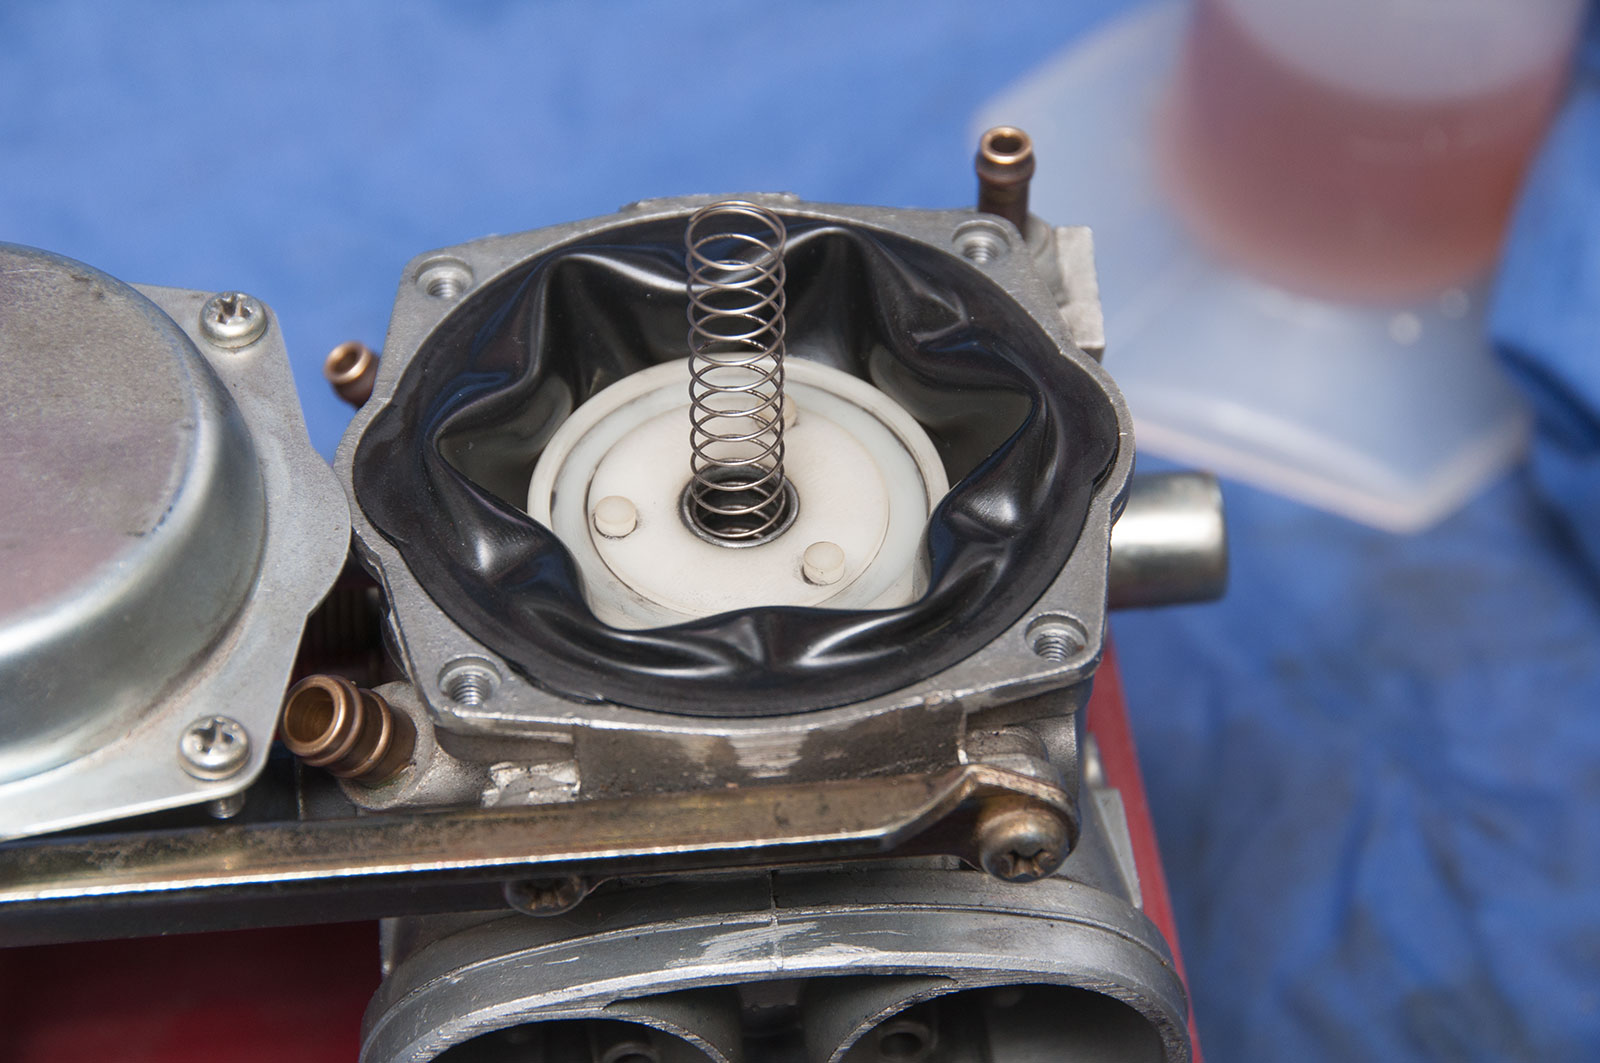
With the top cap removed you can see the vacuum diaphragm and also the spring. This spring strength and length dictates how fast the throttles open when you open the throttle up.
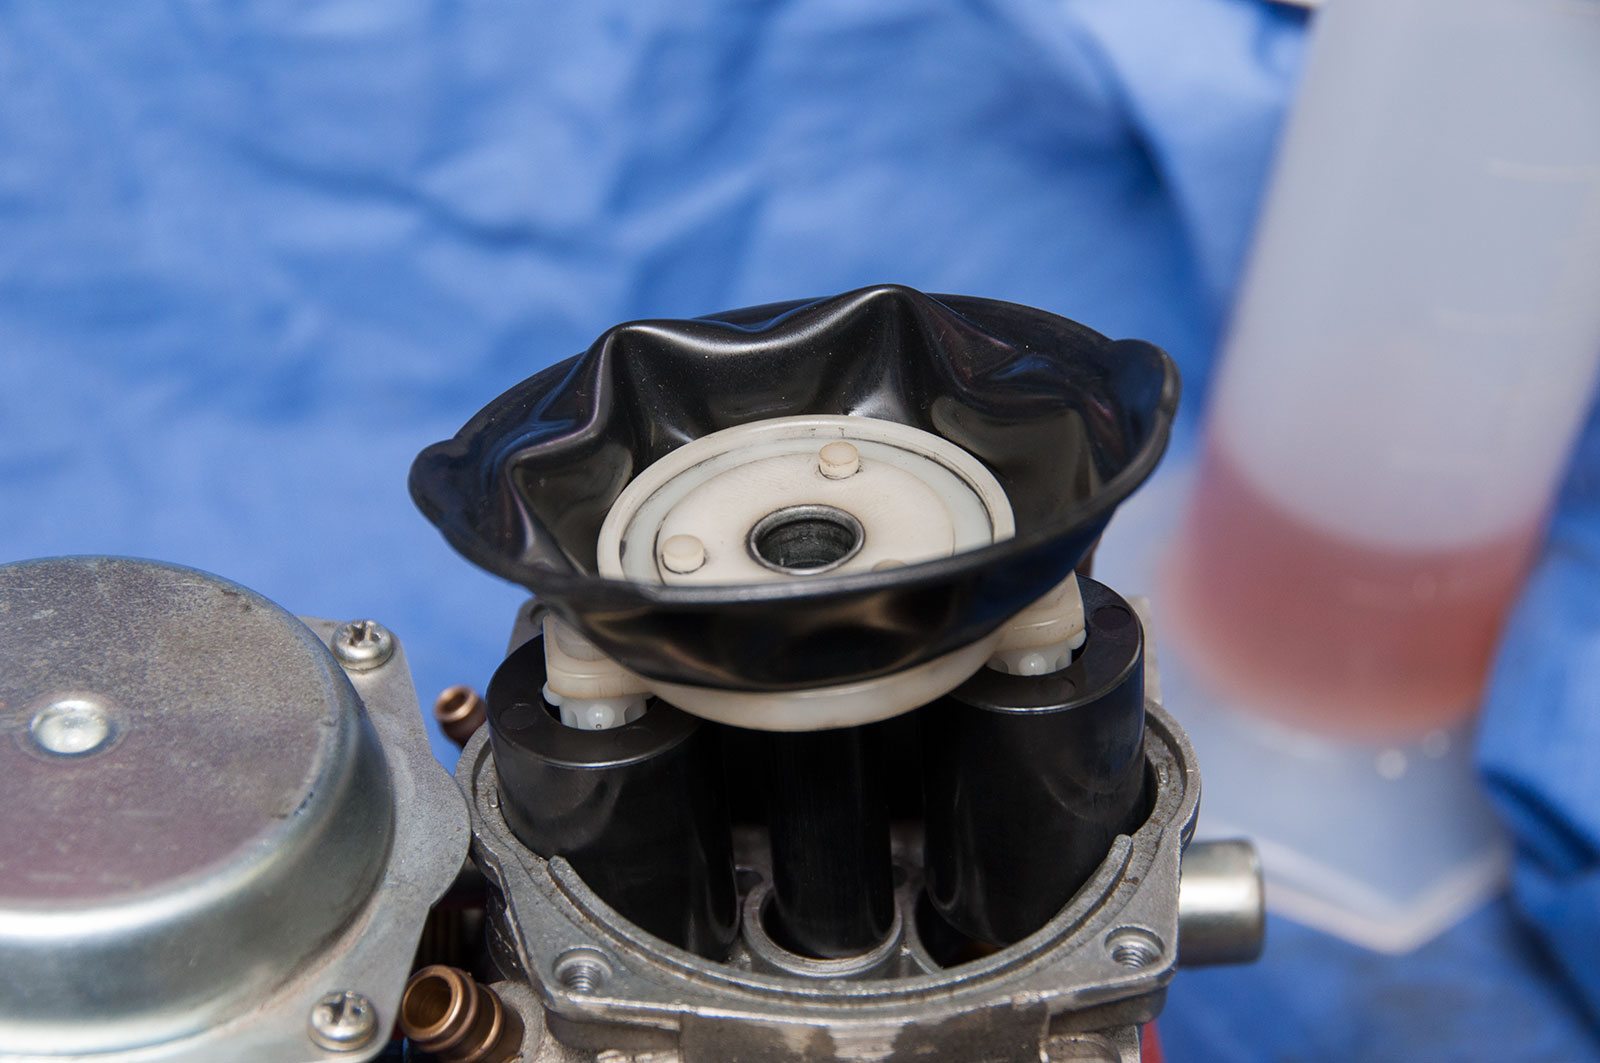
The spring simply lifts out of the middle, and then you can lift up the diaphragm and the two throttle slides.
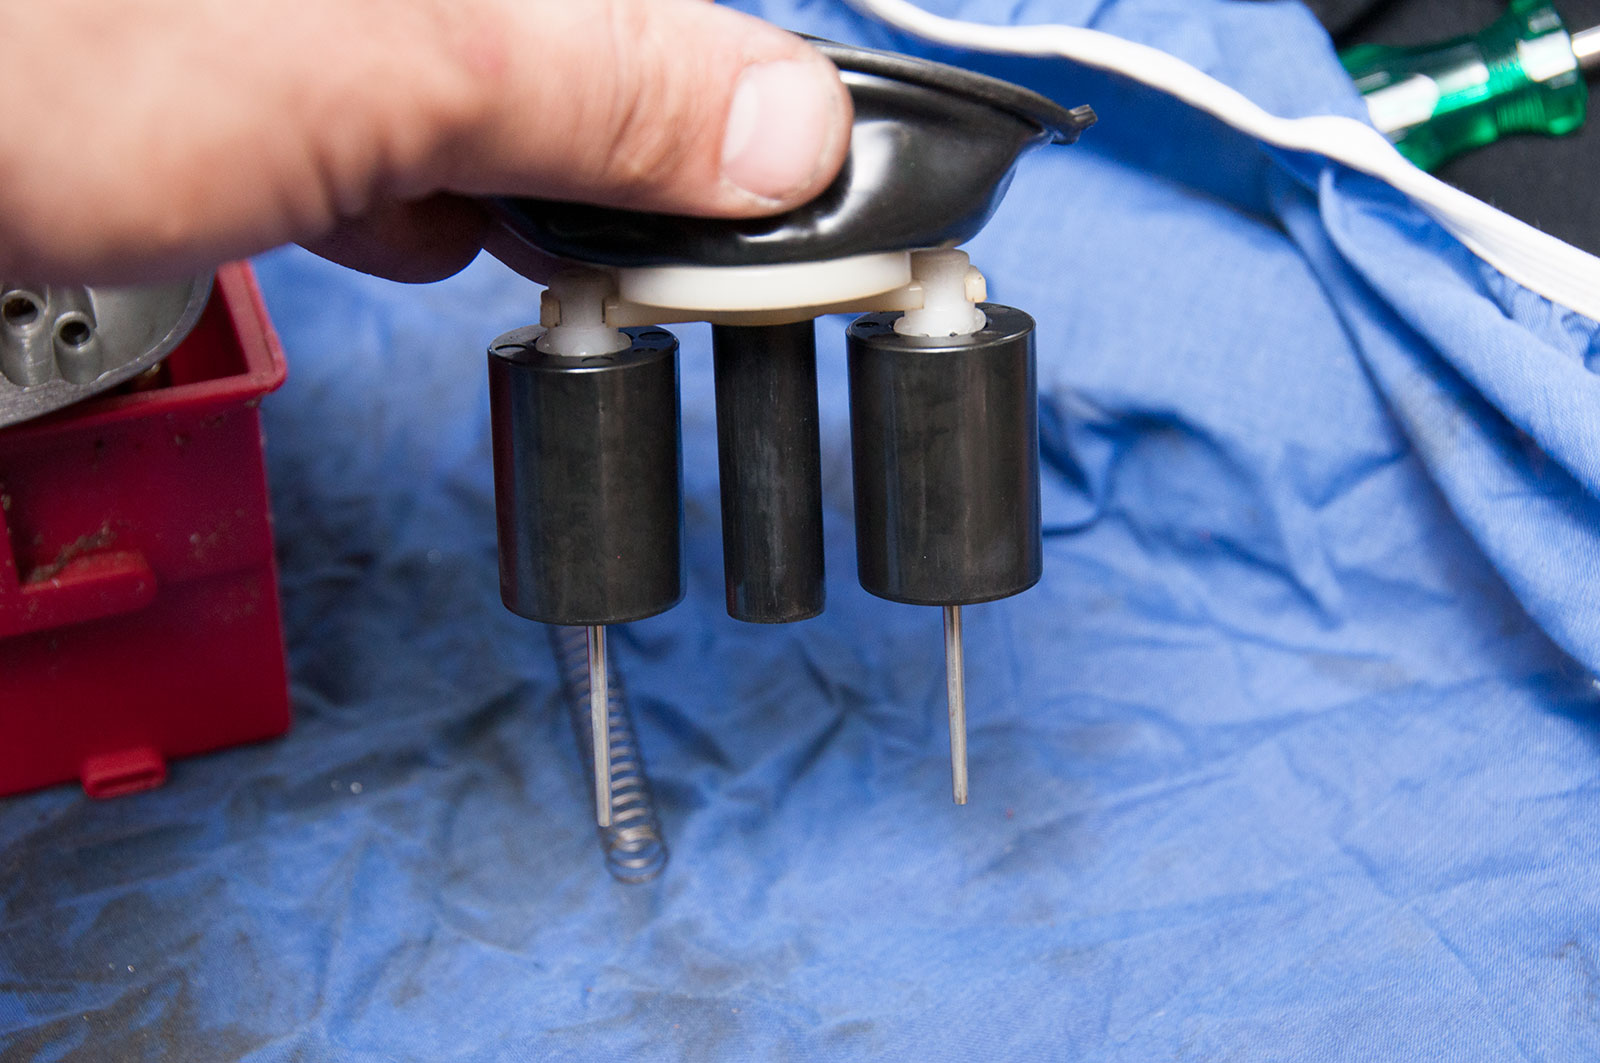
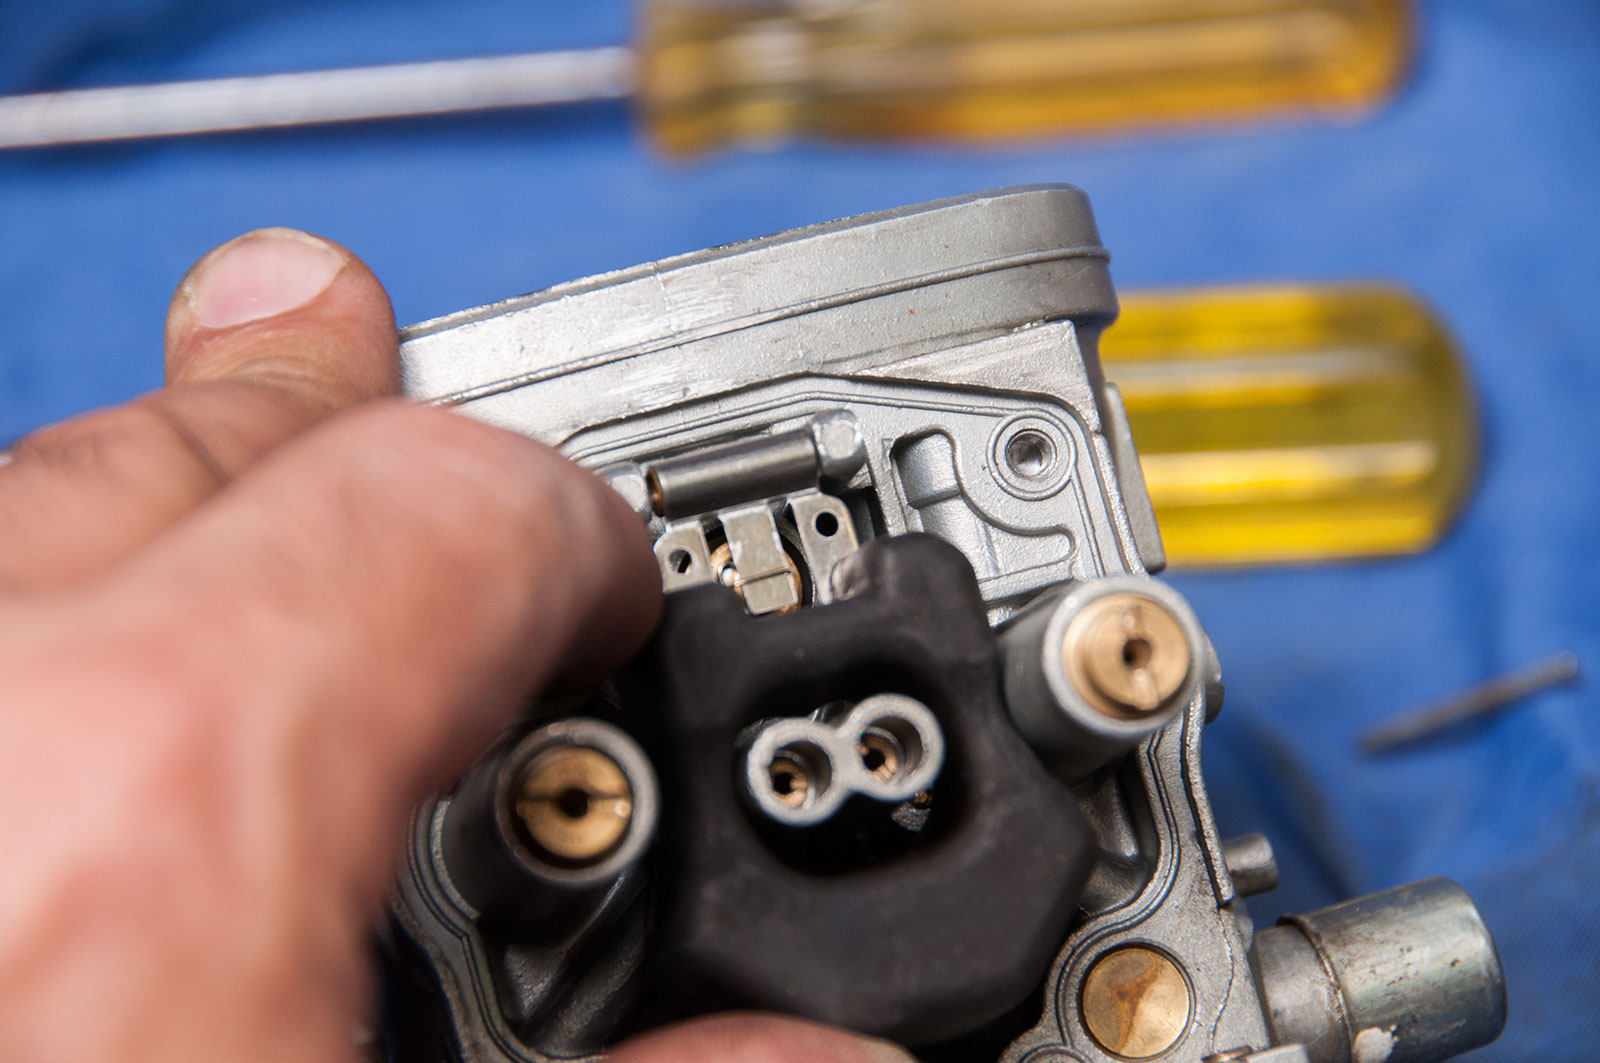
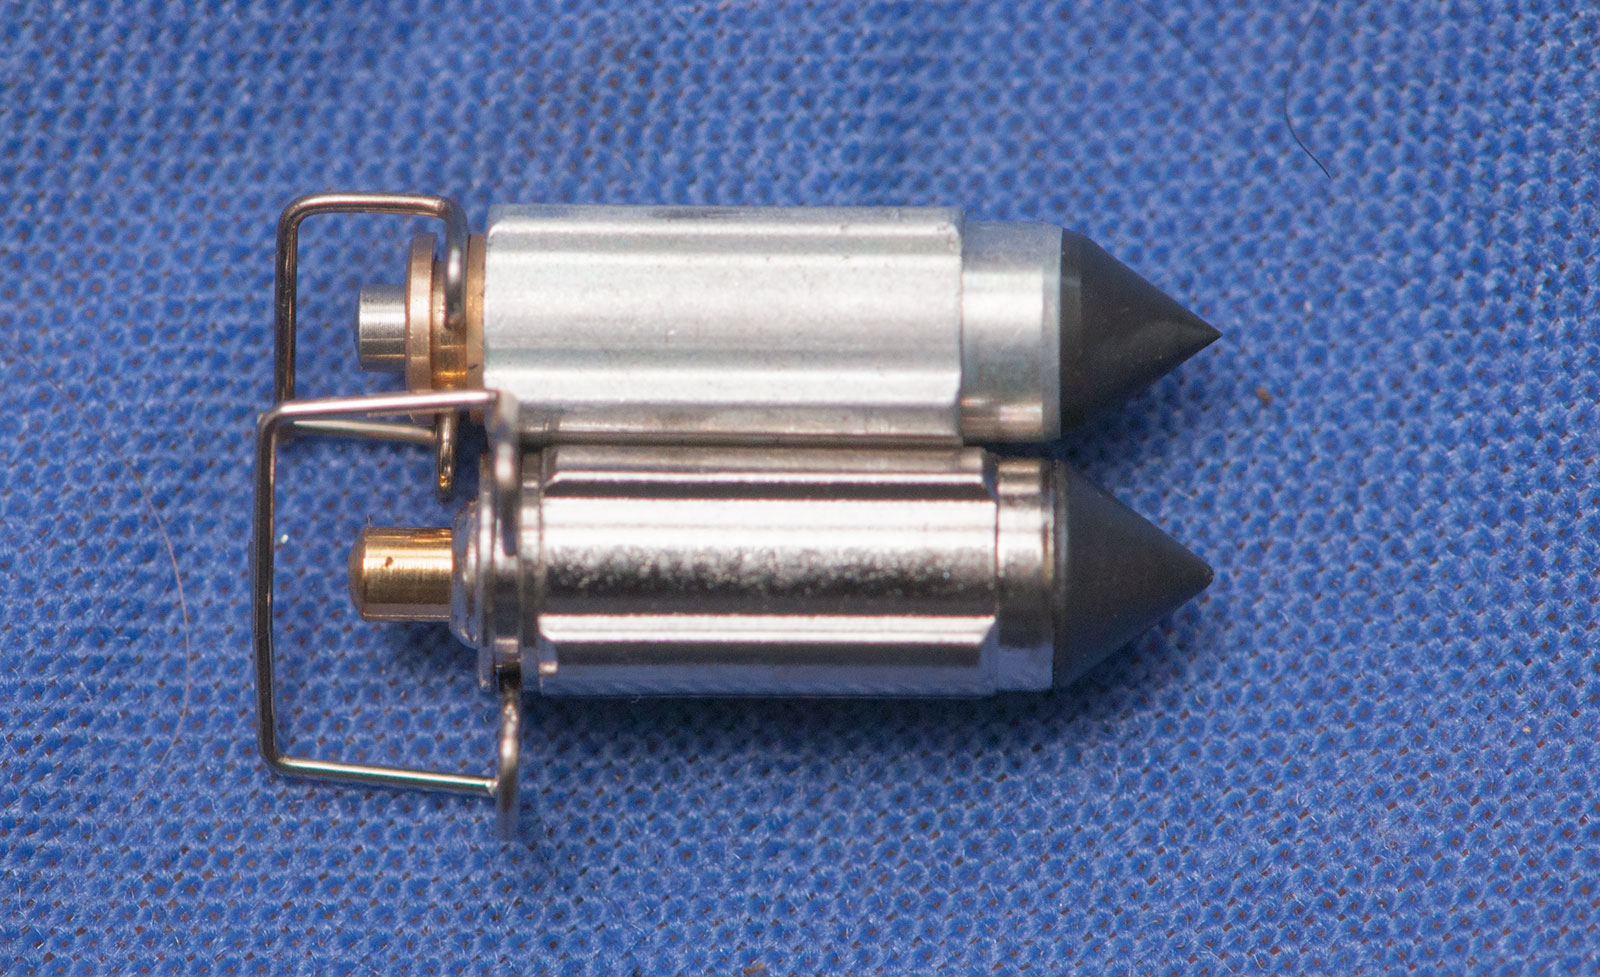
Here’s the two throttle slides hanging in their holders. The silvery bits underneath are called the throttle needles. Their shape dictates the amount of fuel the engine gets from ~1/4 to 3/4 throttle, and also as the slides are opening at low RPM when you’re at full throttle. There’s quite a lot of complexity in tuning these style of carburettors for performance, by the way, and it’s definitely something best left to the experts.
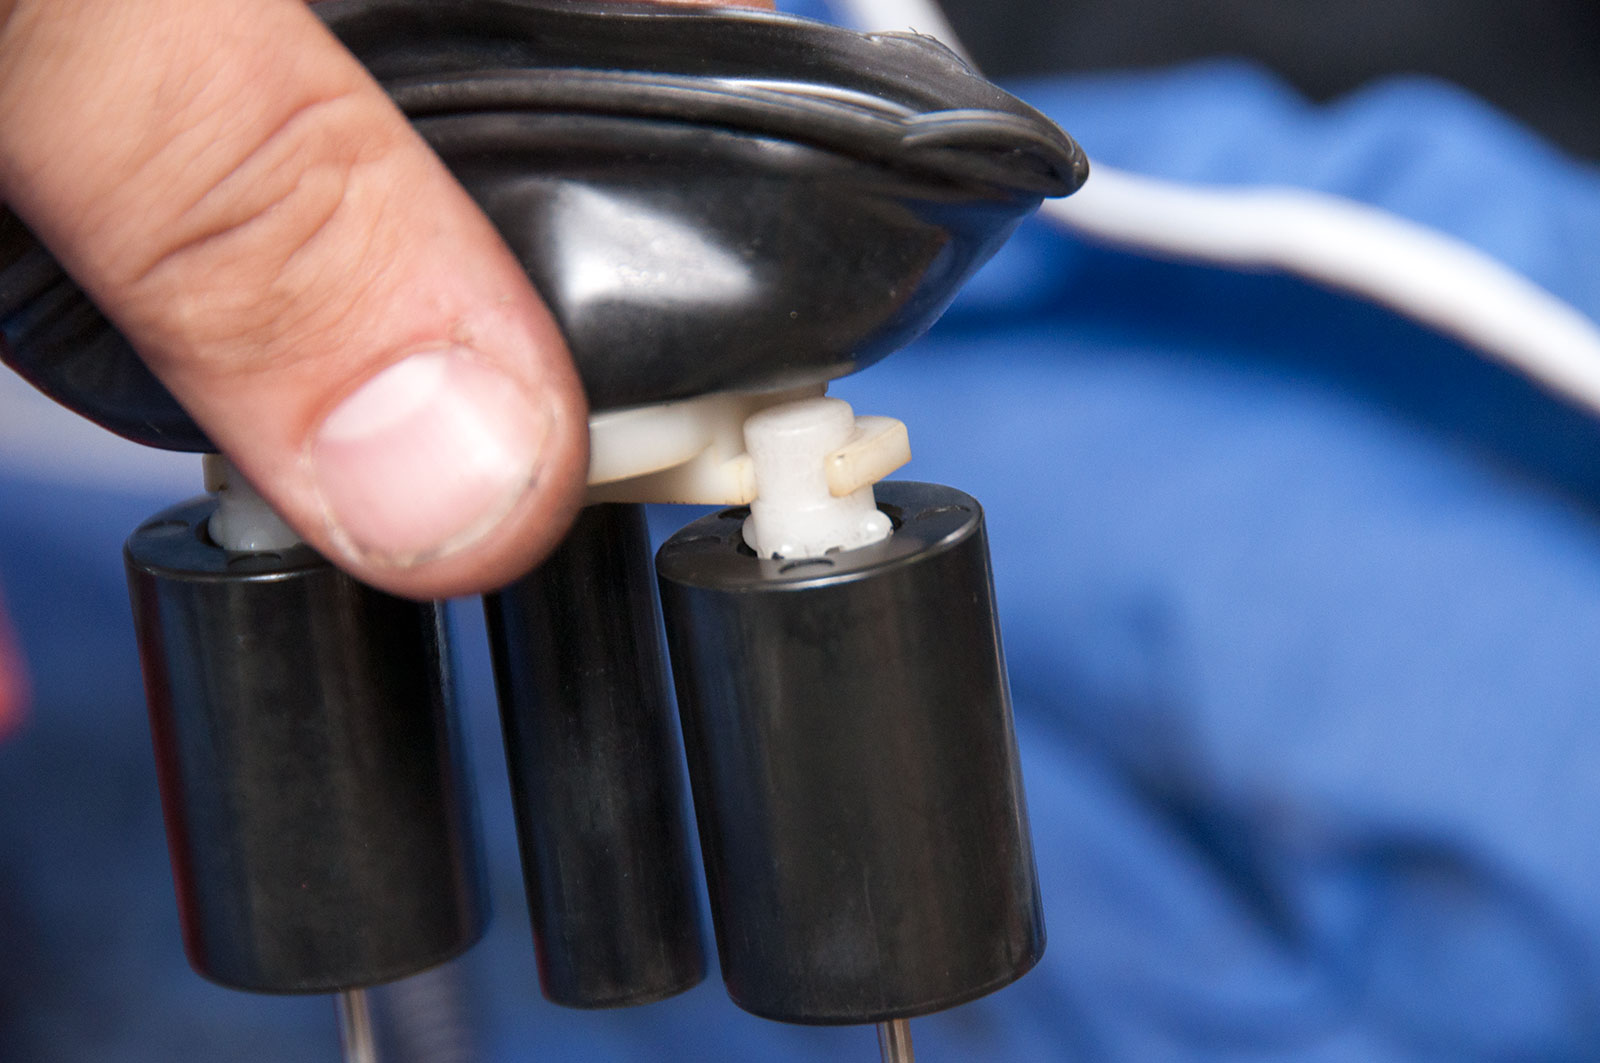
Something to consider is one of the major things that happens with Across’. The plastic holders for the throttle slides and the throttle needles snaps, and this means the slide drops into the carb and doesn’t open when you open the throttle. This means the bike makes almost no power. The bit that breaks is the white bit poking up from the round throttle slide.
Note that there is a direction to the clips as well, they only really fit one way and drop into the carb body when they’re around the right way.
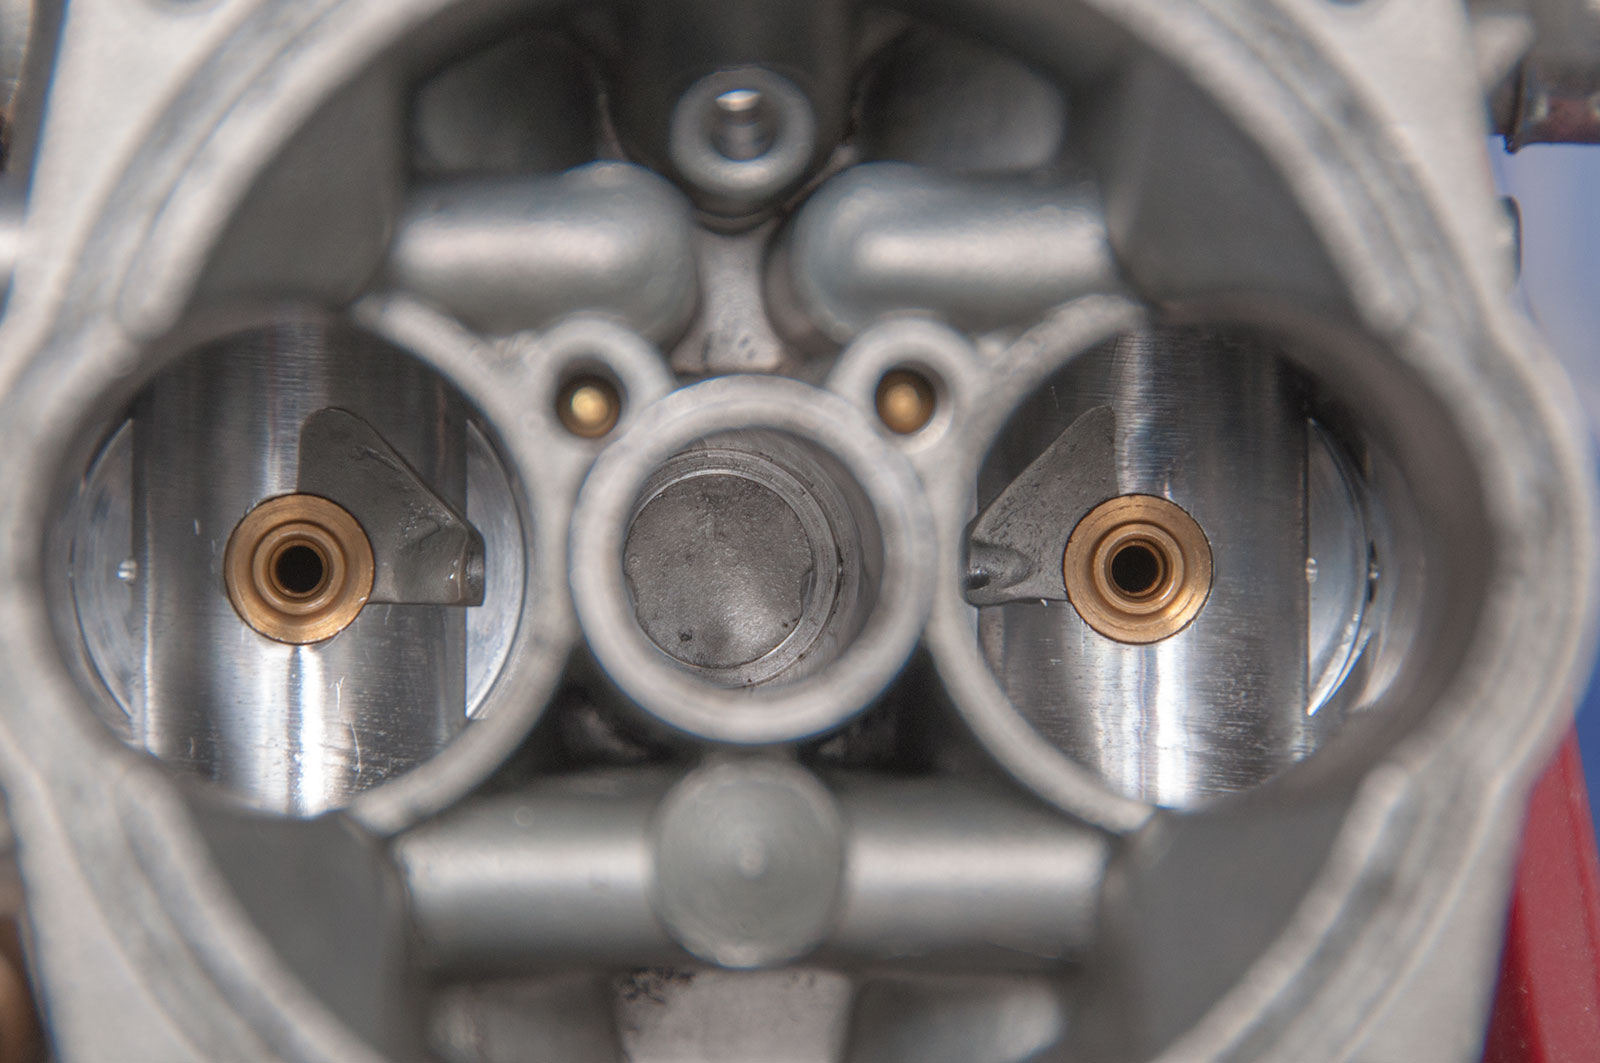
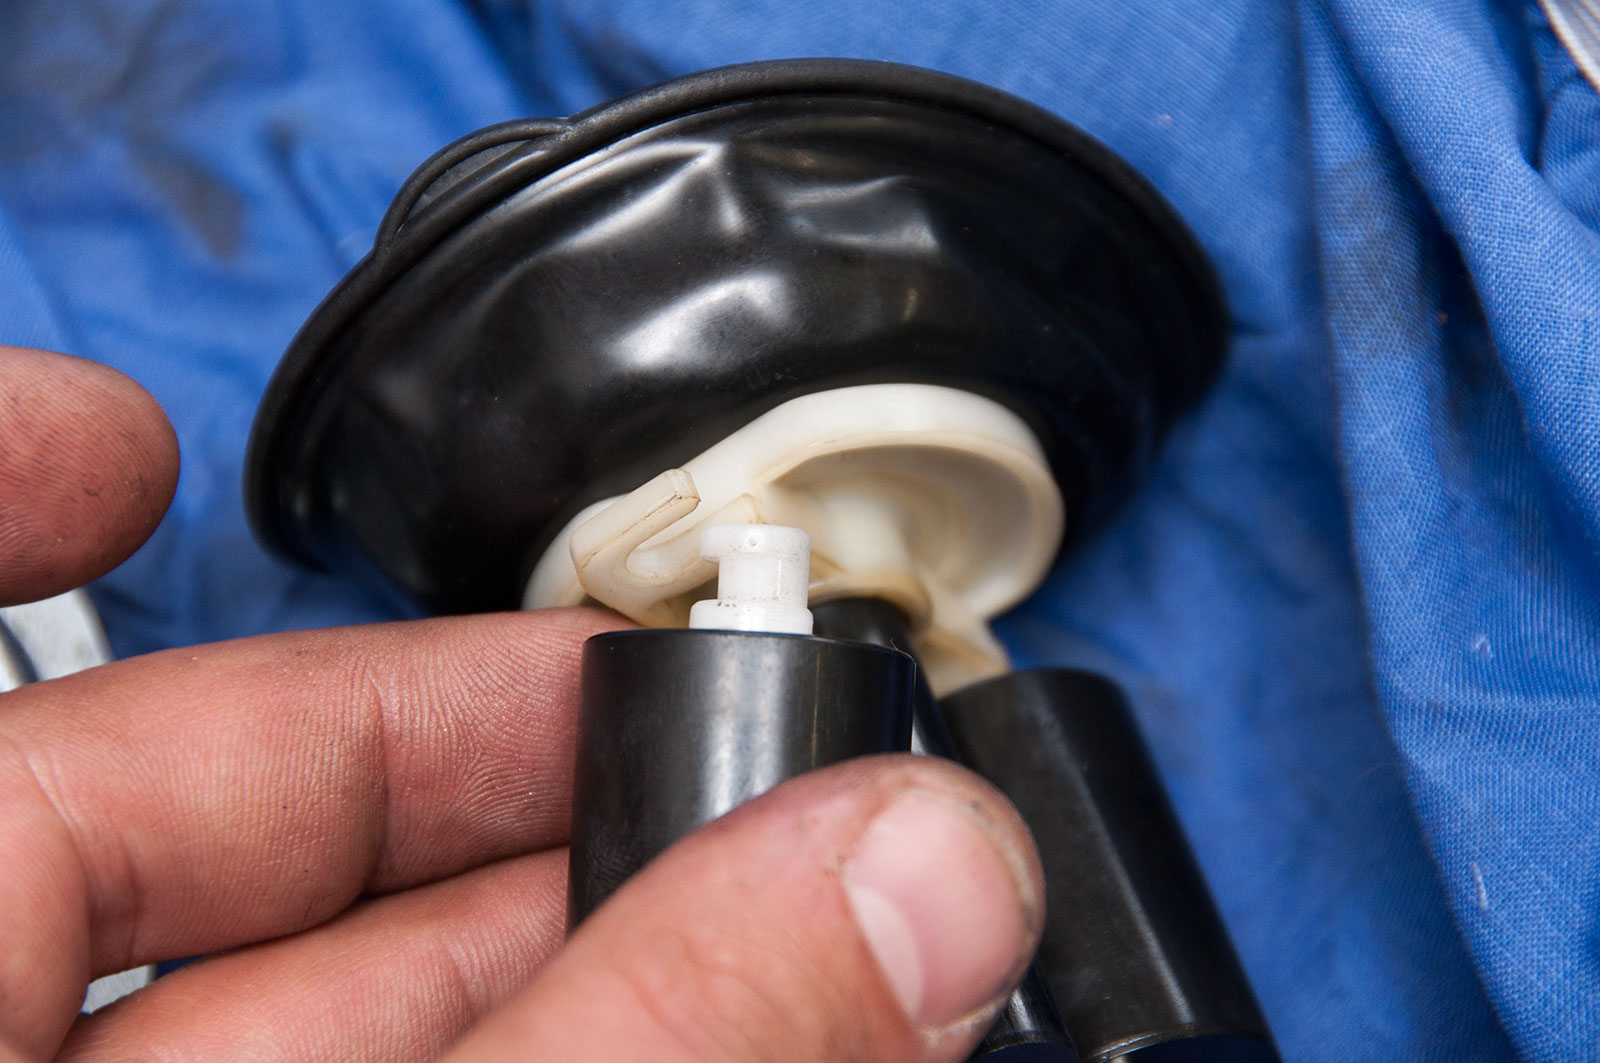
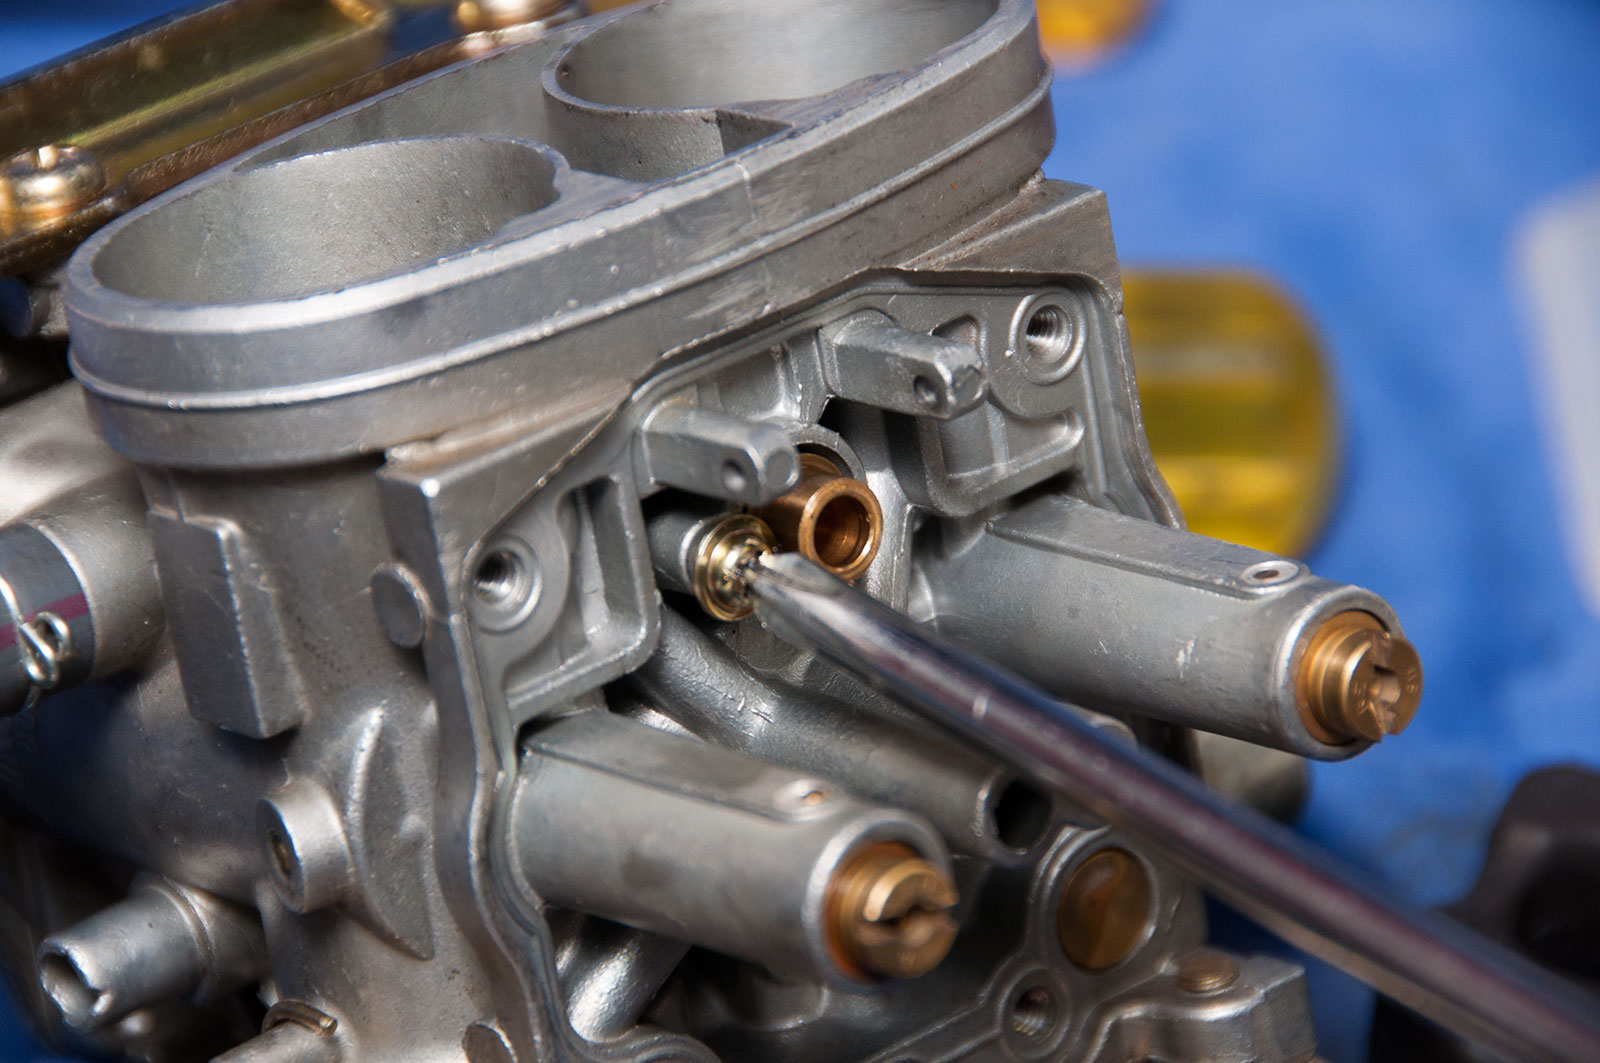
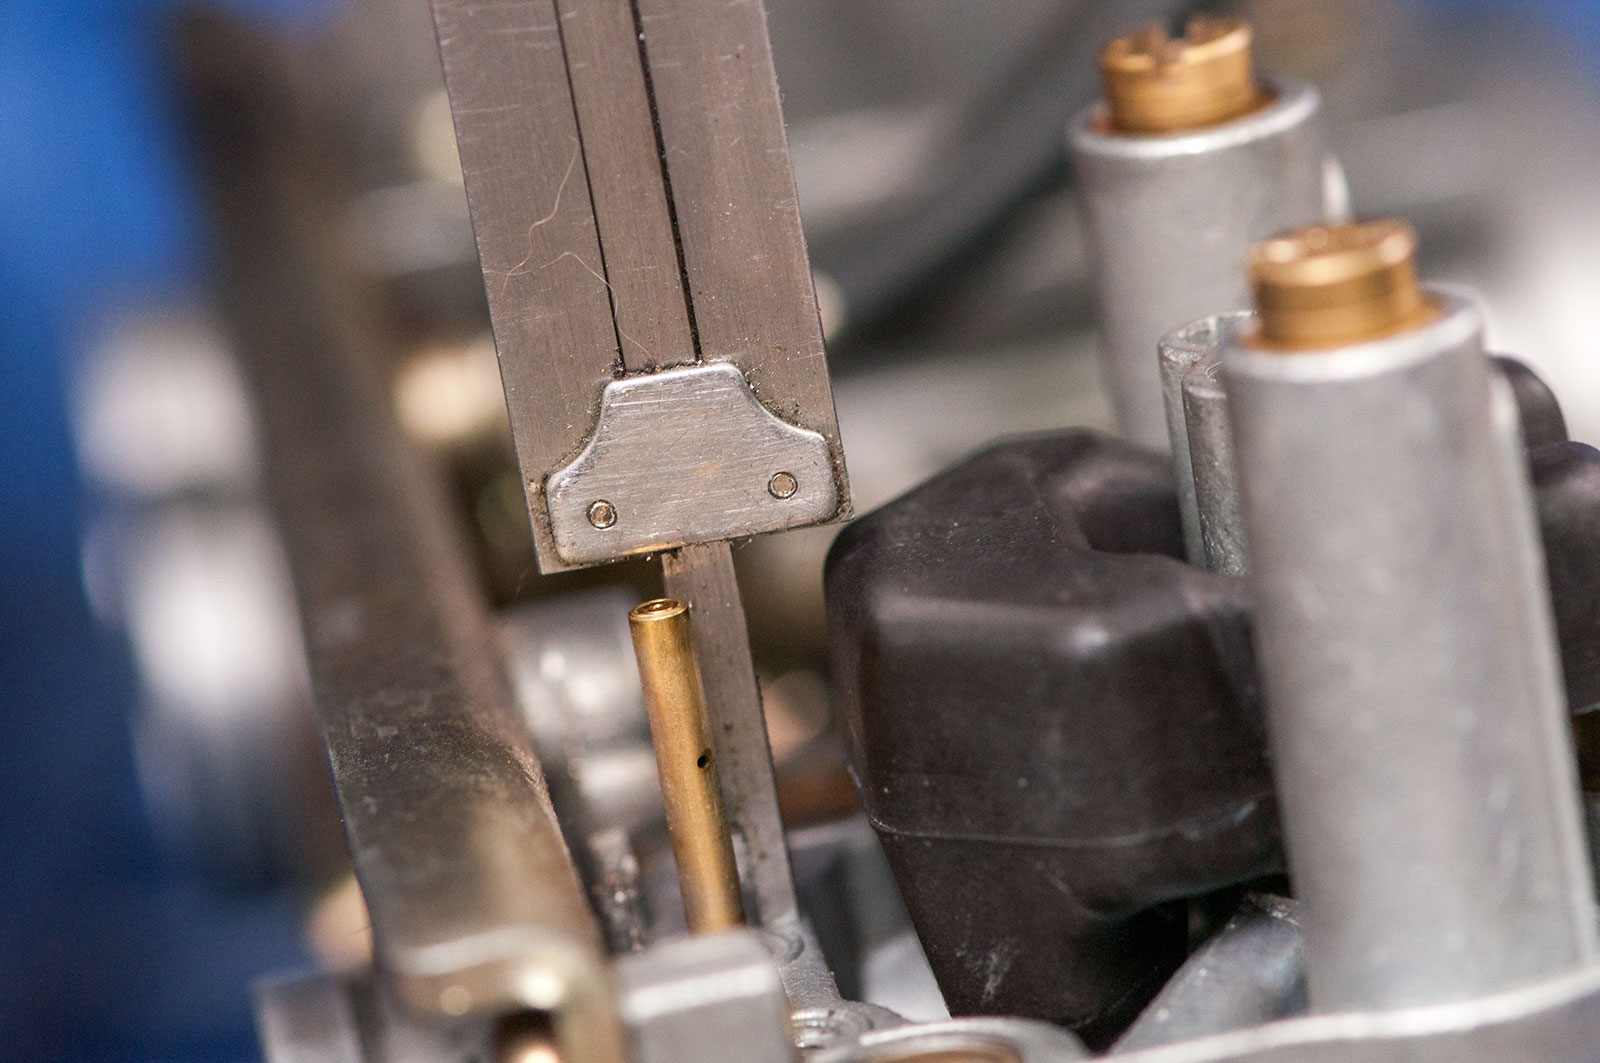
The throttle needles dictate fuelling at mid throttle by their shape in relation to something else in the carb body called the emulsion tube. The emulsion tubes are the brass looking circles in the middle of each of the throttle slide holes. If the throttle needle slaps around a lot against these, the emulsion tubes will wear (making them larger) and the throttle needles will also wear thinner. Both of these cause more fuel to go into the engine at cruise than is desired, providing poor fuel economy.
This is a pic showing you how the throttle slides and their corresponding needles go into their corresponding emulsion tube. Simple stuff that dictates the amount of fuel an engine breathes!
When reinstalling the throttle slides, it is very important to carefully lower them into the carb body while they are attached to the vacuum diaphragm. One also needs to be careful not to rip the diaphragm – if you do, it won’t pull a vacuum and the slides won’t open. They are expensive to buy and are only available as Suzuki genuine parts, so be careful!
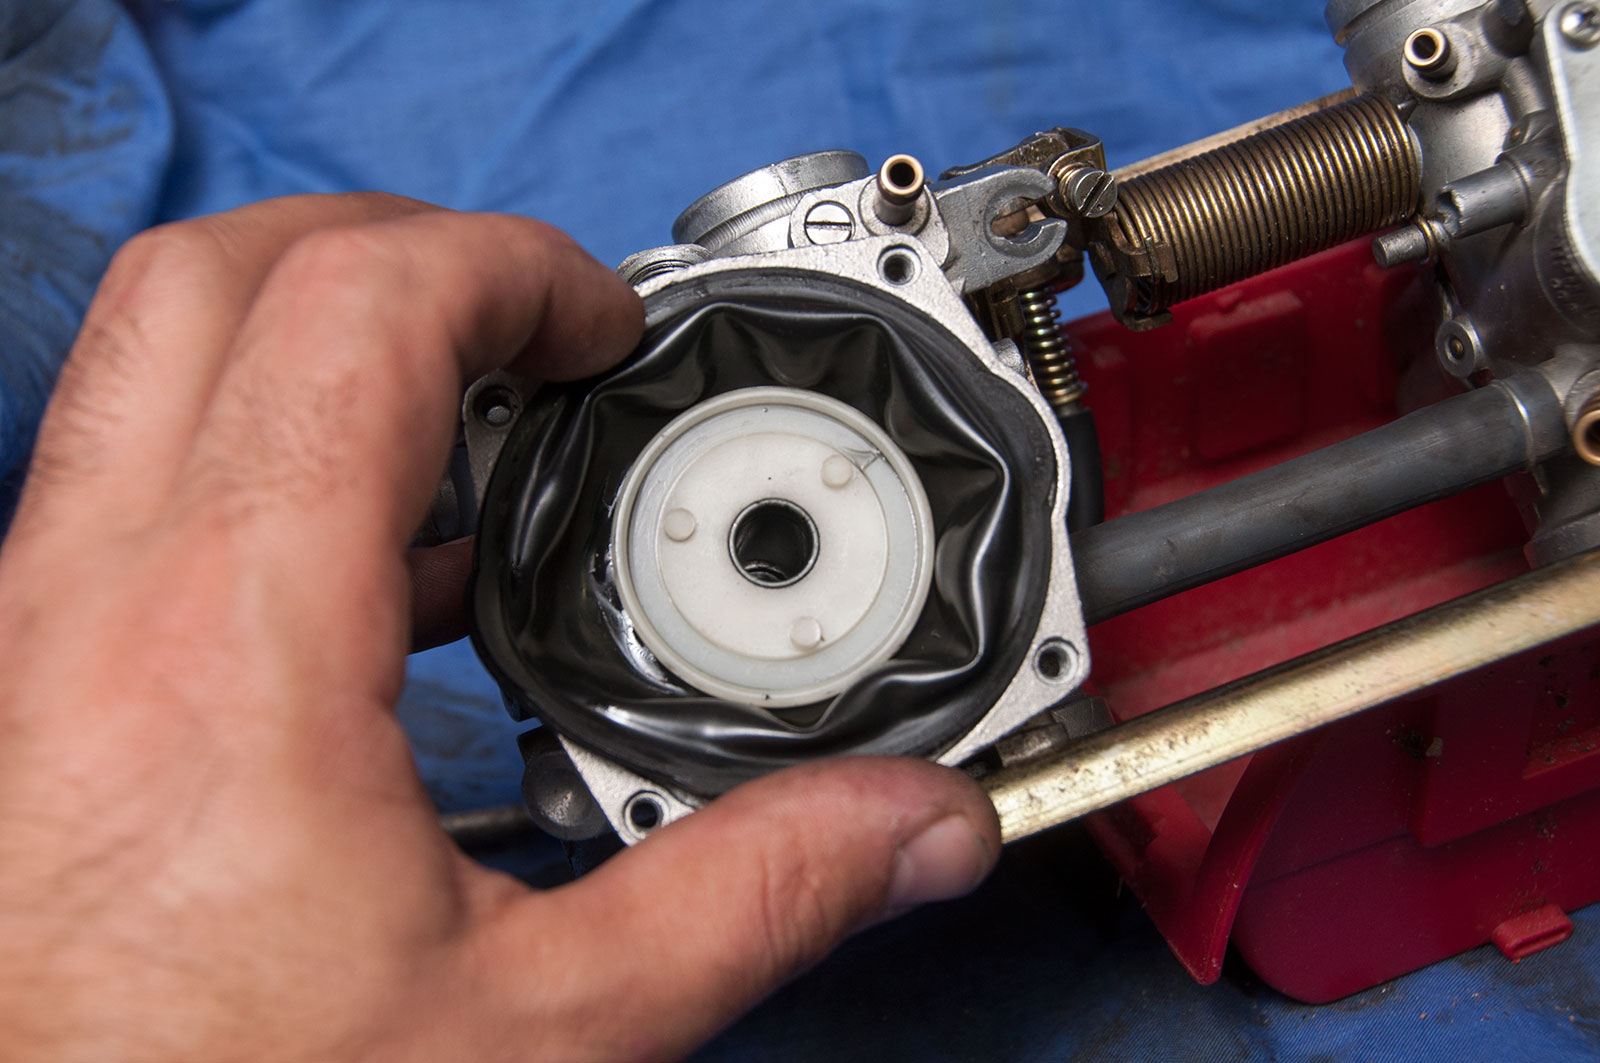
Very important to get the vacuum diaphragm to seal correctly into the top of the carb. There is a groove it all sits in and there is a little offset cutout – they only fit one way! Do it carefully and check your work.
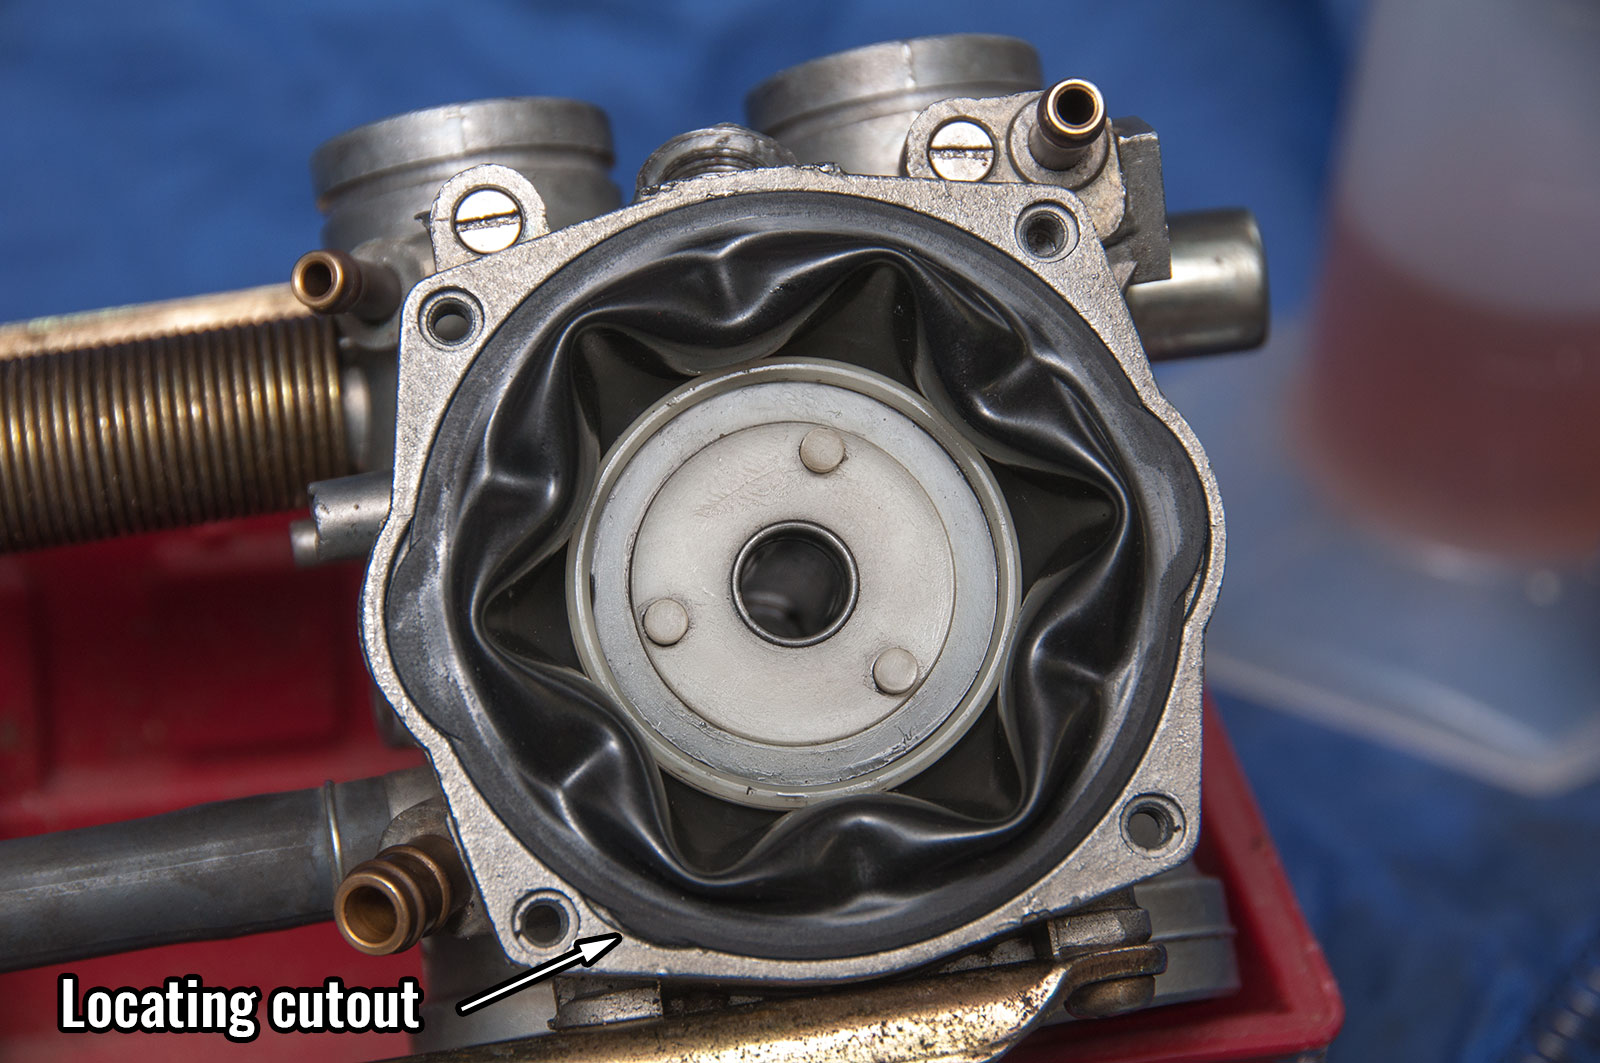
Here’s the cutout highlighted and the vacuum diaphragm fully seated into the carb body top. Very important to get it perfectly in – if you pinch it with the top cap of the carb then you can damage it.
The other little gotcha is that you need to carefully seat the spring against the little bit inside the carb top cap. If you don’t, it doesn’t tend to activate the throttle slides correctly – bit much preload on the spring, so they don’t open quite as fast as they need to – and then the bike sucks that little bit less. Again, be careful and take your time and all good.
Bottom side
We start underneath from, well, underneath.

4 screws on each float bowl – that is, the bit where the float of the carburettor lets the carb get filled with fuel.
Super common to find dirt in the float bowls. If this stuff gets stuck in the actual float valve then the float valve gets stuck open, flooding the carburettor. (Generally you find this out when the carb overflow pipe pisses fuel everywhere over the bike).

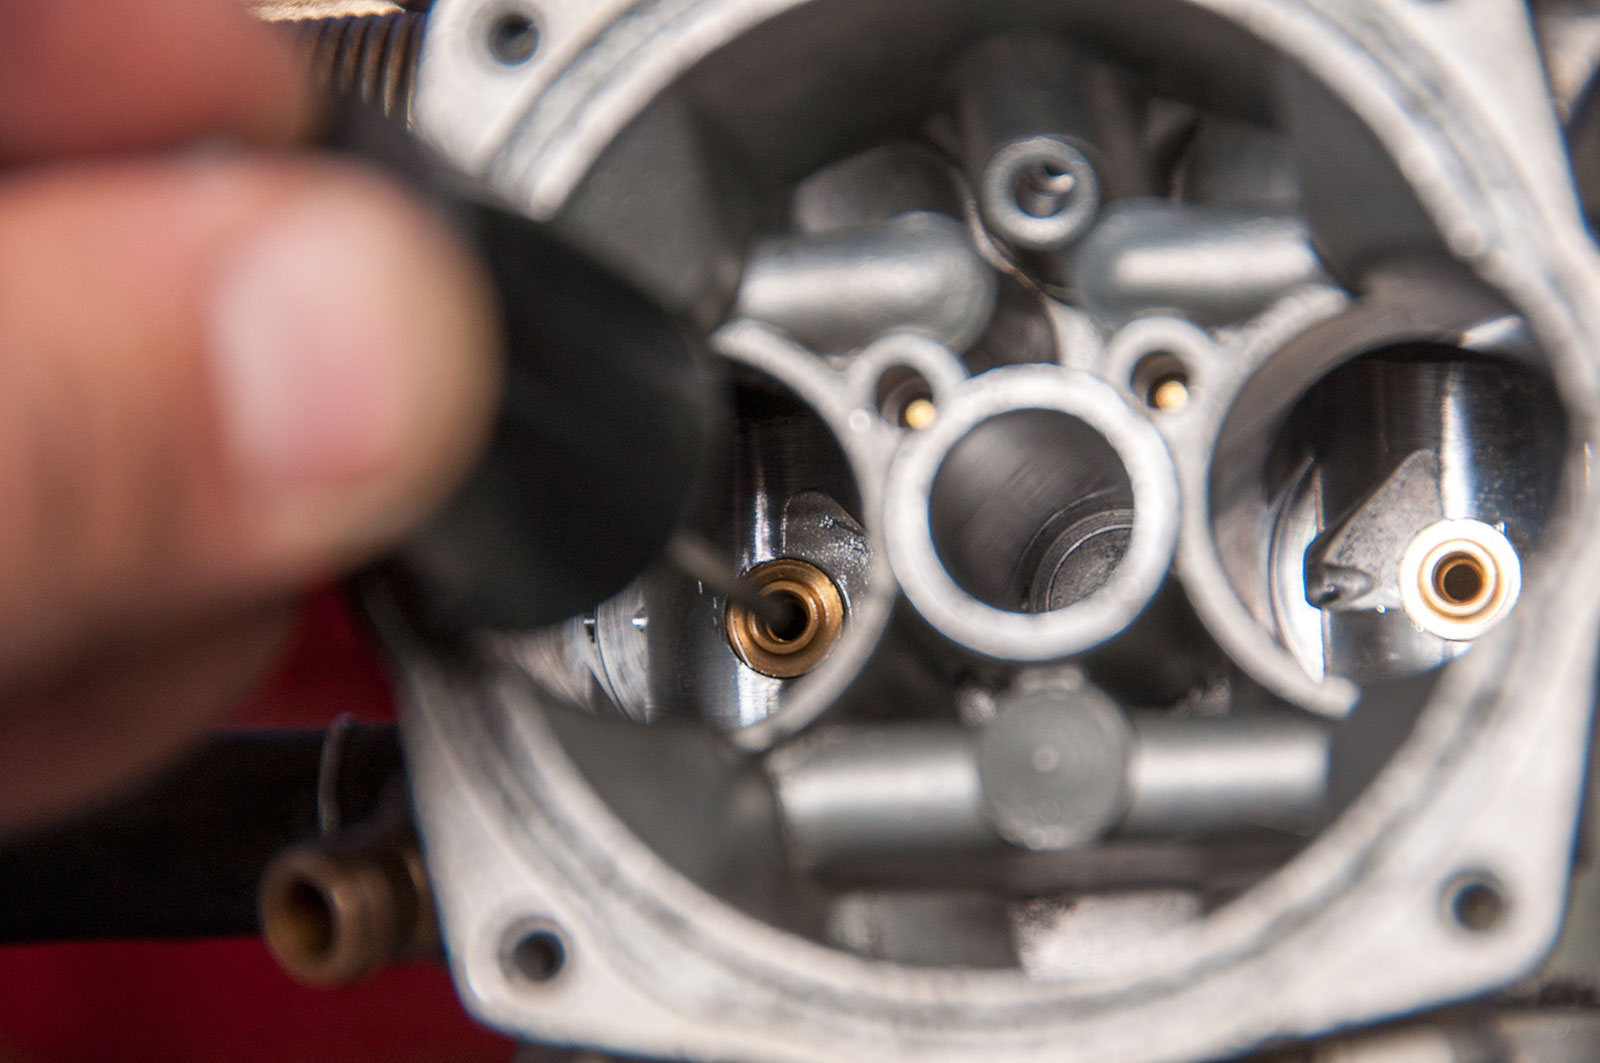
With the float bowl off we can see everything here. The main things to worry about are the jets, and the float mechanism – both the float itself, and the float valve (which consists of the float needle, and the float seat).
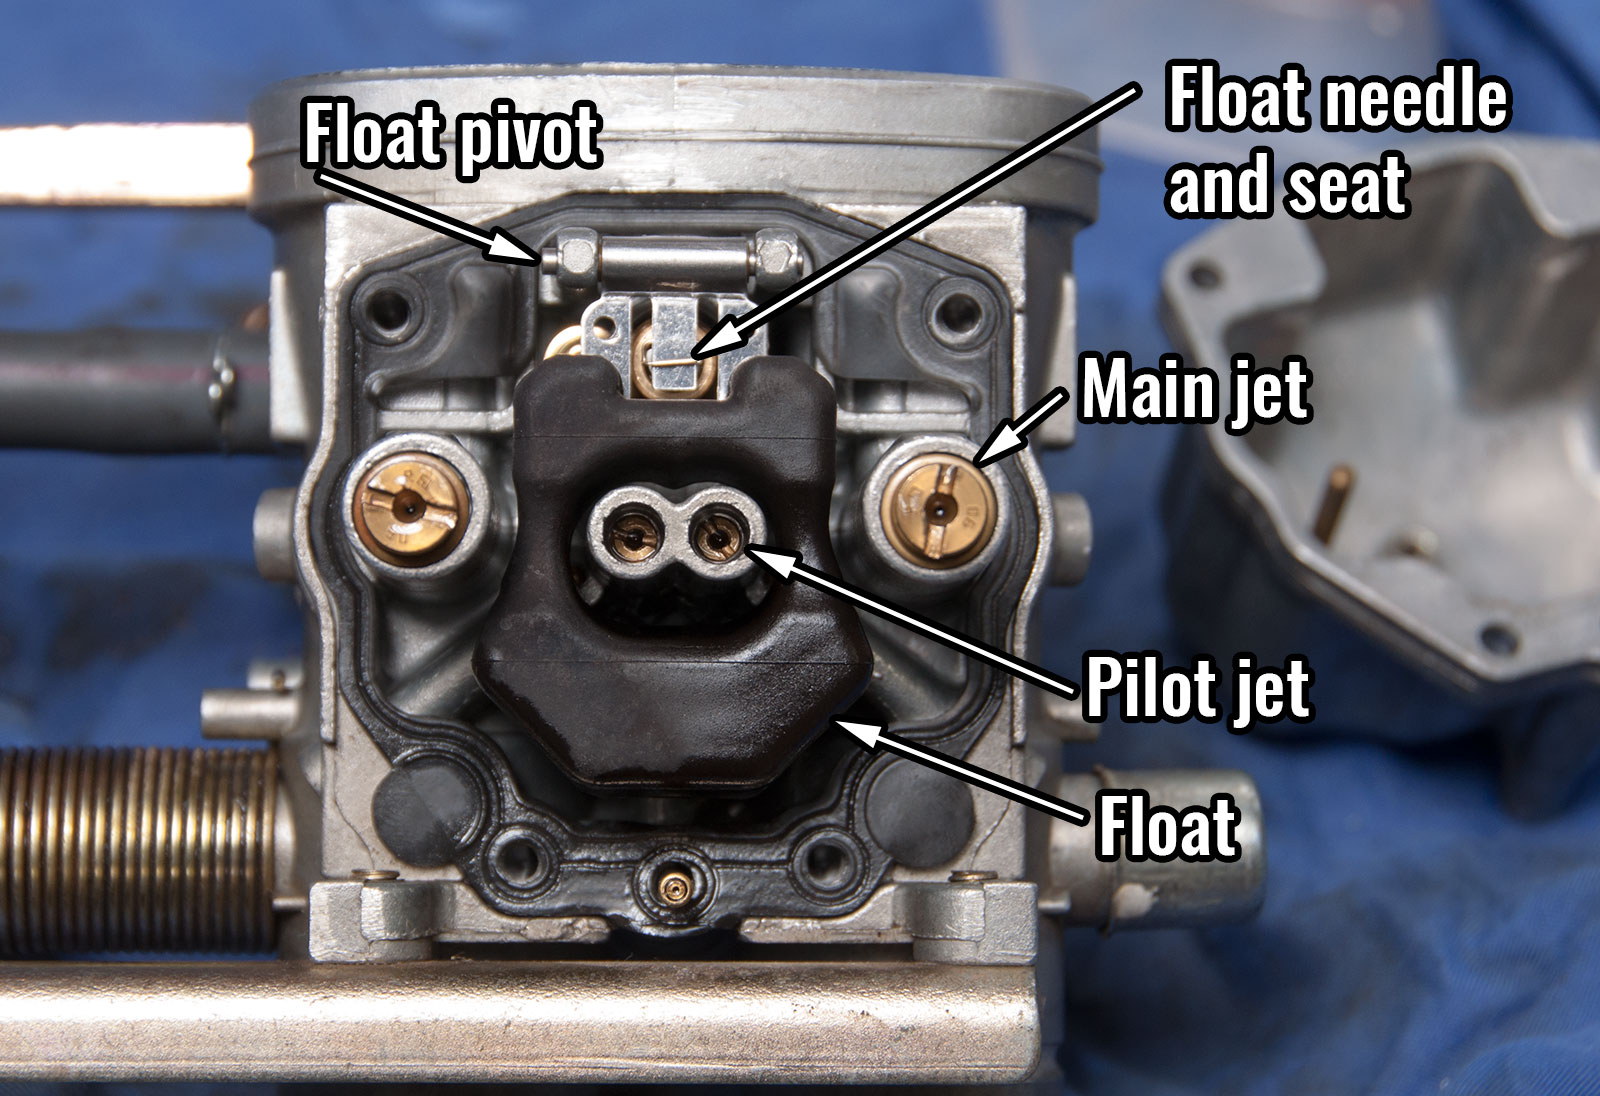
To make this easier, this is the same picture but annotated.
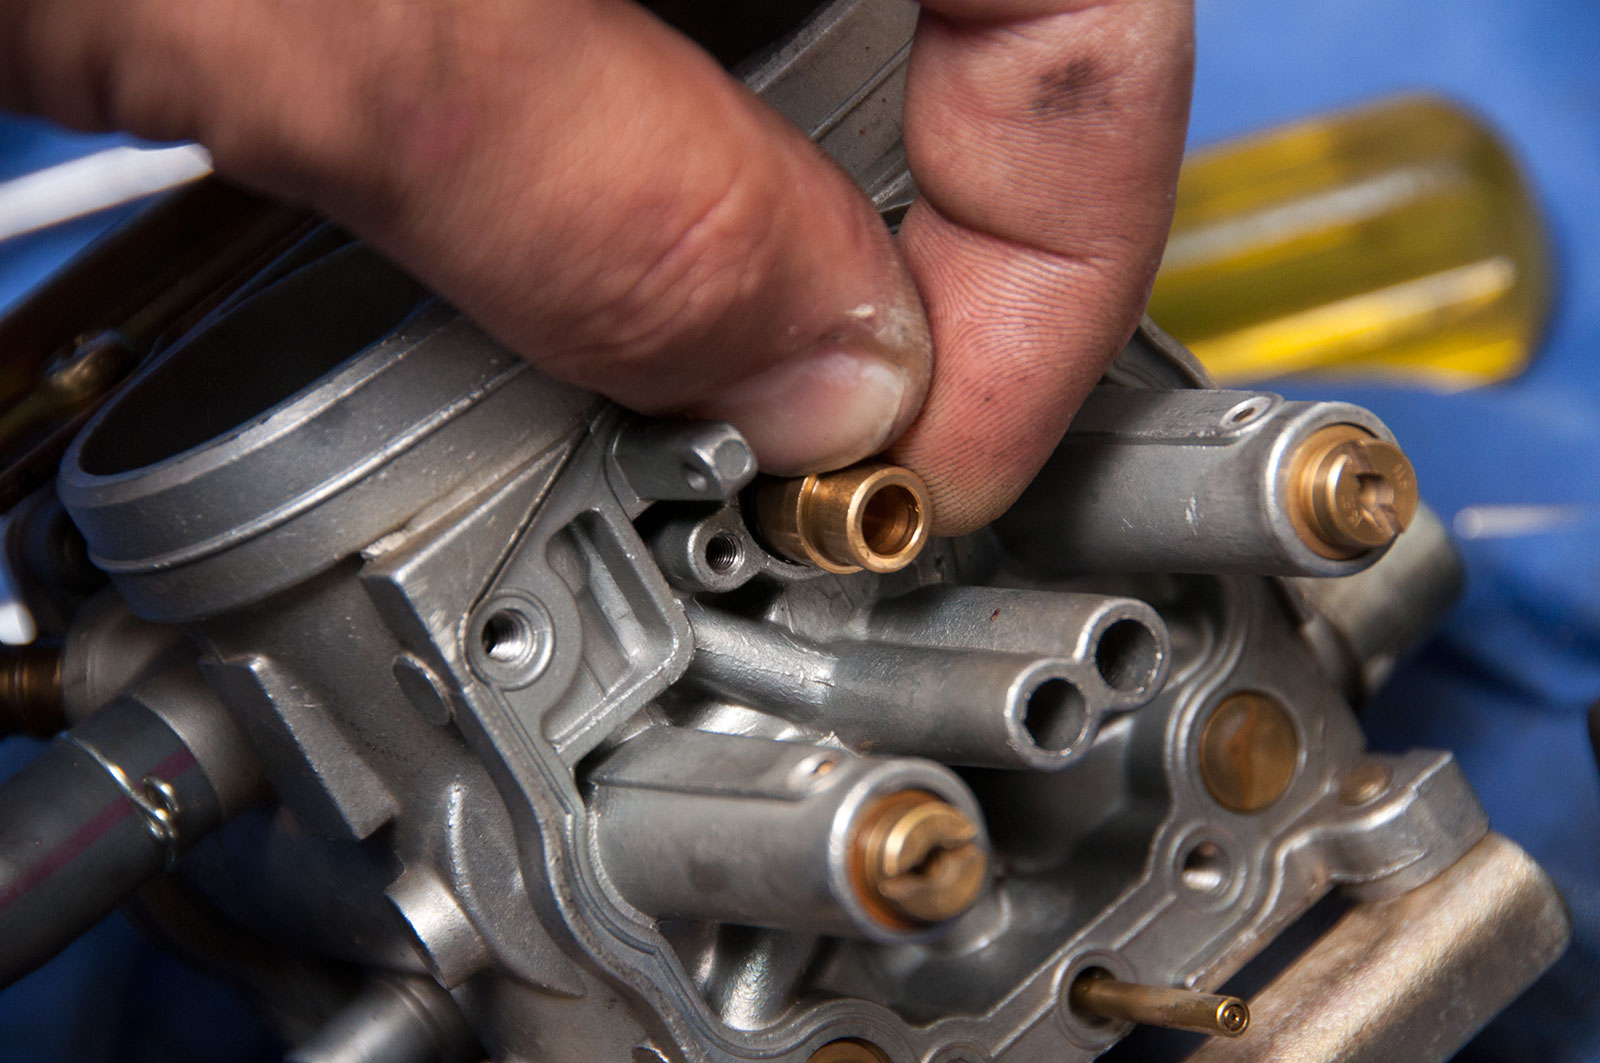
For simplicity, we’ll pull out one of the main jets first. Note there are two main jets in each carburettor, as each carb sort of works like an independent carb for its own respective cylinder. It just happens to be affixed into a single carb body for two cylinders – more common would be to use 4 individual carburettors, one per cylinder. I told you Acrosses did some funky stuff.
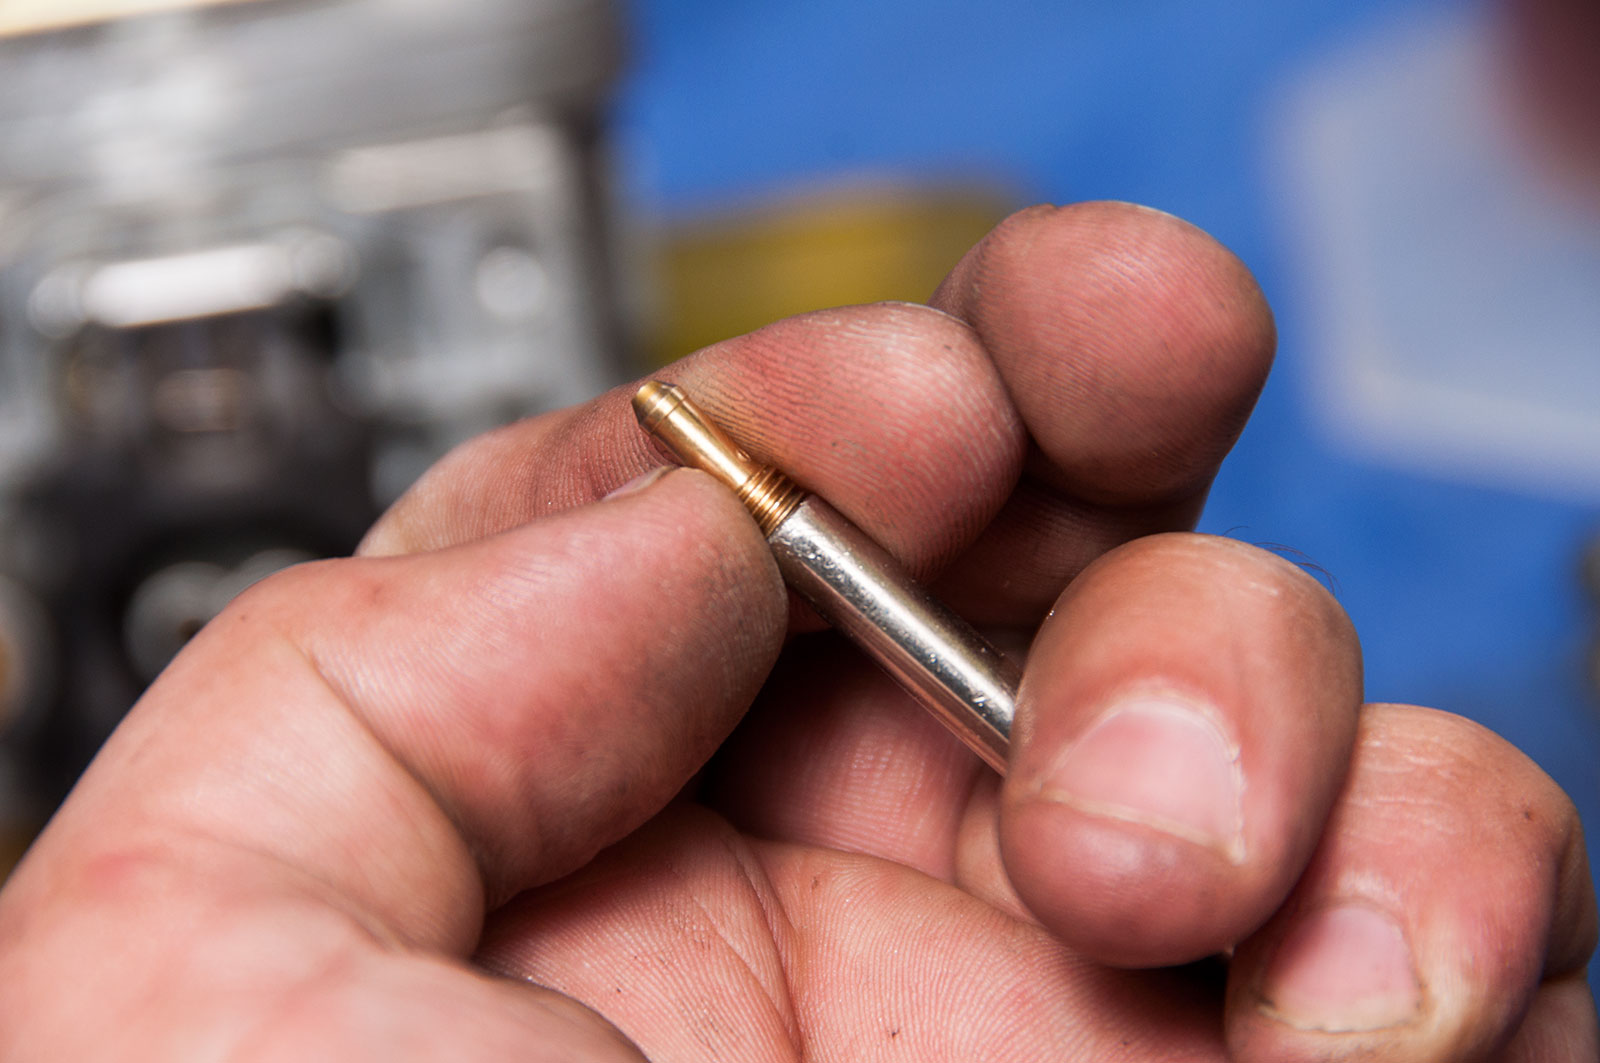
Main jet comes out with a flat headed screwdriver, fairly large one is good.
Main jet also has a washer underneath it – gotta keep those, it seals the fuel from going around the wrong side of the emulsion tube which would manifest itself as the bike receiving way too much fuel — being too rich — everywhere except idle.
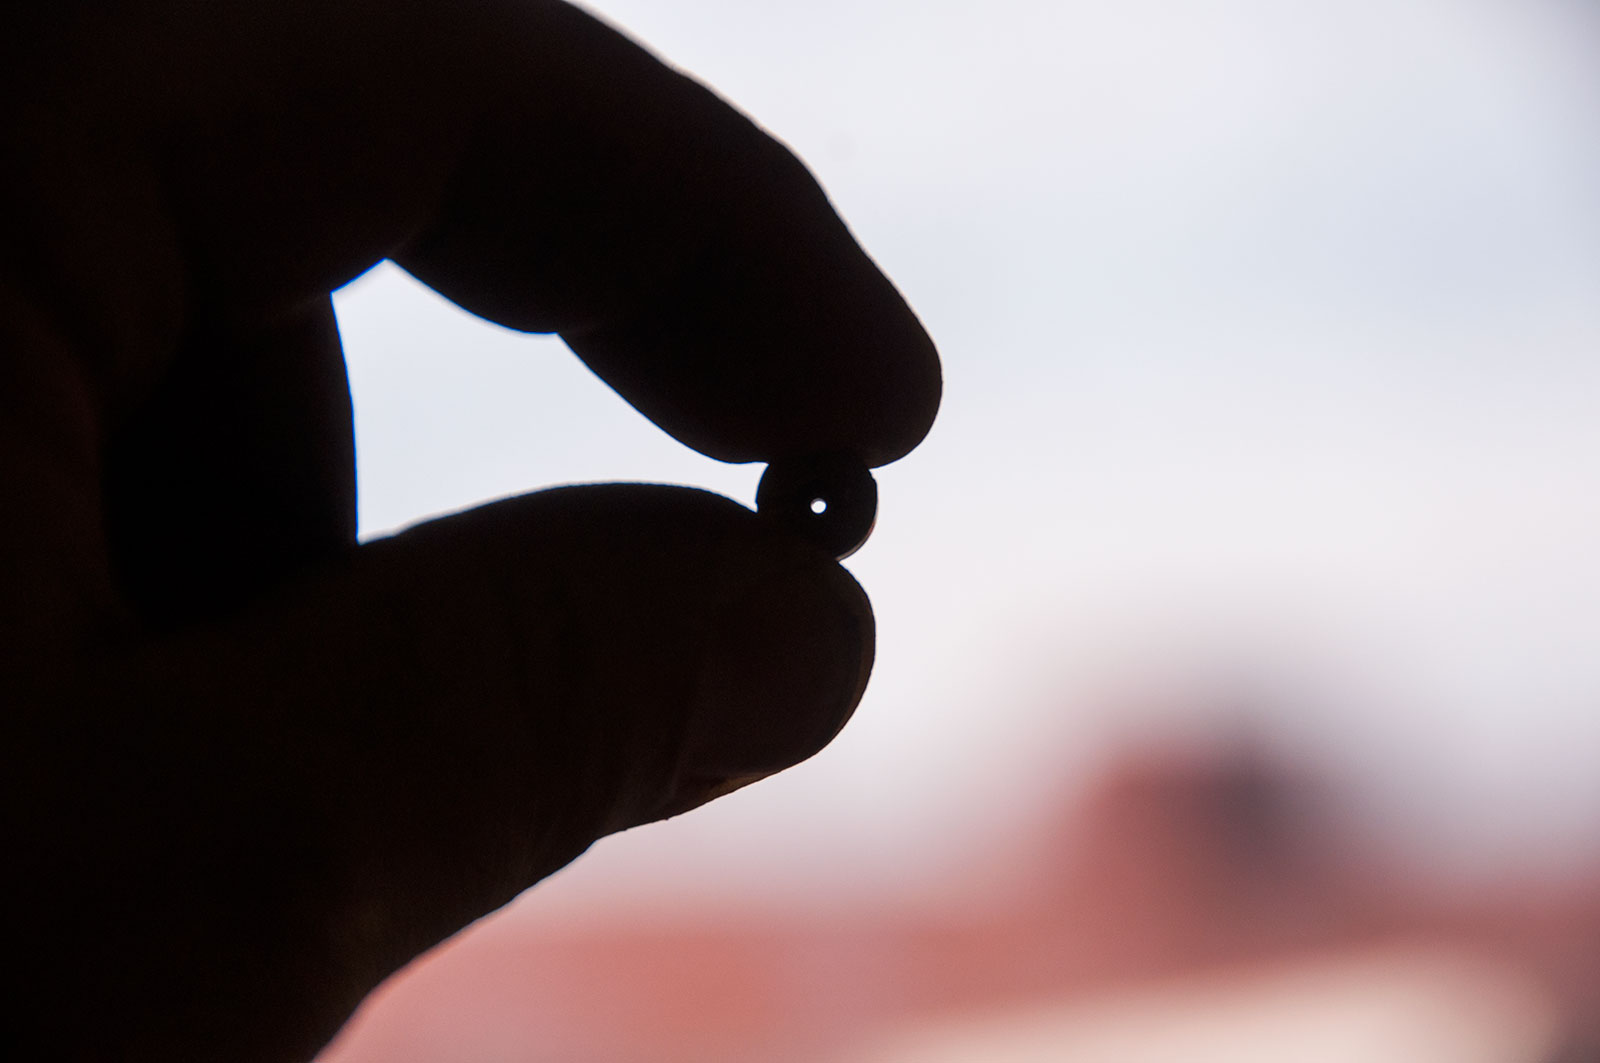
The jets need to be clean. Super, super clean. If you look through them at the light, you can see the little hole in the middle.
Clean these only with stuff like carb cleaner or petrol or the like. Don’t go sticking anything through the hole, you’re likely as not to make the hole larger which means more fuel which means the bike won’t run right.
Note that the main jet controls only the fuel at full throttle, high revs. It has some control over the fuel from about half throttle, too, though.
The pilot jet comes out of these funky recessed housing (a fairly standard design) where you need a thin flat headed screwdriver to get them out.
Pilot jet out of the carb. Need to turn carb body right way up to make them drop out once you’ve unscrewed the pilot jet.
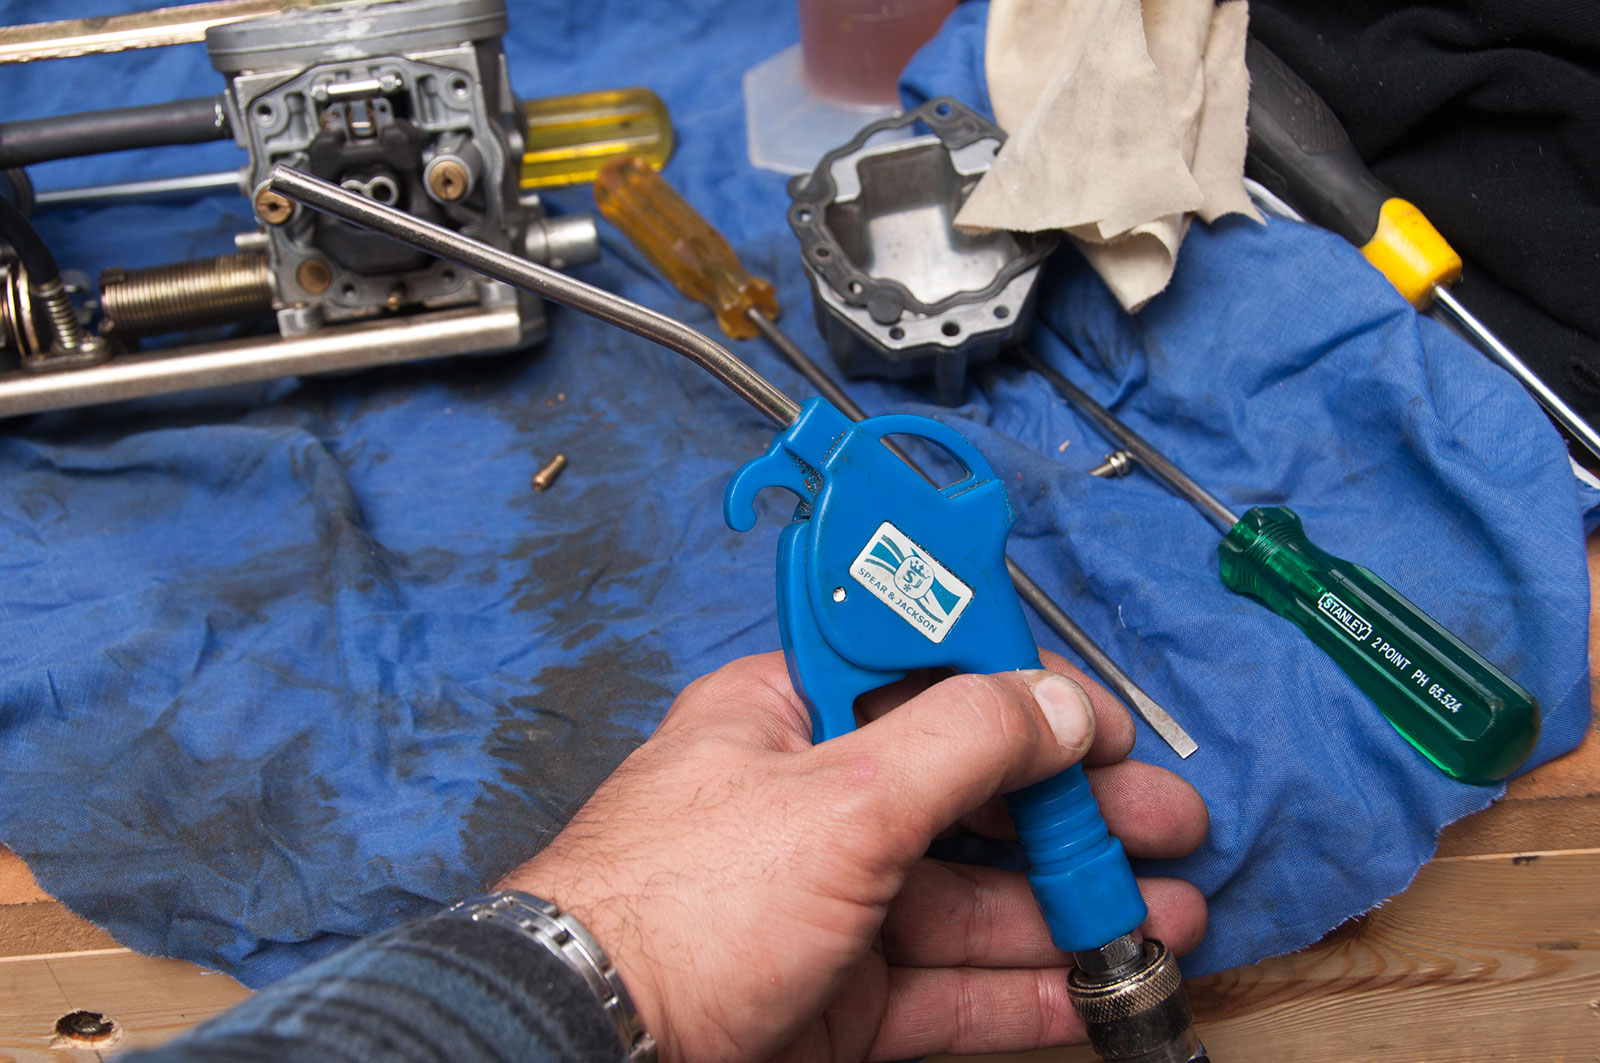
Compressed air is a great way to clean out jets. Yay for compressors!
… though you gotta hold onto the jets tight so you don’t shoot them across the room when you blow through them!
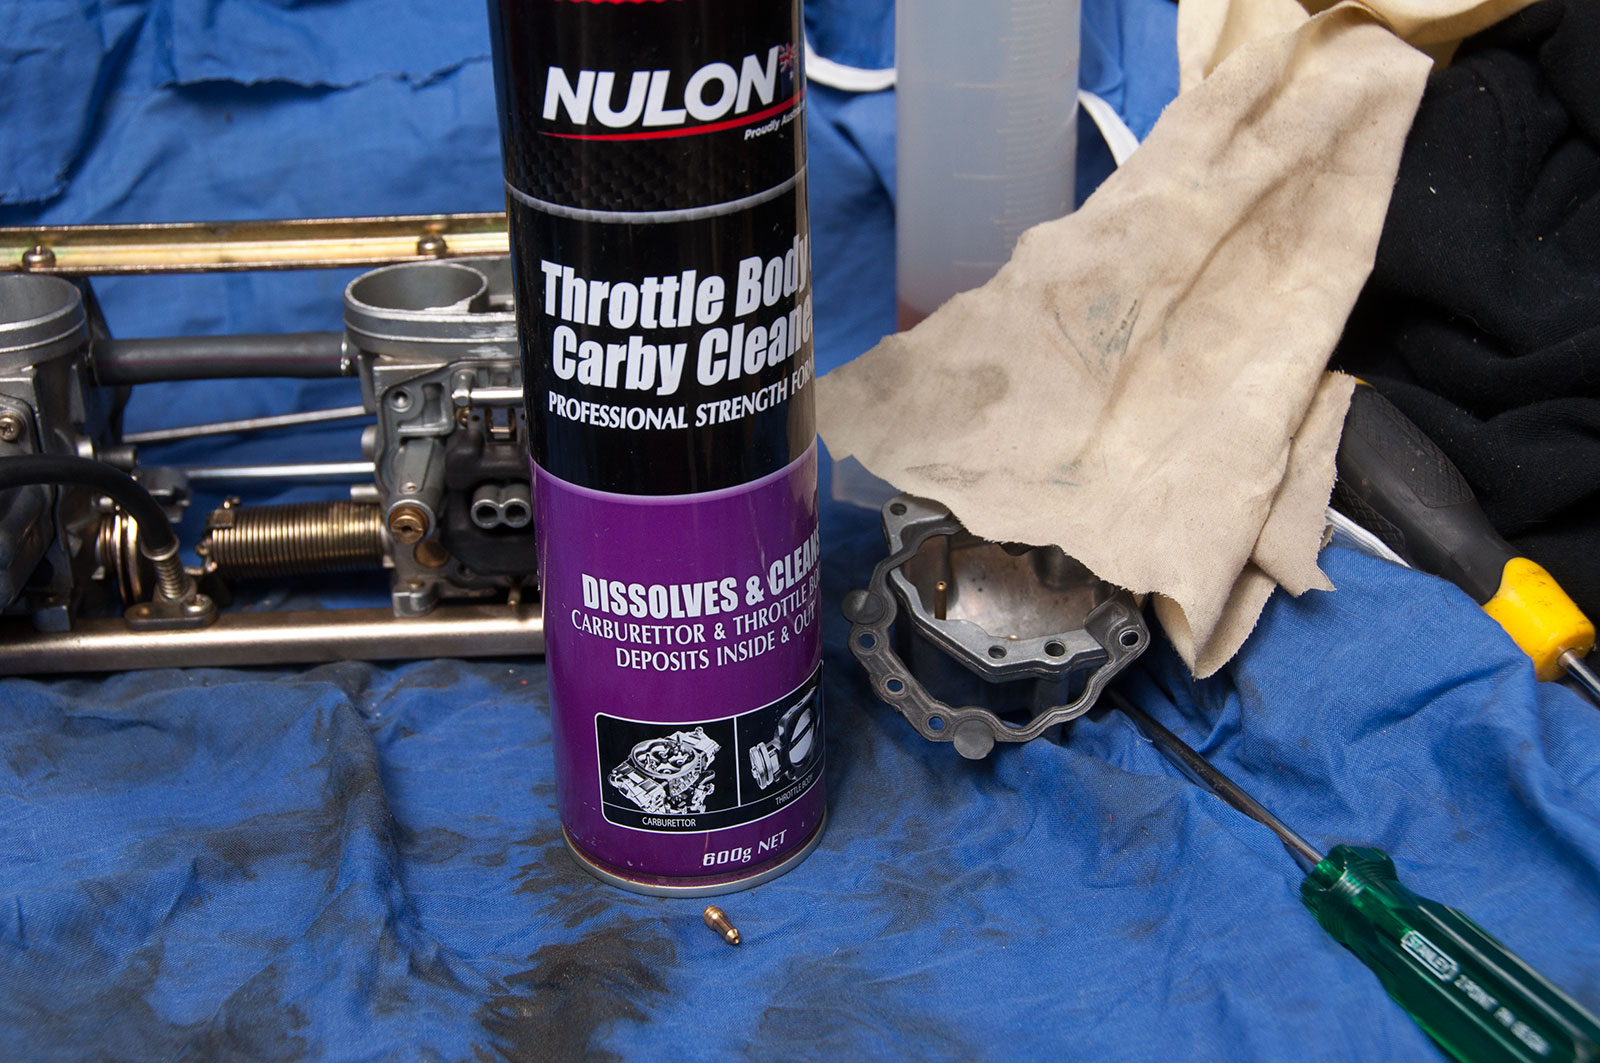
I wish I got paid to recommend this stuff… anyway, carb cleaner is what you want to clean out deposits. Soak jets and things in it for a couple of days, though don’t let it get in contact with any paint, any rubber, or any plastic – it can eat them. The Nulon stuff is a good mix of methanol and acetone, so it’s also not great to get onto your skin. It stings in the eyes, too! It works though.
Removing float/float needle/seat is a bit of an involved process and I’ll walk you through it

Start by pulling out the float pivot pin. This is fairly easy though on old carbs sometimes they’re a bit stuck and need some light tapping with a pin punch to get them out.
With pivot out of the way, the float kinda wants to fall out. Lift it up. The float needle – which is what seats into the float needle seat (imaginative, I know) to stop the flow of fuel when the carb has enough fuel in it – will hang from a tab on the float itself.
Float needle seat is removed by removing the retaining screw.
With retaining screw out of the way, pull up on the float needle seat. It is usually easy to pull up but you might need to wrap it in a little bit of rag and use some pliers to gently pull it up if it is a bit older. You don’t want to damage the inside of it if you can avoid it.
The o-ring on the float needle seat can leak, which means the carbs end up with way too much fuel in them (as they never ‘shut off’ as it were) which makes the bike flood itself. The float needle can get held up with rust or dirt coming from the fuel, and they also wear.
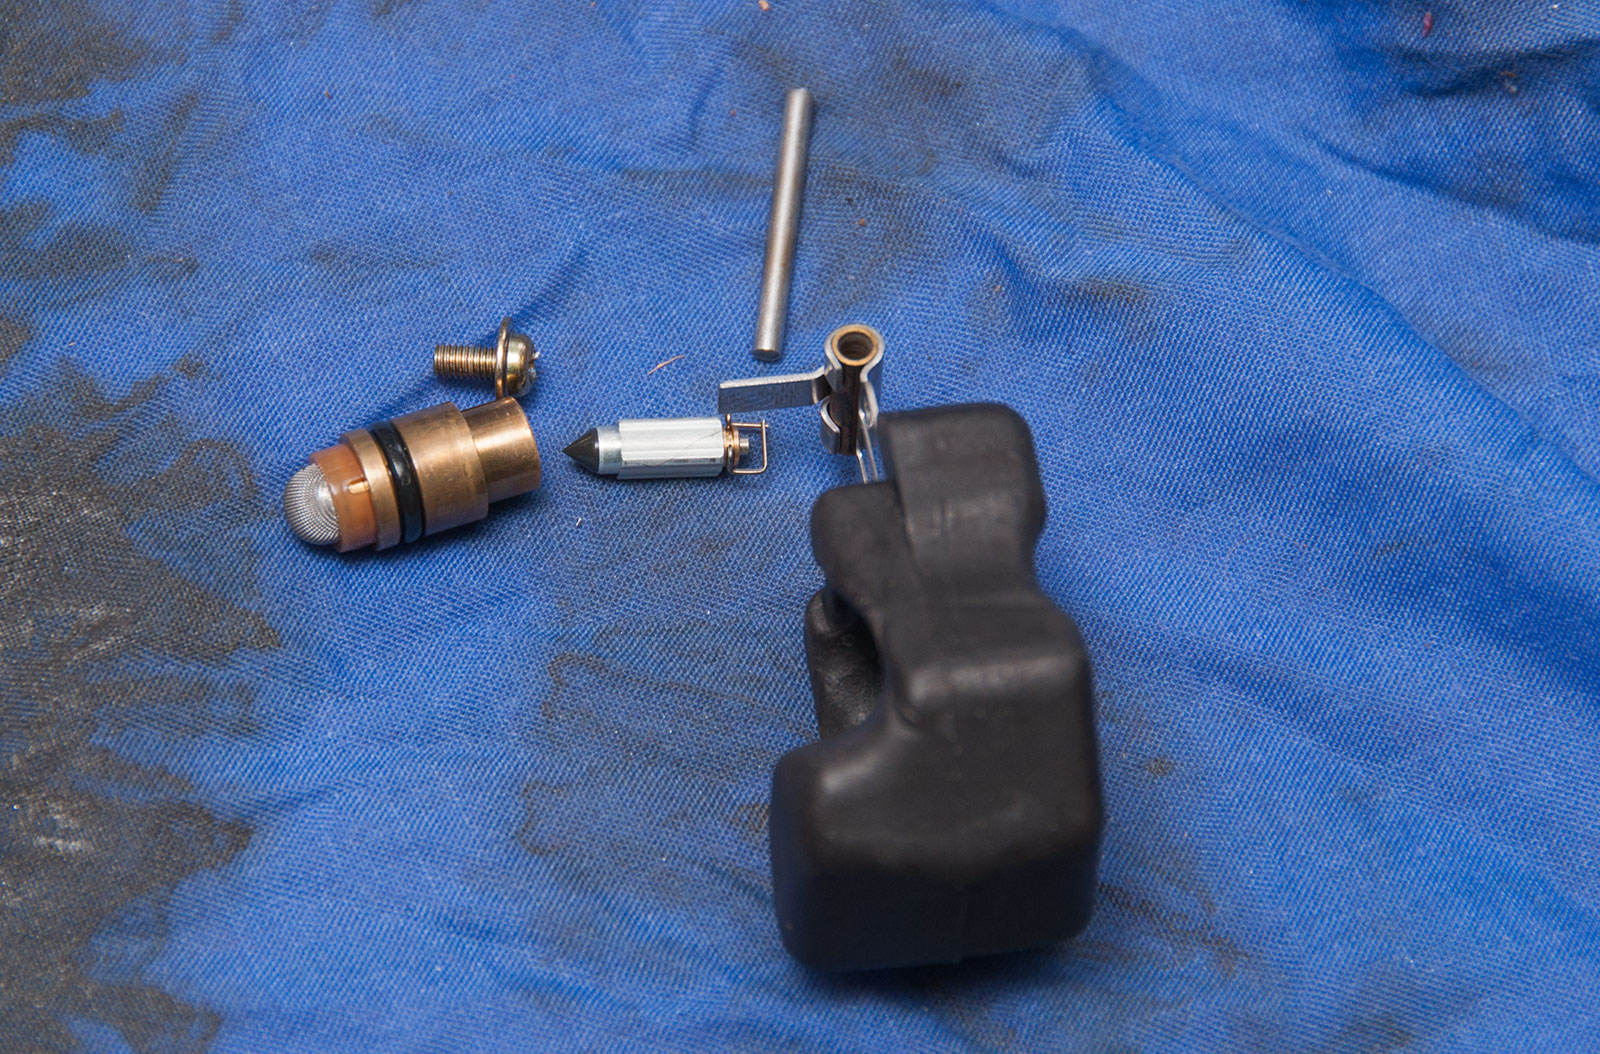
Here’s the float assembly parts. Float needle seat, float needle, float, and the pivot pin is at the top of the pic. Float needle seat has a nifty little mesh screen to prevent the biggest stuff getting through to the carb, too.
It’s really hard to see the wear here, but the top float needle is the old one. The new one, at the bottom, has a slightly larger tip to it (as it isn’t worn), and the top one has a tiny little groove in it near the tip of the black part. This groove means it never fully seated and so it always leaked a bit. Replacing these is why I’m actually pulling these carbs apart, though I also swapped out a different jet setup to factory cleaned out jets, too
Installing the new float seat isn’t hard. Make sure it has an o-ring on it, and push it into the carb body. Then obviously you do up the retaining screw, and then you put in the float needle hanging off the float itself, and then push in the float pivot pin.
With a new float needle – and this one is aftermarket, so it might be a different length – you need to check the float height. This is essentially how far up off the base of the carburettor the float will go before it shuts off the float valve. A GSX250F carb runs a 20.5mm float height (+/- 1mm), as measured from the flat part of the base of the carb to the ’top’ of the float assembly with the carburettor held upside-down.
If the float height is wrong, you bend the tab that the float needle sits on (without pushing hard on the float needle) to either raise or lower the float till it’s within spec. If the float height you measure is smaller than specified, then the float is allowing in too much fuel. If the float height you measure is larger than specified, then not enough fuel is in the carb and you run the risk of not getting enough fuel on long runs of full throttle.
Getting it back in

So, now the carbs are all clean and pretty and all sorted! Excellent, time they go back in.
I’m not going to go into too much detail, it’s mostly a reversal of the removal but there’s a few little gotchas.
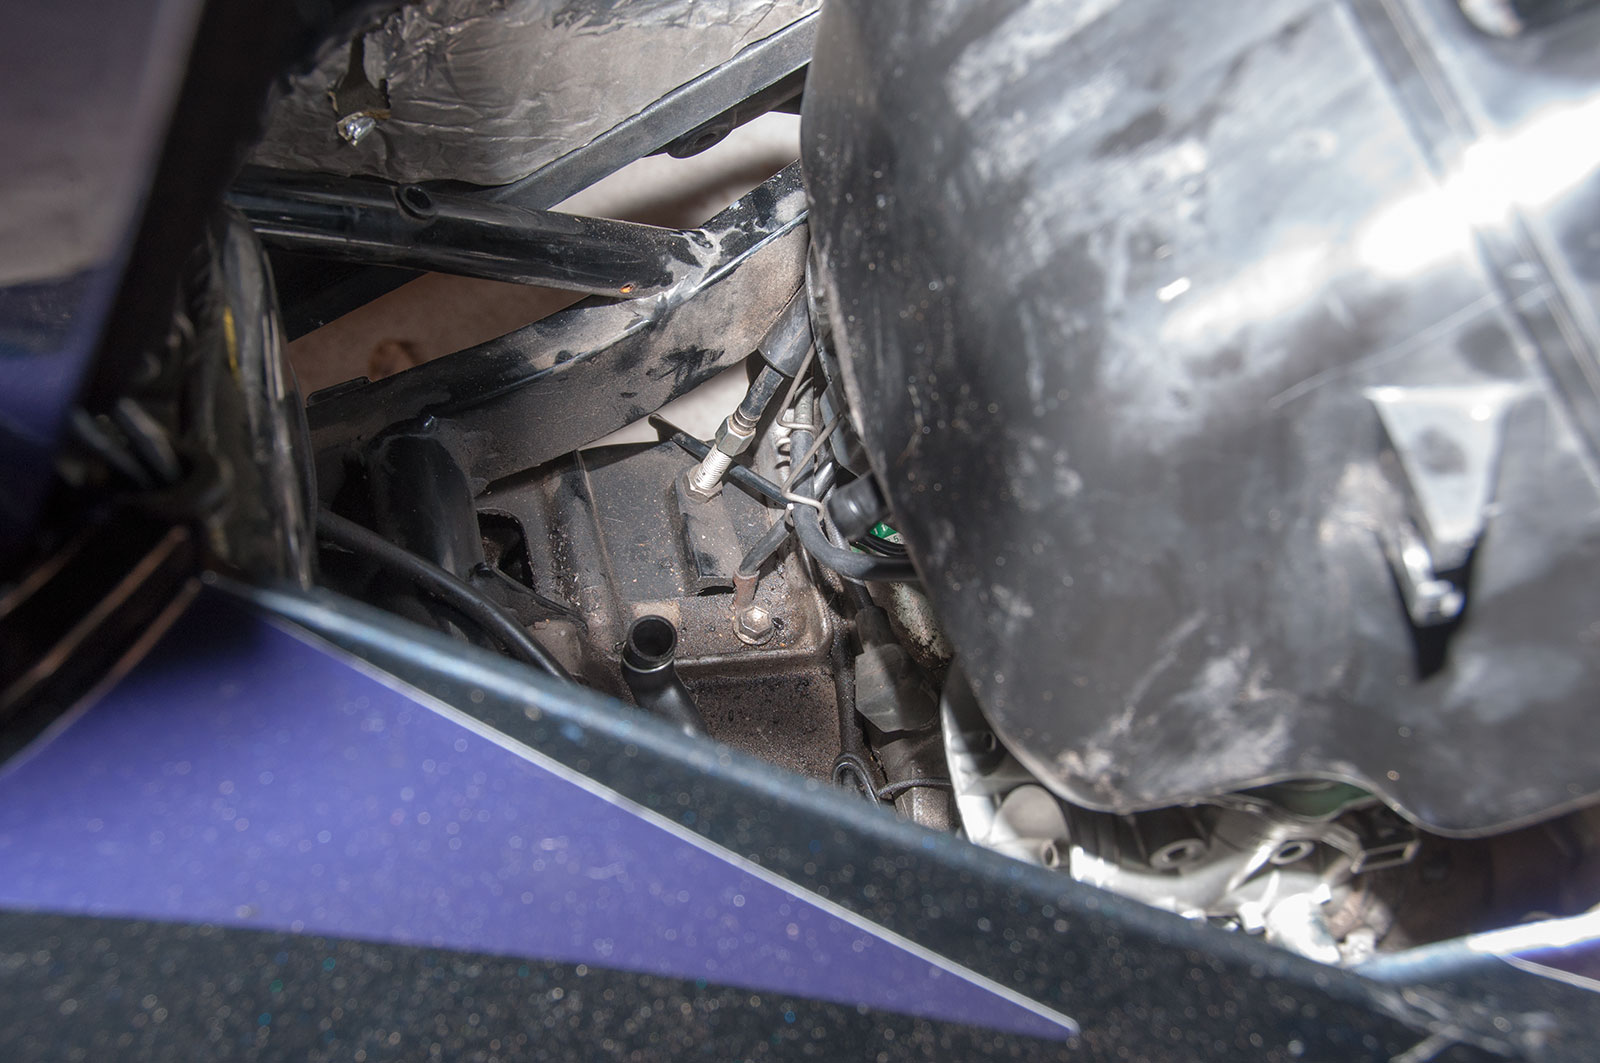
Good idea to get the drain hoses sorted off the bike. These hoses are routed down the back of the motor/gearbox and drop out the right-hand side of the bike, almost on the exhaust (not a great location in my opinion, but that’s where Suzuki routed them).
These are important cause if you do still have a leaking float, the carbs will overflow down these hoses. If you don’t have them installed, they will overflow straight onto the back of the motor – not good if the bike is hot.
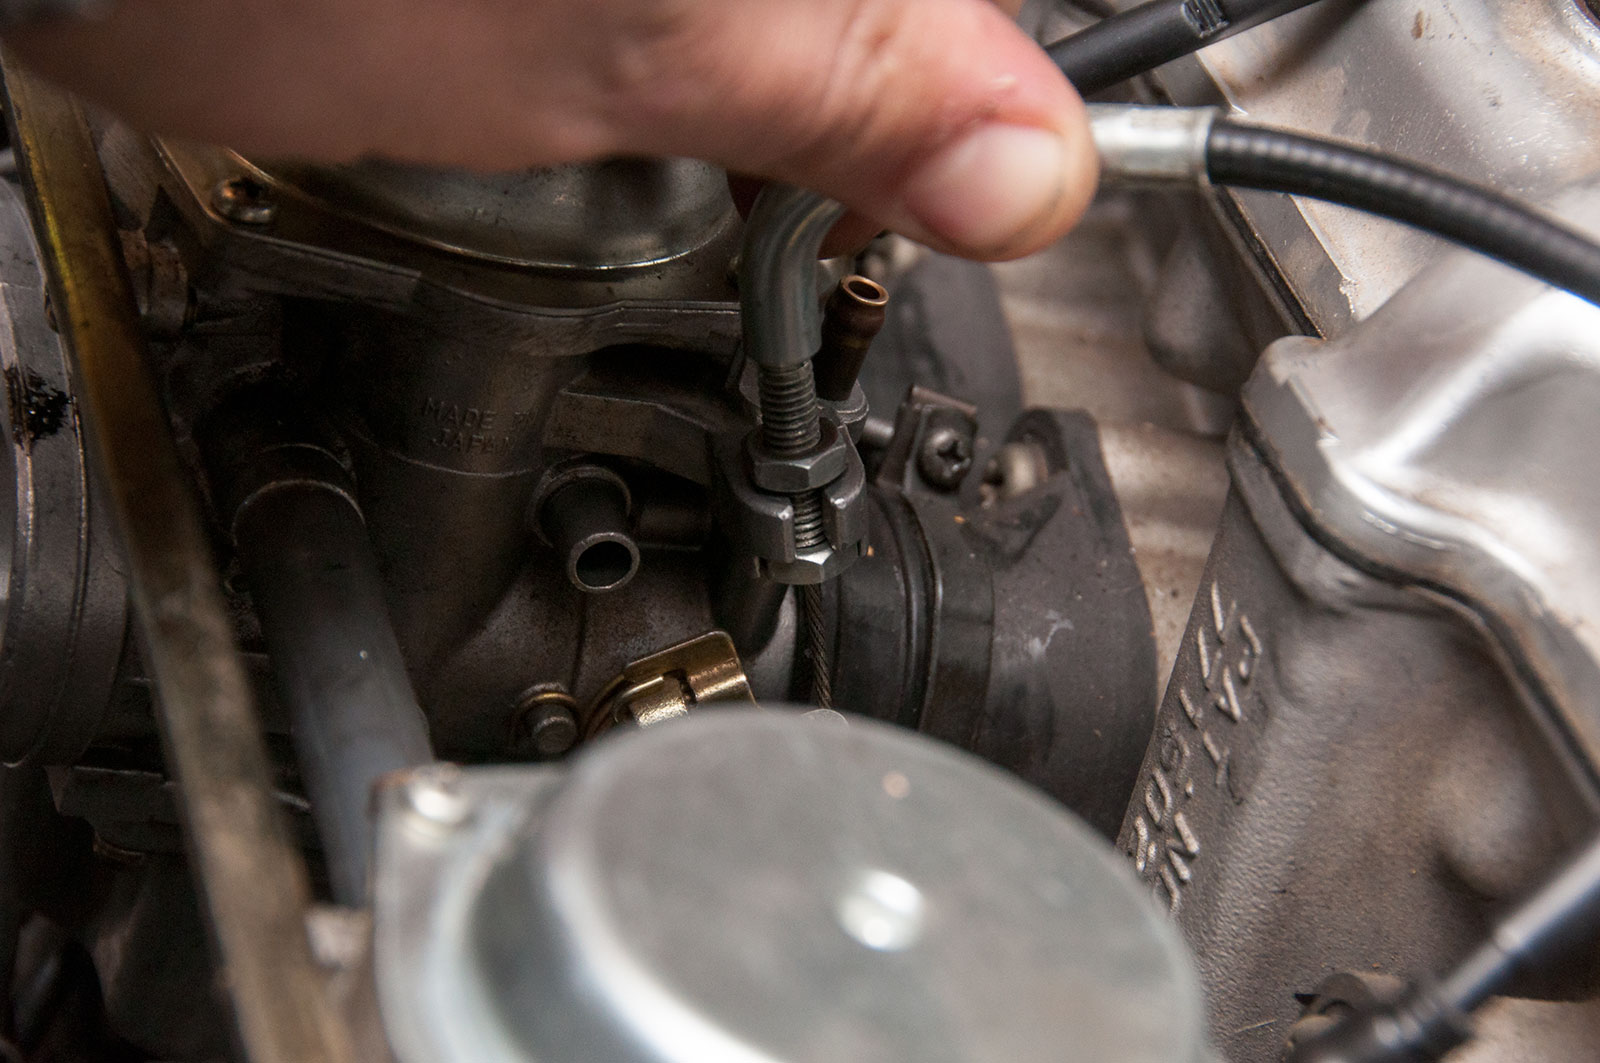
Throttle cable is easy to reinstall, but remember to go to full throttle to let you easily put the end of the cable into the pulley, and then route the inner part of the throttle cable through the cutout part of the pulley.
Get the cable adjusted when the carbs are all secured in – get it close to right at the carb end, and then get the fine adjustment done up at the throttle grip. One thing to consider is that you do need a little bit of throttle play so don’t adjust it so there is no play at all in the throttle grip.
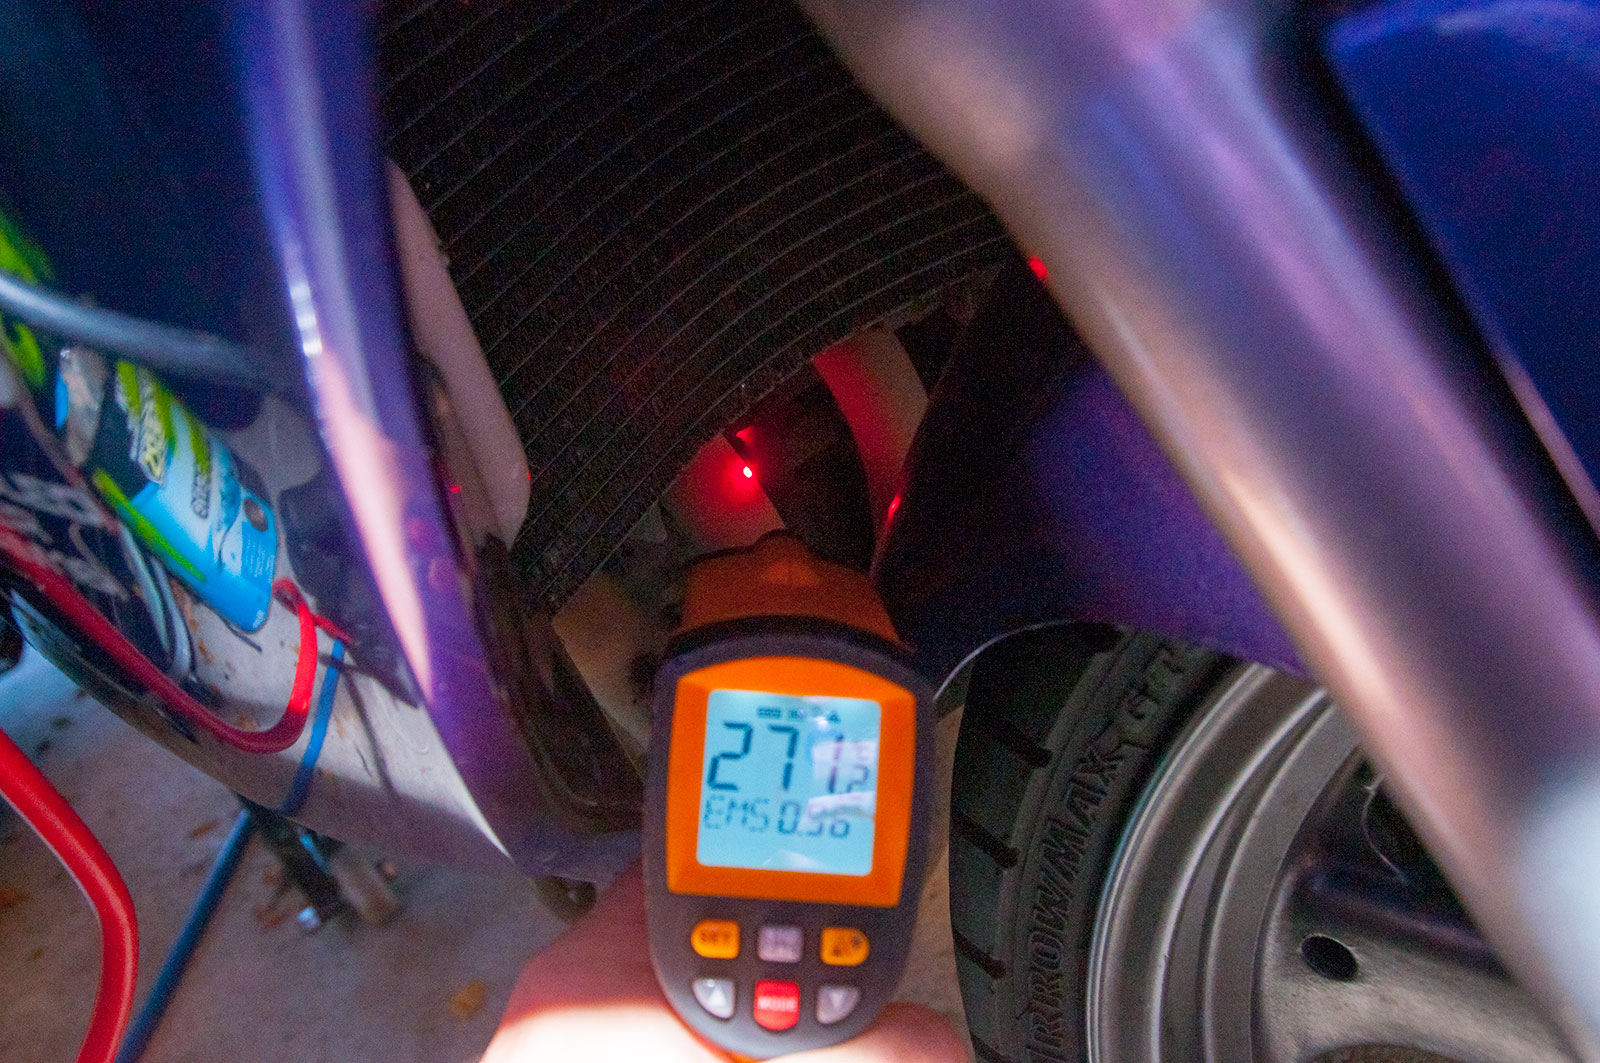
Handy hint time – if you aren’t sure if a cylinder is working correctly, use an infrared thermometer to check the temperature of each of the header pipes close to the cylinder. If a cylinder is cold, it is misfiring or not firing correctly. Makes it easier to pinpoint what you got wrong!
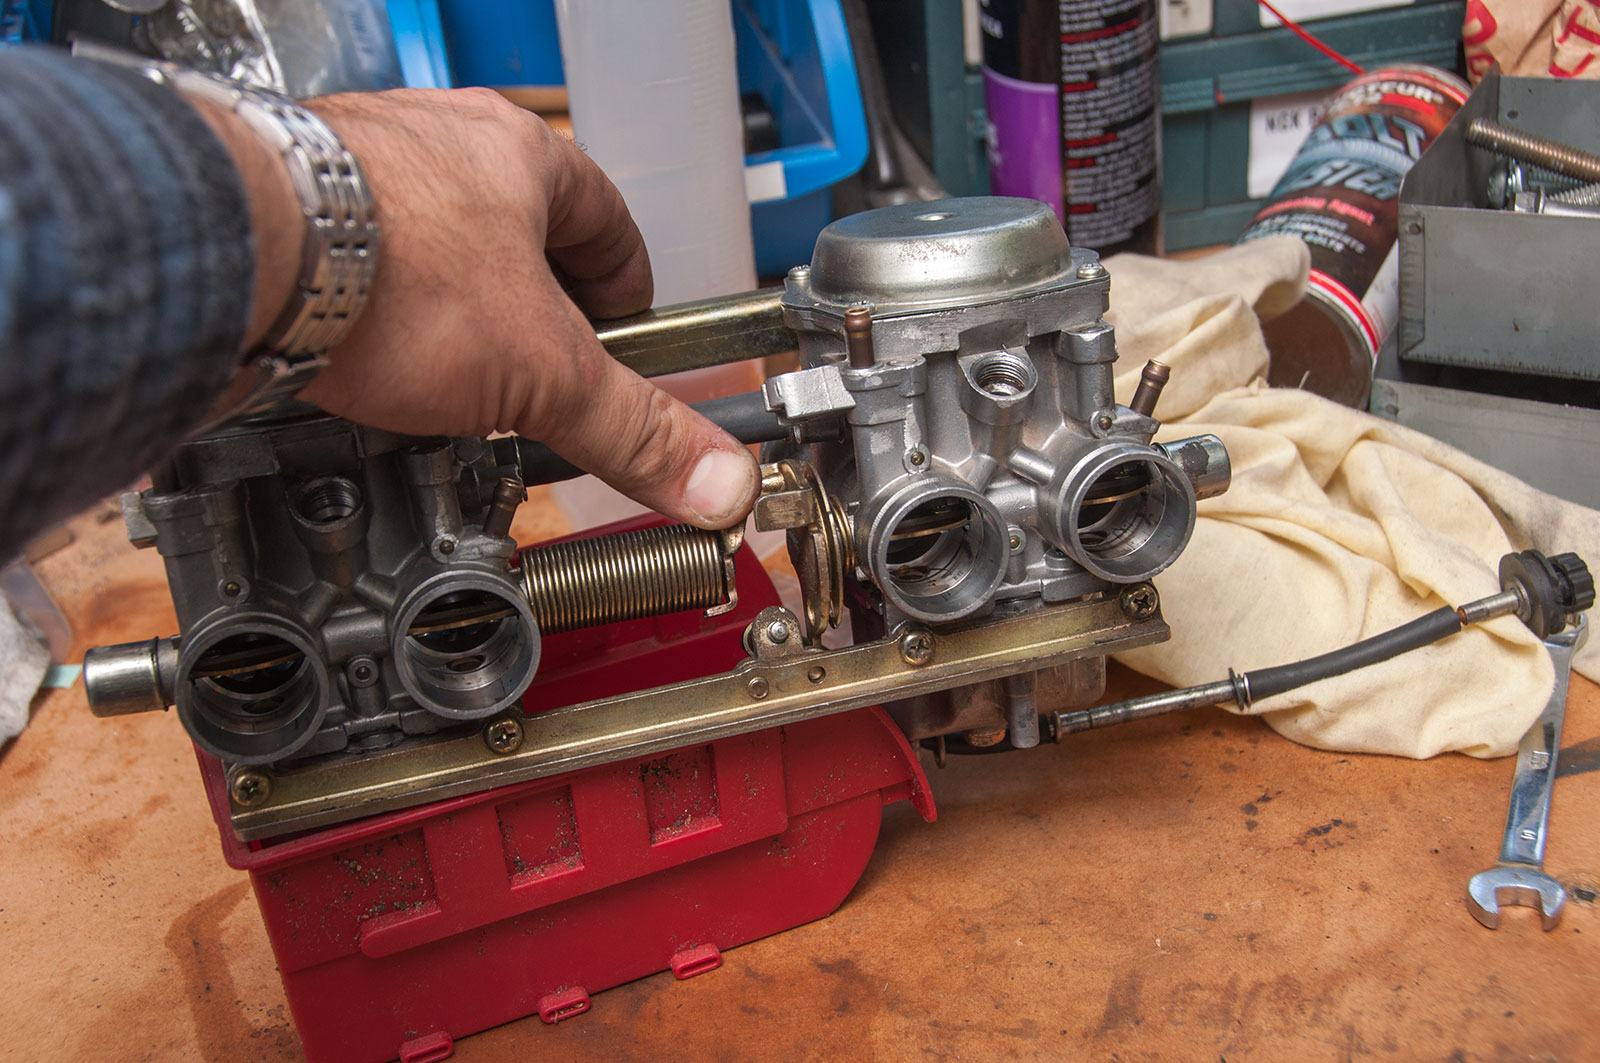
I synchronised the carburettors myself but honestly it’s easier to pay a mechanic to do this step. It is very crucial with these carbs to sort this out. There is a screw that lets you adjust the throttle opening between the 1-2 and 3-4 carburettors, which affects the balance of the carbs quite a bit. With the two carb bodies balanced, then you use the four mixture screws to balance each of them to each other. Need to do the valve clearances before you do this, though, otherwise it will be unhappy.
Idle speed, with the bike warm, is 1600-1700 rpm. Higher is better, especially for learners, so shoot for that. Also shoot for a carb balance and mixture such that the bike responds nice and crisply from off idle. If it stumbles and hesitates, it might well be too rich. You really want to have the idle such that you can get the idle speed right with the minimum opening of the throttle – which means the mixture screws are as lean as possible. That makes for the most responsive idle… but it takes some practise and experience to get a feel for setting that up right.