
DIY sharksfin
Going racing, and need a sharksfin/lower chain guard? There’s a bunch of options: premade ones are not hugely expensive, though you mount them to the swingarm the same way that we mount this DIY option. That said, $10 worth of aluminium and about 30 minutes and you can have a simple universal lower chain guard ready to get you through scuritineering AND protect your toes.
Tech wise, 2 or 3 mm aluminium sheet is a good option here. Either can be bent at home pretty simply (you don’t even need a vise) and they’re easy to shape.
Step 1: look at your mounting surface
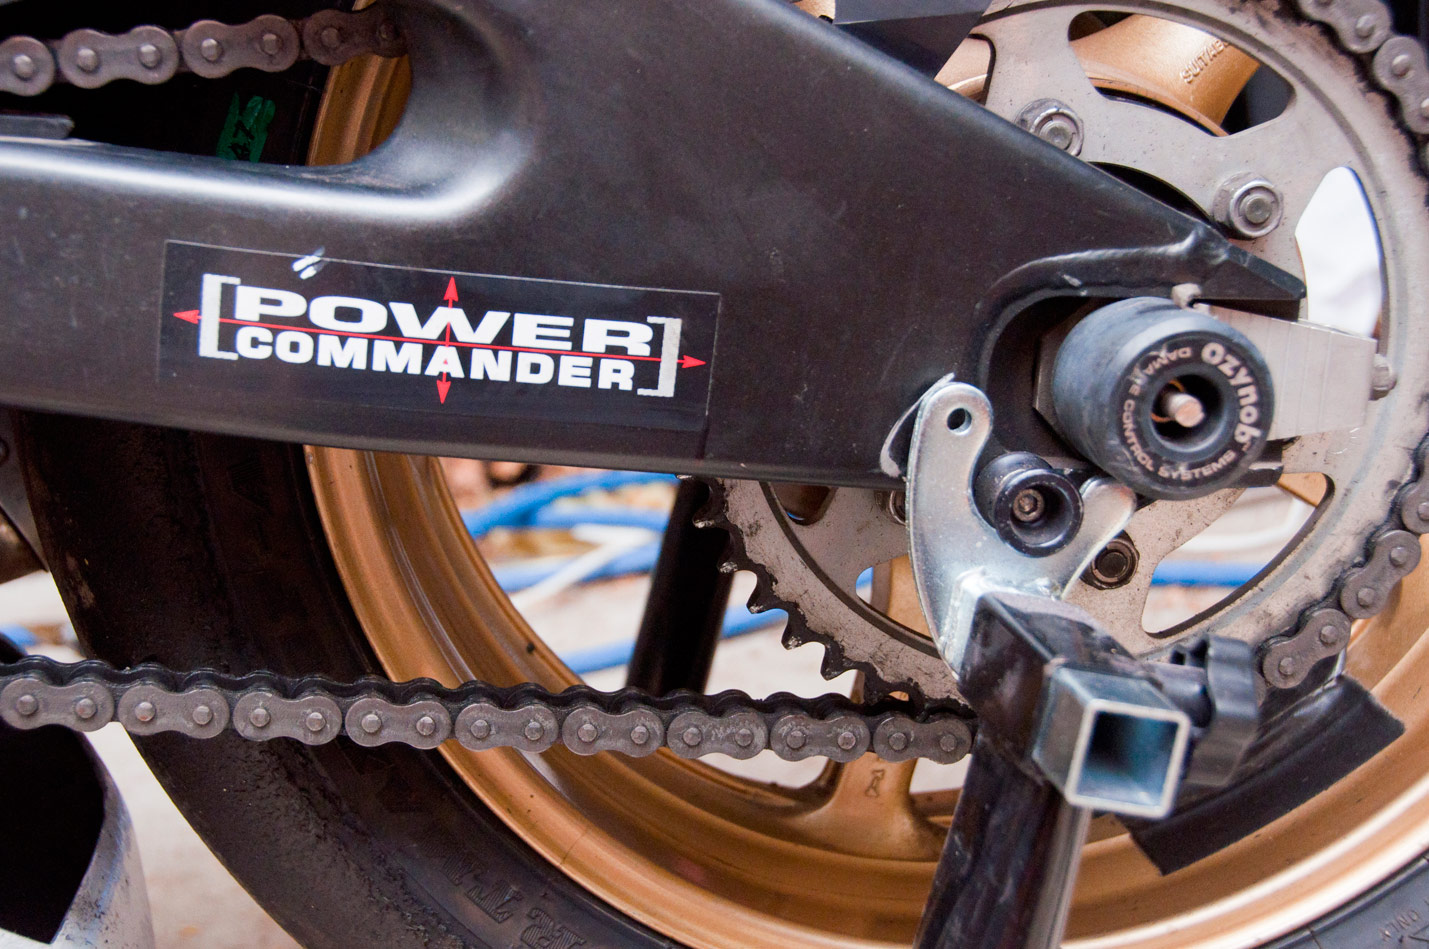
This guard is for a late (~2009) model Yamaha YZF-R6. R6s have a nice flat underneath area on the swingarm. It needs to mount a bit forwards of where it needs to protect, though, so we aren’t drilling through a couple of welds underneath the swingarm.
Step 2: CAD. Well, cardboard assisted design, anyway.
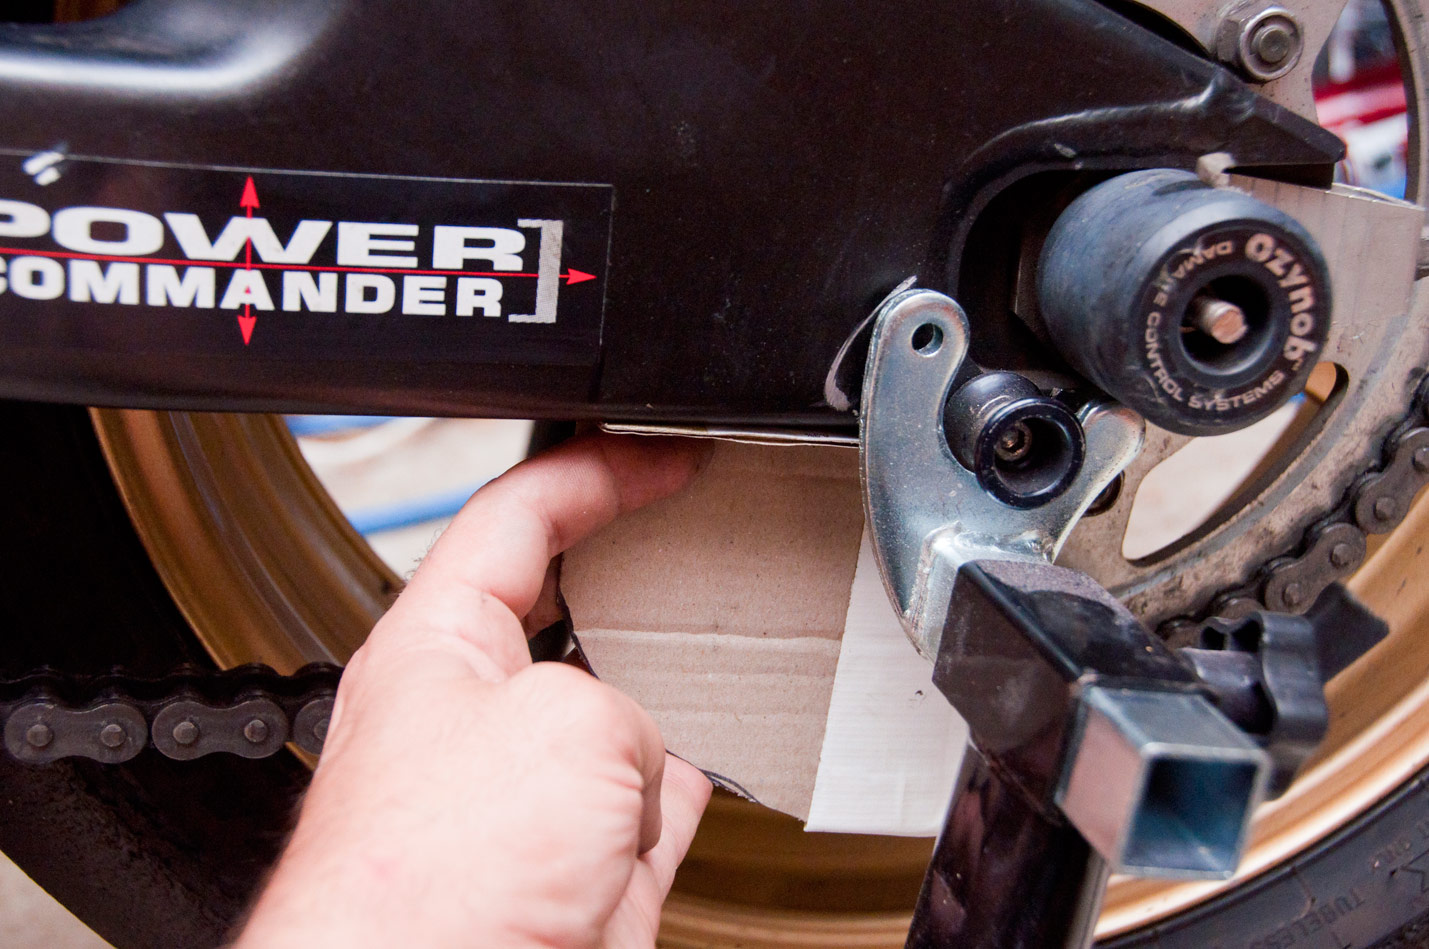
Working out where the guard needs to protect is pretty important. Also need to work out where it’ll sit against the swingarm and all of that.
Step 3: lay it up on your sheet of alloy.
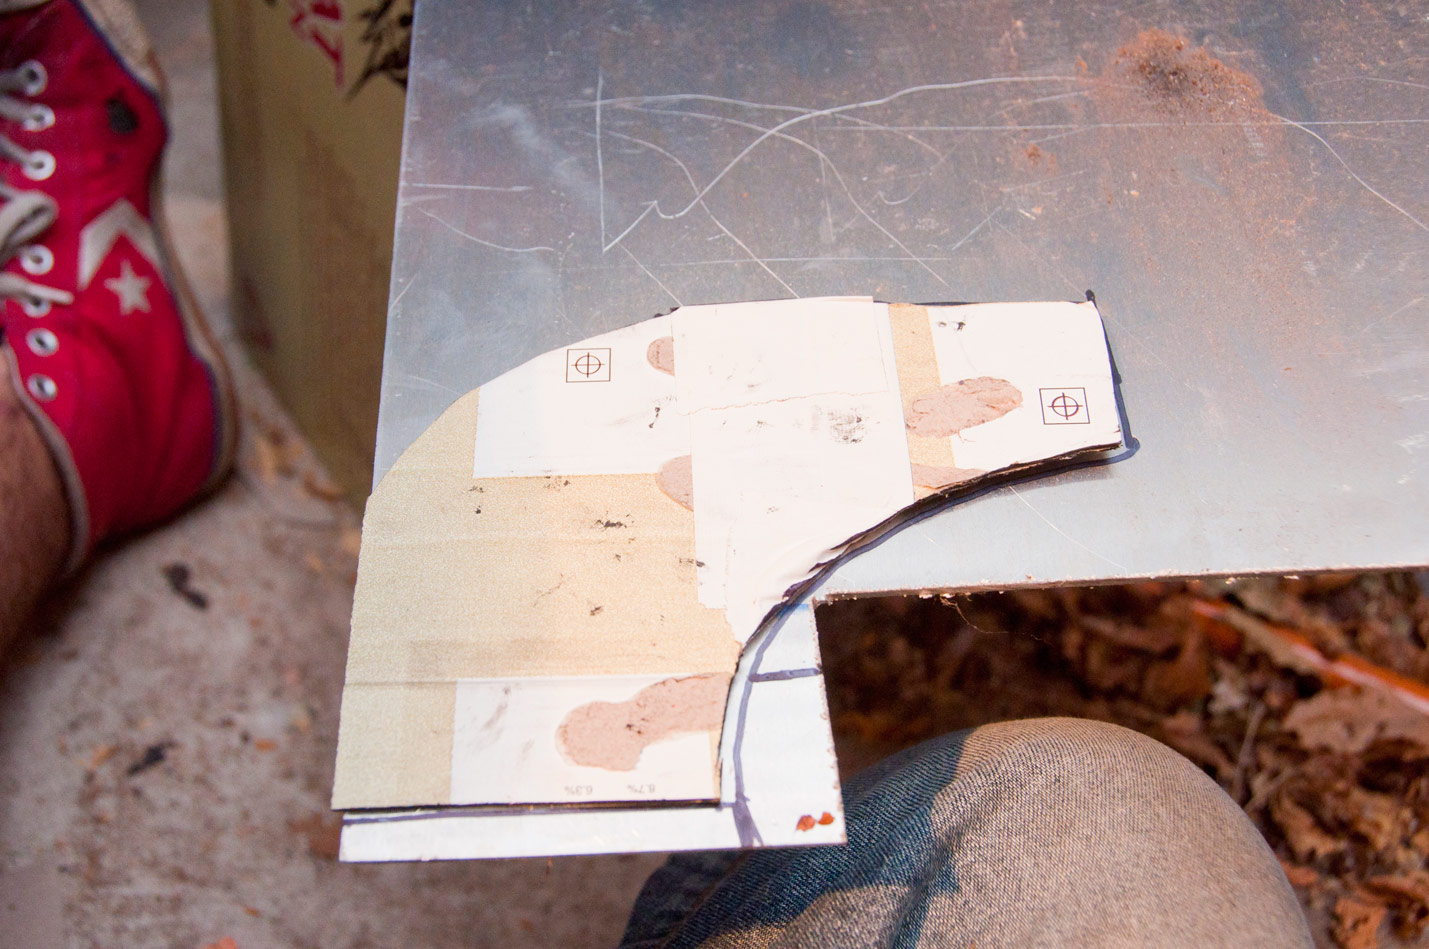
The bit at the bottom of the picture will become the folded part that mounts to the swingarm.
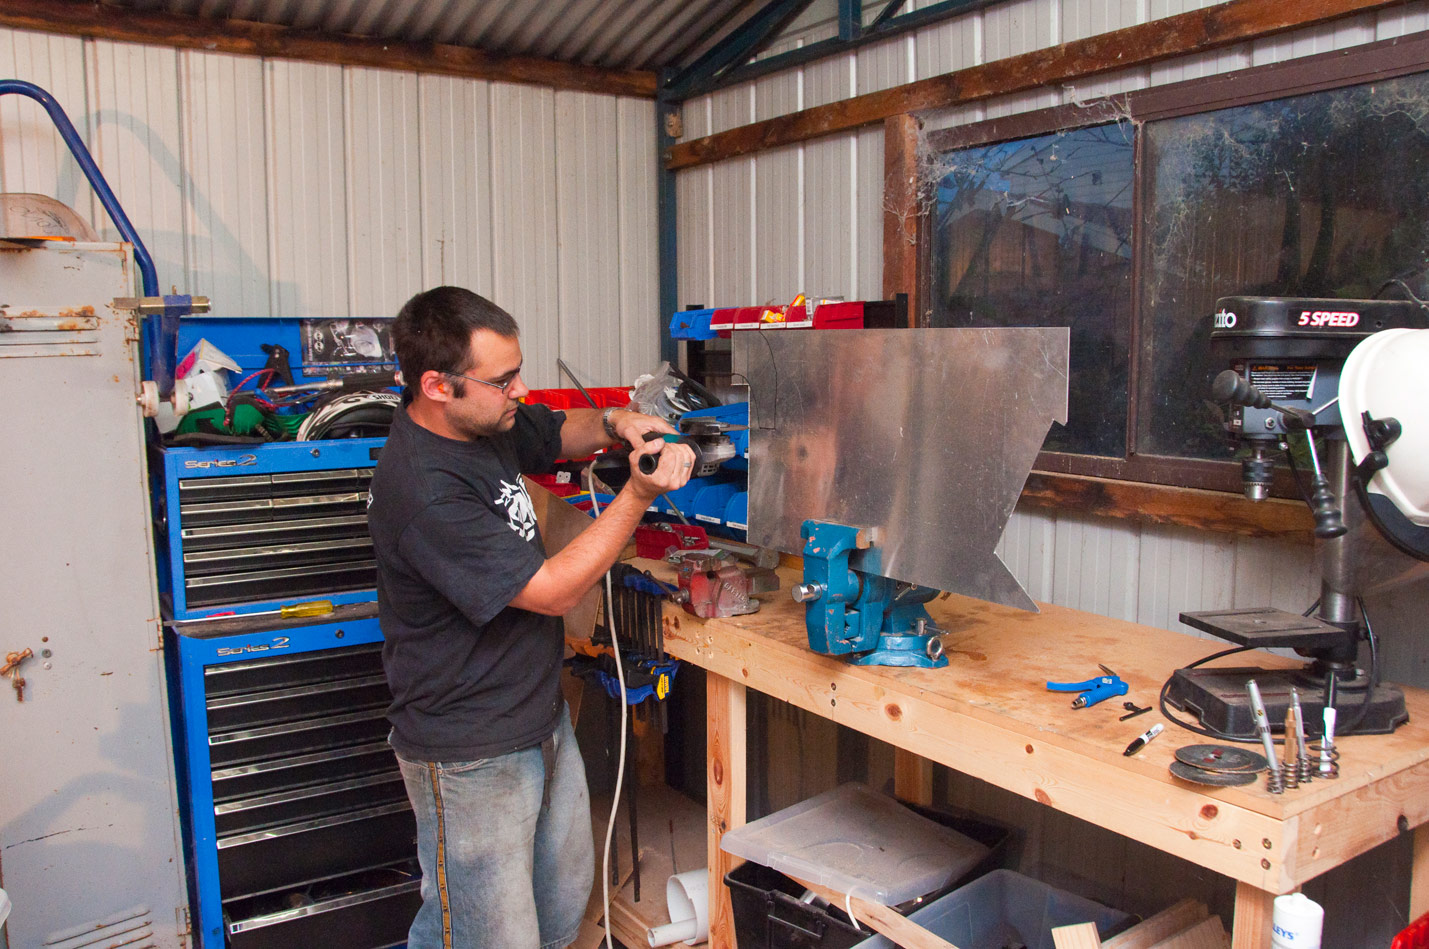
Step 4: Prepare to cut!
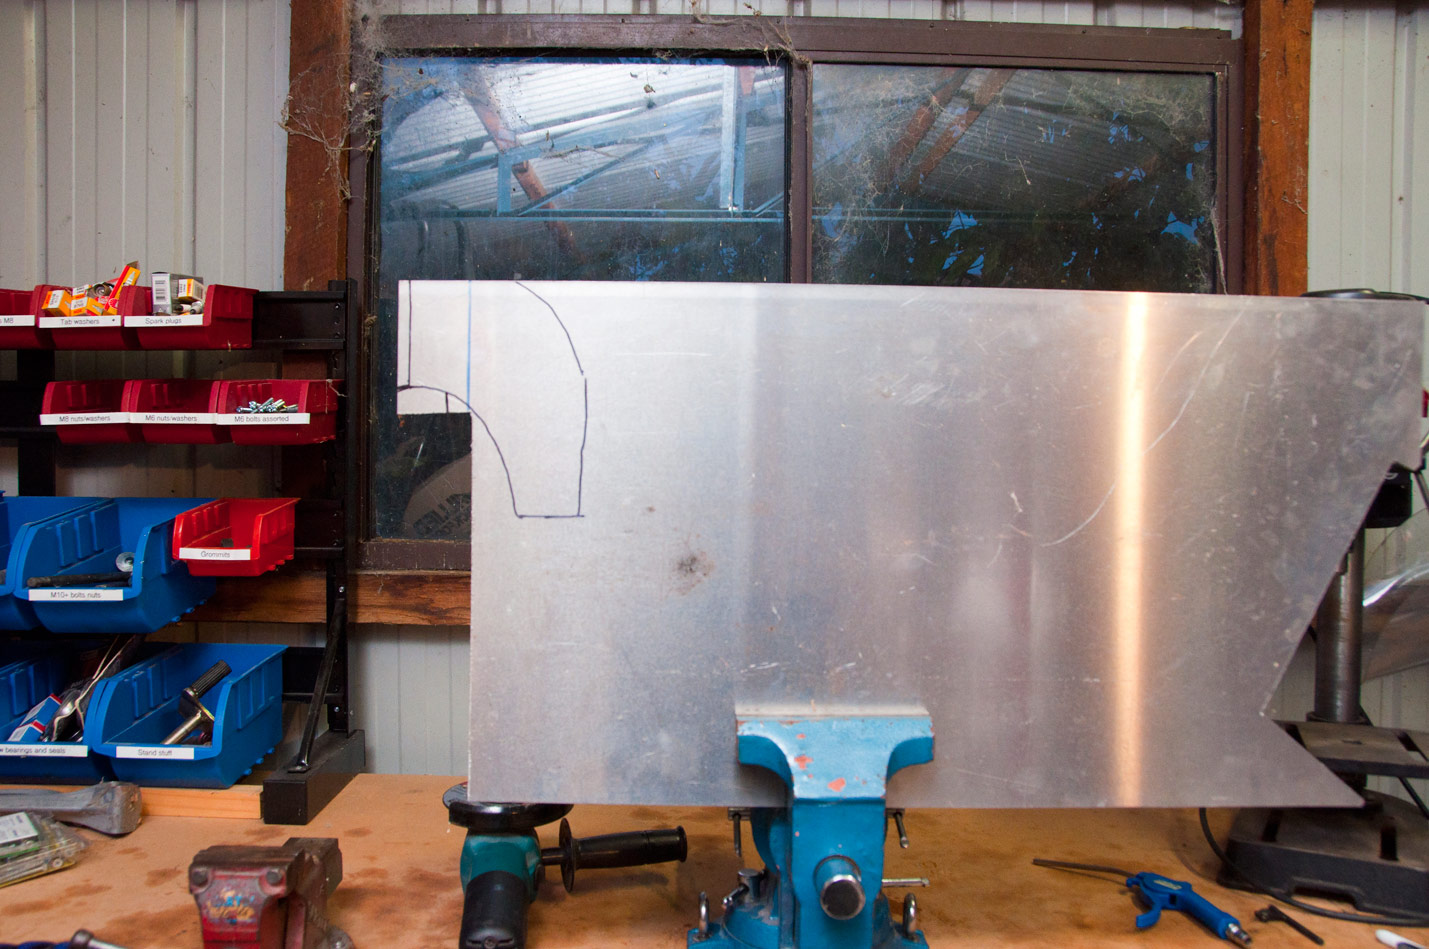
Although a vise is helpful for this job, it isn’t essential. You can clamp it down to anything. Cutting aluminium is also pretty easy, especially at these sorts of thicknesses. You can use a jigsaw (it cuts just like wood), a hacksaw, or in my case I’m going for a 4.5″ angle grinder with an aluminium cutoff wheel. Works great.
Step 5: the cuts
Pretty simple cutting when you do it with an angle grinder.
Step 6: bending (not shown).
Bend over the mounting lip. Easier in a vise but I’ve bent alloy using a bit of brick stonework and my foot before. It’s all about leverage.
Step 7: Shaping
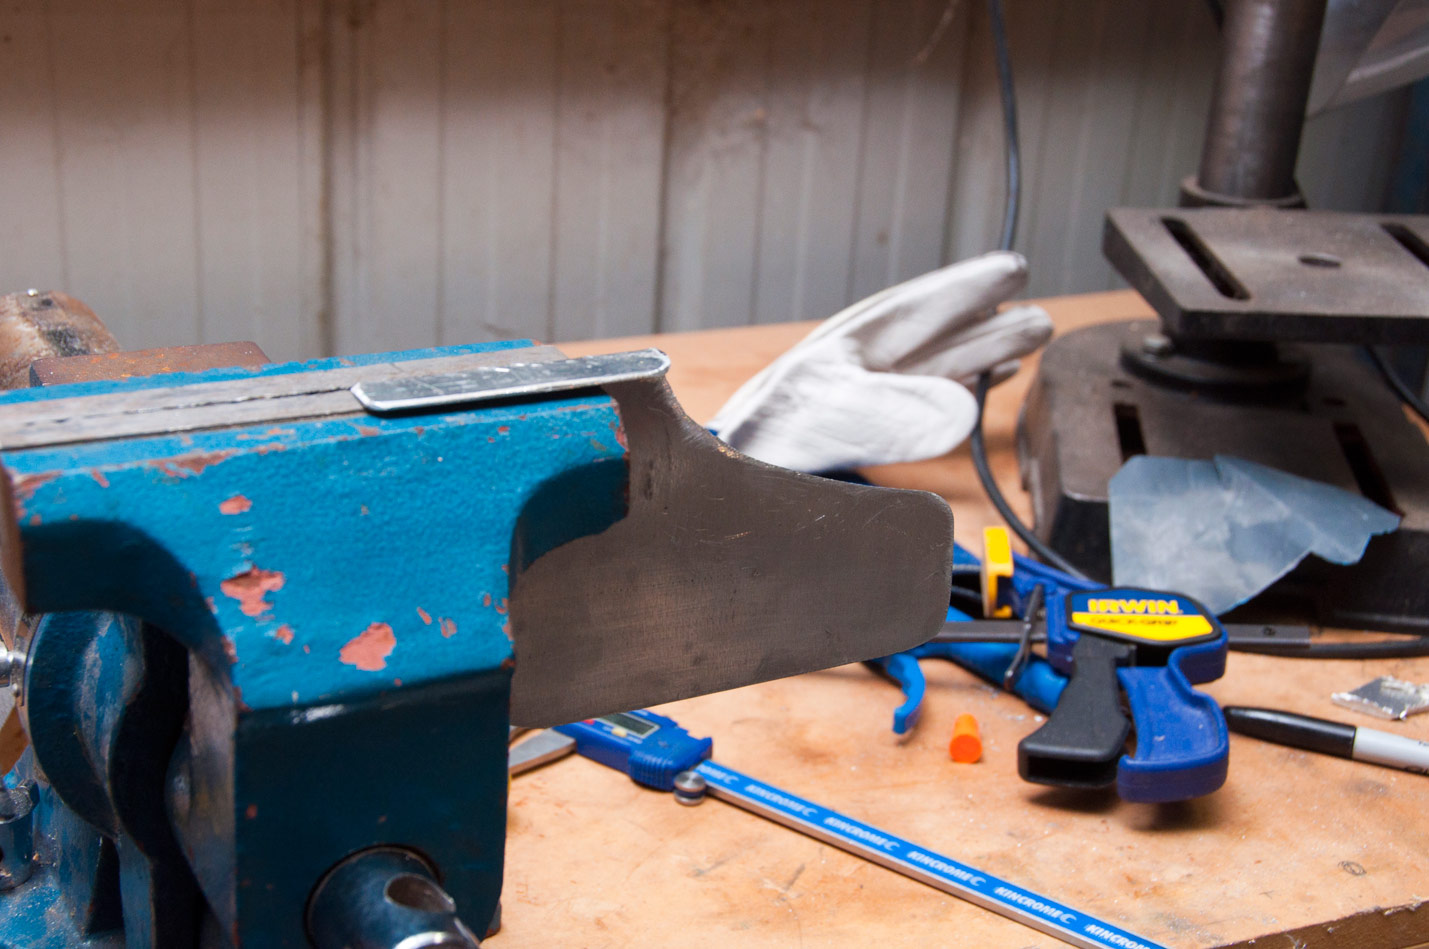
It also shapes really easily. Files are good for fine control but an 80 grit flap disc on an angle grinder works even better.
Step 8: Checking mounting position
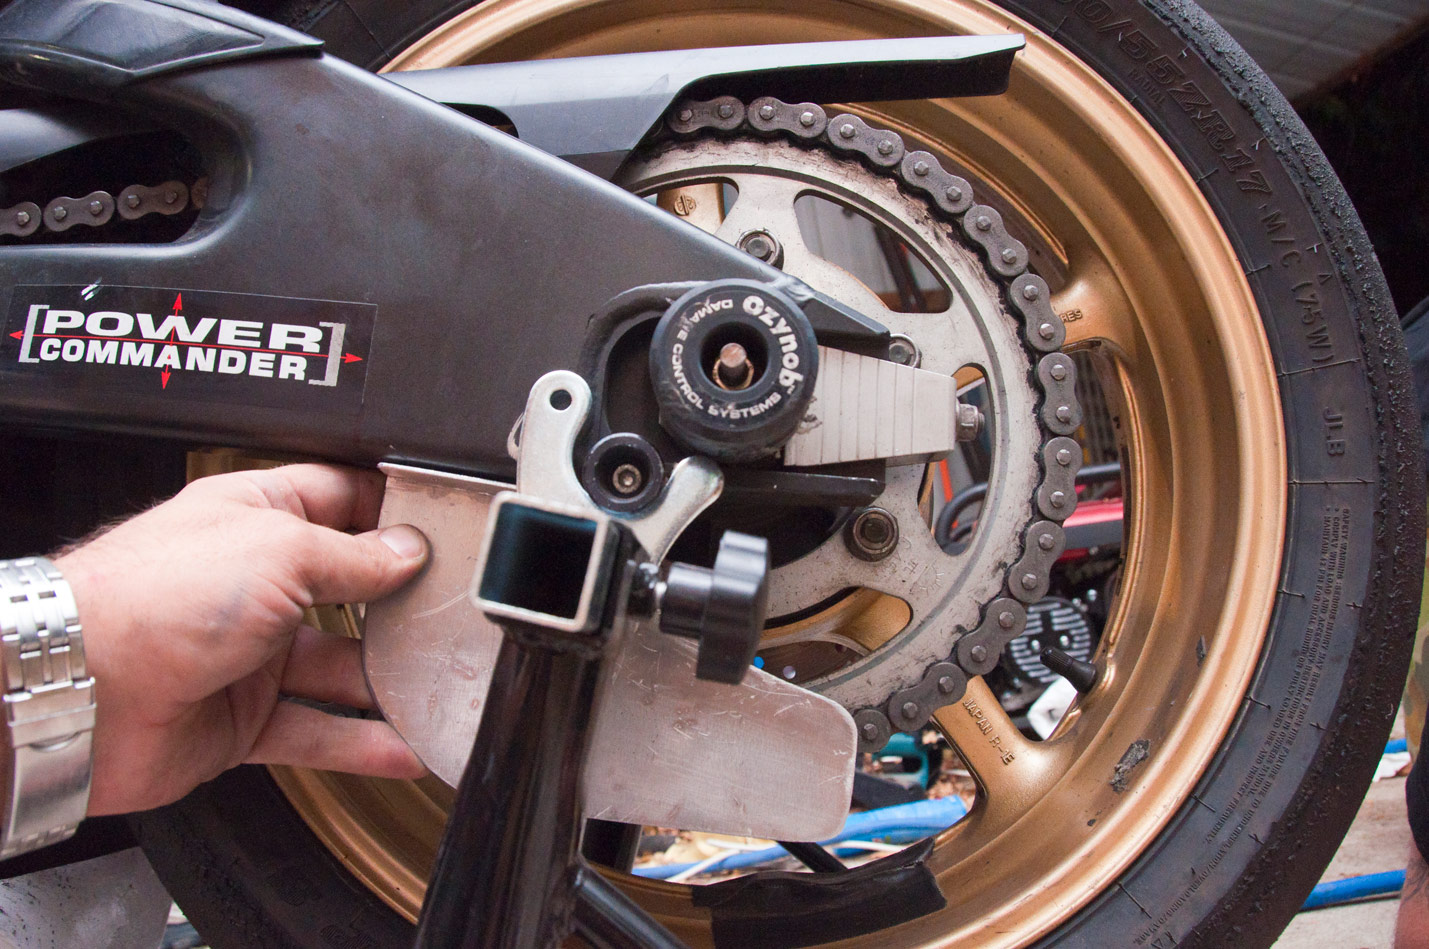
Yep, that’ll work. Gotta make sure it covers the lower run fully, including if the axle goes back.
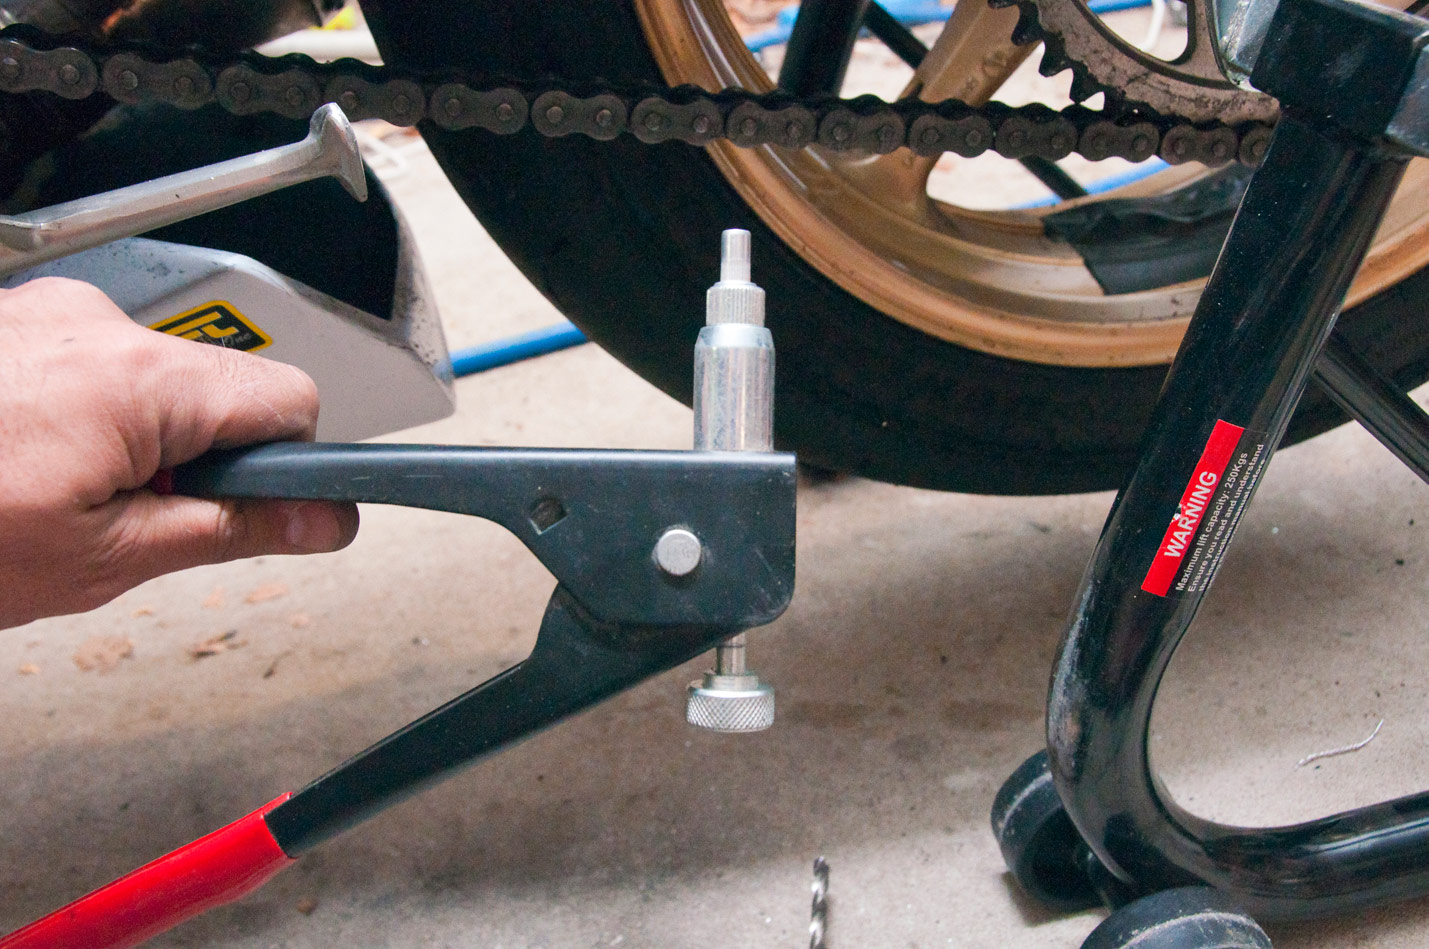
Step 9: drilling mounting holes

Plenty of people just use self-tapping screws or tek screws, but I’m going slightly fancier here and going with rivnuts/nutserts. These work a bit like a rivet but they give you a nice metric thread instead (you can get imperial ones too, but seriously, who would?). Here I’m drilling the hole to take the rivnut.
Step 10: rivnut ready for installation.
This is the rivnut on the install tool. The actual insert is just at the top of the tool – it threads onto the tool, you push it into your hole, then pull the handle down. This compresses the insert, allowing it to retain inside the area you’re doing it. Perfect for a neat install on a job like this.
Step 11: install the rivnut
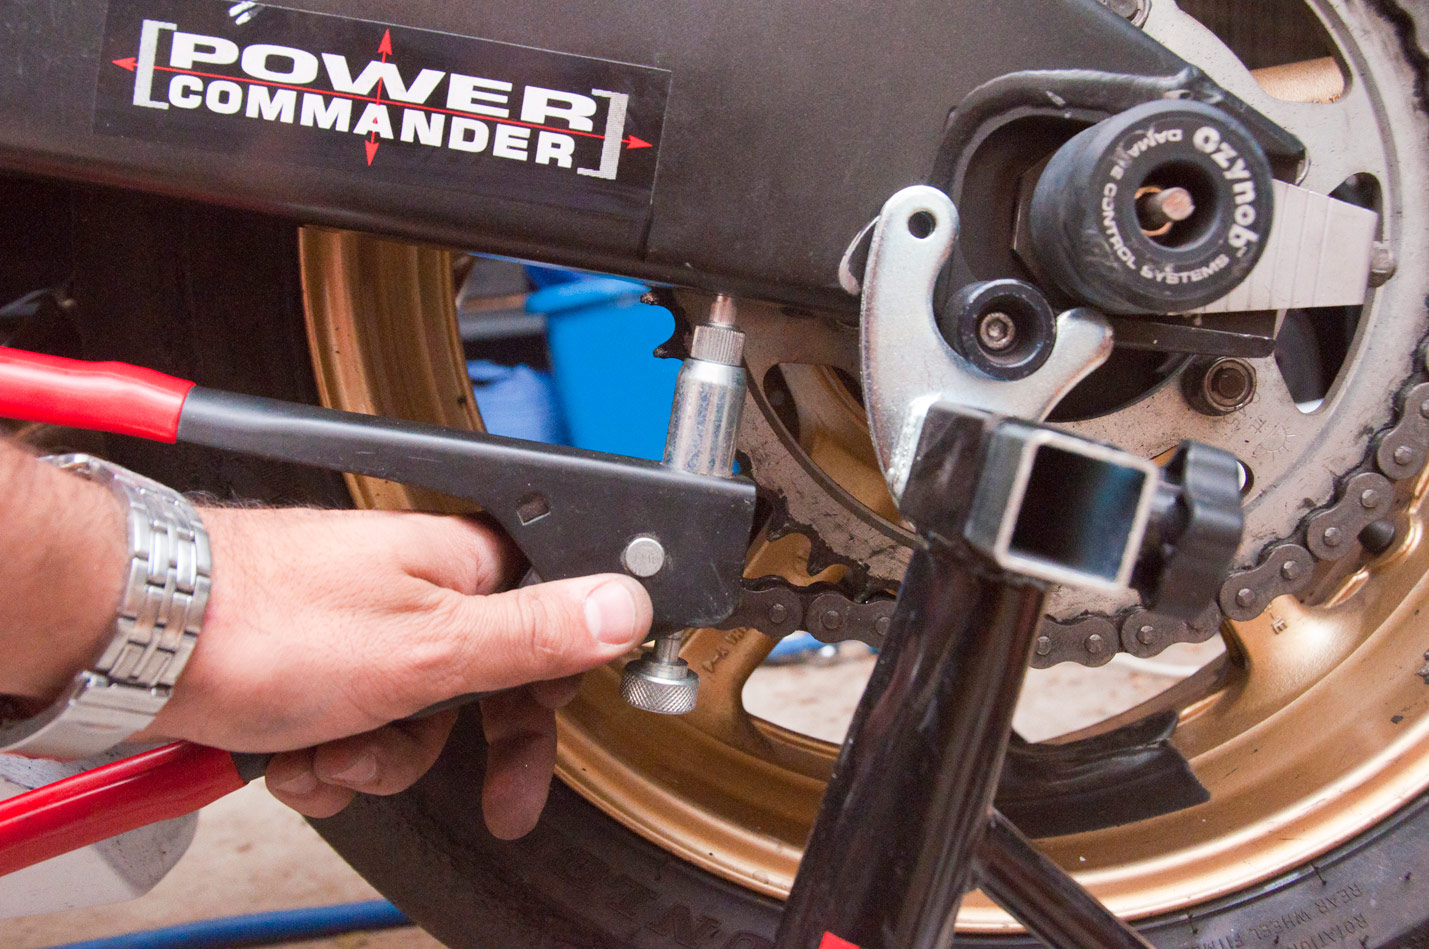
Push into hole, squeeze down handle, done.
Step 12: Checking the thread
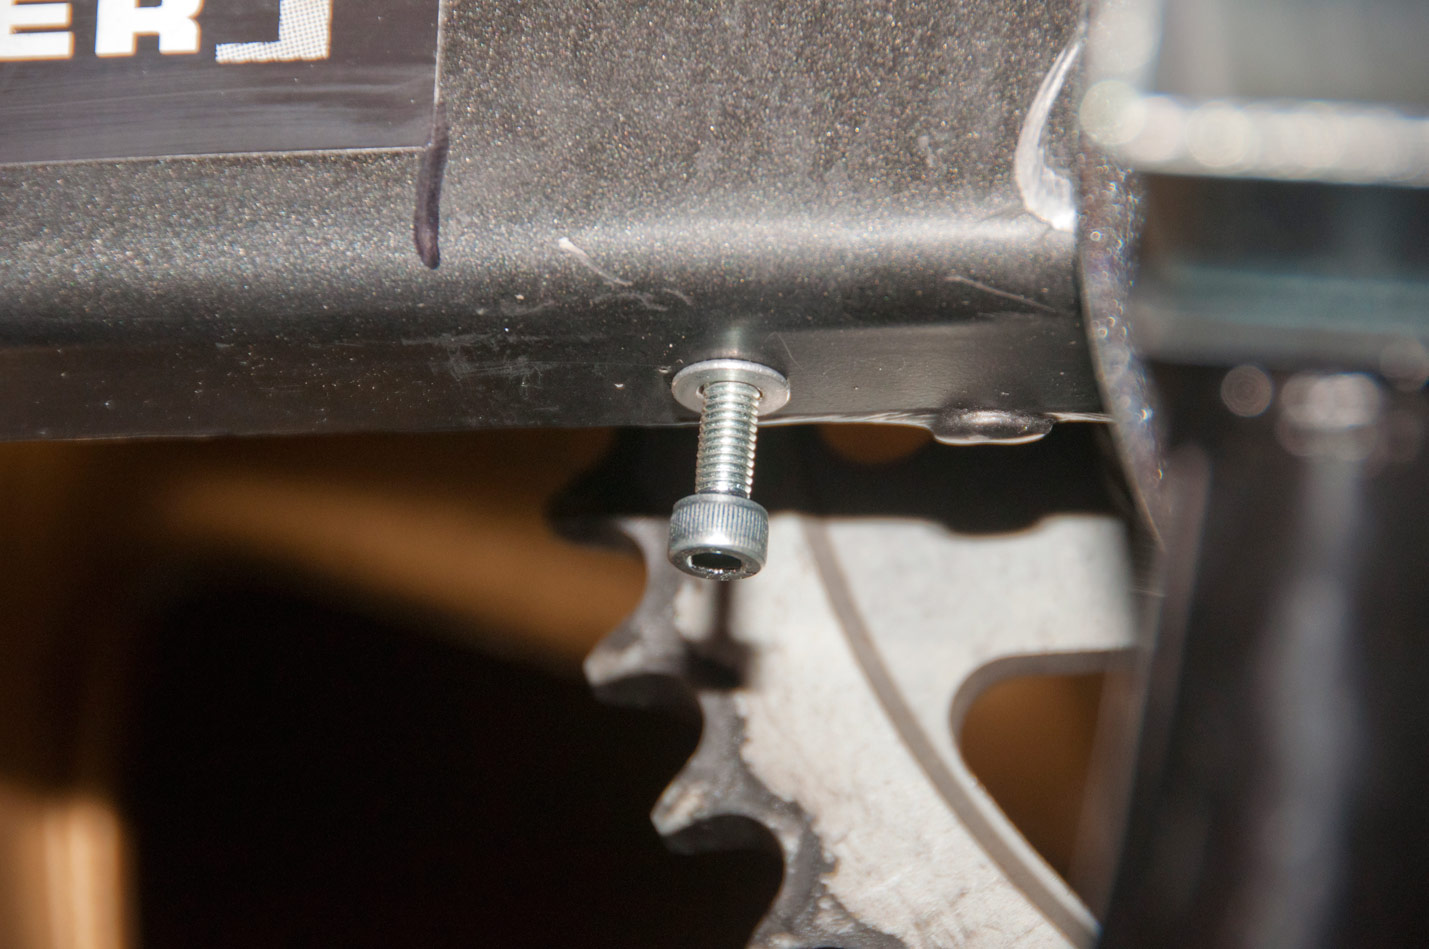
Always a good idea to check the thread. This is what the finished and installed rivnut looks like, and an appropriate bolt in there too. I went for M5 here, roughly the same size as is used for the universal ones.
Note! I installed 2, just did the front of the two mounting holes first to illustrate it.
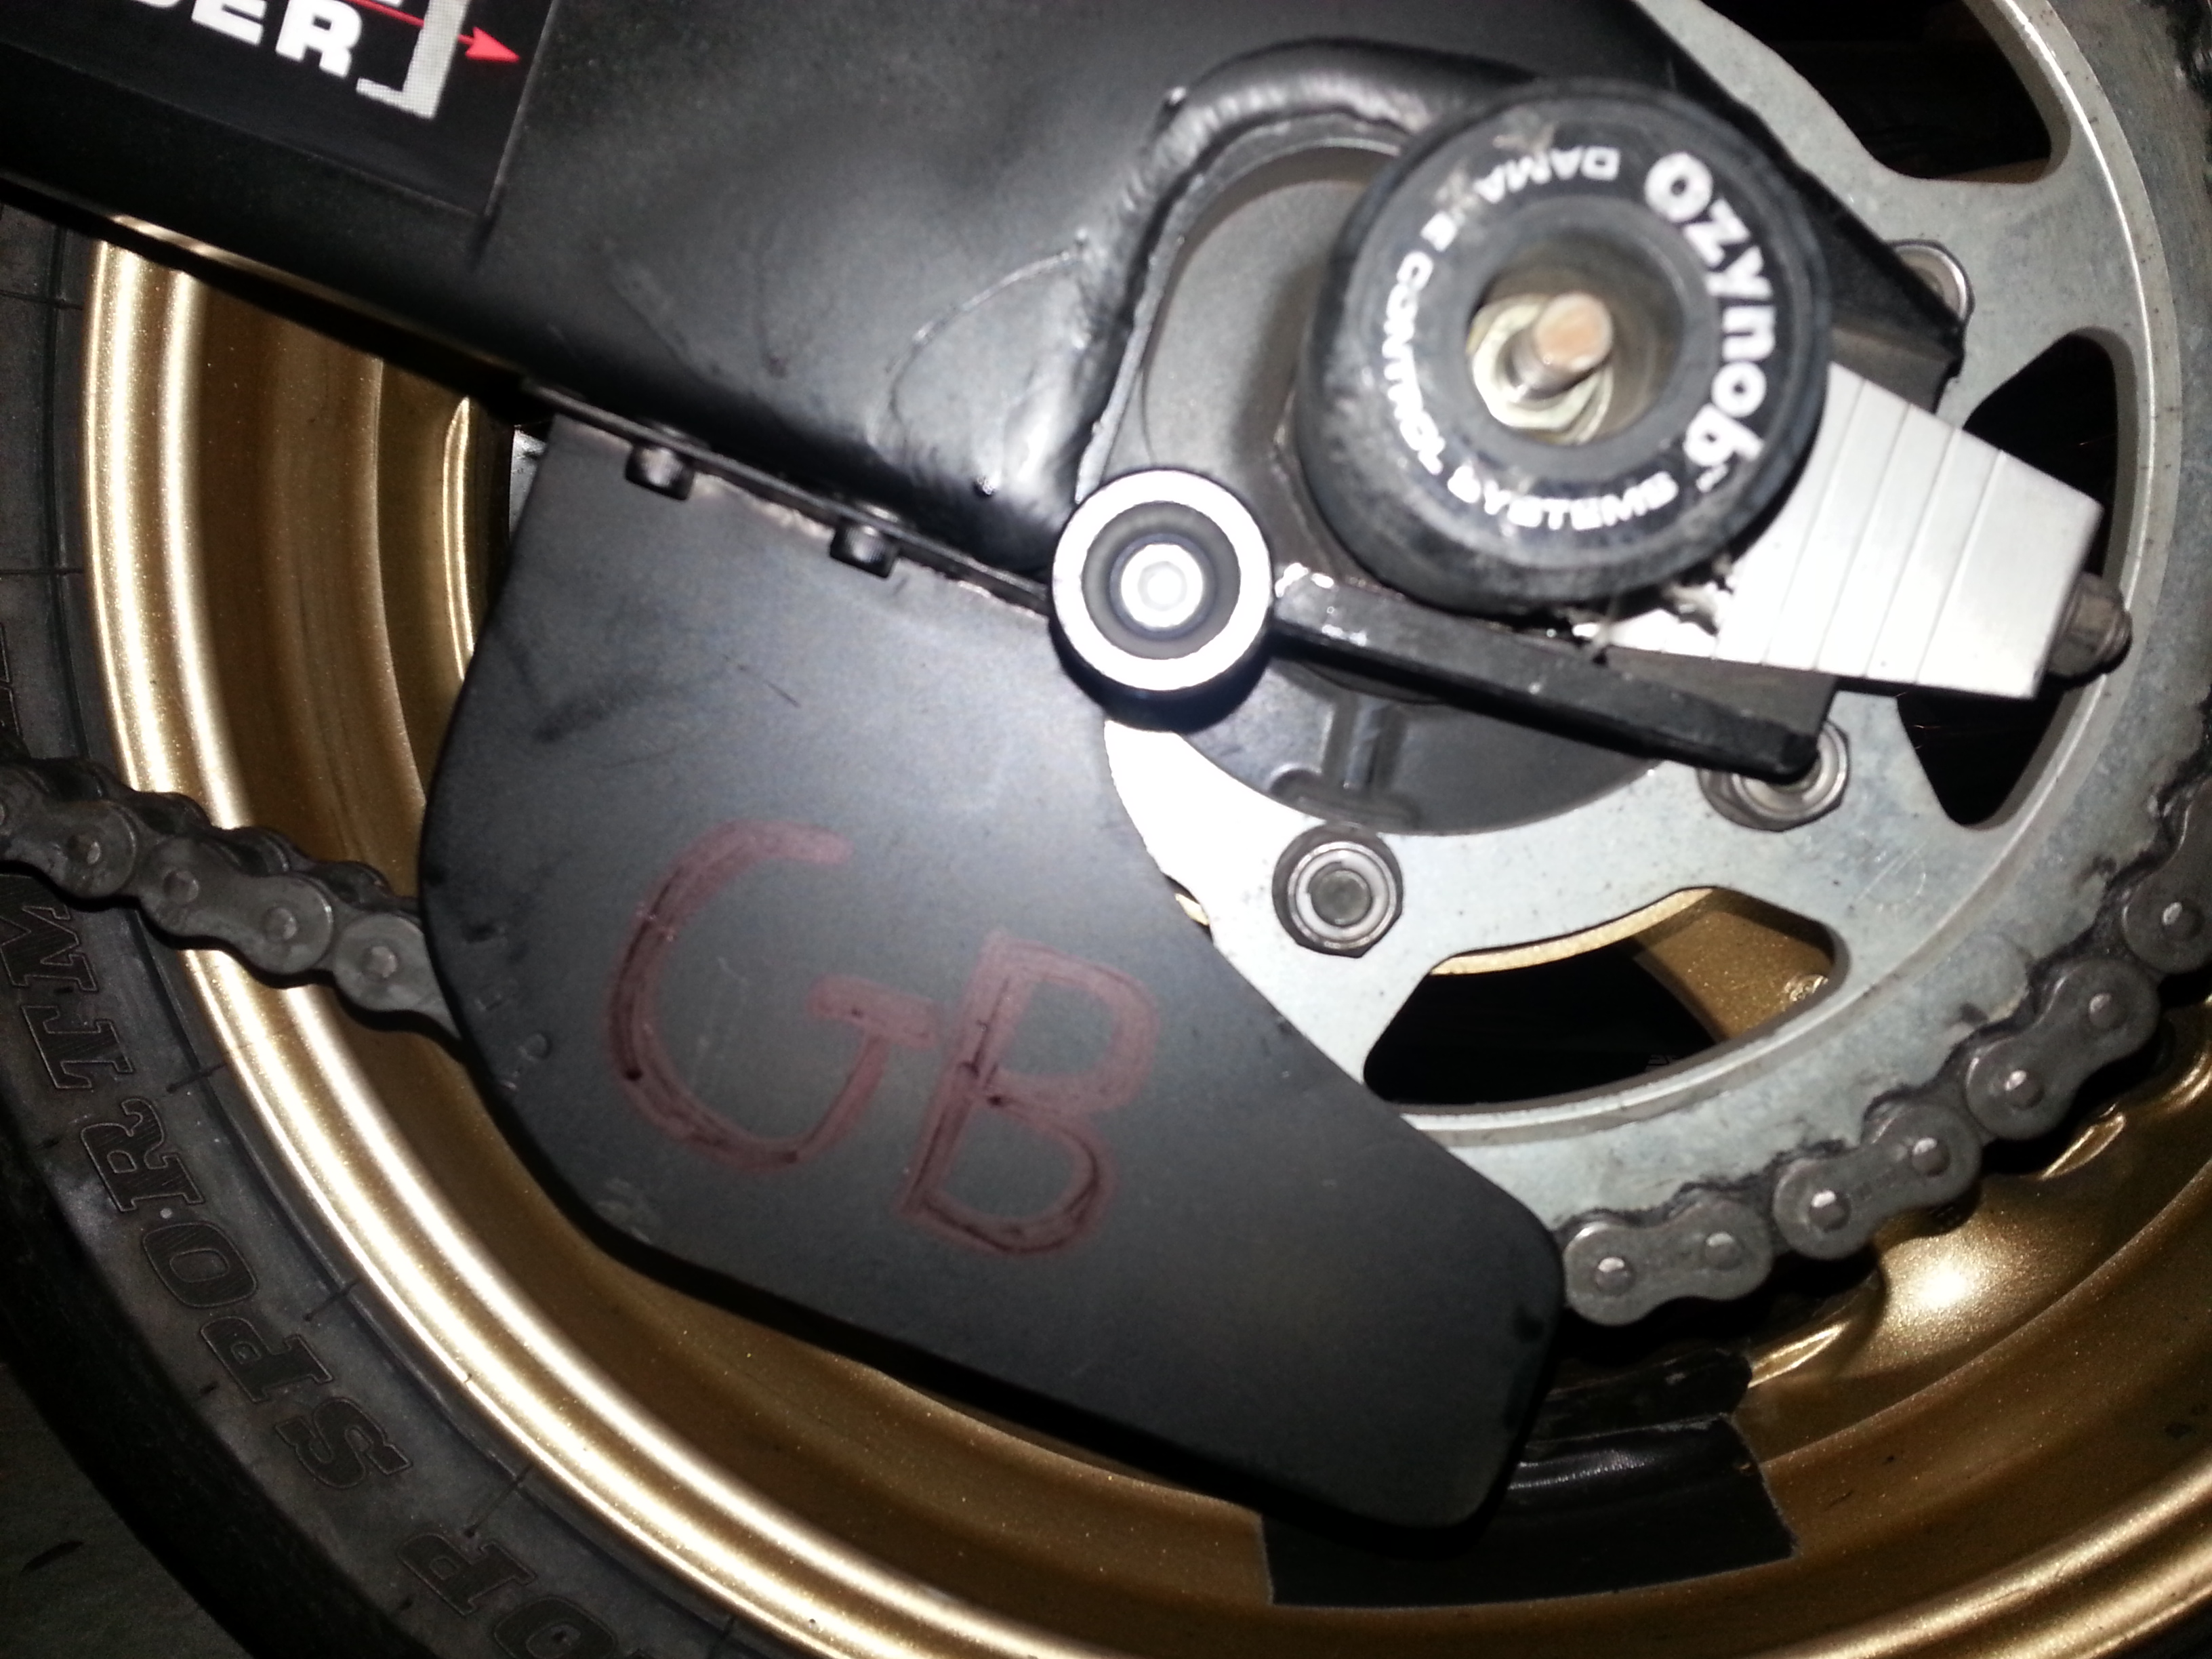
Step 13: Guard on for final fitment check.
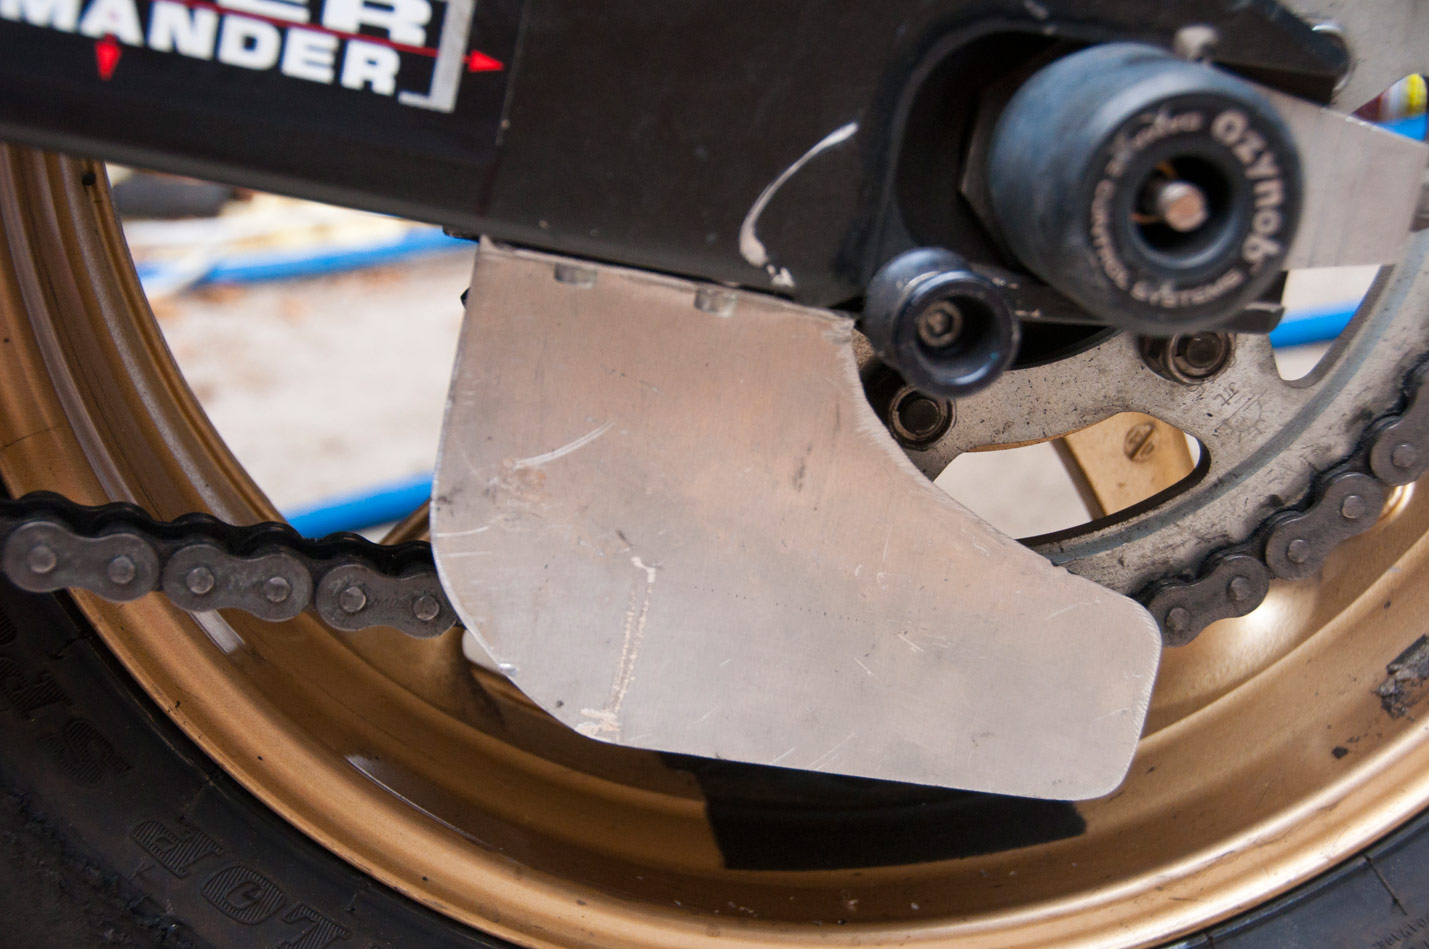
Yep, look at that, nice and straight and close to the chain without rubbing. Perfect.
Step 14: make it properly TGR

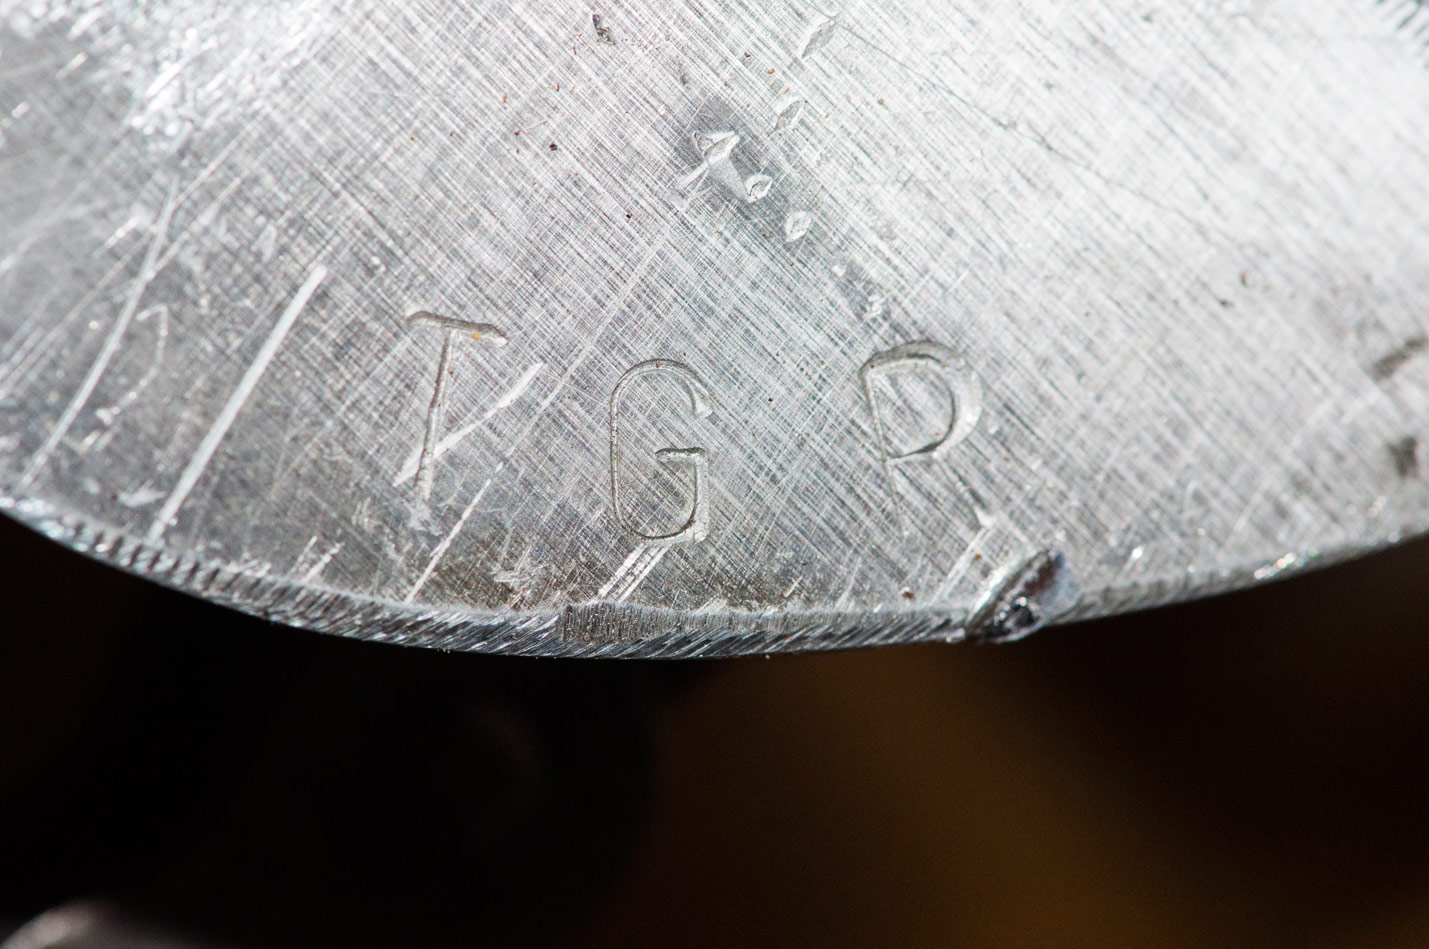
Now we’re ready to race. Though adding a bunch more blaaaaaaaaaaaaaaaack can be a good idea, too.
Job done!