
UHF for the Jimny: world’s longest GME XRS Connect install into a Jimny article
UHF radios are useful offroad for various reasons, so I’m going to add one.
For those thinking of doing this as a first-up DIY project it is mostly fairly easy so long as you work out where stuff goes and don’t box yourself into a corner. The unit itself is a great size for fitting under the centre console (and dimensions indicate an XRS-370C should just fit, maybe…) but it’s worth working out where everything will go before committing.
Sections
- Parts
- Antenna install
- Unit install
- Handset install
- Power and other wiring
- Using it notes
Parts and tools
- Antenna: Uniden AT886BK Twin
- Unit: GME XRS Connect XRS-330C
- Magnetic holder for handset: GME MB-207 magnetic holder
- Socket for handset cable: Generic universal RJ45 round socket holder (didn’t actually buy from DNA though!)
- Double-sided tape, either for a temporary fitment check or for mounting
- Electrical tape and loom sheathing
- 10mm socket and ratchet to get the washer bottle off the body of the car
- Razor blade to help slit the tape holding the grommet to the wiring harness
- Trim removal tools
- Step drill to mount panel mount socket
- Electrical crimp tool to make up a patch cable for cigarette lighter socket
Antenna install
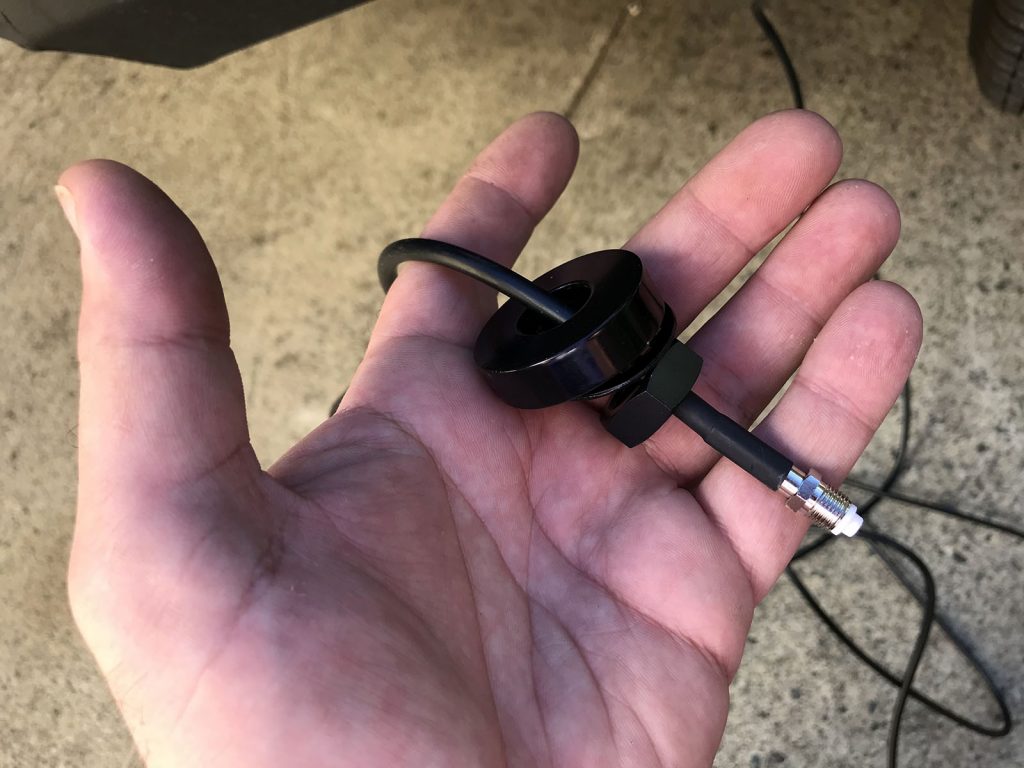
For the Jimny I’m using a Uniden AT886BK Twin as they have a great mount and the flexibility to have a short whip normally installed but the longer whip for more remote driving is handy.
First step is working out where to mount it. The ARB bar I have has a nice hole with a cap over it.
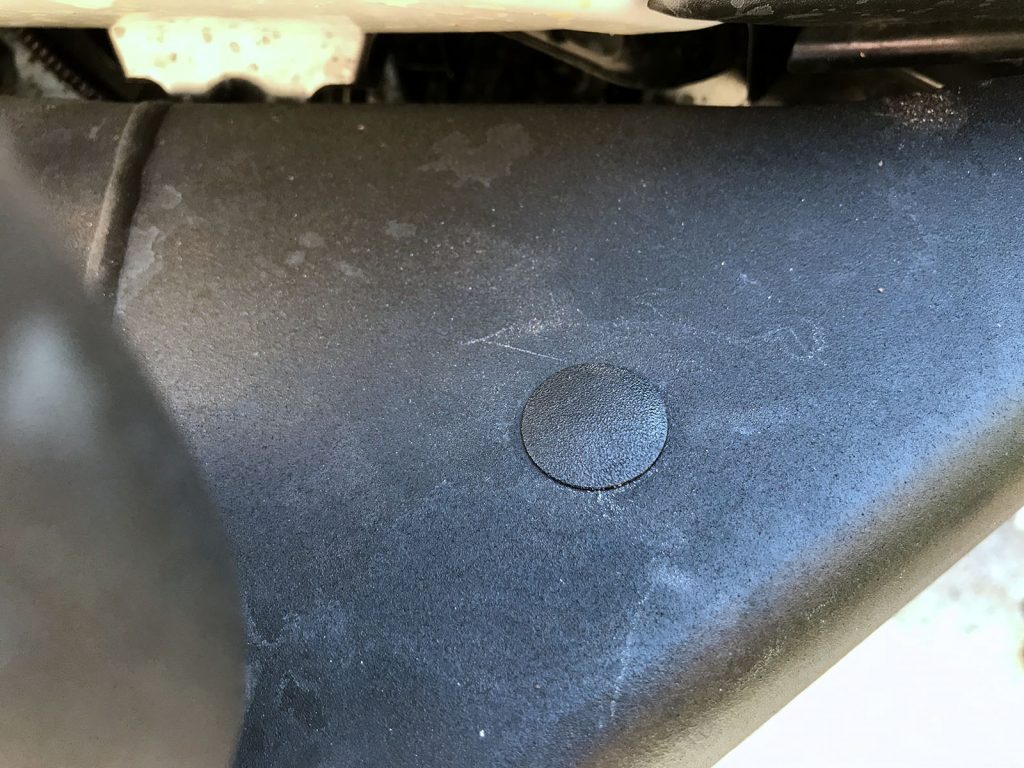
Just pop that cap off and you’re good to go here.
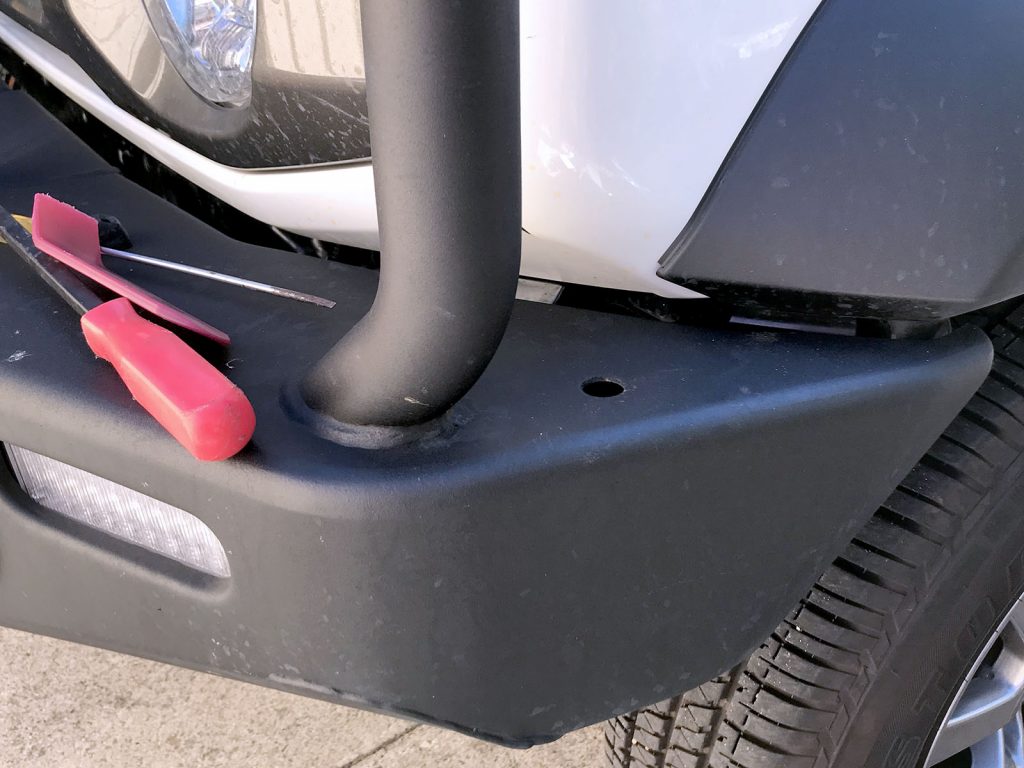
Poke the end of the wire through the hole, then put the various hardware on the cable so you can tighten down the antenna base. Doing this in the wrong order results in you pulling the cable all the way back out again which is kinda annoying.
From here you can poke the wire up through the inner guard part and it pops out near the washer bottle.
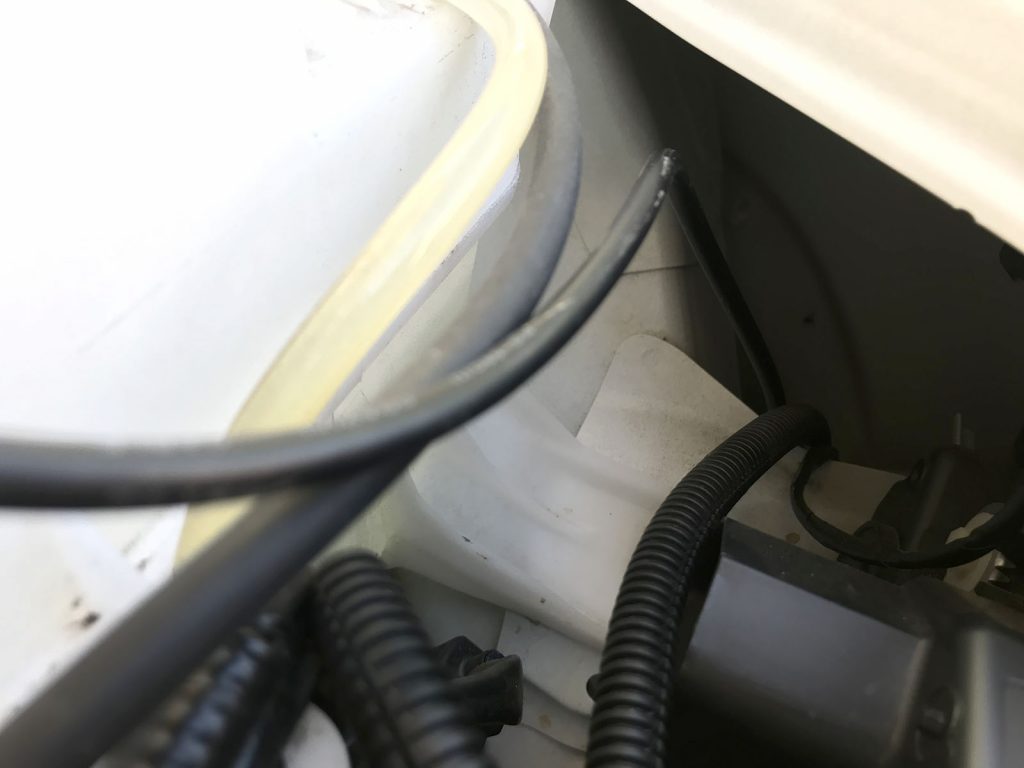
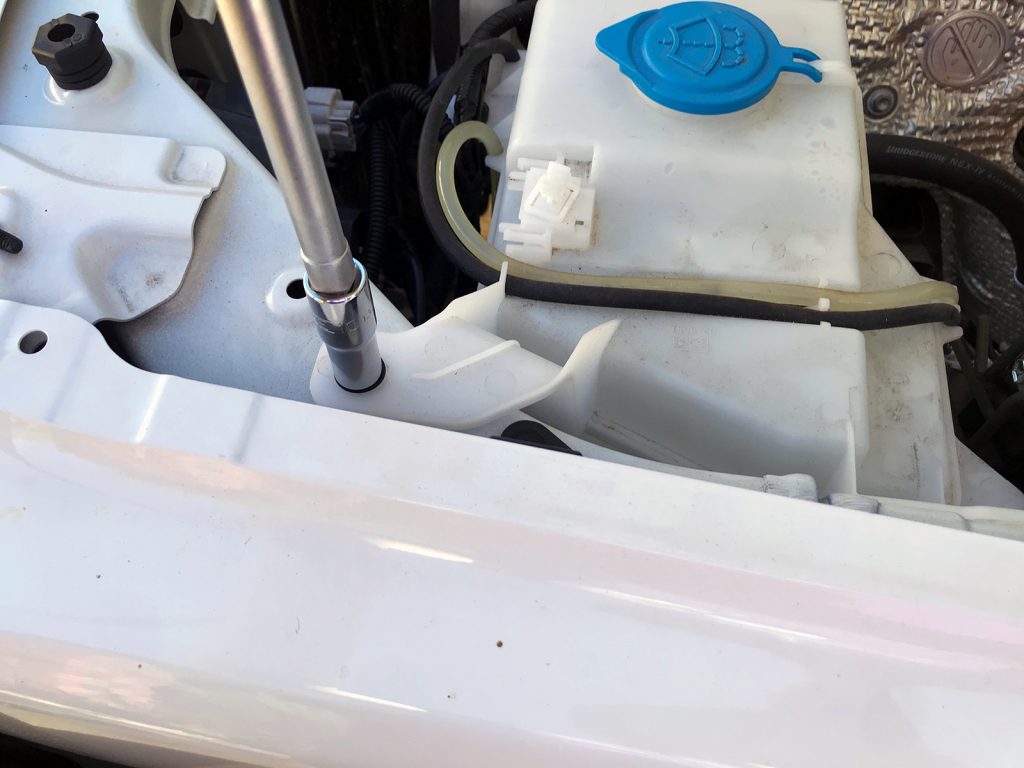
More dexterous people than I can probably snake the wire under the washer bottle but I had to remove the washer bottle to actually get it to where I wanted it to go. Not hard, just 4x 10mm headed bolts to do so and move it just out of the way enough to pull the cable through easily.
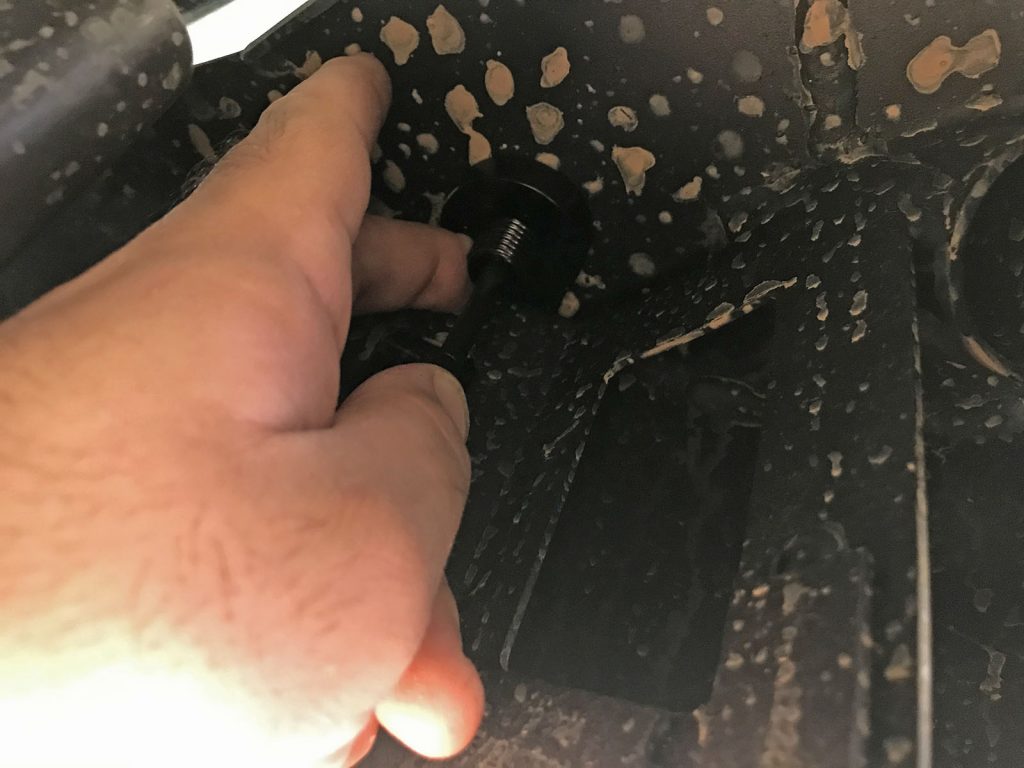
That gets you to the ‘fun’ part of this install – sneaking the wiring into the grommet. Probably should have pierced it but oh well… I chose to untape the loom from the grommet and poke the wire through. Fun this is not.
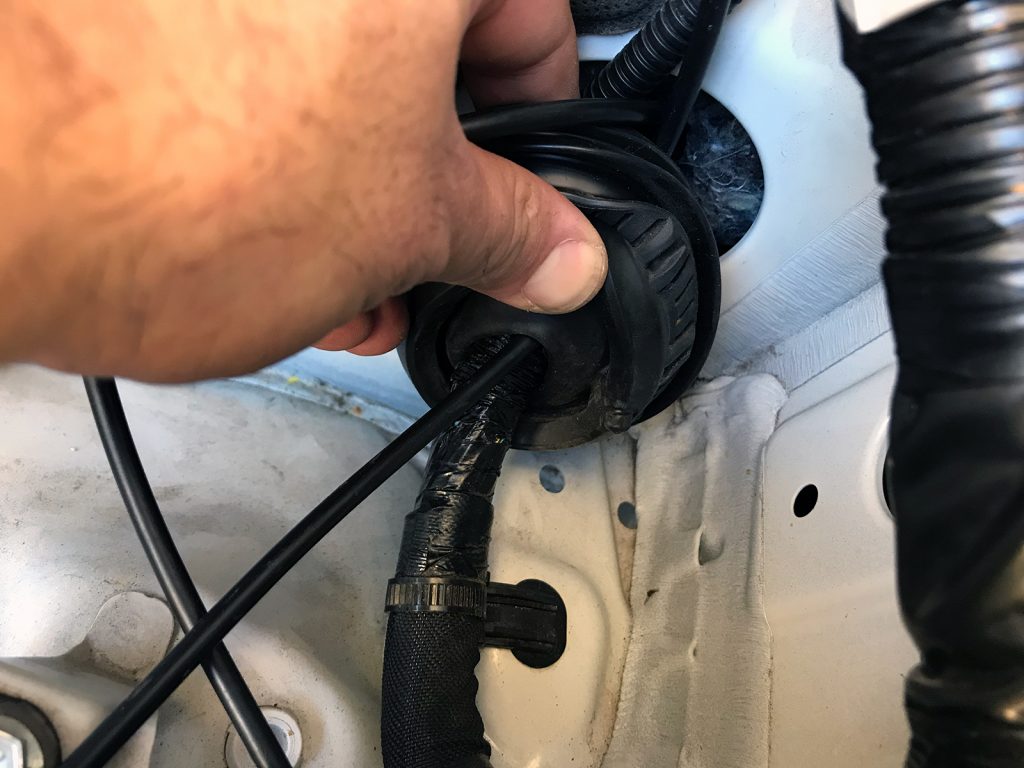
The wire ends up thankfully under the dash and there’s no panels or anything hiding it so it’s pretty easy to find and pull through into the cabin.
From here it is a straight shot across the top of the passengers footwell, down through the panelling under the dash, and then under the carpet to end up underneath the centre console where I want to put the main unit.
Unit install
I don’t really need the XRS Connect stuff for the unit, but I love how you control everything from the handset and the OLED screen is very clear.
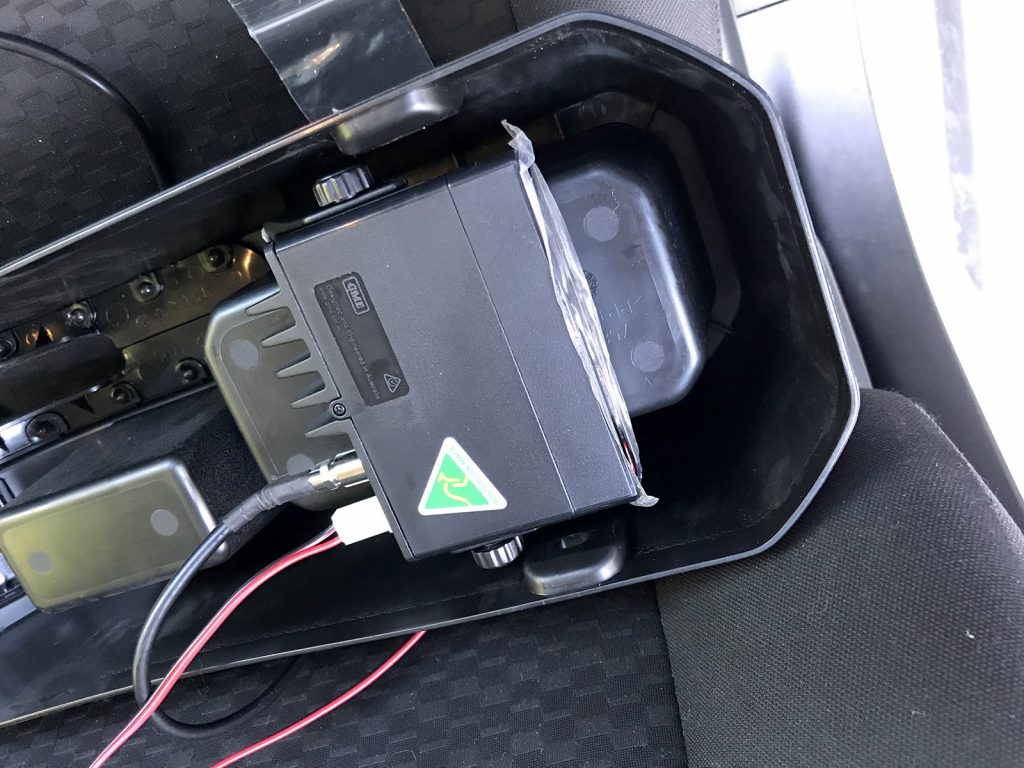
There’s a few options to tuck this unit away, and since I’m using the really compact XRS-330C then there’s no speaker or anything to have to contend with. Because it’s about the perfect size to use up the centre console space underneath the cupholders, I’ve decided to put it there. Plenty of other people either go inside or behind the back of the glovebox (which is easily removed) but why follow the herd?
The centre console comes out with just two push pins at the back, and a plug-in pin at the front. Pull the seats forward for this part.
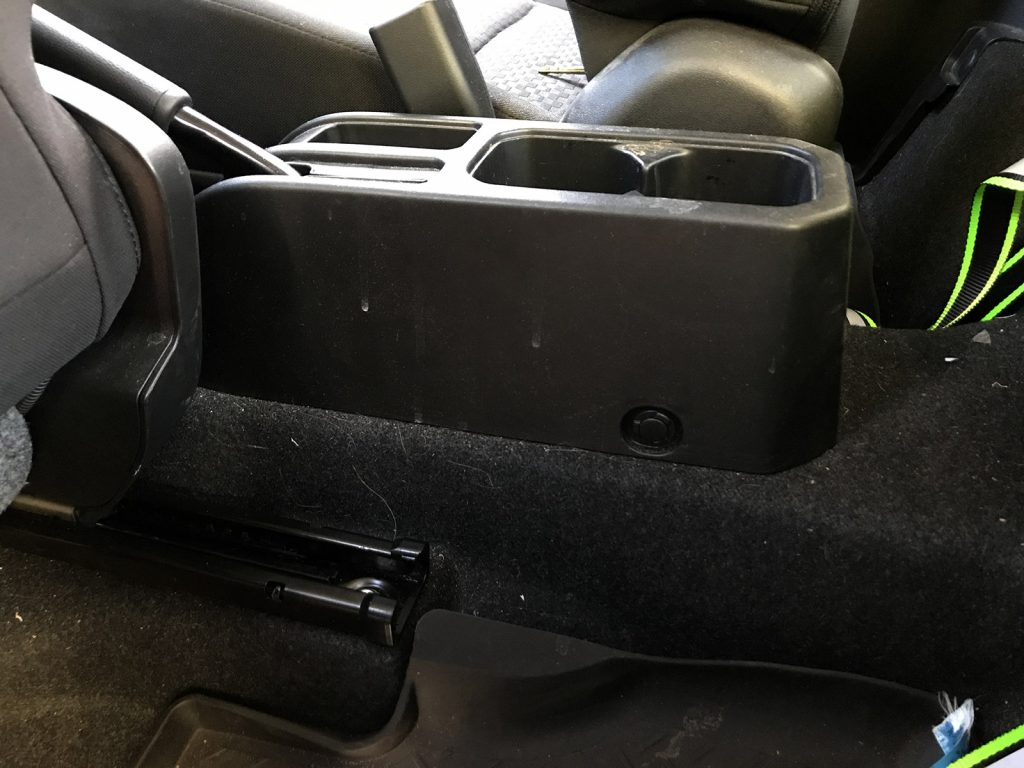
First, pull the centre pin out first, then pull the entire push pin out on each side at the back.
Then, with the handbrake on, you just lift the unit up from the back and the front pin will disengage as you lift up. There’s a bit of a struggle as the handbrake comes through the rubber gasket thing in the console but it’s easy to get it out.

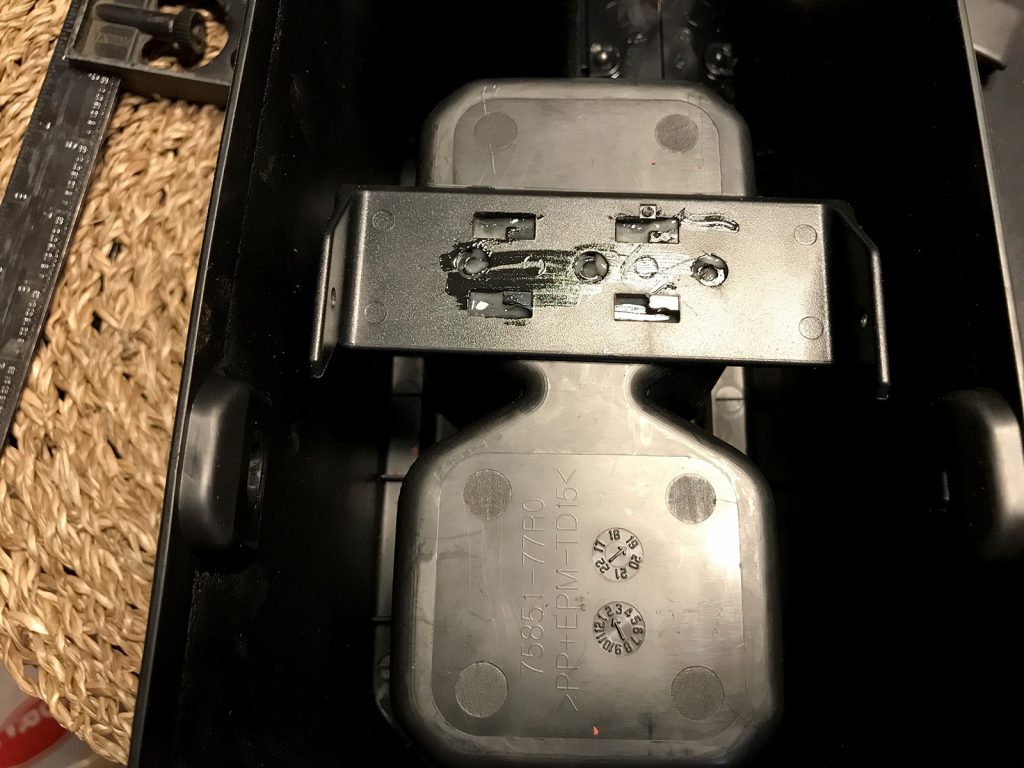
Flipping the console over reveals the bottom of the cupholders, where I intend to mount the unit.
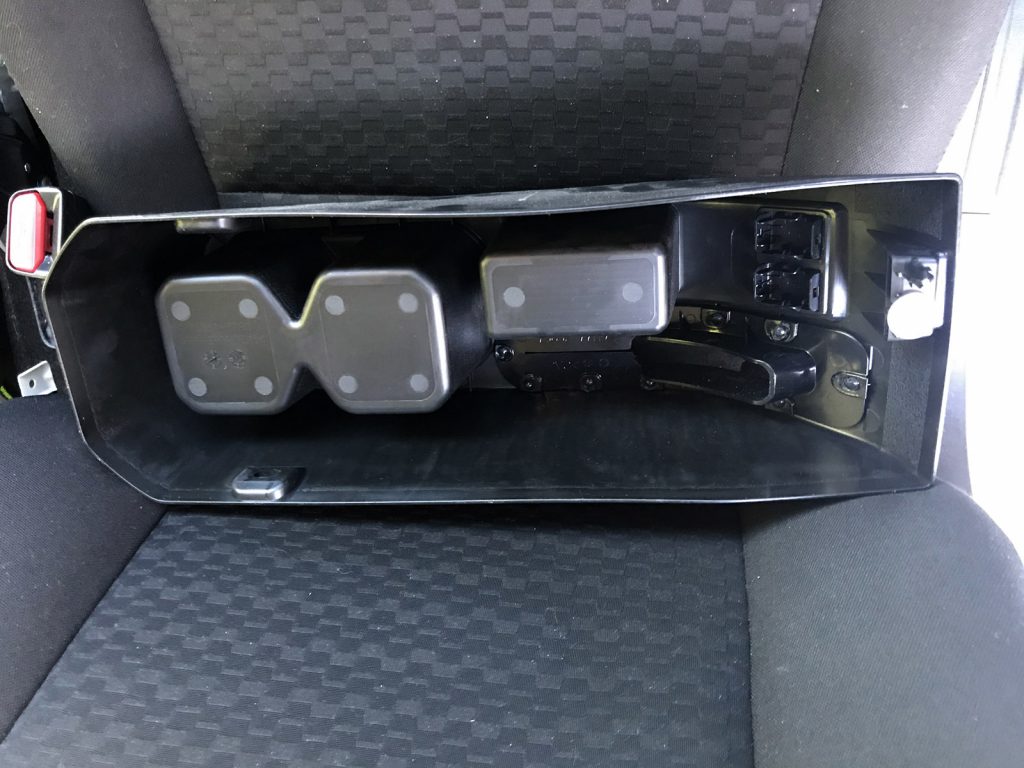
With the centre console out, throw the bracket onto the unit and put some double-sided tape (not included) on the bottom of the bracket. The use of double-sided tape lets you test the fitment. There’s a few options but I’ve settled on the unit sockets pointing front and backwards, with the thumb screws to the side. Below I also show what it looks like sideways; either works but I just preferred it with the sockets pointing forwards and backwards.
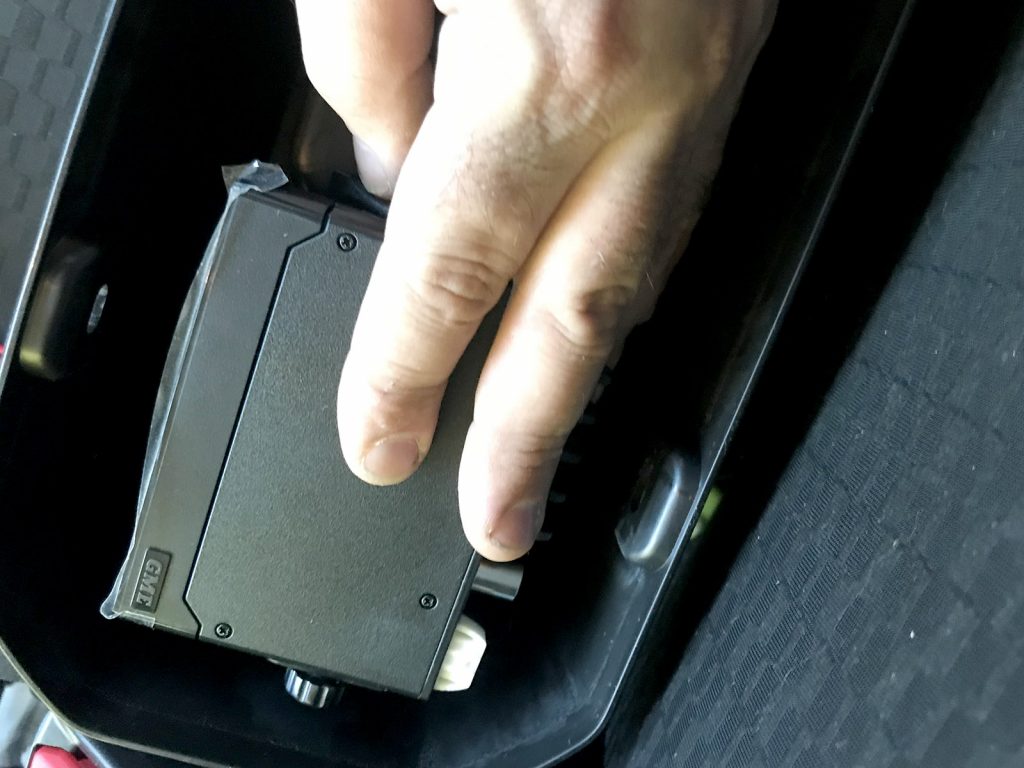
Place the unit temporarily using double-sizded tape, then put the console back in to verify it doesn’t hit anything. This is a great way to make sure you get the position right.
While you could use double-sided tape to hold it in at this stage and call it done, I decided to go more permanent. It is hard to find screws short enough not to go through the bottom of the cupholders, so instead I chose to use two part epoxy to hold it on. If you do this method, mark up where the bracket needs to sit on the cupholders so it’s easier to place as you glue it down.
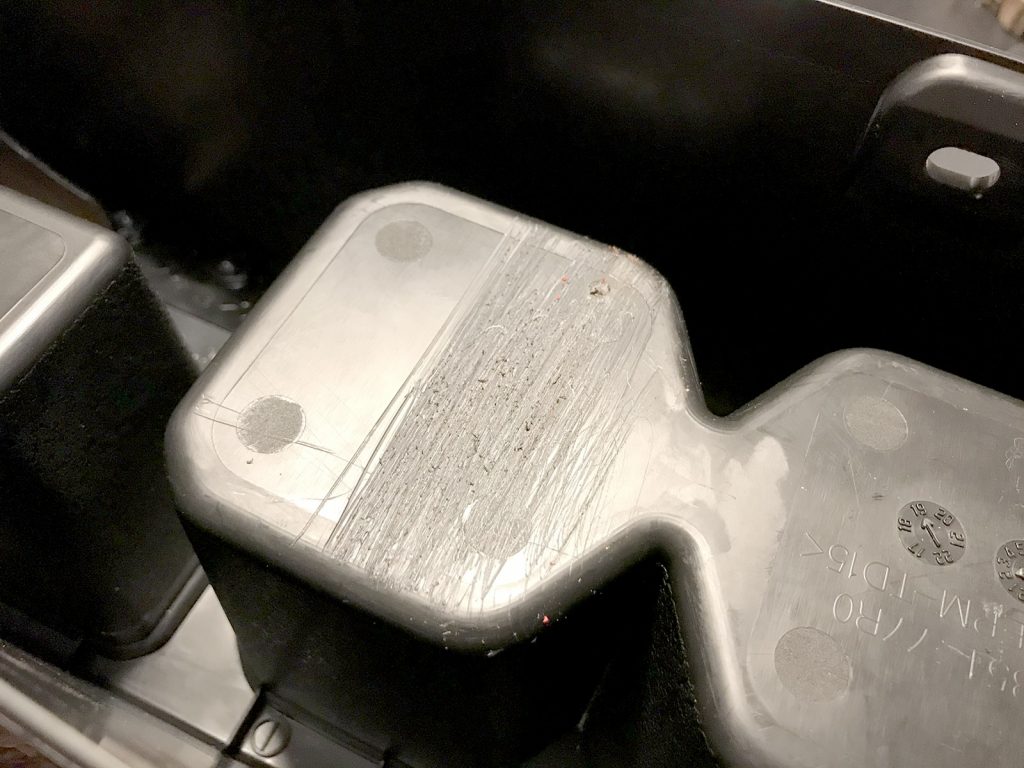
Scuff up the console and also the base of the bracket (after removing the double-sided tape, of course).
Mix up the epoxy and spread it around. No need for anything fancy here, I just used araldite 5 minute epoxy.
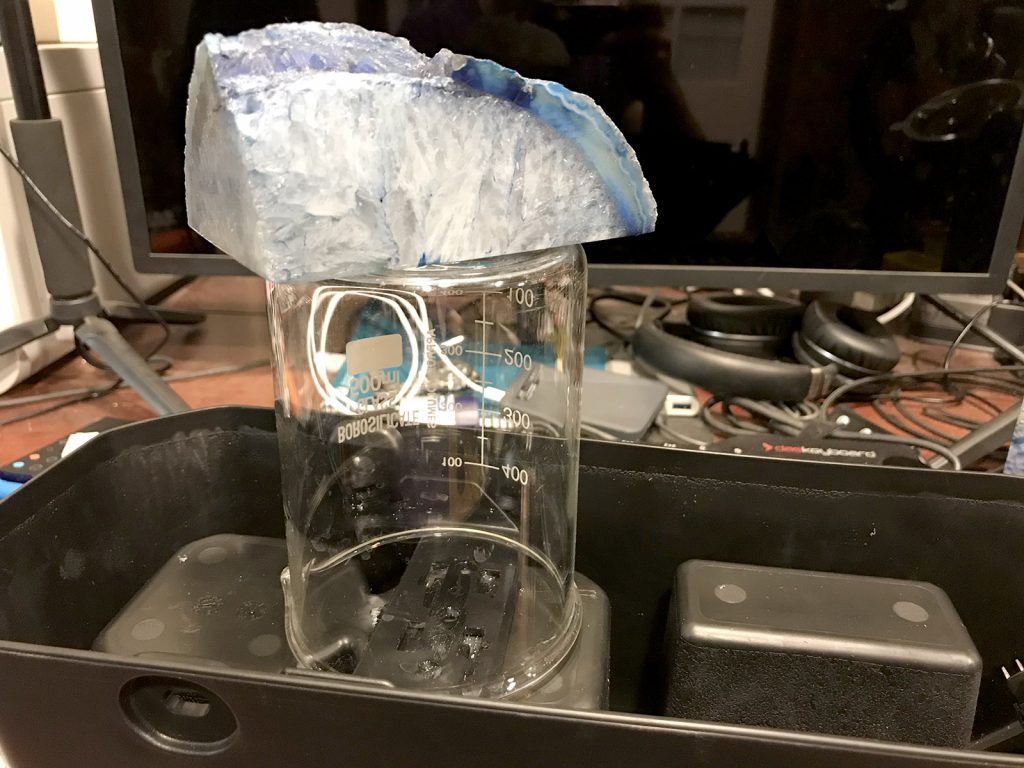
Now mount, put some weight on the bracket to hold it down and let it set up overnight to make sure it is at maximum strength.
To fit the unit back onto the bracket, you need to open up the sides of the console a bit. It’s very flexible and goes back into shape really easily too so no problem to spread it, mount the unit and then do it back up.
With the unit all installed, time to run the wiring from the socket and stuff under the carpet, connect it and reinstall the console.
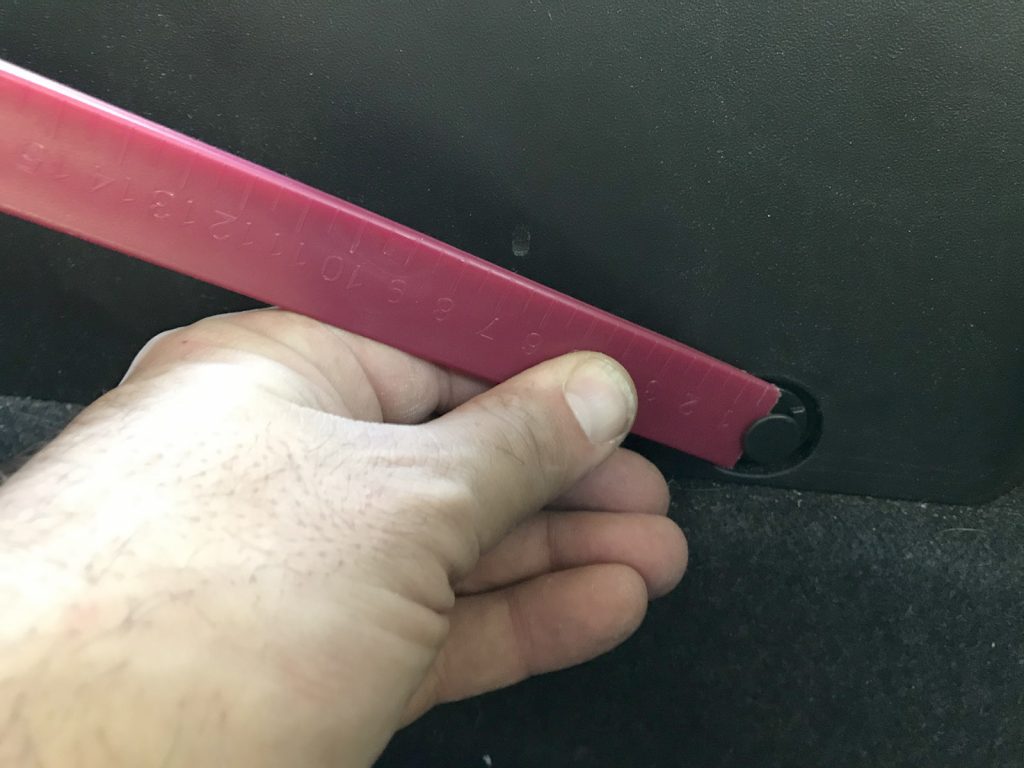
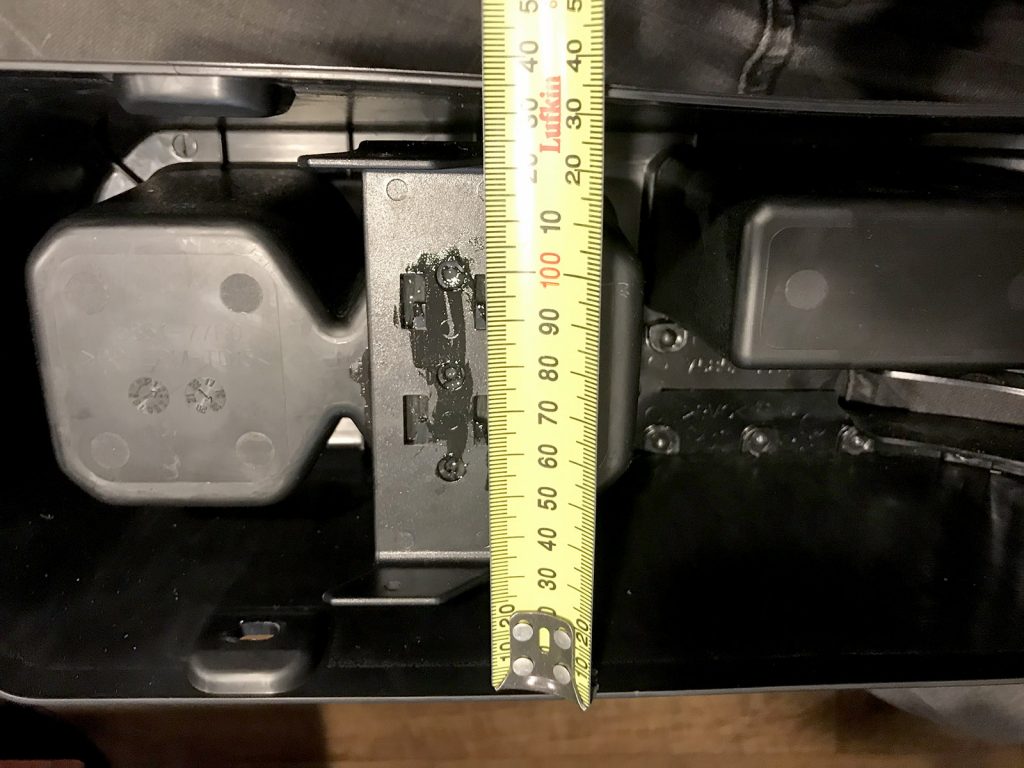
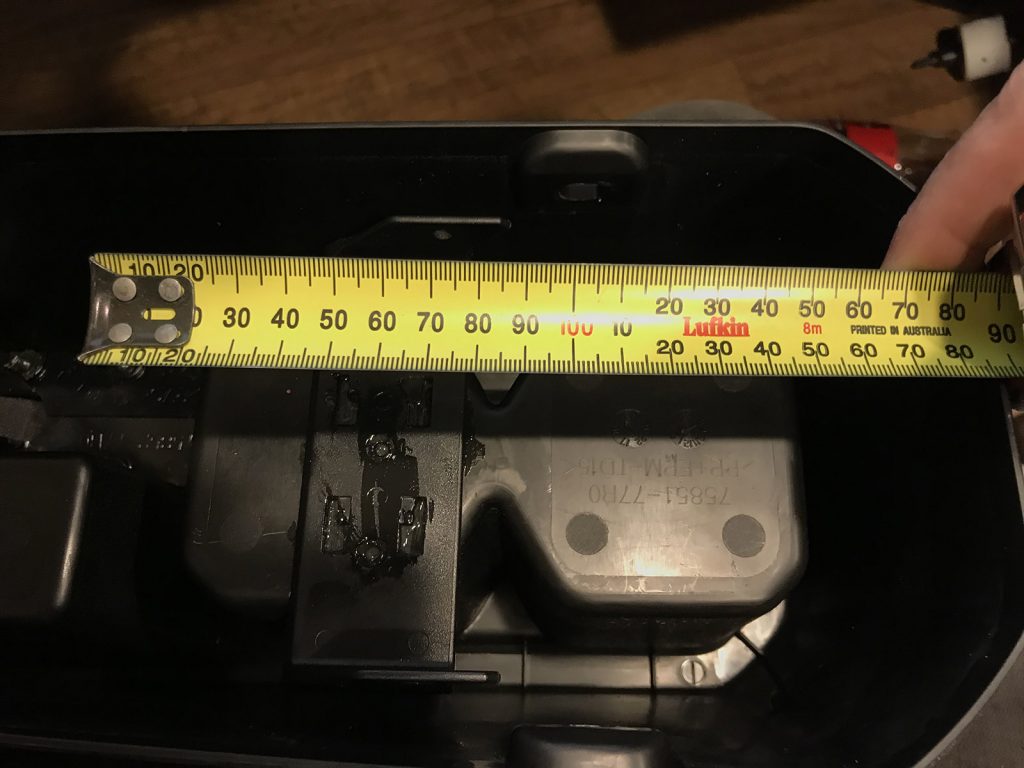
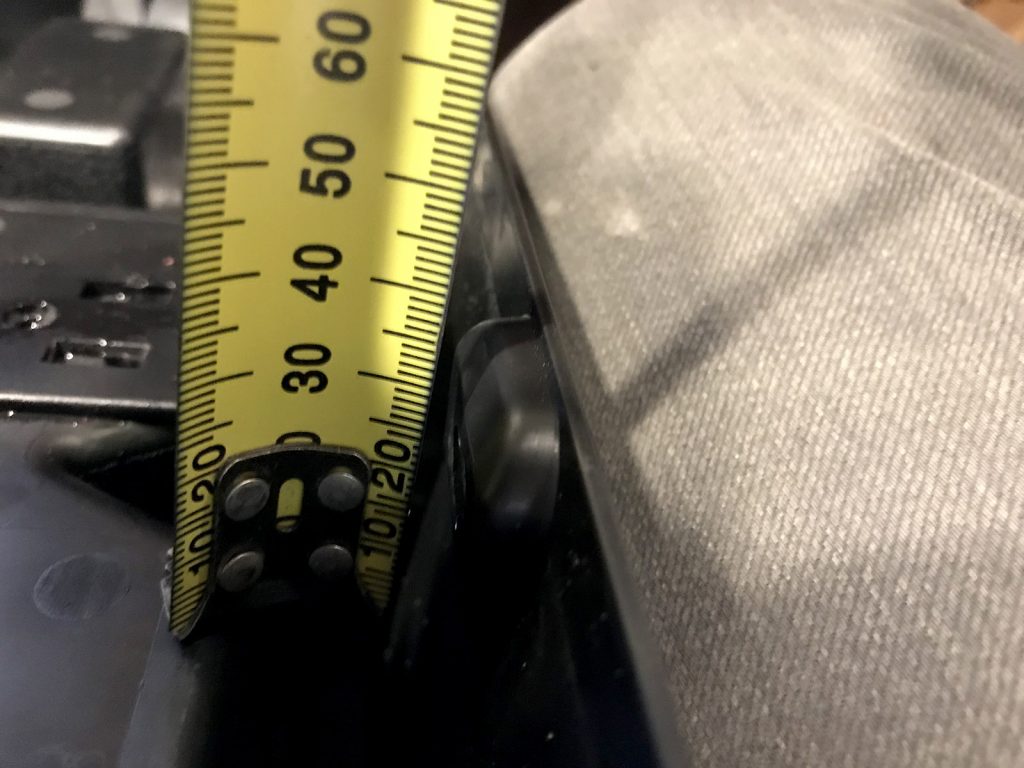
For those interested about the space available in the console, I measured it after the bracket dried. The space underneath is a little under 135mm wide, about 185mm long (though not quite as wide as full width for that length) and also about 45mm total depth available. An XRS370 might just sneak underneath here but I haven’t seen any success stories posted of people doing so.
Handset install
I wanted to minimise the holes I needed to make for mounting the handset so I went for the double-sided tape option for the magnetic holder temporarily. The magnetic holder just makes it easier to get the handset out. If you buy the more expensive XRS Connect unit this comes for free but I had to buy it separately – still cheaper to do it this way though.
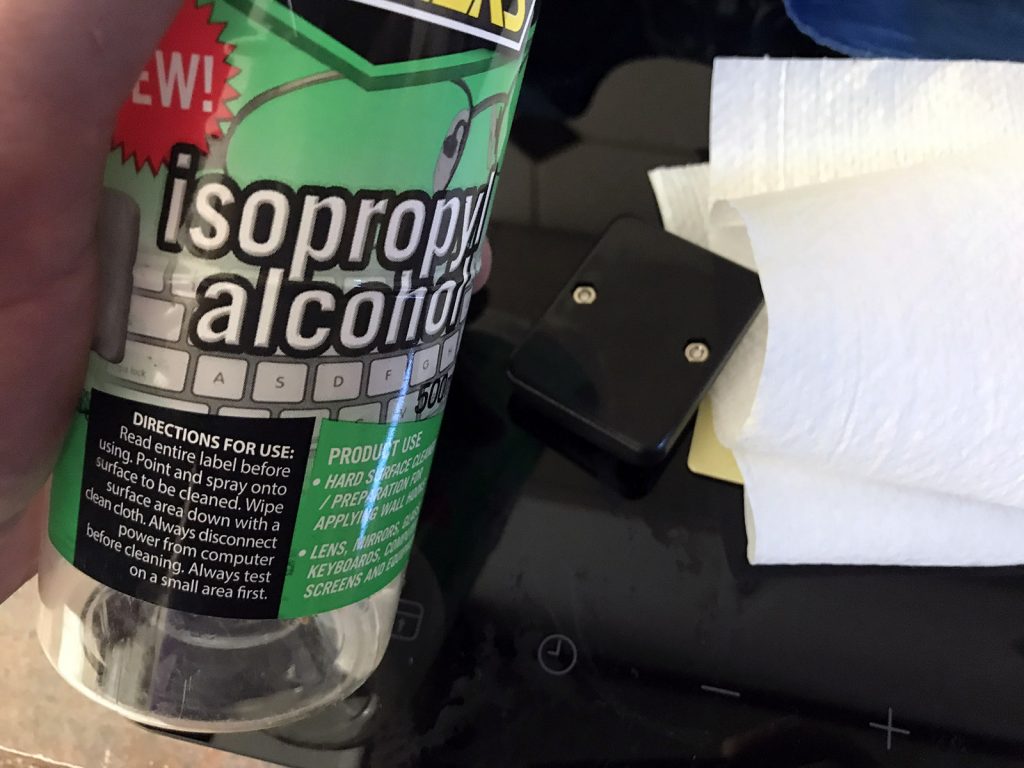
Although you can mount it securely using screws, I want to test the placement and see if I am happy with the handset. For this the included VHB tape is perfect! Start with cleaning off the surface to mount it to, and also the back of the magnetic base with isopropyl alcohol or similar.
Make sure you stick on the double-sided tape rectangle at an angle so you trigger the internet police.

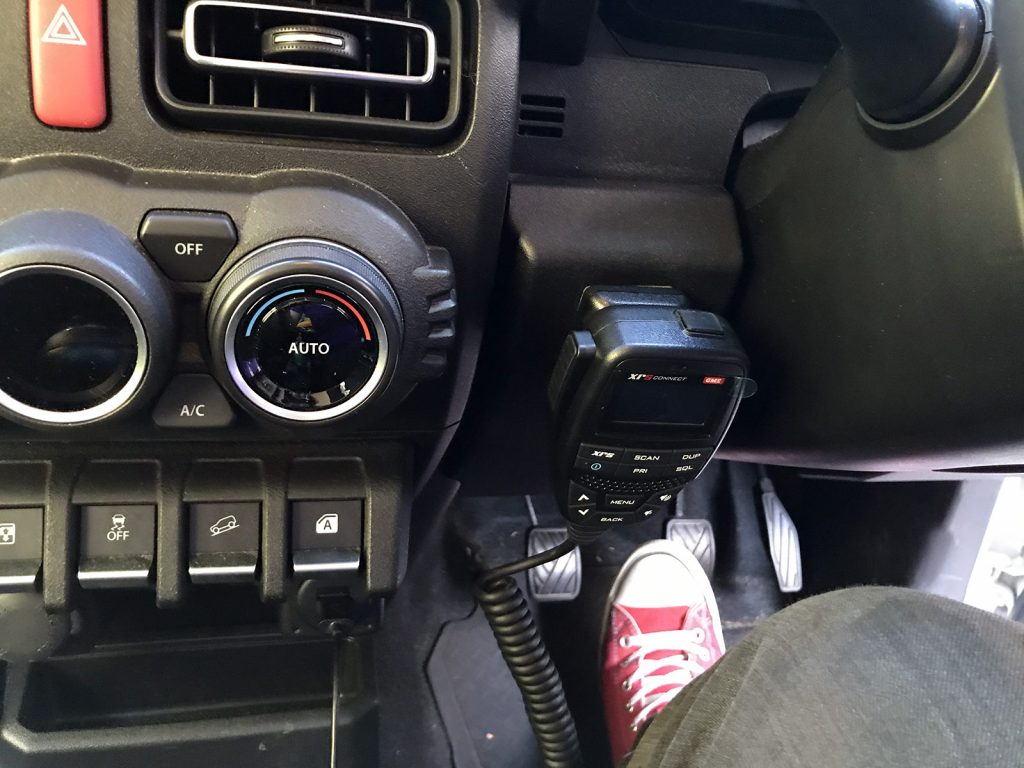
Now you can place the handset and work out where the cabling is going to go. I want my handset just at hand on my left-hand side, just down and forwards a bit from the indicator stalk.
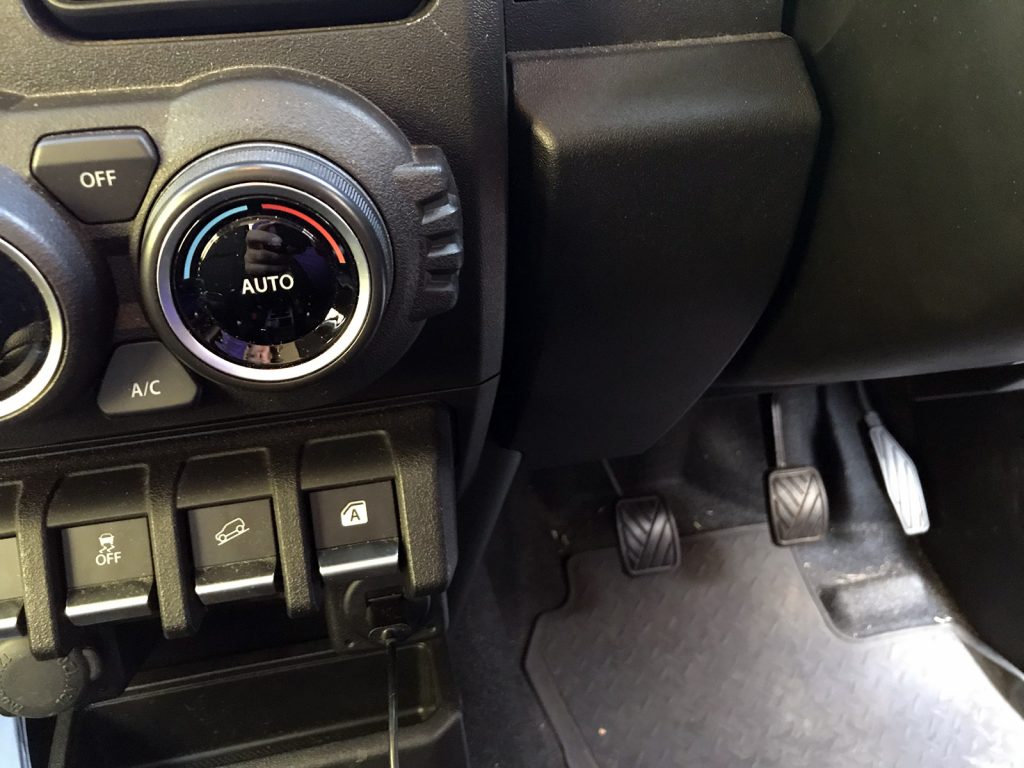
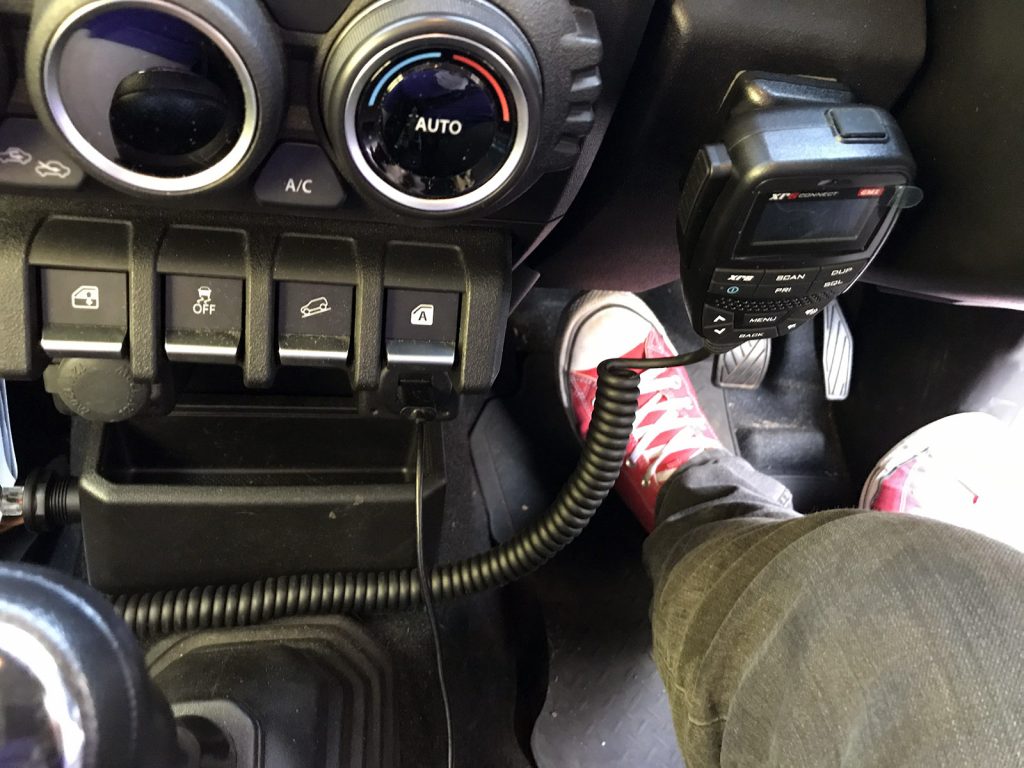
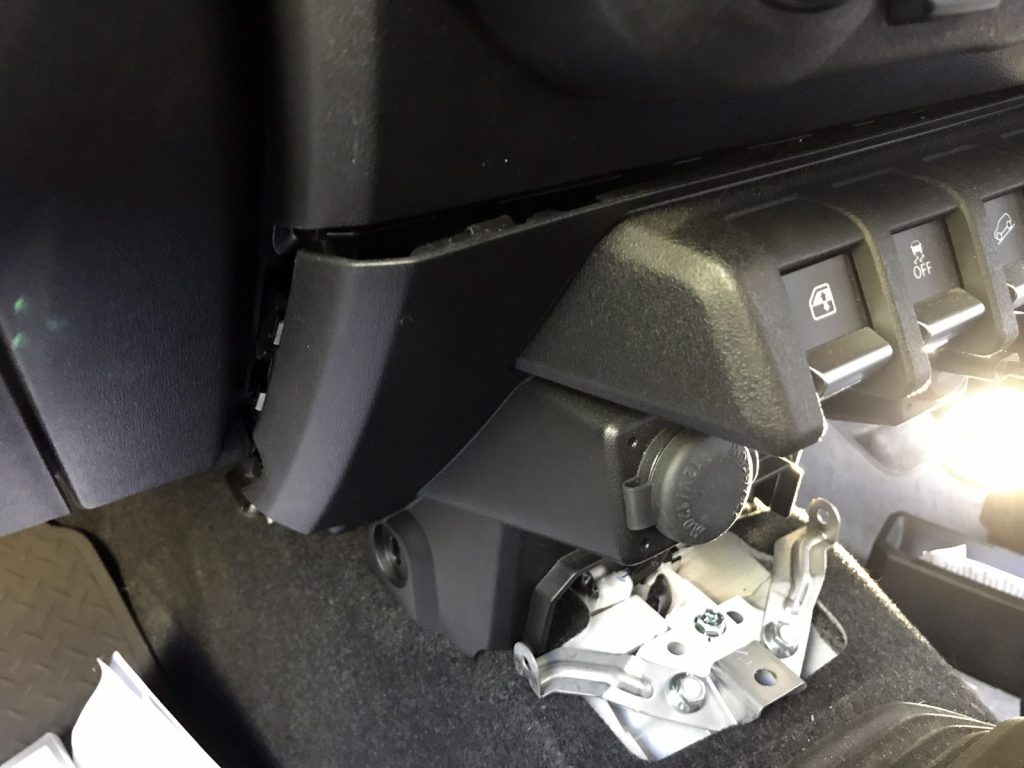
I realised at this point it made more sense to put the panel socket for the handset on the passengers side, down and to the side of the cigarette lighter socket. This minimises the amount of cable dangling into the driver’s footwell, but still is easily pulled up to talk when you’re driving without excessively stretching the cable.
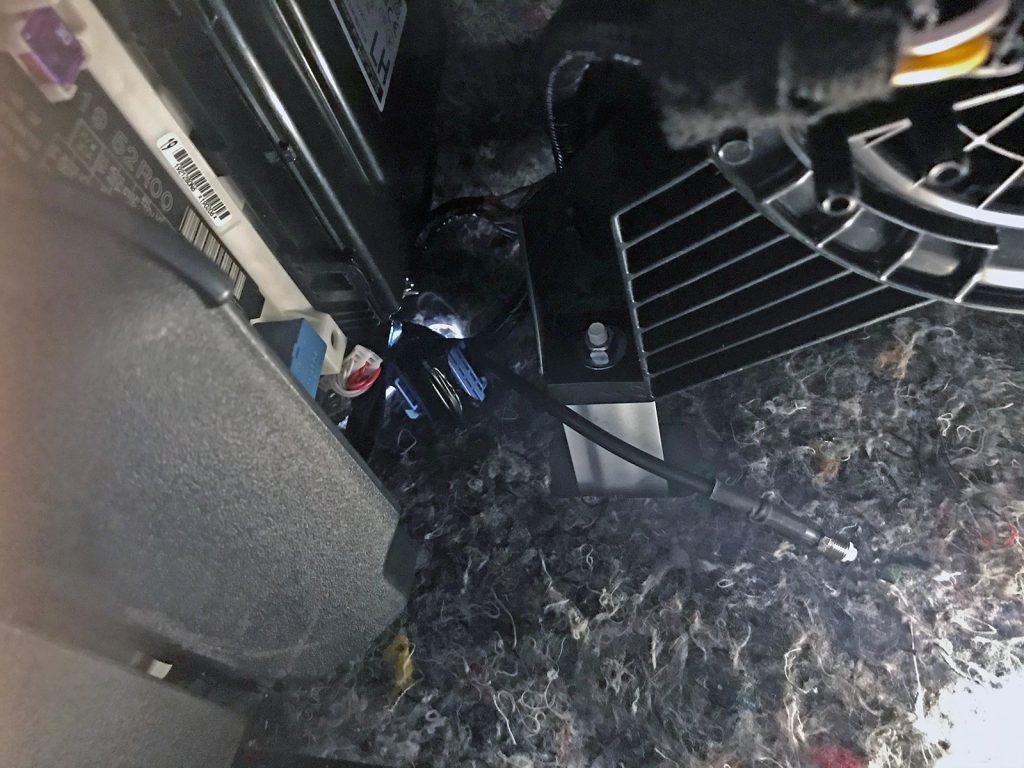
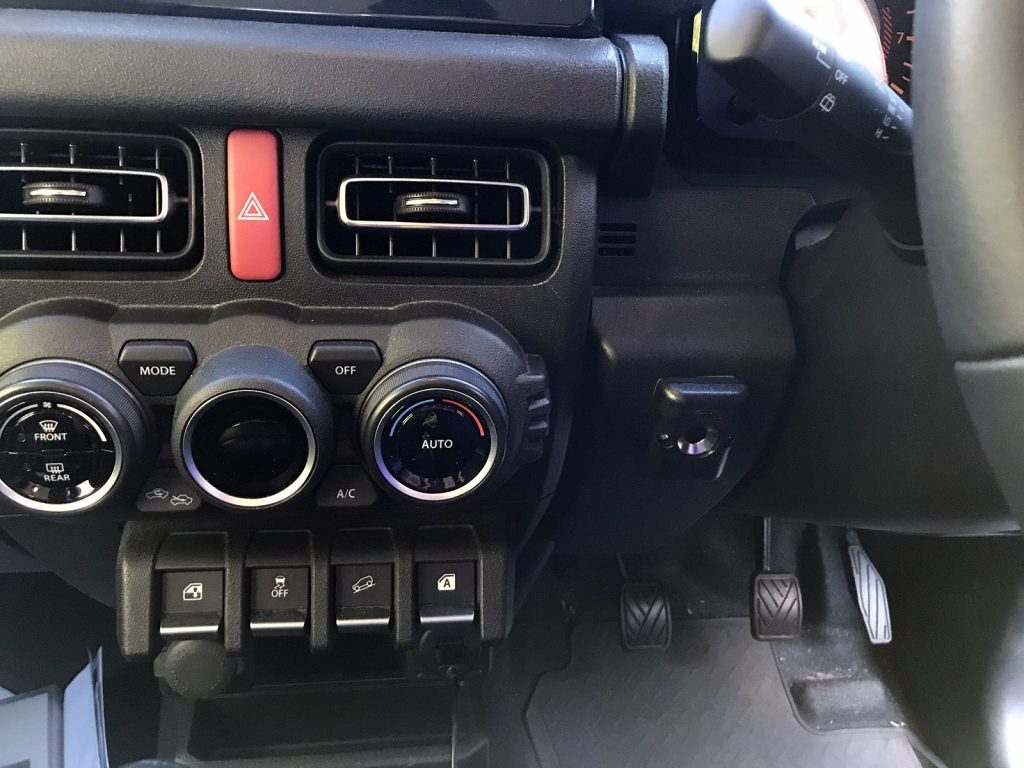
With the position set it’s now time to drill a hole for the panel mount socket.

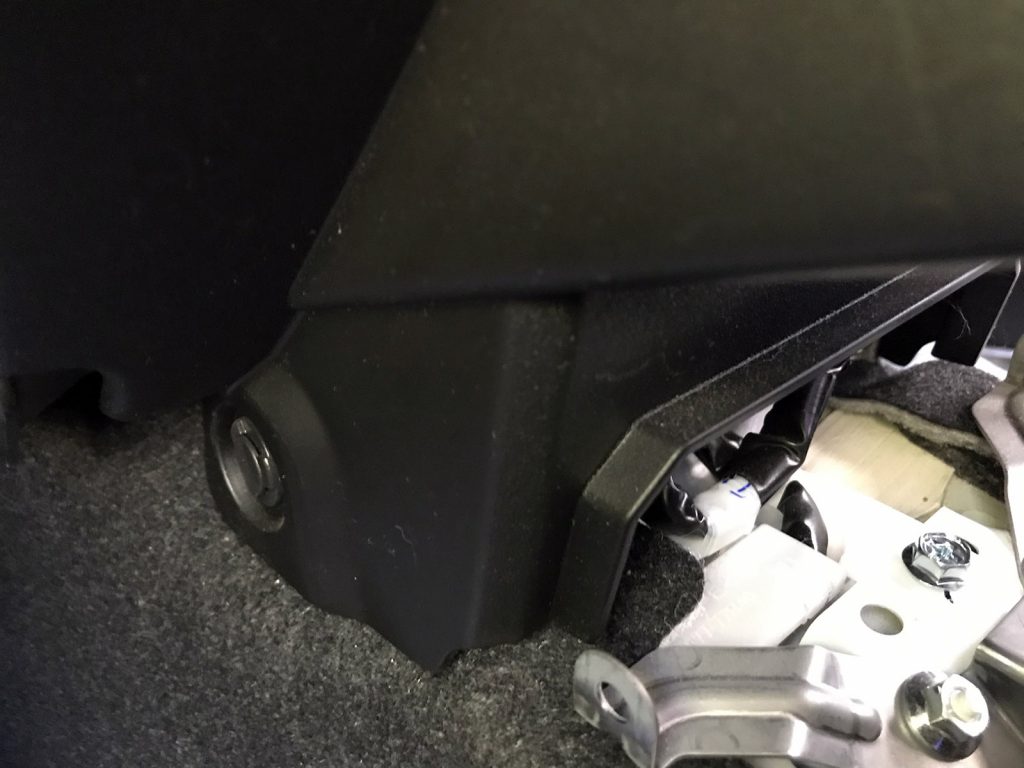
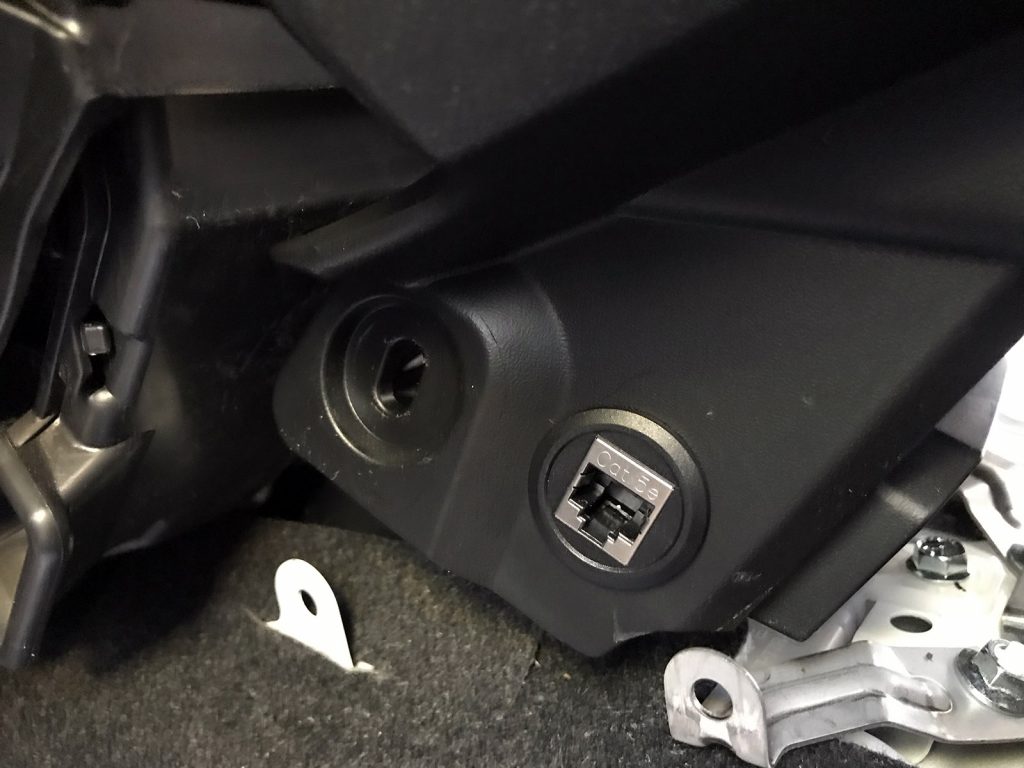
Bust out the step drill, and make a hole, put the socket in it, sorted.
Now just gotta put all the interior back together, which I didn’t photograph.
The handset then is connected to this socket. To connect the socket to the UHF just use the supplied cable pulled through under the carpet and back to the UHF unit. Plug it in and sorted.
Power and other wiring stuff
No particular trick to wiring it and running the wiring back. To get power I chose to just make up a tiny little patch cable for the cigarette lighter socket to give me ignition switched power. Some people prefer their UHF radios to be able to be turned on at any time but I’m fine with it requiring the key to make sure I don’t leave it on and send the battery flat.
Patch cable is pretty simple and short, just make sure to verify the polarity of the wire with a multimeter.
Also verify the polarity before you plug it into the cigarette lighter socket to make sure you don’t blow anything up plugged in here.
I like to loom up my wires before pulling them through the carpet, just helps keep them together and is a precaution against damage to the insulation of the wires rubbing around.
With the wiring stuff sorted, I found the easiest way was to push a flexible thing up from the centre console area, tape the power/network/antenna cables to this, and then pull it through.
At that point, connect it up, throw the trim in and test it!
Using it
It works like a UHF radio should.